In this video tutorial, viewers learn how to change the color of eyes using Adobe Photoshop. Begin by selecting the Magnetic Lasso tool and create a selection around the eye. To create a second selection without losing the first one, hold the Shift key. Now go to Image, click on Adjustments and select Hue/Saturation. Now adjust the hue and saturation of the eye to change the color. This video provides a visual demonstration for viewers to easily follow along. This video will benefit those vie...
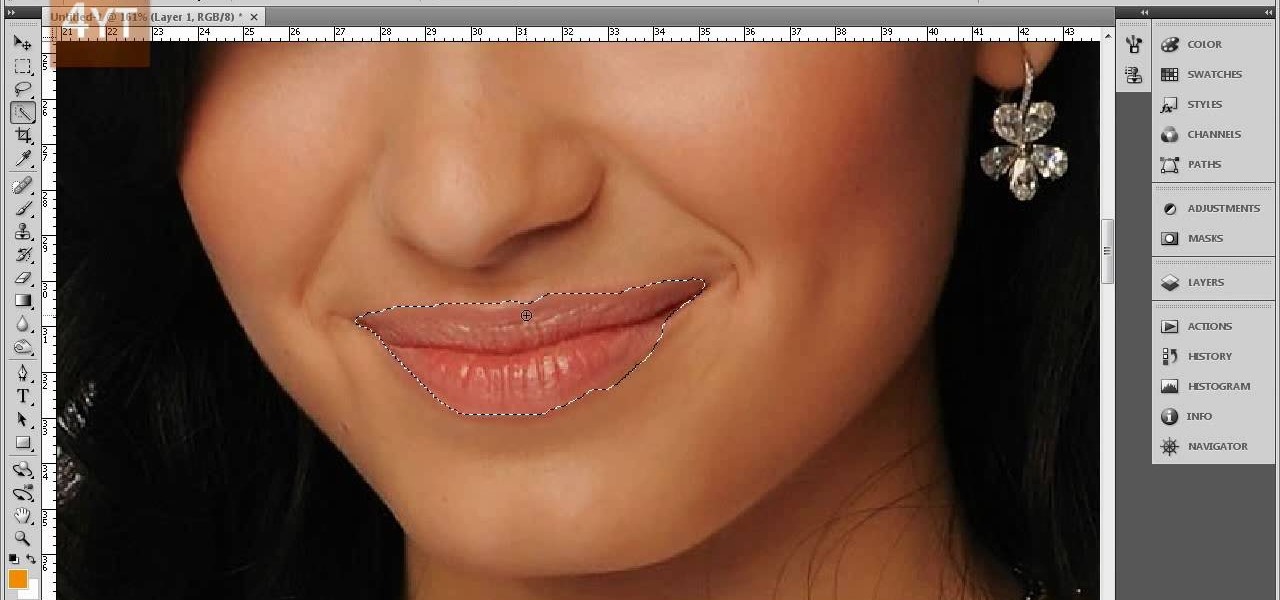
Forget to put on lipstick before a photo? Or perhaps you want to spice up an old photo of someone you love. Well their is a way, as 4YouTutorial demonstrates step by step using Photoshop CS4. First upload a photo or image into Photoshop. Next access your Photoshop layers and delete the default locked layer. After, activate the zoom tool and zoom in on the photo where the lips are located. Next choose the quick selection tool (make sure it's on plus) and drag it over her lips. This process can...
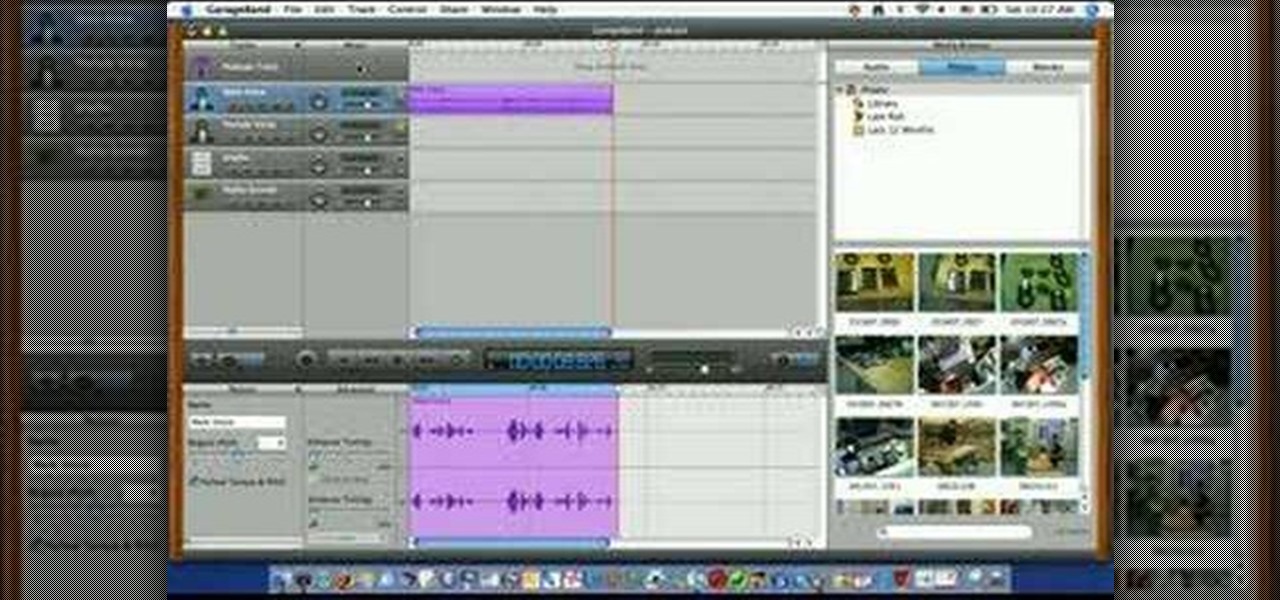
This video is describing how to create a podcast by using the Garage Band program on a Mac computer. Start by going to Garage Band and go to new podcast. Click create. Under the podcast you should choose what gender of voice that you would like. The top track is to add photos from your iPhoto. Select the voice that you would like to record on and click the record button on the bottom of the screen in order to begin. Record your podcast. Then to get your podcast into iTunes go to the share but...
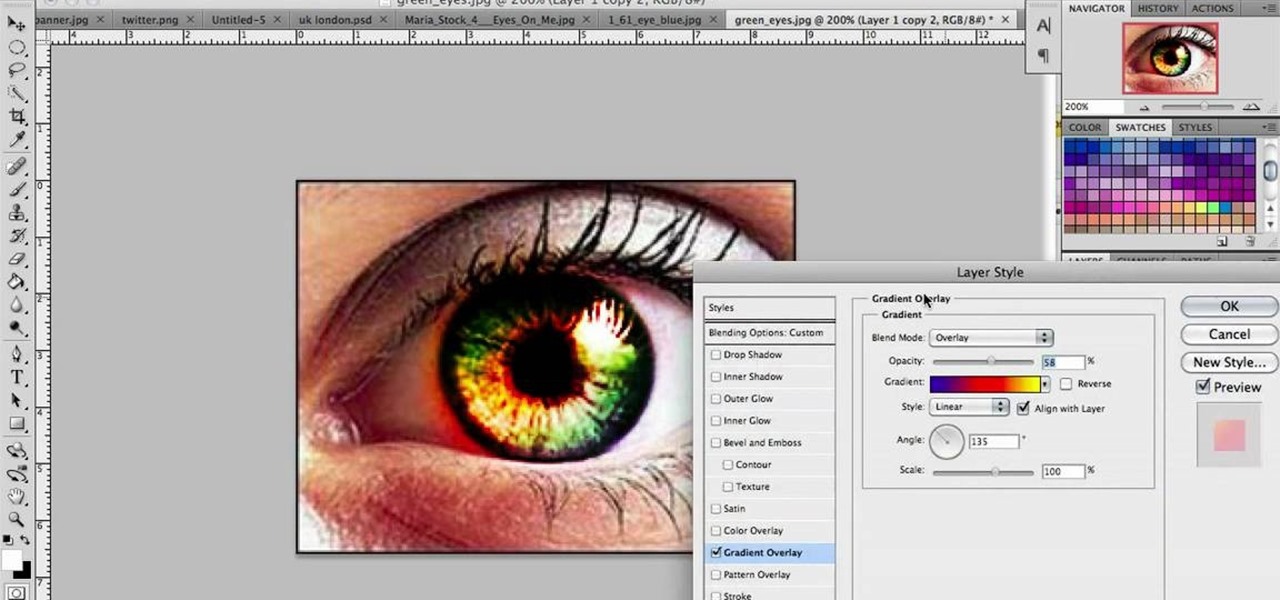
In this video we learn to make green eyes in Photoshop. According to this video, it is very simple to change the color of eyes and make beautiful eyes. First, we zoom in on the eye and with the help of the pencil tool. We select the border of the eye. Then we right click on the selected portion and select "make selection," then using Ctrl + C we copy the selected portion and use Ctrl + v. We can paste the selection on the right hand side. Then, on copied layer we select the gradient. After, o...
Planet are cool and explosions are awesome so what could be better than an exploding planet. This tutorial will how you how you can create an exciting and adrenaline invoking exploding planet in Adobe Photoshop without too much work.
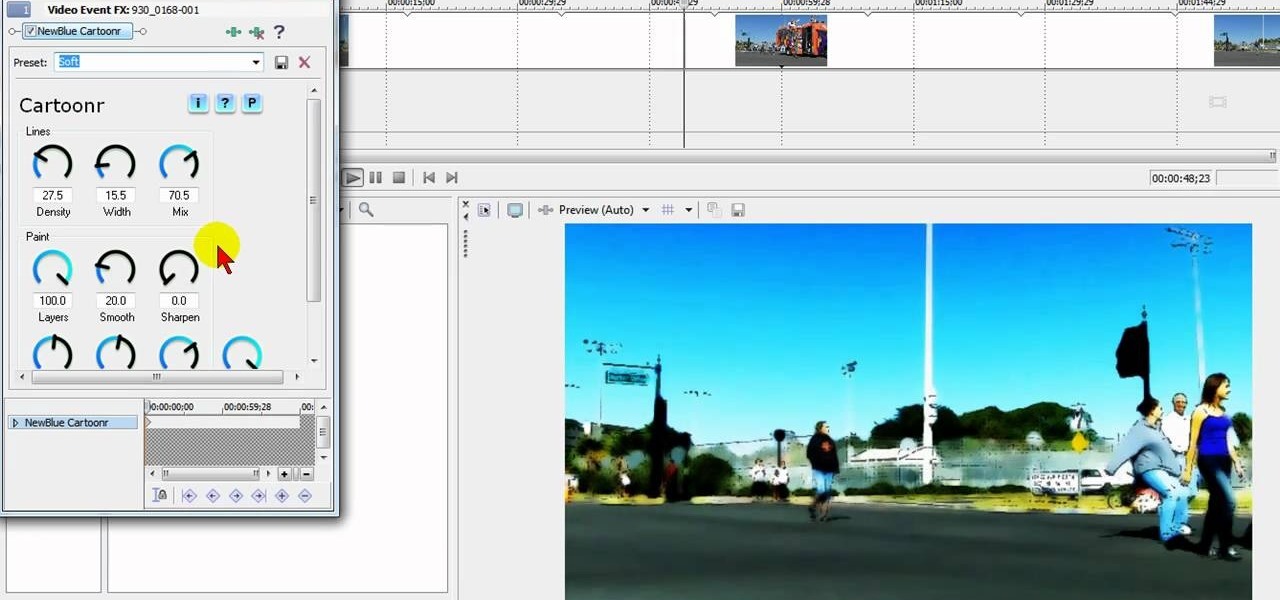
Tired up straight-up video images? Make your videos pop by giving them an array of cool treatments. Make your video look like a cartoon, or a line drawing, or a watercolor painting or just really bad dreams! With a selection of cool, free Sony Vegas effects you can do it all. Download the free FX plug-in here .

We'd never turn down a nice big slice of homemade apple pie, but sometimes eating the same selection of all-American desserts (apple pie, brownies, lemon custard pie) gets to be boring.
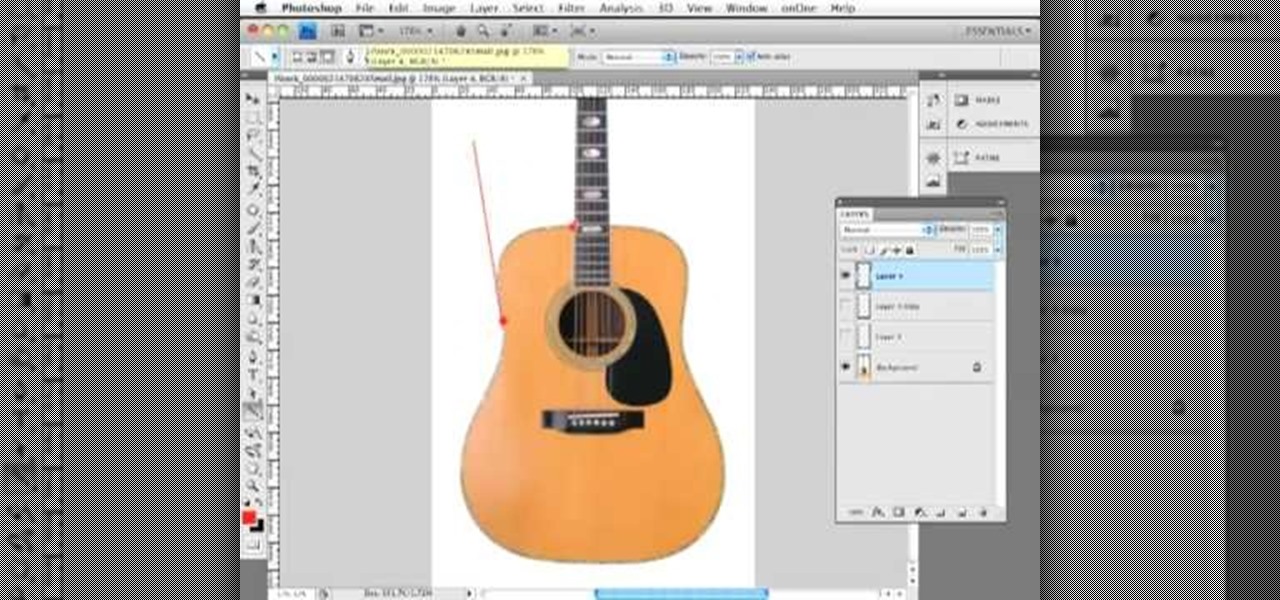
Need to make a very precise selection in Adobe Photoshop? This Photoshop user's guide presents a general introduction to the Pen Tool. Whether you're new to Adobe's popular raster graphics editing software or a seasoned professional just looking to better acquaint yourself with the program and its various features and filters, you're sure to be well served by this video tutorial. For more information, including detailed, step-by-step instructions, watch this free video guide.
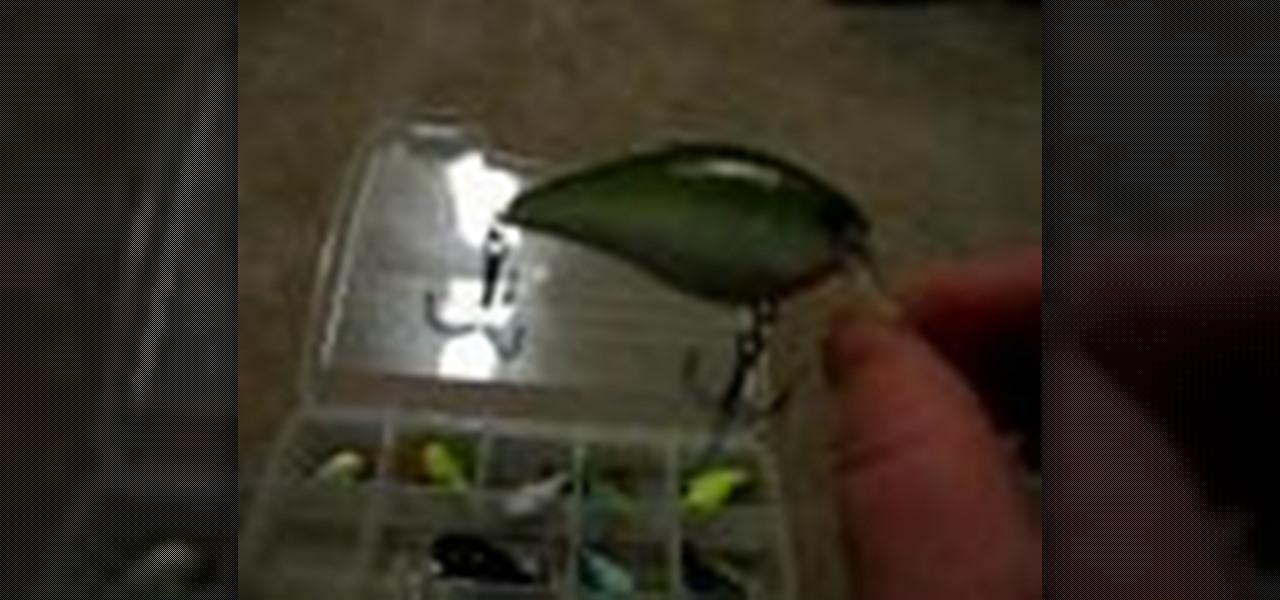
Crank bait is one of the more popular, interesting looking, and effective types of bait. This video features a bass fisherman going through his selection of crank baits explaining when he uses different colors of crank baits to attract the most fish. THe situations he discusses include fishing in clear water, at different times of day, and different vegetation levels.
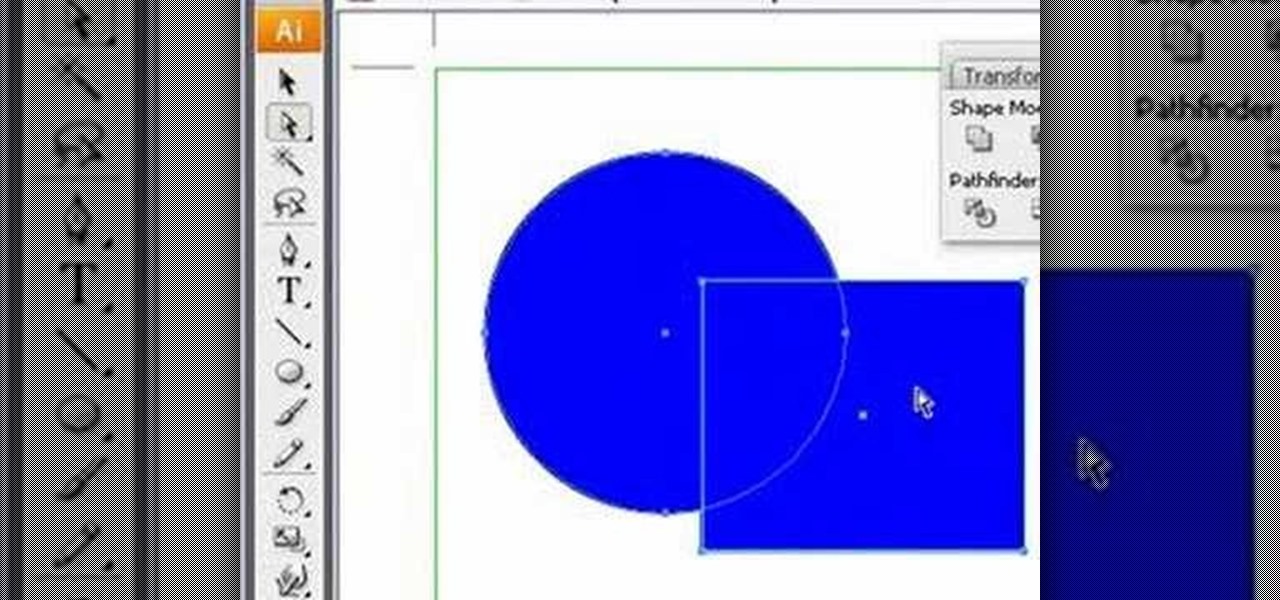
This Adobe Illustrator tutorial demonstrates the basic shape modes in path finder (add, subtract, intersect, and exclude), and shows how to use the direct selection tool and expand features of Illustrator. Finally, a bubble box is created (for the Yahoo Map project) with the add shape mode and a drop shadow effect added.
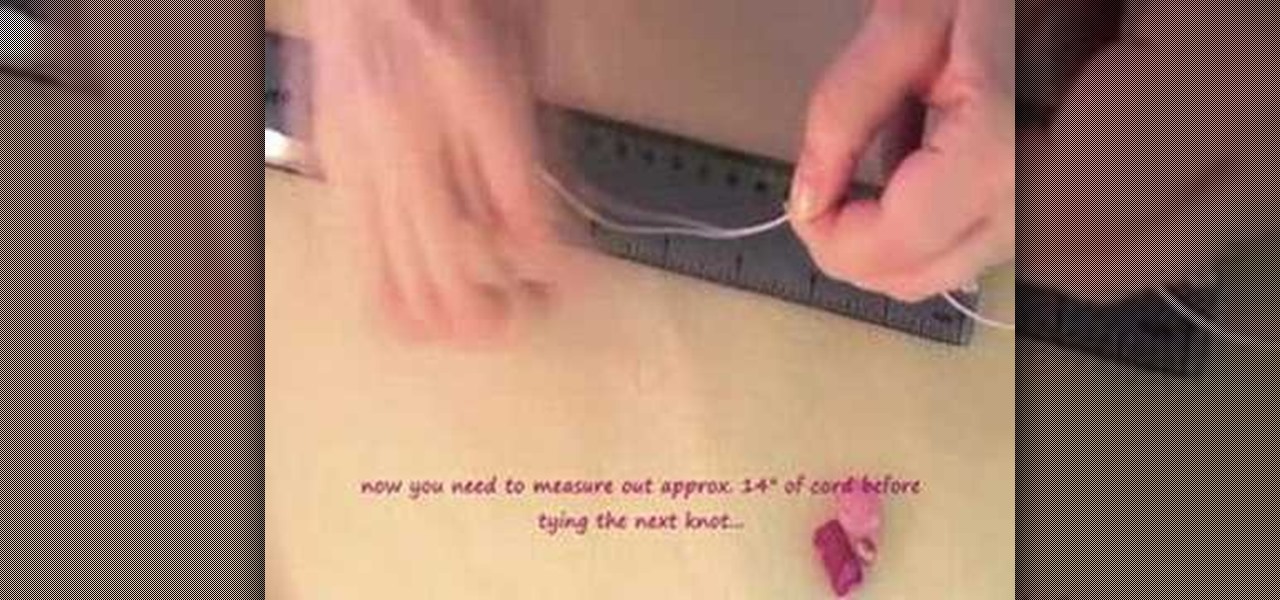
This is a great little project for beginners and shows how to make a simple knotted bead bookmark. They also make thoughtful handmade gifts! You will need some waxed cord, a selection of beads, some scissors, and glue. Learn how to make this bookmark by watching this video beading tutorial.
Selecting orchid plants takes more than just admiring an orchid's flowers, but with the right information it can be quick and easy. To find the expert's secrets on orchid selection, Meghan Carter visited award winning orchidist Dick Wells of Hilltop Orchids and got to the bottom of how to pick out the best orchid flower.
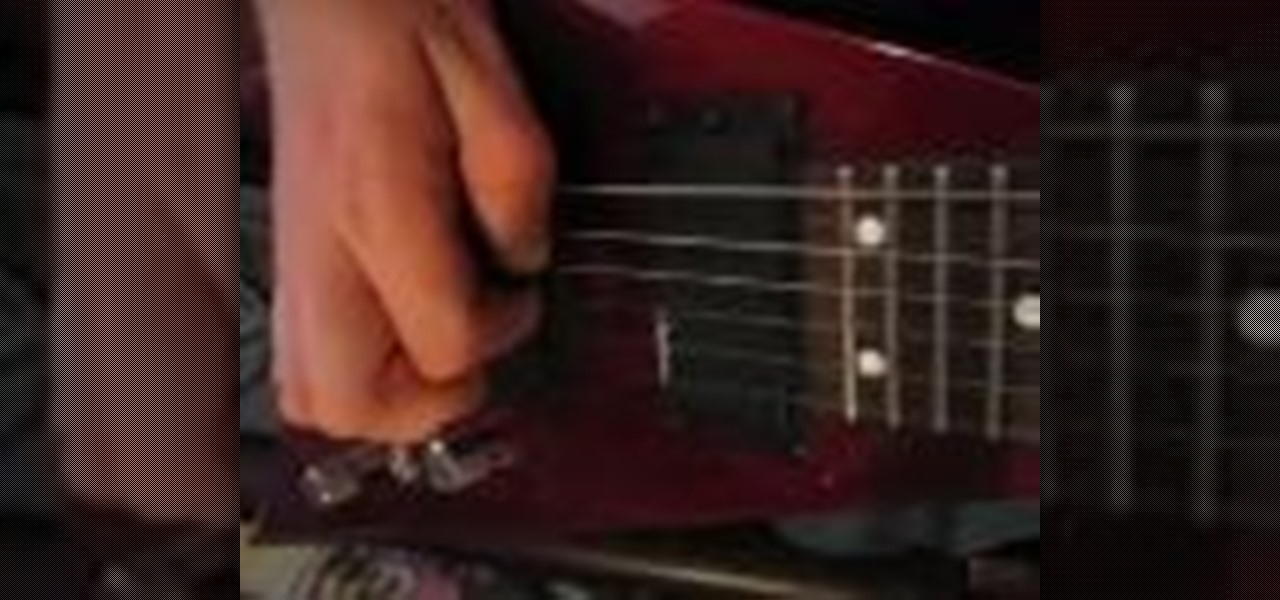
A pinch harmonic is an overtone. This video is a demonstration of how to play a pinch harmonic on the electric guitar with a right hand technique. Distortion, attack, vibrato, pick selection and more are discussed in relation to this topic.
When thinking about buying a gift for a friend, it's always the gift itself that's most important, right? But no matter how great your gift selection is (yay for Kindle readers), if it's wrapped sloppily your recipient will think you put little effort into your present.
First select the pencil tool then click on pencil mode which is located at the bottom of the toolbar, select straighten and draw a line as in the video. Now you can see that the line is automatically adjusted, it will make the round and straight shape in the line depending on how you drew it. Now delete your shapes and select the smooth in pencil mode and draw a line as in the video. Now you can see that the line is automatically smoothed. And finally select the ink in pencil mode and draw a ...
In this video, we learn how to customize slideshows with titles using iMovie. First, find the photos that you want to add. Then, right click on one of the photos and then choose "show file". Now you will have a selection of all the photos that have the same search name. Drag these pictures into iMovie, then wait for the program to finish loading. When it's loaded, you will have the picture in a slideshow. You can add in any effect you would like to the pictures, or just leave them normal. Whe...
Yanik Chauvin teaches us how to add texture to a reflection in Photoshop in this tutorial. To start, add a basic reflection to the item you want a reflection on. Now, reduce the opacity of the layer and bring it down to 25%. Next, add a new layer and paint in a gradient white to transparent. Make sure your first gradient selection is selected. Now, click and drag and you will see the reflection diffused. Next select the blur option, then click on motion blur and put the distance at 20 pixels....
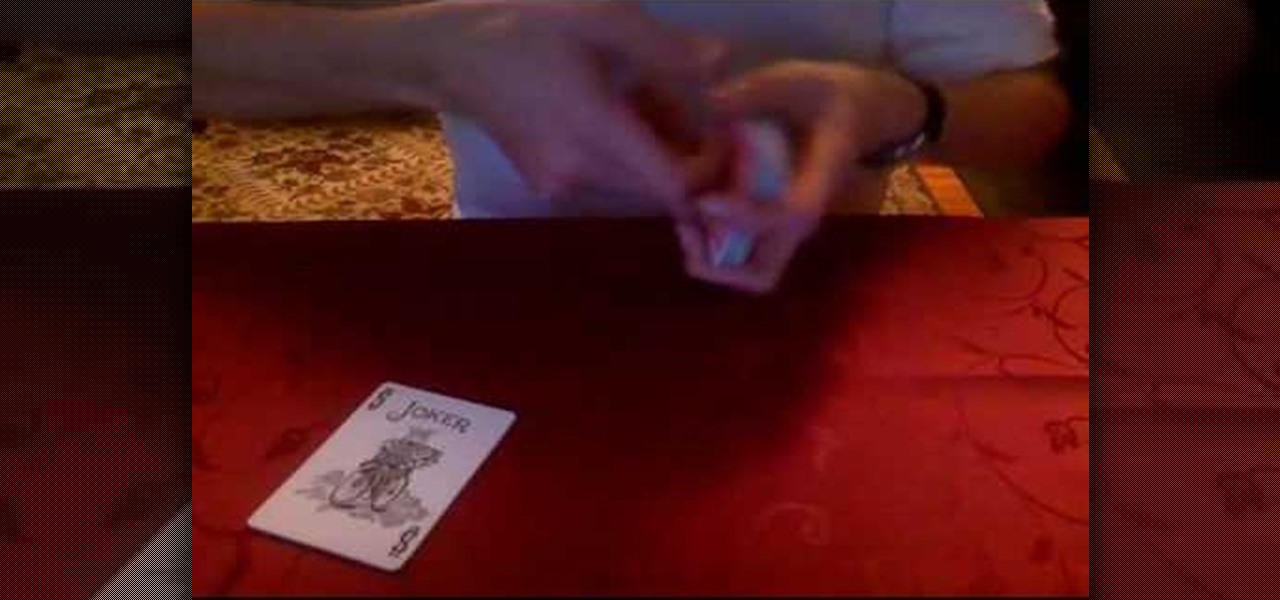
In this tutorial, we learn how to do a "fast food" card trick. You will need three blue jokers, and a regular orange deck with the jokers removed. To begin, have someone remove to cards from the deck and flip them over. Now, take these two cards and remember both of them. Now, put the blue jokers out and put the chosen cards into the deck between them. Now, set the jokers with the selection cards to the side. Now show the spectators that their card are in the deck and then hide the cards so t...
In this video tutorial, viewers learn how to create tables in Microsoft Word 2007. Begin by clicking on the Insert tab and select Table. Then users are able to create a table by dragging the mouse across the squares to determine he amount of columns and rows. Make the final selection by simply clicking. Another option is to click on Tables and select Insert Table. Then users are able to input the number of columns or rows. This video will benefit those viewers who use Microsoft Office 2007, a...
Taking professional photographs at night poses a whole new set of problems relative to taking pictures during the day. This four-part video is here to help, in great detail. It covers several topics, including subject selection, tools necessary, deterring depth of field, and all of the other things that you will have to do to take really good-looking photos at night.
Developing black-and-white film is an arcane, but very rewarding and useful process if you want to make really good-looking prints from your film. This two-part video goes over the entire process, from chemical measurement and selection to the actual process of developing the film. A must-watch for any would-be film photographer.
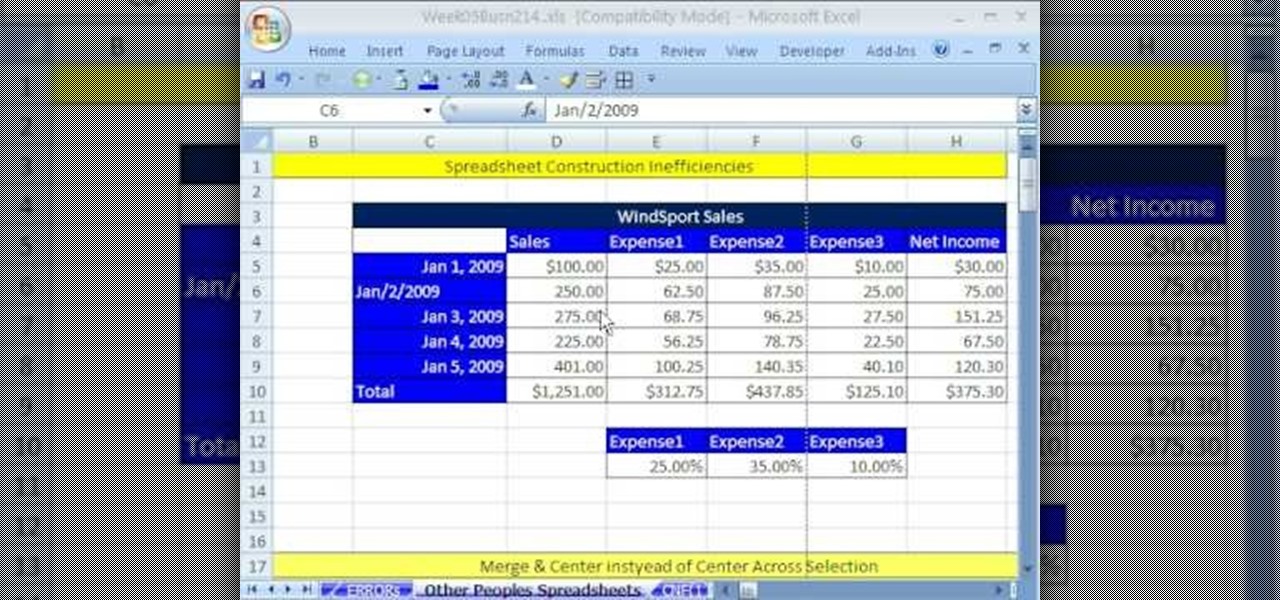
Whether you're interested in learning Microsoft Excel from the bottom up or just looking to pick up a few tips and tricks, you're in the right place. In this tutorial from everyone's favorite digital spreadsheet guru, ExcelIsFun, the 26th installment in his "Highline Excel Class" series of free video Excel lessons, you'll learn how to use spreadsheet construction guidelines to fix common problems:
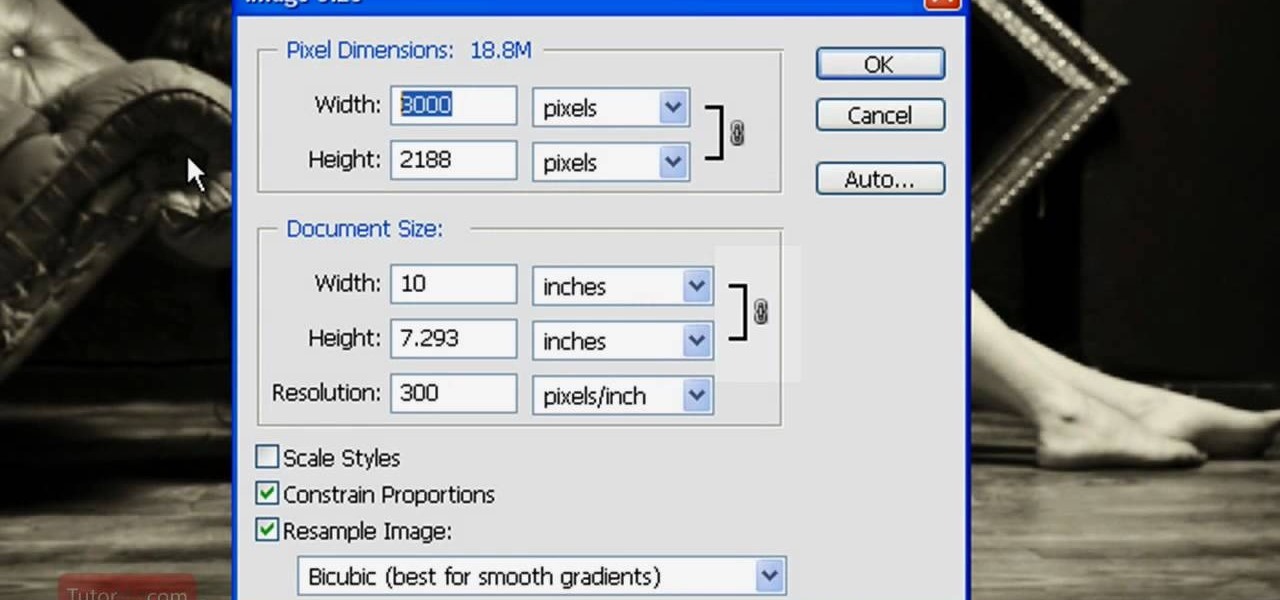
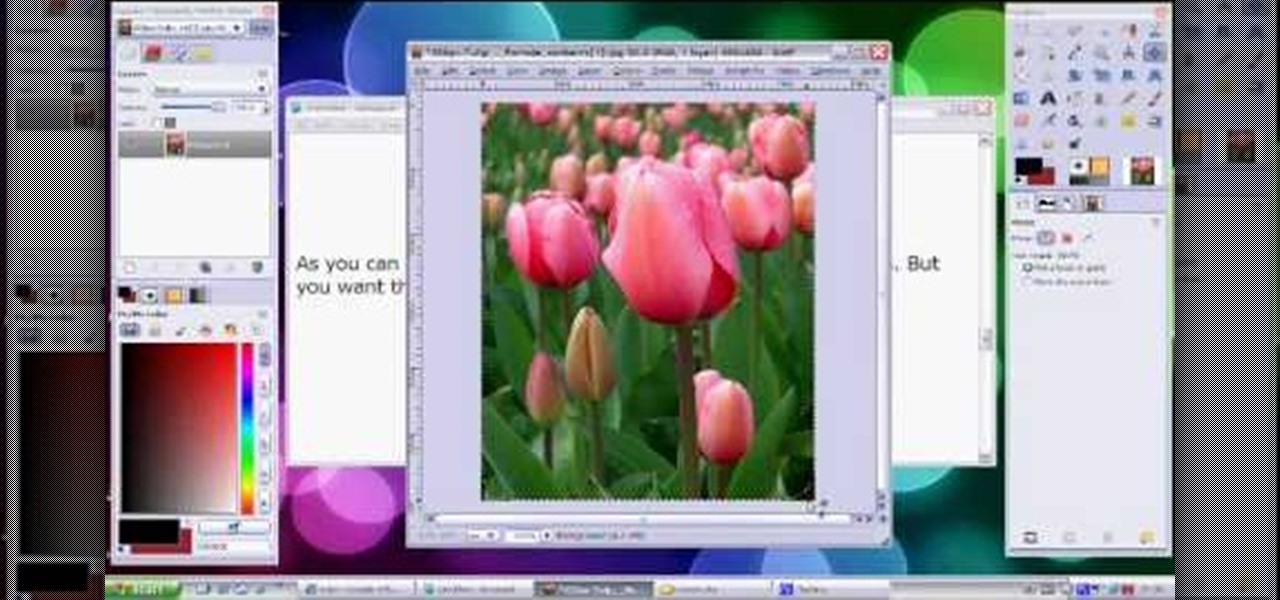
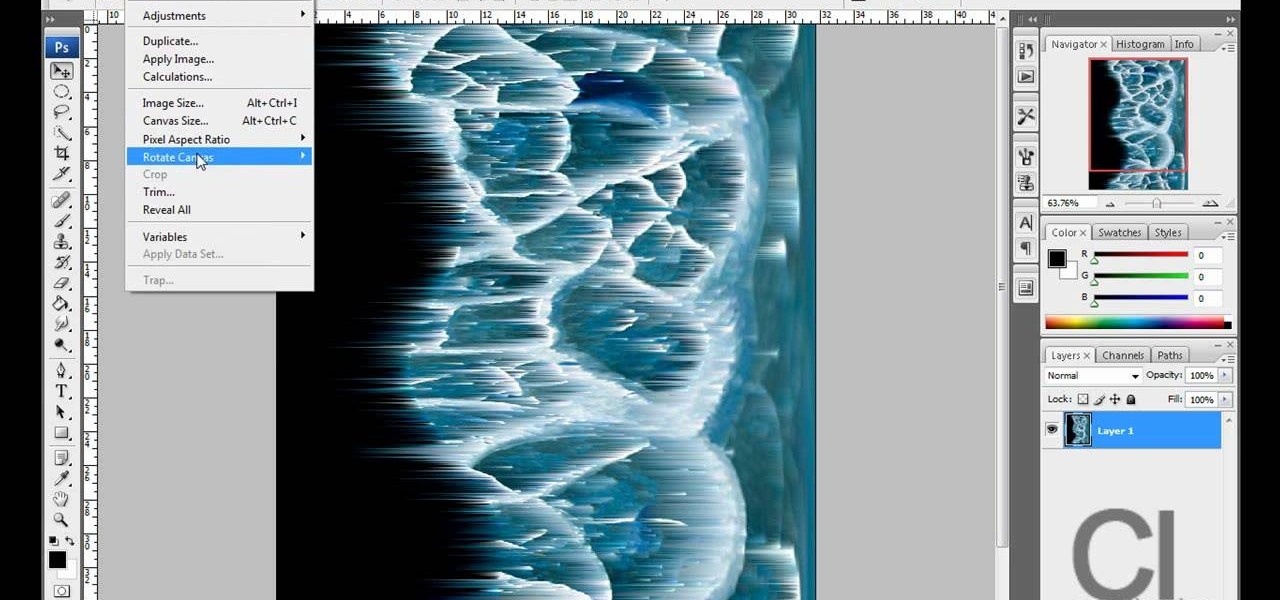
In this Software video tutorial you will learn how to resize a custom image using Adobe Photoshop CS4. Select your image. Click on ‘image’ tab and select ‘image size’ from the dropdown menu. In the ‘image size’ box you can change the height and width pixels. But, if you check the box ‘constrain proportions’, then when you change one pixel dimension, the other will automatically change. Similarly, for resizing drop shadows proportionately, check the ‘scale styles’ box. The ...
This video provides tips to make great photo slideshows. Many people have found photo slideshows are a great way of celebrating memorable occasions, commemorate milestones or reminisce. First, choose your photo images carefully. Filter out irrelevant or blurry photos. Try using a photo editing program to improve your photos. Next, choose a theme for your slideshow. Then select transitions, being cautious to limit your use of transitions. Consider your use of intervals in the slideshow. Also, ...
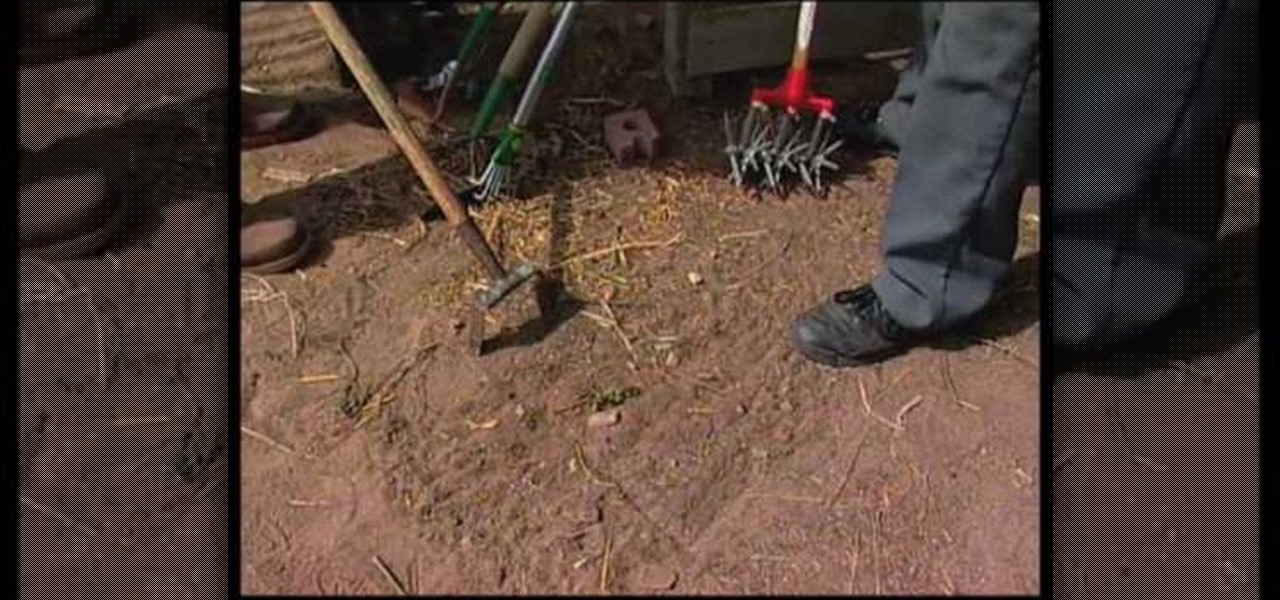
This is a "Southwest Yard and Garden" episode that details the proper selection of gardening tools for fighting seasonal weeds. Horticulturist and host Curtis Smith takes us to meet with Ron Jobe, an Albuquerque Master Gardener, to discuss the options available for such a task. Ron covers the various conditions a gardener is faced with, including the soil and the weeds themselves. Some suggested tools are: the Wing Hoe, Skimming Hoe, Raker, Pointed Hoe, and Stirrup Hoe. The use of each is off...
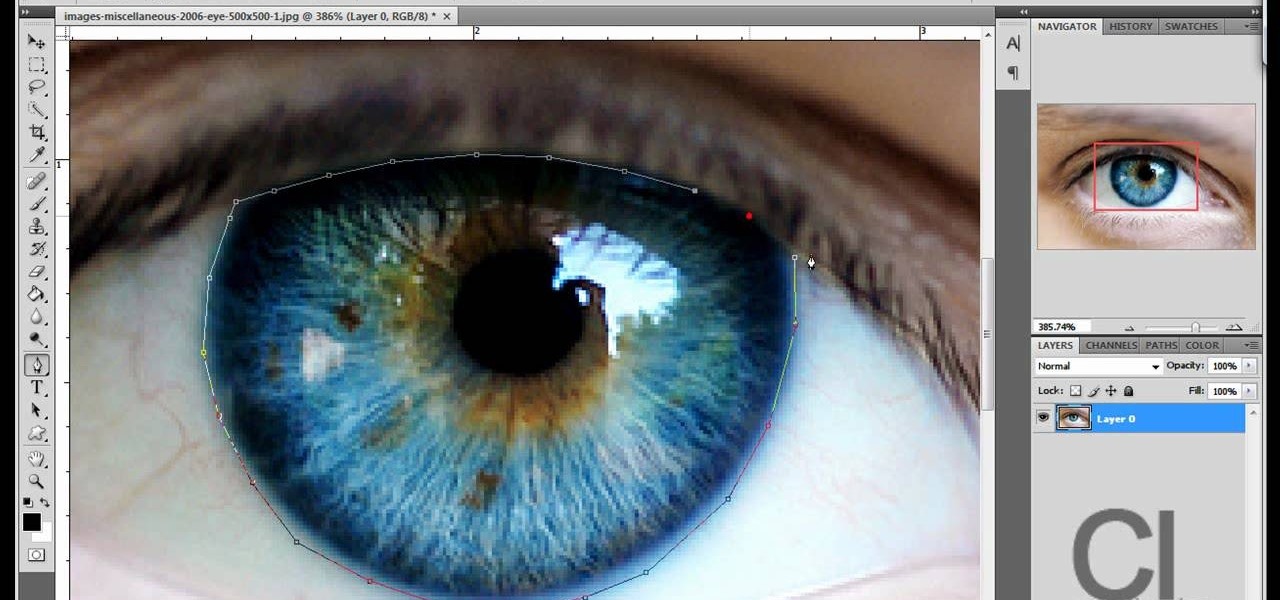
Changing the color of your eyes is very quick using Photoshop and this handy video. After using the selection tool of your choice to outline the eye (this video uses the pen tool) with a little bit of feathering, just change the hue of the eye. The video shows how to do this by pressing control + h, however it can also be selected by choosing the image menu, then adjustments, then hue/saturation. This great effect can be used as shown on close up eyes or on smaller eyes further away. Both way...
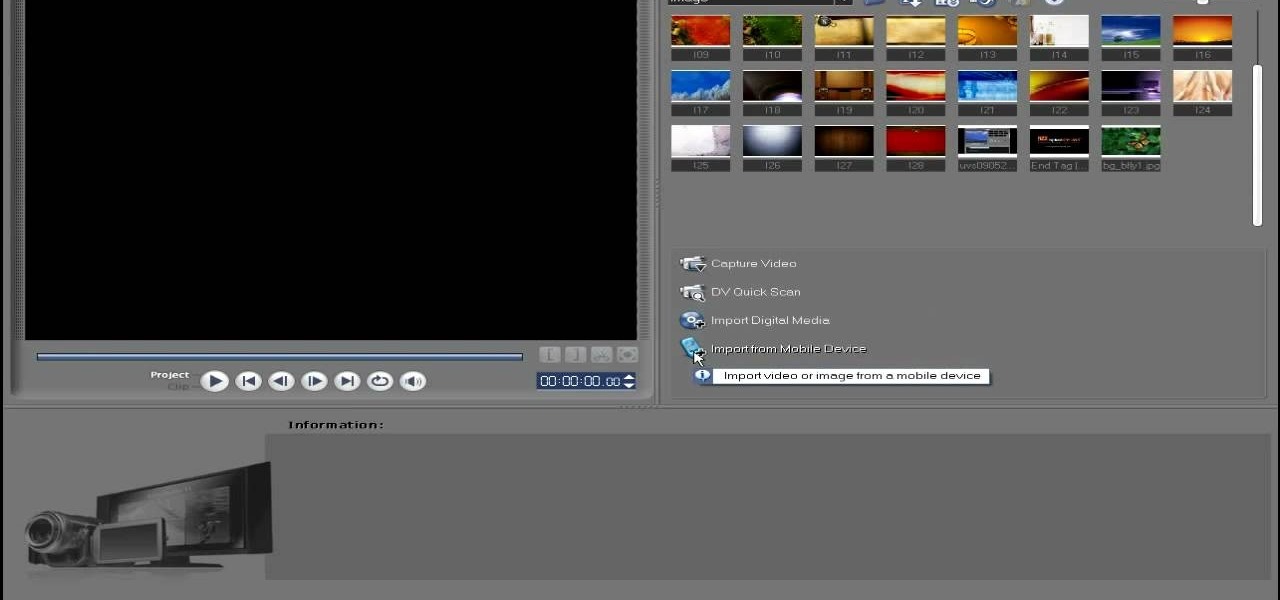
In this video tutorial, viewers learn how to import media from devices in Corel Video Studio. Begin by connecting your mobile device to the computer. It can be any device with a memory card or hard drive. Open the program and click on the Capture tab. Click on the option, Import from Mobile Device and select the device that you want. Select the file(s) that you wish to import and click OK. The program will then import the media to your selection window. This video will benefit those viewers w...
In this video tutorial, viewers learn how to use the vanishing point filter in Adobe Photoshop. Begin by selecting the image you want with rectangular marking tool. Then hold Control and C to copy it. Now go to your 3D shape. Press on Filter and select Vanishing Point. Click on one of the corners and drag to each corner. Hold Control and drag it down to create another selection. Now paste the photo by hold Control and V. Then drag the photo to the selected shape area. This video will benefit ...
This video is from HelpVids and describes how to change the axis titles on charts in Microsoft Word 2007. To access the chart tools, select the chart and the tools will appear above the ribbon. There are many different design options that you can preview on the screen to make your final selection. To change the chart title, click on the Chart Title button which is located on the Layout ribbon. You can then select where you would like the title to appear. Once you select the location you can t...
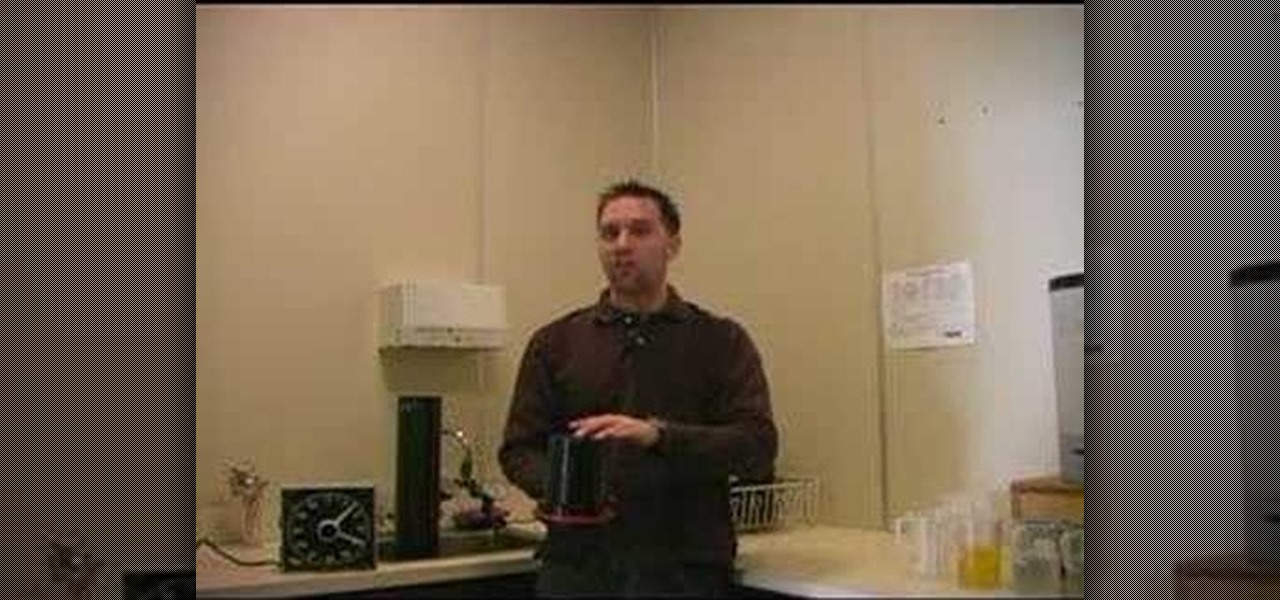
The video is about the process required to remove vinyl record noise. You should have audacity programmed software installed in your computer. First clean the records as best as possible. The noise between the songs are first visualized, then go to the selection tool and press noise removal. The portion depicting the noise is enlarged to view clearly their removal. The portion between the songs is chosen and noise removal is selected and pressed. You can put in your pre-recorded songs in this...
This video tutorial by VvCompHelpvV gives you two methods to achieve the Sin City effect in your photos using Photoshop. The Sin City effect is making the main subject of the photo appear colored while the rest of the photo looks black and white. In the first method the subject should be selected using a pen-tool using the settings mentioned. After that right click on the selected areas and make the feather radius 3, inverse the selection and go to image > adjustments and de-saturate and your...
Go beyond the traditional 3D workflow to an immersive creative experience with the software Modo, created by Luxology. Modo is the next evolution of 3D modeling, painting and rendering for Mac and PC. Modo includes 3D sculpting tools, animation and network rendering, and advanced features such as n-gons and edge weighting.
Check out this instructional tennis video that demonstrates a few tips on how to play on a clay court. If you're on a clay court, it's a very forgiving surface, so if you have a problem in your knee or hip, this is the surface for you--less wear and tear on your body. The game of tennis is played on many surfaces from concrete to clay to grass. Learn tips for playing on clay courts in this video tennis lesson.
This video is a tutorial on creating an Icon Logo in Photoshop Cs4. Go to File and open a new document. In the Layer option, set up a new layer and give it a name. Using the pen tool, create a shape for your logo, it can be anything you like. When you have the shape you want, right click and select Make Selection. Now you can fill the shape with a color. Press ctrl+U for the Hue/Saturation option to get the exact color that you want.
Video demonstrates how to make rounded corners in GIMP. First step is to open an image. The image needs to have transparency for this to work. An alpha channel is to be added to the image. This can be done by going to the layer option in that select transparency and add alpha channel. By doing this if the picture grays out it means the image already has transparency and there is no need to add an alpha channel. Now Select option is selected and in that rounded rectangle is selected. The radiu...
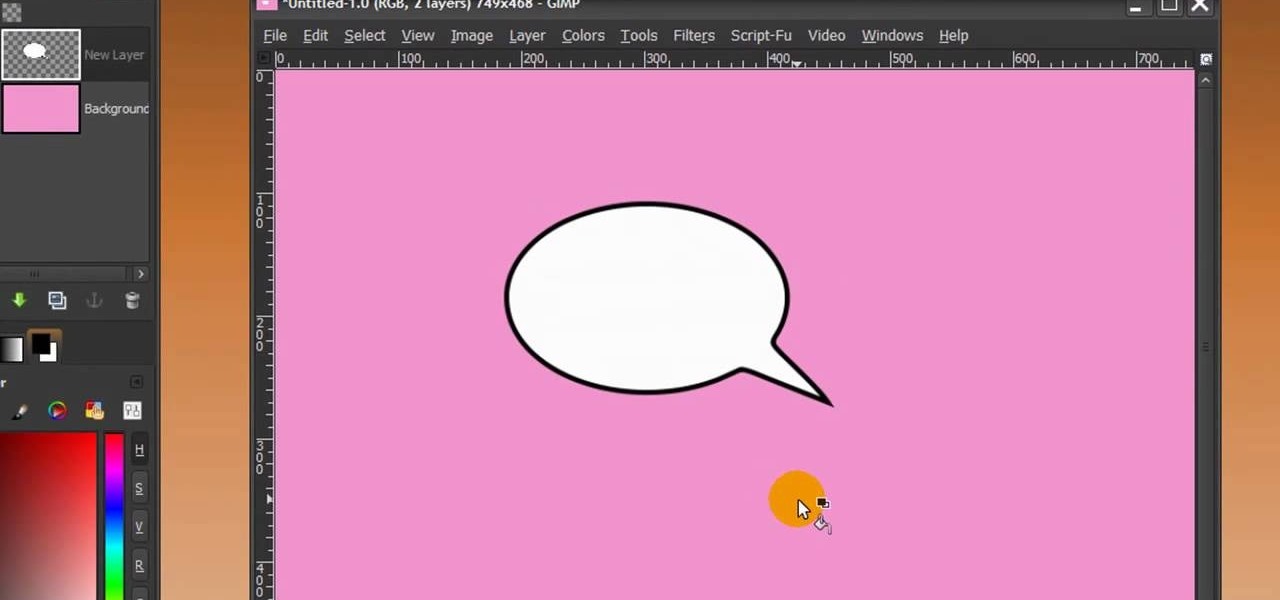
First of all open any image and create a new ‘layer’ and add it to your image. Click on the transparency and then click ‘ok’. Now from the right menu bar choose the ‘elliptical’ icon to make a round balloon. Now select the 'free select tool' and select ‘mode’ to 'add to current selection' and then draw a triangle with the base inside the previous balloon and the pointed end outside the balloon. Now select the 'bucket fill' tool and make sure your ‘background’ color is selected as white and th...
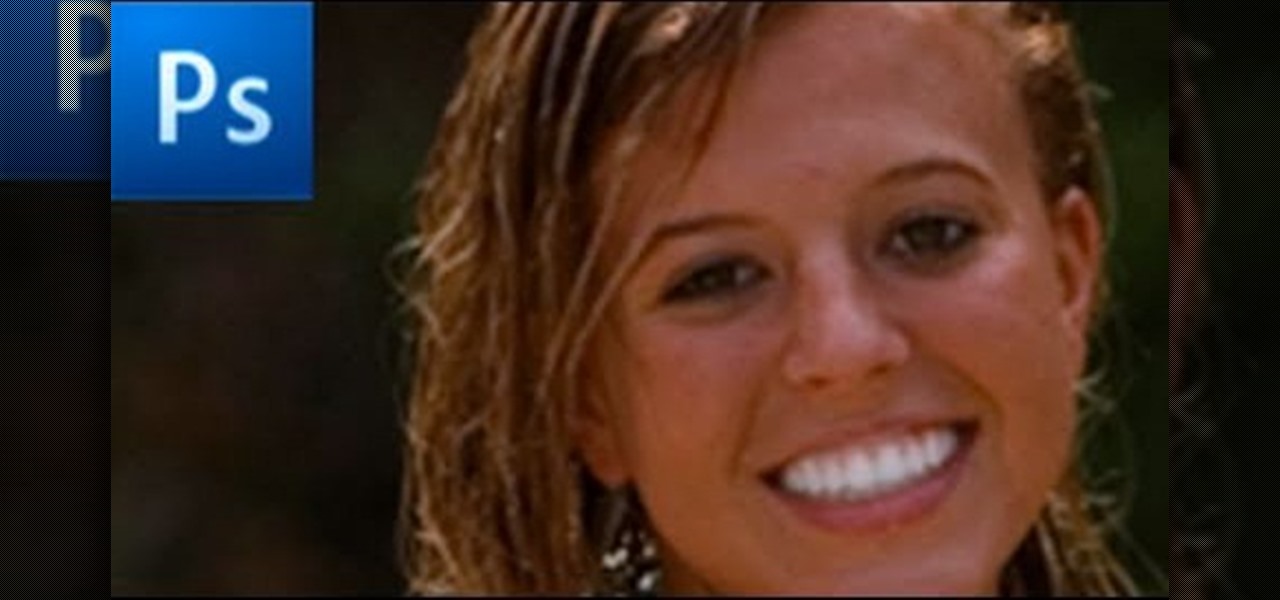
In this how to video, you will learn how to whiten teeth in Photoshop. First, open an image that you want to edit in Photoshop. Zoom in to the teeth as much as you can. Next, go to the brush tool and set the diameter to 21. Hold shift and q to put you into quick mask mode. Now paint over the teeth with your brush. Whatever is red will be your selection. Once you are done painting the teeth, select press shift and q again. Go to select and choose inverse. Next, go to image and adjustments and ...
This video is a tutorial on how to remove scroll bars, sheet tabs and objects in Excel. To remove scroll bars and sheet tabs, go to the Office button, then Excel Options. On the screen that comes up go to the Advanced tab and scroll down to “Display options for this workbook”, where you will see some check boxes. Uncheck the boxes for horizontal scroll bar, vertical scroll bar and sheet tabs. This will remove them from the current workbook. This feature only works with the current workbook.
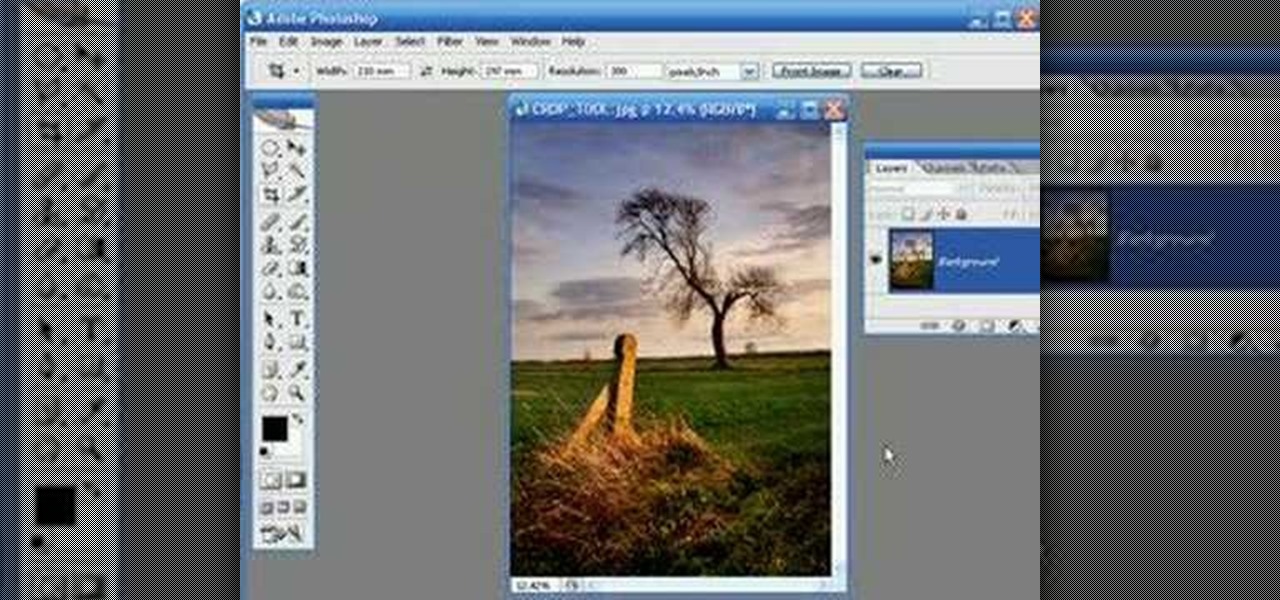
Kingsley Singleton teaches us about cropping images in Adobe Photoshop. He discusses the importance of properly cropping pictures, and the basic ways to do so. He first shows us how to properly crop images to ensure that printed pictures are the proper size for the paper. Clicking on the image and then dragging the marquis over the picture will select the area of the picture that you would like to use. Moving the corner arrows will adjust the size of the area selected. Then, to properly size ...
The video demonstrates how to add animated images and video content to your Microsoft PowerPoint presentation.