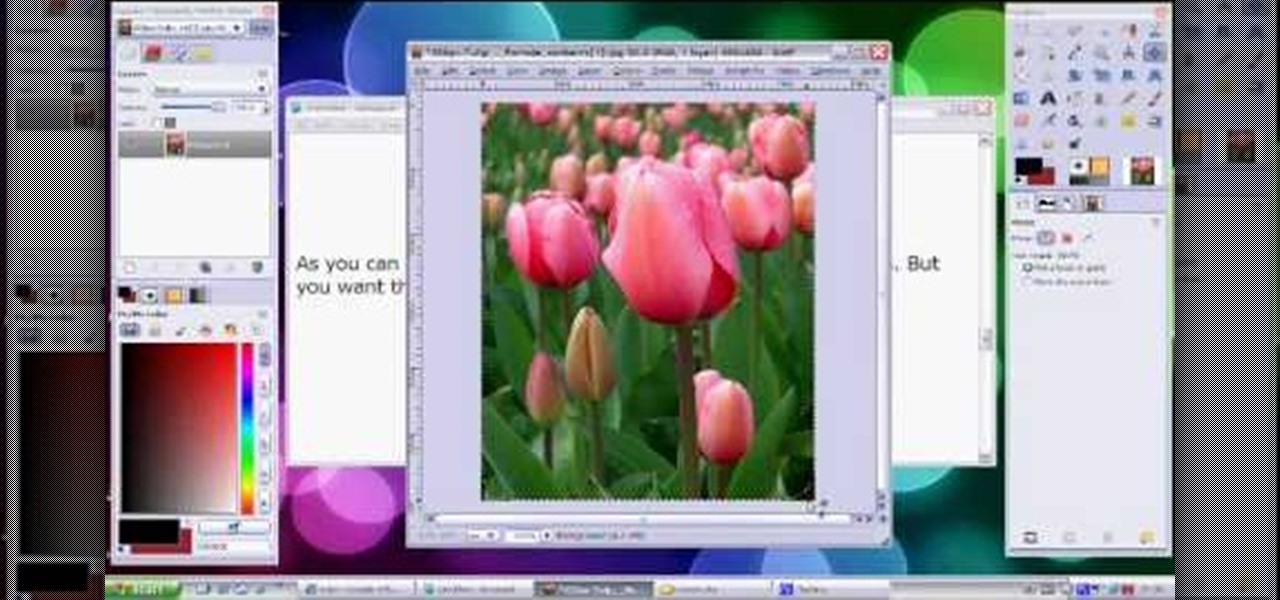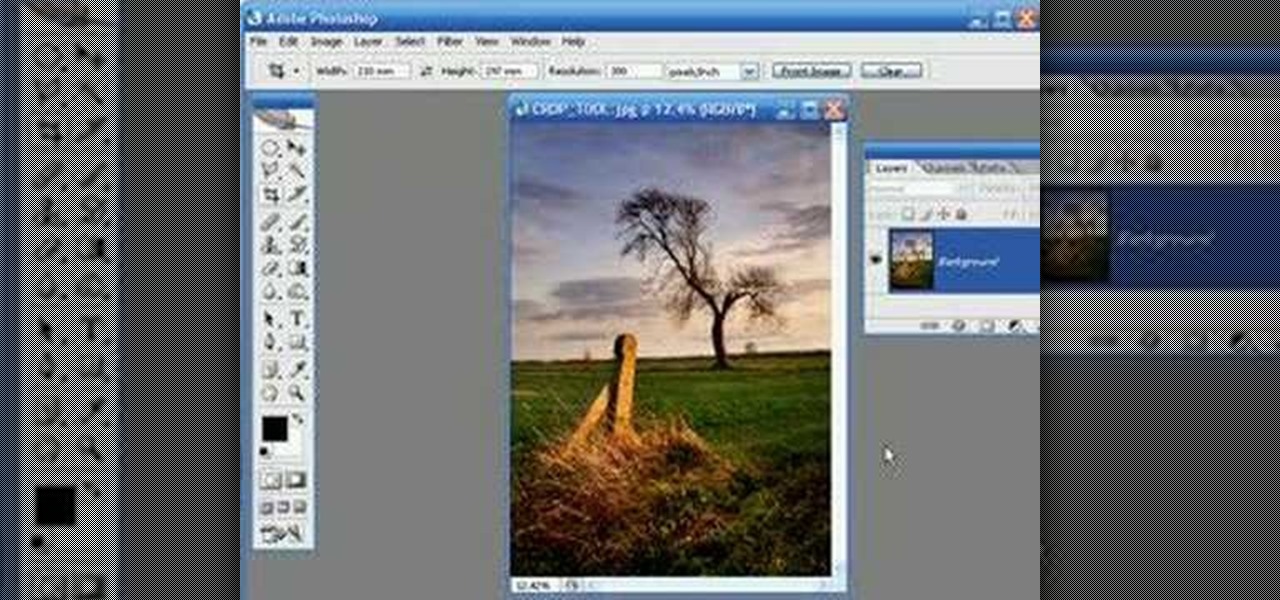
The video is basically about how to modify the focal point of the image. When the image has some stuff on the background and when you want the viewers to focus more on one particular area and making the rest of the image darker, you need to modify the light values of the image, which will be taught in this video. This can be done by just selecting the area, which you need to highlight on the image by giving some border and then add curves. In the curves the area is made darker than the rest b...
If you work with MobileMe Calendar, you can create individual calendars to help you keep track of what's going on in your life. Let's say you've just started a new book club and you want to create a new calendar for it: just click on the plus sign in the lower-left corner, then click "New Calendar"; next, give it a new title such as "Book Club." Now, with your new calendar selected, when you enter the kickoff meeting for Sunday afternoon, that event will be added to the book club calendar. To...
Here you are, onto the final mission, The Pillar of Autumn in Halo: Reach. You've got the package, Cortana (foreshadowing for the first Halo for those of you who played the first.) and she's selected you to take her and deliver her to the Pillar of Autumn! If you're having trouble making it through this mission or are looking for a different strategy for finishing the mission, check out this video. You will get a full walkthrough of the last mission, The Pillar of Autumn in Halo: Reach for th...
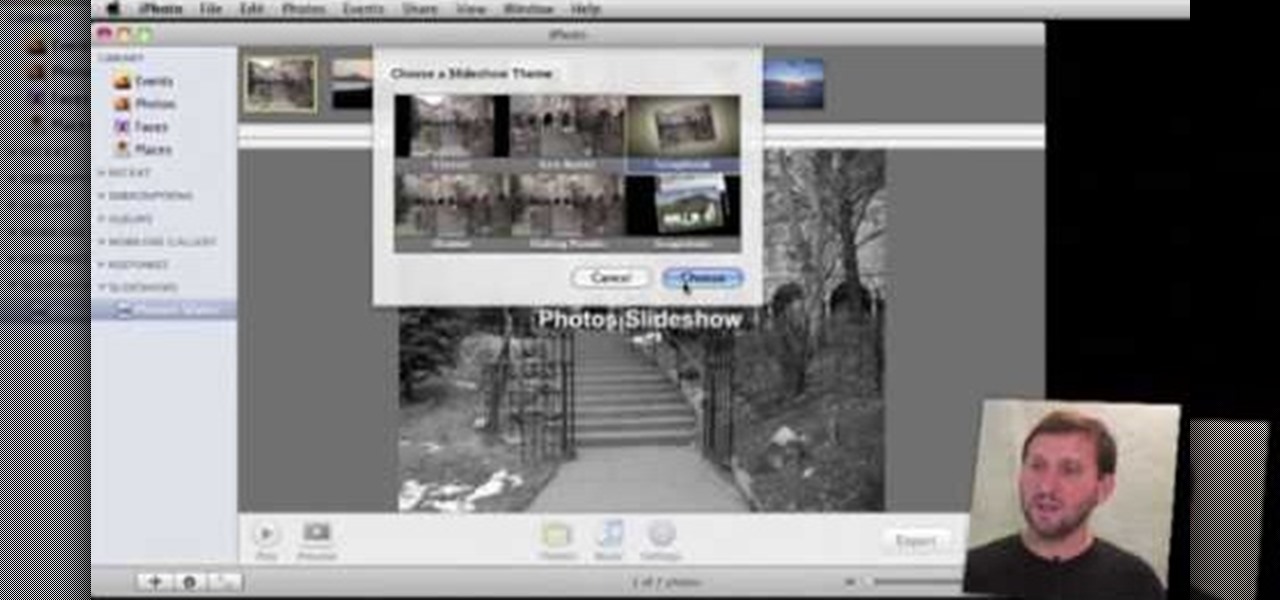
You can export your iPhoto slideshow as a video. First select photos, you want to use in the slideshow. Now you need to click on + button in iPhoto which is located at the bottom of the iPhoto. Then click slideshow and make sure "Use selected items...." box is checked and then click create. It will create the slideshow on the left. You can change the settings of your slideshow by clicking the setting icon, located at the bottom. There you can change the settings of your slideshow like link th...
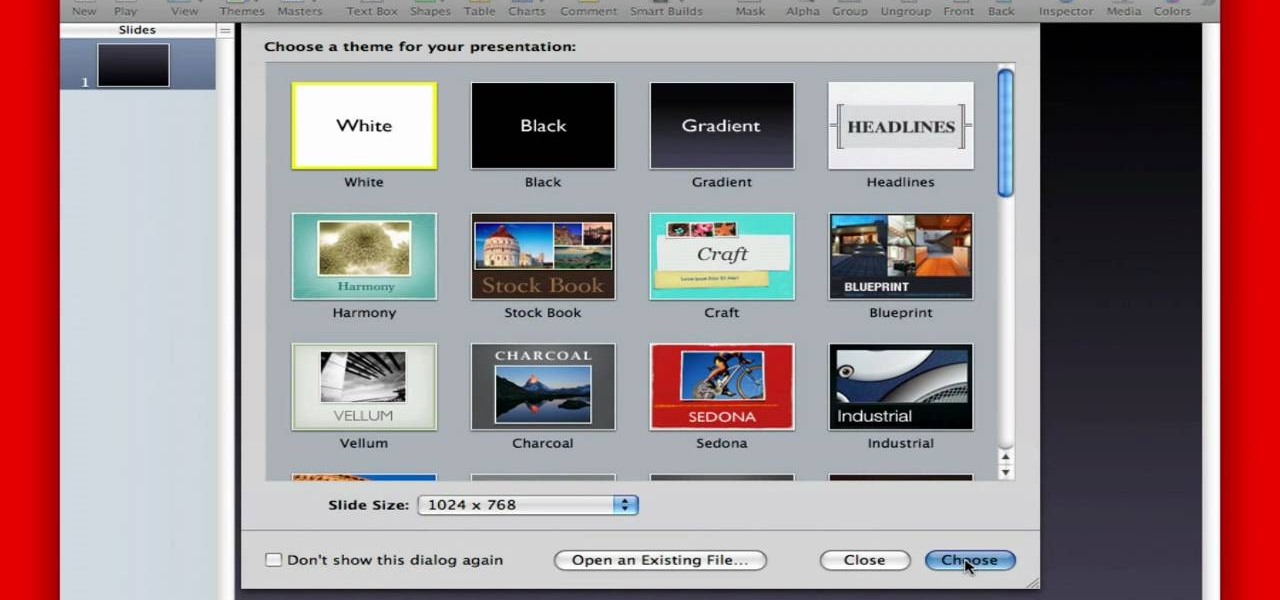
In this tutorial, we learn how to create flashcards with Keynote to use on an iPod touch. First, go into Keynote and choose the flashcard with the plain white background. To format this, click 'masters' on the toolbar. Now, choose "title-center" and make the first slide the question slide and the second slide the answer slide. Double click the text box to insert text into each different card. Next, to add a picture, click 'photos' and insert a picture you already had loaded on your computer. ...
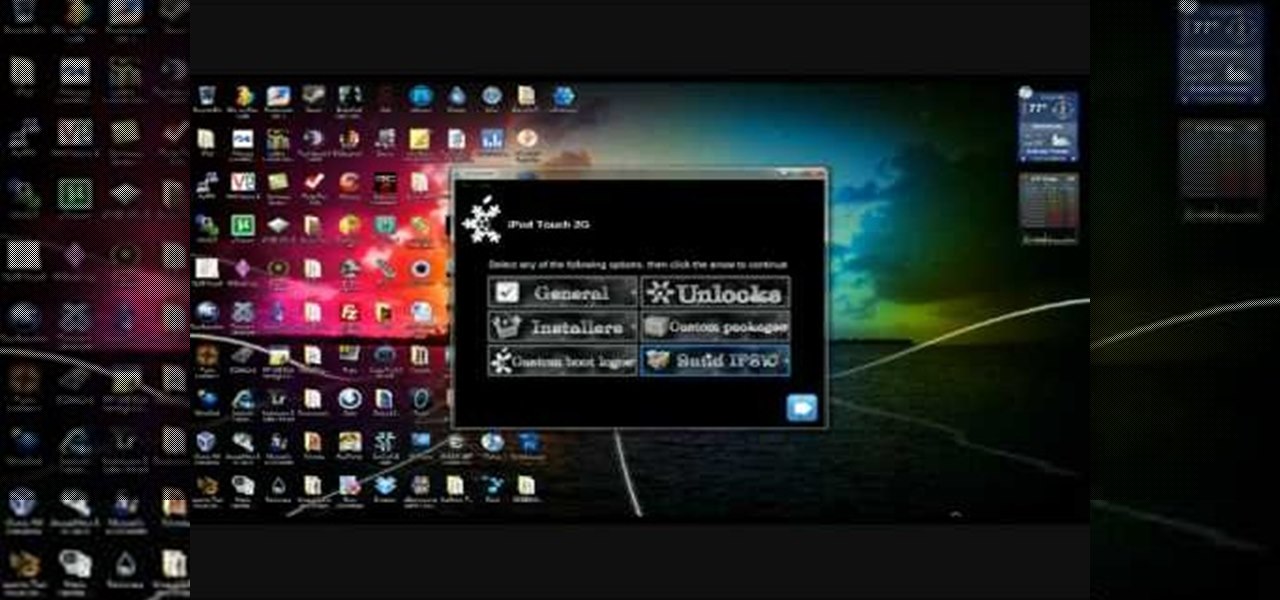
In this tutorial, learn how to jailbreak your new iOS 4 on your iPhone or iPod. This jailbreak will let you take advantage of cool new features including the huge app superstore: Cydia. Enjoy!

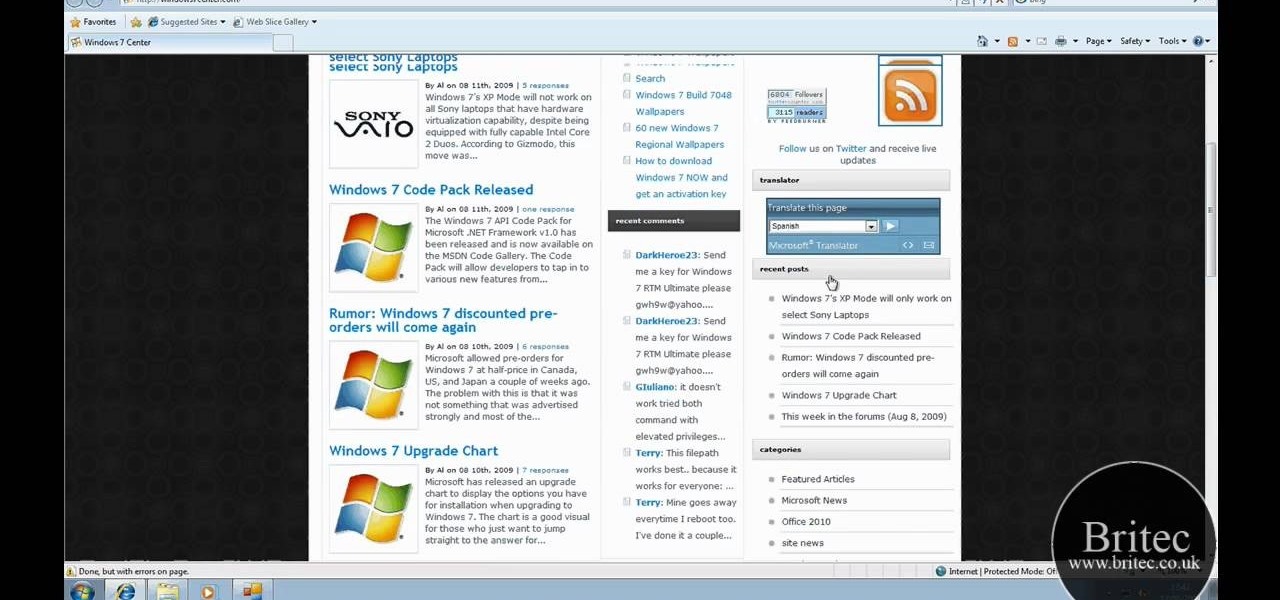
Patrick Norton and Veronica Belmont from Tekzilla will show you how to dual boot Windows 7 and download videos from YouTube. The hosts show viewers how to dual boot Windows XP Pro32 bit and Windows 7 RC 1 64 bit. In the first step as always you will want to back up your hard drive and at the very least they recommend to back up your most important files. In the case that something goes terribly wrong you can use a free program called EASEUS to make a complete image of your whole drive, this a...
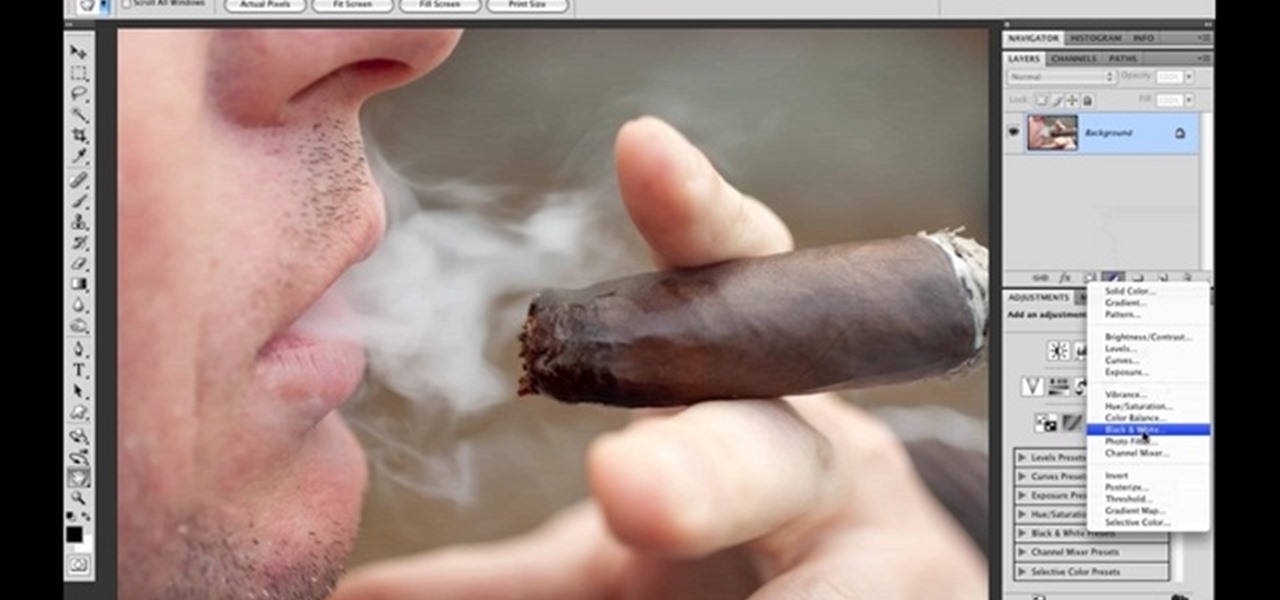
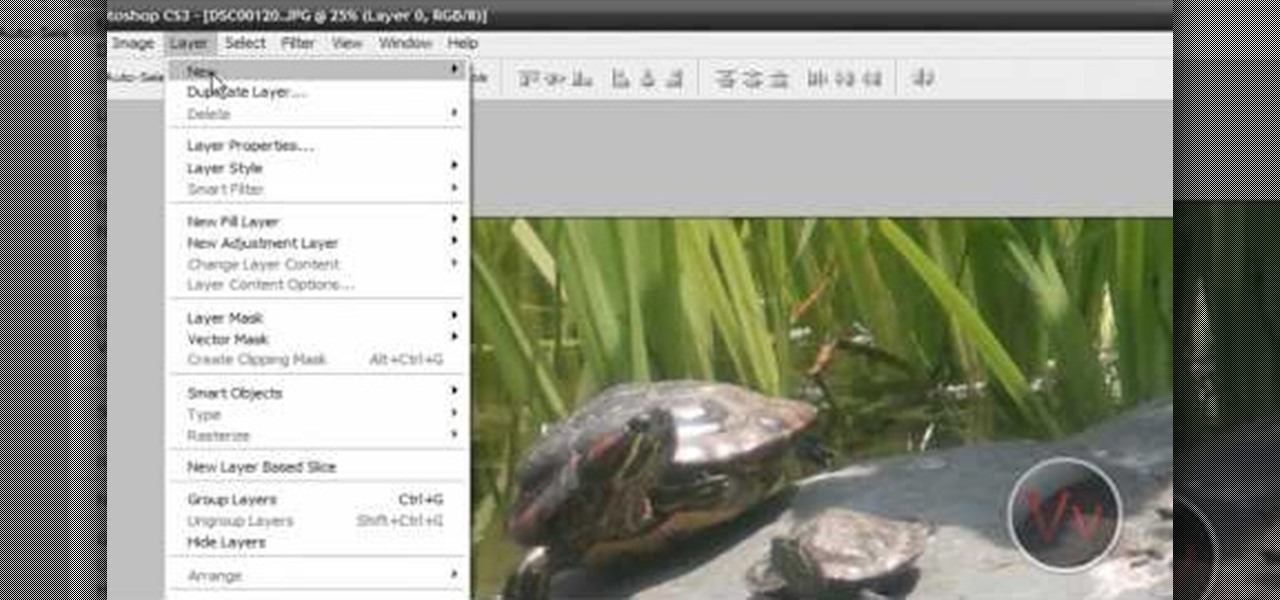
Photo Focus] contributor Nicole Young shows how to use Photoshop to introduce drama in our pictures. It requires only a few simple steps. First thing done was to add a black and white layer adjustment. This can be done in two ways. First by going down to layers panel and select black and white or if we have Photoshop cs4, we can go down to adjustment panel and click on the black and white option. This adjustment can also be done by clicking auto mode. Now the next thing...
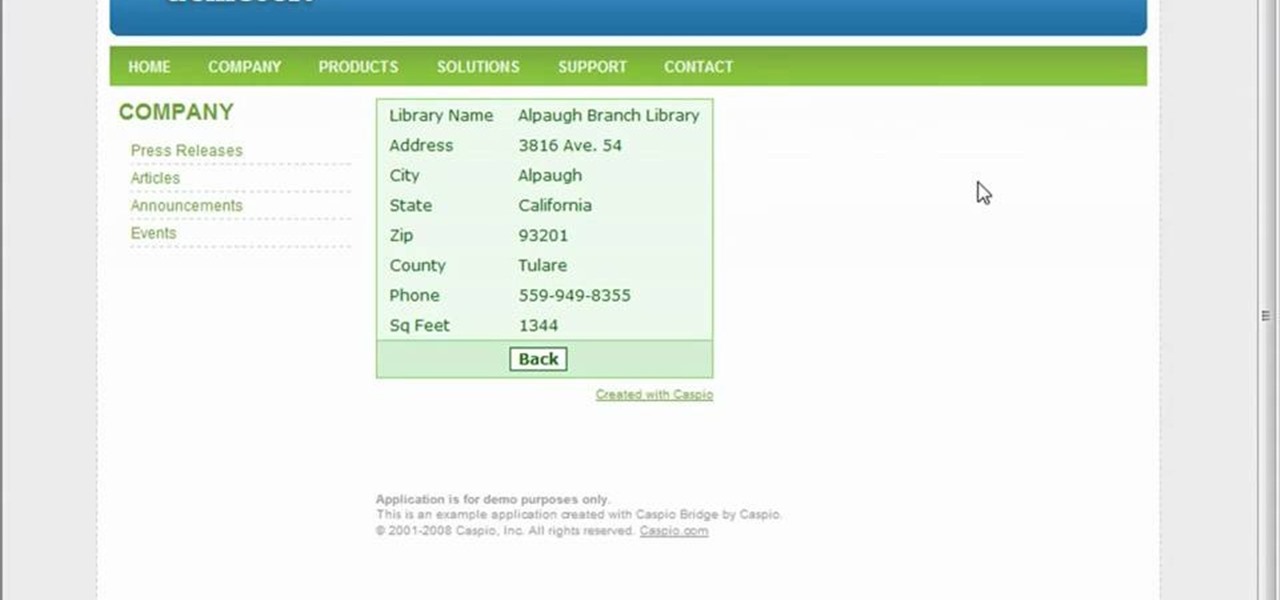
To start off the process of publishing your access database online we first look at a sample MS ACCESS database with typical formats and a online searchable application where users can search by library name or city and get details of the library. There are 3 steps to publish the database. The first step is importing data which can be done through clicking on the file menu and then click on import data through a Microsoft Access Database. Now select the file you want to import through the bro...
Ash Davies believes that it is important to understand how to properly use Photoshop, especially with the Obama "Hope" posters that have become increasingly popular. The first step is to cut out the image that you want to use for the poster. To do this, you have to use the polygon tool and trace around the object you wish. After done, select Layer via cut to separate. Creating a new layer and choose color fde5a9 for the background layer. After this, you can create the different blue and red l...
Learn how to create glowing text in Photoshop with this awesome video! 1. Write any text using text button T on the selected image as a background. Write a suitable text and place it somewhere. 2.Select the text and make it Bold. 3. right click and set Opacity and Fill options. Opacity changes the color of the text as well as its effect. Whereas Fill changes the color only . If you have set it to 0% then you can't see the text if its exist also. Set Opacity to 100%. 4. For glowing text select...
Pixel Perfect is the "perfect" show to help you with your Photoshop skills. Be amazed and learn as master digital artist Bert Monroy takes a stylus and a digital pad and treats it as Monet and Picasso do with oil and canvas. Learn the tips and tricks you need to whip those digital pictures into shape with Adobe Photoshop and Illustrator. In this episode, Ben shows you how to animate a 3D plane in Photoshop.
Second Class Boy Scouts work on building their outdoor survival and camping skills. Compass work, nature observation, camp tools, and swimming are areas where new skills are mastered and demonstrated. A second class scout, having completed all the requirements, should be able to lead a hike, care for his own equipment, set up a campsite, and perform basic first aid.
As a Boy Scout, when the First Class rank is attained, a scout has learned all the basic camping and outdoors skills of a scout. He can fend for himself in the wild, lead others on a hike or campout, set up a camp site, plan and properly prepare meals, and provide first aid for most situations he may encounter. A First Class scout is prepared.
Tool is selected, followed by email accounts and a selection is made at the "add new email account" option , the "next" button is clicked. Pop3 is selected and the next button. The required information is filled in such as name, amail address, incoming and outgoing mail server, username; which is the same as the email address and the password is entered. The "remember password" option is selected, along with the "more settings" button. Within the more settings window, the company name and a r...
Video is demonstrating a tutorial on how to tweak the settings in CamStudio. After downloading CamStudio there are a few things to be done. First Region option in the menu selected and in that full screen is selected. Then in the Options, Video Options is selected. In that both the frame rates are auto adjusted exactly to 30 frames per second. Now from the Options menu, Record audio from the microphone is selected. Now go to the Program Options, in that select minimize program on start record...
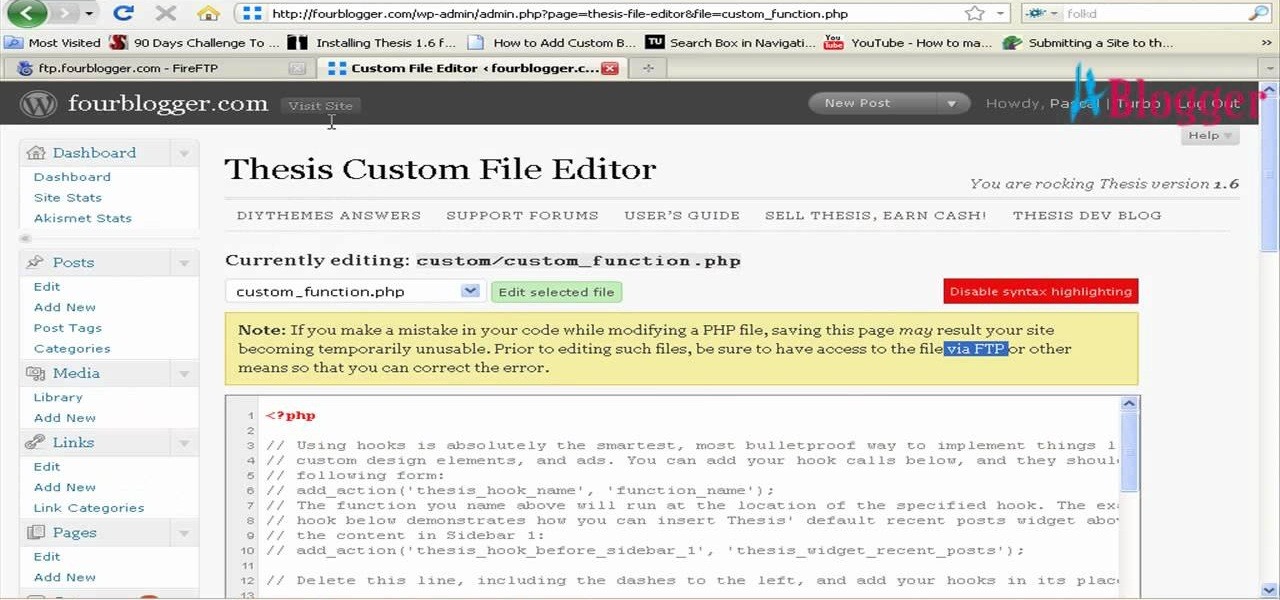
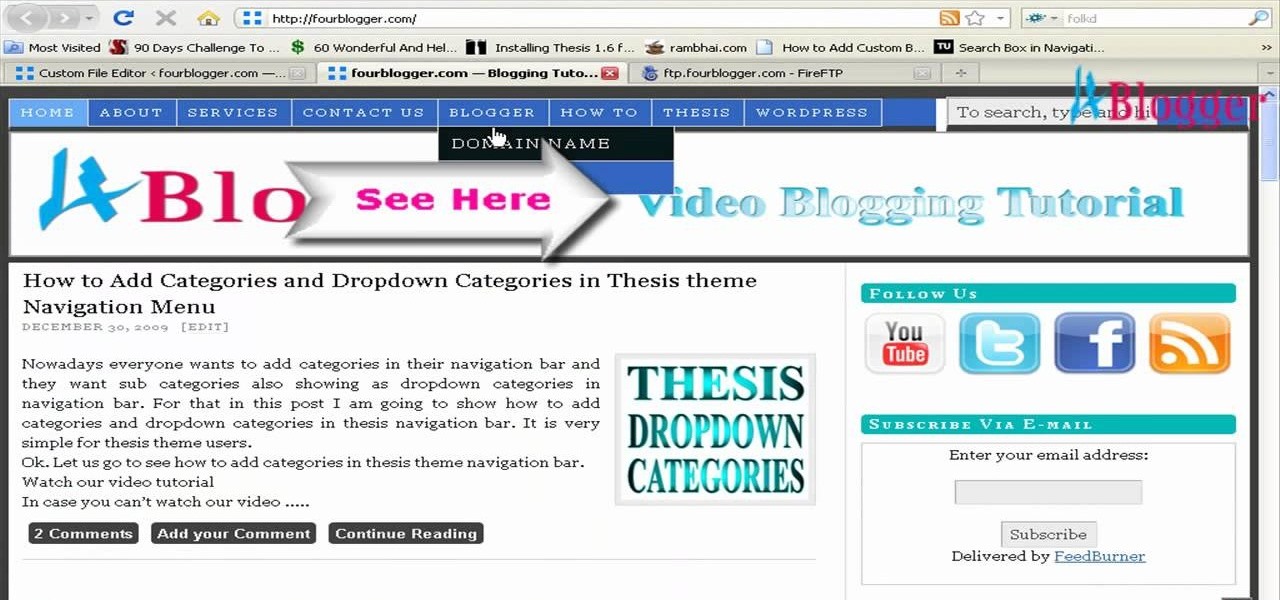
First go to your word press admin and click on "custom file editor" in thesis options. Select custom_function.php in file selected menu and click on "edit selected file". Because of warning, we need to do it via ftp. So go to that ftp path which is showing in the video and open up the launch.php. Now copy that code which is showing in the video and past it in there, close and save the file. Now to change the style of your search box, go to your custom file editor, select the custom.css and cl...
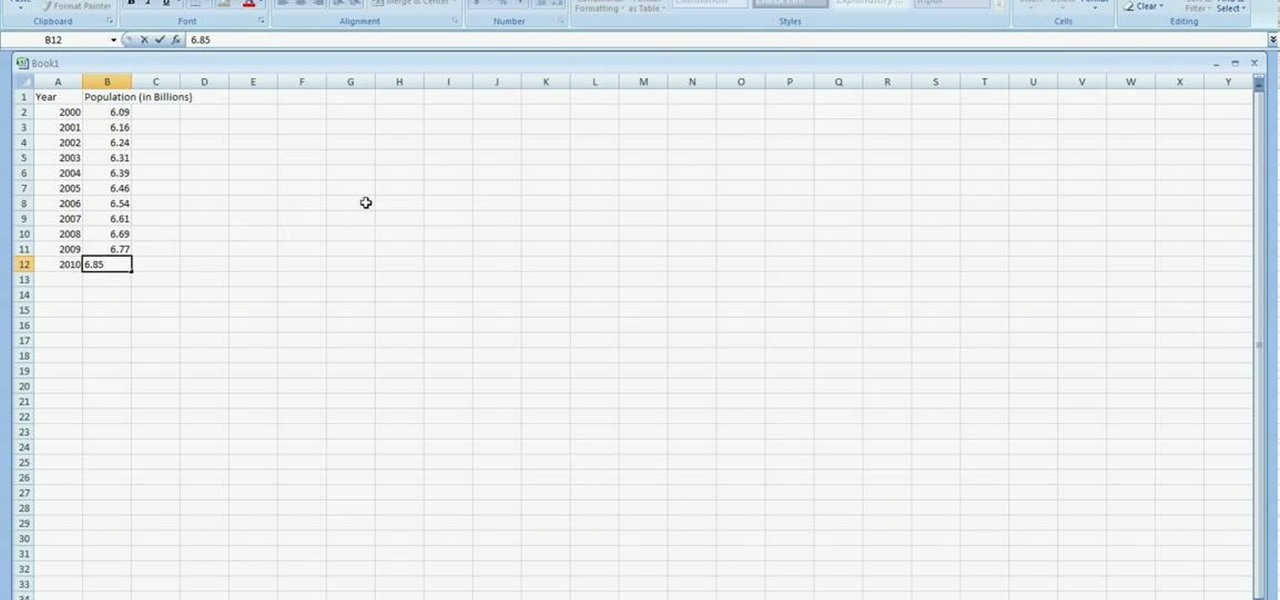
In excel a left click is made on box A1 and the X title is typed in as year. In A2 the year 2001 is typed and in A3 the year 2002. Both A2 and 3 boxes are highlighted and the bottom right hand corner is used to drag the work into a copied sequence down to A12. In B1 "population in billions" is typed. From the web site the data is copied and typed in as it appeared and the numbers are rounded off. A click is made on the "insert" tab and line is selected from the menu which appears. The upper l...
Video demonstrates how to make rounded corners in GIMP. First step is to open an image. The image needs to have transparency for this to work. An alpha channel is to be added to the image. This can be done by going to the layer option in that select transparency and add alpha channel. By doing this if the picture grays out it means the image already has transparency and there is no need to add an alpha channel. Now Select option is selected and in that rounded rectangle is selected. The radiu...
In this video, viewers observe the auto reversal magic trick. The magician begins by telling the spectator to select the card. Once selected, the magician places the card back into the middle of the deck. The magician then reveals that he/she has no card markings. Now the magician tells the spectator that he will find the card behind his own back. The magician starts shuffling the cards behind his back. The first card that shows up is not the selected card, so the magician goes through the de...
This video tutorial by VvCompHelpvV gives you two methods to achieve the Sin City effect in your photos using Photoshop. The Sin City effect is making the main subject of the photo appear colored while the rest of the photo looks black and white. In the first method the subject should be selected using a pen-tool using the settings mentioned. After that right click on the selected areas and make the feather radius 3, inverse the selection and go to image > adjustments and de-saturate and your...
This is a short clip examining the use of the Eraser tool for 2D and 3D painting in modo 201 and higher. The eraser tool will erase pixels from the currently selected texture map on a modo model according to the currently selected brush. Choose the size brush you need and simply paint across the surface you need to remove the texture from. Learn how powerful a painting tool the eraser tool is in this modo tutorial.
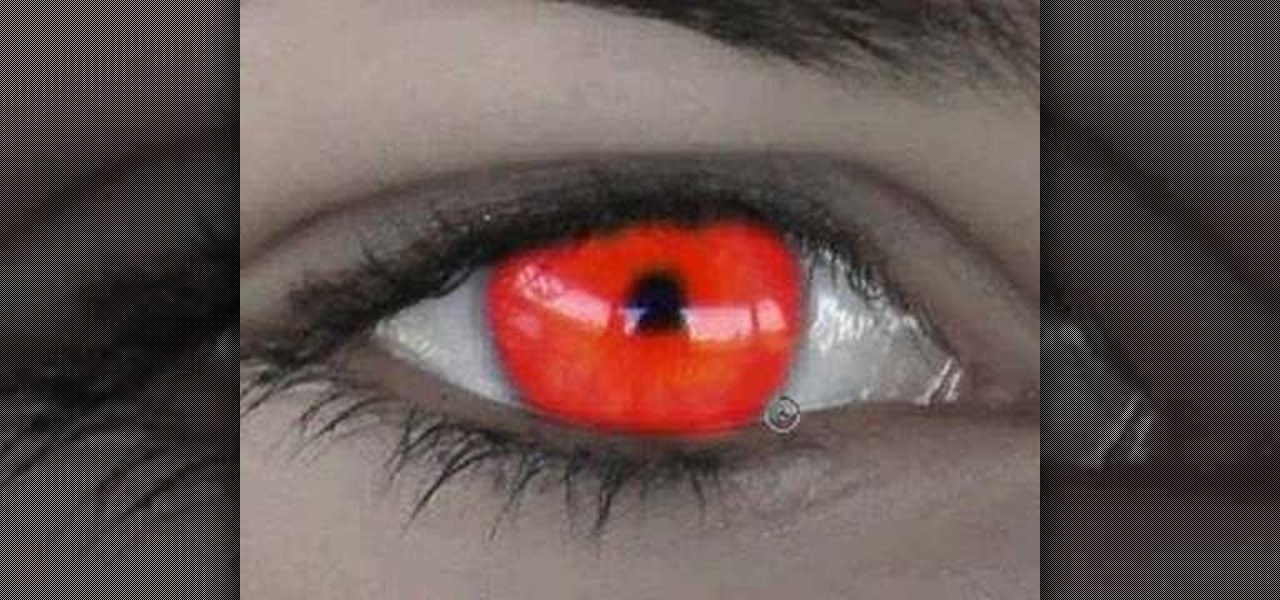
This video is about how you can change someone's eye color. The first thing to do is to load up a picture in which you want the eye color to change. The next step is to zoom in the eye that you're interested in working on. Just simply press "D" button on the keyboard and draw a rectangular shape on the eye. Now that you've zoomed in, make a selection of the iris, the part that we want to change the color on. The first thing is, you need to set up colors found on the lower left of the window. ...
Kingsley Singleton teaches us about cropping images in Adobe Photoshop. He discusses the importance of properly cropping pictures, and the basic ways to do so. He first shows us how to properly crop images to ensure that printed pictures are the proper size for the paper. Clicking on the image and then dragging the marquis over the picture will select the area of the picture that you would like to use. Moving the corner arrows will adjust the size of the area selected. Then, to properly size ...
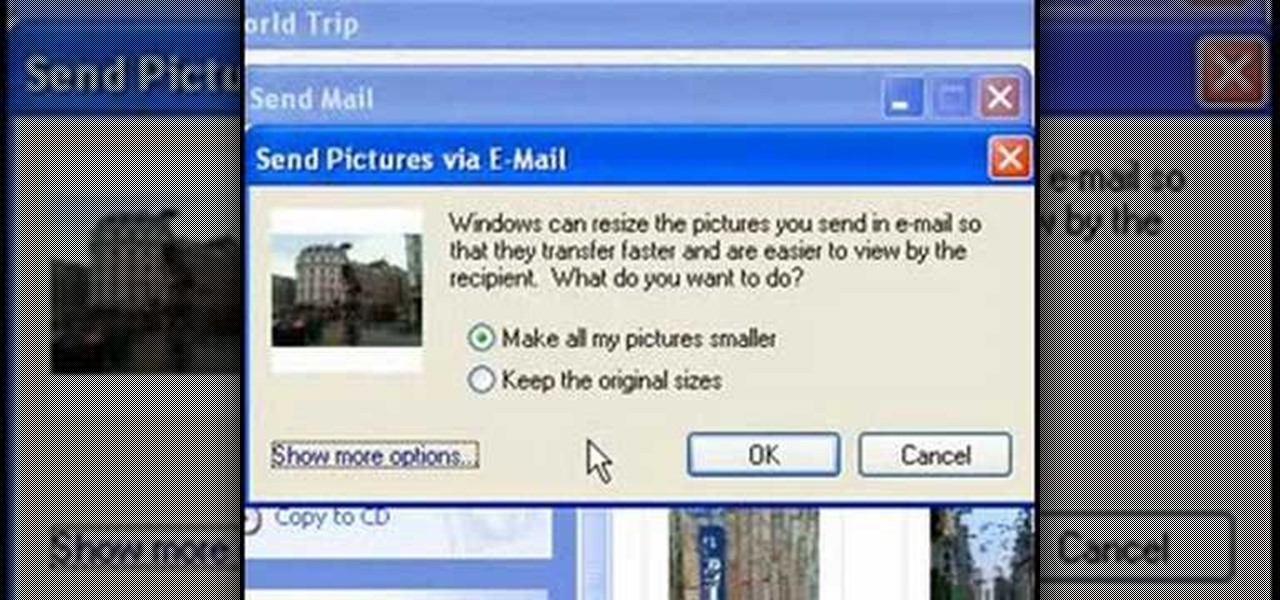
This video tutorial from easycomputercoach shows how to easily attach pictures to email addresses. In Windows XP you can send pictures resizing them in the process, in case you have large file sizes.
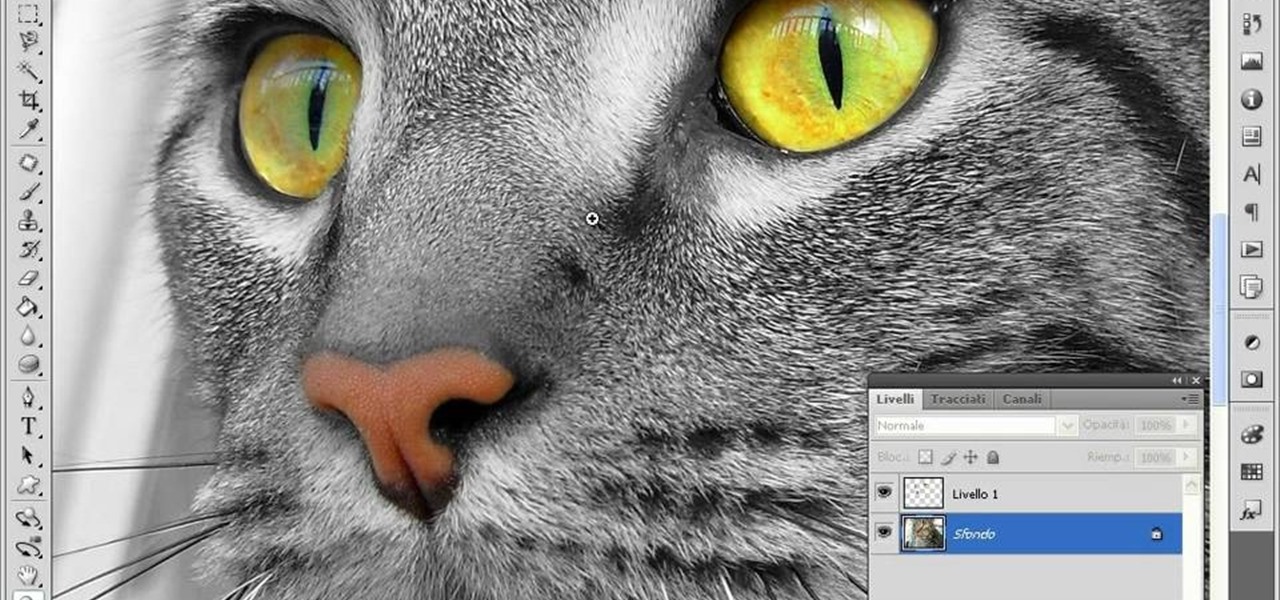
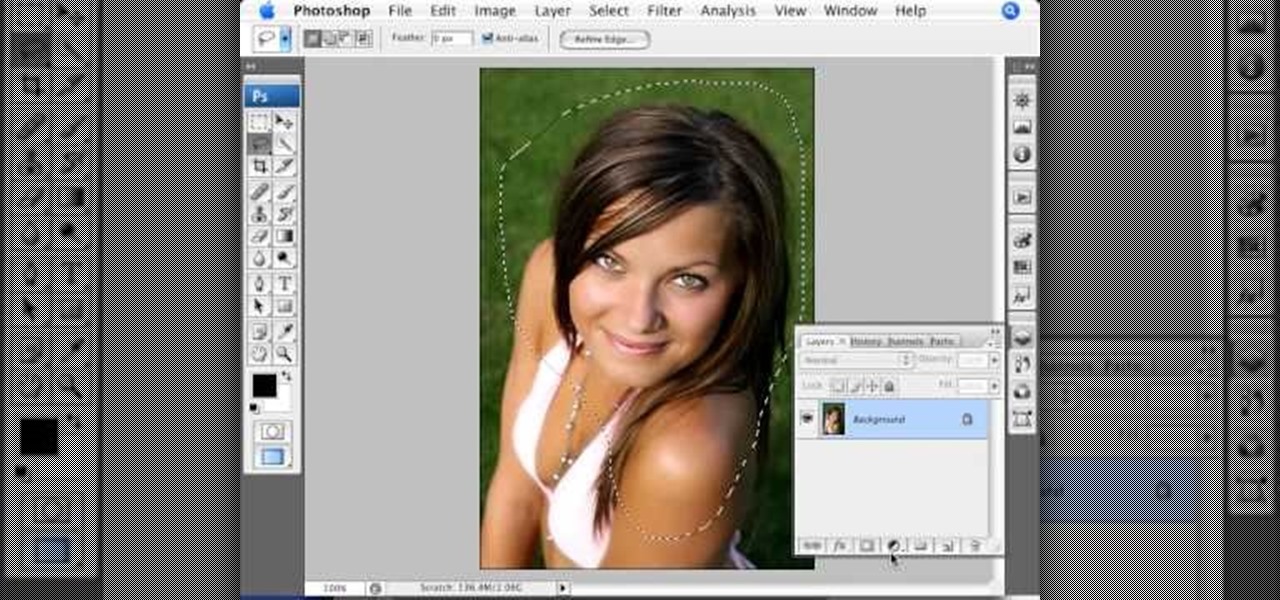
This video teaches us to make a photo black and white with coloured parts in Photoshop. This procedure consists of many steps. In the first step, we choose the magnetic lasso tool from the application. This is followed by the second step. In the second step, we draw the contours of the places we want to stay colored in the photo. Press the 'Shift' key to keep the contours selected while drawing contours across multiple places in the image. After drawing the contours, go to step three. Right c...
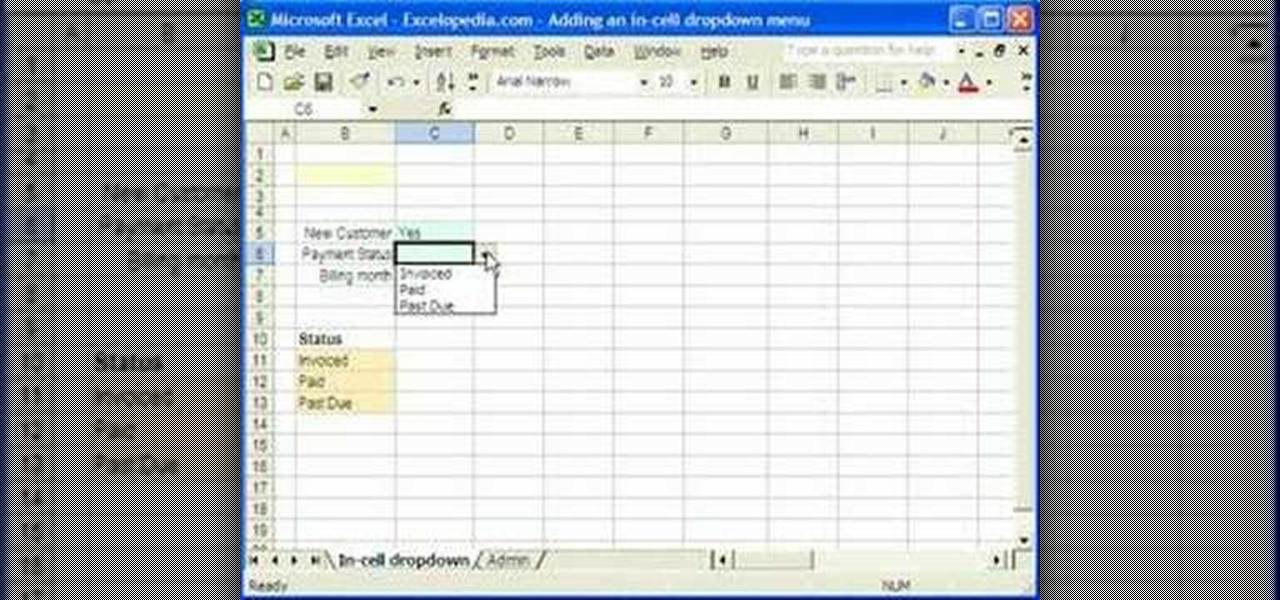
1. Select the cell for which the dropdown menu is to be applied. 2. once the cell is selected goto DATA menu select VALIDATION.Data validation dialog box will be displayed.
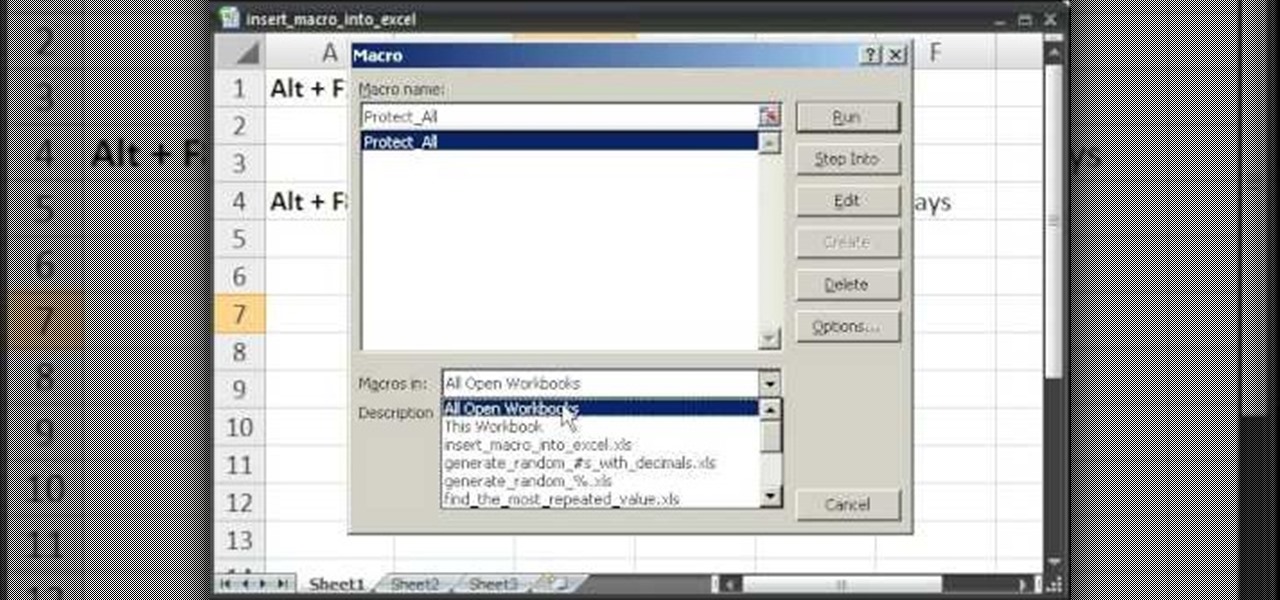
This video takes us through a process of inserting Macros from internet into a excel workbook. Two shortcuts Alt-F11 and Alt-F8 is used. Alt F-11 is used to open the visual basic window and Alt-F8 is used to open macro lists window that opens all macros. These shortcuts work in most versions of Excel.The steps followed:1. Go to internet explorer and the site selected is Teach Excel and in the home page you have to select free macros, you will come to page of macros.2. You can simply select th...
The World's Fair Knot was invented by Gary MArtin and was selected as the best knot out of 498 entries in the great knot search at the 1982 world fair. It is simple, quick to tie and can be used with most monofilament line diameters. Watch this video tutorial and learn how to tie a world's fair knot for fishing.
You can add banner ads in thesis header. To do this, first go to your word press admin and click on custom file editor in thesis option. Now select custom_function.php in edit selected file option and click edit selected file. You will get a warning so to do this you need to use FTP. Go to the path in FTP which is showing in the video and then click on Launch.php and now copy the code which is showing in the video and paste it in the launch.php. But you have to change your header image path i...
Check out this tutorial and make Windows 7 you're own by customizing the log in screen. This is fun to do and will, no doubt, make you feel more connected to your PC.
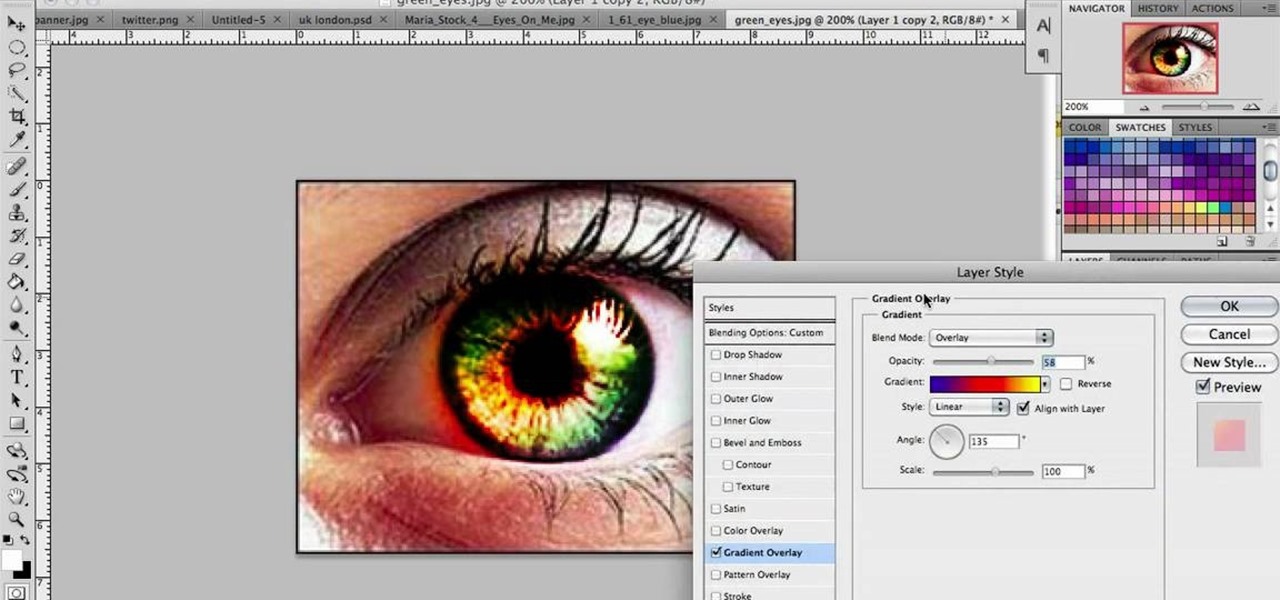
In this video we learn to make green eyes in Photoshop. According to this video, it is very simple to change the color of eyes and make beautiful eyes. First, we zoom in on the eye and with the help of the pencil tool. We select the border of the eye. Then we right click on the selected portion and select "make selection," then using Ctrl + C we copy the selected portion and use Ctrl + v. We can paste the selection on the right hand side. Then, on copied layer we select the gradient. After, o...
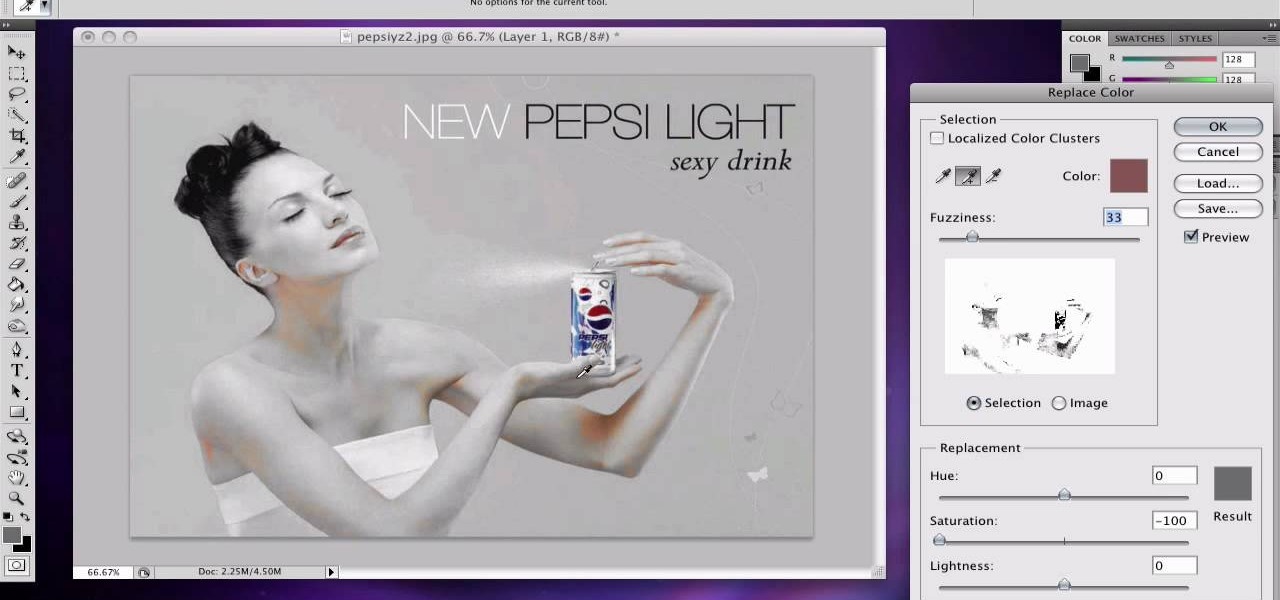
If you want to learn how to do selective desaturation in Photoshop CS4, you should watch this video. Go to File and choose Open. Open the file you want. Go to Image, select Adjustments, and then Replace Color. Select the second droplet or the droplet with a plus sign. Increase Fuzziness, say 106 but you need to decrease Saturation. Set Saturation to -100. Click on the image except for the selected part that you want to have a color. Decrease Fuzziness to know the parts that you need to click ...
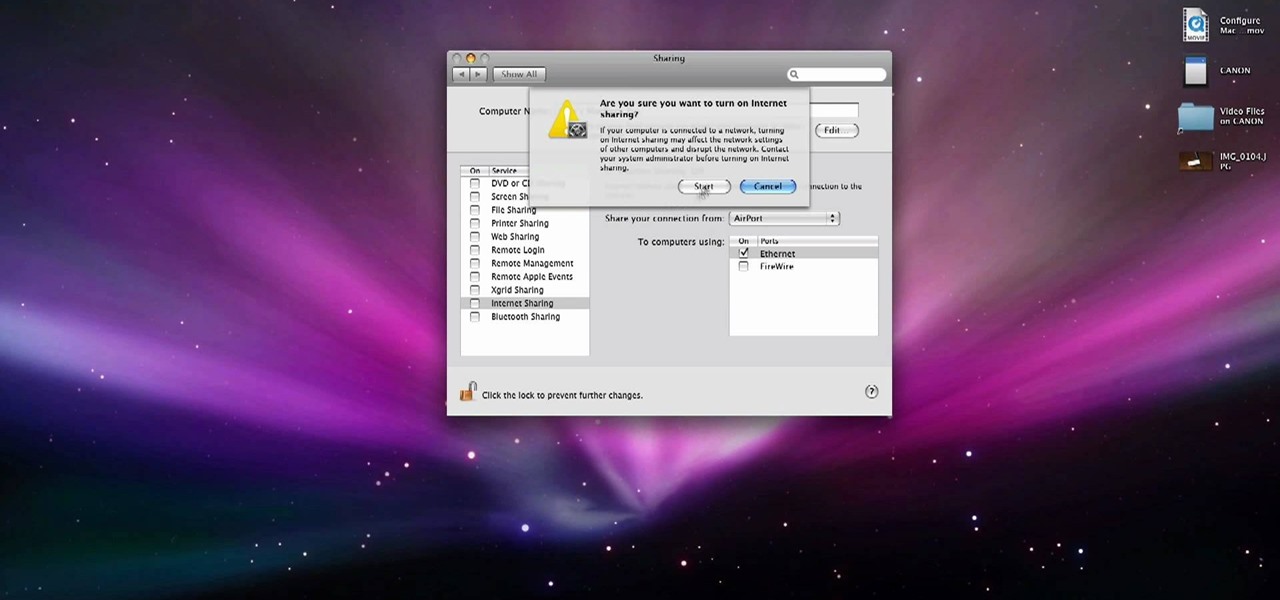
In this video, we learn how to use your Mac as a wireless adapter for Xbox Live. You will need: a Mac, monitor, Xbox, and Ethernet cord. Start out by going to system preferences, then going to the sharing folder. Go to internet sharing and make sure the Ethernet box and internet is selected. Then, click the box next to internet sharing and click "start". Now, go to the network option and go to advanced, TCIP, and then write down your sub maps and router IP address. After this, plug the Ethern...
In this video tutorial, viewers learn how to use the noise removal tool in Camtasia Studio. Begin by uploading the audio track into the time line. Then select and highlight the region that contains the noise. Now click on Edit and select Audio Enhancements. Under Background noise removal, users are able to select to automatically or manually remove the noise. Once selected, simply click on the Remove Noise button. Users also have the option to adjust the sensitivity. This video will benefit t...
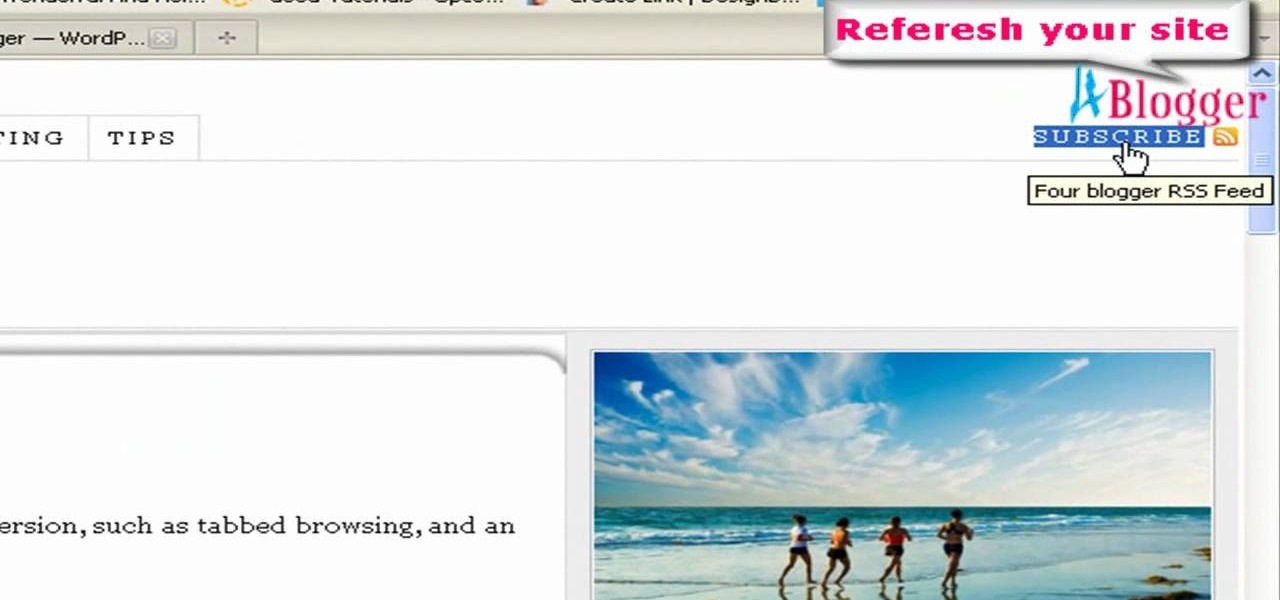
In this video, we learn how to remove the subscription link, images and widgets in Thesis. First, you need to go to the Word Press Admin, then click on the Thesis option. After this, go to the navigation menu and click on "feed link in nav menu". Now, click the box to show feed link in nav menu and make sure it's de-selected. After this, go to check out your site and refresh it. Now, to remove the boxes you will go to thesis option, then design option. Go to the multimedia box, then go to def...
In this video tutorial, viewers learn how to create drop down menus in Microsoft Excel. This task is very easy, fast and easy to do. Begin by highlighting a desired cell. Then click on the Data tab and click on Data Validation under Data Tools. When the Data Validates window opens, click on the Error tab and deselect "Show error alert after invalid data is entered". Then click on OK. Now simply type in the data into the selected cell. This video will benefit those viewers who use Microsoft Ex...
In this C4D user's guide, learn how to ctrl-drag axes to bypass the object axis tool; how to change a group axis with several selected items; how to set a light to negative values to make darker areas; and how to undo camera (view) moves by choosing "shift-command-Z." Whether you're new to MAXON's popular 3D modeling application or are just looking to get better acquainted with Cinema 4D and its various features and functions, you're sure to enjoy this free video software tutorial. For more i...
Yanik Chauvin teaches us how to add texture to a reflection in Photoshop in this tutorial. To start, add a basic reflection to the item you want a reflection on. Now, reduce the opacity of the layer and bring it down to 25%. Next, add a new layer and paint in a gradient white to transparent. Make sure your first gradient selection is selected. Now, click and drag and you will see the reflection diffused. Next select the blur option, then click on motion blur and put the distance at 20 pixels....
In this video tutorial, viewers learn how to align and group objects, and use gridlines. Begin by clicking the Insert tab and select a shape from Shapes. To align the object, go to the Format tab and select the Align menu. From there, users are able to align the selected object in any direction. In the Align menu, users are also able to add gridlines by selecting View Gridlines. To configure the grid-line options, click on gridlines Settings. This video will benefit those viewers who use Micr...