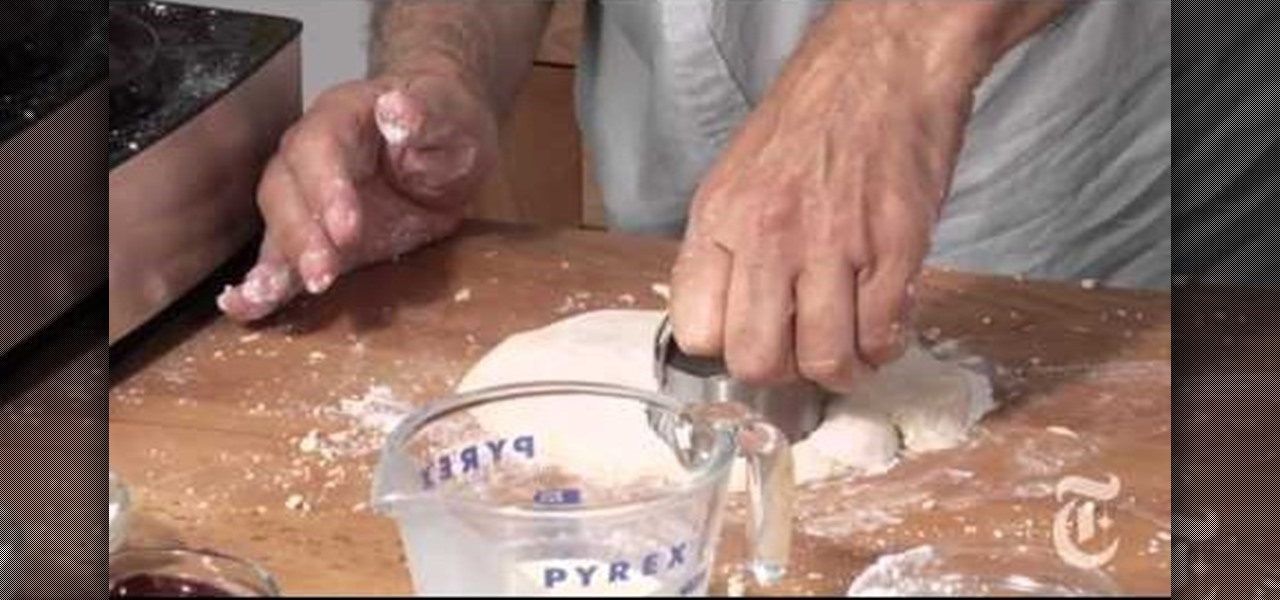
Once you start making your own scones you'll never go back. While those hardened, several days old scones you get in packs at Costco are great if you're running low on time in general and just need a flaky doughy thing in your mouth fast, the best scones are fresh and homemade.
Arepas, traditional savory cornmeal cakes from Venezuela, are similar to Mexican tortillas and can be stuffed with anything from ground corn to cheese and fish. They are generally more savory than sweet, and their pancake-like dough is much thicker than that of tortillas.
If you've ever been to a Marie Callender's restaurant, then you know their chicken pot pie is the most popular and most often requested dish. That's because chicken pot pies, while a rather simple concept, contain just enough bready goodness, veggies, chicken, and sauce filling to get you full and way satisfied.
Yakisoba is one of the most popular fast food dishes in Japan. Yeah, we know what you're thinking. Fast food in a nation known for minimalist healthy couture like edamame and salmon rolls? Well, the Japanese often have a craving for fried stuff just like us, but rather than chowing down on artery clogging burgers and french fries, the take a higher route to get their fried food fill.
Nori is the Japanese term for seaweed, in particular the pressed and salted kind that you can find at most Asian supermarkets. Many nori fans eat the stuff as they would chips, since nori is slightly crunchy, slightly salty, and quite addicting. But nori is exponentially healthier than your typical Lay's salt and vinegar chips.
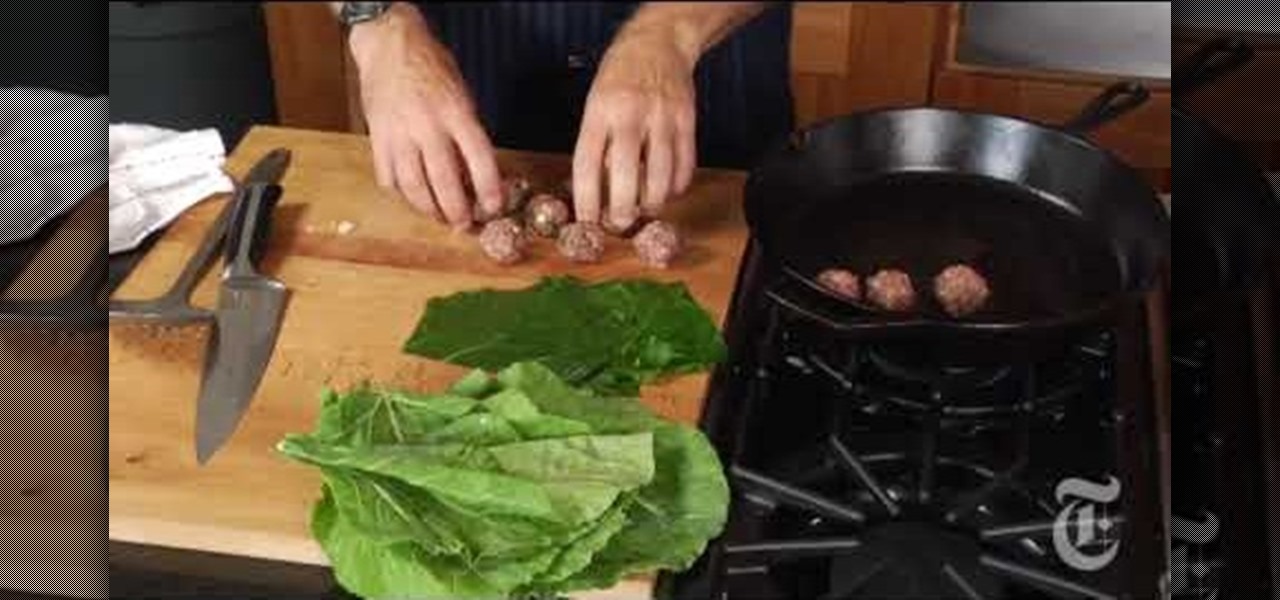
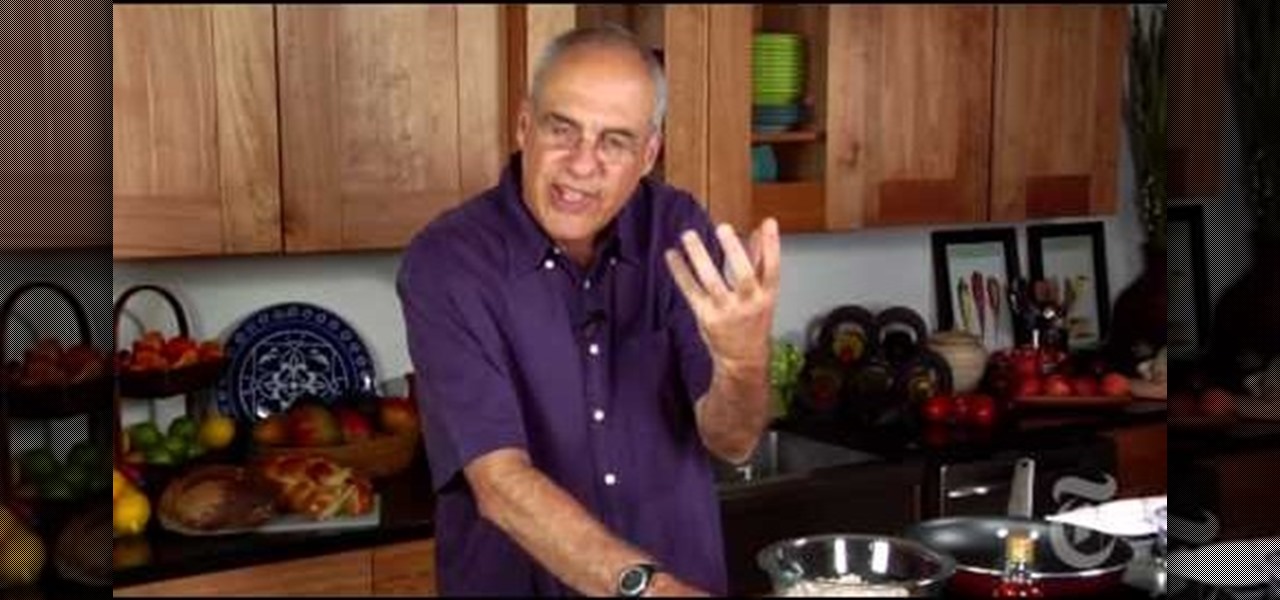
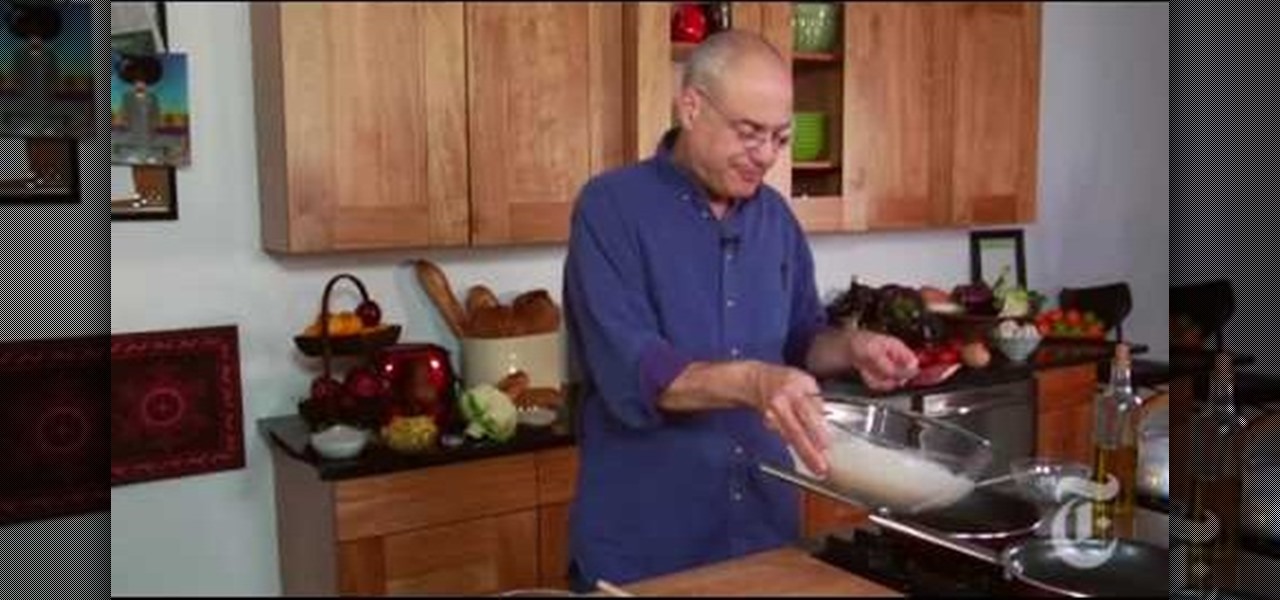
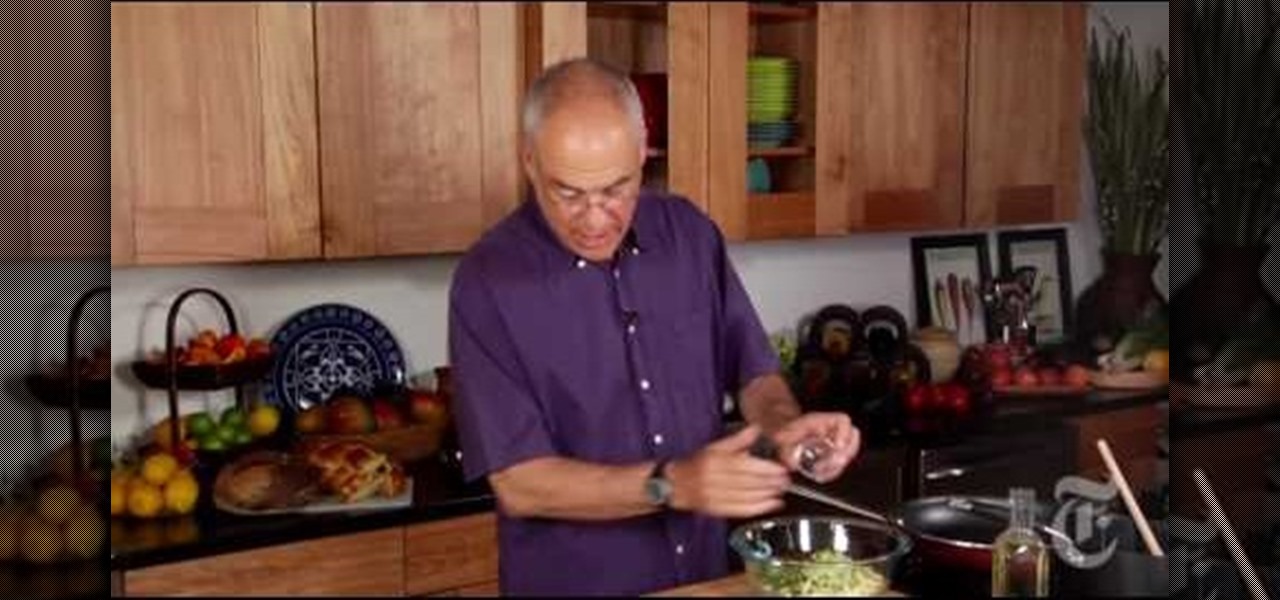
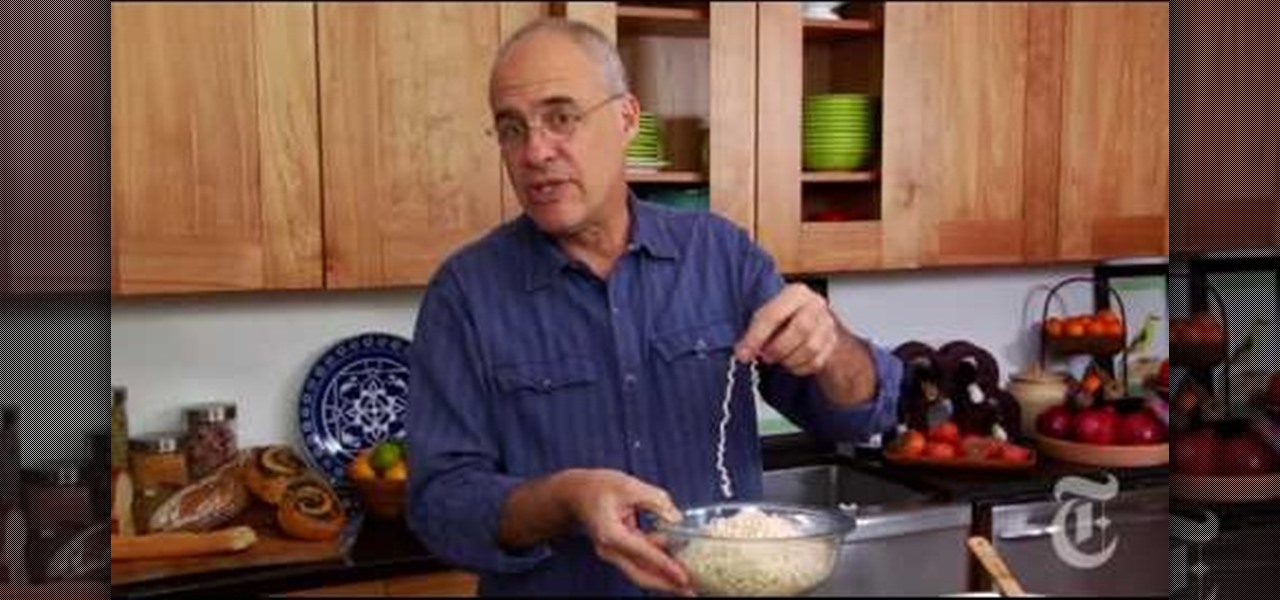
Meatballs are such a versatile, easy to make dish that you can whip up and serve no matter how busy you are. And there are many varieties: Italian meatballs, Swedish meatballs, etc. If you're feeling rather carnivorous tonight and want to get your fill of delicious meatball goodness, then watch this episode of The Minimalist by Mark Bittman for an easy meatball recipe.

In order to get your "five a day," or five a day of fruits and vegetables, you should incorporate these foods into everything you make to eat. So for instance, adding a cup of spinach into your turkey and swiss sandwich is one serving of vegetables that you won't even notice, while this recipe, which incorporates figs, gives you yet another serving.
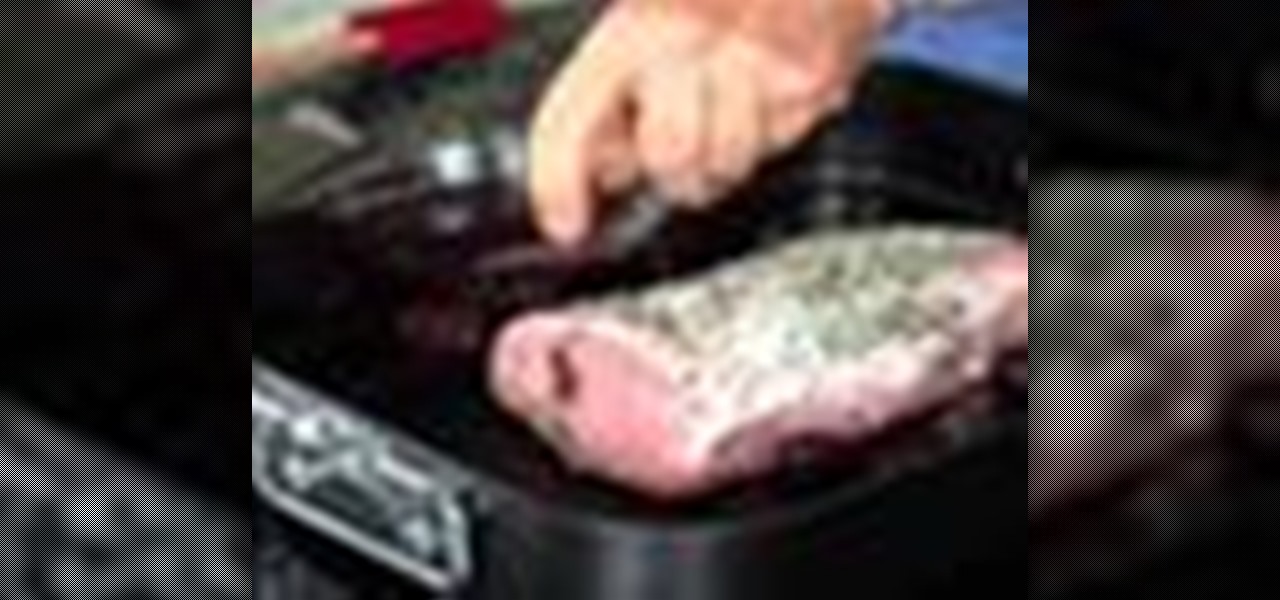
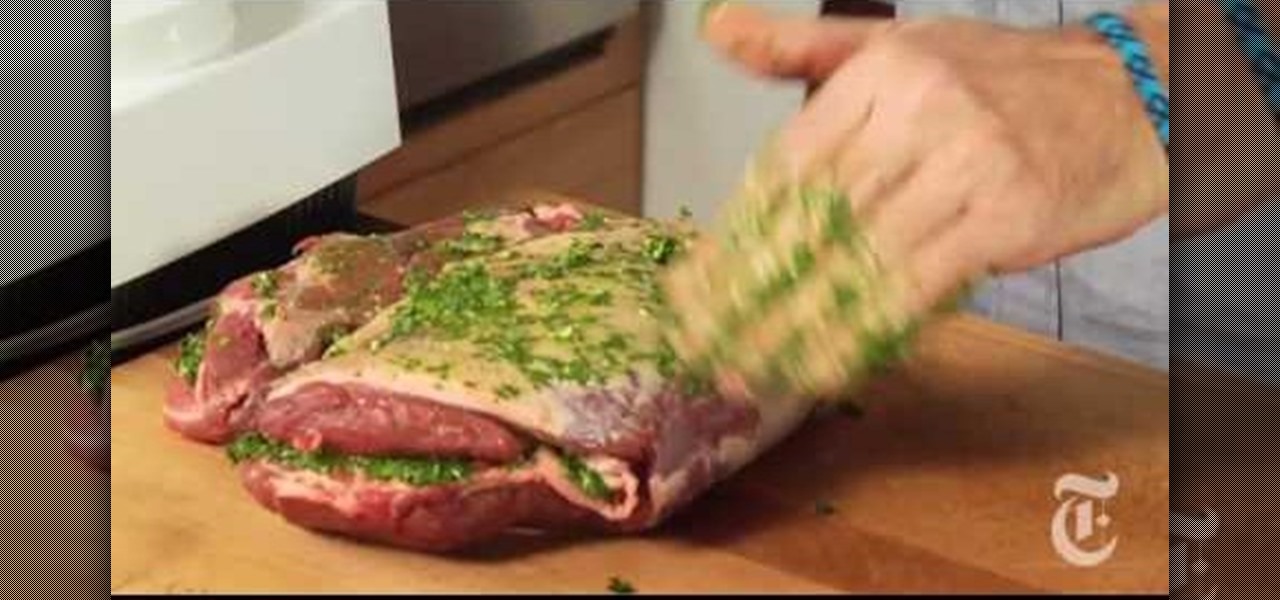
The lamb persillade is a favorite of many households because it's both tasty and easy to make. Composed of lamb covered with a delicious persillade made of parsley, garlic, herbs, oil, and vinegar, it's succulent for any time for the year.
In this video you will learn how to setup a Bluetooth mobile phone in OS X. To do this go at system preferences select Bluetooth click on Discoverable, Open Bluetooth Setup Assistance and Show Bluetooth Status in the menu. Then click Sharing and mark all the options. Now go at devices, select set up new device, mark mobile phone, click continue, wait until the device will find your mobile device, click continue and you will get a pass key. Enter that passkey. A window will pop-up where you ca...
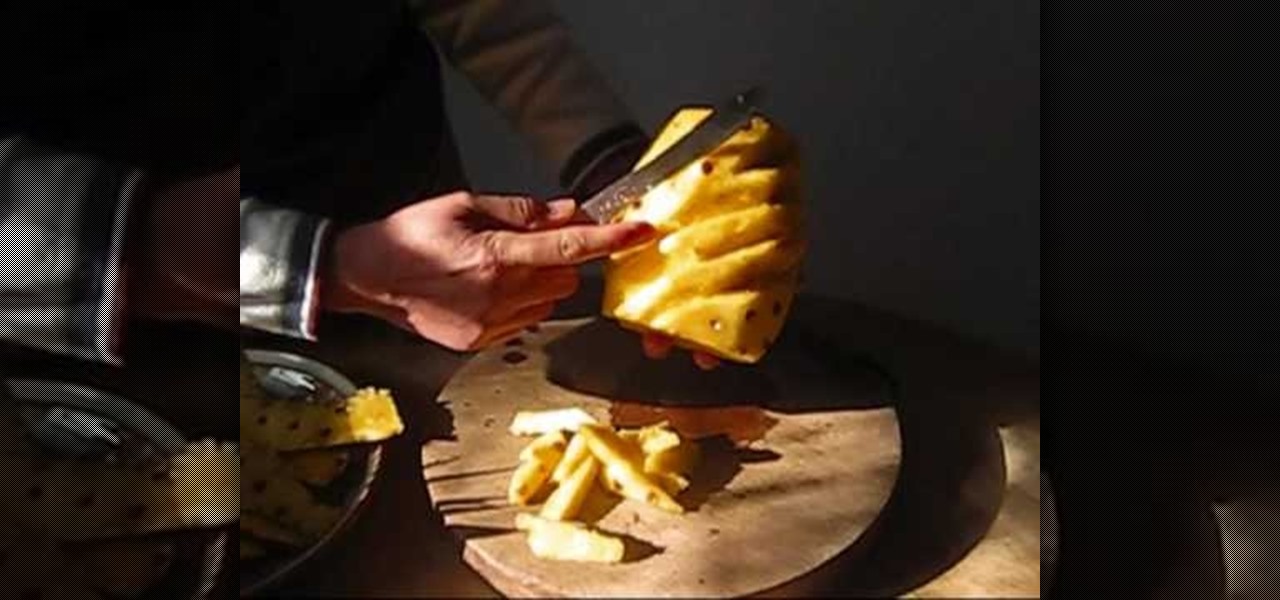
This video showcases the skills of the demonstrator in cutting a pineapple in an artistic manner. He begins by removing transverse sections, one each from top and bottom with a sharp knife. He then cuts off the remaining skin vertically in eight thin sections to keep wastage to a minimum. He marks off oblique lines one above the other all along the periphery. He cuts off very thin and small oblique slices along the marked lines, rotating the pineapple slowly. The resulting shape is now like a...
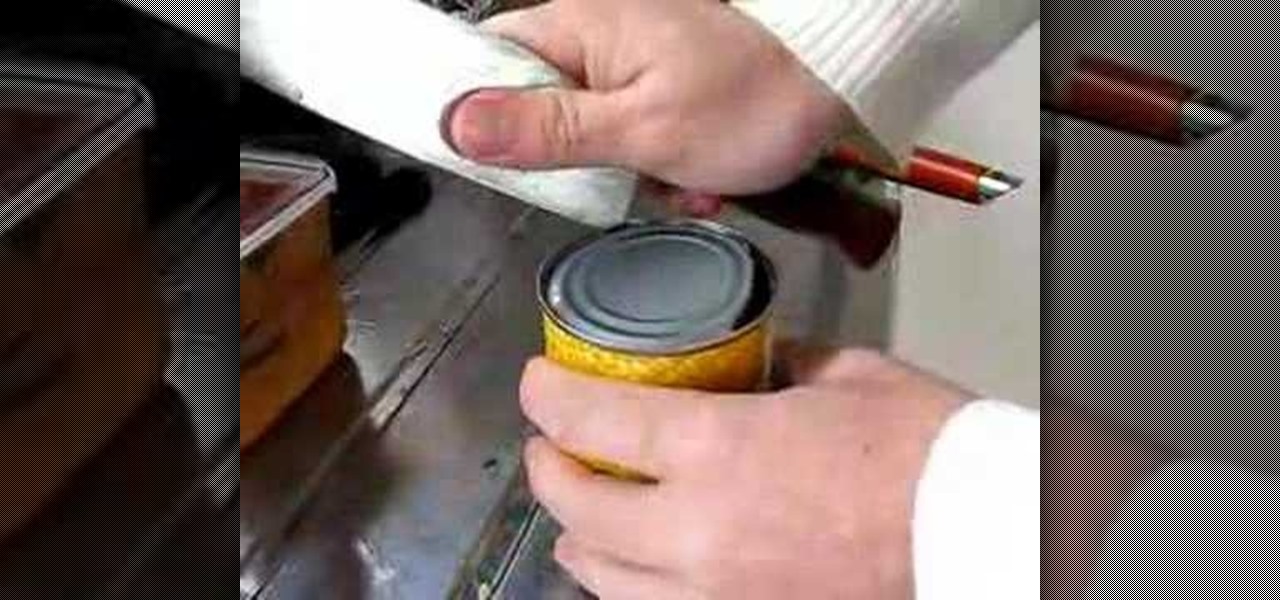
This video is how to open a metal can with the corner of a knife. First, you must find a knife that has a ninety-degree angle where the corner is a sharp point. A cleaver, like the one shown in the video, type of knife would be best. You use the corner to puncture the can and continue puncturing it as you rotate the can. Make sure to tilt the knife outwards after you puncture. Puncture successively and simultaneously rotate the can so that each puncture mark starts where the last one left off...
This video tutorial by photoshopuniverse, is to tele-transport people in photos using Photoshop. For this you will need two photos, one with a person and another of a suitable scene. Select the image with the person and extract the person using the extract tool by marking the edges. Make sure to change the brush size so that you can mark the edges with a bit of the border to be included and a bit of the outside to be excluded. Fill in the retaining area and extract the image. Using the move t...
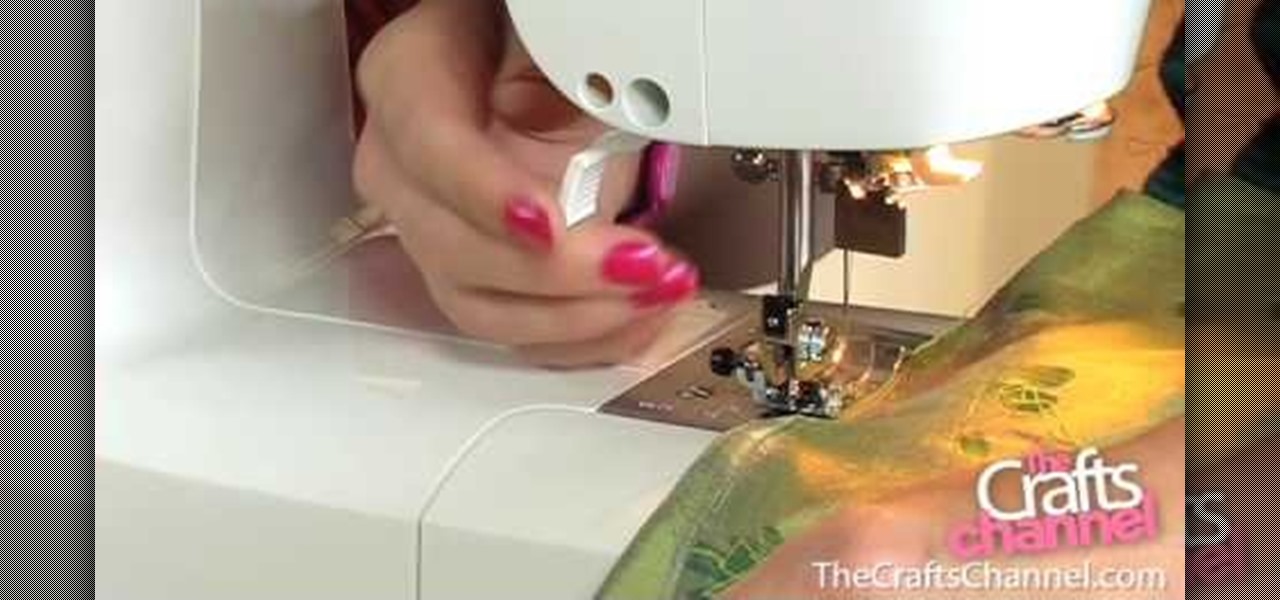
Kate Hemmings & Vicki Taylor from Sew magazine show you how to properly sew a "dart" (a.k.a. taking in fabric to make it fit the contours of your body). Just follow these easy steps in the video:
Kick up your look by adding dresses you make yourself to your wardrobe. It's simple to create a patter and sew a dress that will fit your exact measurements. You'll be amazed at the differene of having a drees you made yourself makes.
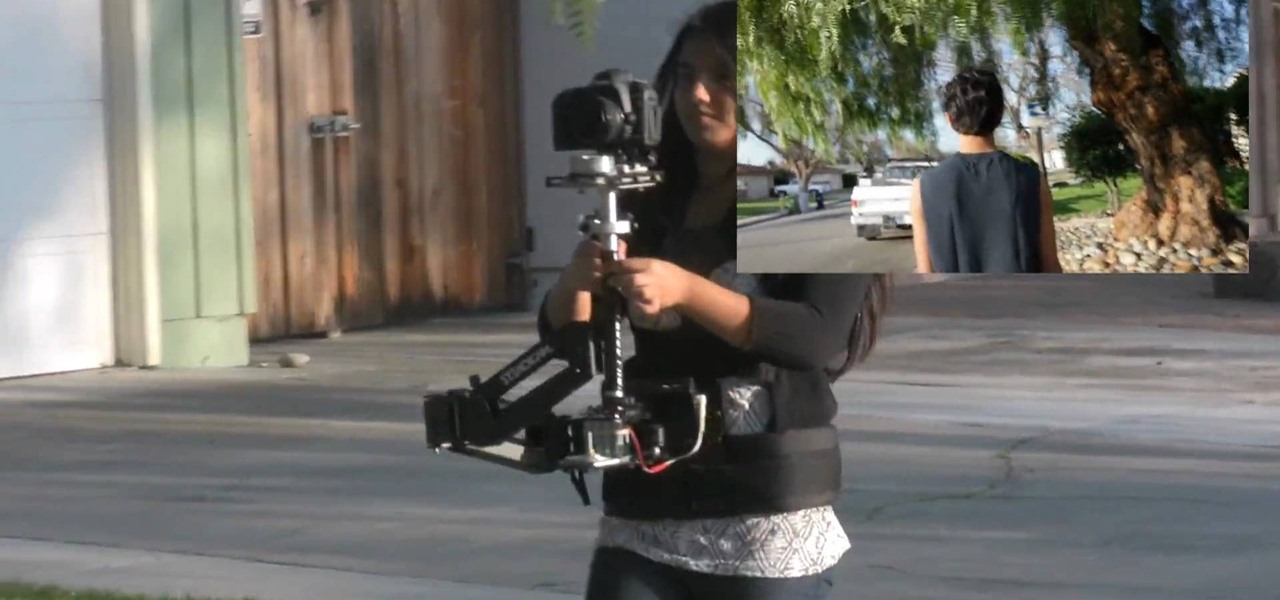
One of the great innovations of Canon's DSLR technology is the relatively inexpensive ability it gives to any filmmaker to make professional quality video. This video is a great demonstration of a Glidecam and Steadicam mod designed to carry the Canon 5D Mark II and give any image a slick, professional look.
Shopsmith Academy shows you how to easily extend your Mark V band saw table, for easier access. Apply this lesson to your next woodworking project. Watch this video for useful woodworking tips. Search Shopsmith Academy on WonderHowTo for more woodworking videos.
This lesson is part of a series of video language classes which will build a solid foundation for learning how to speak Arabic. The instructor in these instructional videos is a native Arabic speaker who started making his own teaching tutorials in an effort to demonstrate clearly how the language is really spoken back in his home in the Middle East. In this video segment, the instructor will focus on accent marks in the Arabic alphabet.
Learn how to never lose at tic-tac-toe. Almost anyone knows how to play tic-tac-toe, but not everyone knows the strategy that guarantees they'll never lose another game.
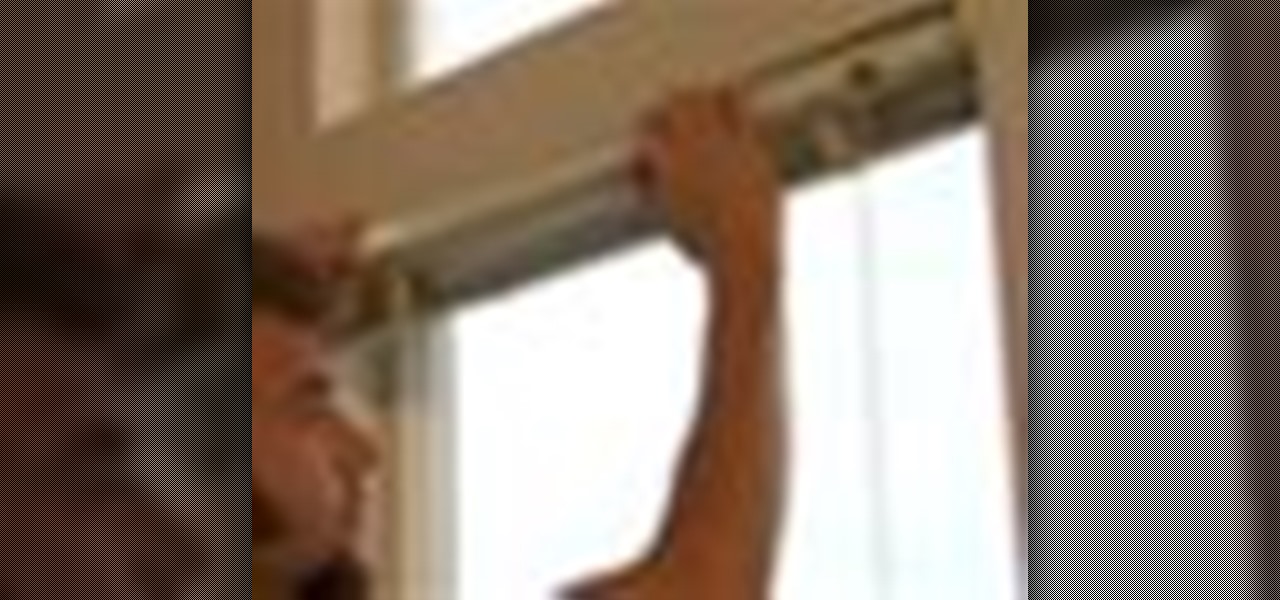
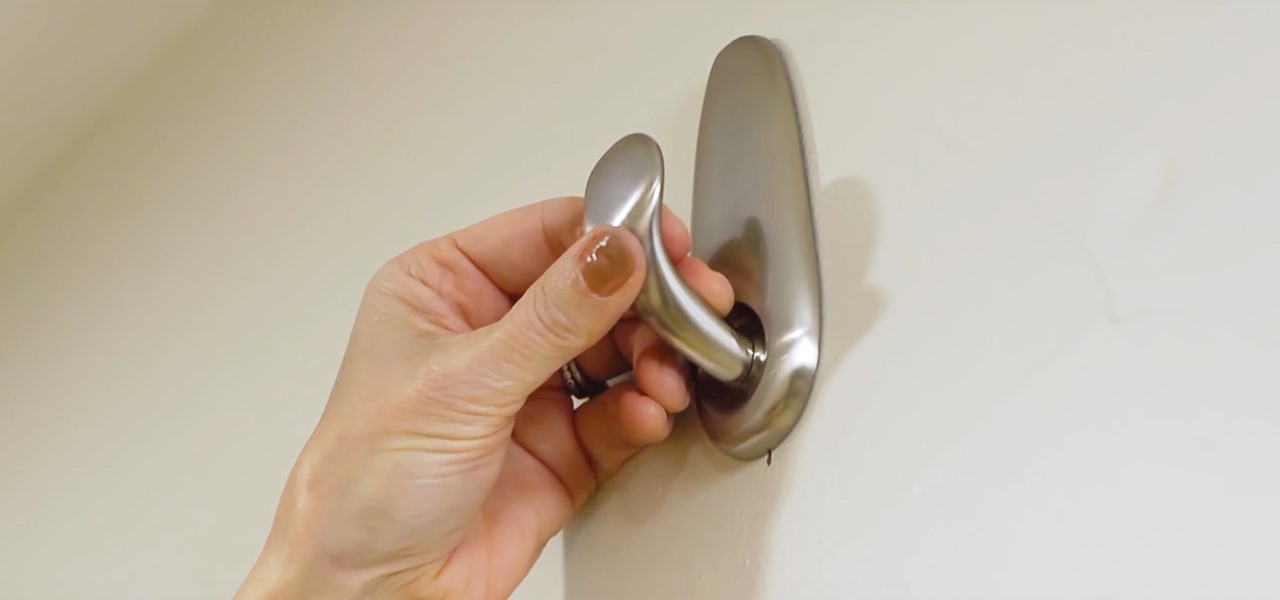
If your new window treatments include blinds, save the hefty installation fee by hanging them yourself.
What happens if you unknowingly connect a malicious USB drive and it starts infecting your entire office network? Instead of having a panic attack and working all night to find a fix, you can just put on a mixed reality headset like Microsoft's HoloLens and point.
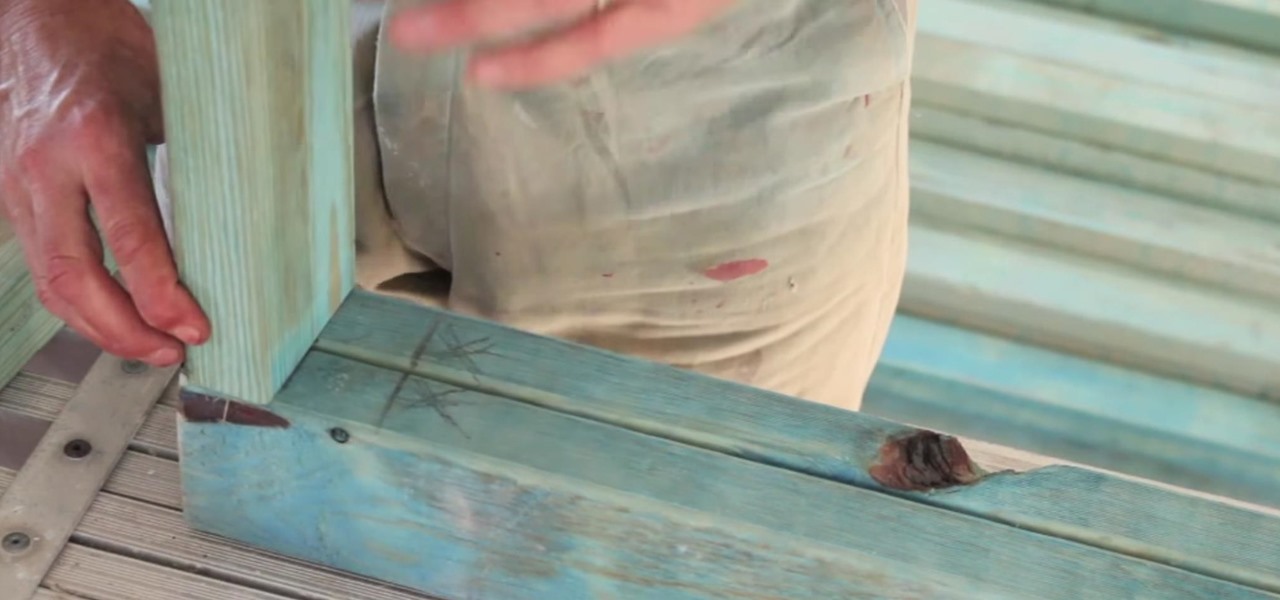
G'da,y Knuckleheads, Uncle Knackers here. In this Episode, we look at marking the wall studs. Making a stud wall is pretty straight forward but you just have to know a few basics first. This stud wall framing video looks at a few basic principles that will hopefully set you up to make your first stud wall frame. Check it out!
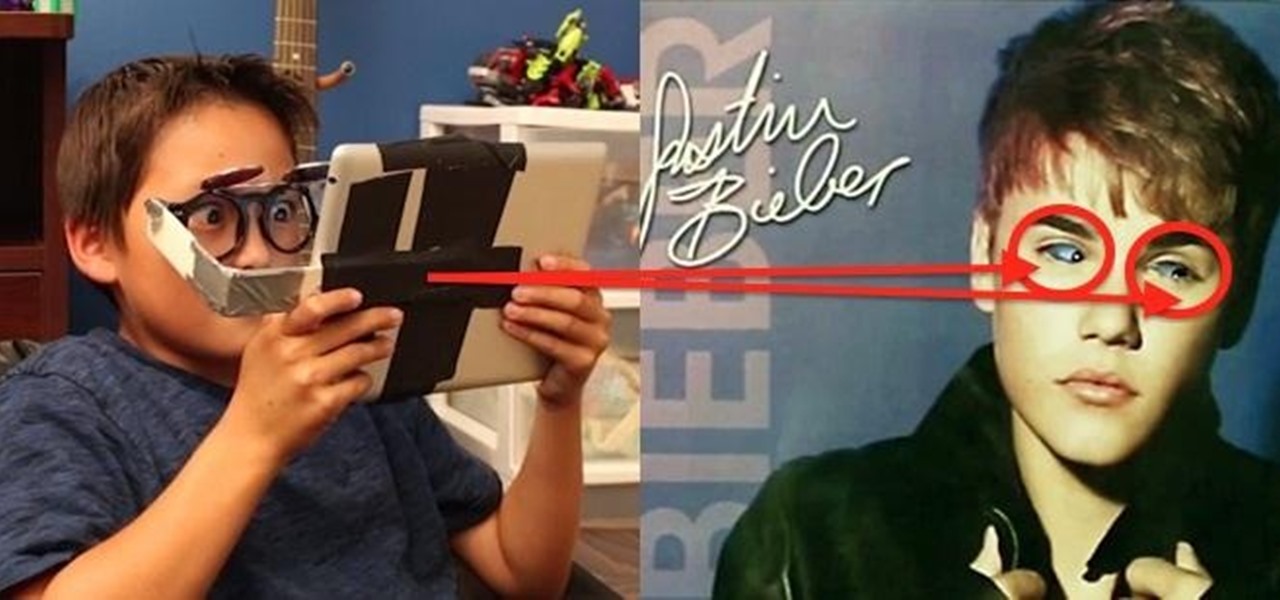
Remember how the bad guys in Scooby Doo would always use cut-out portraits to spy on people through walls? Well, unless your landlord is super cool, you probably shouldn't start cutting holes in your wall just yet, but you can make a higher tech version, thanks to NASA employee Mark Rober. Mark used a cheap picture frame and a portrait with the eyes cut out to make the "Scoob Cam," which also doubles as a surveillance device. He used an iPhone and an iPad to start a FaceTime chat, then taped ...
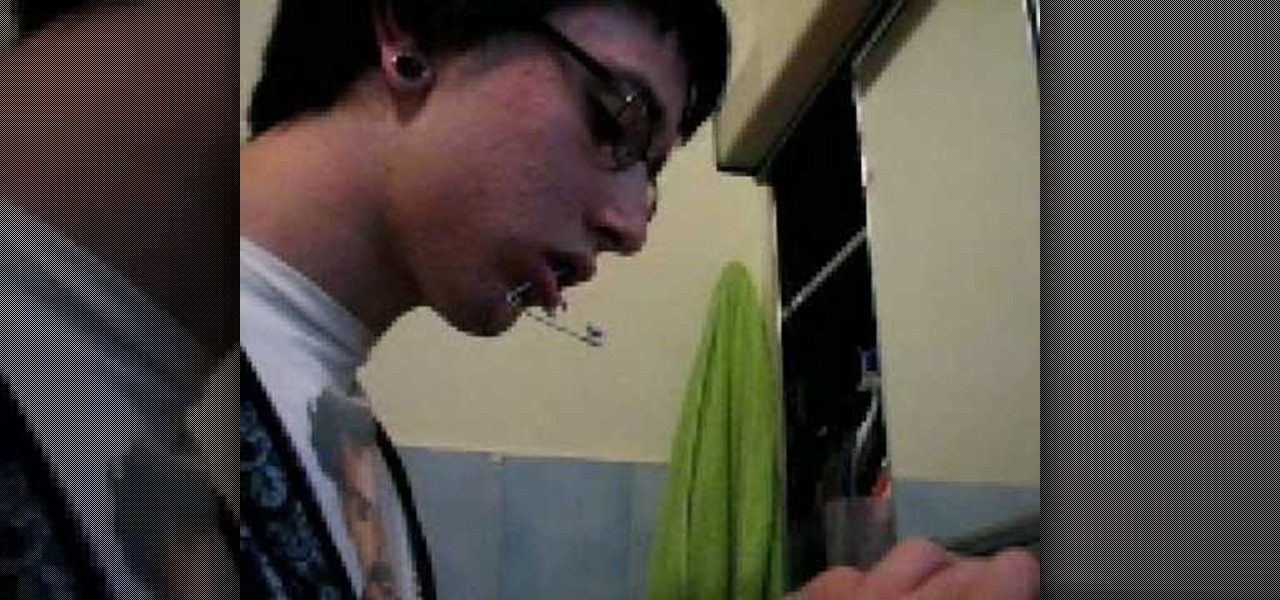
In this video, we learn how to safely pierce your lip. Start off by using antiseptic to clean off the needle or tool that you are going to pierce your lip with. Then, mark the spot on your lip that you want the jewelry to go. Use a ruler to help make sure it's positioned correctly on your face. After this, place ice on your lip to help numb it for a few seconds. Then, quickly grab the needle and push it through the mark that you made on your lip. Then, you will need to quickly push the jewelr...
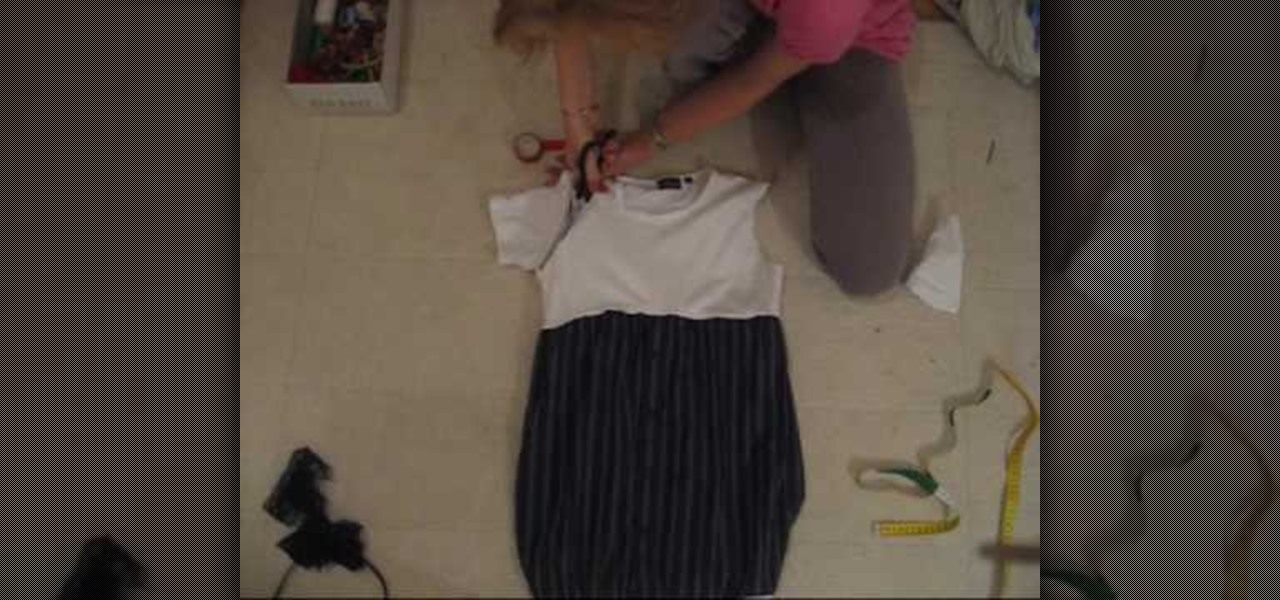
In this video we learn how to make a dress out of an old flannel & t-shirt. First, measure your body on the bust. Then, take an old shirt and mark the measurement on there. Then, cut where you marked the shirt leaving 1/2" extra. After this, attach the top of the dress to the flannel by sewing it with either a needle and thread or a sewing machine. After this, take the part that you cut off and sew it to the bottom of the dress. When finished, try this on and enjoy wearing your new homemade d...
In this tutorial, we learn how to drywall partition with Fermacell. This is a great alternative to plasterboard and is environmentally friendly with no plastering required. First, measure out the floor and mark it using chalk. After this, make sure the walls are level, then measure them out. Mark out doorways and any other special requirements after this. Now, layer a resilient layer between the slats. Then, these are placed into the floors using drills and nails. The rest of the studs will b...
Telling others that you have crabs isn't always a bad thing. Especially if those crabs of yours are baked into crab cakes! A delicious staple on the east coast, and a favorite in the Hamptons, crab cakes are the ultimate summer dish.
Bread is beloved by many because it's the perfect accompanyment to a variety of different foods. With a slightly bland flavor (that's a good thing), bread helps to complement richer foods (think about dipping bread into bruschetta, or eating it alongside a caesar salad). If you're a big fan of bread, then you'll love this recipe.
Take a square piece of paper and fold in half. Open the paper crease from the other side and mark it as previously.
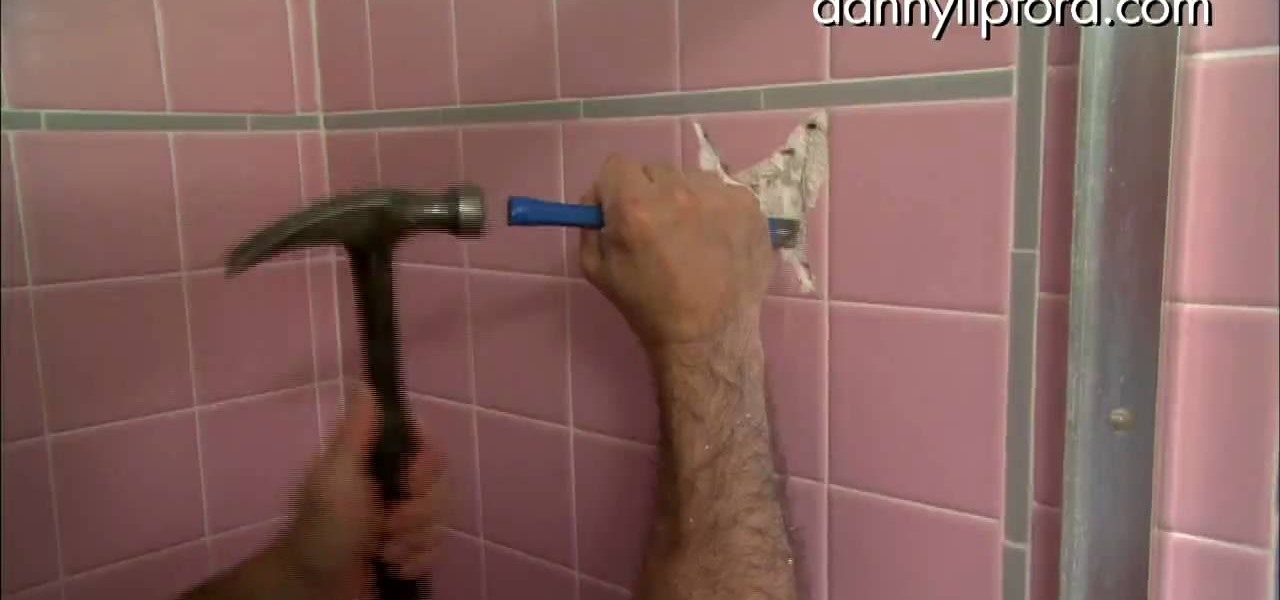
In this video tutorial, viewers learn how to remove a tile from a floor or wall. Begin by marking the tiles with a hammer and punch. These marks are used as guidelines for the drill. Create an X shape with the markings. Now use a drill to drill through the tile holes, but not through the wall. Now complete the X-shape pattern by connect the holes with a chisel and hammer. Then crack the tile into pieces and pry the pieces off the wall. This video will benefit those viewers who are doing home ...
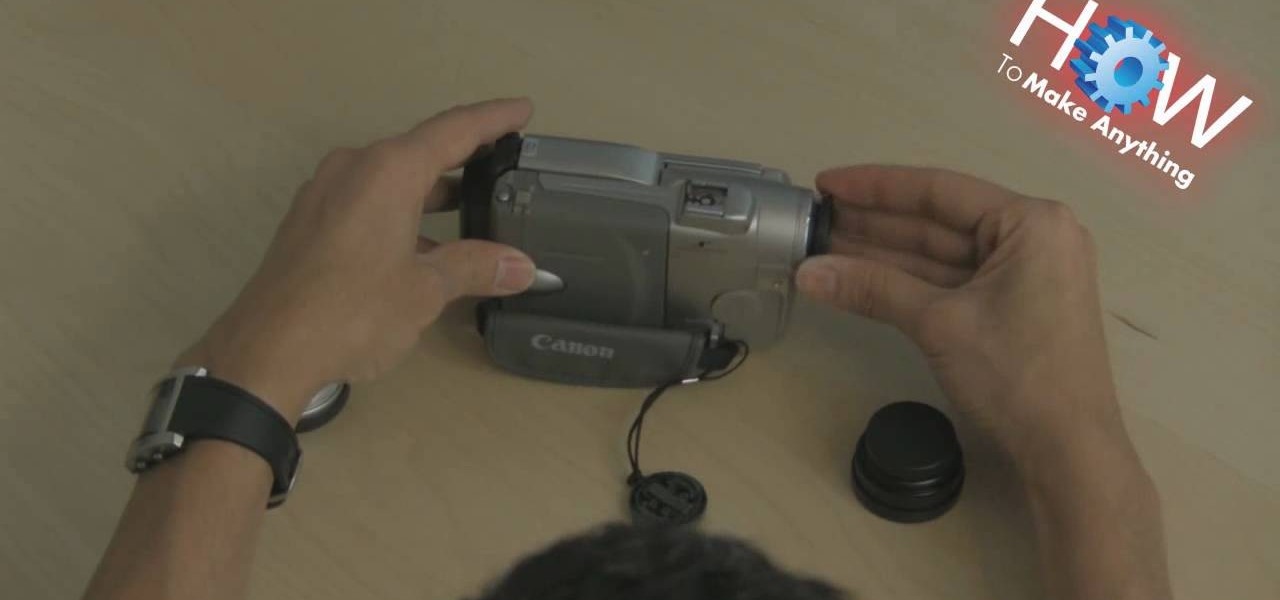
Make sure you have the appropriate lens for your digital camera. Look for markers on the lens that correspond with any mark on the camera body. Different brands have different markers. Some have square dots while some have red dots. Line these marks In one hand, hold your camera body firmly pointing to you. While holding it, push the lens button. Firmly hold the bottom of the lens (where the lens meets the camera body), and twist. Some cameras let you twist clockwise, others counterclockwise....
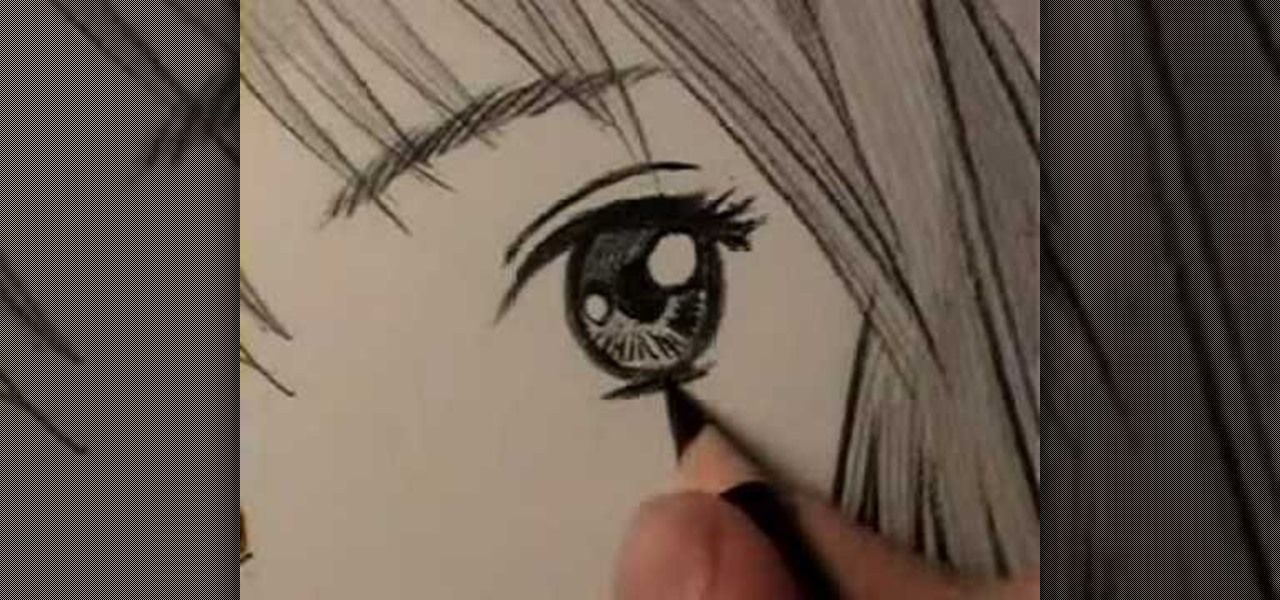
The eyes of characters in Japanese manga tend to have a very distinctive look. They are large, childlike and shiny, with lots of little reflections. If you draw them right, they can look beautiful. But if you get them wrong, they'll just look bizarre. In this video, "Miki Falls" manga creator Mark Crilley shows how to draw manga eyes, line by line.
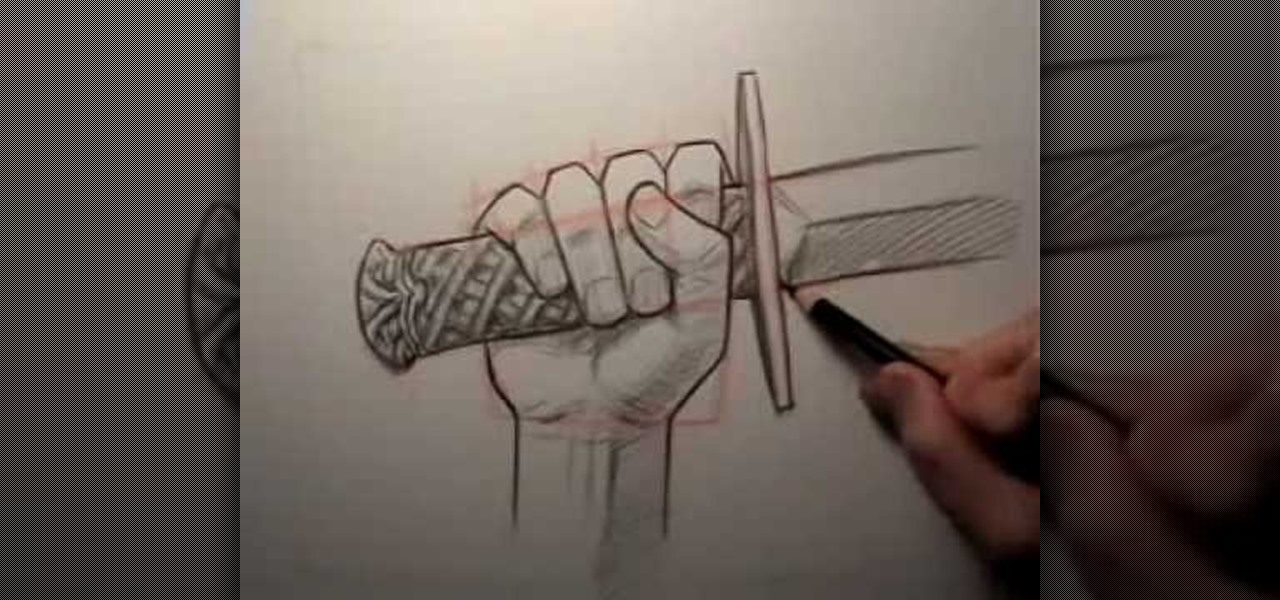
If you want to draw fantasy illustrations of brave knights slaying dragons or heroic warriors charging into battle against armies of barbarians, it's essential to know how to draw a hand holding a sword. If you try to draw a hand with a sword from memory, it probably won't turn out looking quite right. In this video, "Miki Falls" manga creator Mark Crilley shows you how to draw a hand holding a sword, getting the details right.
Cosmo Crow and Mark Hannah take you on a tour of the Sony DSR cameras in these how-to videos. The first video segment deals more with setting up the camera tripod. Then, Mark and Cosmo continue their tour of the Sony Camera with an in depth explanation of the Lens and all its functions. Finish up with the final installment, which will teach you how to operate the switches on the main body of the Sony Camera. Watch this video tutorial and learn how to set up and use the Sony Camera.
For anyone who lives in a space that may frown upon making holes in the walls, or for anyone who may not want to take on such a task, there's a simple alternative to hanging curtains or drapes. And the answer is brilliantly simple.
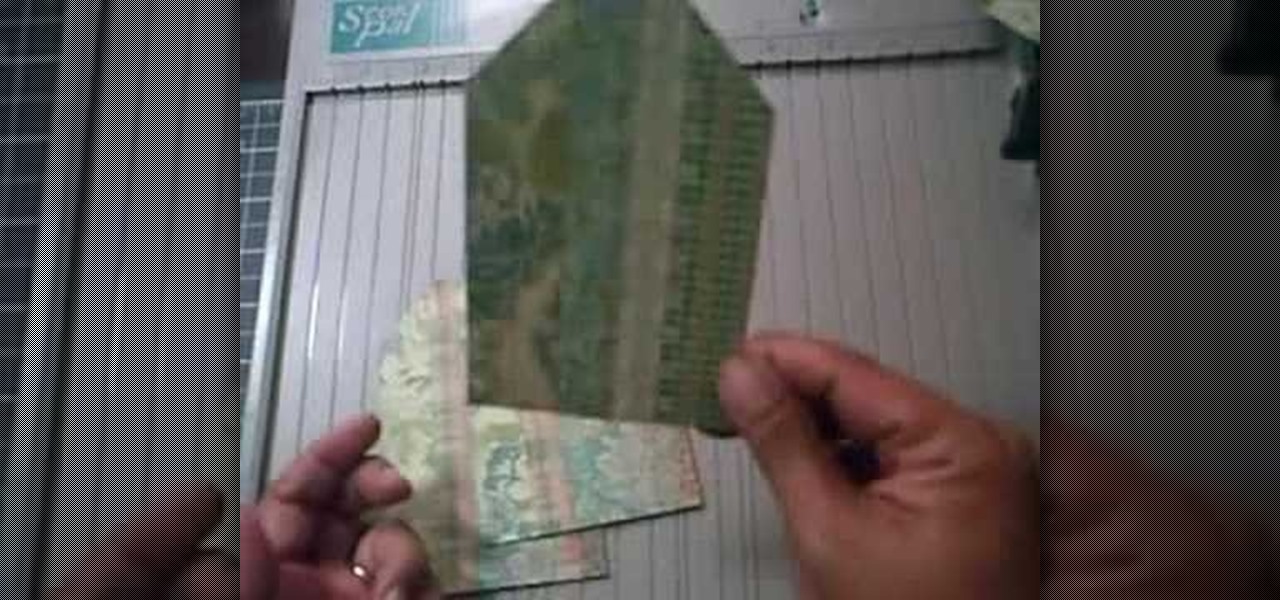
This video explains how to create a 4z4 tri-fold mini album. The first step is to score your designer paper at four inches and then fold along the score mark. The previous step is completed three more times until you have four score marks along your paper. Three separate pieces of paper are then cut measured at three and half inches. Your chosen picture is then glued into the center of your original twelve inch panel. using the three individual pieces of paper you must glue them around the pi...
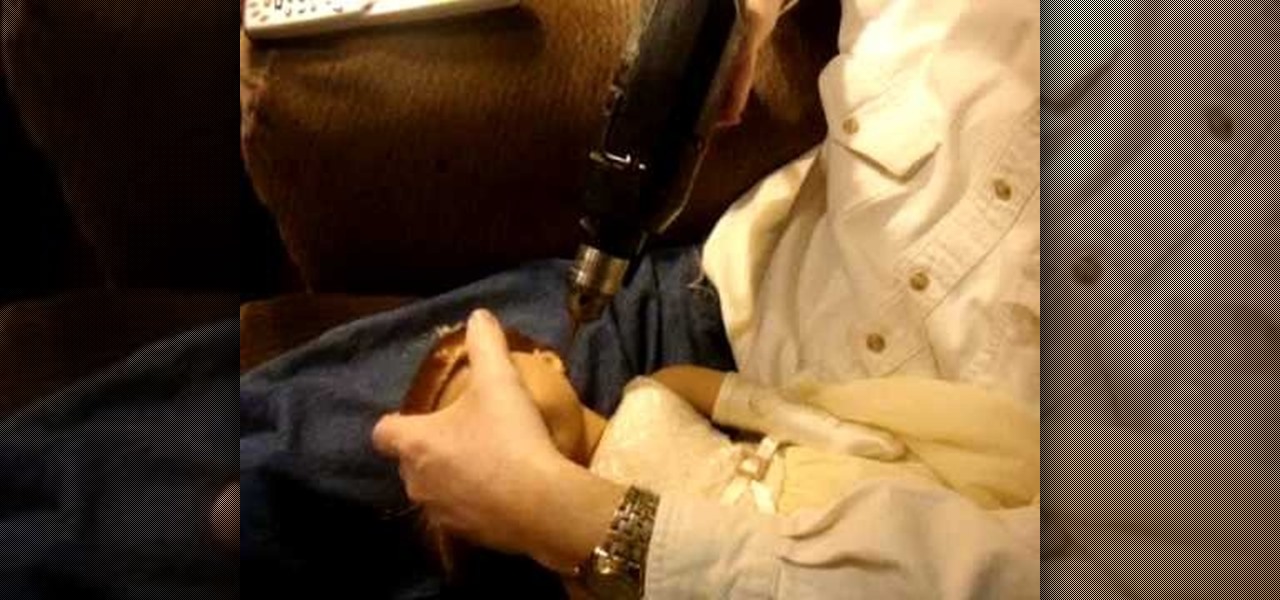
In this video, we learn how to pierce your American Girl dolls' ears! Start out by taking a pencil and marking the ear where you want to pierce it at. Then, take a thumb tack and poke it through the ear where you marked it with the pencil. Then, pull it out and do the same process to the other ear. To help, pull the hair up in a ponytail so the hair is out of the way while you're doing this. Next, give the doll to an adult and grab a #42 drill bit. Put the drill into the same hole and then ge...
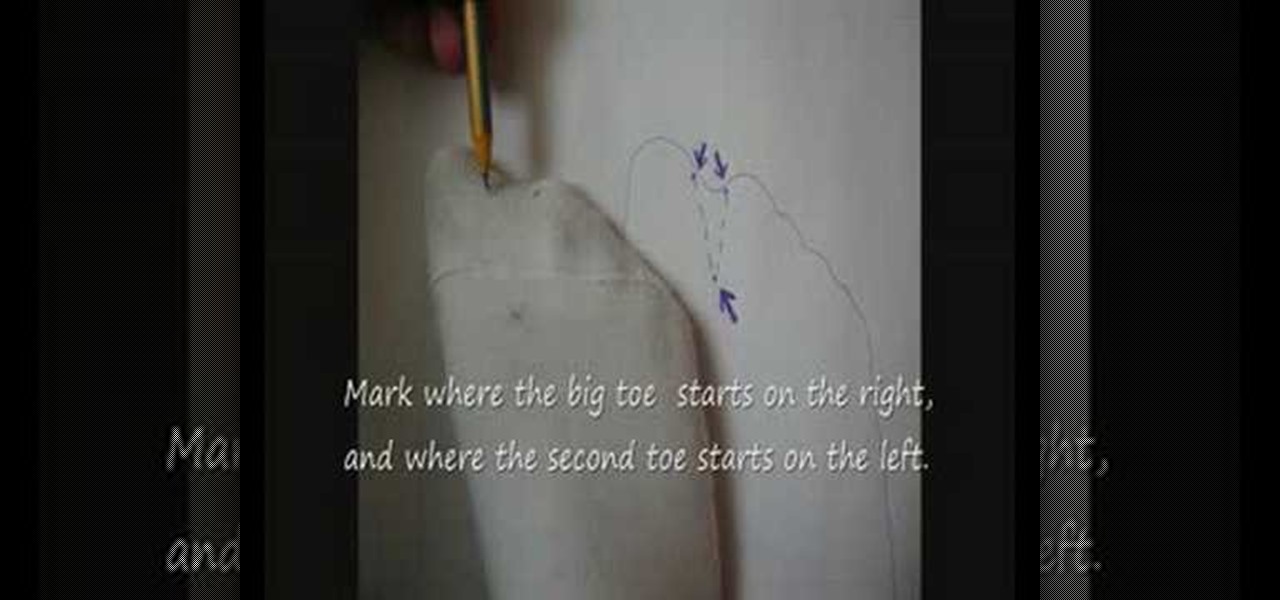
In this video, we learn how to make Tabi socks. You will need: pair of socks, thread, a needle, and scissors. First, you will turn the right sock inside out and put on your foot. Then, you will spread your big toe and second toe out as much as possible. From here, you will use a pencil to mark on the foot where you want to cut. Then, take the sock off and cut it out where you marked it. Take the needle and thread and sew along the shape that you cut out, to create separation between the toes....
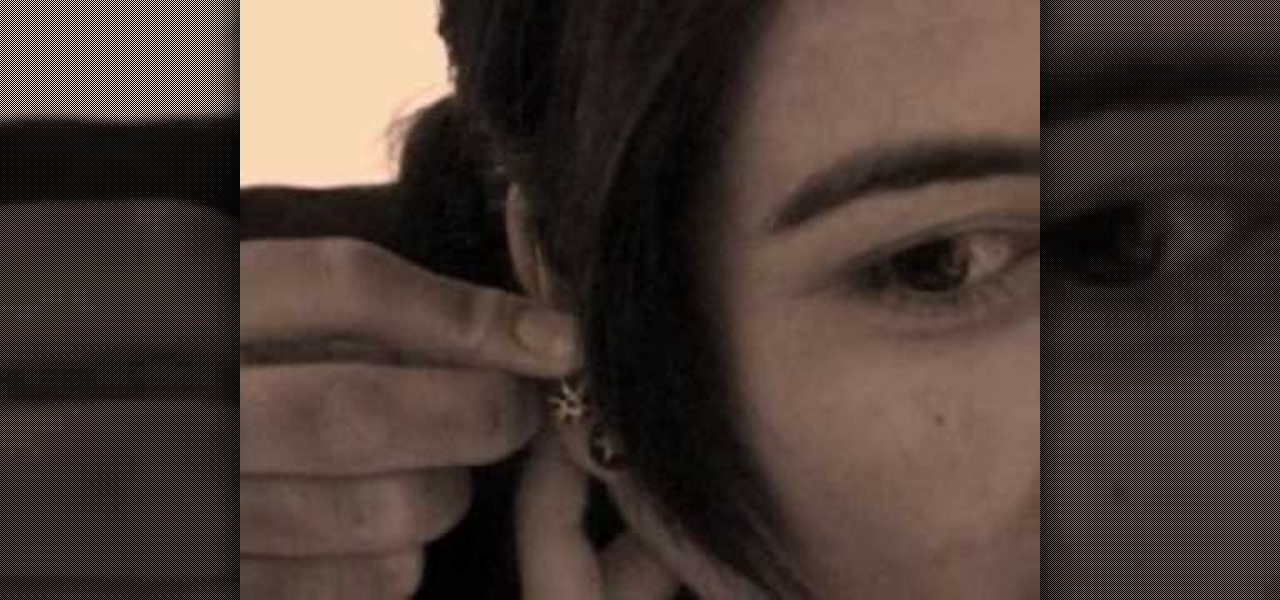
In this tutorial, we learn how to pierce your own ear with a safety pin. Remember if you are going to do this, you should be able to deal with some pain. First, you will need to mark the spots on both of your ears where you want to pierce it. After this, check in the mirror to make sure they are evened up. Next, you will numb your ears with ice cubes if you prefer. From here, stick the safety pin in your ear where you marked and then slip the earring in after this. Hold a paper towel up to it...
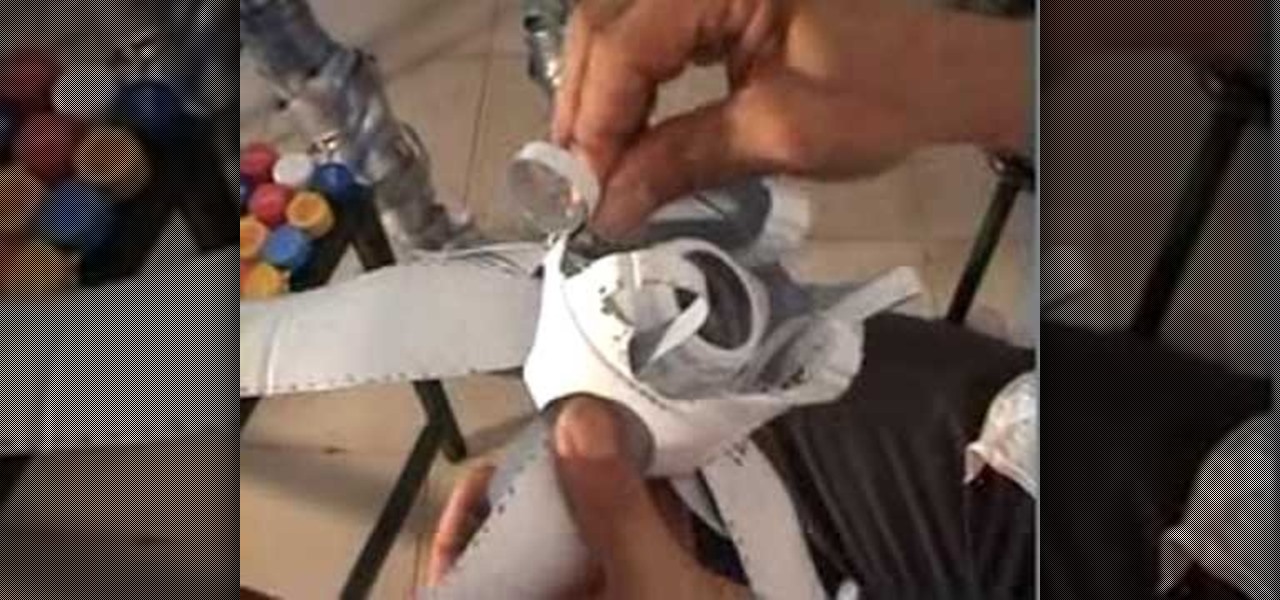
With this video, we learn how to recycle milk bottles to make decorative flowers. First, mark eight coupled marks on four sides of the bottom of the bottom. Then, poke holes into them and cut into them with sharp scissors. From here, you will continue to do this all the way around the bottom of the bottle until you have created petals. Then, cut above these to make long oval types of shapes and then spread the petals out on the bottom and on the top. Pull the longer petals into the open areas...
Geishas were high class courtesans who mixed business with pleasure - or, rather, whose business was pleasure. And seduction was an art to them, down to the very makeup they wore.