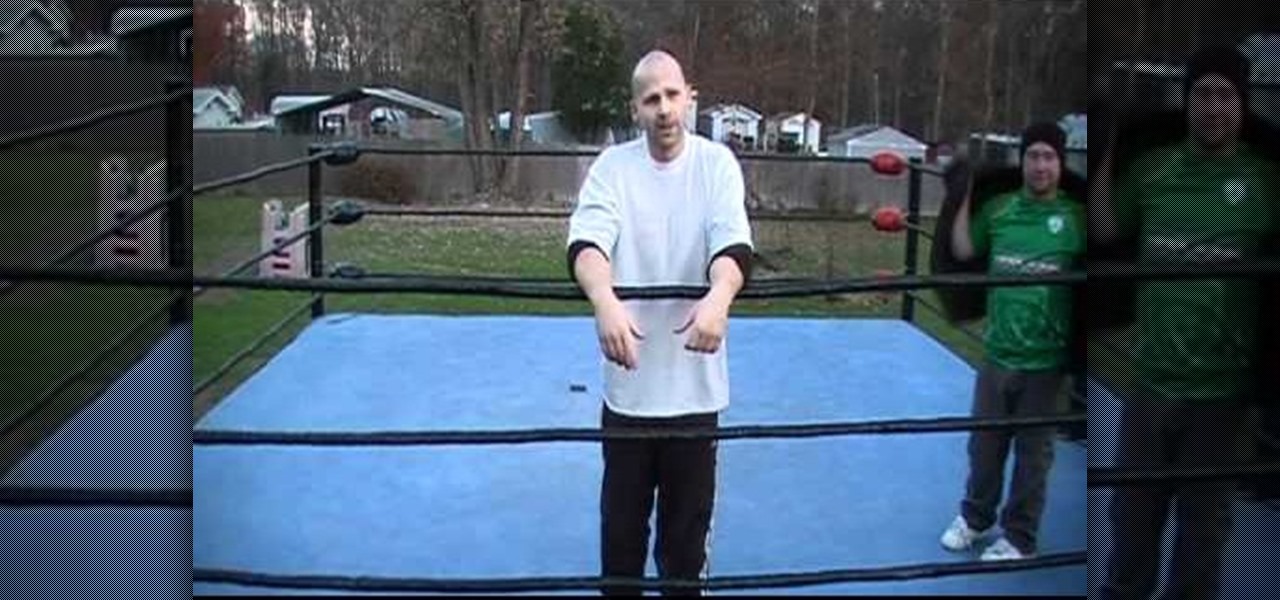
In this free video professional wrestling lesson, we learn how to perform a Wasteland-style finishing move in a pro ring. For a detailed, step-by-step breakdown of this crowd-pleasing pro wrestling move, and to learn how to perform it yourself, watch this wrestling tutorial!

Golden Globes 2011 presenter Megan Fox sparkled in a layered Armani Prive confection on the red carpet, but we were paying special attention to her gorgeous simple yet super sexy makeup.

In this DIY guide from the folks at the Home Depot, we learn how to apply faux finish trim to cabinets. It's easy! So easy, in fact, that this clip can present a complete overview of the technique in about two minutes. For all of the details, take a look.
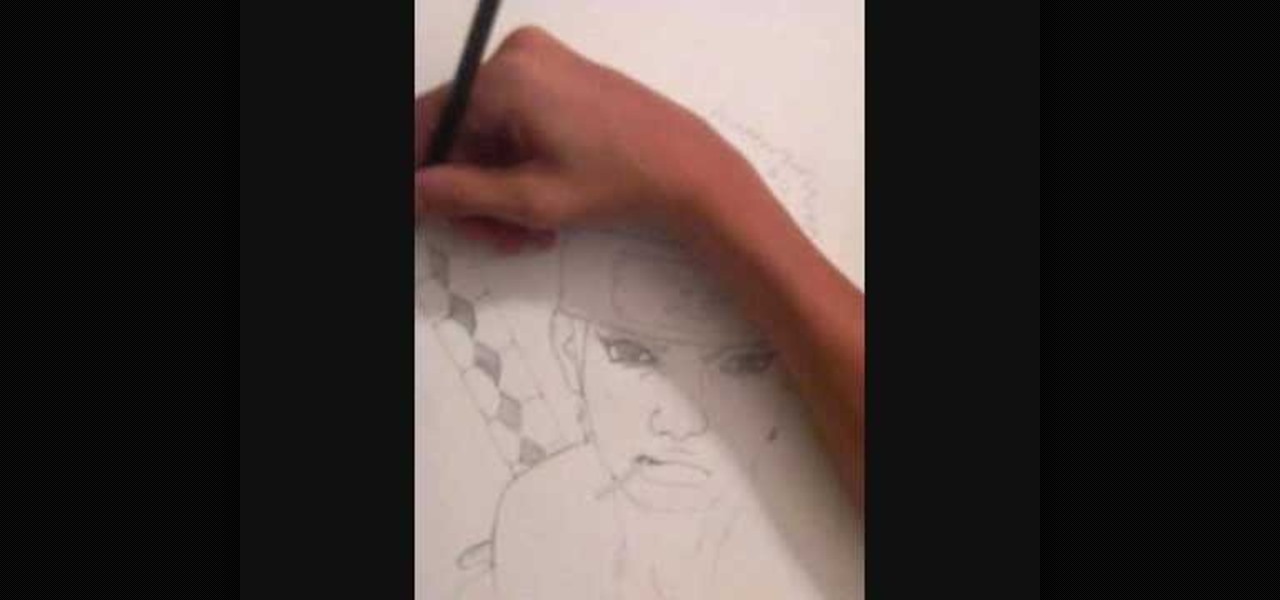
In this tutorial, we learn how to draw Omoi. first, draw the outline of the character with a thin pencil mark. After this, draw in the features of the face and include the details on the eyes. From here, start to draw in the bangs and the hair around the head. Next, you will draw on the headband on the forehead and then decorate the inside with the usual sign. Next, you will draw on the ears and finish with the details on the face. After this, draw on the upper body and then clean up any back...
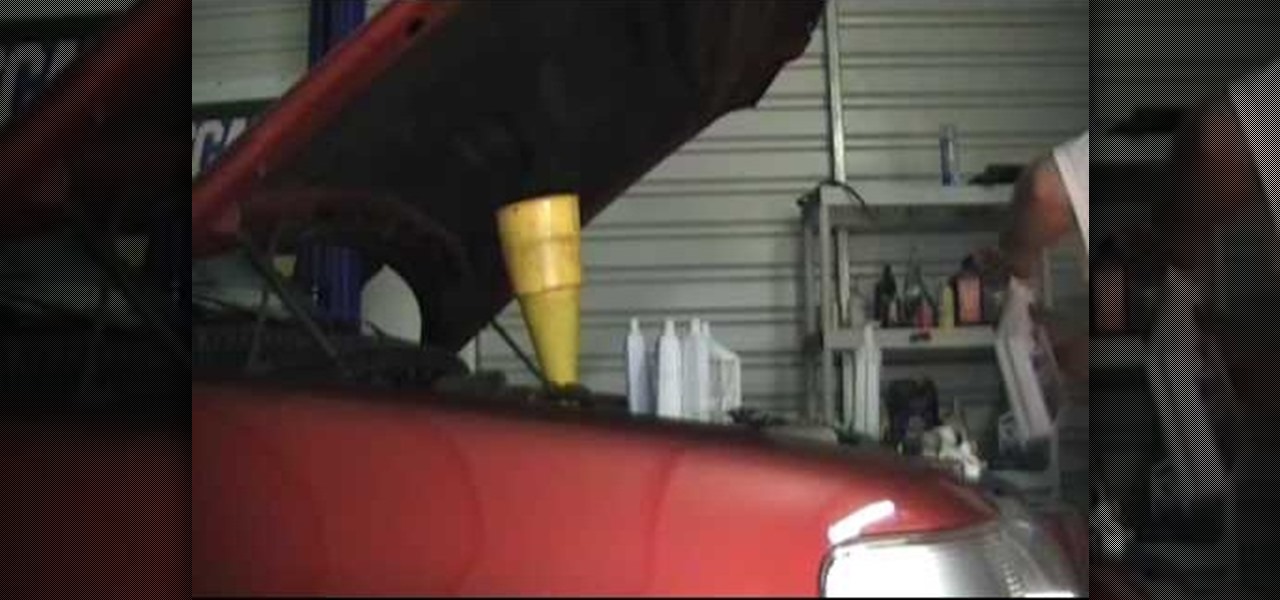
In this tutorial, we learn how to change your own oil on a 2005 Ford Explorer. First, find the oil drain underneath the vehicle and remove it. Once you remove it, let the oil drain into an oil pan underneath the car. Let the oil drain completely out, then when it's finished replace the plug. Now, go to the hood of the car and remove the cap from the oil can. Place a funnel inside and then pour your new oil into the can. When finished, replace the cap and start the car. Now go back and check t...

You've finished your very first crochet project! Congratulations! But now how do you tie off the yarn in such a way as to keep the whole thing from unraveling? This video demonstrates a simple and easy technique to finish your project and keep it together.

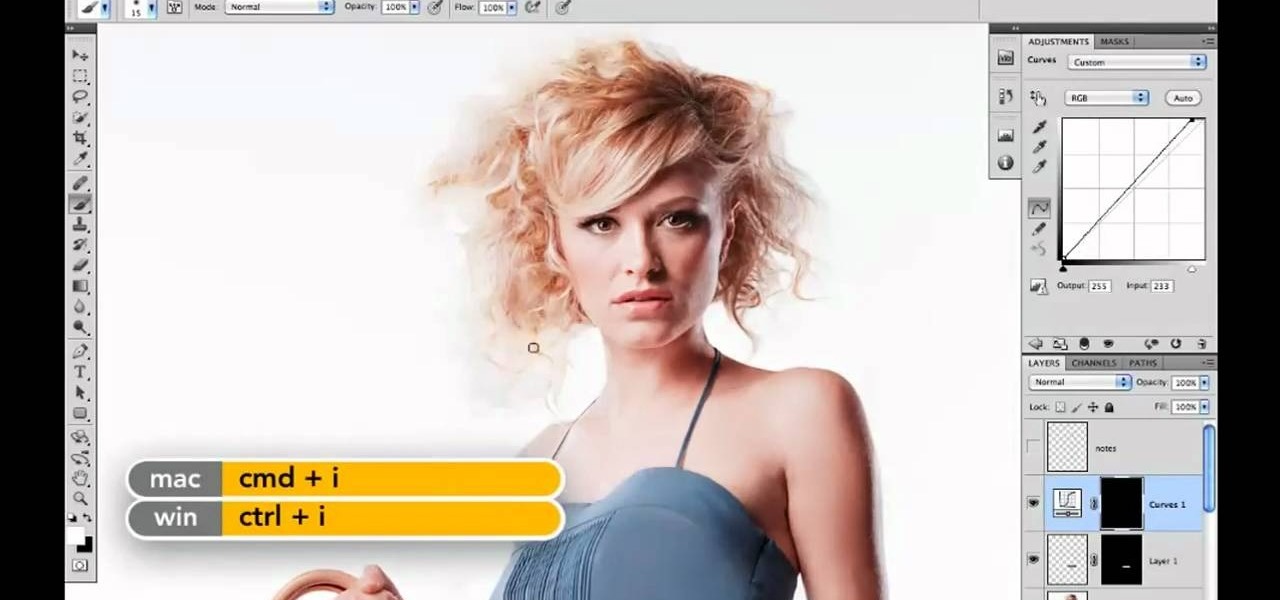
In this video tutorial, we learn how to put the finishing touches on a project when retouching a digital photograph in Adobe Photoshop CS5. Whether you're new to Adobe's popular raster graphics editor or a seasoned designer looking to better acquaint yourself with the new features and functions of the latest iteration of the application, you're sure to benefit from this free software tutorial. For more information, watch this video guide.
In this clip, you'll learn how to put those few final finishing touches on a digital image when retouching it Adobe Photoshop CS5. Whether you're new to Adobe's popular raster graphics editor or a seasoned designer looking to better acquaint yourself with the new features and functions of the latest iteration of the application, you're sure to benefit from this free software tutorial. For more information, watch this video guide.
In this tutorial, we learn how to draw Marik Ishtar. Start with the outline of the head (in a circle shape) and draw the reference lines around the front of the face. After this, draw in darker lines around the features of the face and start to add in details throughout the entire head. Draw in hair, a nose, eyes, ears, and everything else. Once you have finished with this, draw in the neck of the character and then the shoulders. After this, finish the hair off on the back of the had, then a...
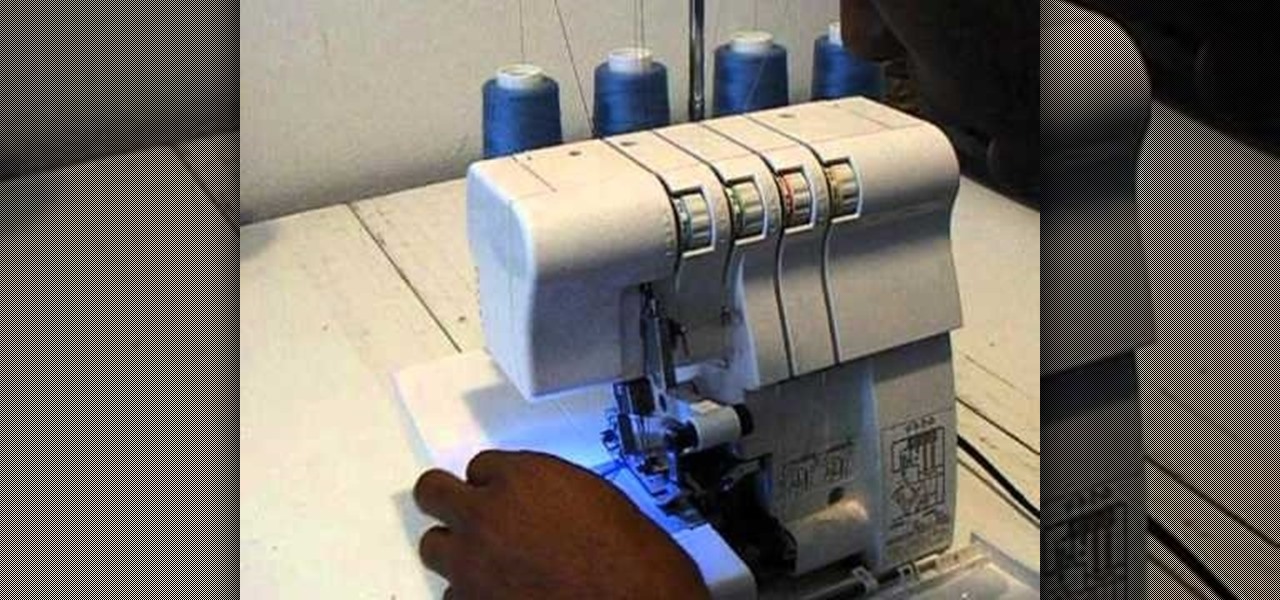
If you have yourself a serger sewing machine, and you've already learned how to thread a Singer Finishing Touch serger sewing machine with differential feed, then you're eventually going to have to change the thread colors. This tutorial will show you how easy it is to rethread (without unthreading) the Singer serger (14SH654), which has 4/3 thread capability. Singer also has a PDF available with detailed threading instructions.
In this video, we learn how to play the Warner Brothers theme song on piano. As you learn to play this song on the piano, you will start out slowly. Do the first part of the song and learn the first few keys that you need to play. As you progress, start to learn the different verses. Once you have these down independently, start to combine them all together. Once you finish, go through any spots that you need to perfect. Once you have finished these verses, play all of the verse together and ...
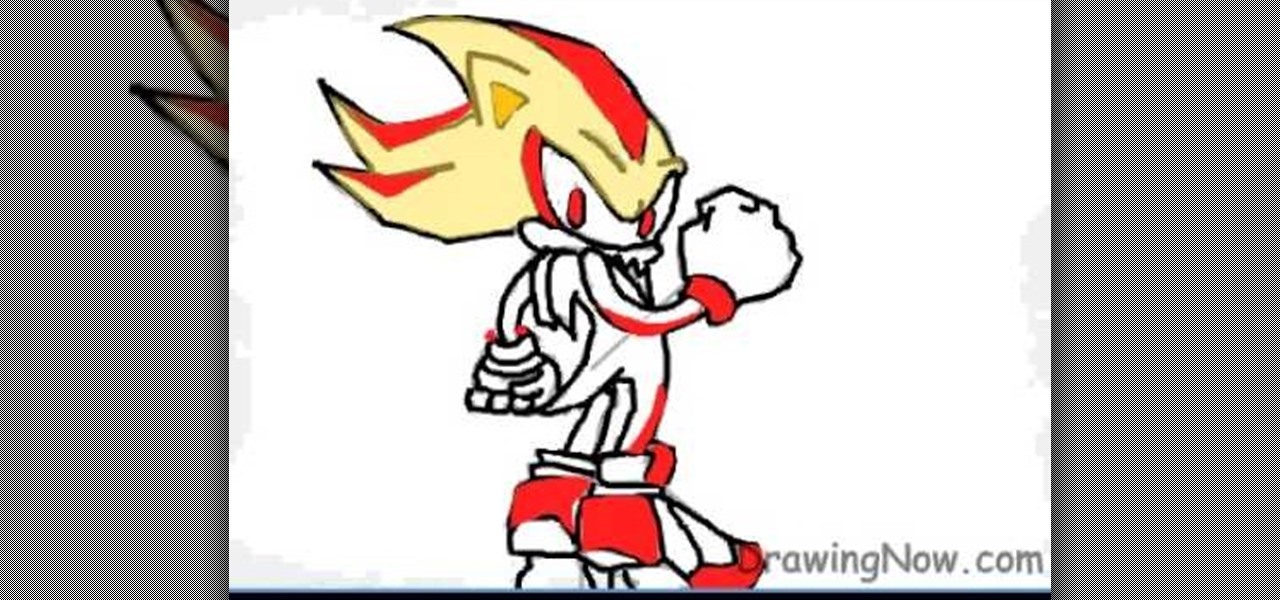
In this tutorial, we learn how to draw Super Shadow from Sonic the Hedgehog. Start off by drawing the spikes for the hair, then draw the ears and the eyes on the face. After this, draw the arms, upper body, lower body, and legs. When you are finished with this, use a dark pen to outline the cartoon character and draw in any additional details. Next, you will add in colors to the character, using reds on the outside of the hair and legs, then orange and tan on the inside. Finish this off with ...
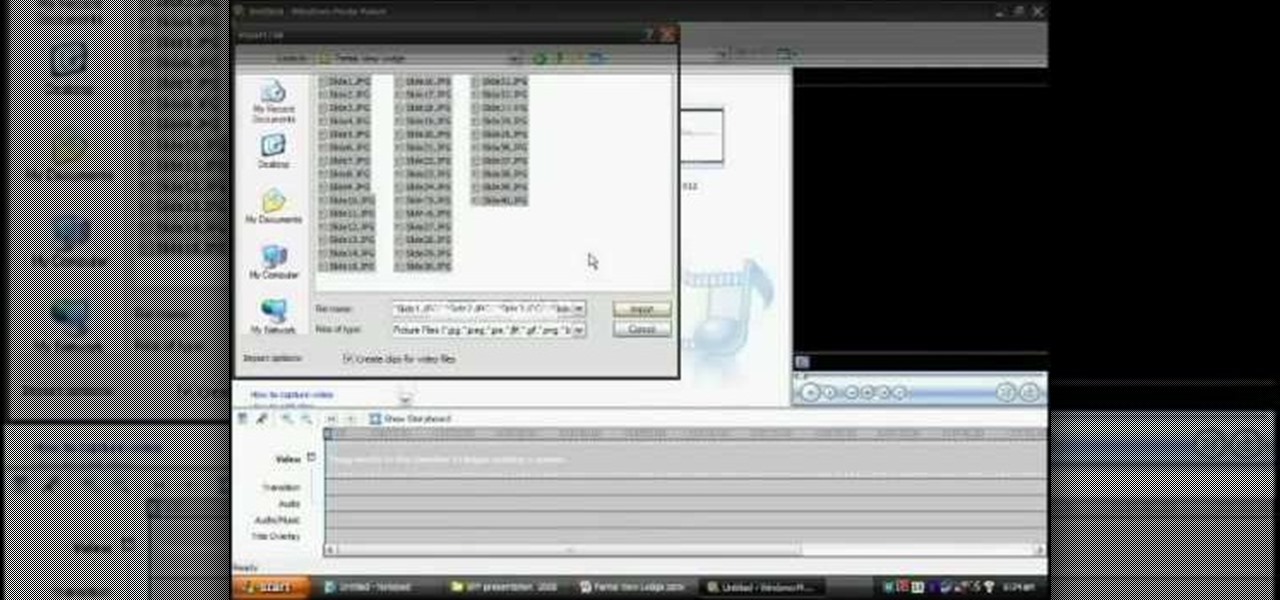
In this tutorial, we learn how to make a movie in Windows Movie Maker from PowerPoint. First, open up PowerPoint, then open your finished project and save it as a JPEG, saving all the different slides. Now, open up Windows Movie Maker and import all of your slides from where you saved them. Next, drag them into the time line and save it as a movie file. This will take a few seconds to finish saving, then click finish. When this is done, you will be able to play your slides as a movie and you ...
In this tutorial, we learn how to do a half up and half down hair look. First, grab the top middle of your hair and comb it up, then hair spray it and tease it up. After this, curl while still holding up, the repeat this for the rest of the hair on your head. To finish, spray hair spray all over the hair to keep it in place. Next, pull half the hair up and push upwards, then use bobby pins to clip it into place. Check in the mirror to make sure it's even and move your head to make sure it's s...
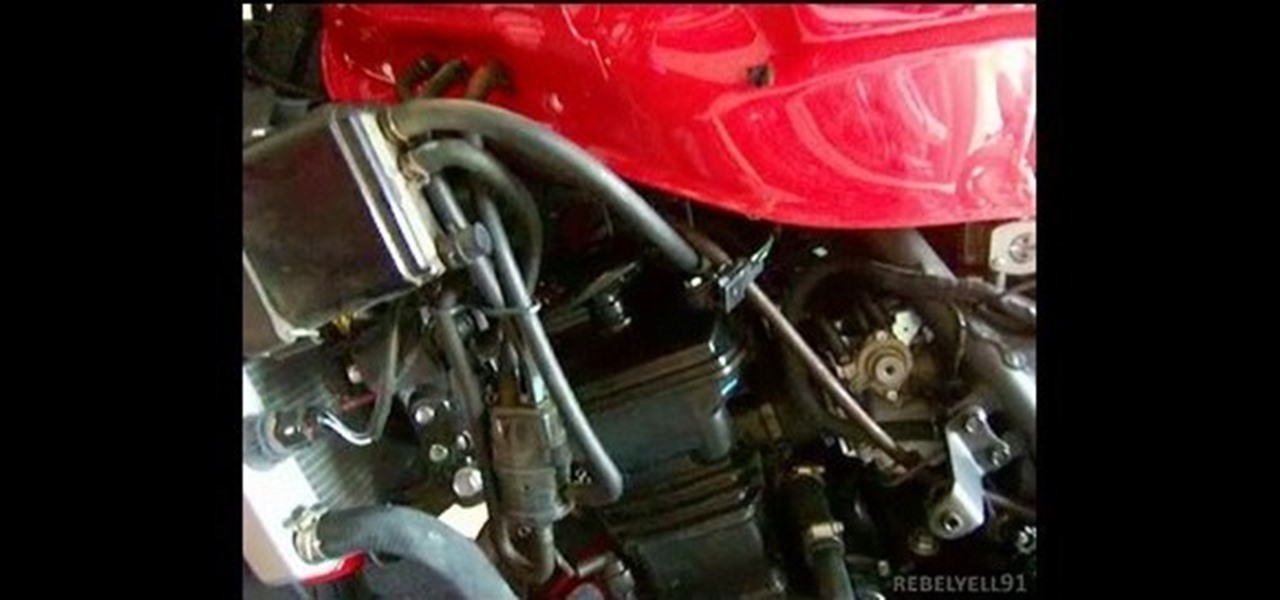
In this tutorial, we learn how to replace the spark plugs on a 2008 Kawasaki Ninja 250. First look underneath your bike to find out exactly where the spark plugs are at. Next, use wrenches and ratchets to loosen the parts around the spark plugs, then remove the spark plugs completely. After you have pulled them out, replace them with the new one and secure them into place. When finished, replace all the casing around the plugs and make sure you secure them tightly. Add on all bolts when you a...
In this tutorial, we learn how to draw a sports logo. You will need: paper and a writing utensil to do this. Do a rough draft of the logo with a light pencil before beginning. When finished, draw a basic helmet shape with a Sharpie marker. Trace around the lines that you made and make sure to draw the face guard when you are finished with the helmet outline. Next, add on a grille to the mask and then add more detail to the helmet as it would look in real life. When you are finished, add color...
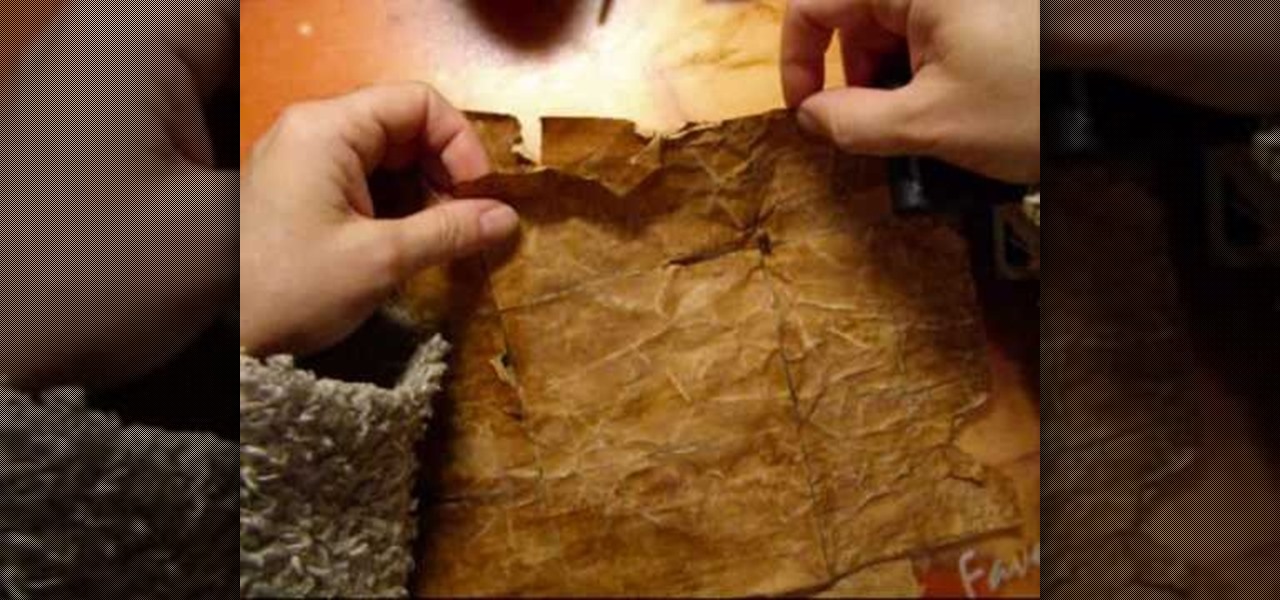
In this tutorial, we learn how to make paper look like it's 200 years old using coffee. First, take a regular piece of copy paper and then use a paint brush to paint a cup of coffee over the entire piece of paper. Use a blow dryer to dry the paper, then brush several more coats onto the paper until the brown looks like it' realistic. To finish, use distressed marks over the paper, then use a blow dry to dry off the entire thing. To finish, apply a couple more coats of coffee to the paper, the...
In this tutorial, we learn how to make Japanese tofu flan. First, make caramel sauce by heating up 30g of sugar with 2 tbsp water in a saucepan. When finished, grind your tofu up then add with 2 oz of water and place into the blender. When finished, pour into a bowl and set aside. In a separate bowl, beat 2 whole eggs then add in 50 grams of sugar, and 45 cc of fresh cream. Stir this slowly avoiding any bubbles being added to the mixture. Now, combine all ingredients except the caramel, and s...
If you've recently had someone or finished installing a paver pation in your front or backyard, the job may not be over. To make sure you get the job done right, you're going to have to add something that will make sure the paver will stand for a long time and will look good as well.
In this video tutorial, viewers learn how to rip a DVD with the program, Handbrake. Begin by opening the video in the program by clicking on Source and locating the DVD drive. Handbrake will start scanning the all the titles of the DVD. When finished, it will automatically select the correct title for the movie. Under Destination, click on Browse to select your saving destination. You are also able to change the name of the file. Now select the video format and aspect ratio. When finished, cl...
In this Home and Garden video tutorial learn how to faux paint a crackle finish on furniture. When working on this type of project, it is best to work on a horizontal surface. However, if you have to work on a vertical surface, this video explains partially how you can faux paint the crackle finish. If you apply the glue to the surface lightly and while painting with a roller, you got to simply glide it over the surface. If you roll it back and forth, it will start to crackle again. But, if t...
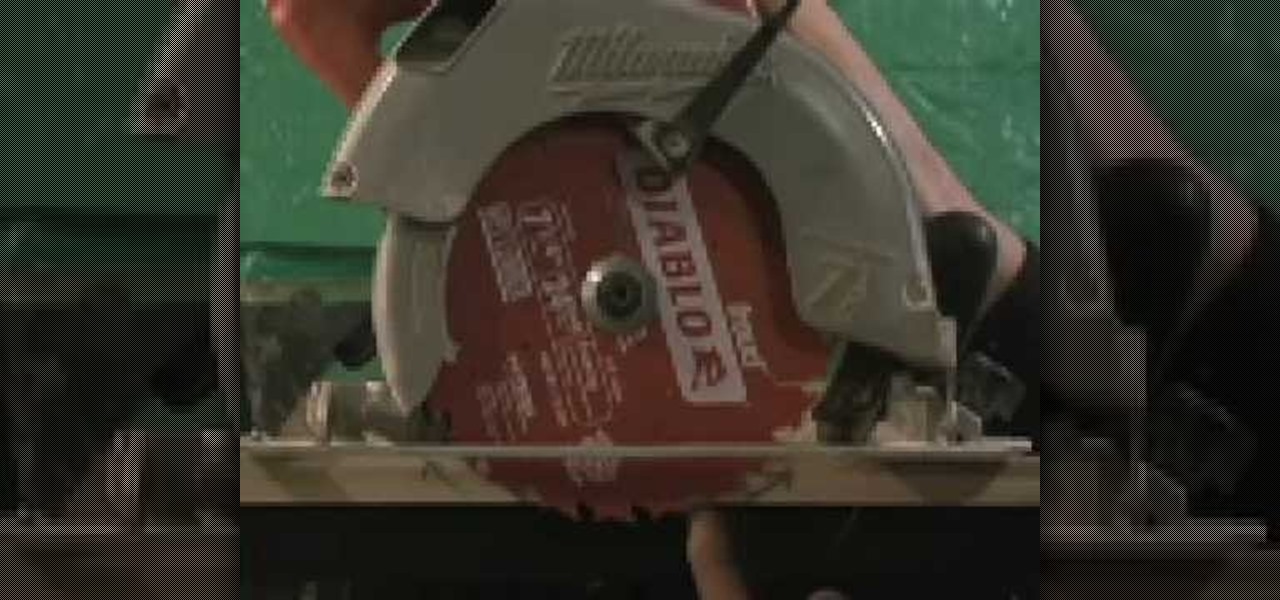
This short video tutorial Bob Schmidt will show you how to make clean cuts in wood. The blade rotation of any pretty much dictates the best way to run your material through. To get the cleanest cut possible remember these tips: Whenever you run wood through a Table saw, always make sure that your finished side is up. Do the exact opposite when you are using your Power saw. The finished side of your wood must be at the bottom. When you use a Mitre saw, make sure the finished side of the wood i...
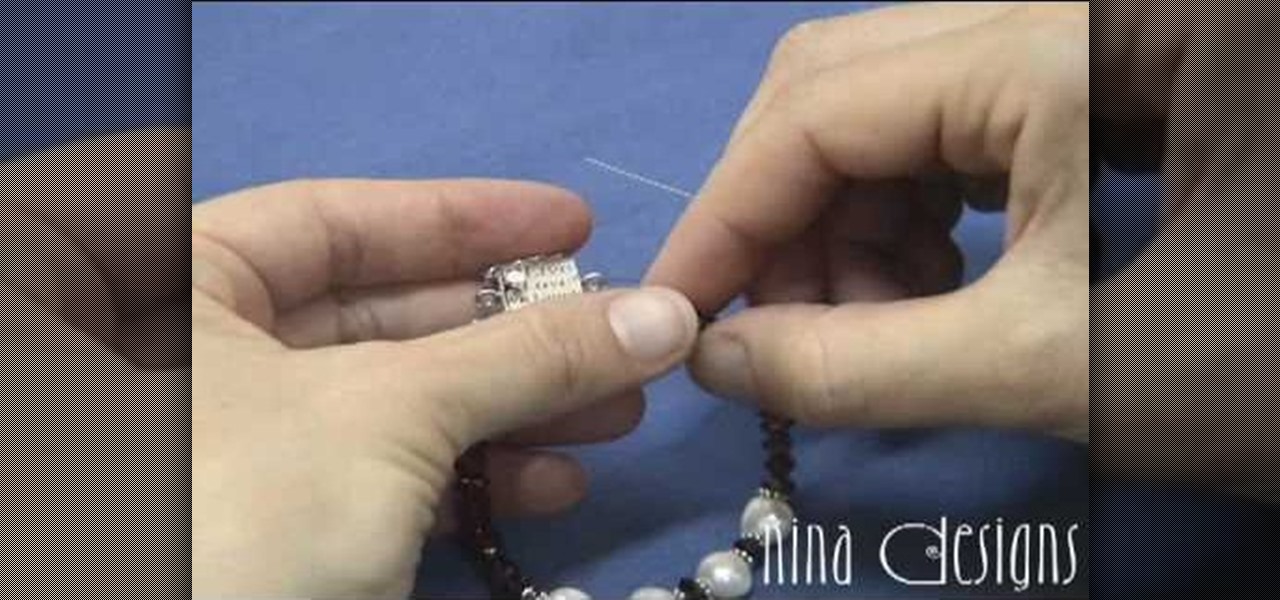
Learn how to finish a bracelet with crimps and covers to finish a bracelet start by putting a crimp bead over your beading wire and then add a clasp. After putting the clasp on the wire run the beading wire back through the crimp. Move the crimp bead up toward the clasp leaving a little room for play in between the clasp and crimp bead. Take your crimping pliers and put the crimp bead in the backspace of the pliers. Squeeze the pliers firmly to smash down the crimp bead. The crimping pliers w...
This video by KnitWitch.com demonstrates how to bind off with patterns or in other words shows how to end off two different types of knitting stitches. You want to bind off by working the stitches the same way as if you were still working the pattern. Not only does this video show you how to bind off using multiple stitches, it also shows you how to finish off the last stitch in the row so that all of your finished work doesn't unravel.
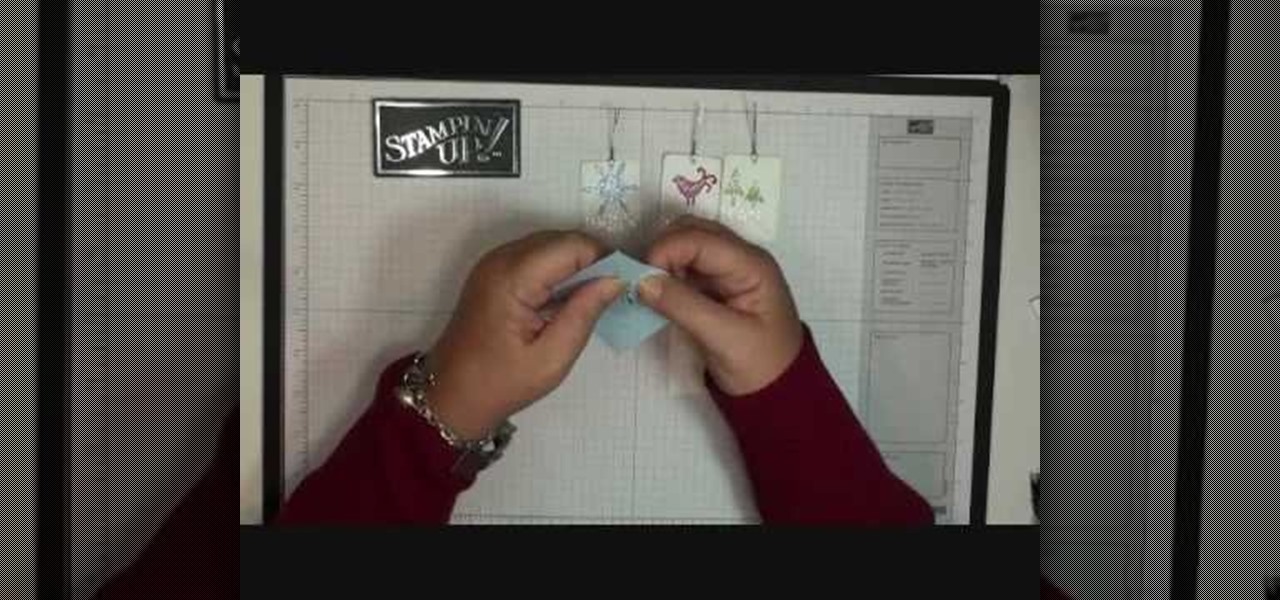
The video is very informative about the using of a Stampin' Up. The blogger explains the different parts of the system and how to use them. She first shows the finished product, in this case a label or gift tag. She then explains the process of how to die cut the various parts and how to use the dies and machine to cut out the shapes. She then explains how to put the Tags together. She then shows how to finish the product. All through the process the video also has pop ups with a brief write ...
Have you ever been curious about how a guitar goes from a couple slabs of wood, to a beautiful hand crafted instrument? In this two-part video series, learn how these precious instruments are made from start to finish. In two parts, witness the adding of kerfing, inlaying the tail wedge, the installation of the binding, and construction of the back, the soundboard, the fretboard, and the bridge.
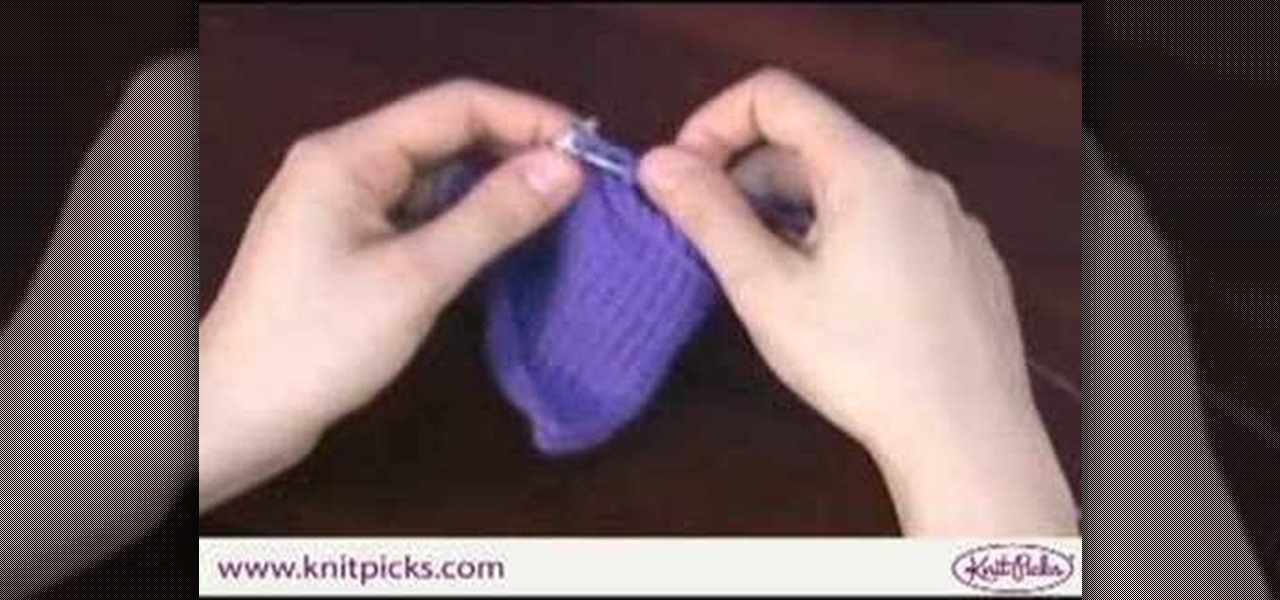
This instructional knitting video demonstrates how to knit the basic purl bind off. After you cast on, knit and purl your pattern and finish your project, there's just one more step that has to be completed: get your project off the needles. The purl bind off is a simple and quick method for making a finished edge.
This video will teach you how to bind off your knitted stitches. The basic bind off is the most commonly used method of finishing knitting projects, especially for beginners. Follow these step by step instructions to knit a neat and straight finishing row.
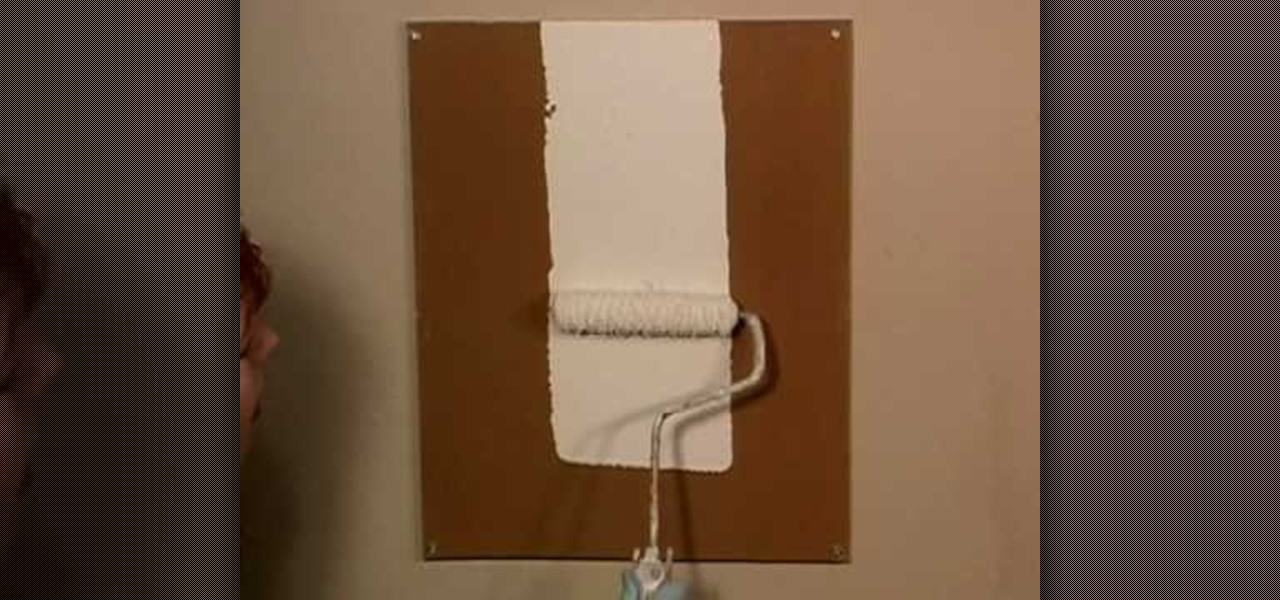
Create a faux linen finish on your walls with the techniques shown in this how to video. Learn what a can of paint and a little imagination can do to completely change the look and feel of a room. This interior design video emphasizes ideas that turn even basic wall painting into something unique. Luxurious linen finishes will appeal to you if you're looking for something simple or dramatic that includes everything from walls to murals to painted furniture.
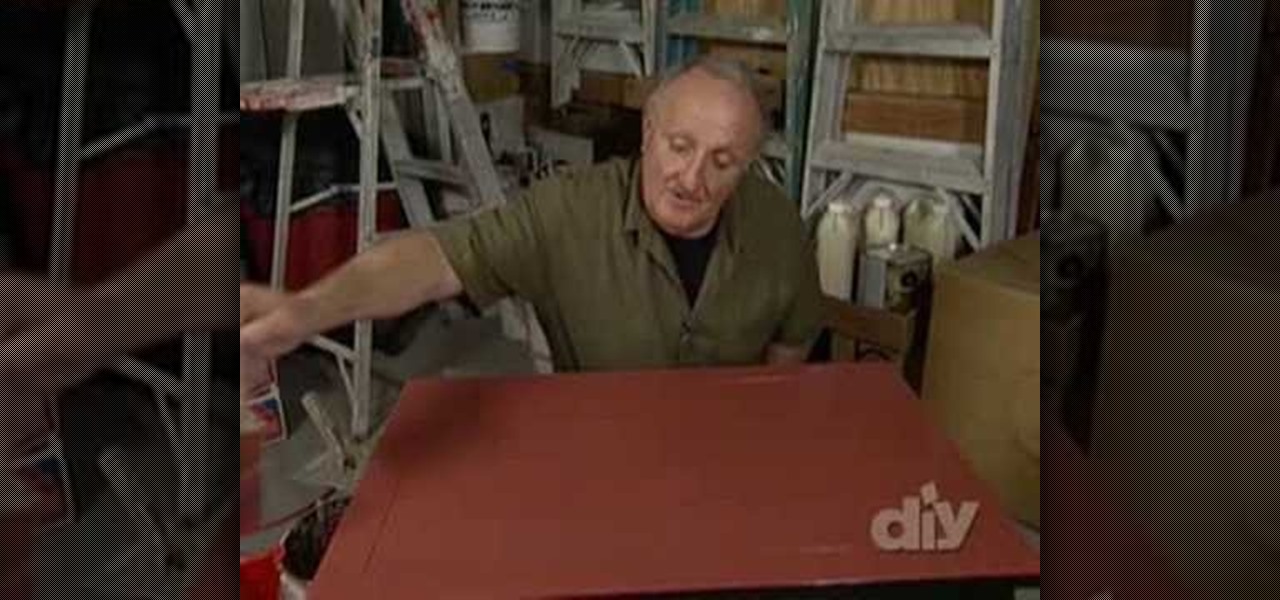
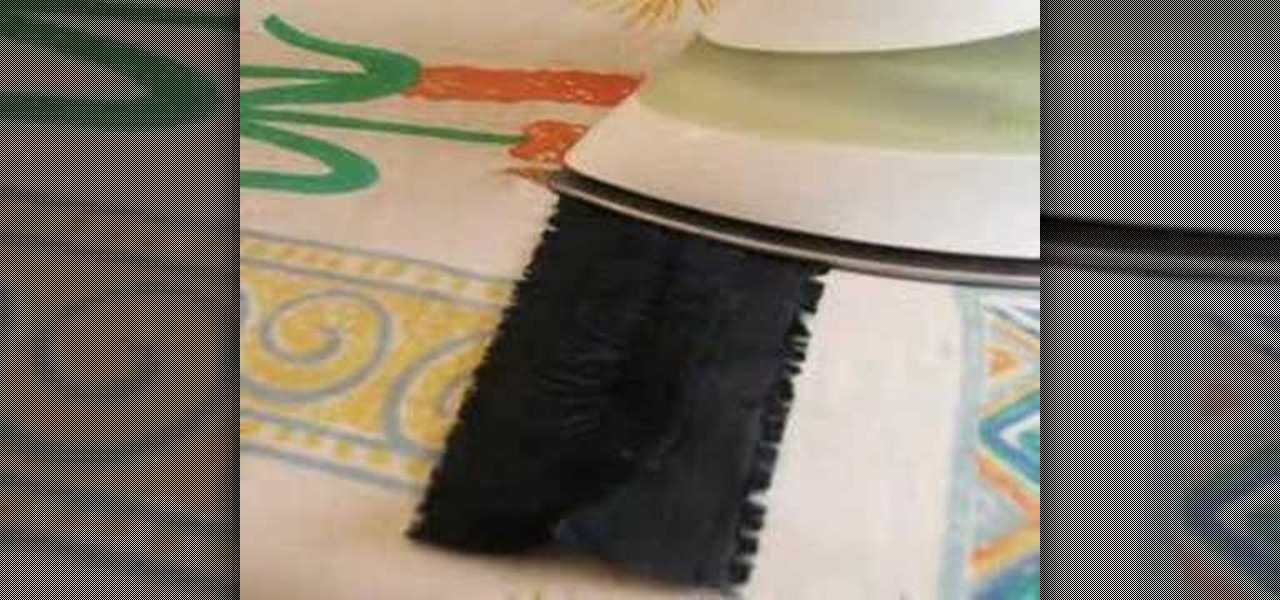
Negoro nuri is a technique using black lacquer topped with red lacquer. This how to video illustrates what a can of paint and a little imagination can do to completely change the look and feel of any furniture. This interior design video will appeal to you if you're looking for something simple or dramatic and includes everything from walls to murals to painted furniture. Keep watching to master the negoro nuri lacquer finish.
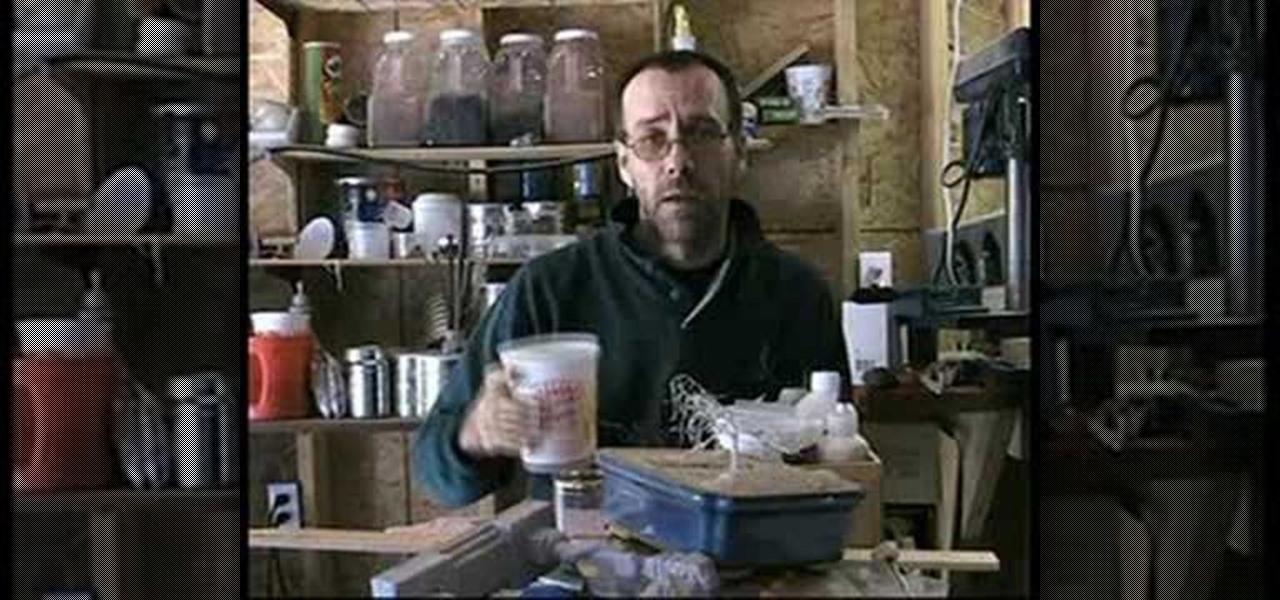
Watch this instructional video to paint realistic finishes on miniatures for dioramas, architectural models, and game terrain. This model maker begins with an introduction to washes and dry brushing. When working towards a tarnished or deep finish on your miniatures, you must layer coats of paint in thin washes.
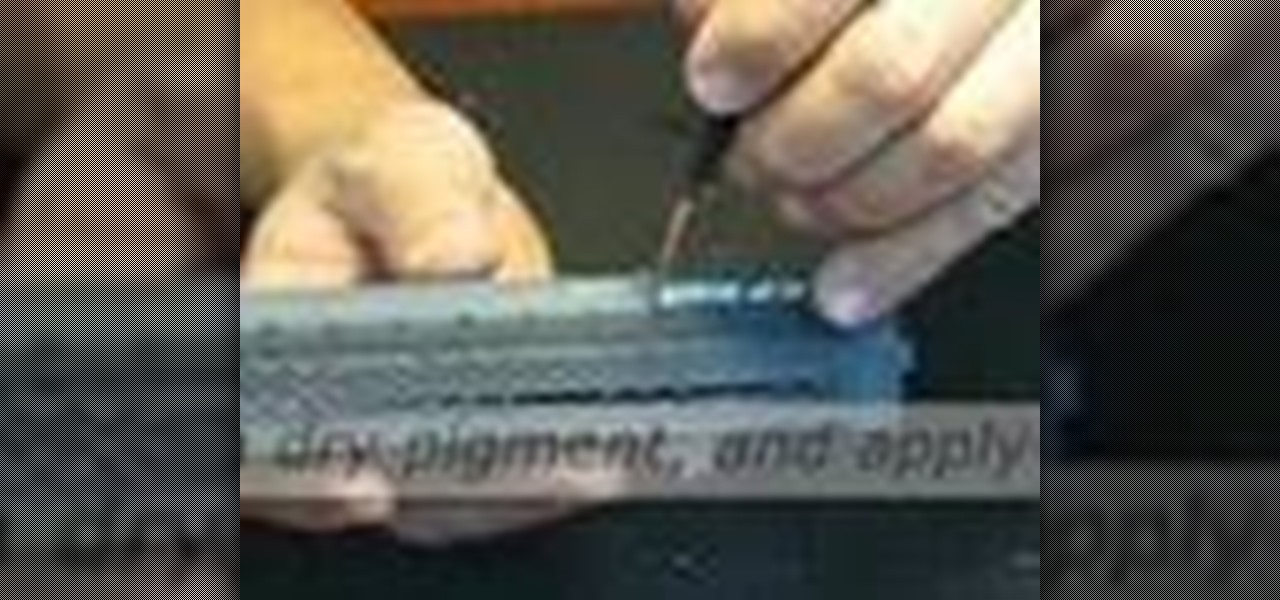
Brand new model train cars might ruin the overall effect of the train tracks. Trains that look like they've been out on the job for years look more realistic. Watch this hobby how-to video and learn how to give an aged and weathered finish to a grainhopper model train car.
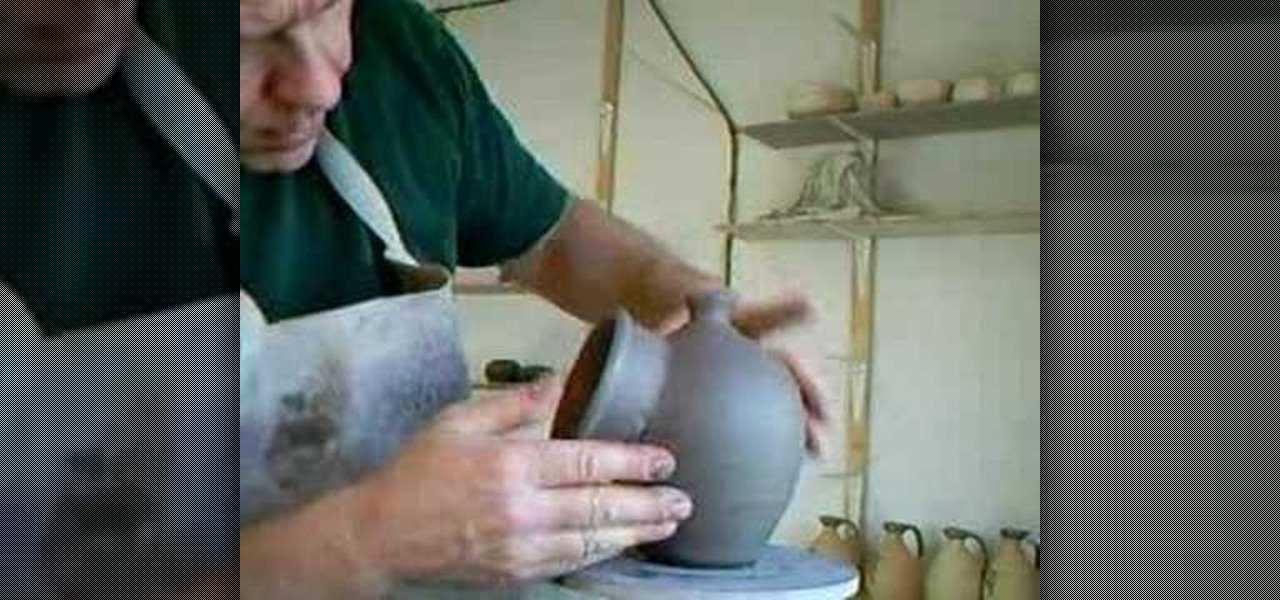
Watch this ceramics tutorial video to learn how to add the mouthpiece to a salt pig and finish it off. This how-to video requires a certain degree of experience, specifically the ability to make the body of the salt pig, so it's not for beginners. The instructions in this helpful video will have you finishing your salt pigs in style in no time.
Even if you don't own a serger or a sew and serge presser foot, you can finish your seams neatly to protect your garment from unraveling. Use a simple method of zig zag sewing over the edge of your seams. This video sewing tutorial shows you how to do that with the seam pressed open or closed.
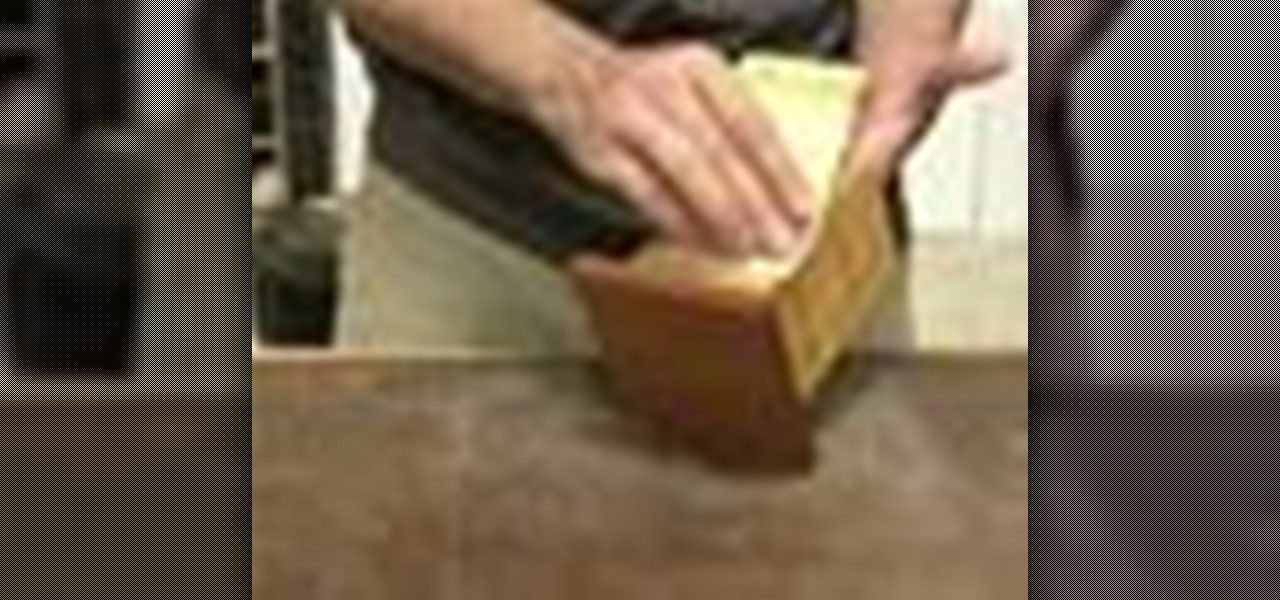
End grain wood is very absorbent to whatever material that is applied to it. In this how to video you will learn how to apply shellac, a maple transtint coloring agent and a topcoat to end grain wood for a beautiful maple finish.
This is a short video on how to bind off knitting which can be performed both knitwise and purlwise Learn how to perform this basic knitting move to finish off rows of stitches in a minute.
Tim Carter demonstrates how to finish drywall. If you follow his tips, you'll have no trouble with your drywall installation. Great video for the beginner drywall finisher.
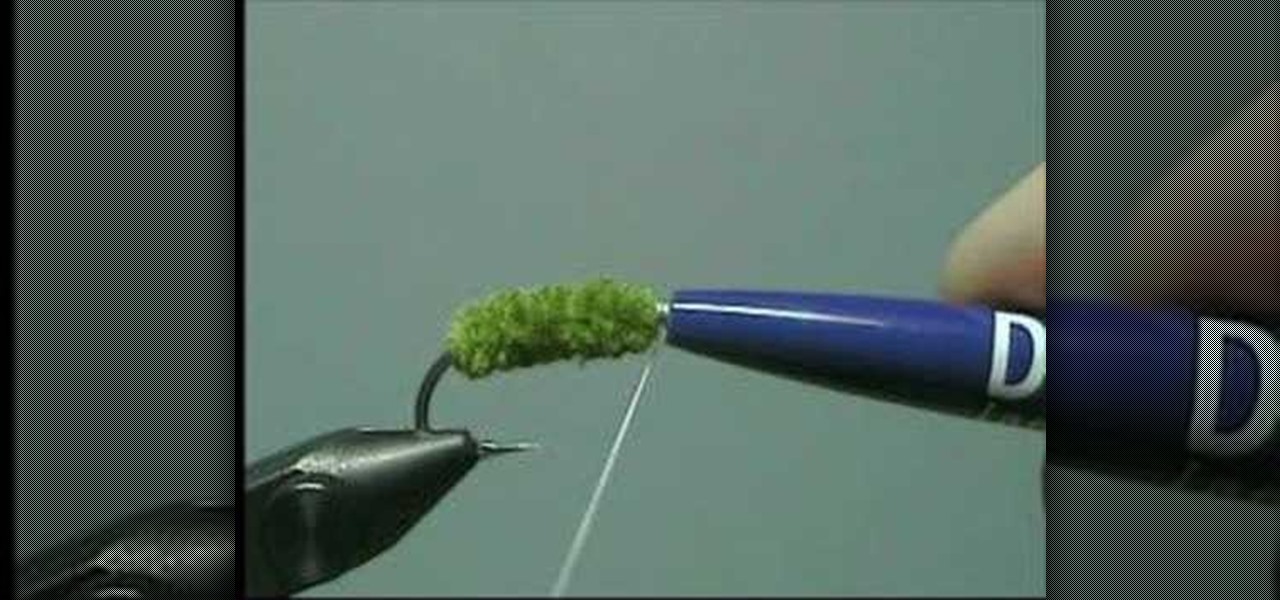
Watch this video to learn how to whip finish a fly without a tool.
Using a half hitch is a great way for beginners to finish tying a fly for fly fishing - this video shows you how.
Wood furniture can really add warmth to the home. However, over time the finish on these pieces of furniture may start to look dull or show light scratches allowing the finish to lose its luster. This video shows you how to polish up those wood pieces in your home so that the richness and fullness of the finish shines again. For this task, you will need: 2 soft polishing clothes and a bottle of wood furniture polishing spray. You may also choose to make your own polish by combining: 1-cup of ...