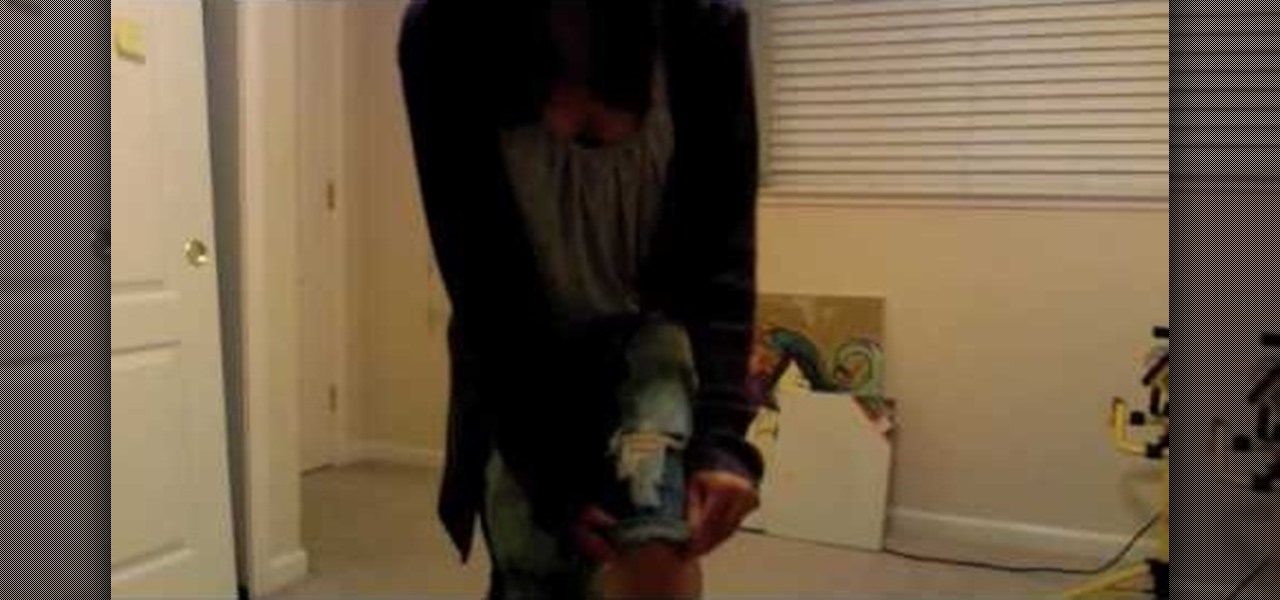
This video demonstrates how to make a loud and annoying paper popper. Prepare a regular sheet of paper and lay it down on the table or a flat surface. Fold the lower portion of the paper at about an inch and a half (1.5") or two inches (2"). Fold it the second time at about the same length you did with the first. Then, fold the paper right in the middle in the opposite direction with your first two folds. Your paper should now be folded to resemble a nurse's hat. Hold one corner of the folded...
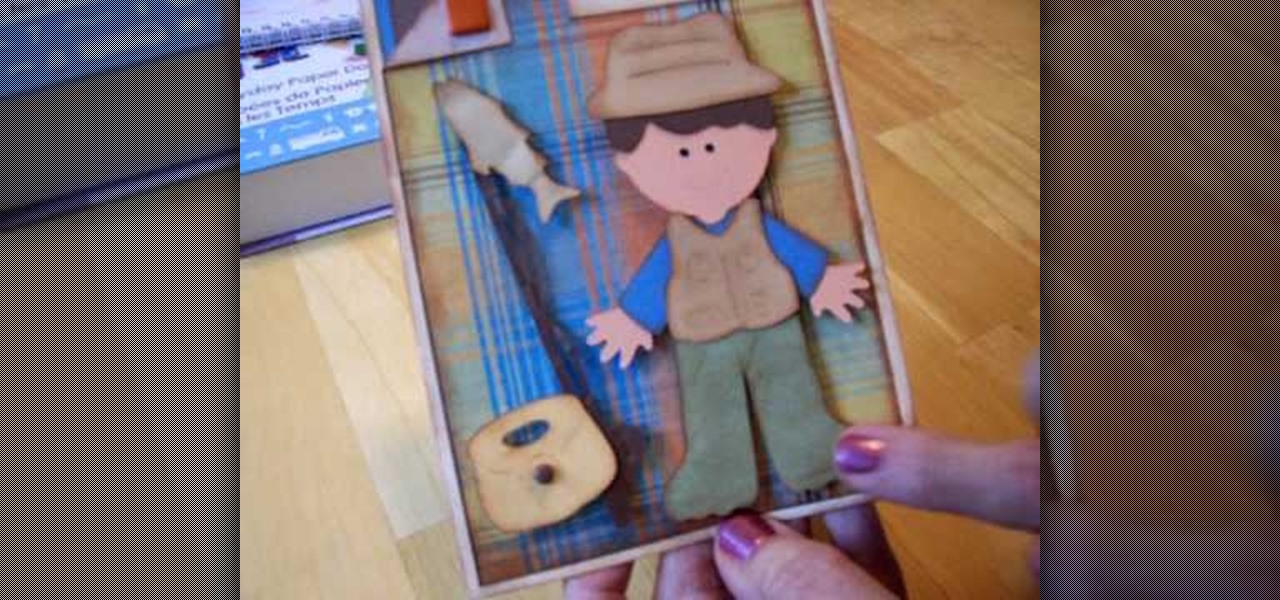
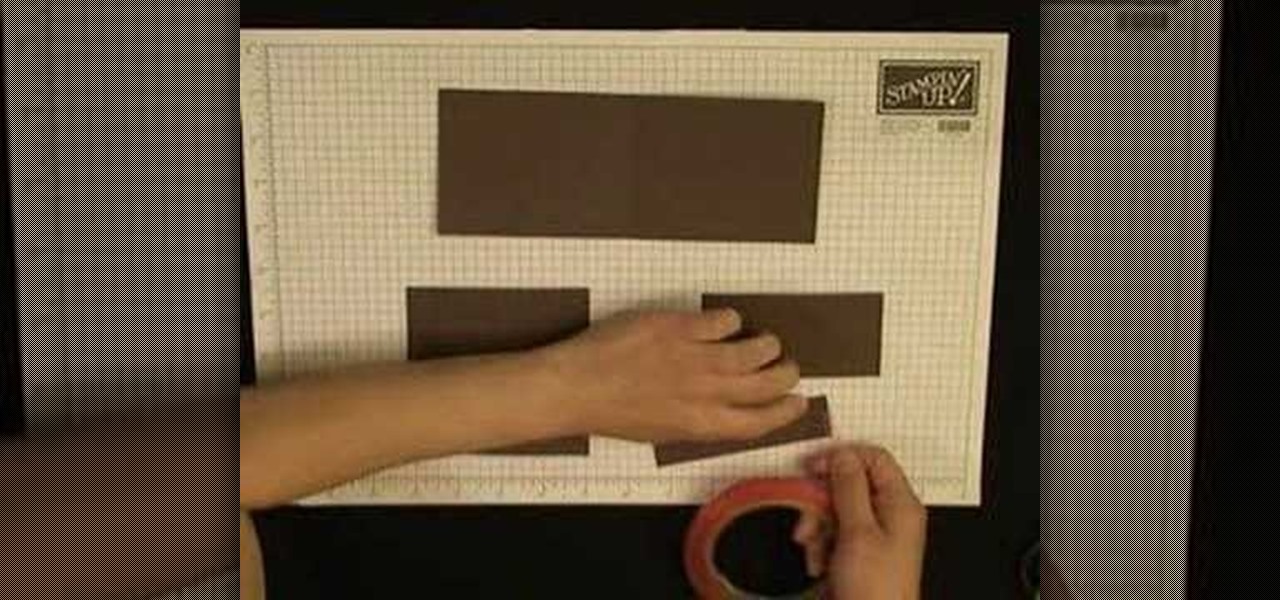
You can learn to make birthday cards yourself using every day paper dolls cartridge, by watching the detailed instructions given by Mary. In this video, she uses the cutouts of a fisherman to make the card. Firstly, the outline of the body of the fisherman is cut out, followed by his head, dress, and hair, hat, fishing basket, the fishing rod, fish and other accessories, all of 4 inches. These cutouts are then affixed onto the birthday card. Some additional details are outlined, such as creas...
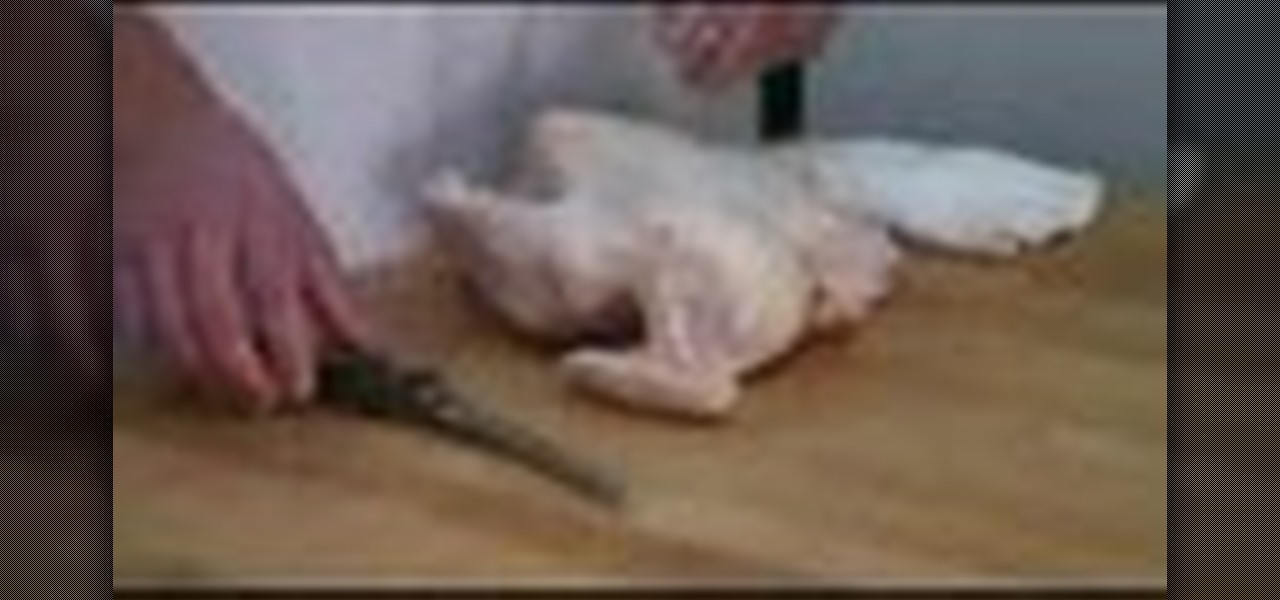
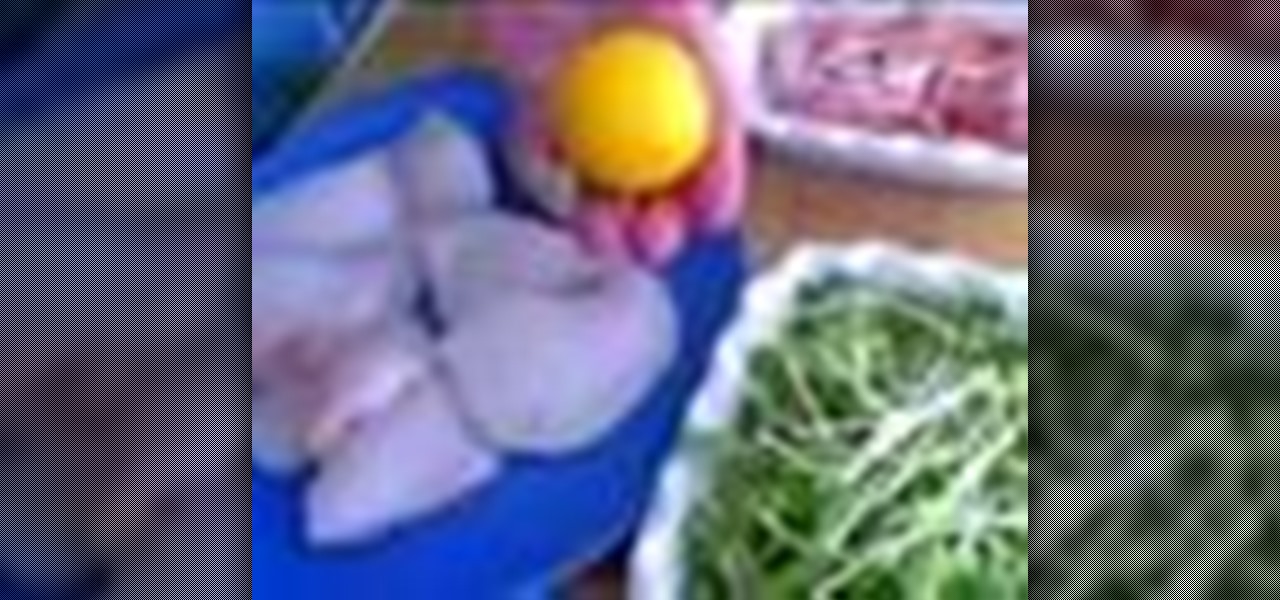
Gwen Schoen and Paul Carras share with you in this video how simple it is to save money by carving a whole raw chicken. You can save your pockets an average of 20 – 30%! First take out any insides; this is usually the neck, heart and liver when included. Lay the chicken on its back and start with the wings. Break the skin with a boning knife and pull the wing away from the body until the socket pulls out. Finish the incision where the socket meets and repeat on the other side. Then you’ll...
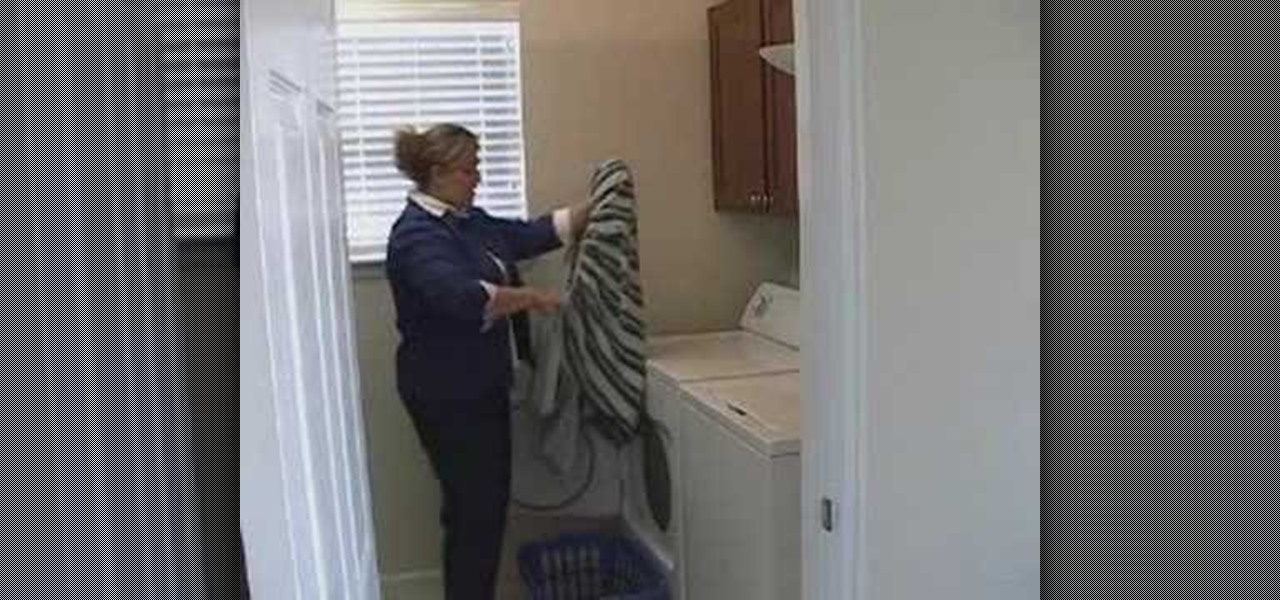
This video explains how to properly fold fitted sheets. The first step is hold the sheet with the pattern, outer side closest to you and put your left hand into the first pocket and your right hand to the second pocket. Put your right hand over your left hand and flip the sheet on top of itself. Keep your hand on the top sheet and follow the edge all the way down to the third pocket. Place your hand on the underside (non-patterned part) and match it to the first two pockets, and then flip it ...
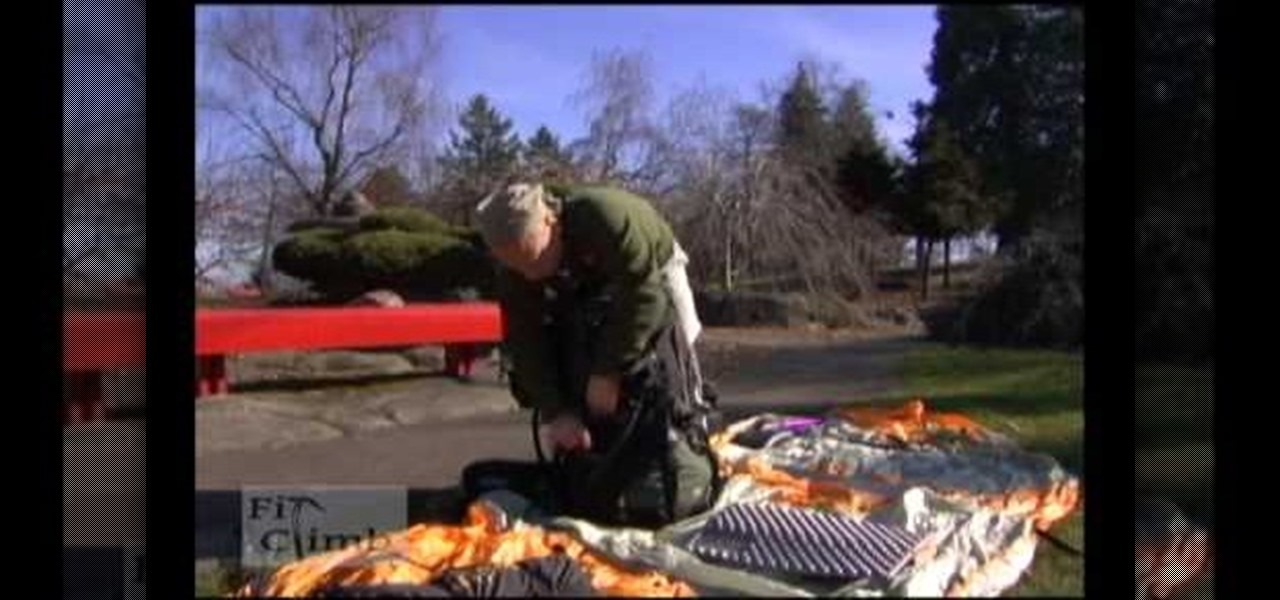
The video demonstrates how you should pack to be fully equipped and prepared for a backpacking trip that lasts 2-3 days. Gather all of your equipment including clothes, food, water, climbing gear, emergency kit, sleeping back, and more. When you start to pack, you want to make your center of gravity is very low so pack your heavier items near your back and lighter ones that aren’t required immediately during your trip such as your sleeping bag at the bottom of the backpack. Also remember th...
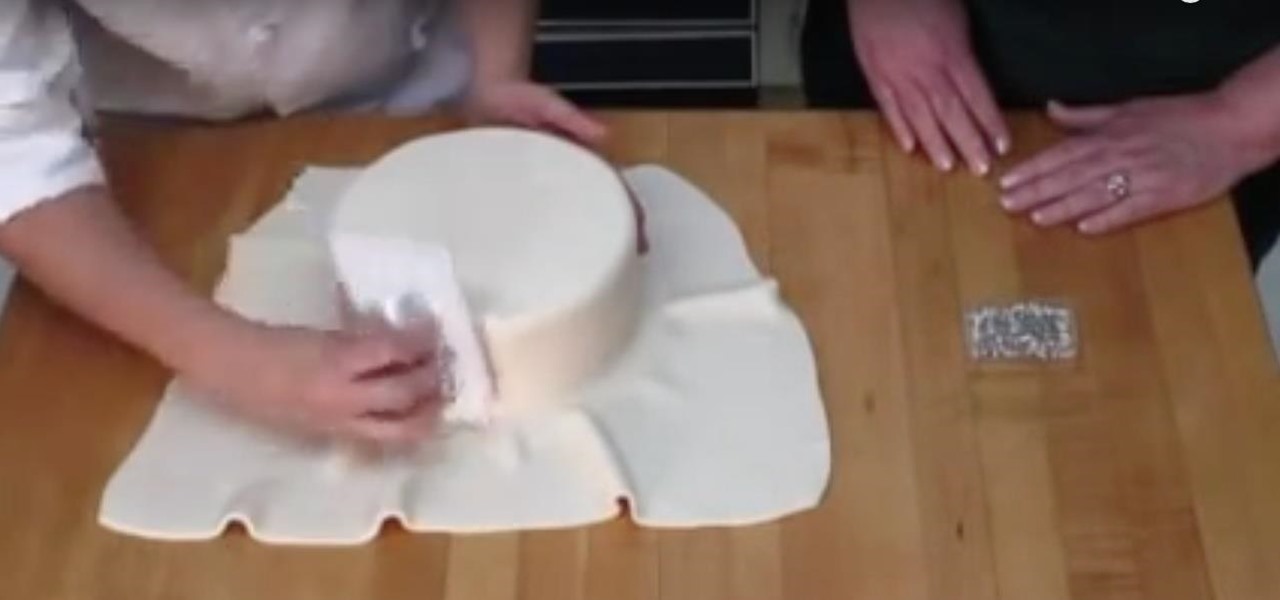
This is a demonstration of covering and decorating a cake with fondant. The cake is chilled and kept aside for covering. Fondant is bought from a cake decorating shop in bulk of about one pound as less is hardly available. The fondant is kneeded like a bread dough and made smooth and soft. The dough is rolled by a rolling pin after spraying a little corn starch on both sides so that it does not stick to the table or the rolling pin. It is rolled upto a thickness of 1/4" to 1/8" thick if the c...

Jessica shows you how to relieve some anger and stress by turning your ex-boyfriend's favorite pair of jeans into new low-rider, distressed, destroyed vintage shorts in this fun tutorial. First step: fray them on the pockets and seams by using an X-acto knife. Just scrape the knife along the edges of the pockets/seams, which will take around five minutes per 2-inch section. Step 2: distress them by taking a pair of scissors and making a cut in the both knees. Then take a seam ripper (availabl...
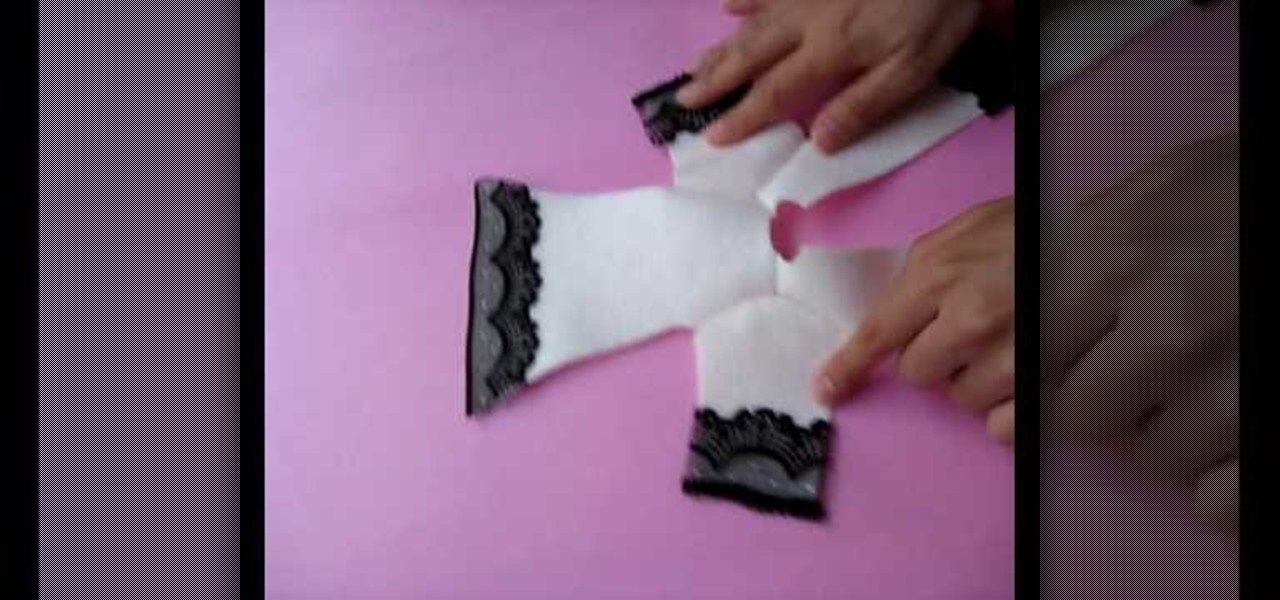
Channel Pulip shows you how to make a holiday coat for a doll. You will need wool felt, with no crease, trimming, lace, ribbon or button. Cut out the pattern as shown. Sew together at shoulder with 4mm seam. Pin and sew sleeve on. Sew lace on coat bottom and sleeve bottoms. Sew the side seams. Turn the coat inside out. Sew trimming from top of coat to bottom. Sew trim on collar and sew collar to coat. If you are adding pockets, sew trim on them and hand stitch the pockets to the coat. To clos...
In general, this video is approximately one minute and eight seconds long. The host speaks about personal hygiene by using a small packet of antibacterial wipes. She generalizes the use of this product, which includes hand sanitation, cleanup, and emergency antibacterial use. She specifically speaks about deodorizing the underarms. She relates to the audience about forgetting to use deodorant and how using the antibacterial wipes will help fight bacterial body odor, but clearly states it won'...
Learn how to recycle an old jeans into a earth friendly sandals with Gianny L! In order to make sandals out of a pair of blue jeans, you will need the following: scissors, cardboard, needle, thread, a sewing machine, a pair of jeans, a pair of flip-flops, chalk, and foam.
Love We Rule? Looking to line your virtual pockets with digital lucre? Earn coins in We Rule can be easy! This gamer's guide presents a complete overview of the process. For more information, including detailed, step-by-step instructions, and to get started earning your own coins in We Rule without use of hacks or cheats, take a look.
93 year old cook and great grandmother, Clara, recounts her childhood during the Great Depression as she prepares meals from the era. Learn how to make simple yet delicious dishes while listening to stories from the Great Depression. Keep your stomach and pockets full as you learn how to make panecotto (cooked bread).
This video shows us how to make a star box from a folded paper with origami. Firstly take a piece of paper and cut it in the form of a square. Then take the top left corner and fold it to meet the bottom right corner and then crease it and then unfold it. Then do the same thing to the other side as well and unfold it. Then fold the paper vertically, crease it and then unfold it and do the same thing horizontally as well. Then pinch the top and bottom ends and claps the bottom inward to create...
In this video, we learn how to make a photo/ATC carousel for cheap. First, take clay in a cylinder circular box and let it set. Then, insert in a long object to create the spine of it. Push the clay around this after spraying with water. Then, fold trading card stock as well as card stock for photographs. Cut these out so you create little pockets where you can insert your photos into. Then, once you have all of these cut out and your photos inside, you will adhere the sides of them to the ce...
In this tutorial, we learn how to make hand warmers. You can make this out of pockets off of an old sweater. First, grab a piece of copy paper and measure over two inches, then fold it in half. After this, measure down 1.5" and then draw a line where this mark was. After this, cut the piece out and lay the paper on the sweater, then draw a line on the paper for the thumb holed. After you do this, you will cut out the area on the sweater, then sew it around on the sides. When you are done, you...
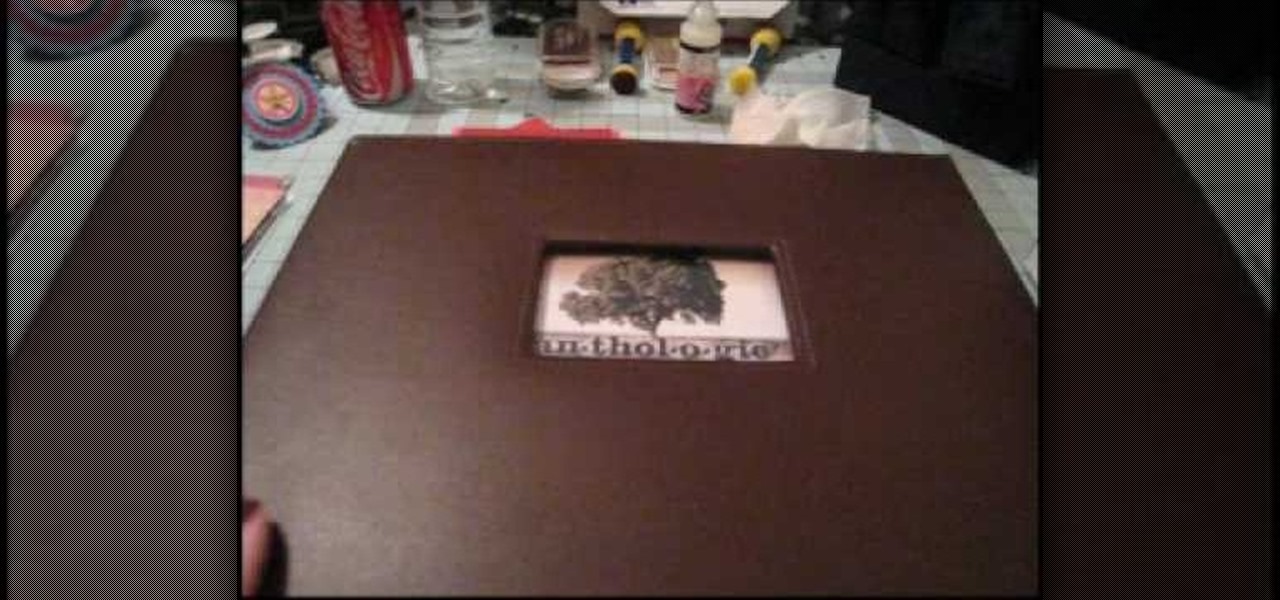
In this Arts & Crafts video tutorial you will learn how to use non-standard page protectors when scrapbooking. It is a tip on getting a large number of photos in an album without taking up too much space or using too many supplies. You can get 12 x 12 page protectors in terms of size but with pockets for 4 x 6 photos. This way you will have 6 photos on each side of the protector. Or maybe you put 5 photos and a card on one side. If you don't want to mess around with extra page protectors, you...
In this video tutorial, viewers learn how to fold an origami water bomb. Users will need a square paper. Begin by folding the paper in half both horizontally and vertically. Then fold the paper diagonally in half both ways. Now fold the edges into the middle to form an isosceles triangle. Then fold the edges to the middle to form a diamond shape. Fold all the tips to the middle and then fold all the corners to the middle. Finish by tucking the triangle edges into the pockets and blow up the p...
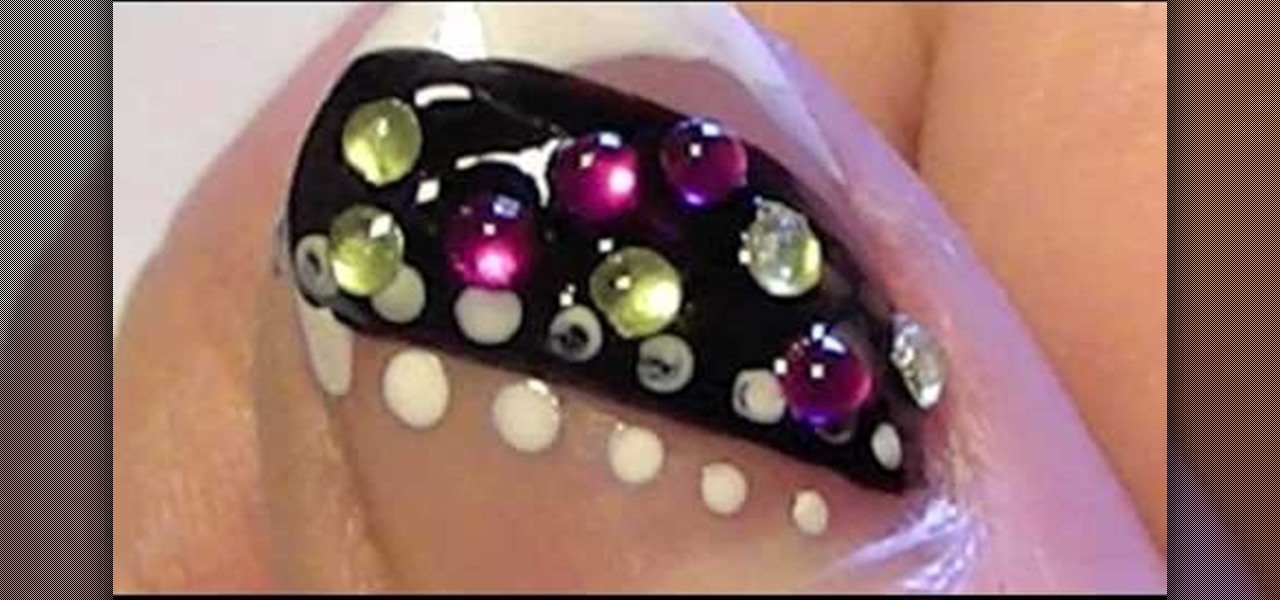
The rhinestone studded nails will be more attractive. To make your nails a perfect complement to any acrylic or polished nails use your wildest imagination to make it more attractive. The following steps will help to make beautiful, rocker rhinestone studded nails. The first step is to clean the nail surface where you want the stickers to be placed. The second step is to apply a base coat, and the third step is to apply nail polish color. The fourth step is to peel off the stickers carefully ...
93 year old cook and great grandmother, Clara, recounts her childhood during the Great Depression as she prepares meals from the era. Learn how to make simple yet delicious dishes while listening to stories from the Great Depression. Fry up a cheap meal of peppers and eggs to keep you full in stomach and pockets.
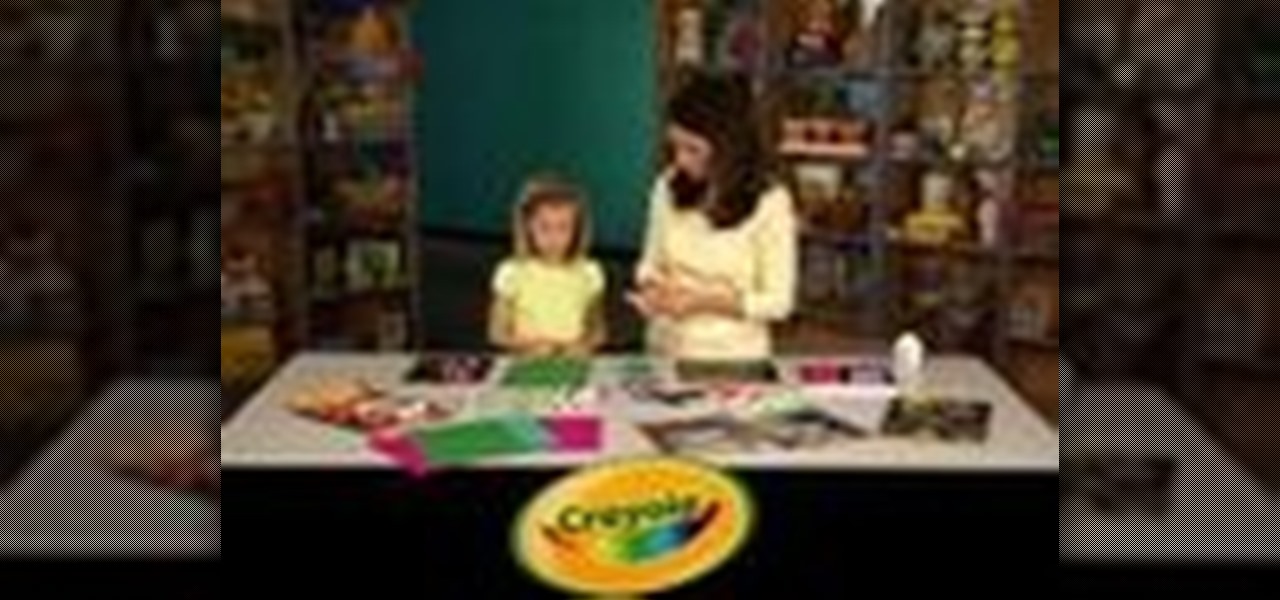
Some Dads, or brothers or grandfathers, jingle lots keys and coins in their pockets. Give them a hand for their pocket change and car keys with this one-of-a-kind tray. Learn how you and your child can make a nifty tray for keys and coins with this arts and crafts tutorial from Crayola. You will need Crayola Color Surge paper and markers, Crayola Color Explosion black paper and markers, scissors, glue, and your hands. Dad will love this homemade gift for Father's Day. With this how to video y...
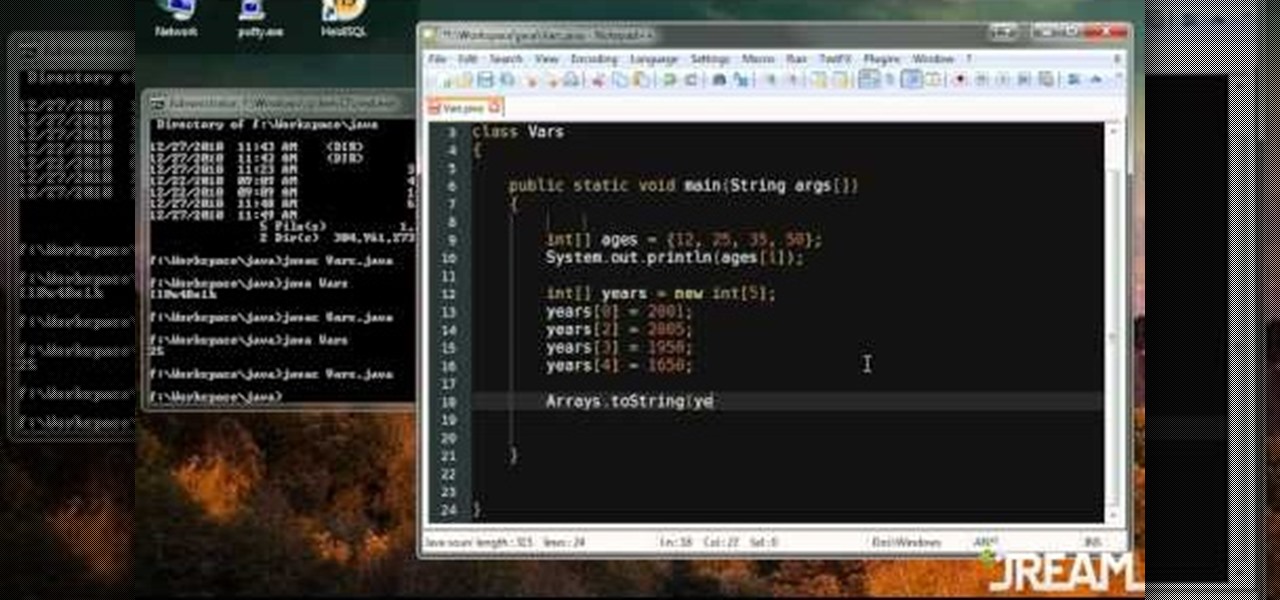
Arrays are little pockets of data distributed throughout your program. They're useful because having arrays keeps you from needing to work with hundreds of variables when programming. This specific tutorial shows you how to work with arrays when you're using Java to program.
In honor of the recent proposed ban in Italy on miniskirts, this tutorial shows you instead how to make a fun, basic jumpsuit! All you'll need is a basic torso pattern and a pant pattern without any pockets. And voila, your own sexy jumpsuit!
Make a hip and functional wallet using the glossy photos taken from old magazines. Your wallet will be colorful, trendy and have pockets for both your bills and cards. All you need in addition to the magazines is a pair of scissors and some clear tape.
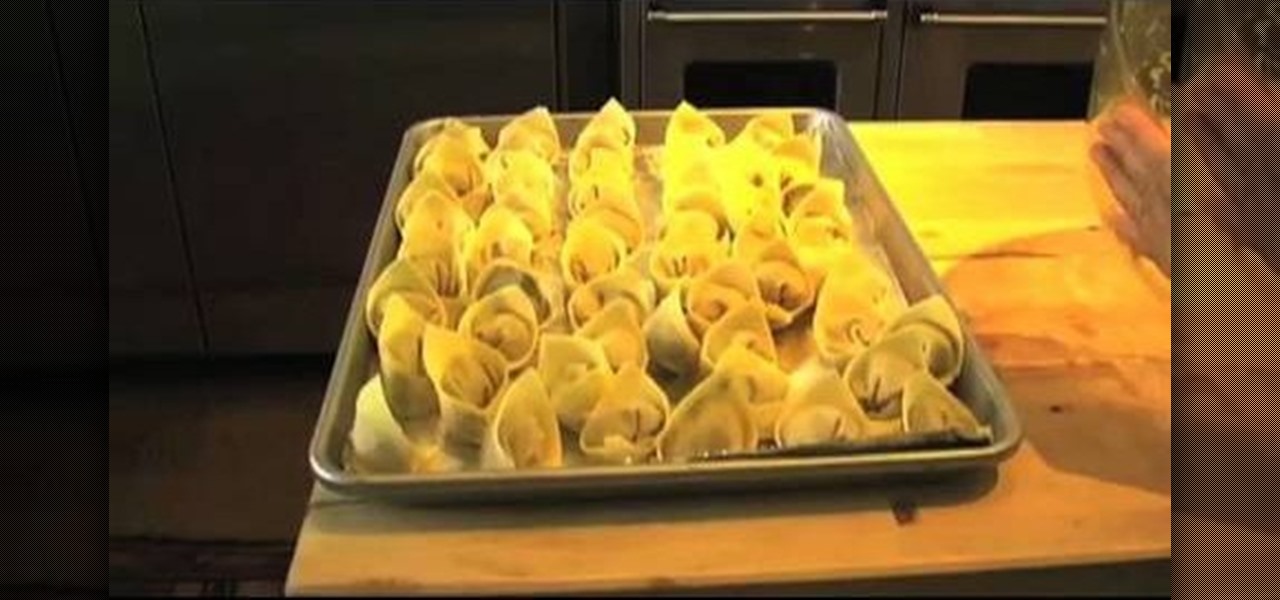
Tamra is learning how to make Asian style won tons as a treat for her family and letting you follow along as she goes. Won tons are tasty little pockets similar to Italian tortellini that make great snacks or appetizers. Follow along and make these vegetarian versions of the popular treat. Enjoy!
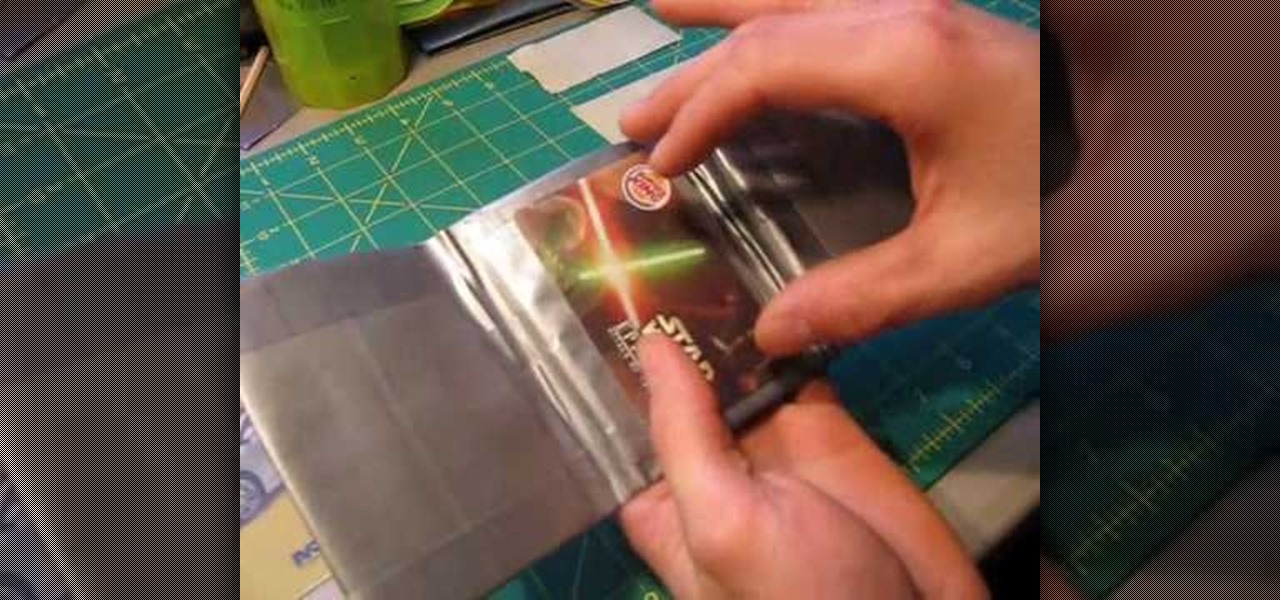
You know those little clear pockets in your wallet that perfectly fit your driving license or school ID card? Didn't think you could get them in a homemade duct tape wallet, did you? Well, think again! In this clip, you will learn how to make a complex wallet out of tape including credit card slots and a see through ID holder. Follow along and get started.
Here is a video tutorial on how to make a wallet out of cardstock. This wallet has four pockets to hold gift cards as well as a place to hold money. This type of card is great for a Father's Day, birthday, or graduation gift.
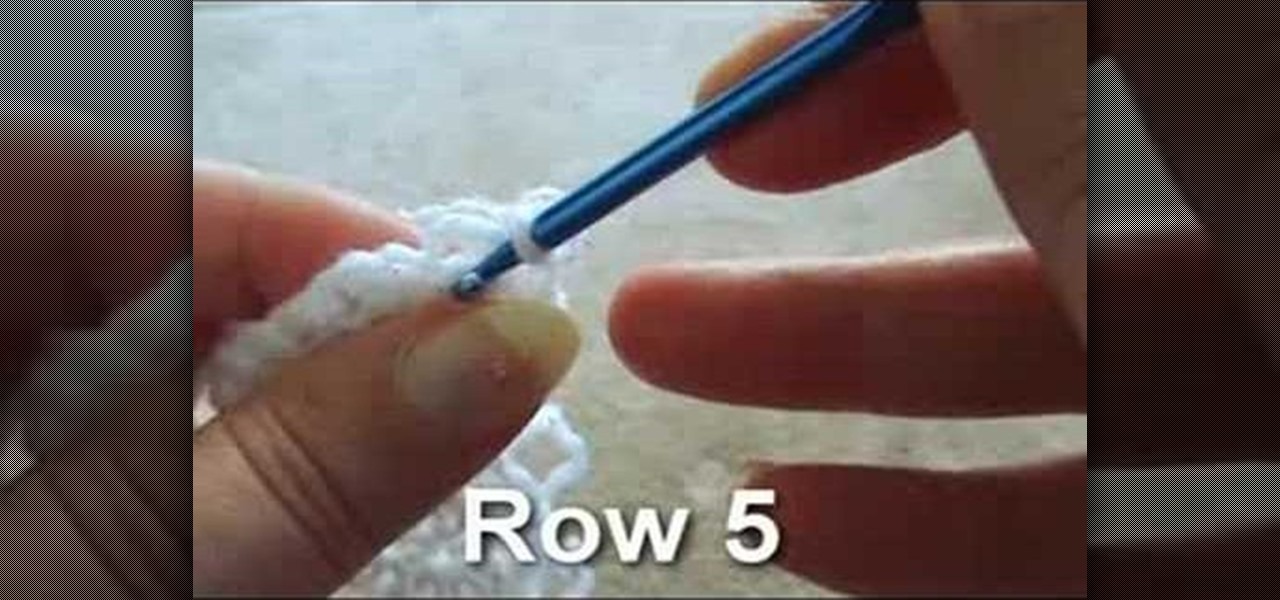
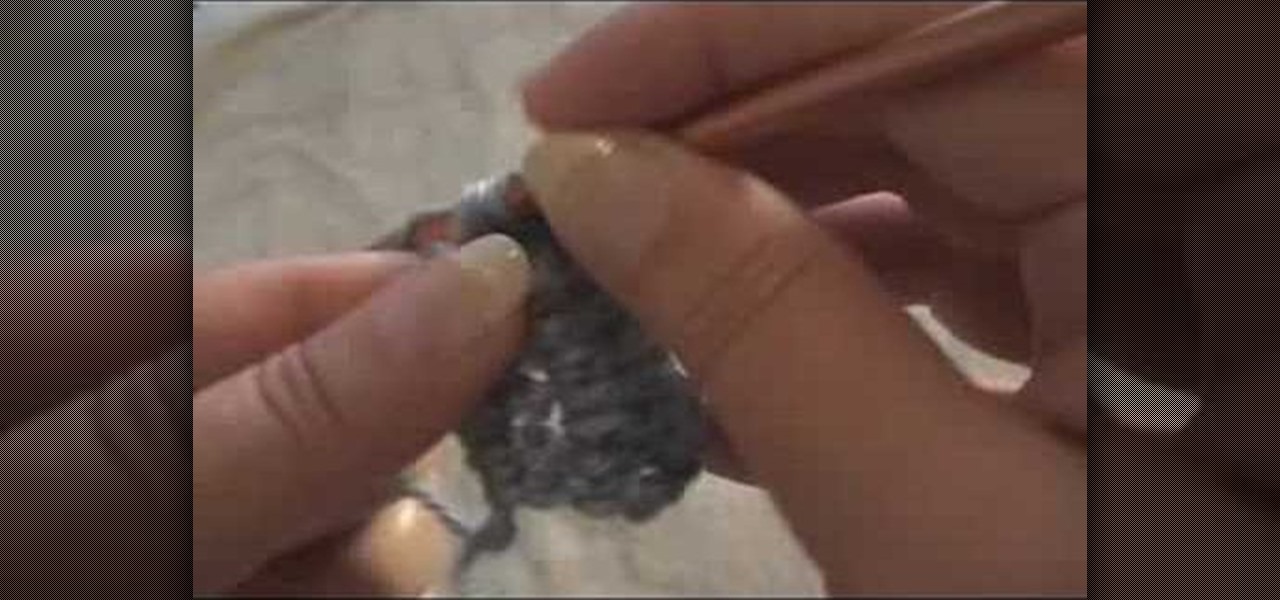
Use a single crochet stitch to crochet half circle shapes. Use any type of yarn and crochet needle to complete this project. Half circles can be used as ear flaps for hats, additions to blankets, or serve as cute pockets on sweaters.
Use a double crochet stitch to crochet half circle shapes. Use any type of yarn and crochet needle to complete this project. Half circles can be used as ear flaps for hats, additions to blankets, or serve as cute pockets on sweaters.
If your market carries regular halibut fillet or steaks, ask the fish person to get you some cheeks and try this unusual seafood recipe, halibut cheeks with a warm pancetta vinaigrette sauce. These are actually sweet, succulent pockets of meat found in the cheeks of the fish. It looks, and also cooks, like a scallop.
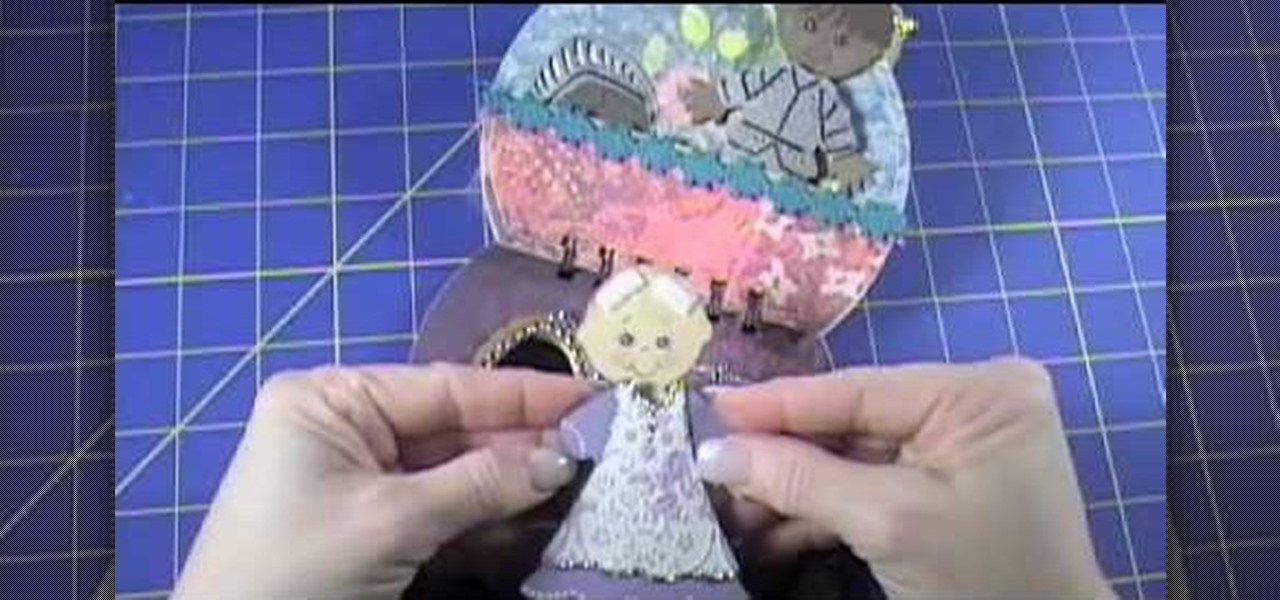
The video describes the making of Paper doll dress up and a Tin Purse to put the dolls inside. You can use the cartridge paper but regular paper should do. She was sticking to the princess themes in this tutorial. The tin comes from provocraft but creative imaginations also offers one. Instead of purchasing a tin you can find a old tin purse maybe once for a over sized set of playing cards. There is a tab feature you can use on the dolls but which children the might come off. She suggests usi...
This video demonstrates a good recipe for food lovers. It shows how to make Spinach and Feta Pie. For this the spinach is first cooked by placing on a strain. The strain is further placed on a bowl of water with some butter in it. The bowl is put on medium heat and the strainer is put on bowl so that the spinach gets cooked with the heat. The cooked spinach is then squeezed and dried. Then it is chopped. In a pan some bacon sticks have to be fried slightly and then feta has to be added. Furth...
Take an A4 SIZED paper. The paper is A4 size and it should be an INSTRUCTION paper. The paper size should be maximum, so that it will fly. Twist the papers into halves. Thus 2 papers are formed using folding. Put the papers horizontally. Fold them into half. So the papers are TWO HALF sized papers. Fold each OF the 2 halves again into 2 FOLDS. So the paper is divided into 1/4 papers. So the paper is divided horizontally 4 times. A line DIVIDES the paper in THE MIDDLE. This is arranged in such...
Check out this bar trick of super sonic hearing. It is the trick that fooled Einstein by Brian Brushwood and Revision3's Scam School. Watch Brian scam Olympic gold medalist Jonny Moseley with a few coins, and some algebra!
Need some wrapping paper? Want to go beyond the basic and bland Christmas wrapping paper in stores? There's one solution that's in everyone's pockets— money— cold hard cash— paper bills— money. We're talking George Washington (because Franklin might be a little extreme).
In this tutorial, we learn how to soften polymer clay. If you have crumbly clay and you want it to be soft, then you can make it softer easily. Now, take the clay and break it up into small pieces. Then mush this together with some translucent clay that is softer. Work this together with a jar or put it through a pasta machine. When you do this, it should be pretty soft and the air pockets should be removed. Continue to work the clay until it is all one color and it is really soft, then you c...
Many of us can't even pick up a telephone these days without being reminded in some way of Lady Gaga's now famous tune, "Telephone." While the song itself isn't at all scandalous - it's about an annoying guy who keeps calling her at the club - the music video made entire pockets of the internet stand still and then implode into a mess of discussions and outage.
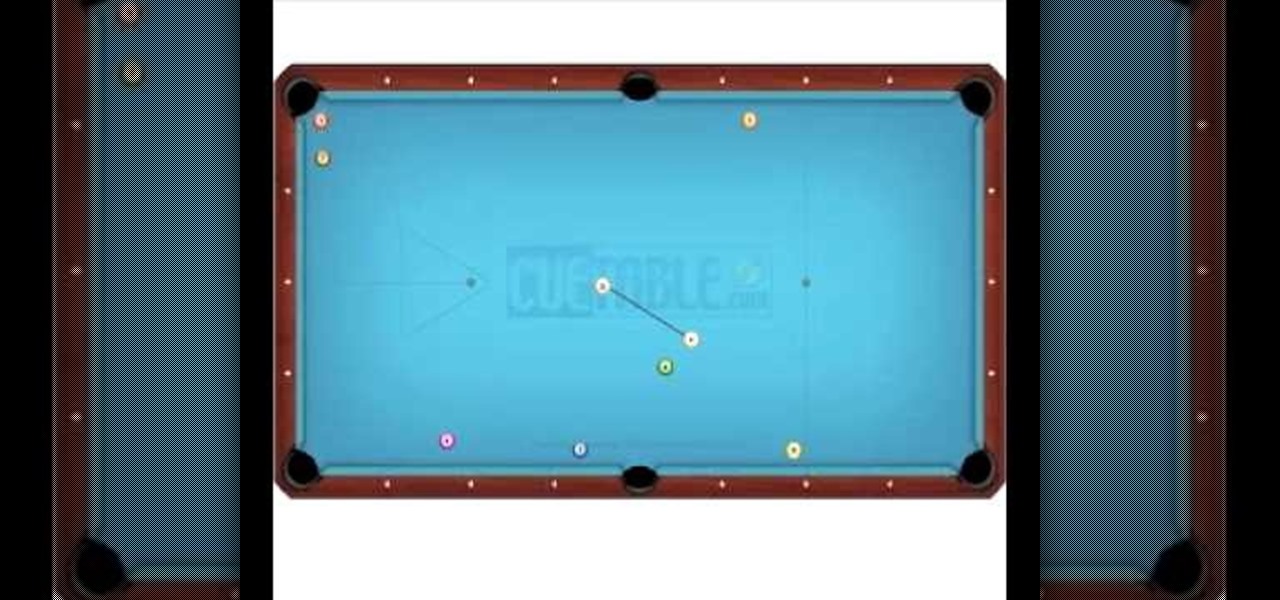
In this video, we learn how to push in pool. The push shot was designed to reduce the impact of the element of chance while playing pool. It's about creating a higher percentage shot or safety. The object is to turn a certain loss into a coin toss. Observe your opponent and be honest about yourself while you are playing. Practice playing a game by yourself with balls on the edge of the different sides of the pool table. As you shoot into the different pockets, avoid hitting the other balls th...
In this video, we learn how to make a shirt out of a wool blanket. This is great if you need something really warm to sleep in or wear out around. First, design the shirt so it's longer on the back than it is in the front. That way, when you sit down you will have extra wool to help keep you warm. You don't need to sew a collar on it,, because it will just take too much work. Make the arms extra long, depending on how large your blanket is. If it's too long, you can fold the ends over, or cov...
In this tutorial, we learn how to apply decals to RV cars. First, peel your decal from the paper they come on and then place it onto the RV car where it is smooth and there are no ripples on the vehicle. Make sure the entire decal can fit onto the spot where you want to place it. If you put it onto a bump, it won't seal and there will be blur with the lines. Once you apply the decal, push on without letting any air through, dragging the paper along the artwork. To make it more flat, take a cr...
Secure a square-shaped piece of paper preferably six inches long on both sides. Cut the square paper into two equal halves. Fold one piece longitudinally right at the middle. Open the fold and refold it horizontally, on the shorter side. Refold the longitudinal crease you made earlier. Then, fold both sides diagonally but facing opposite each other.