If you find this update from Pinterest more than a little creepy, I agree. If you don't, then keep reading about how Pinterest's updated "Lens" feature is your next must-have tool!
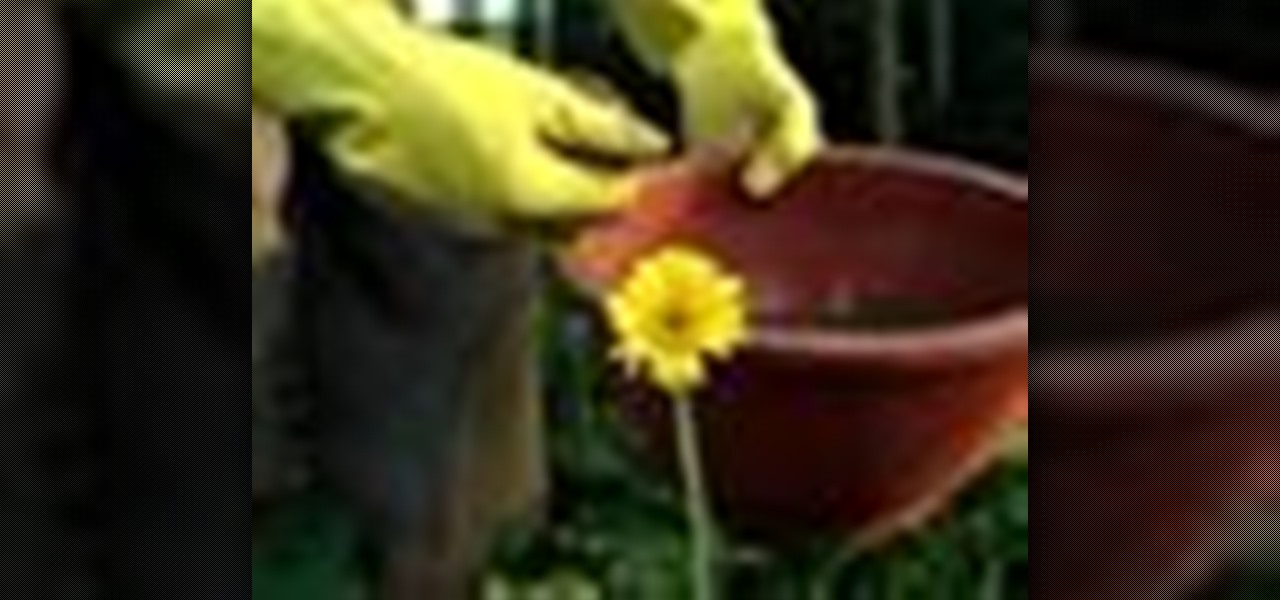
David Epstein provides tips and shows garlic lovers how to plant garlic in their very own garden. It is best to grow garlic in the fall season from the months of September to November when the temperatures are cooler. Some people grow garlic in the spring, but it’s been found that growing garlic in the fall time will give a better crop. To begin, gather some plantable garlic bulbs making sure that you find ones that are either organic or from a seed catalog. At all cost, avoid conventional ...
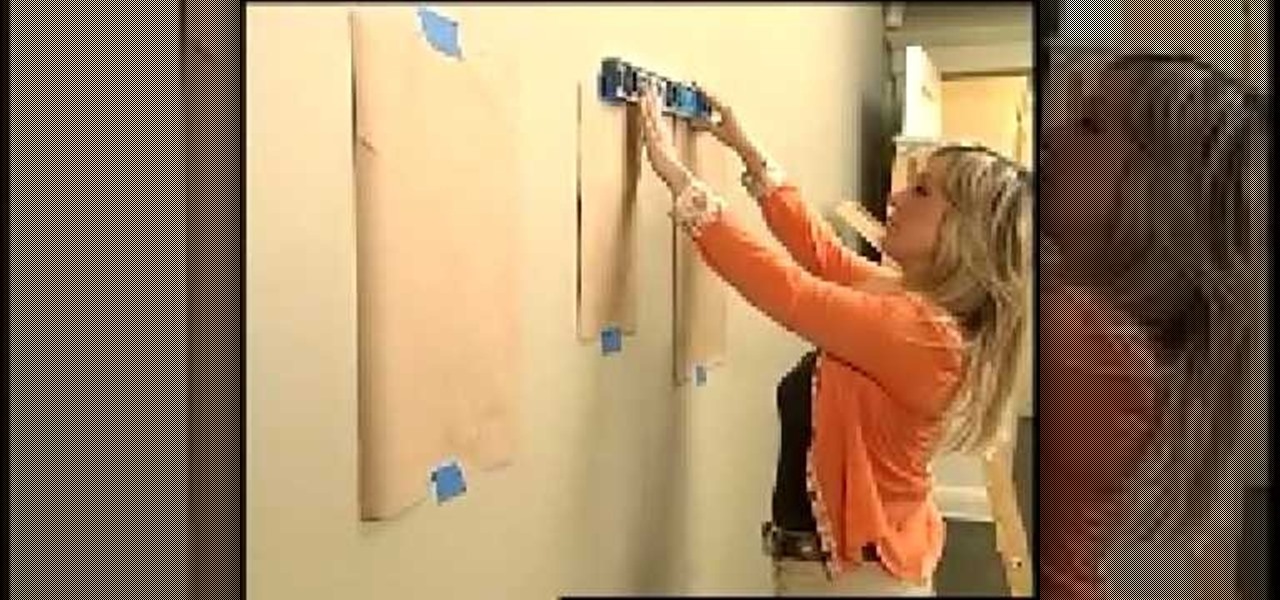
I bet you can't wait to hang that beautiful painting you just ran across. But before you try to hang it and damage your wall take a point from Barbara K. In this video she will demonstrate exactly how to hang small & large paintings on your wall.
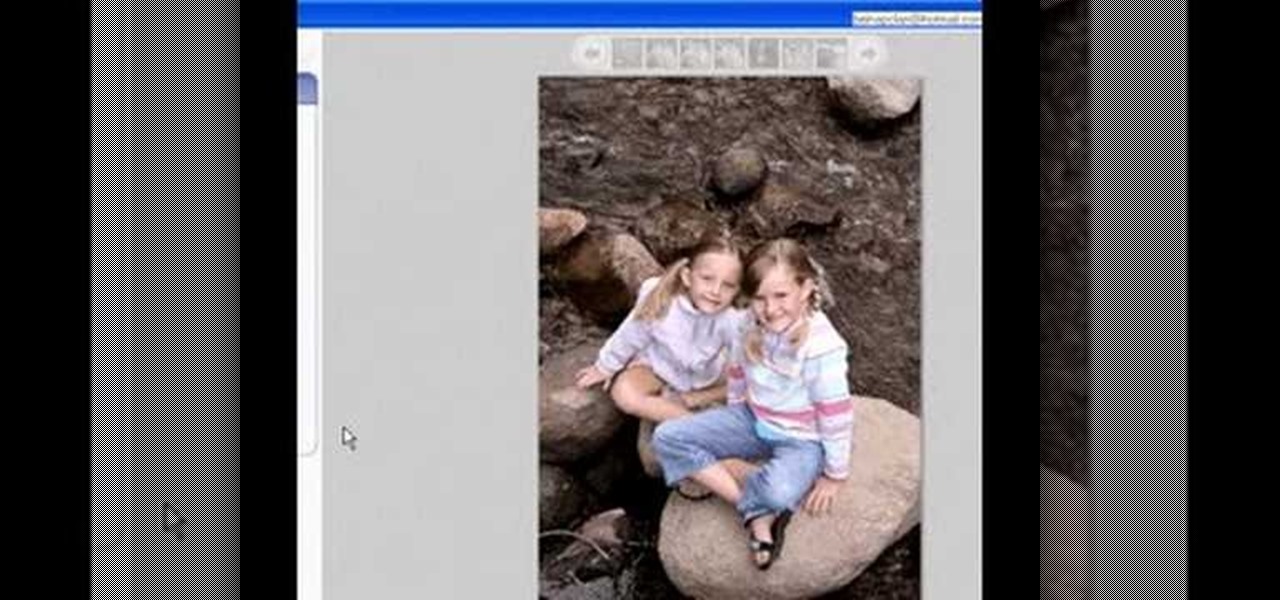
Add pictures always seems to mess up your document— but not anymore. In Word 2008 for Mac, adding photos doesn't have to be stressful. Words and pictures can coexist beautifully now. The Microsoft Office for Mac team shows you just how to make text wrap around pictures in this how-to video. They will look and fit better, and your words can be friends now with your added images.
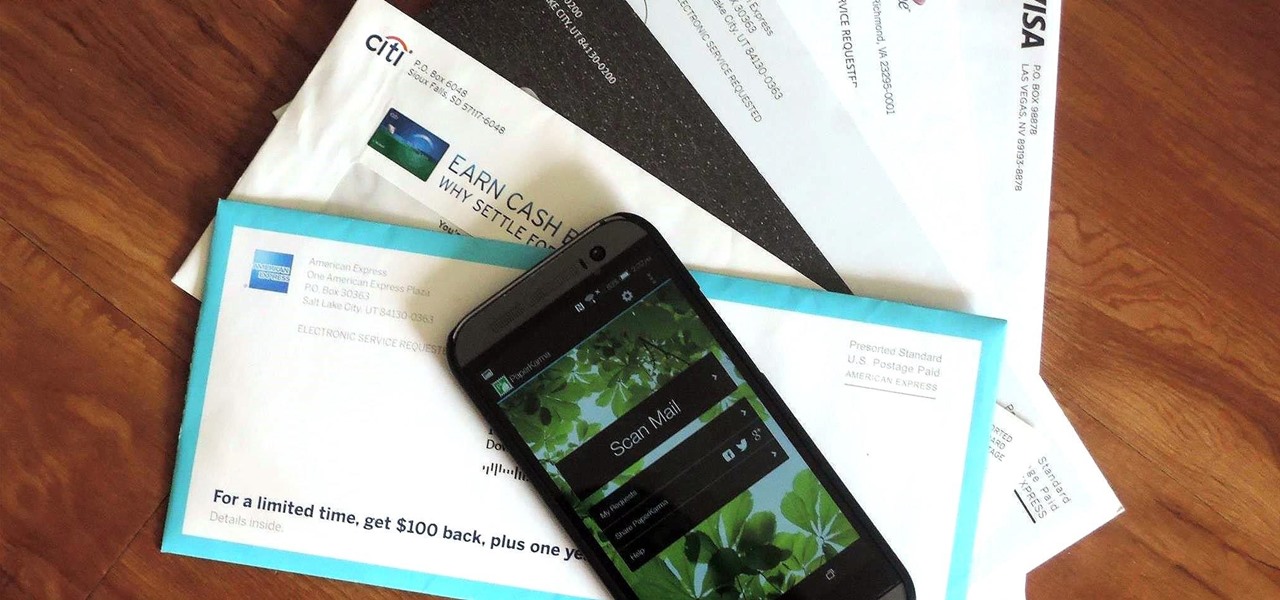
The only mail I like getting comes in the form of an Amazon package, but when I go to my mailbox, it always ends up being a pile of credit card offers and catalogs I could never see myself ordering from. Those pieces of junk mail usually end up in the trash, which is horrible when you think about all the trees that had to get cut down in order to produce them.
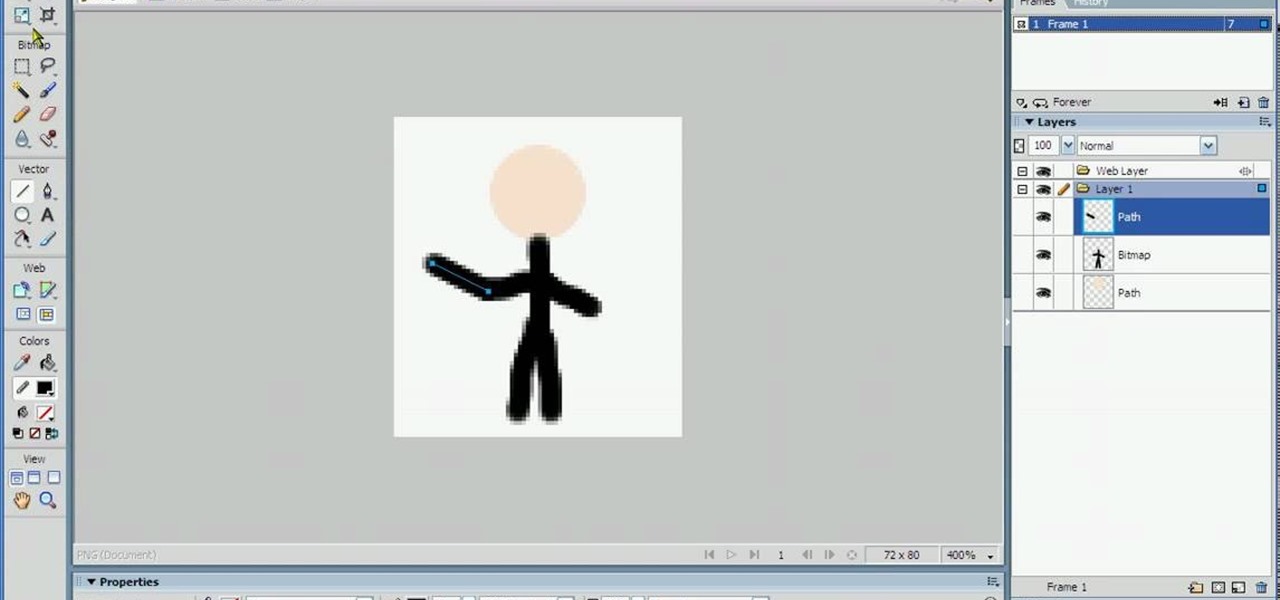
In this tutorial, we learn how to animate pictures using Fireworks 8. First, open up Fireworks 8, then open up your picture and zoom in to make it a full screen. You can also draw your picture inside of a blank document on the page. After you have drawn your image onto the screen, go to the frames panel. From here, go to options, then duplicate the pictures. After this, change your picture in the second frame to make the arm in a different position. Now, move from the different frames and it ...

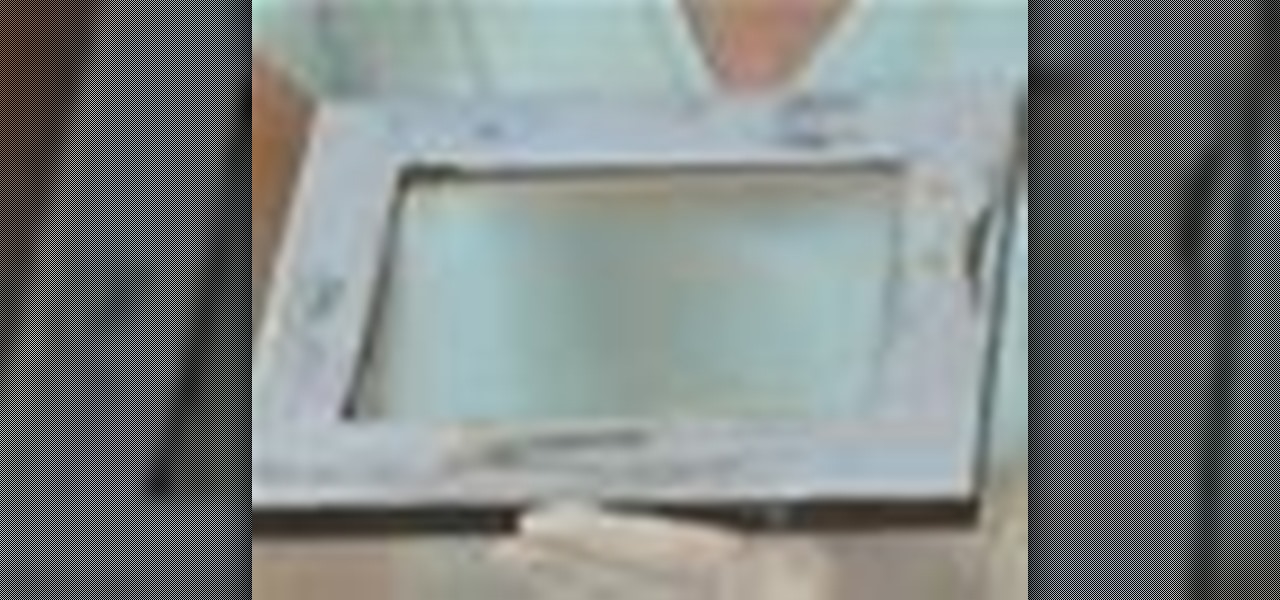
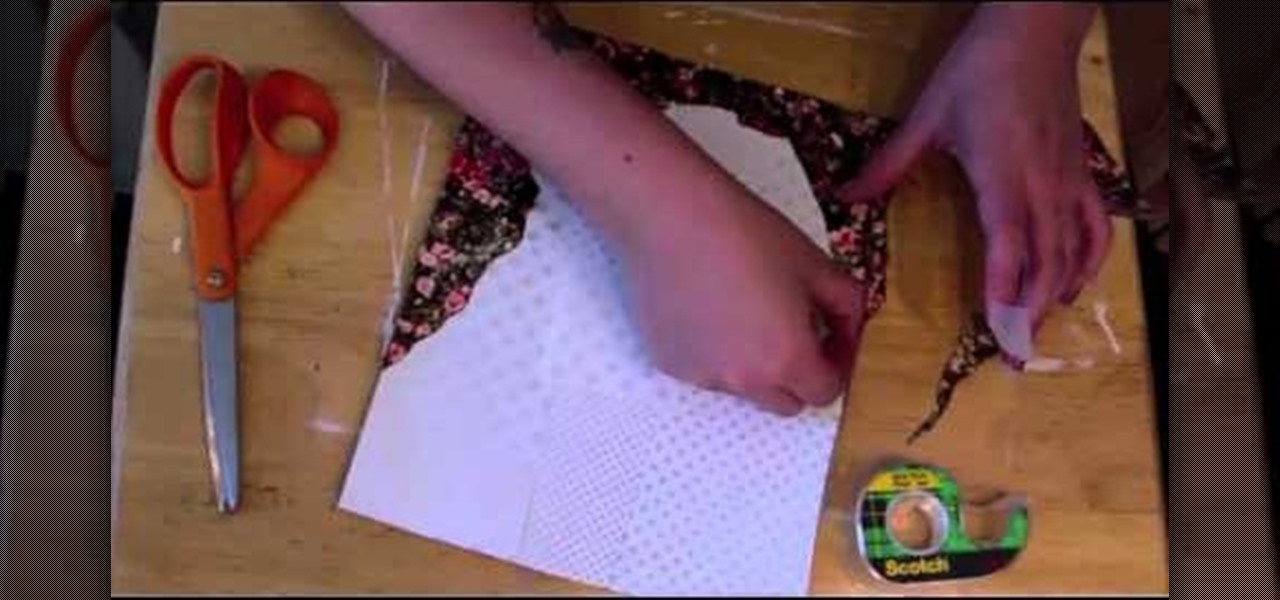
In this tutorial, we learn how to make a serving tray from a picture frame. First, grab a picture frame in a larger size that comes with glass on it and a backing. From here, you will grab some scrapbooking paper or another type of paper and cut it to size to fit on the background of your paper. Then, find two handles that you have and screw these onto the sides of the picture frame. After this, glue your favorite pictures onto the paper and then let it dry. When finished, stick this under th...
This video tutorial speaks about how to create a dramatic effect to an image using only Camera Raw in the Bridge program of Photoshop. In this example, the picture was first brought into the program and the fill light was turned upwards in order to lighten up the dark foreground. The white balance of the picture was changed to cloudy to add a nice effect and the color temperature was changed to make the picture appear warmer. The various parts of the picture can then be changed individually b...
This video tutorial will teach you a simple hack that will allow you to hide a secret message in any digital picture. Who knew a picture could actually be worth a thousand words? Real words, embedded within! For detailed, step-by-step instructions on recreating this hack yourself, take a look. Keep your messages on the Internet secret with this how-to.
Stumped on what frame to use for your favorite piece of artwork or photo? The perfect frame will make your painting, photograph, or piece of artwork stand out on your wall. Here's how to find an ideal match.
Learn how to hang a picture, with expert tips on everything you need to know for picture hanging in this free interior design video series hanging pictures.
Are you interested in creating an antique look for picture frames in your home? Learn how to make picture frames look old from a professional artist in this free crafts video series.
Looking for unique picture frames? Learn how to make a shadowbox picture frame in this free video series about professional picture framing.
Looking for a unique picture frame? Learn all about decorative picture frames including rustic frames, veneer frames, ornate and dark wood frames and more in this free video series about professionally framing pictures.
Great gift for all occasions. Learn how to make a personalized picture frame with cardboard and beads in this free home crafts video on making a great gift for friends and family.
The best bachelorette party favor! Learn how to make your bachelorette party a hit with picture frame party favors with expert party throwing tips and advice in this free video series on how to throw a bachelorette party.
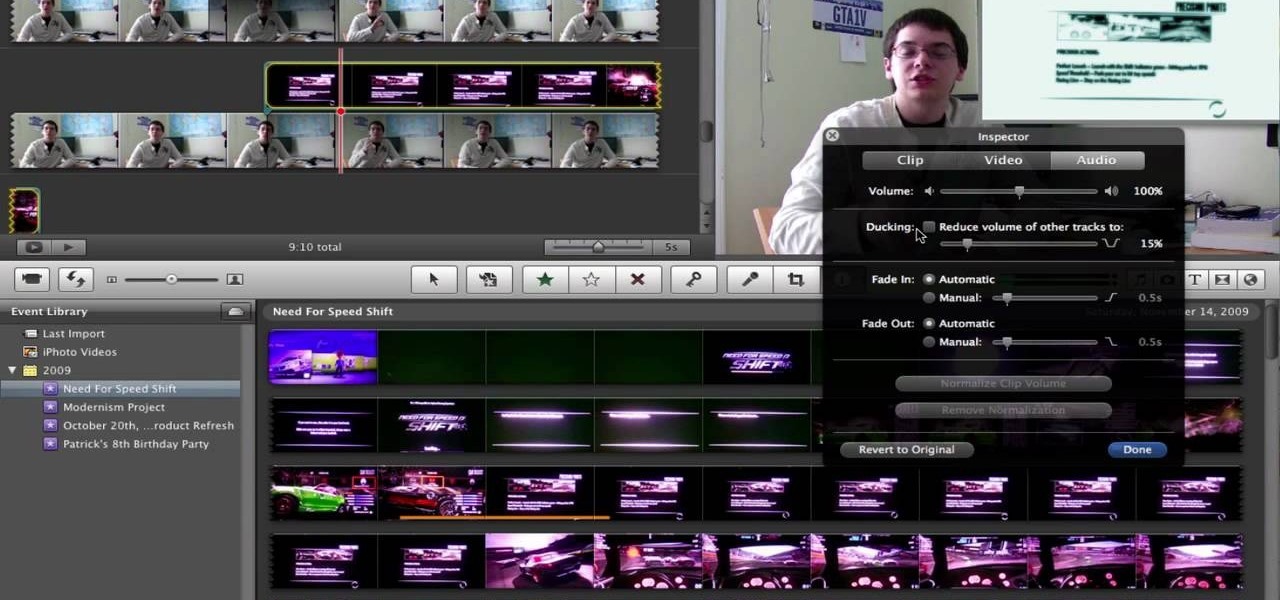
This video will show you how to take advantage of one of Apple's iMovie advanced editing feature, picture-in-picture effect. This feature allows you to embed either another video, or images into a base video. To enable this valuable tool in iMovie, go into the iMovie preferences by clicking on "iMovie" in the top left hand corner of your screen. Under the General tab make sure "Show advanced tools" is selected. Import a video from your event library by dragging it into iMovie and selecting pi...
This feature also comes with Windows 7. Right click on desktop then click "Personalize". You can see the numbers of themes for example choose Nature theme and click "Desktop Background". You can see the some pictures and a tick mark on the corner of the pictures which tells these pictures are the part of my slide show. Also you can set the time for new pictures to come.
For inserting a picture, from the INSERT Tab click picture. Then the insert dialog box gets opened. From there you can locate the desired picture. Locate the picture to be inserted and double click it. We can also replace the picture selected. For replacing any one of the following can be done: Under PICTURE tools, on the FORMAT tab, in the ADJUST group, click Change picture OR right click the picture to be replaced and click CHANGE PICTURE. Locate a new picture, and double click it.
This knot belongs to a bygone race and is one of the last remaining examples of old tie knotting. The knot was called "Christensen" due to its 1917 publishing in a catalog on behalf of the Swedish tie-maker Amanda Christensen. Its secret is not explained in any of the manuals of its time, and only in recent years has there been a renewed interest in the knot, and an explanation on how to tie it.
There are a lot of songs out there, so it's tough to remember all of the words to every song you like. If you're like me and have a less-than-perfect memory, visual aids will ensure your Apple Music jams aren't interrupted with incorrect or forgotten lyrics. That's why Apple's update with time-synced lyrics is so cool, essentially turning your iPhone into a portable karaoke machine.
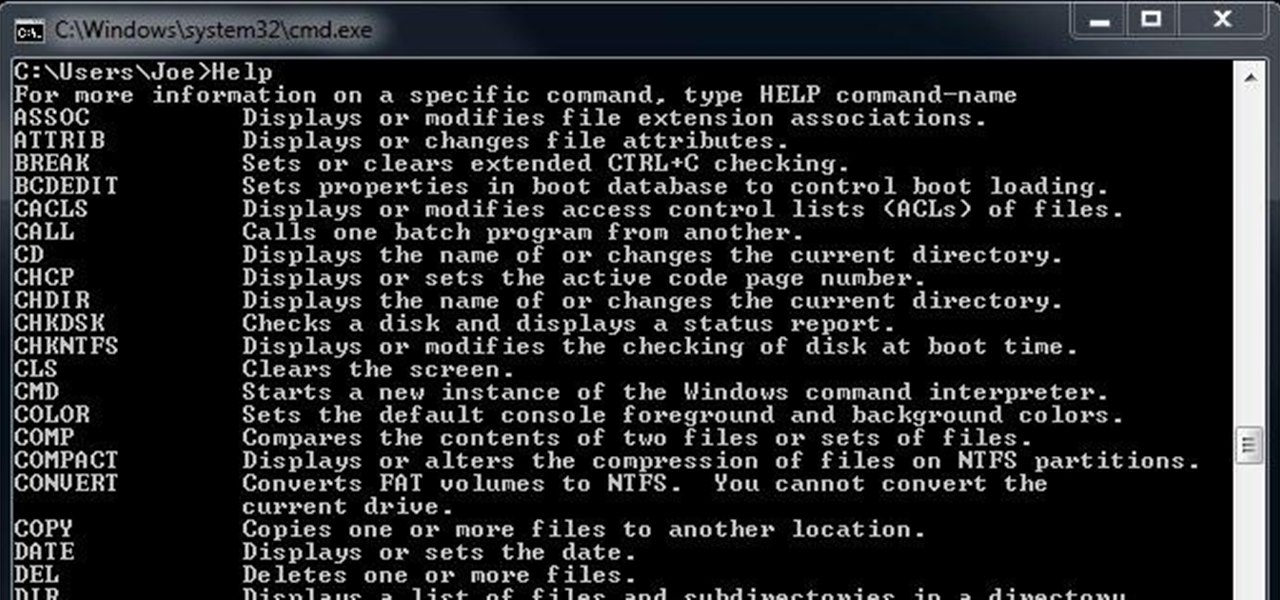
Every Windows system includes command prompt; and while a lot of people on Null Byte and WonderHowTo in general know how to use it, some people don't know anything about it, even how to access it.
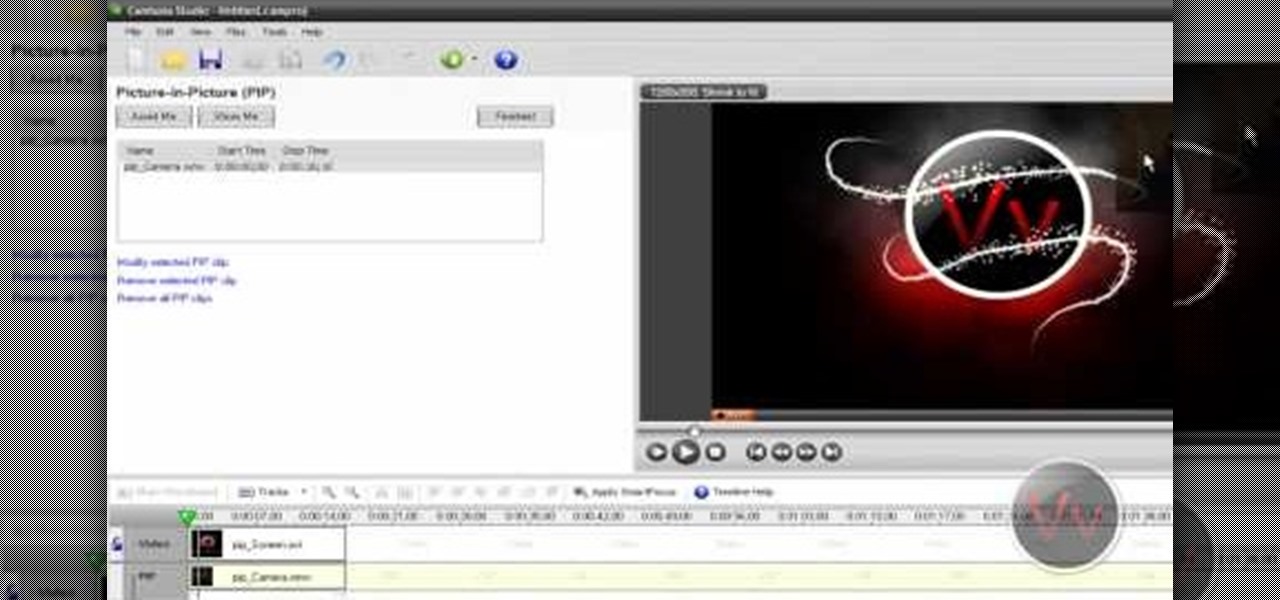
Show a separate clip in your larger video file, like an inset of yourself on a webcam when you're making your own tutorial video! This will show you how to set up your project to enable picture in picture viewing, for all or part of your video.
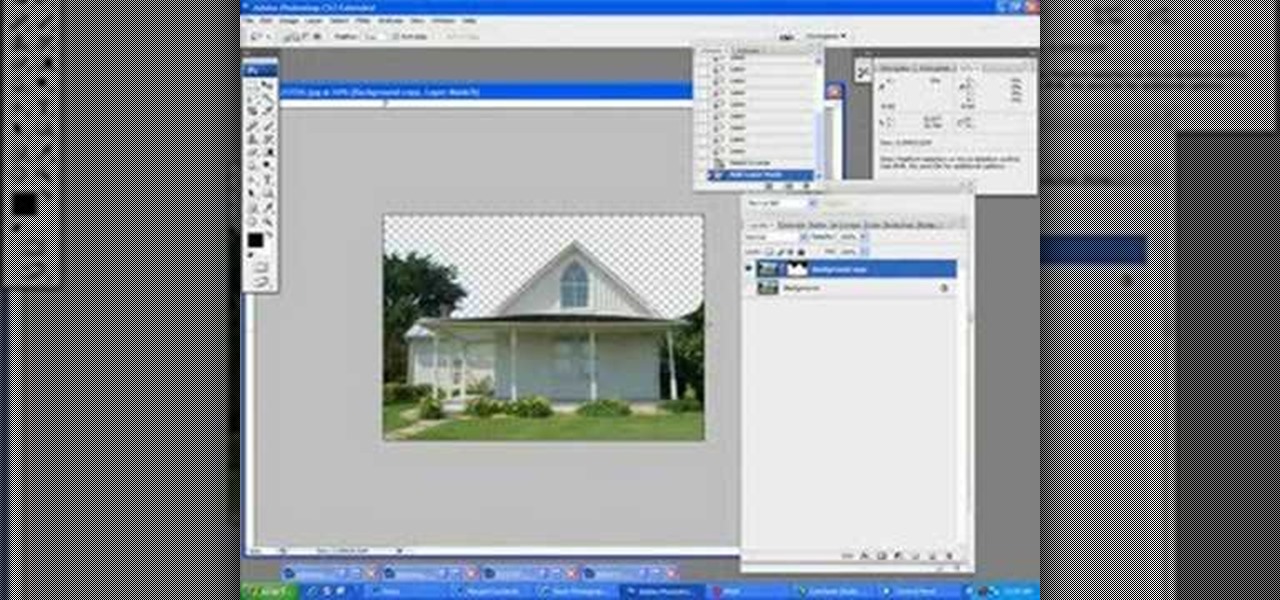
This tutorial shows you how to use Adobe Photoshop to take a regular photograph of a house and turn it into a picture of a dark haunted house. Starting with a picture from the actual painting, "American Gothic," you watch along as the farmhouse is transformed into a piece of dark gothic art.
Jeff Schell walks you through simple yet effective methods to show two people having a phone conversation on screen at the same time. Jeff starts by showing you how to quickly make a picture-in-picture effect in Premiere Pro CS3, and then adds on a cross-dissolve transition to fade the video in and out. Jeff then demonstrates how to use the Position property to slide a clip to one side, so the people on the phone are side by side.
Paying retail just isn't as good of a deal as buying straight from the manufacturer. To become a buyer, figure out the right manufacturers for you. Initially, you can start this process by doing web research. Surf the internet to find out what manufacturers sell directly to the consumer. Internet access is important for finding product information. Scan the manufacturer's website for online catalogs that describe an item's price, color, model, ID number, and make.
The one thing that can make your home garden flourish is by taking care of it and meeting the needs of your plants. One of those needs is great fertilizer. And the best fertilizer comes from the heart, not the store. Get great results in your garden by making your own fertilizer and compost at home.
This video is a Microsoft Word 2007 tutorial on working with pictures. To insert a picture in your document, click on Insert and select Picture, then find the picture, select and insert it. To resize the picture without distorting it, click and hold on the corner circles. You can adjust Brightness and Contrast by using the various choices within these settings. The Recolor setting gives you a number of options for changing the coloring of the picture, such as sepia, black and white, or graysc...
Begin with starting the program Picasa. If the program has been opened, choose an image for editing. Double click on one of the images and it will open. On the left of the screen there is an editing toolbar. The next option after this is to Crop the picture. Click "Crop Picture". Then choose the format you want the picture to be cropped to. Then hit Enter.The next option is "I'm Feeling Lucky". With this option you can give the picture the best color possible.Following with Redeye Repair. Cho...
HOW TO UNLOCK & USE THE FM TRANSMITTER ON NOKIA N900: Nokia N900 officially has FM Radio receiver but not a transmitter. Here are step by step procedure to enable & use the FM transmitter facility.
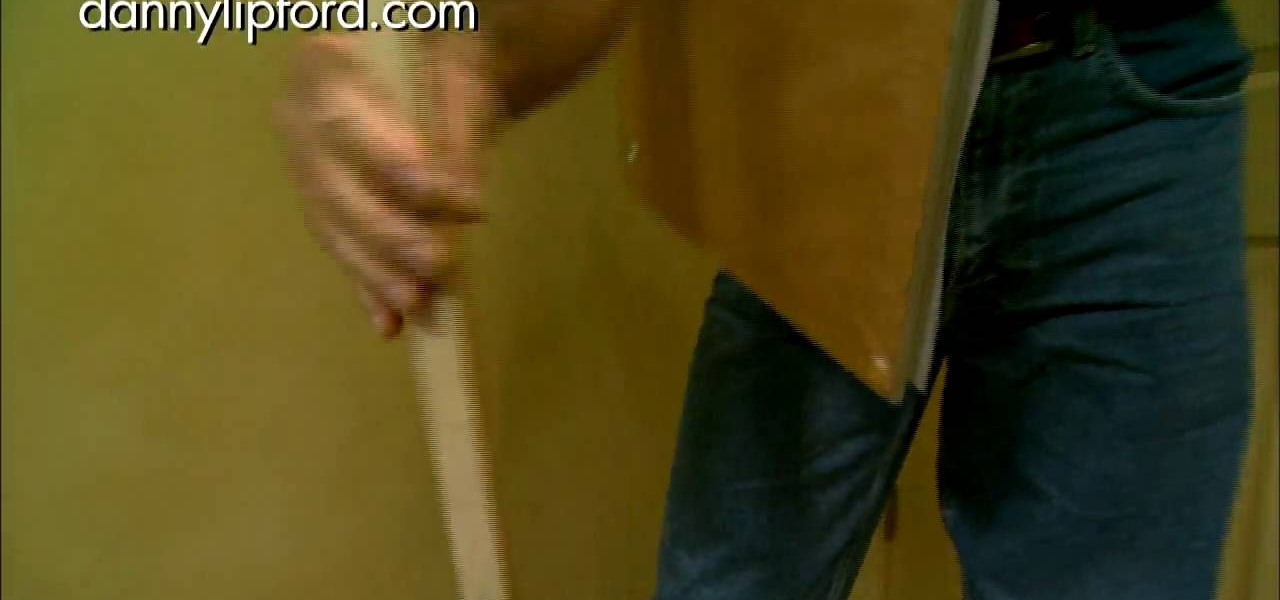
Danny Lipford shows us how to create a simple jig to hang picture frames. He believes that all the complicated gadgets many people use-including lasers and special levels-are unnecessary for successfully hanging a picture frame. All you really need is a strip of wood and a single nail. He shows us a single lath with a roofing nail in it, which he prefers for its broad head. Simply slip the nail onto the wire on the picture's backside. Then set the picture wherever you would like it to be. Sim...
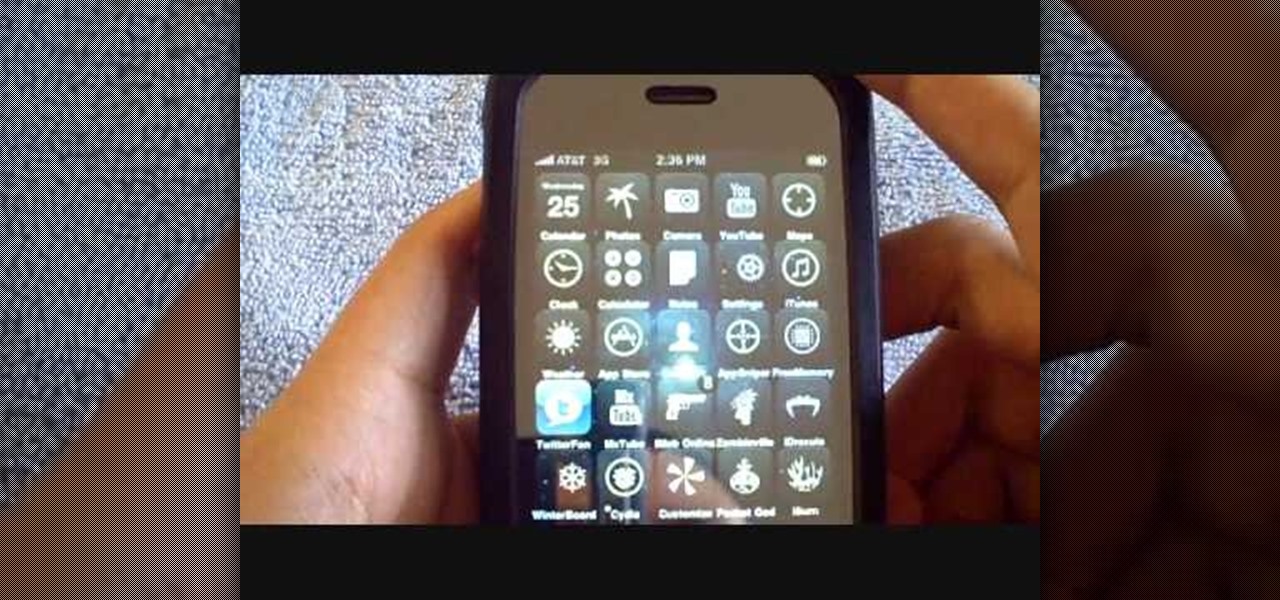
This is an Electronics video tutorial where you will learn how to take rapid pictures without using a shutter on an iPhone. You can take motion pictures by this method. You will need the Easy Camera application for this. This is a very simple application to use. Just load the application and touch anywhere on the screen to take pictures. You won’t see any click or blink, but it will take pictures. And it will be in your pictures folder. You can then view your pictures frame by frame. You can ...
You use a bike rack that extends from floor to ceiling. Pick where you want to put your picture and place the bike rack there. Adjust the bike rack so that it is at the level you want the picture. Then take a clamp light and clamp it to the pole of the bike rack. If the light slips on the pole, you can wrap some duct tape on the pole to create a surface that the light will stay on. Point the light toward where the back of the picture is going to be. If the picture you want to hang does not ha...
Creating a 3-D picture within a wooden picture frame is a great children's craft that promotes creativity and innovation. Make a 2-D image three-dimensional with this free arts and crafts video series.
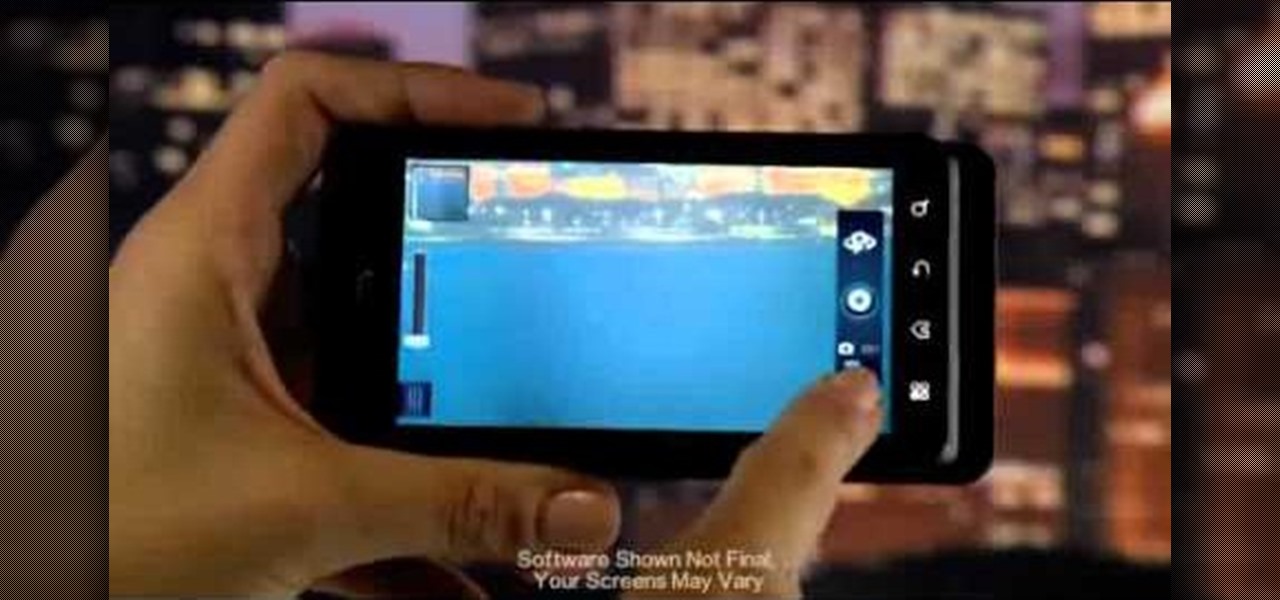
The Droid 3 smartphone from Verizon has a great camera perfect for taking beautiful photos. If you want to learn how to perfect your on-the-go photography, take a look at this tutorial from Verizon Wireless that features instructions on all the different settings in the Camera app on the Android device.
Here is a brief overview of the member features including how to upload your own profile picture.
Tutvid shows you how to add flare and dramatic color to your raw camera images (usually the format of a DSLR). In a step-by-step guide with narration, Tutvid takes you through the process of using CameraRaw (used as an extension of Photoshop but never really brings it in photoshop) to add desired colors to your picture. Pull up your raw file in CameraRaw, and press "Command" or "Ctrl + R" to open up the editing panel. With an example, he shows you how to bring out lights in underexposed (dark...
Unwanted advertising is everywhere. Annoying pop-up ads, overly loud late night commercials, spam...it never ends. And before spam, there was junk mail. Junk mail is even worse because unlike TV commercials and internet ads, it's physical. You can't just delete or ignore it—and it's an awful waste of paper. So what can you do about it?
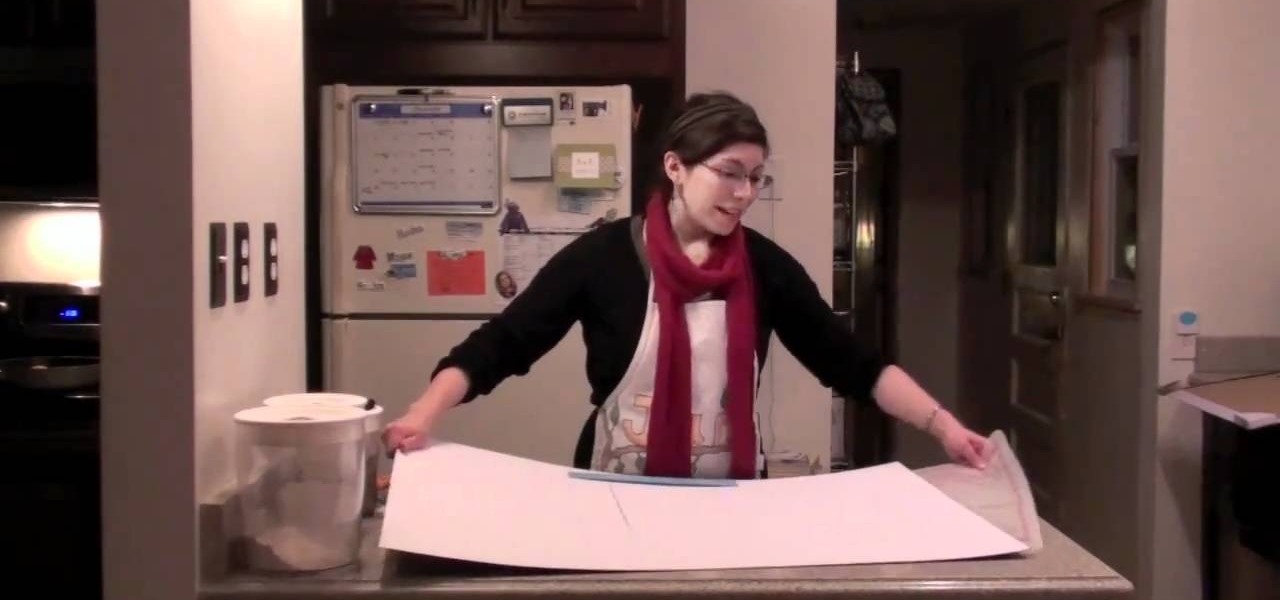
Matting a picture helps it look professional, and is a necessary step if you want to frame it yourself. If you have a frame that is too large for the picture, but you love it anyway, matting will help fill it all out.
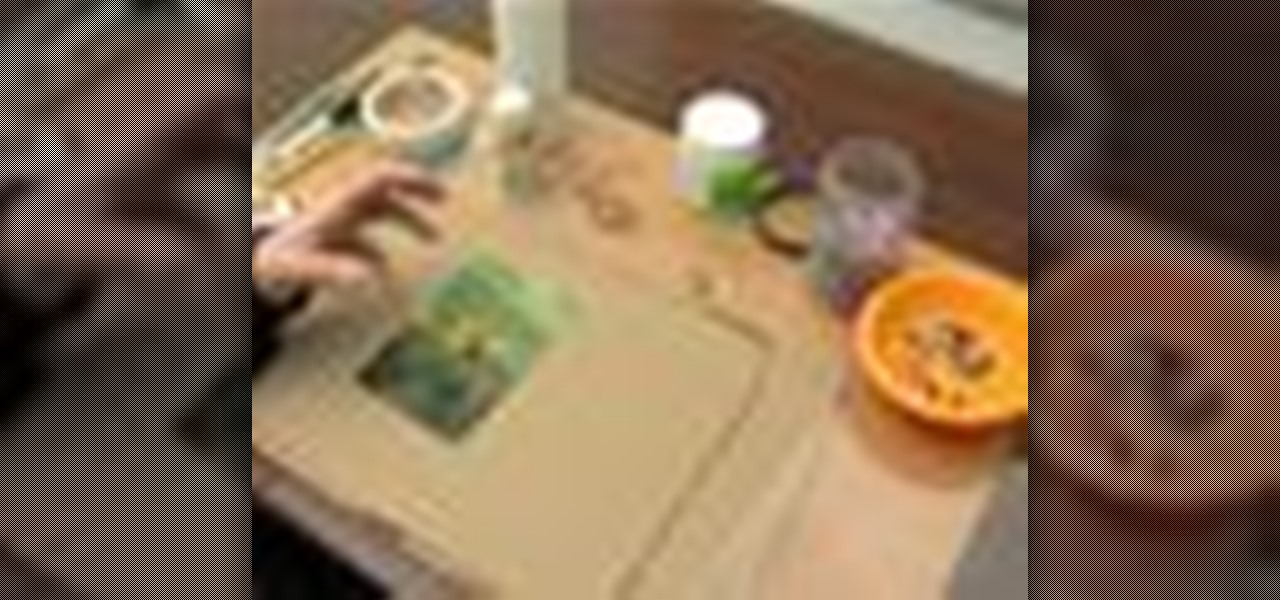
These are great, personal gifts that you can hand out to friends this holiday season. Find a picture and a quote you like, then dress them up in a picture frame! All you really need is the frame, some paint, a few old magazines and some paper!