In order to make a hook for an earring, you will need the following: round nose pliers, a wire cutter, a nail file or sand paper, an ink pen, 20-22 gauge wire. With your round nose pliers, make little hook, in the end of the wire. Bend it, until it makes a little loop.
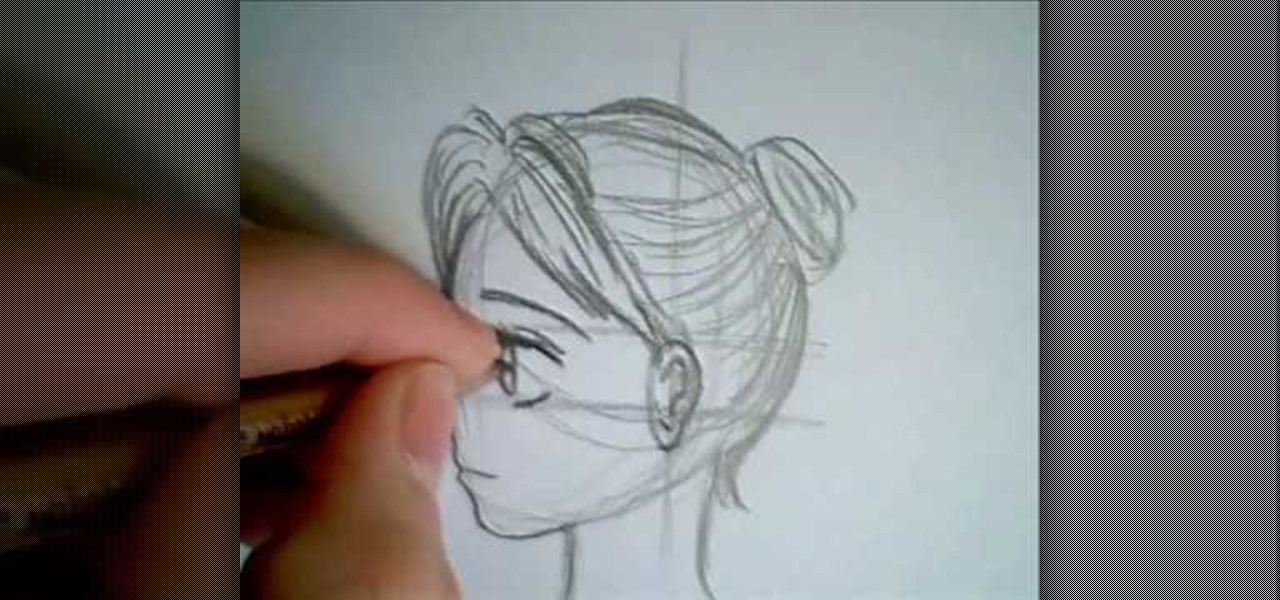
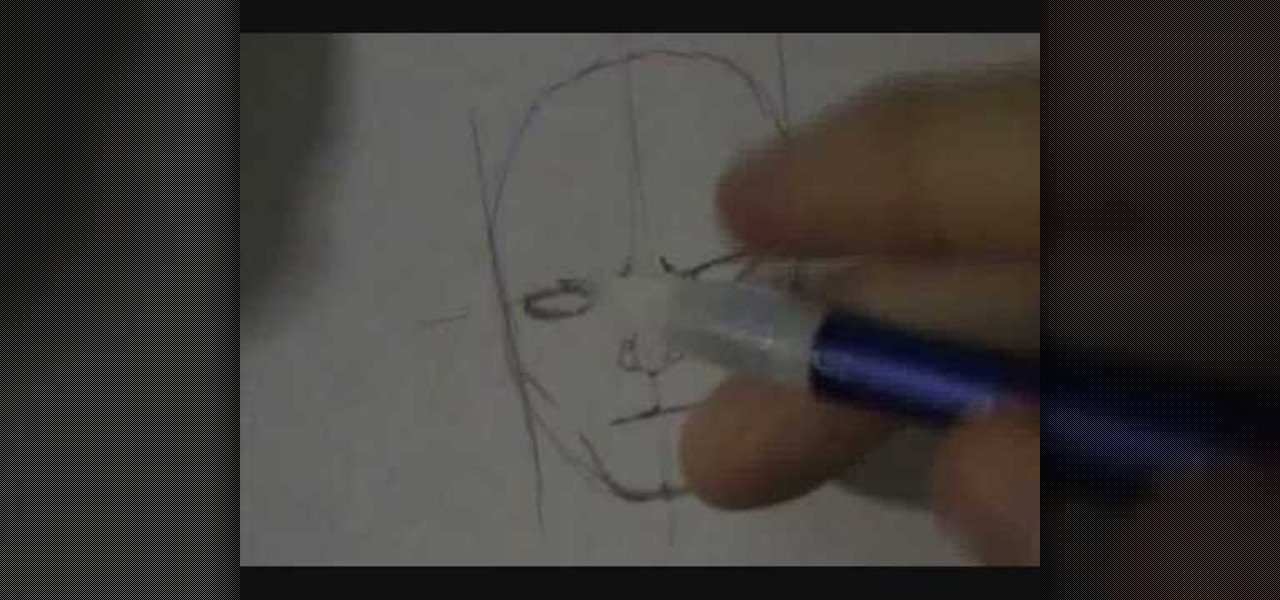
In this video, we learn how to draw a manga face sideways. start by drawing a round circle with a light pencil. After this, draw a chin that is from the side view. Next, add on the nose and make the chin look more prominent, like you are seeing the profile of the face. After this, draw on the ear to the center of the face, then start to add in further details. Make the eye and add shading by the nose to make it appear as though there's another eye. Add in eyelashes, then start to add in hair ...
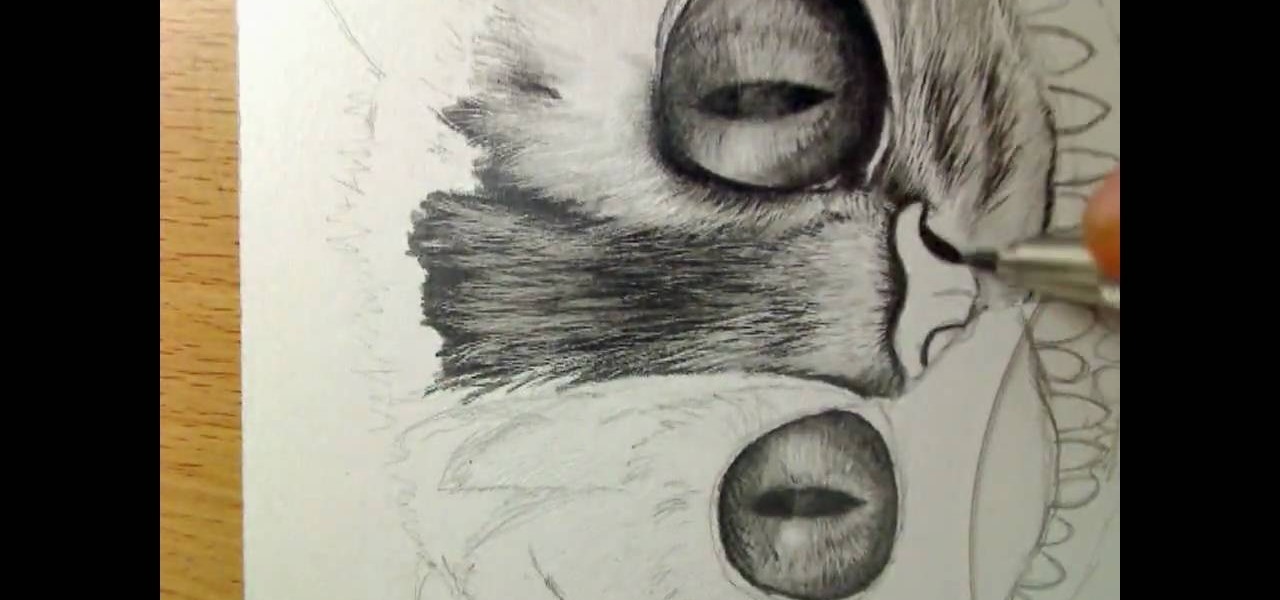
In this tutorial, we learn how to draw Cheshire cat in Tim Burton's Alice in Wonderland. Start out by drawing the large eyes, then drawing in the nose and face around the cat. Add in the many teeth, then draw on the ears of the cat. Shade in the eyes and make the pupils diamond shapes for a more realistic cat look. After this, shade in areas and make it look as though there is hair on the cat. After this, shade in the nose and add hair around the outside of the cat. To make this look more rea...
In this tutorial, we learn how to draw Bowser Jr. from Mario Brothers. Start off by drawing the nose, which has two large humps going to the chin. Next, draw his mouth, dimples, teeth, and nose holes. Next, draw in the eyes and eyebrows, filling in the pupils with small white circles in the middle. Make sure the eyebrows are pointed upwards, so it looks like he's glaring. Now connect the top of the head, followed by drawing the hair onto the top of the head. Next, draw on the arms and front o...
This video tutorial is in the Education category where you will learn how to use commas with restrictive and non-restrictive clauses. Restrictive and non-restrictive clauses are phrases or words that come between the subject and the verb. You don't use commas to separate restrictive clauses. For example, in the sentence "the students who did not wear uniforms were punished". Here "students" is the subject and "were punished" is the verb and the clause "who did not wear uniforms" is restrictiv...

In this tutorial, we learn how to draw a cartoon puppy First, draw the oval head, followed by triangles for ears. next, draw the body underneath with four legs coming out of the bottom like the dog is sitting down. Add on a squiggly line for the tail next to the leg. Now, color the ears and back legs light brown, then add eyes, a nose, and a mouth onto the face. Draw a circle around the nose and mouth, then color in with lighter brown/tan color. Now, color the rest of the dog a darker shade o...

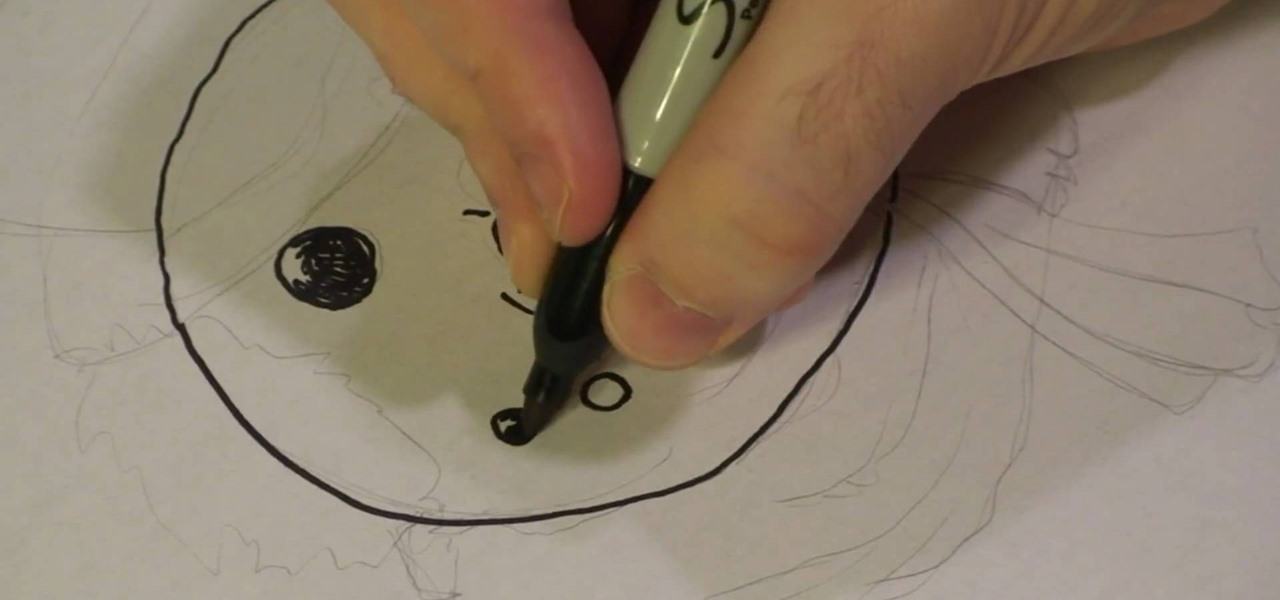
Michael Weisner shows aspiring artists how to draw a snowman's face on a piece of paper using any writing utensil. In order to save time, Michael has drawn a rough outline sketch in pencil to give an idea of what the finished product should look like. However, it is not necessary to do this and by following the directions, one should be able to sufficiently draw a the snowman. First, begin by drawing a circle for the head and then two large circles for the coal eyes, adding detail to show tha...
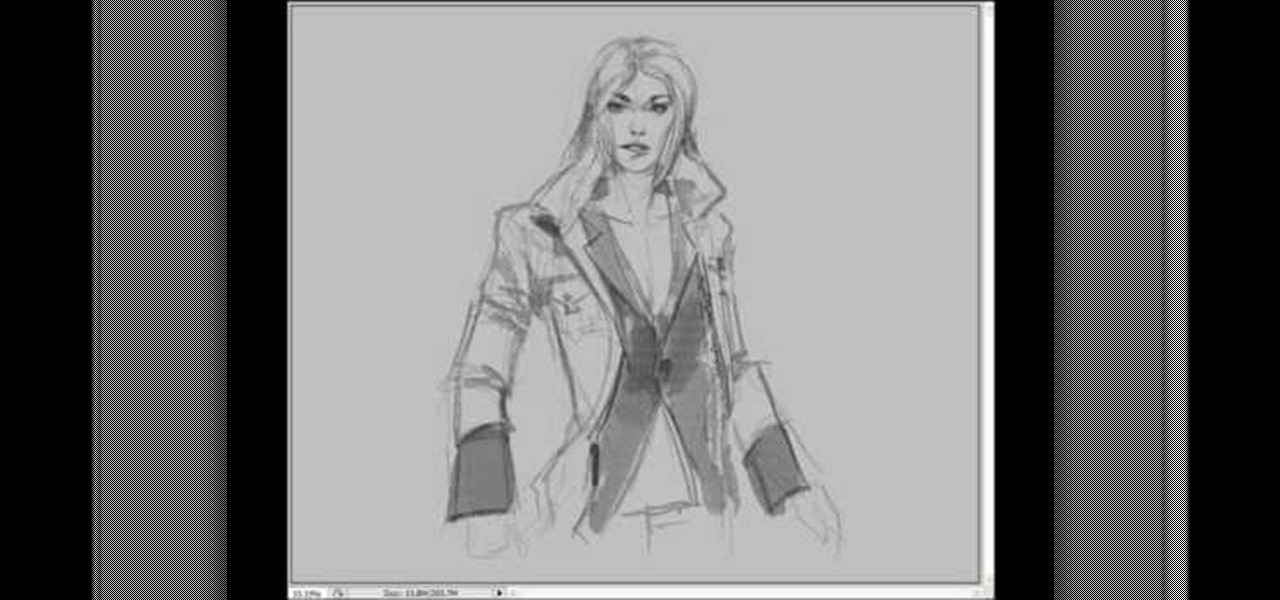
This is a video tutorial describing how to draw a comic style woman character. The first step is to draw a circle in the top of the page that will end up being her head. Then you should draw about where her eyes will be in the end. Then you should quickly draw an online of her hair and quickly draw her outfit. Because it is a woman make sure to accentuate her waist. Then you can then go back and finish her eyes, then between her eyes and half way from the chin to the forehead draw her nose. T...
Seven easy basic art methods and steps to drawing Anakin Skywalker. The first 1-3 steps illustrates the basic drawing methods for the human head shape, and line placement for a basic human head. The fourth step illustrates basic drawing of the eyes, nose, mouth and ears. Step five illustrates the basic shading around the eyes, nose, ears and mouth. Step six illustrates how to add the shaping and styling of the hair and facial features. The final step illustrates how to shade the hair. It also...
In this tutorial, Artbeads gives us a tip on how to open and close jump rings on a bracelet. First, take a pair of chain nose pliers and hold one side of the jump ring. Then, take a pair of needle nose pliers and pull the other side of the jump ring. Twist the ring by twisting side to side with the pliers to open and then attach your charm. Don't open any other direction, this will cause the jump ring to become weak. Close it by pushing it back in the same side to side manner. Repeat this to ...
This video teaches you how to make a steampunk bunny. You want to start off by making a blob with a fairly light color. Then you want to use a sharp stainless steel tool to create a round head. Make sure to make the head of the bunny is forwarded a little bit so that it looks like a bunny. Next, using your hands create a tail in the back of the bunny. Insert one of the bigger eyes using the little wire. Go ahead take your tool and carve out the nose, the cheeks and the mouth. Next you want to...
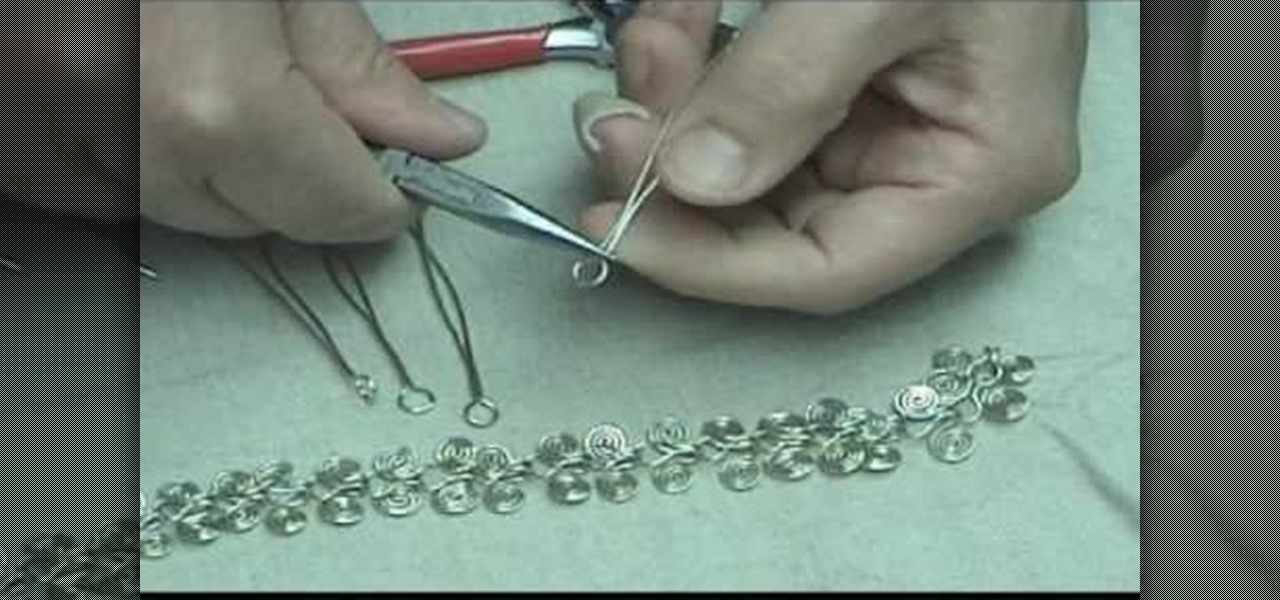
Save money by making your own jewelry at home! Learn how to make yourself a beautiful Egyptian link, figure 8 necklace by following the easy to follow instructions in this two-part video. The wire used in this example is a standard 0.035 sterling silver wire. You can substitute 0.035 with an 18 gauge nickel silver wire (or you can experiment with other wire). In addition to the wire you will need three pliers to make this necklace: round nose pliers, chain nose pliers and diagonal cutters.
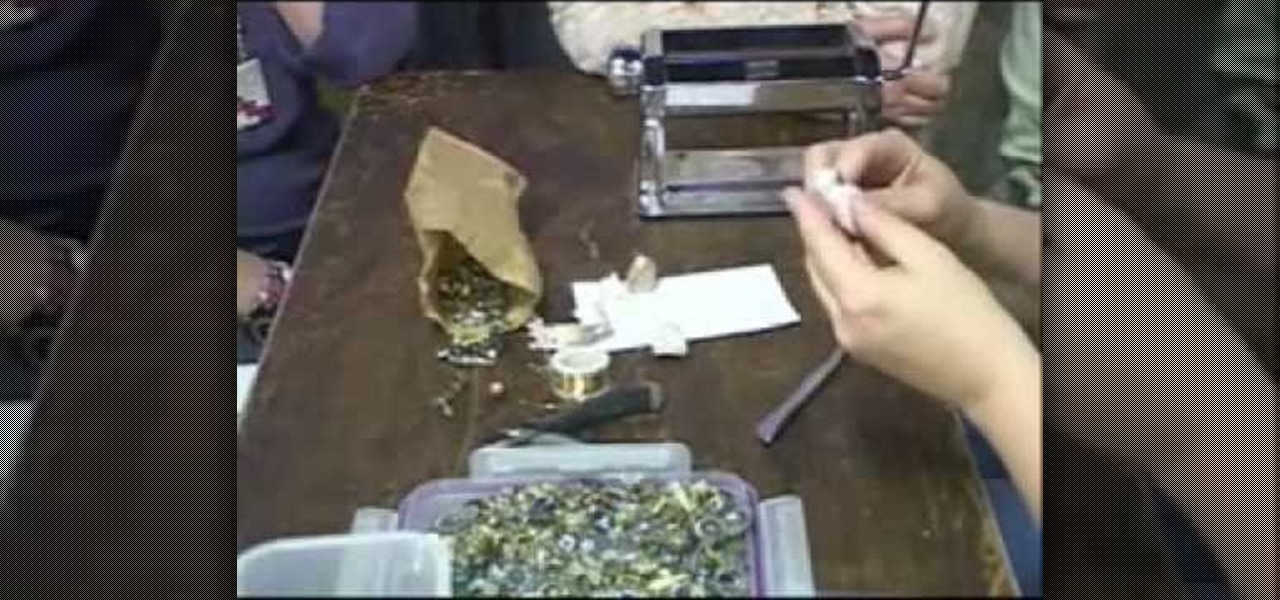
In this video tutorial, viewers will learn how to make a charm bracelet. The materials needed to make the bracelet are: a light silver plated chain, 100 grams of plain glass mix, 1 toggle clasp and 100 headpins. All these materials can bought from Beads Unlimited. The tools needed for the bracelet are: flat-nosed pliers, round-nosed pliers and cutters. This video is descriptive and clearly explains all instructions. This video is at a slow pace and provides step-by-step instructions that will...
For a complete look, eyebrows can really add to your face. Learn how to properly shape and fill your eyebrows for a complete look that frames your face and presents a done look regardless of whether you are wearing makeup or not. To figure out how you want to shape your brows, line up the inner corner of your brow and the outer edge of your nose. Use a pen or anything straight to create this alignment. Where the tip of this tool ends is where your brow will start (from the inner corner). The ...
Jack is showing us upon request how to use a Neti Pot. She finds half of an eight of a teaspoon is the amount of salt that she needs. Her neti pot is a little plastic neti pot, but there are many different kinds including ceramic. You want to use non-iodized salt, you do not want iodine although she does not know why. She then puts the neti pot in her nose, and lets the water run in her nose and out her opposite nostril. You would want to use a full neti pot for each side. Neti pots can be us...
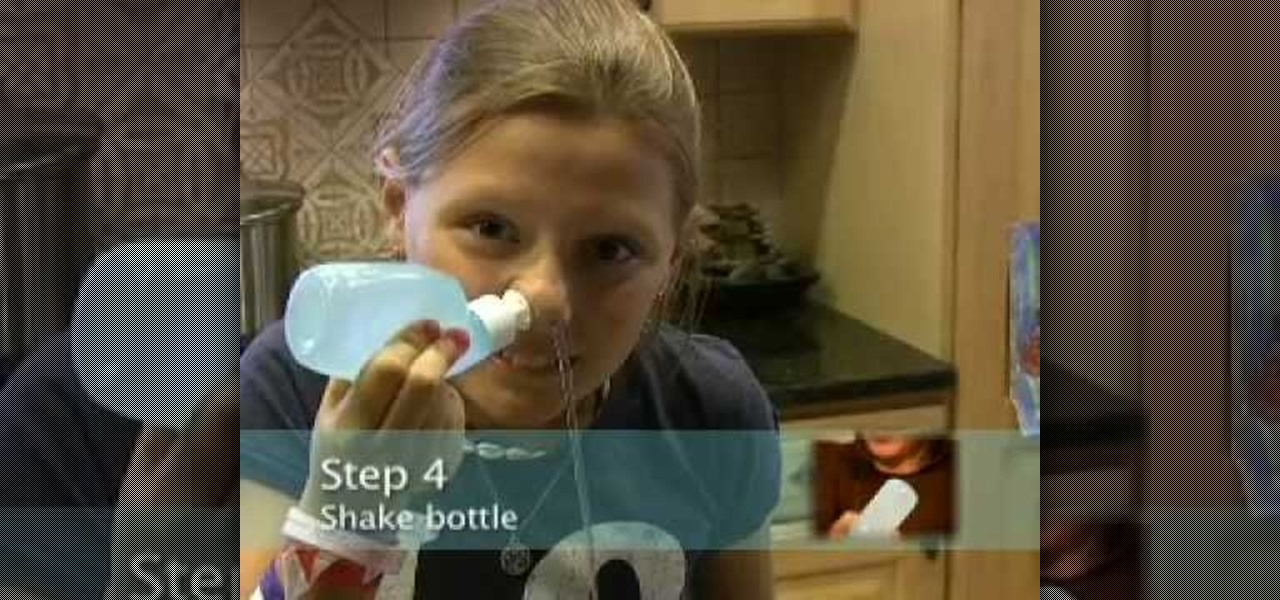
Learn how to use a Neti pot, otherwise known as a saline sinus wash to help clear out your nasal passages. This is a homeopathic remedy for sinus problems or any issues you may have with your nose. Take the packet that comes with your Neti pot, and dump it in. Fill the pot to the guideline with lukewarm water. This will create a saline solution once mixed. Stick the end of the Neti pot in your nose, and tilt your head to the side, allowing gravity to send the saline solution trough one nostri...
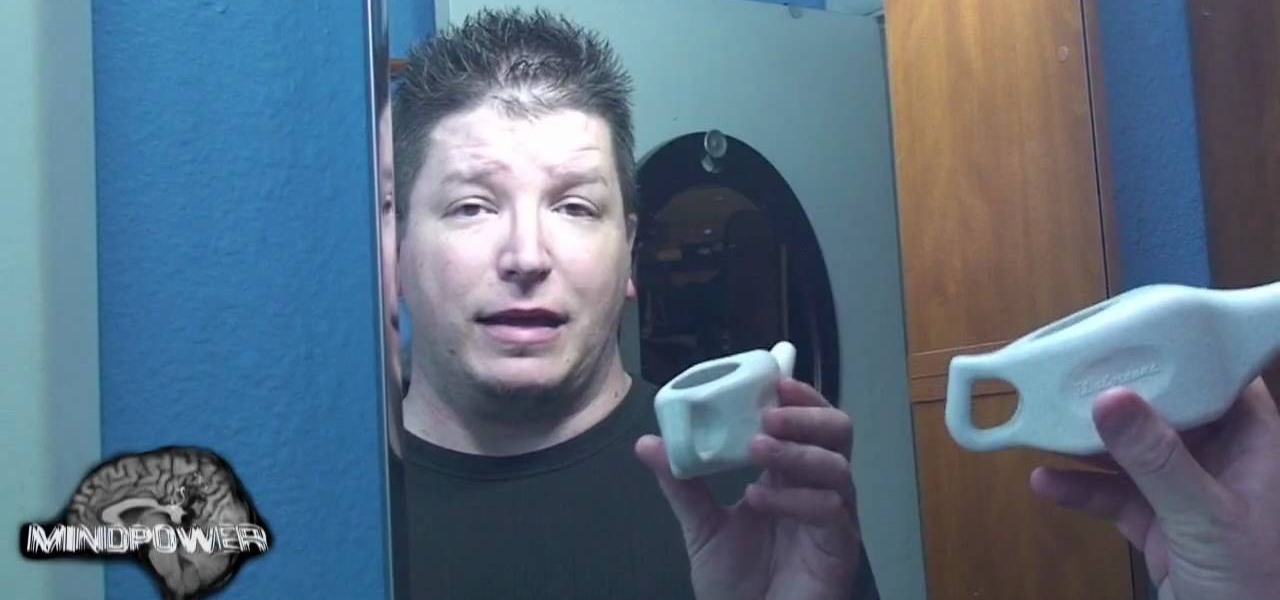
The video is of several different people demonstration how to use the Nasopure, a nasal cleansing device. The woman narrating explains the simplicity of the device, which is similar to a soap dispenser, but simply upside down. The device is filled with salt and lukewarm water. Then it is inserted into one nostril, while the tongue is press against the roof of the mouth, it flushes the slat water through the nose, cleansing the nose and then dripping to the floor. It removes irritants, reduces...
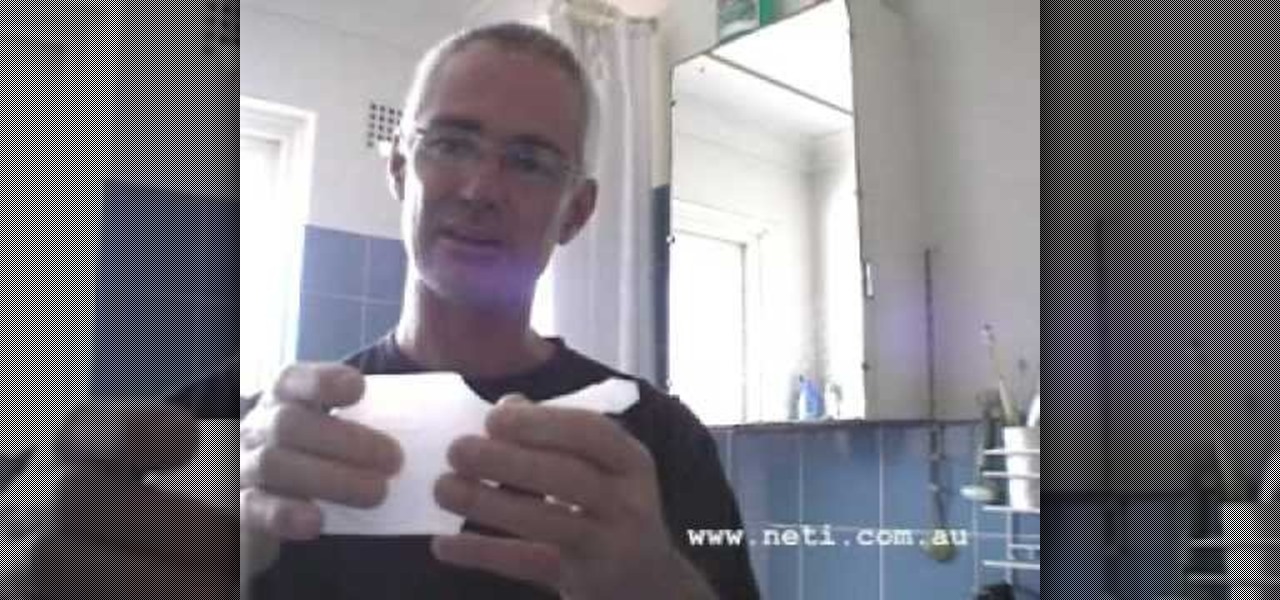
This video is demonstrating the technique of jala neti by Steve. It is a purification exercise. You will use the unbreakable neti pot in the bathroom to do jala neti. This pot's nozzle properly fit in the nose and the plastic body of the pot can be easily hold. For 200 ml of neti pot put 1/3 of teaspoonful of salt. Don't put more, or otherwise your nose will burn. Fill the water straight from the tap and shake the neti pot properly. Take the neti pot in the right hand if you want to put water...
Rob shows us how to use a silver one inch long wire head pin to place a bead on. He uses both flat nose and round nose pliers to close the loops he demonstrates how to make. outlining the basics for loop making and the loop connection process. He slowly and clearly shows us how to make two different types of loop closures. On of the loop closures is simple and easily reopened. The other loop closure is made by making the first loop and then using tools to wrap the rest of the wire around the ...
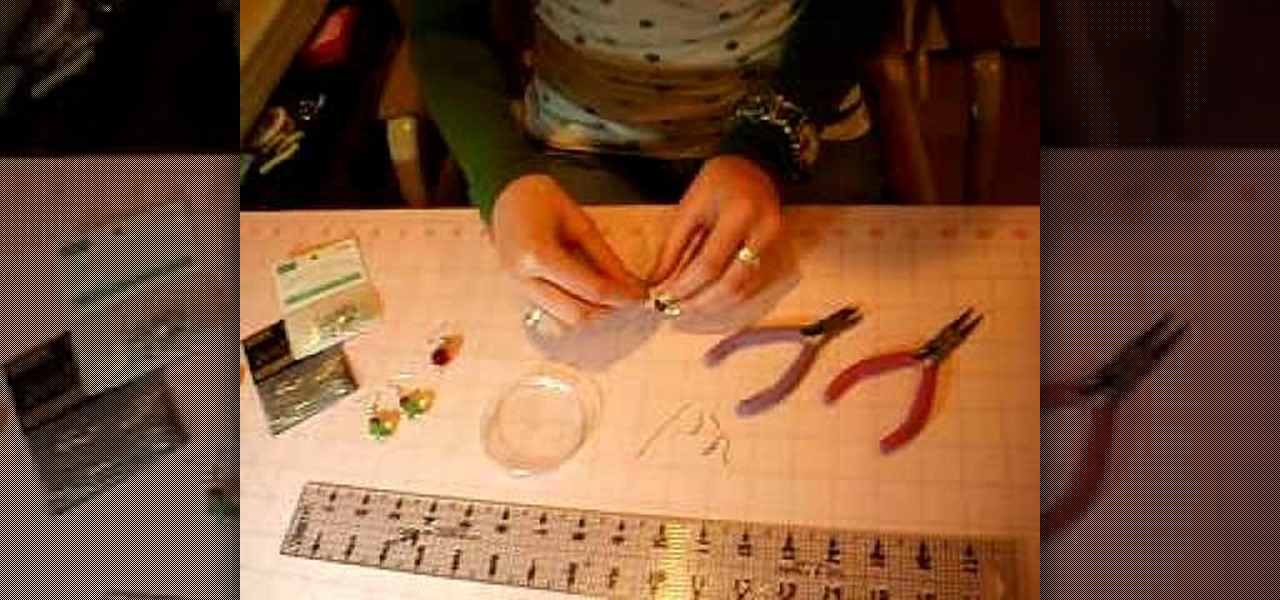
To begin you will need to gather the following supplies: needle-nose pliers, wire cutters, two fish hook wires, two head pin wires, and a few beads of your choosing. First take the head pin and string your beads onto the head pin. Once all of the beads are on the head pin bend the top of the pin at a 90 degree angle, then cut the wire about 3-4 cm from the top of the wire. Next use the needle nose pliers and bend the wire into a circle, place the fish hook wire on top of the head pin wire to ...
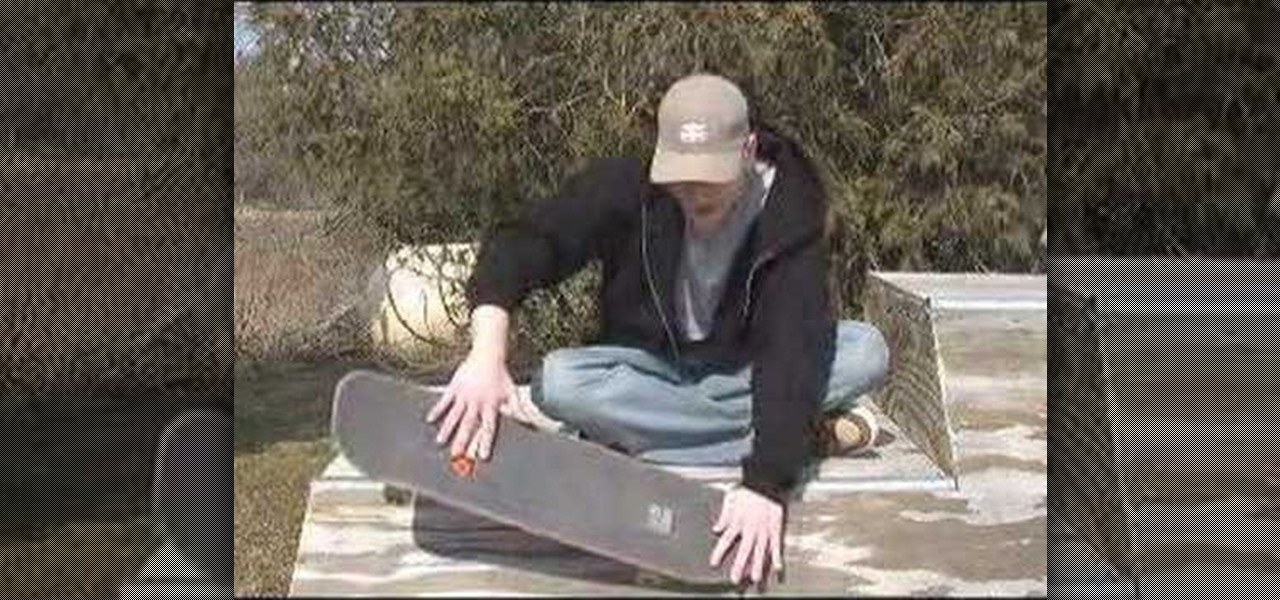
First, the landing will be explained and demonstrated. A good tip learned from this video is that practicing landing a trick (in this case starting propped up in the position you would be doing a backside nose pick in) is important, as you can perfect the most difficult and intimidating part of the trick before learning it in its entirety. You will learn tips and tricks on ways to practice this trick, as well as insights of the presenter's own experiences in learning it. At the end of the vid...
YouTube user goldiestarling teaches you how to apply a purply sugar skull makeup look inspired by Sylvia Ji's Purple Crush painting. Use a white eyeliner to create the sockets of the skull, then go around the nose area. Color the whole face using a creamy white pencil and add red blush on the cheeks. Use a creamy purple color to fill in the sockets and the tip of the nose. Draw small flower petals on the edges of each socket. Use a black color to draw a spider web on the forehead. Then draw b...
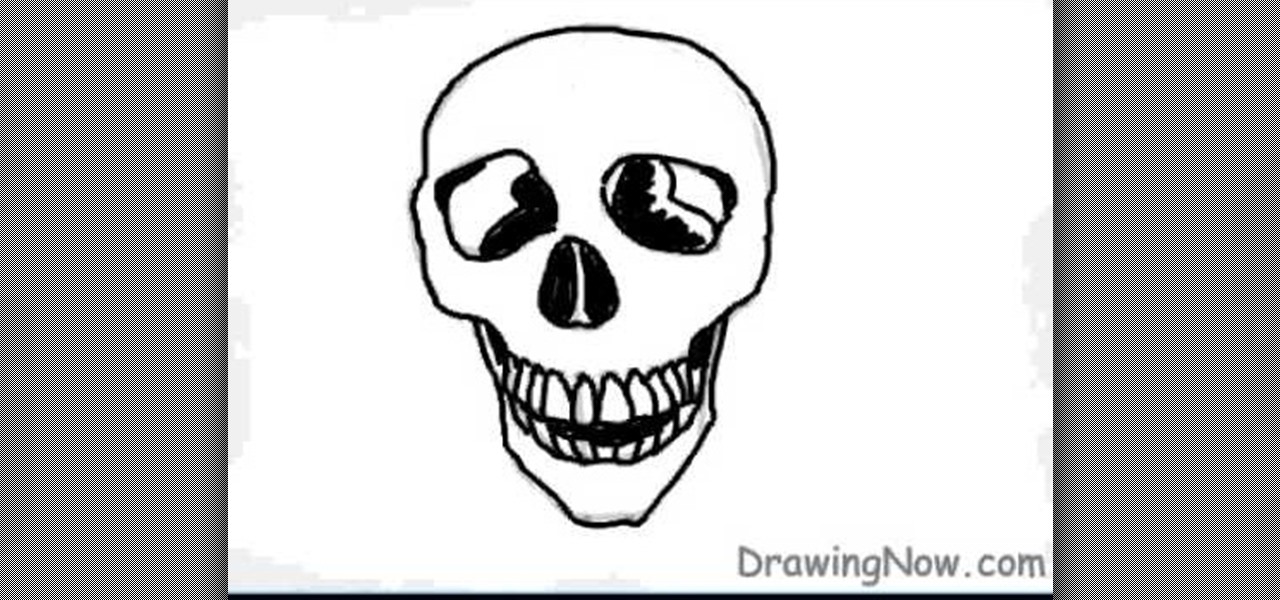
In this video tutorial, viewers will learn how to draw a skull using a computer. Start by drawing a circle for the head and a rectangular shape at the bottom. Draw a line in the center as a guideline. Then draw the eyes, nose and mouth. Now outline the skull and add the details. Shade in the eye sockets, nose and mouth. Now you can erase the guideline. Start coloring the skull to a preferred color. Then add in a darker color around the skull to shade it. Finally, outline the skull and color t...
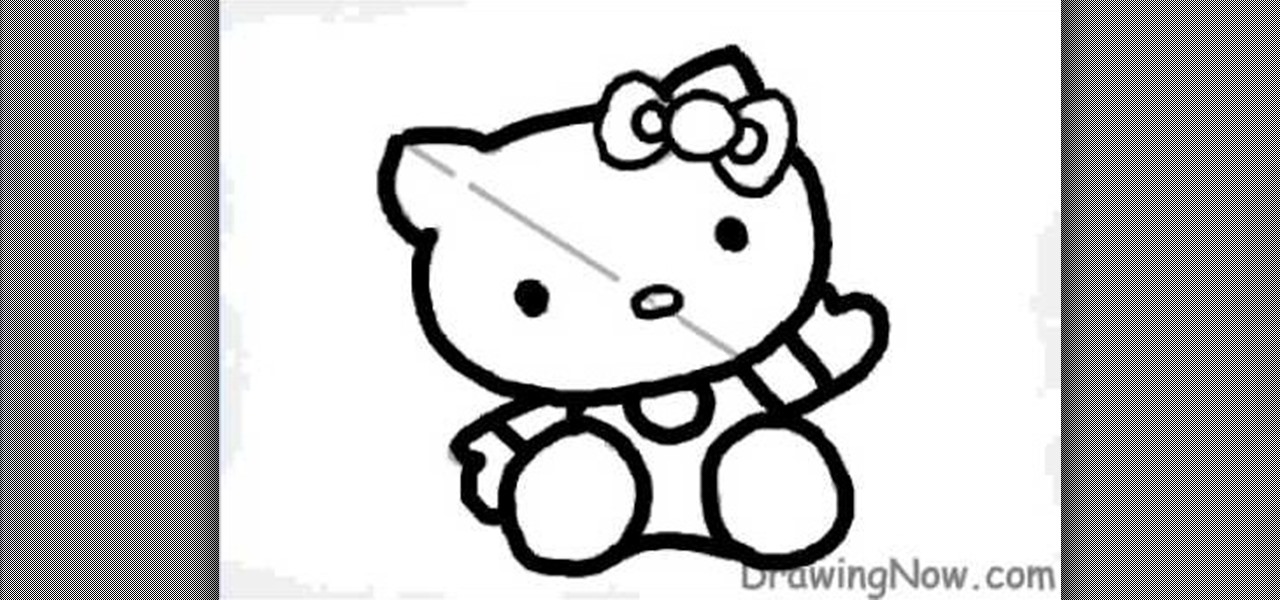
DrawingNow teaches you how to draw Hello Kitty. Start with an oval and make lines for where the eyes and nose will be. Make sketches of the ears, the bow on her head and of the body. You now draw on top of that and you can erase the first outline, as you go along. Draw the nose and color it yellow. The eyes should remain black. Draw 3 whiskers on each side of the face and go on to coloring the body and bow. The bow is a bright red and so is the front of the body. The shirt underneath should b...
This video teaches the secret of drawing a realistic cartoon face in simple steps. First draw an oval in a plain paper using a pencil ,then make a light cross inside the oval. Now make a pair of eyes by drawing a coin like image on both sides of the horizontal line. On the vertical line draw the nose. Make a line below the nose for the mouth. Draw two vertical lines on the sides of oval and erase the line coming out from the oval. Make a light curve from the oval for cheeks and highlight the ...
Architectus777 shows you how to transform Kerry Washington into Na'vi. You can use Photoshop to turn Kerry Washington into an navigator. You start by enlarging the eyes and turning them slightly upward. Expand the bridge of the nose while keeping the tip small. Turn the picture blue and enlarge the pupils. Enlarge the eye socket and line the eye with black. Create some tiger strips on the face and shadow the nose, fade the stripes, and adjust the blue shading. Add white spots to the face and ...
It’s like a personal photo, except classier, and you can make the model look slightly more attractive than they really are.
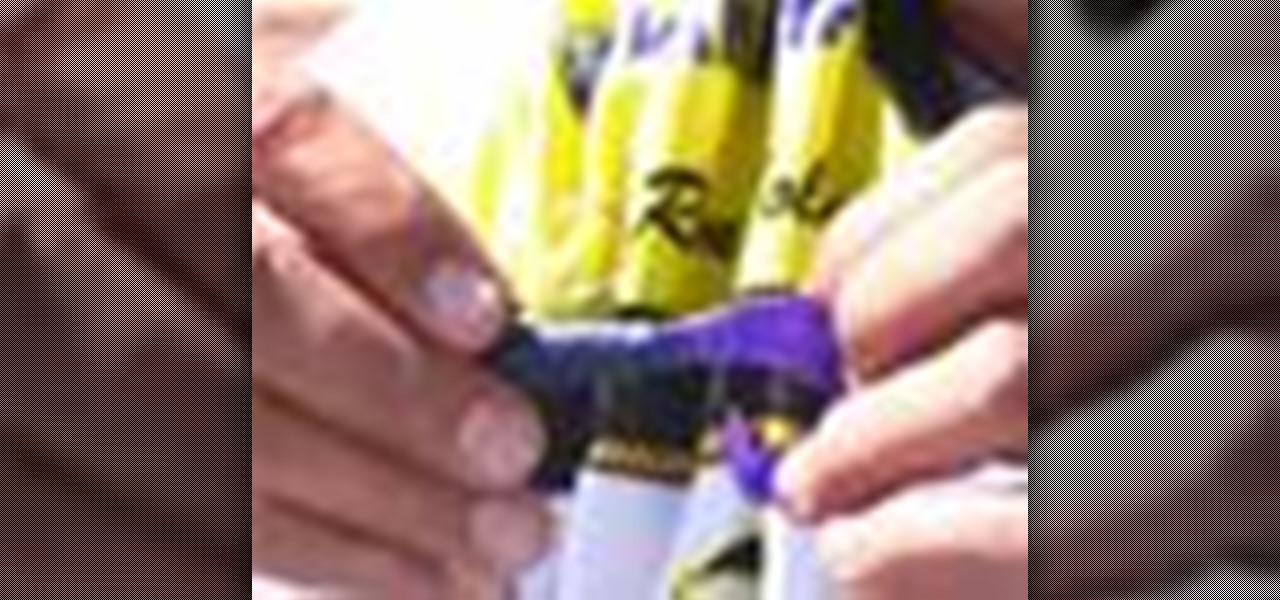
There are tricks to hooking plastic baits. A fisherman will show you how easy it is to hook a grub bait in this video tutorial. Take action: push hook into nose, noting where hook should come out of bait, and push nose up over hook barbs to secure. Ron, the instructor in this how-to video from Live Strong, is a professional bass fisher and has qualified for the Bass Master Classic and has won two B.A.S.S. Western Divisionals. He has also recorded multiple top ten finishes on F.L.W. tournament...
This is part one of two in how to make a beautiful tree of life pendant. It is very easy, and you'll only need a few items. Things you'll need: wire 2-3 mm thick, Round nose pliers, 4 pieces of thin wire, 12 inches long, wire cutters. With your round nose pliers, bend the thick wire about an inch form the end. Make a question mark shape, and twist the end around. Go down about 5mm, and make a 90 degree bend. Go across as far as you want, and make another 90 degree bend. Keep making bends unti...
One of the worst-kept secrets in the tech world is Apple's plans for consumer-grade AR smartglasses, still unconfirmed publicly and only recently corroborated through a leaked account of an internal employee meeting.
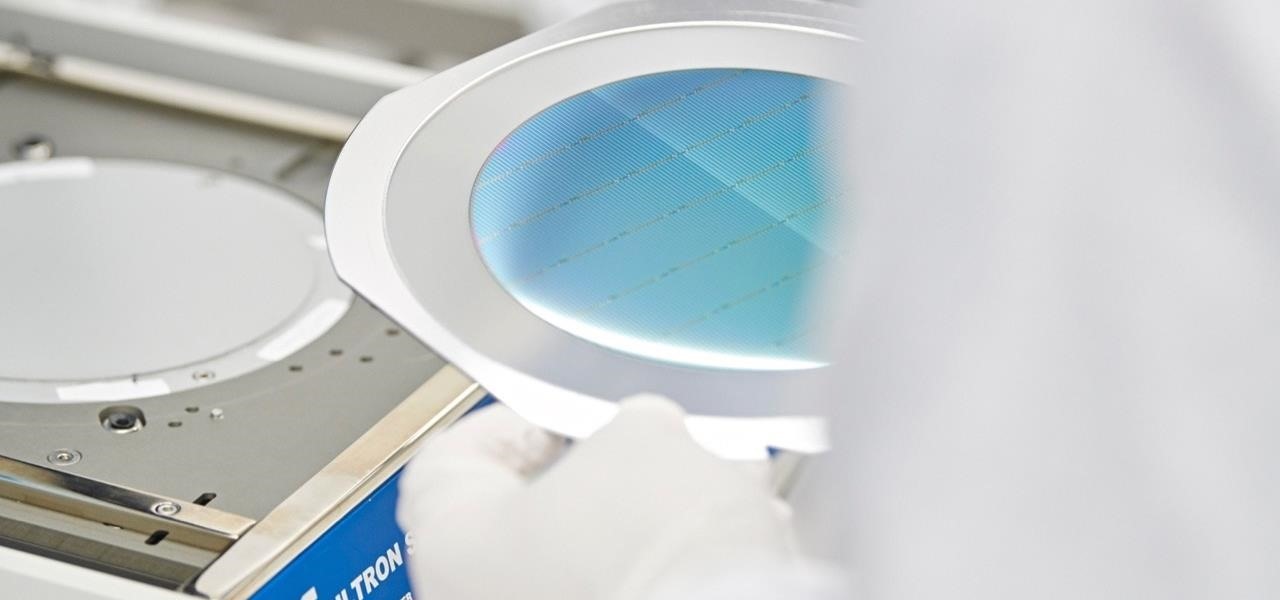
When a dead body is discovered, finding out when the person died is just as important as finding out how the person died. Determining the time of death has always involved lots of complicated scientific detective work and less-than-reliable methods. However, a study by Nathan H. Lents, a molecular biologist at the John Jay College of Criminal Justice in New York, is the first of its kind to show how microbes colonize a body's ears and nose after death.
In this tutorial, we learn how to draw cartoon faces with Eric Merced. First, start off by drawing a round circle, but keep the pencil light and make a bunch of marks. Then, draw a line over the face to mark where the eyes will be, then draw in the hair and ear. Darken your pencil when you draw the things that will stay, such as the eyes, nose, hair, and eyes. Draw a couple lines for the neck, then shade in. For a different face, draw a line as the center of the face, followed by three other ...
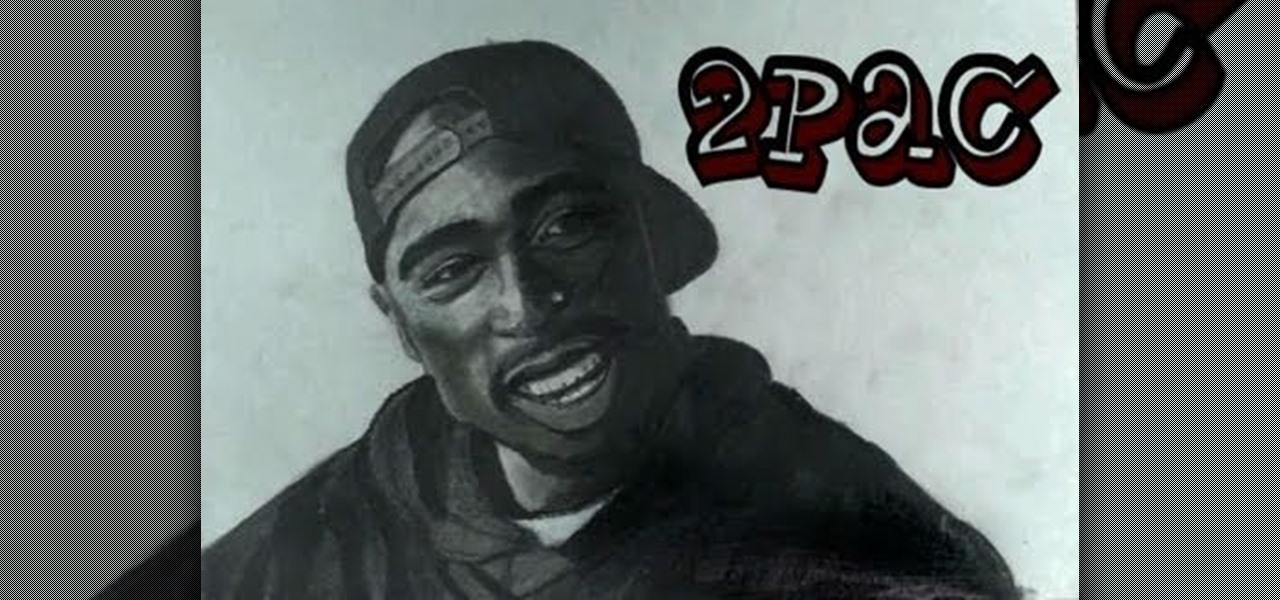
Everyone remembers the day Tupac Shakur sadly passed away at the hands of gunfire, but his memory and music live on, and so does his ruggedly handsome look, which you can recreate in a 2Pac portrait. Merrill K shows you how he draws Makaveli in this drawing tutorial, so grab your art supplies and follow along. Pause the video when needed.
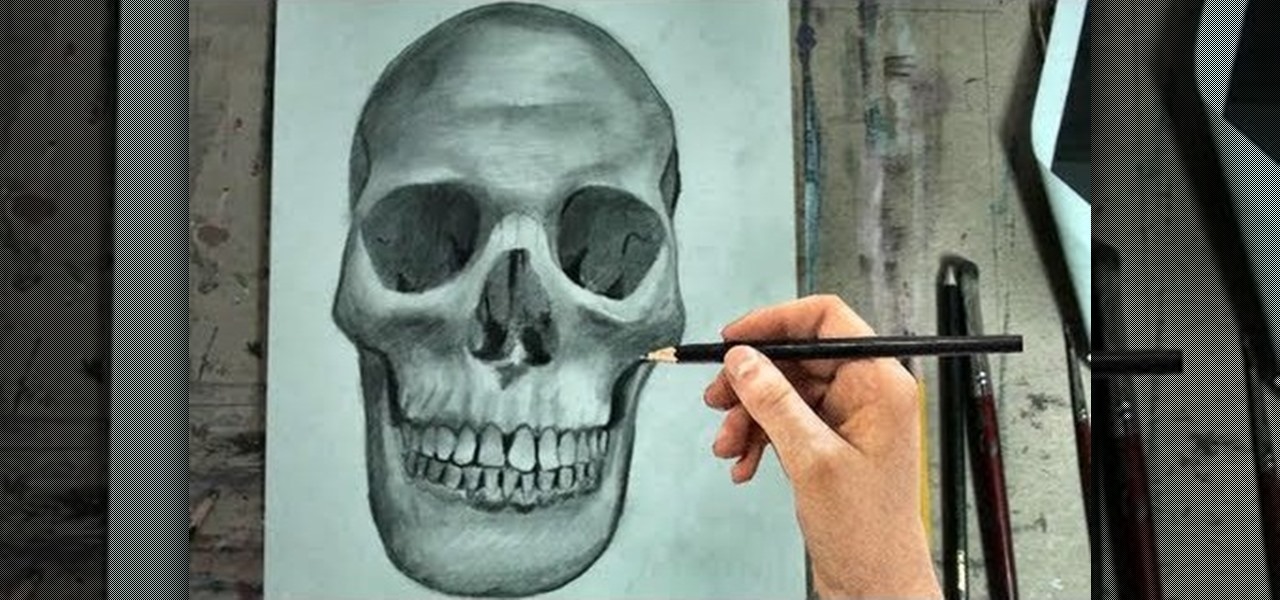
Halloween is the holiday of goblins, ghouls and witchcraft, and also death. So, what better way to celebrate the spooky season than with a skeleton drawing? More specifically, a human skull? Merrill K has you covered with this drawing tutorial. He'll show you the trick to sketching out a human skull (frontal view) in step-by-step instructions. Make sure to pause the video after each step and look at the screen every few seconds while you are drawing.
In making jewelry, the head pin loop is used many times. Let's learn to make a head pin loop so jewelry making will be that much easier.
This video clip from The Crafts Channel shows how to make a bead cage. A bead cage is where a piece of wire is wrapped decoratively around a large bead. For the example bead cage .8 mm wire was used. If the wire is too thin it will not hold its shape, but if it is too thick it will be hard to bend into the desired shape. Take some needle nosed pliers and make a complete circle, and then use some flat nosed pliers to begin forming a spiral going outwards. Now do the same thing beginning at the...
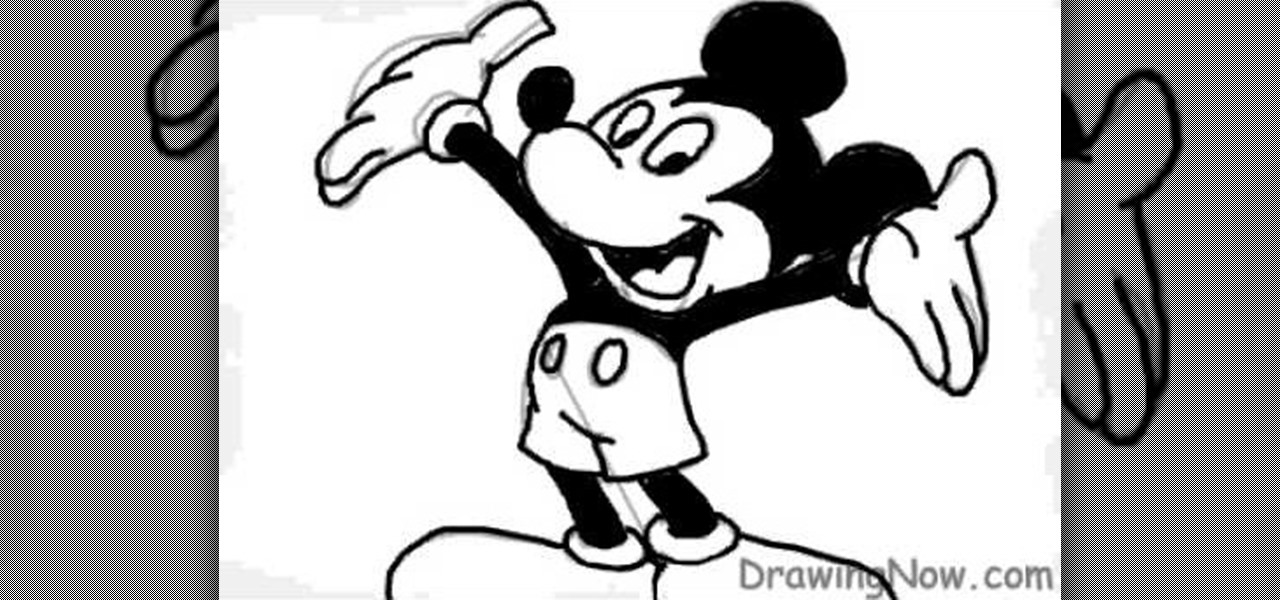
The video is about how to draw a Mickey Mouse in a computer. First draw a little big circle, as head. Then make ears by adding two ears to it. Then draw nose attached to the open mouth. Make eyes above the mouth and nose by putting two rounds. Then make hands like extended to back. Then make the body, slightly bent backward. Then draw legs to the body. Add shoes to the legs. This is the sketch of the Mickey Mouse. Then make the boundaries bold. Darken the round tip of the nose. Color the eyes...
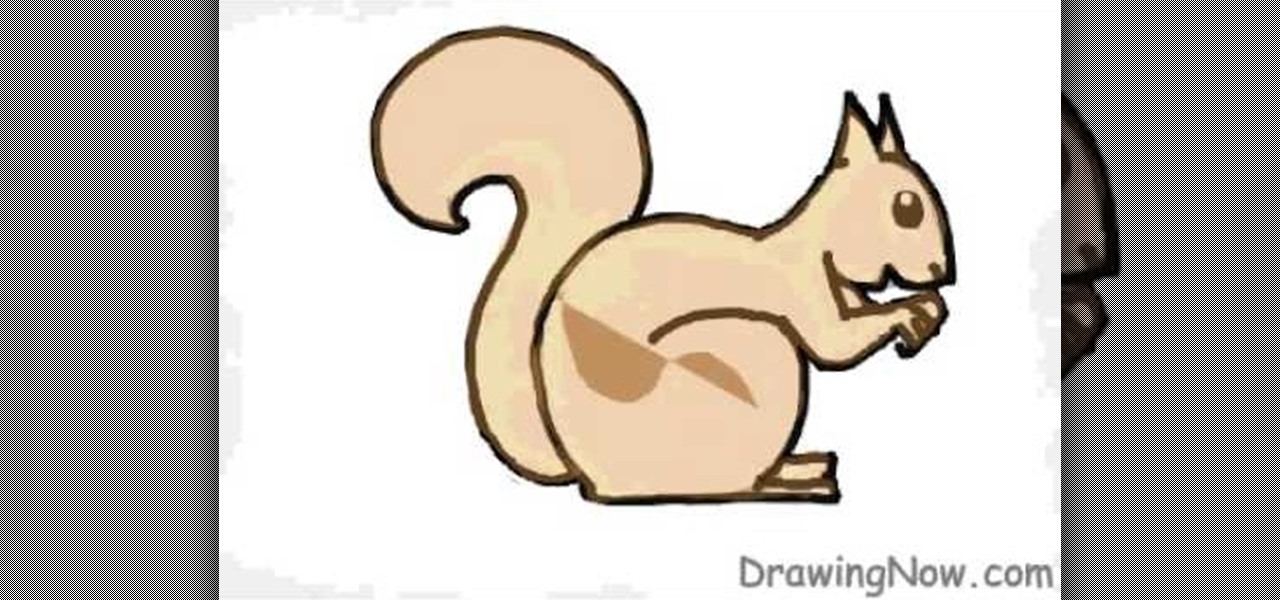
No words are needed to show you how to draw this cute and corky squirrel. This video shows you how to draw a simple squirrel from the pattern of the outline and continues to add more detail like adding for realistic looking fur.
Nothing says you care like a hand-made card. Show that special someone what they mean to you or just have fun with this cute arts and crafts project. Get your markers and colored pencils. Get your glitter and glue. Get creative.
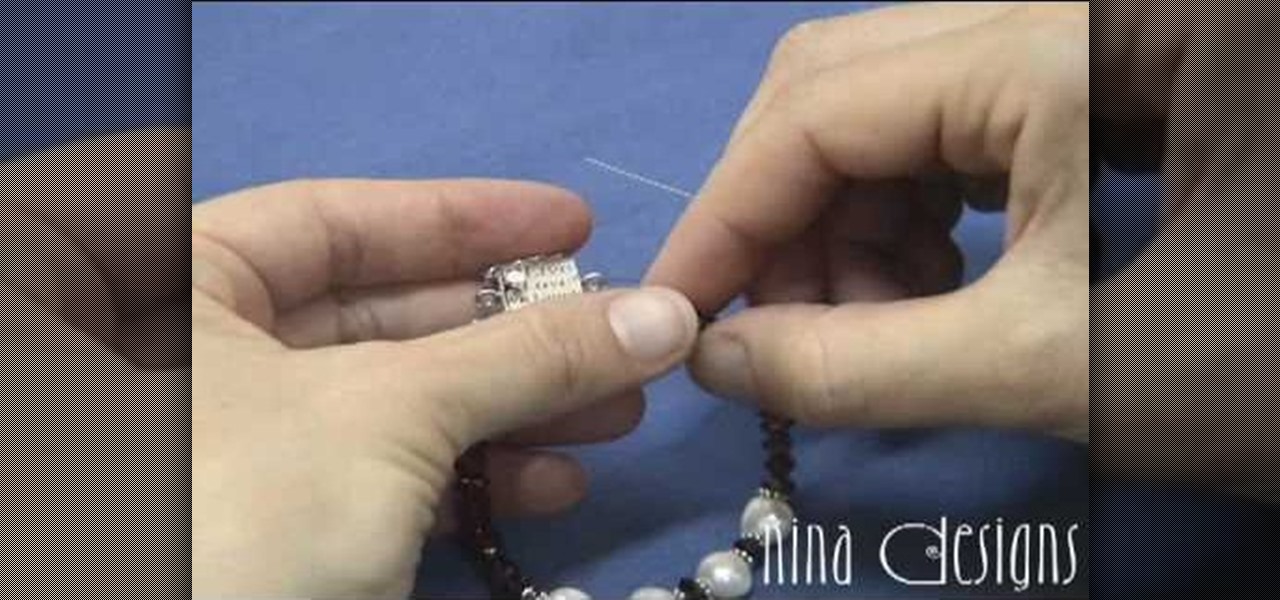
Learn how to finish a bracelet with crimps and covers to finish a bracelet start by putting a crimp bead over your beading wire and then add a clasp. After putting the clasp on the wire run the beading wire back through the crimp. Move the crimp bead up toward the clasp leaving a little room for play in between the clasp and crimp bead. Take your crimping pliers and put the crimp bead in the backspace of the pliers. Squeeze the pliers firmly to smash down the crimp bead. The crimping pliers w...