Non-woven wallpaper is easy to install and it's reusable. Tim Carter of AsktheBuilder.com explains how this cool wallpaper is different because it doesn't expand when the adhesive contacts the paper backing. These new non-woven wallpapers are huge time savers because there is no need to pre-paste a sheet of paper and book it while you work on another piece.
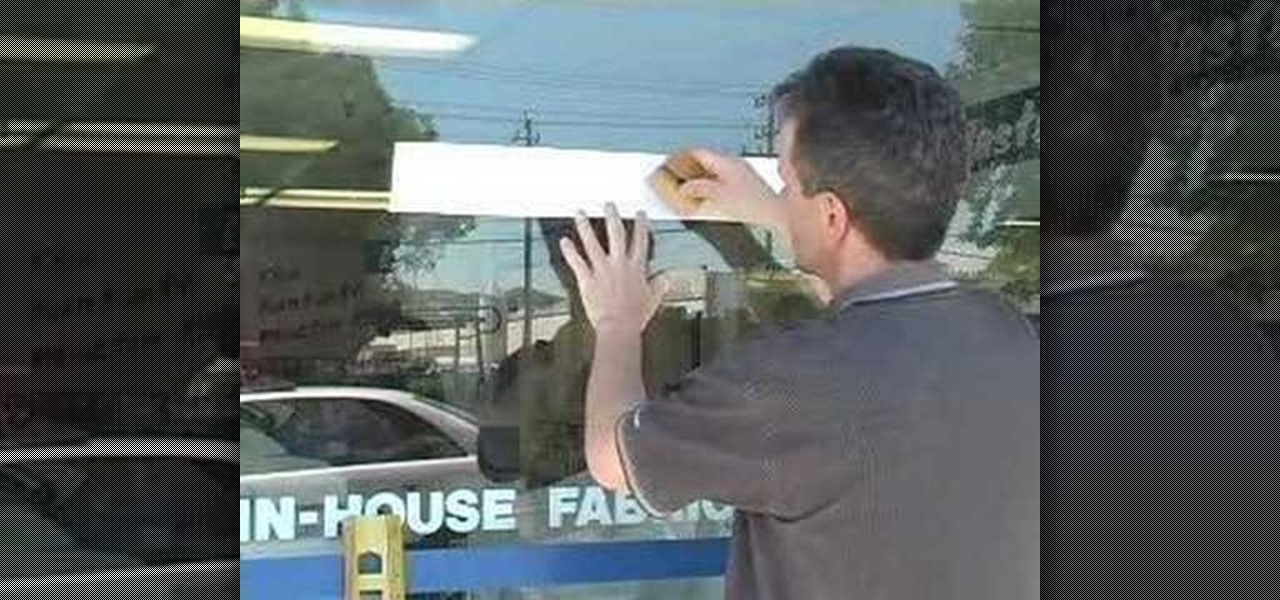
Do you need to install a sign for your business? This video segment will show you how to install self-adhesive vinyl graphics for a professional look.

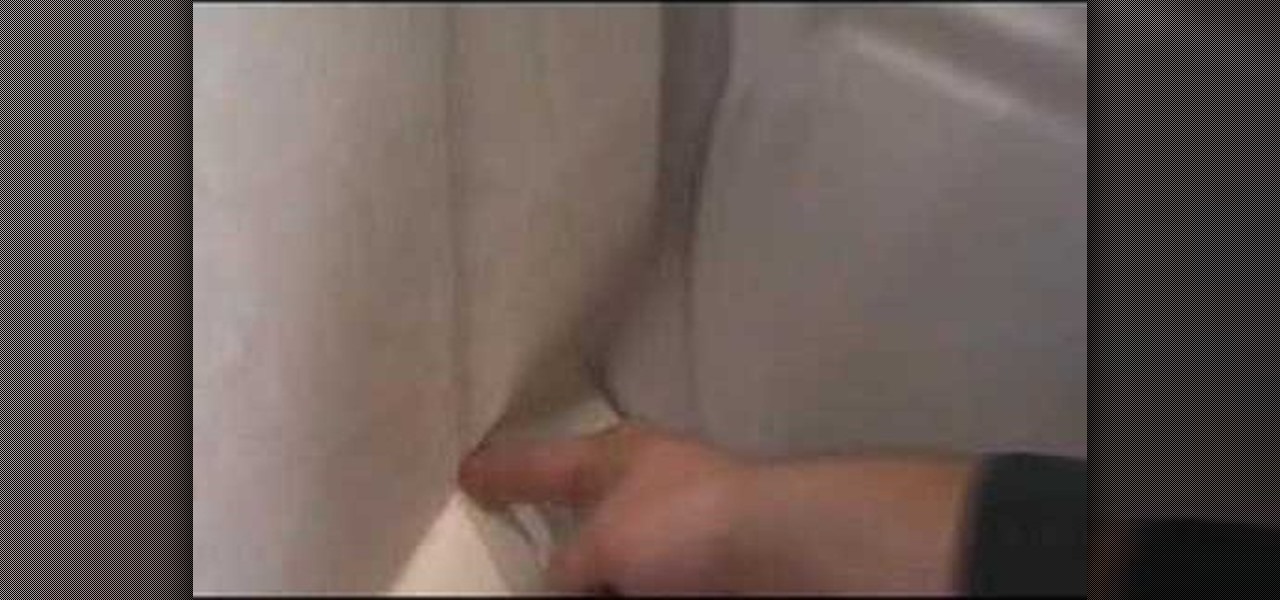
Learn how to remove label without leaving any residue or adhesive, or tearing your label into pieces.

In order to Create a Moulin Rouge makeup look for Halloween, you will need the following: primer, yellow eye shadow, brown eye shadow, a red eye shadow, a light brow bone color, liquid liner, lip liner, a headband, lipstick, jewels, lash adhesive, and false eyelashes (standard and ornate).
In order to make Fabric Paper Rosettes, you will need the following: decorative fabric paper, scissors, glue, and jewel embellishments.
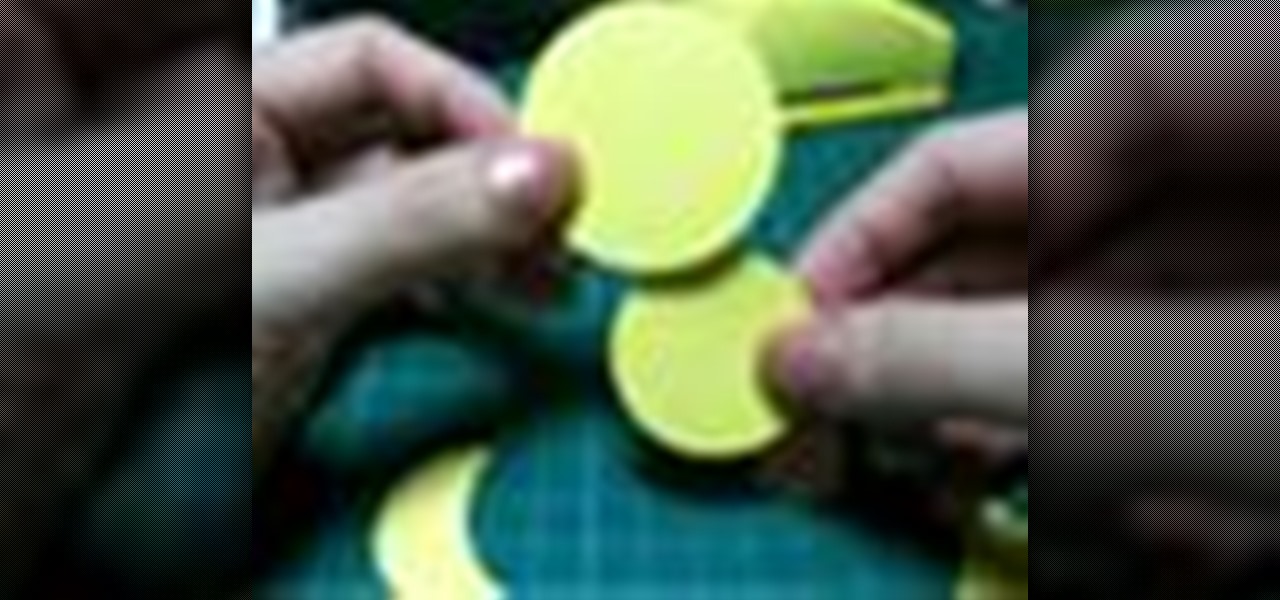
In this how to video, you will learn how to create a little chick with punches. You will need a 1 3/4 circle punch, a 1 1/2 circle punch, a 1 1/2 circle scallop punch, and a small square punch. You will also need a pink and yellow material to cut from. Cut out one piece from the 1 3/4, one from the 1 1/2 circle, and two pieces from the 1 1/2 scallop circle. Take one piece of the scallop and take the 1 3/4 punch and punch the side out. Take the punched piece and place it on to of the other sca...

Decorate a Cardboard Sun Mirror- Acrylic Painting Project- Art and Craft
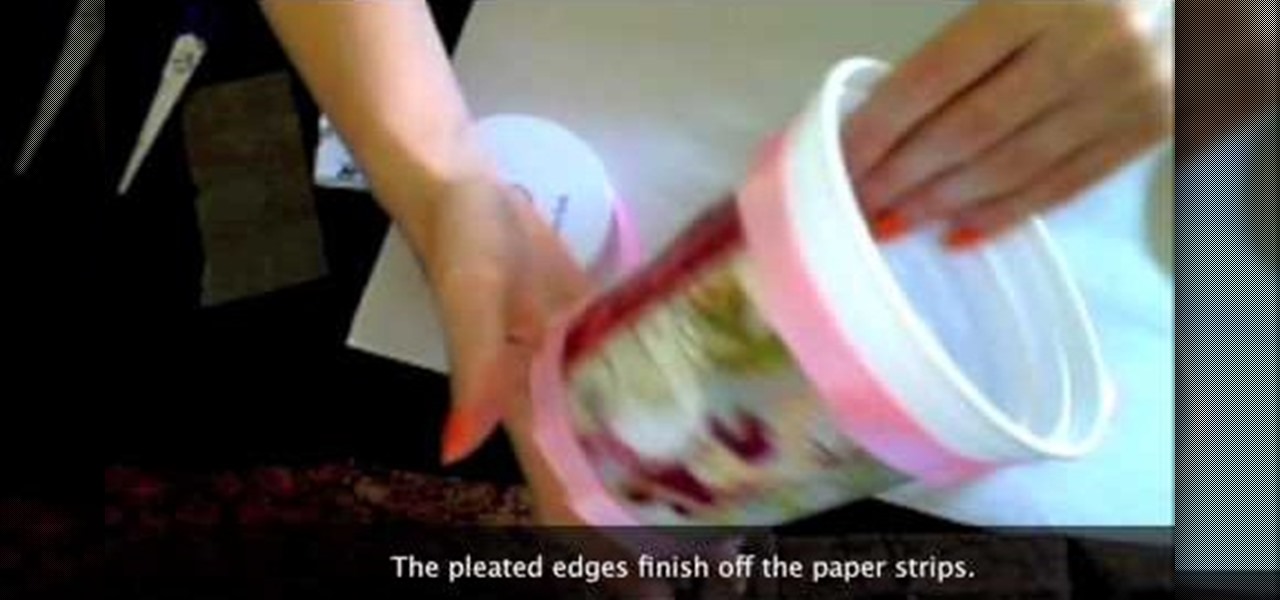
Creativity Prompt demonstrates how to turn a yogurt container into a mini-album. First, measure the lid's diameter. Then, cut a corresponding circle from your patterned paper. Use Mod Podge to adhere the paper circle to the lid and seal it with another layer of adhesive. Next, cut a bunch of different 4 x 1 inch strips of patterned paper. Adhere the paper strips to the yogurt container with Mod Podge. Seal it with another layer of adhesive and set it aside to dry. Measure the bottom of the co...
First of all open the box and take out the kit, different parts and the instruction manual. You also need glue, epoxy adhesives, sand paper, 2 mm drill and a 4 mm drill. Start with assembling the outer frame of the camera by fixing in the slots. Use a screw driver to screw the bolts. Now use the glue and fix the inner parts of the camera. Now make the front portion of the camera. Fix it exactly as shown in the instruction Manual. Now drill in the holes on the sides of the camera's outer frame...
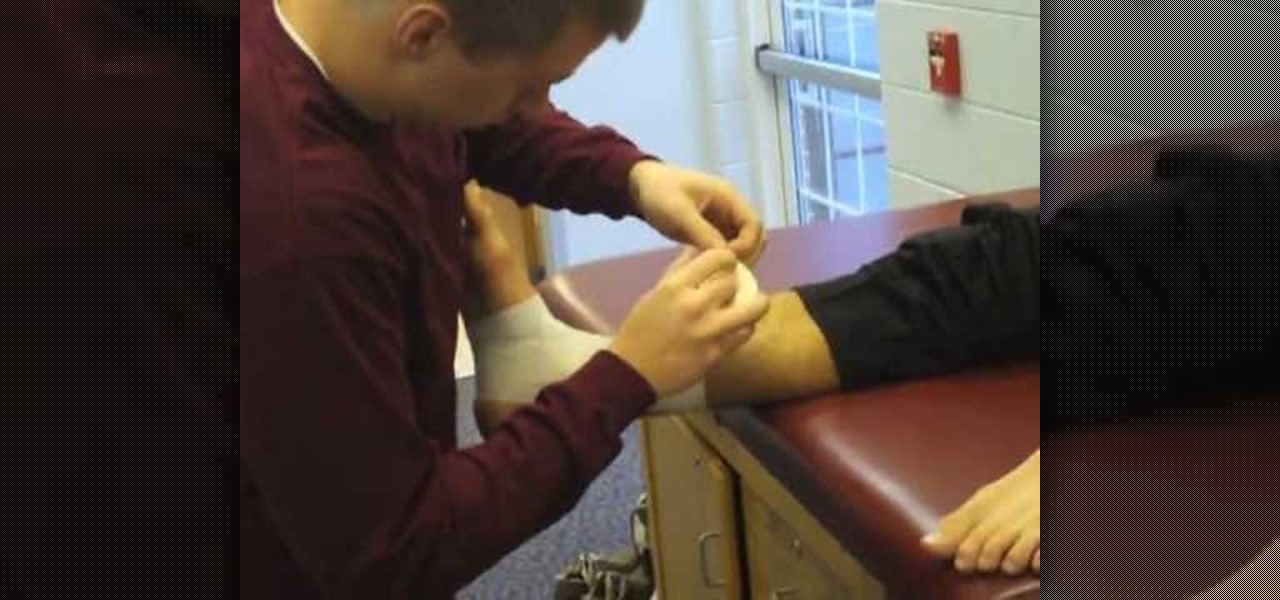
This wrap is intended to support and stabilize the ankle joint. Supplies needed include a 1 - ½'' – 2'' adhesive tape, pre-wrap, and heel and lace pads. Apply heel and lace pads at high friction areas, including the distal aspect of the Achilles tendon, and the dorsal aspect of the ankle joint. Apply under-wrap to secure them in place. It is critical that the foot remains at a ninety degree angle for this portion of the procedure. Apply an adhesive tape anchor strip at the lower leg, approxim...
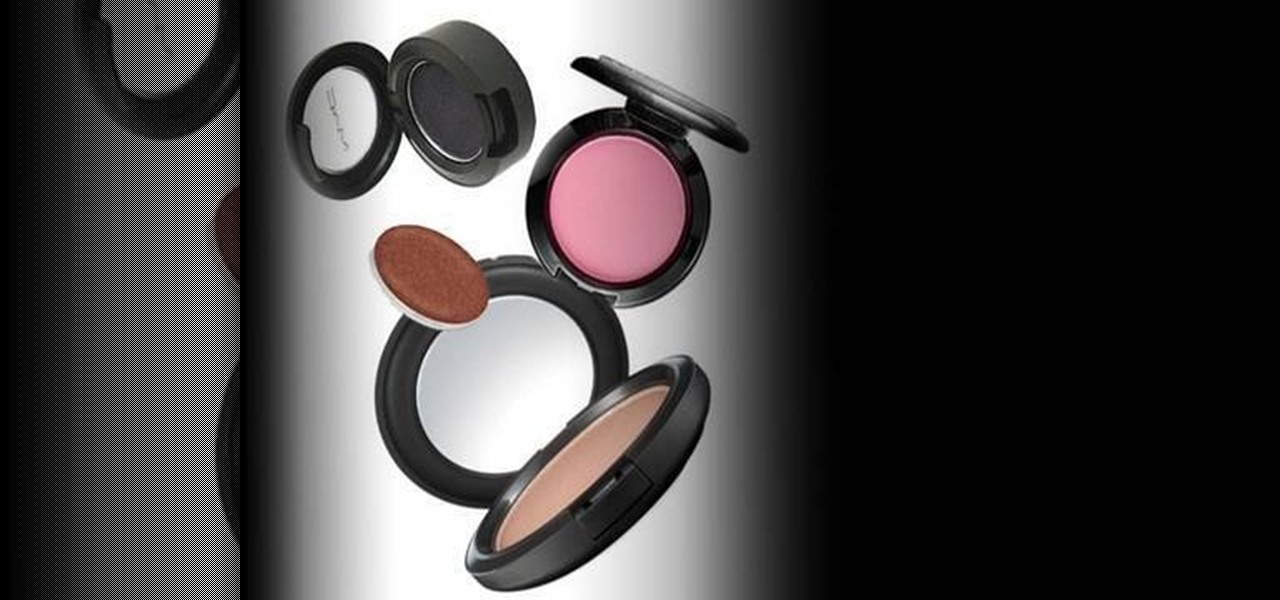
This video explains how to get powder or cream make-up out of the plastic container that it comes in. You can condense your products to take up less space if you remove them from the pots and put them in palettes. The tools you need are a flat iron or other heat source, parchment paper to cover the plate of the flat iron, an X-acto knife, alcohol, cotton pads, make-up in pots, self-adhesive magnets and a palette. First use the X-acto knife to pull the plastic pot out of the container. Set the...
This video teaches the viewer how to make a memo book with a paper bag. For this craft you will need two paper bags, memo paper, adhesive, ribbon, and scissors. To begin, you'll need to cut off the bottom of the bag and discard it. She explains where to make decorative edges on the bags before sewing them together or using hot glue. Fold and crease the open end down about one third of the way. Open and then fold a little farther down to allow room for the spine of your memo book. Repeat this ...
Got an urge to get that peanut butter jar out for something else other than a peanut butter & jelly sandwich? Peanut butter has many uses in addition to being a healthy treat. In this video, learn how to use peanut butter in unusual ways.
While drywall is an inexpensive building material, it's not the sturdiest. Luckily, repairing the inevitable holes is a quick and easy process.
It was a long time coming, but we finally have a meaningful conclusion to the legal case against augmented reality startup Meta Company.
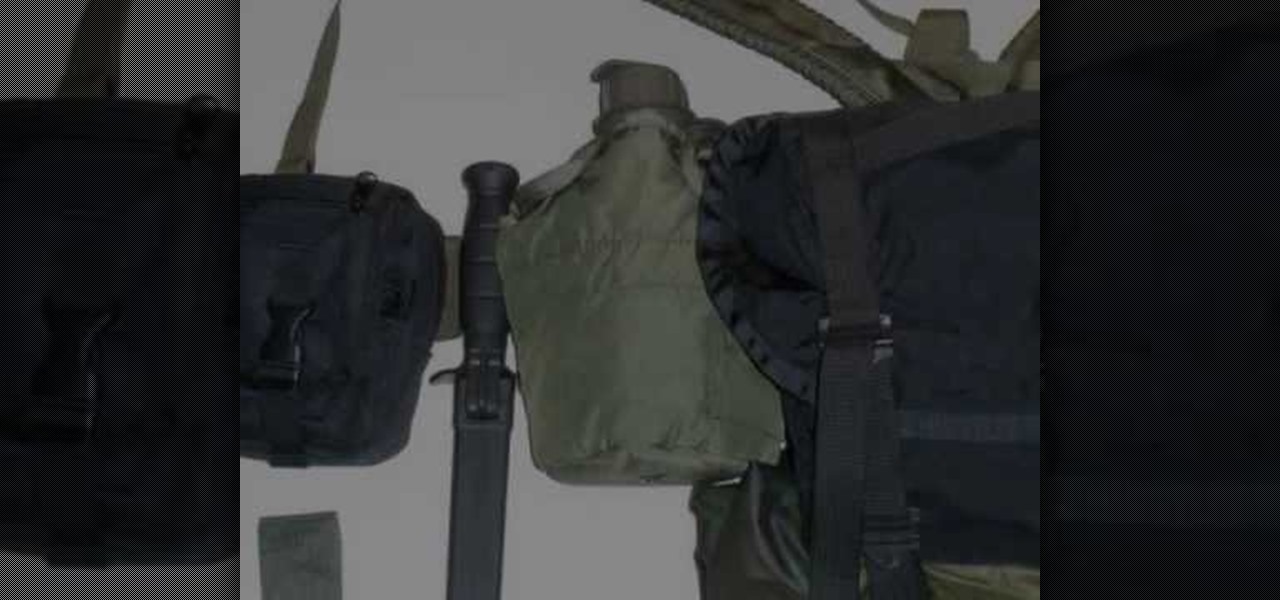
If you find yourself in a wilderness survival situation that demands a high degree of mobility, you're better off with a load-bearing equipment (LBE) system than a traditional survival backpack. This video will teach you how to assemble an LBE that will allow you to survive on the move for 1-3 days until you can find a more permanent solution.
In this video, Meg shows us how to make a piece of graphic wall art with Threadbanger. First, gather stencils in the letters that you want. Then, place them on contact paper and trace them with a permanent marker. After this, cut the letters out and put them on the wall where you want them. Next, mark your wall with a ruler to make sure it's a straight bottom. From here, place your letters onto your canvas. Now, paint over your canvas and allow to dry. Once dried, very carefully remove each l...
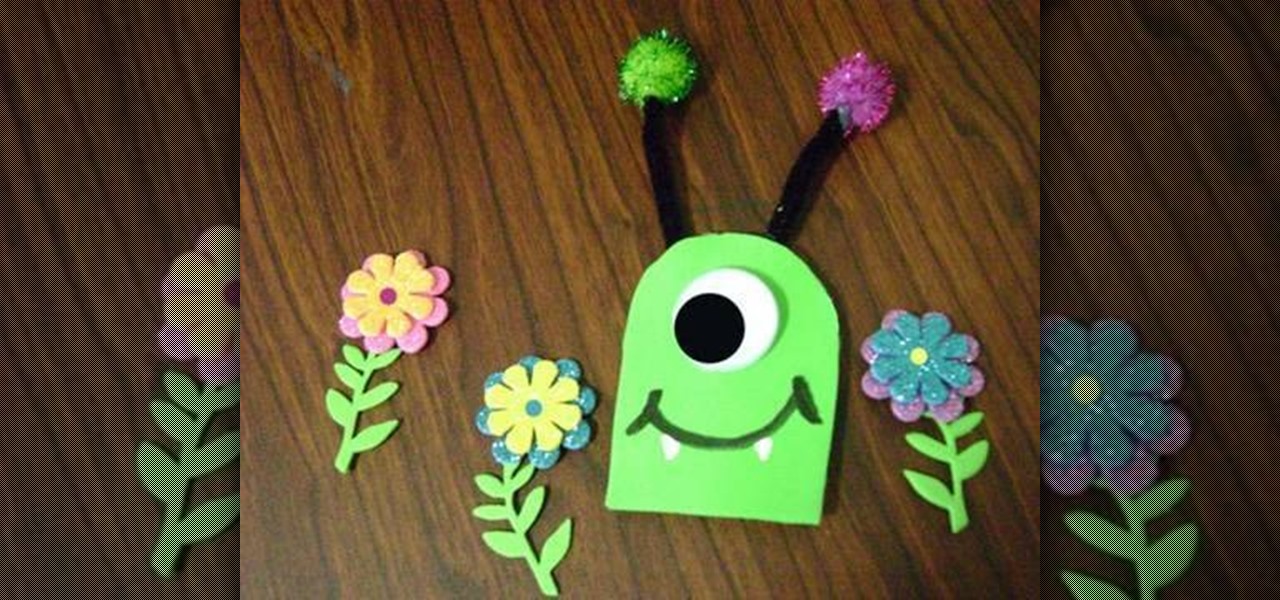
Every kids loves monsters, and they'll love them even more when they can make their own. This crafty idea is perfect for pushing your children into creativity, because it evokes the inner demons of us all, and brings out highly imaginative properties. Have fun with your kids, teaching them how to make this one-eyed friendly foam monster. You'll need:
Watch this instructional video to form the structure of a mini parachute using a loop of string. Pay close attention to the hand motions, and weave the string into a knot. Do no be shocked when this string formation looks very similar to a mini parachute. You can then attach a plastic bag or thin piece of fabric to give your mini parachute a more permanent structure.
If you missed my performance at this year's Vegetarian Food Fair - or if you spent the whole session marveling at my incredible charisma and missed the actual content of the demo - here's a more permanent version. Like most things I do, the recipe changed since we shot this - try adding some apple cider vinegar to the mix for a different flavor!
In this video you will be shown how to pin and make accurate darts without permanent marks.
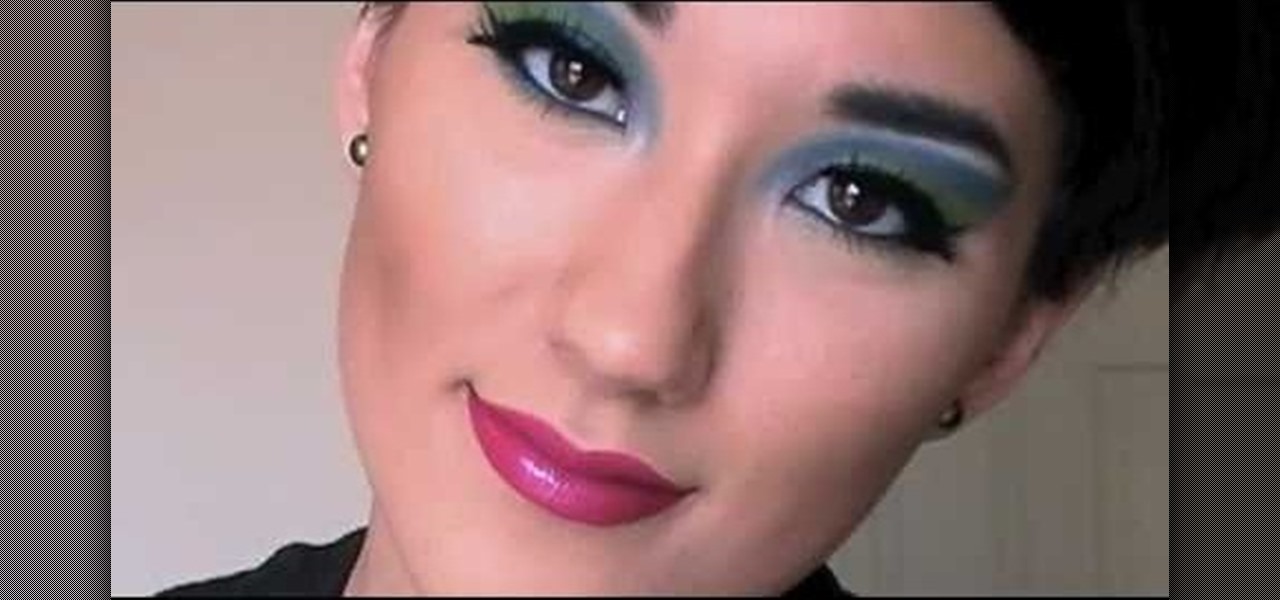
Want to dress up as Queen Cleopatra but don't want to look exactly like every other Queen Cleopatra this Halloween? Then take a walk on the colorful side by applying this super bright and highly geometric makeup look.
Just because it's Halloween doesn't mean you have to dress up as something gory or creepy. Inject some pretty into the spooky holiday by donning a peacock costume, and check out this makeup video to learn how to create a lovely peacock makeup look.
Doing makeup on Asian women is a lot different to doing makeup on any other ethnicity, mostly because they have different face shapes and eye shapes. More than half of Asians don't have a crease, or a fold above the eye, so their eyes are monolids.
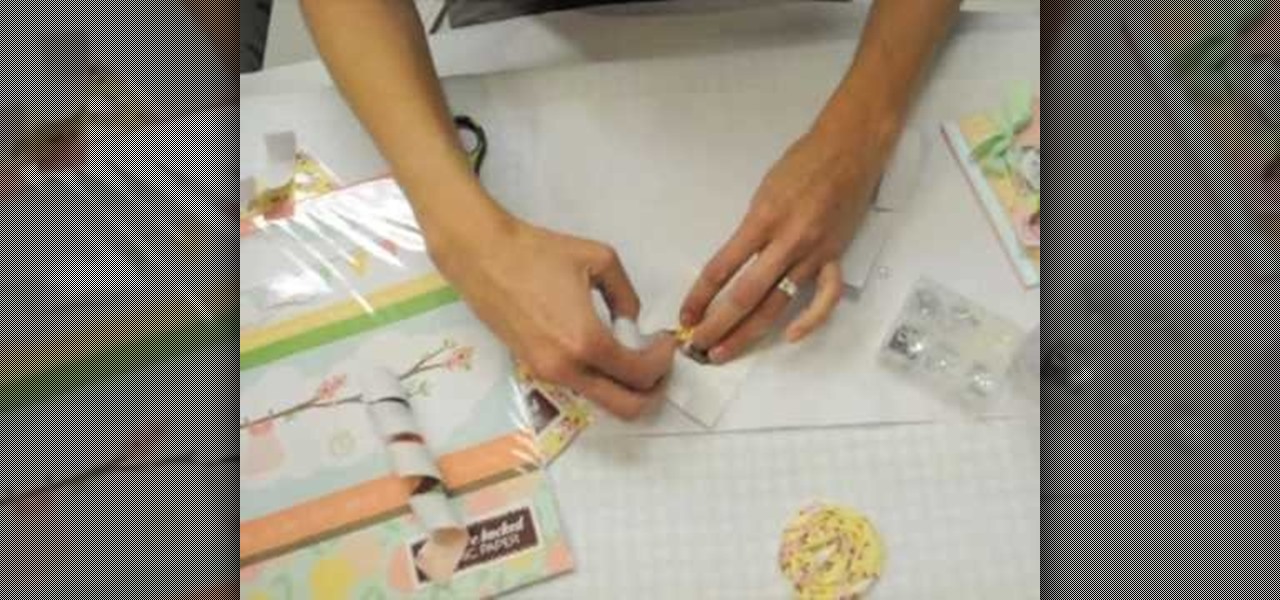
In this video, we learn how to make custom chipboard buttons for scrapbooking. First, take a scrap of chipboard and use a circle trimmer to cut circles out. Cut circles out of patterned paper in different sizes using many different patterns. Now, apply glossy finish onto the papers and wipe off the excess liquid. Ink the edges after this, then put adhesive onto the back of each of the different circles. Now, you can punch holes into the center of the circle to make it look like a button. Now,...
If you're a habitual makeup user then your brushes probably experience a lot of wear and tear every day. This means not only that you must clean them right after you use them, but also that their logos and brush numbers - MAC 216 for instance, fade away quickly.
In order to make a Cricut Sunflower card, you will need the following: card stock, Walk in My Garden Cartridge, ribbon, decorative paper, chalk, scissors, 2-sided tape, an ink stamp pad, adhesive, and pop dots.
Want to dress up like Rihanna for Halloween? Okay, we're totally kidding, but you should watch this special effects makeup tutorial if you're looking to wear a costume that requires facial scarring and bruising this Hallowen.
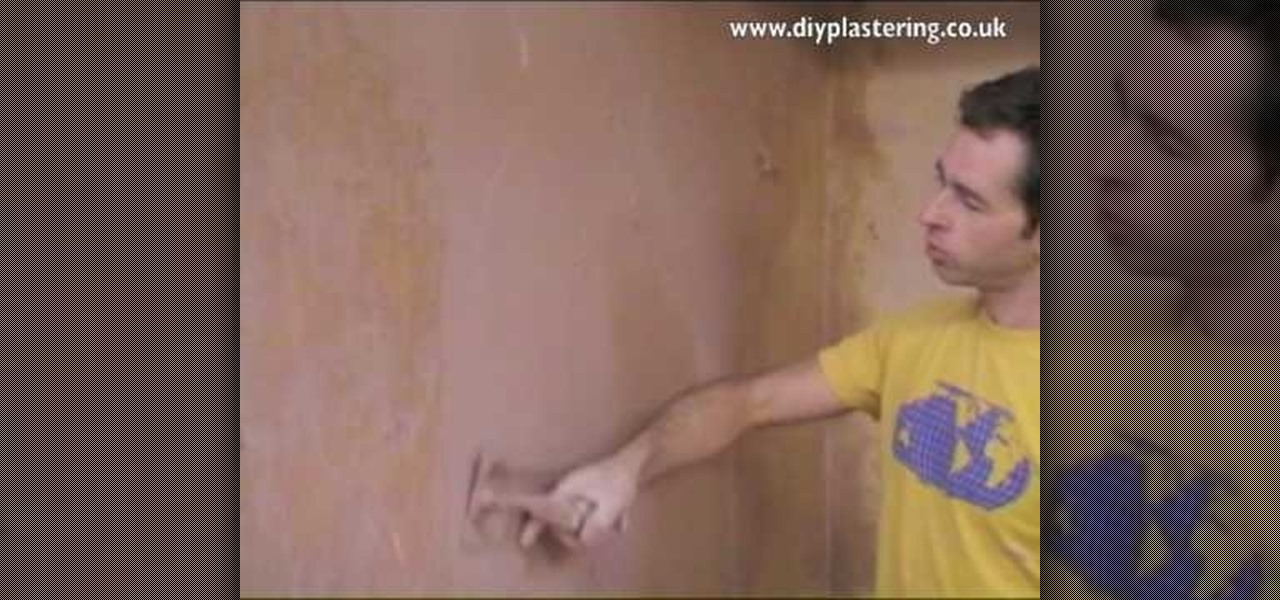
This video illustrate us how to plaster a wall. Here are the following steps: Step 1: First of all take white cement and mix it with the color of your choice and make a paste of it, add fevicol or any other adhesive to it.
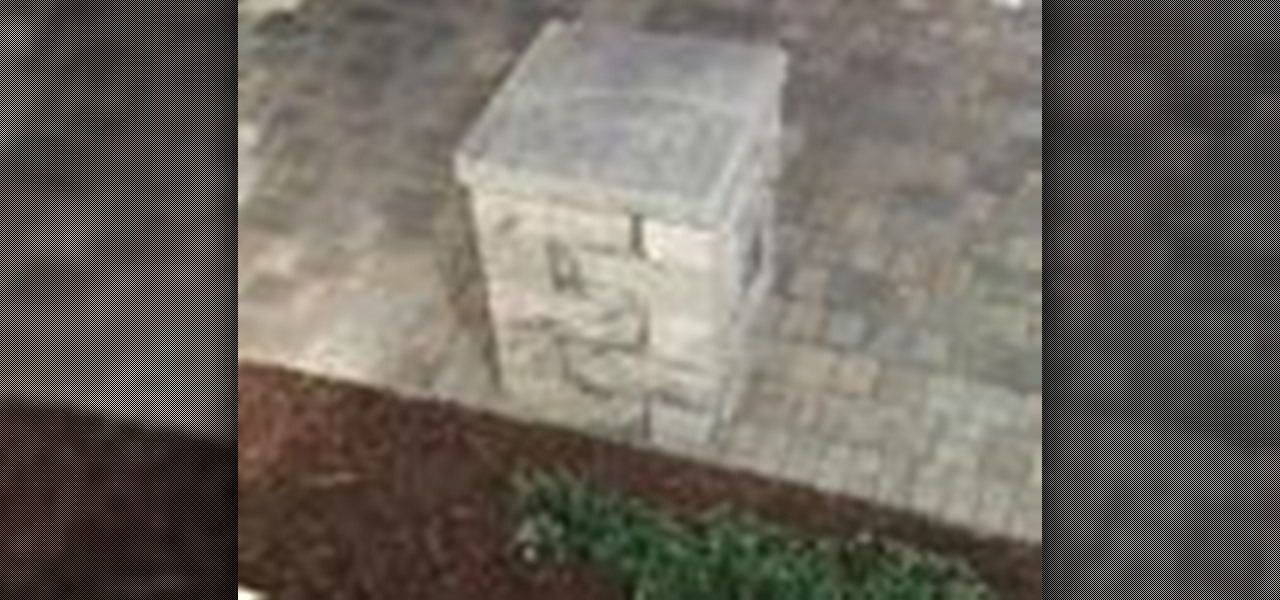
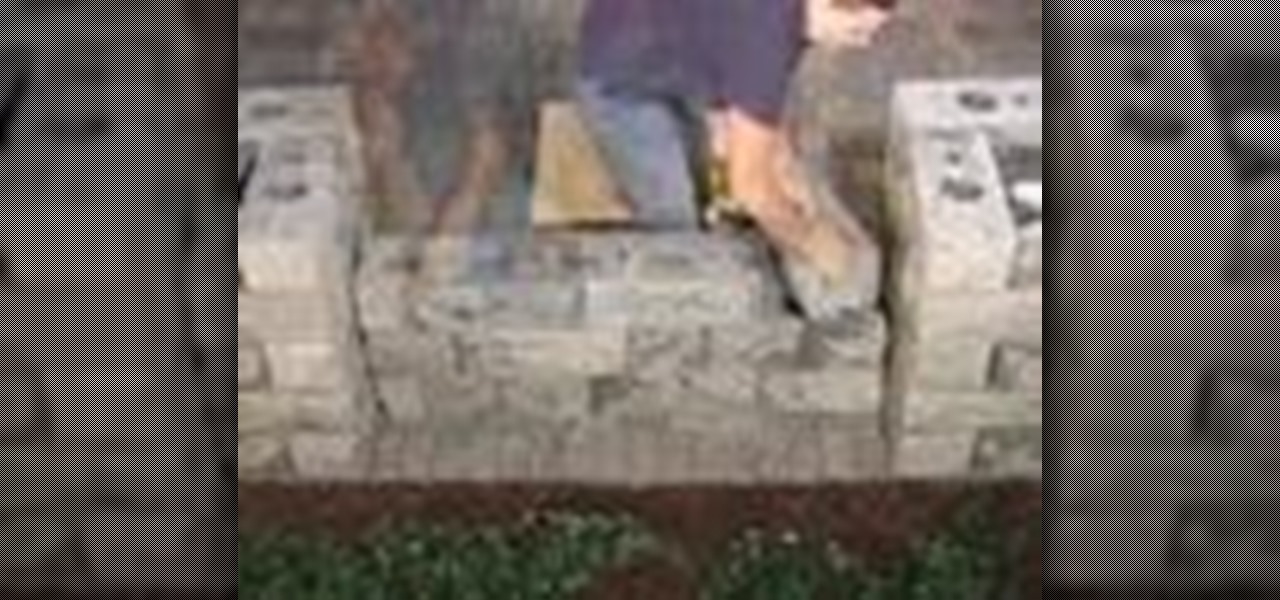
In this how to video, you will learn how to build a post. Court yard posts create beautiful accents to your yards. They can be used as entry monuments and fence posts. When using corner blocks, make sure the long sides are at the outside of the post. First, place these corner blocks in a square. Align the blocks with the square. Next, place four more blocks on top of the original blocks. Make sure the blocks touch two blocks. Keep on stacking them to the desired height. Add two post caps. Sec...
Instructions for building wall panels and posts using Alan Block materials. This is How-to Sheet #190, for the Courtyard Collection. Combine walls and posts in a three step process: build a post, build one wall off the post, then build a second wall off the first. Corner blocks help make perfect corners, and have one long and one short side. Offset the vertical seems by alternating. Blocks used for the wall include Dublin center-split, Dublin end-split, and York center-split. You will need to...
In this video, the viewer is shown how to apply red, silver, and glitter nail polish to make various patterns. First, you need to apply two coats of a natural, pearly color. Next, she uses a very thin brush to apply her red patterns. She uses one red to make lines and another red to fill in. Then she adds a dark, glittery red to coat over the filling. The same procedures and brushes are used to apply the silver on her nails. Finally, she applies small rhinestones to her nails by using the wet...
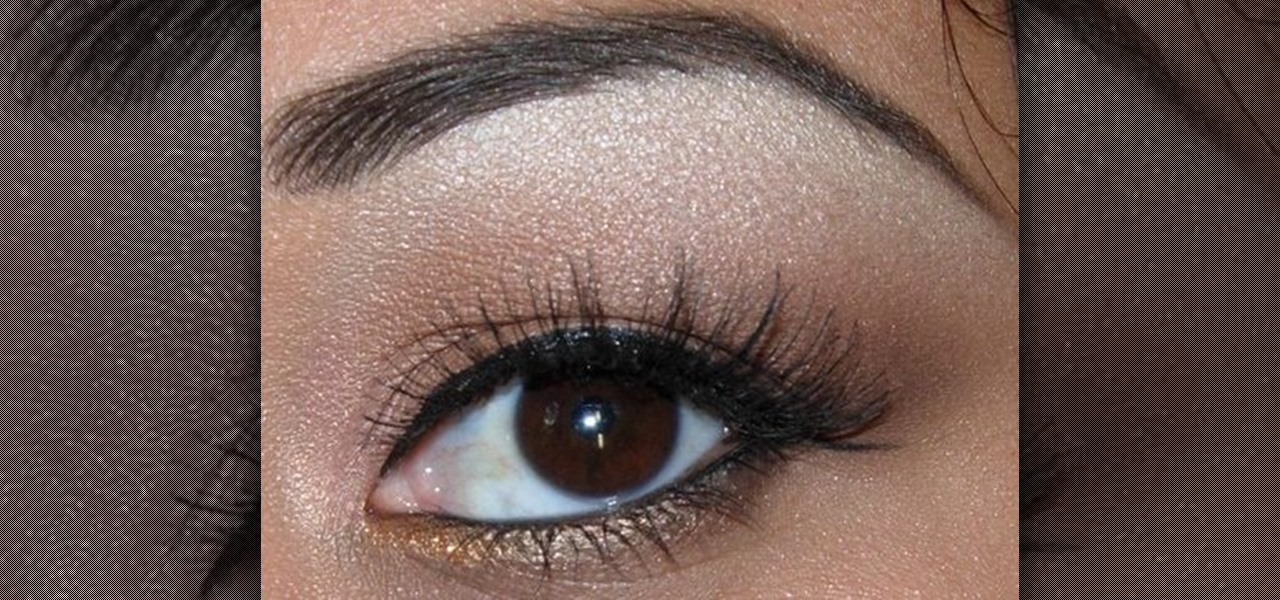
Lauren, AKA QueenofBlendingMUA has joined the ranks with the other YouTube makeup gurus. Lauren is a makeup artist with a large collection of eye makeup video tutorials. Her eye makeup look span from everyday makeup to creative, more expressive party looks. Check out this makeup tutorial video to learn how to create a glamorous yet neutral eye makeup look. Search QueenofBlendingMUA on WonderHowTo for more beauty videos.
In this video Andrea Osterkorn demonstrates how to stage your home for sale. It is not a comfortable process to transform your home into a home for sale. The entry way should be inviting because first impressions are important. Closets should be cleaned out. Consider renting different furniture for the living area to make it more open and inviting, and move it around to create an impression of space. Add accessories and let natural light in. Try to depersonalize the room and remove clutter so...
Board up a window for protection against strong storms and hurricanes. Learn how to board up a window.
A childhood visit from the tooth fairy is one thing, but having a permanent tooth knocked out is another, distinctly less enjoyable affair. Act fast and it could be a temporary one. Learn how to deal with a knocked out tooth.
In this video, we learn how to turn a composition book into a decorative notebook. First, measure your composition book, then measure out that same size on a piece of decorative paper. Next, put adhesive on the back of this on all four edges, then diagonally. Now, you will have a solid attachment for the paper to be placed on top of the composition notebook. Use a straight edge to push it down and it's completely flat. Then, use scissors to cut any excess paper off of the edges and corners. Y...
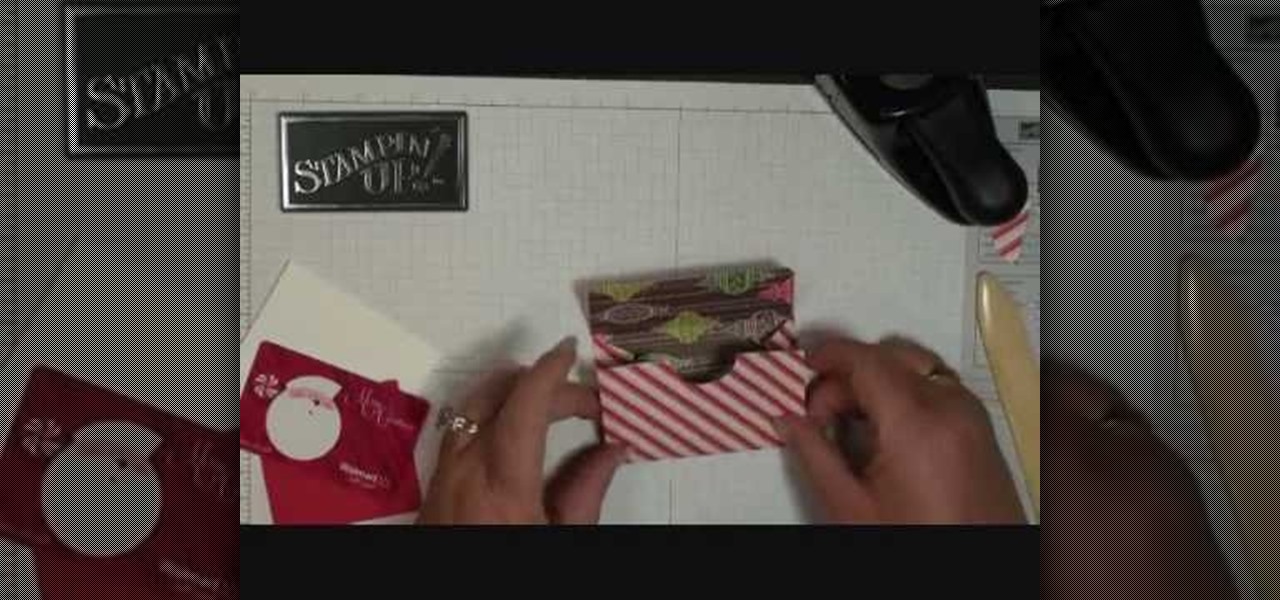
In this tutorial, we learn how to make a mini gift card envelope with Stampin' Up!. First, take a piece of card stock that is red and white. Score this 3/4" on both sides, then turn on the 6" side and score at 1 1/4" and 3 3/4". Once finished, fold this up and cut along the sides that you have scored. Put adhesive on the bottom of the gift card holder to seal up the bottoms so you can place the gift card in. Now, punch a hole in the bottom of the paper so you can see the gift card peak out of...
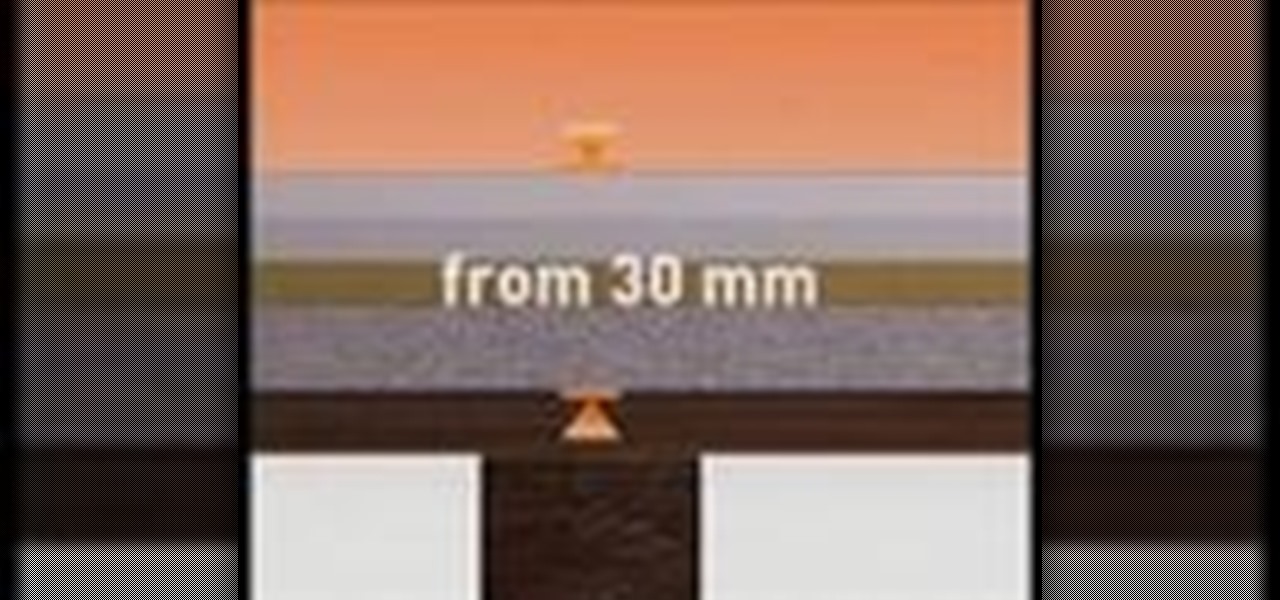
In this video, we learn how to install dry acoustic flooring with Fermacell. To start, you will level the floor and apply compound if you need. Next, you will lay the Fermacell around the room on top of the leveling compound. Push the flooring tightly together so there are no spaces in between them. You may need to cut the flooring to make sure it's the correct shape for the wall. After this, apply flooring adhesive to the seams to make sure they are secure as they are laid down. After this, ...
In order to make the side step Christmas card, using Cricut, you will need the following: card stock, cutter/trimmer, adhesive, rhinestone, ribbon, and a bone folder.