There are two recommended ways to hold the Bodhran Drum tipper for beginners. The first way is called the "curved wrist" technique. You put the stick in between the area of your index and thumb finger. Then you put the end of the stick in between your index and middle finger. You must make sure not to keep your fingers tight, they must be elongated and resting gently on the stick. When you drum, you keep your wrist curved and swing your hand up and down. The next method is the "straight wrist...
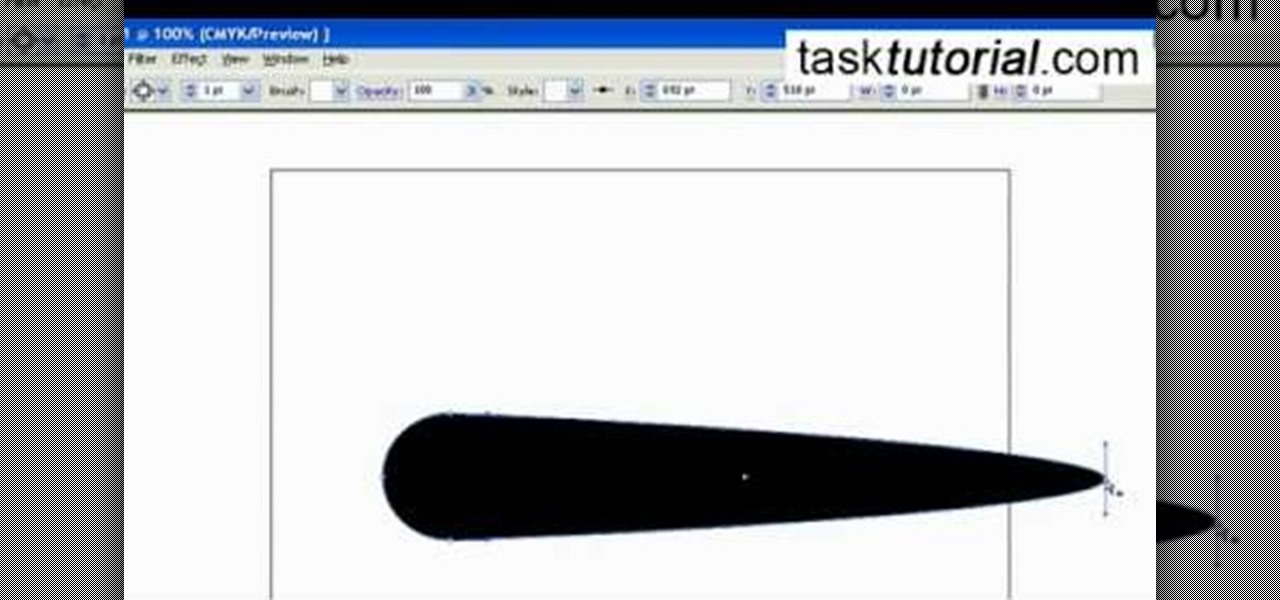
Let's get creative! In this video learn how to transform that boring old paintbrush in Illustrator into a totally new shape and size. You can turn your art brush into an arrow to a paint stroke to charcoal or even a fire truck or another fun shape! This tutorial will show you how to change your brush, step by step, and get the most out of Illustrator's drawing capabilities. Follow along with the video and soon you will be making unique designs with ease.
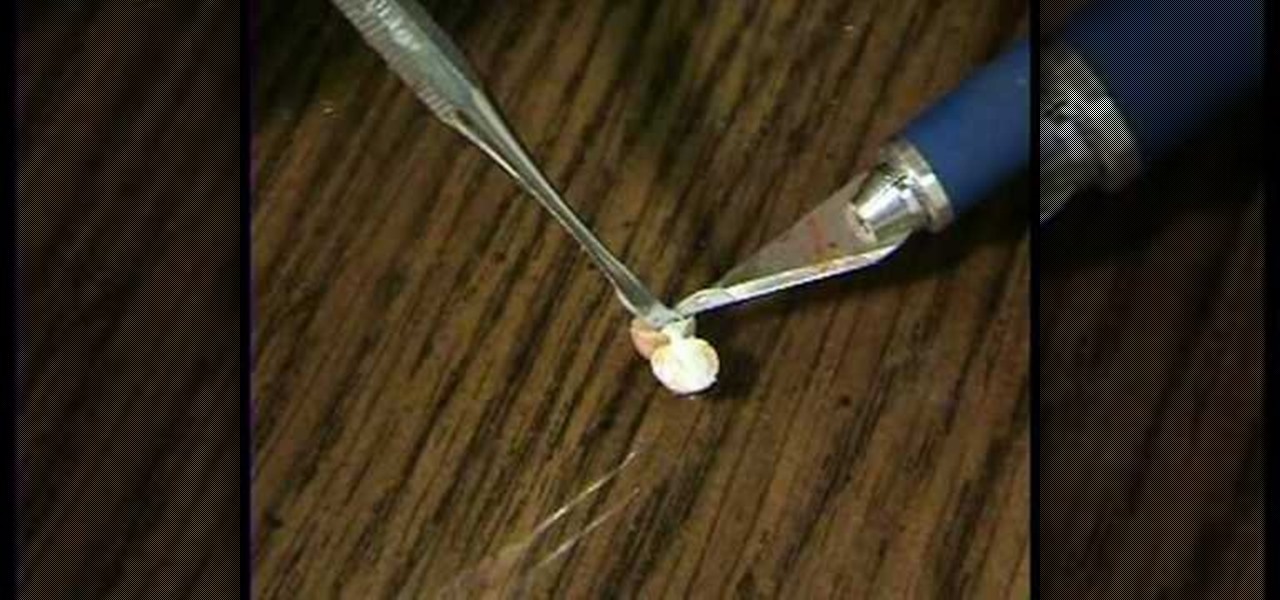
The people at Garden of Imagination demonstrate how to make a miniature cream puff. Using a mixture of polymer clay, clay icing, pastel paints and a variety of tools, including a paintbrush, a scalpel, and tweezers, a miniature cream puff is born. This mini item is perfect for any number of occasions. When used in combination with other mini foods and pieces, it makes a cute and cheap decorative item. Creating a tiny and affordable State Fair has never been easier!
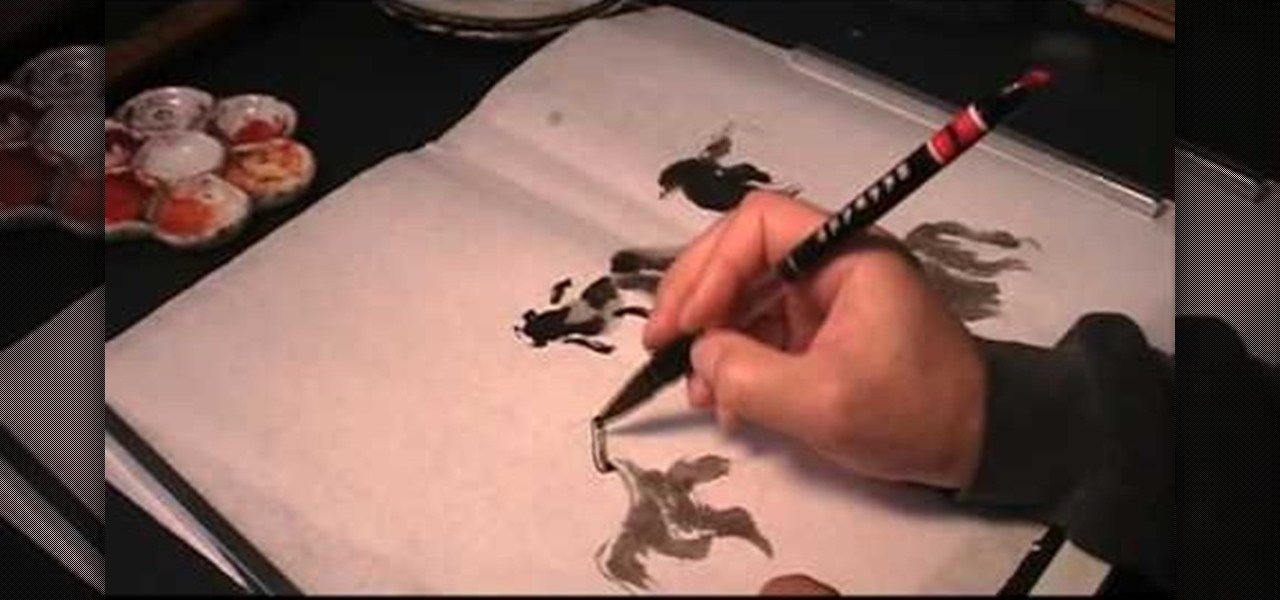
The interesting thing about painting in the Chinese watercolor style is that objects, animals, and plants that look pretty simple, such as goldfish and snakes, are actually made up of a complex array of different layers and colors.
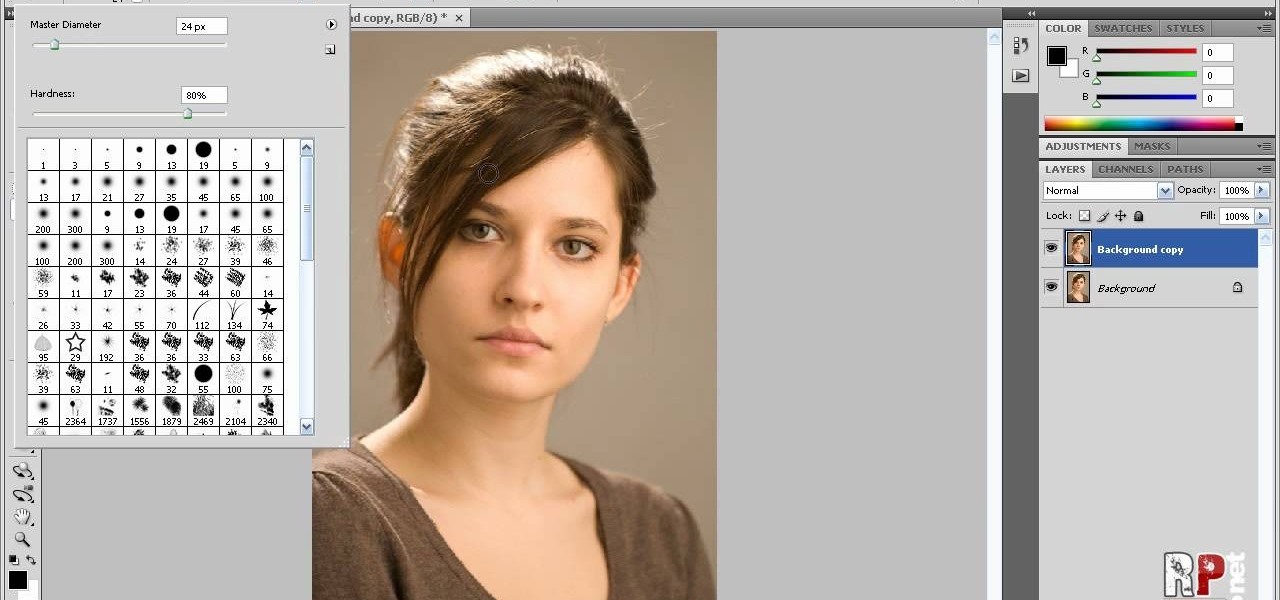
Robert demonstrates how to use Photoshop to give yourself a tan. First, you need to upload your picture(s) into Photoshop. Then pick one to work on. Next, you will need to copy the background to save the original image. On the right side drag the background label to the new layer icon (you can just hit control J). You will then need to select a paintbrush tool. Go up to the tool bar and click on the paintbrush settings to set the hardness at 80%. The master diameter will be adjusted as you wo...
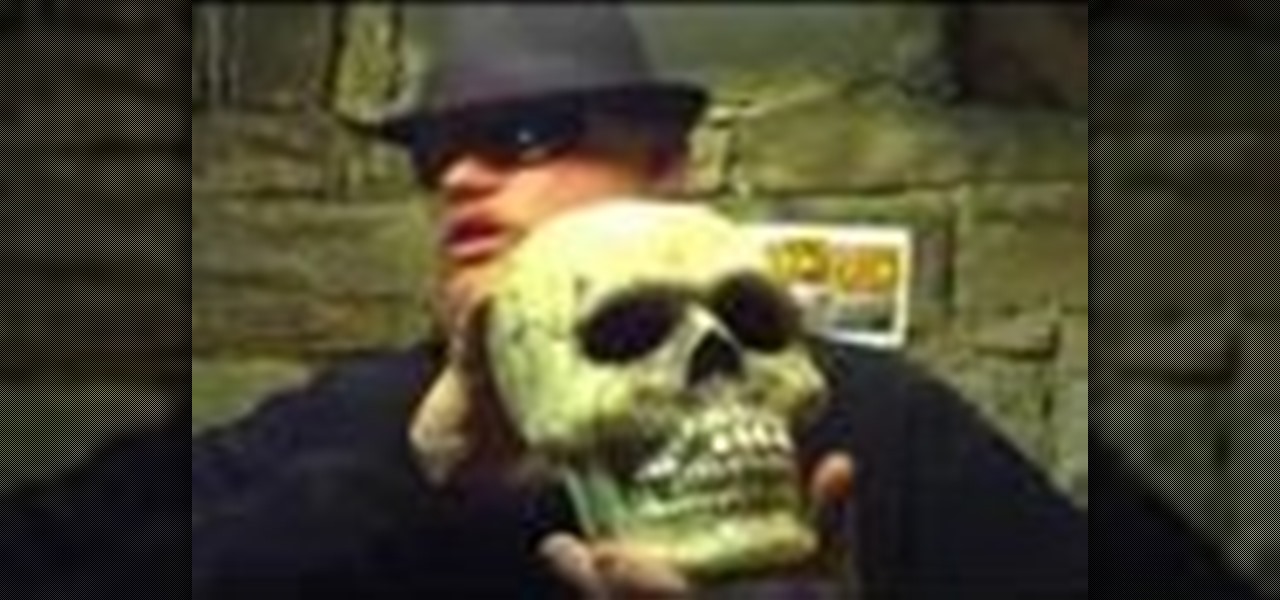
Dr Kreepy, Halloween craftsmen, shows a cheap and easy way to make full and partial skulls from Plaster of Paris! For this project, you will need a plastic skull, cheese cloth, a paintbrush, melting latex, anchoring cement, and Plaster of Paris. Watch this video special effects tutorial and learn how to build a latex skull mold to make plaster skulls or skull fragements.

Follow along with Dr Kreepy in this quick video tutorial on how to do cheap and easy tombstones for your home haunt. You will need a marker, a hobby knife or X-acto knife, a hacksaw, an electric rotary tool, black acrylic paint, black spray paint, white paint, a spray bottle full of water, a paintbrush, and foam board. Watch this video special effects tutorial and learn how to make a cheap prop tombstone for a Halloween decoration or a film prop.
This instructional video demonstrates how to add shading to your Warhammer miniatures. With a small paintbrush, add thin washes of shading over the basic fill coats. In this video, the painter adds passes of paint on top of the manufacturer's Scab Red. Media extenders can keep paint from drying. When painting Warhammer characters, careful coats of shading color illuminate the details of the original figurine.
In this video we learn to make fondant flip flops to decorate cakes. Grab your fondant and mix in your various colors. You can have as many colors as you want but should have at least two. Roll out your first color to your desired thickness. Use a butterfly cookie cutter to cut out a butterfly. Use a sharp knife and cut out the center of the butterfly so you have the seperate wings. Curve the edges so they are nice and smooth. These are the bottoms of your flip flops. Then take a small piece ...
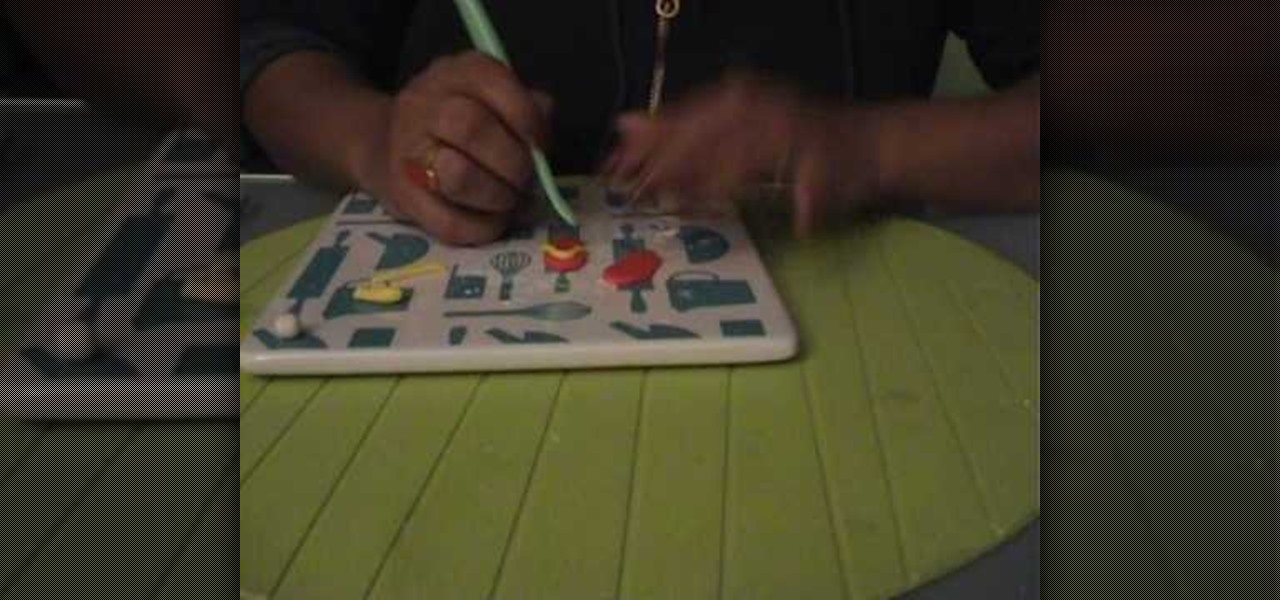
Garden of Imagination teaches viewers how to make cute and adorable mini polymer clay pancakes for a dollhouse or decoration. First start out with a wooden square to put the finished product on. Next, start out with light brown clay and roll it out on a clay setting number 4 on the pasta machine. Next, use a circle cutter to cute the shape of pancake. Next, texture the pancake so it look doughy and make sure the edges are not too straight. Make three of these pancakes and place them on the wo...
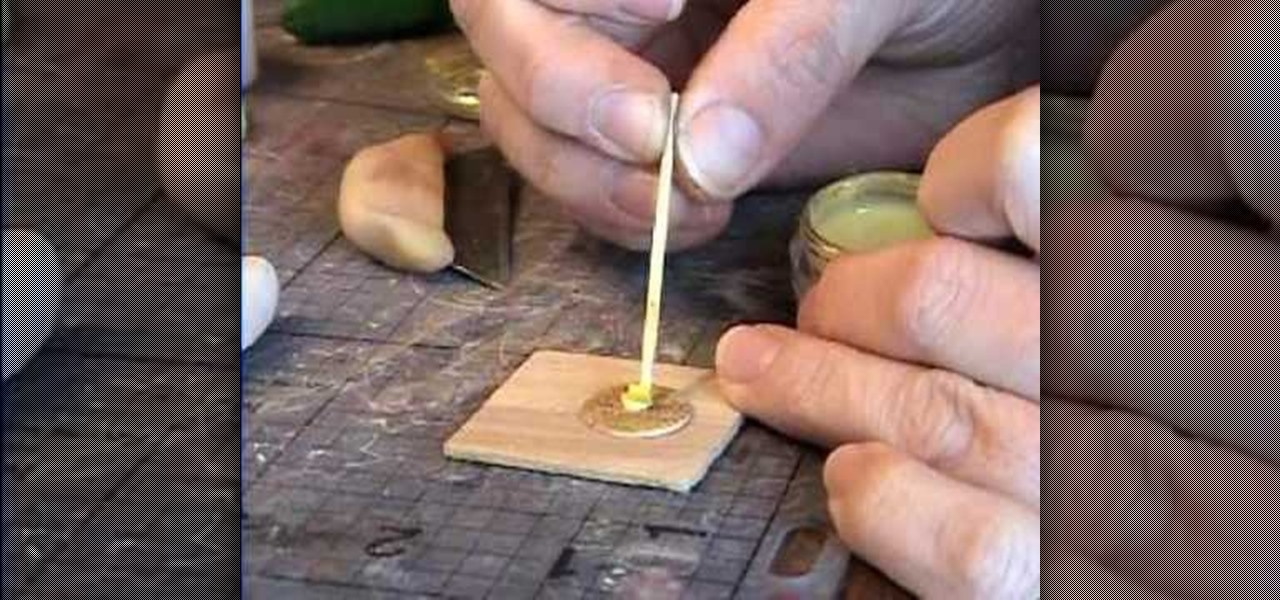
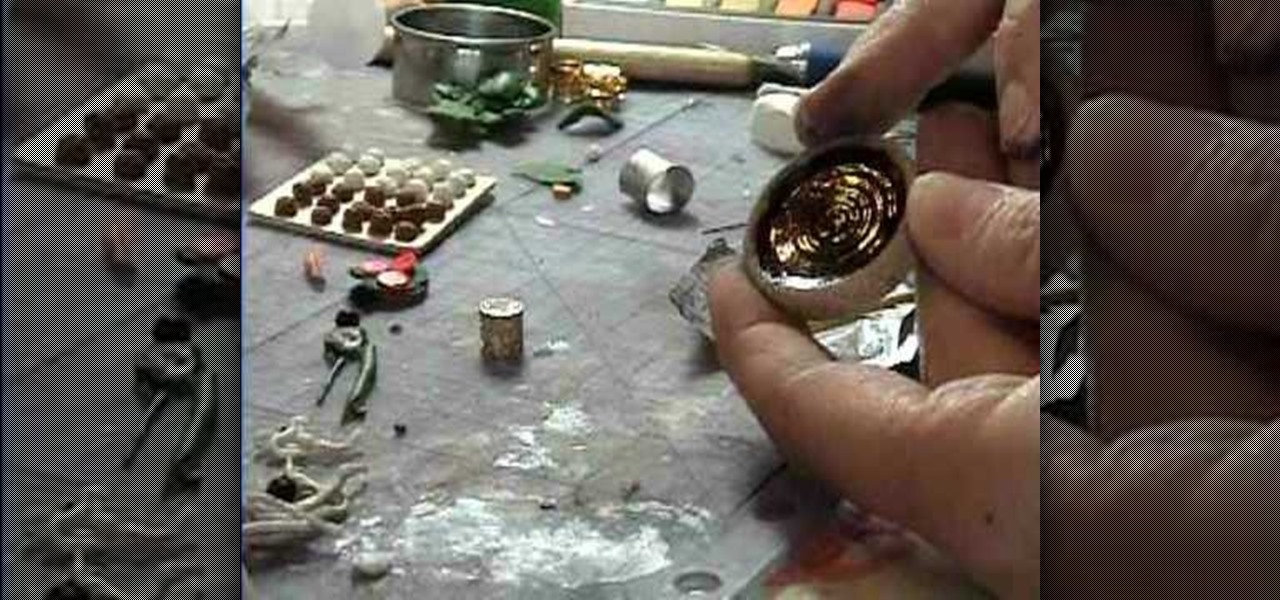
Garden of Imagination teaches viewers how to make various drinks, such as beer, milk, lemonade, and coffee, for their miniature dollhouse. First, you need to go to the crafts store and get a pack of 5 piece filigree tubes (you can pick whatever color you'd like). Take a tiny piece of clay and stick it into the filigree tube. Smooth out the clay inside with a paintbrush to make a tiny cup. First, to make a mug of coffee you need triple thick clear glaze black chalk. Mix the two together and ta...
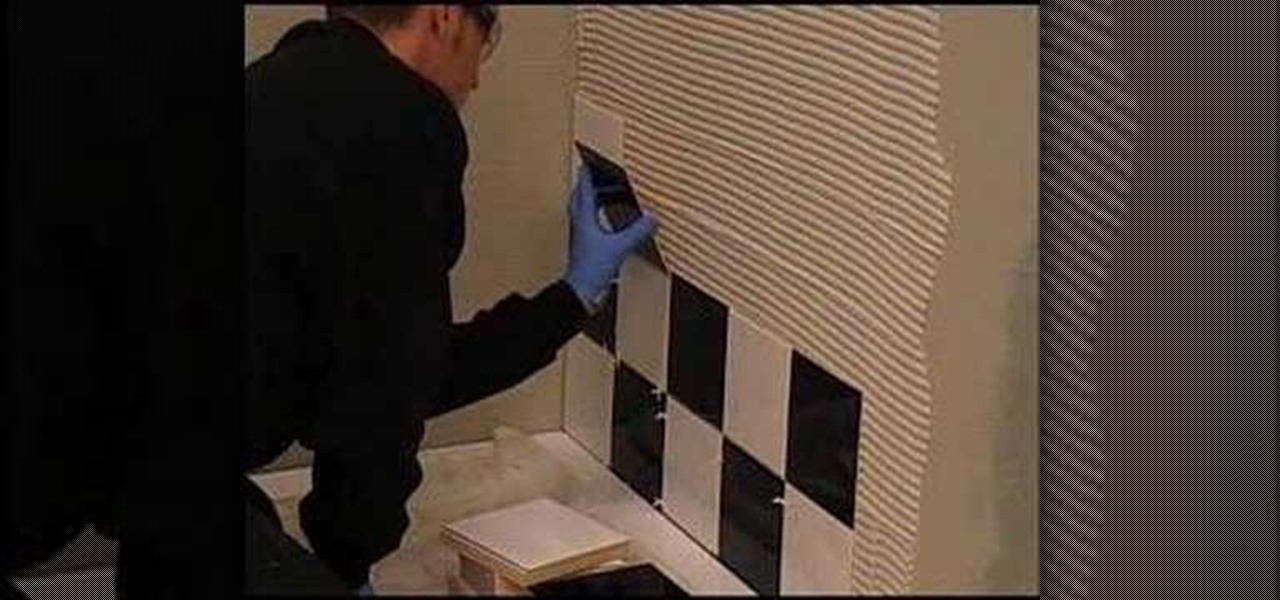
This video shows you how to tile and waterproof a shower. Stage 1
Have something expensive or personal to hide? Something you don't want anybody else to find? A secret book compartment is perfect for concealing your valuables in plain sight. And this video will show you how to make your own hidden recess for your very own book safe. Just grab your desired book, a razor knife and some other materials, like water, glue, a paintbrush, container, pencil, and straightedge (ruler).
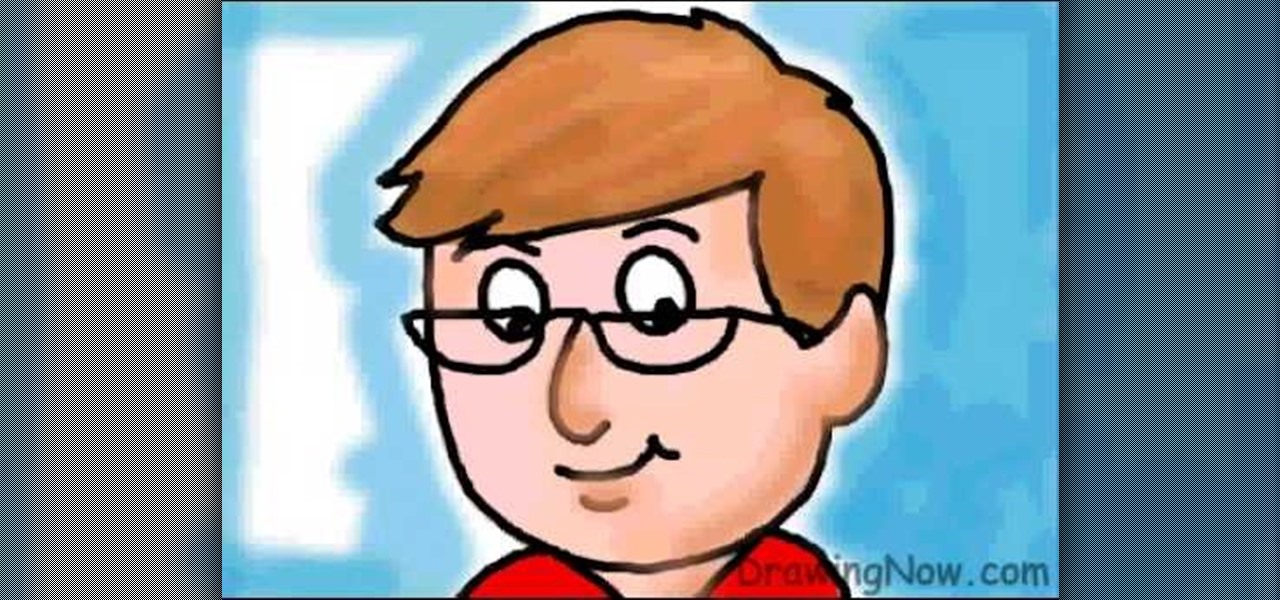
In this tutorial, we learn how to draw a cartoon dad. First, draw the oval for the head and then draw the hair and the facial features on with an outline. After this, color in the skin, hair, and collar of the shirt. Next, add in details for the hair and the face to make it look more realistic. Then, color in the shirt and outline the head and rest of the body with a black thick paintbrush. Draw on glasses to the face underneath the eyes to give the dad an older look. Then add shading and whi...
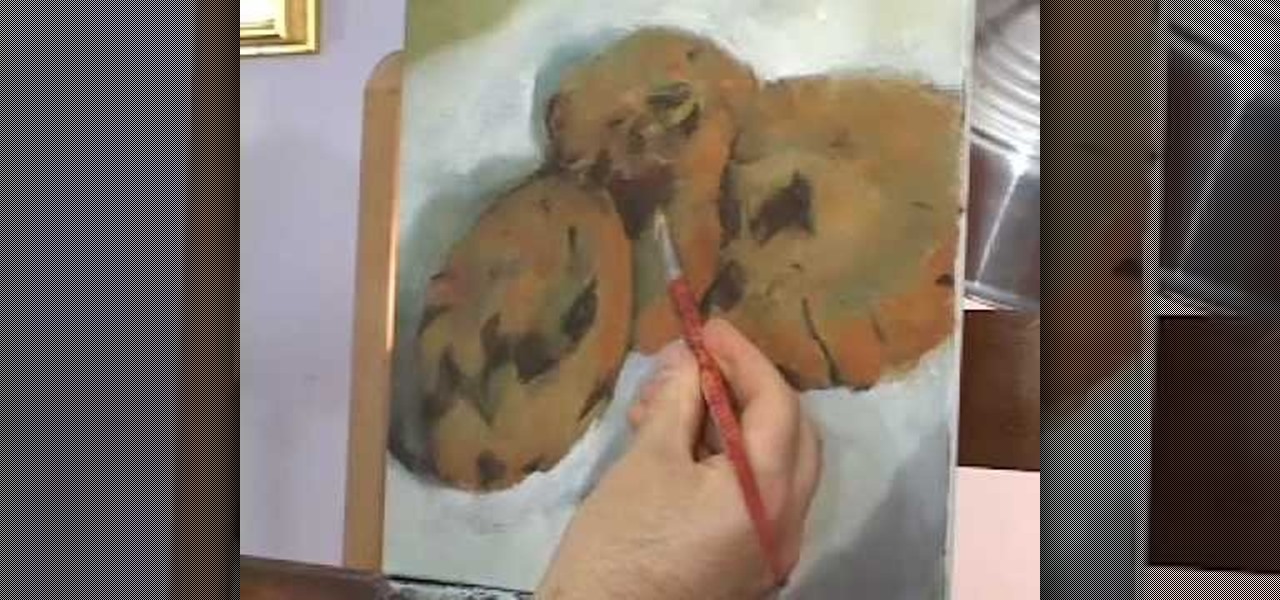
In this tutorial, we learn how to oil paint desserts with Hall Groat. You can take a brush to create different textures on the painting. When painting bread, this can show the fluffy texture of it, which looks amazing! In this video, Hal is painting a peanut butter and jelly sandwich. Use your brush to press down and drag the paint around, looking at the subject to see how it looks. When working on a doughnut, you will move the paintbrush around the top to create small sprinkles. Also add in ...
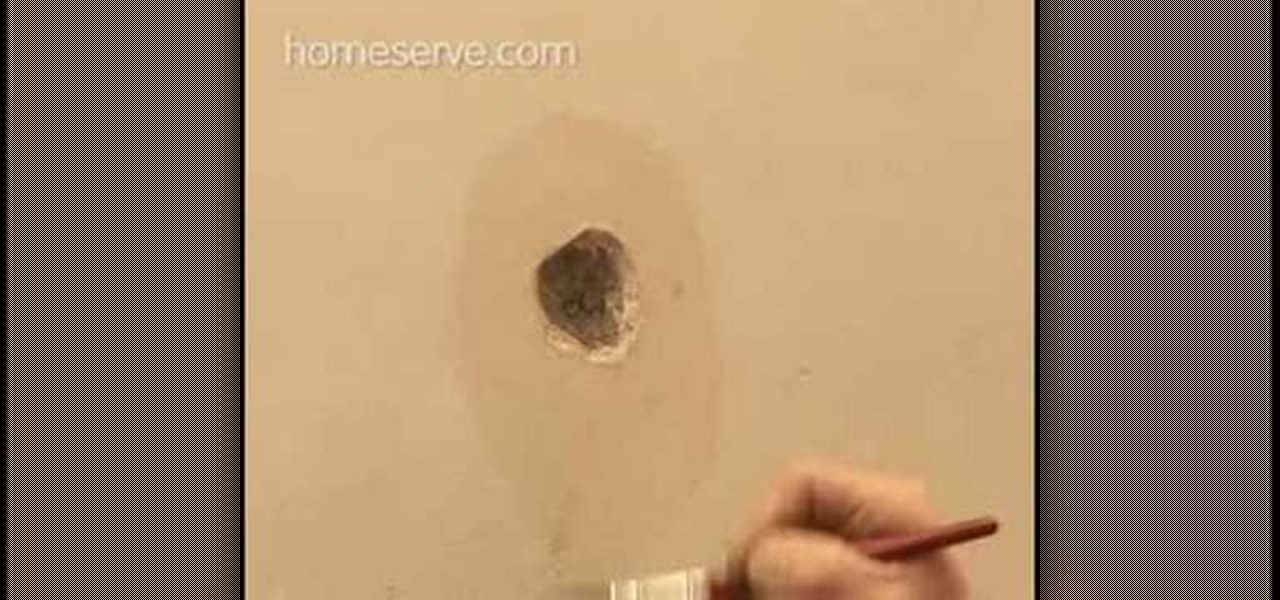
In this tutorial, we are shown how to prep your walls for wallpaper, which is very easy! Preparing your walls only takes a few minutes and makes applying the wallpaper easier and look a lot better. You will need: rags, soapy water, wallpaper stripping knife, and sandpaper to do this. First, you need to apply the soapy water to the current wallpaper and then take it off with the stripping knife. Once it's all removed, you need to repair any holes in the wall. Next, sand down the surface of the...
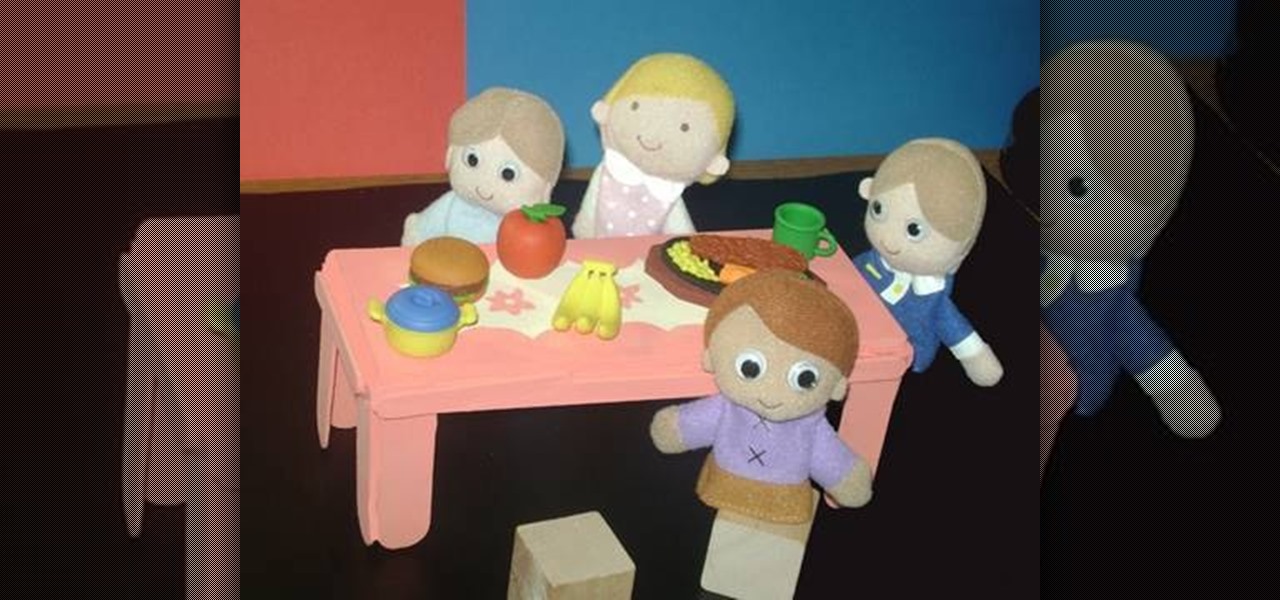
In this tutorial, we learn how to make a miniature table. Materials you will need are: a wood slat, 4 popsicle sticks cut in half, paint, paintbrush, and glue. Heat up your hot glue gun and then grab your popsicle sticks. Glue one stick to the side of every corner of the slat. After this, you should have two on each side of all four corners of the wooden slat. After you're finished placing them on, let the glue cool and then harden. To finish, you can paint this and decorate it and use it ins...
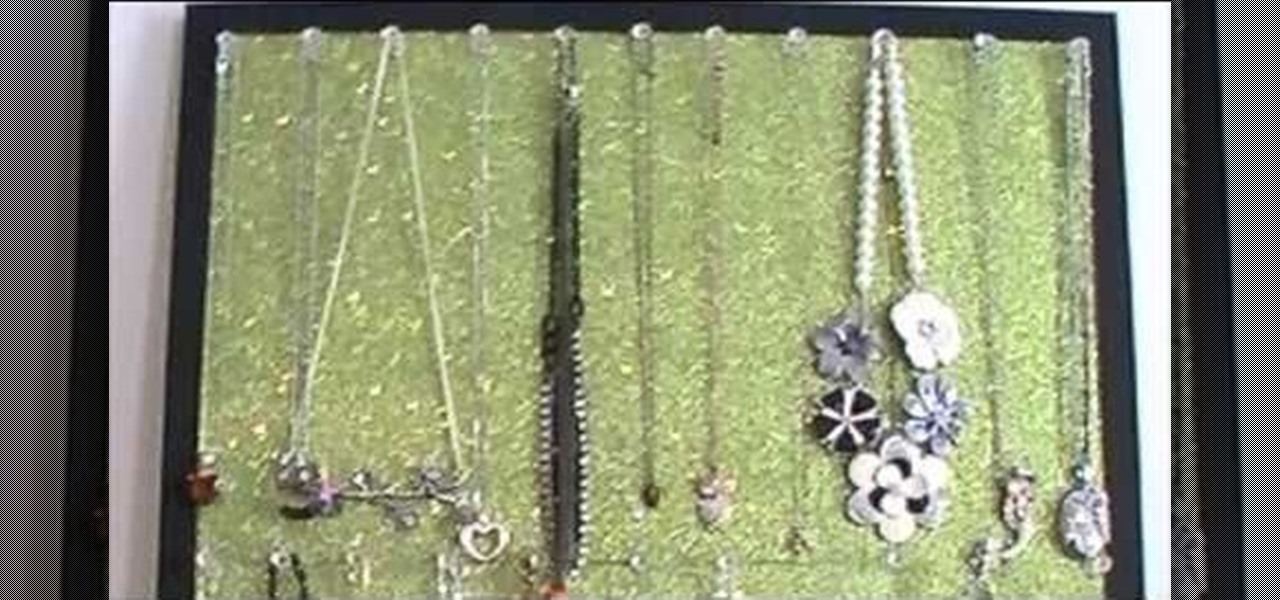
If you're anything like us, then it takes you forever and a day to find that perfect earring and necklace you want to go out, not because it's hard to decide which one, but because everything's so tangled up together you can't make out one necklace from another.
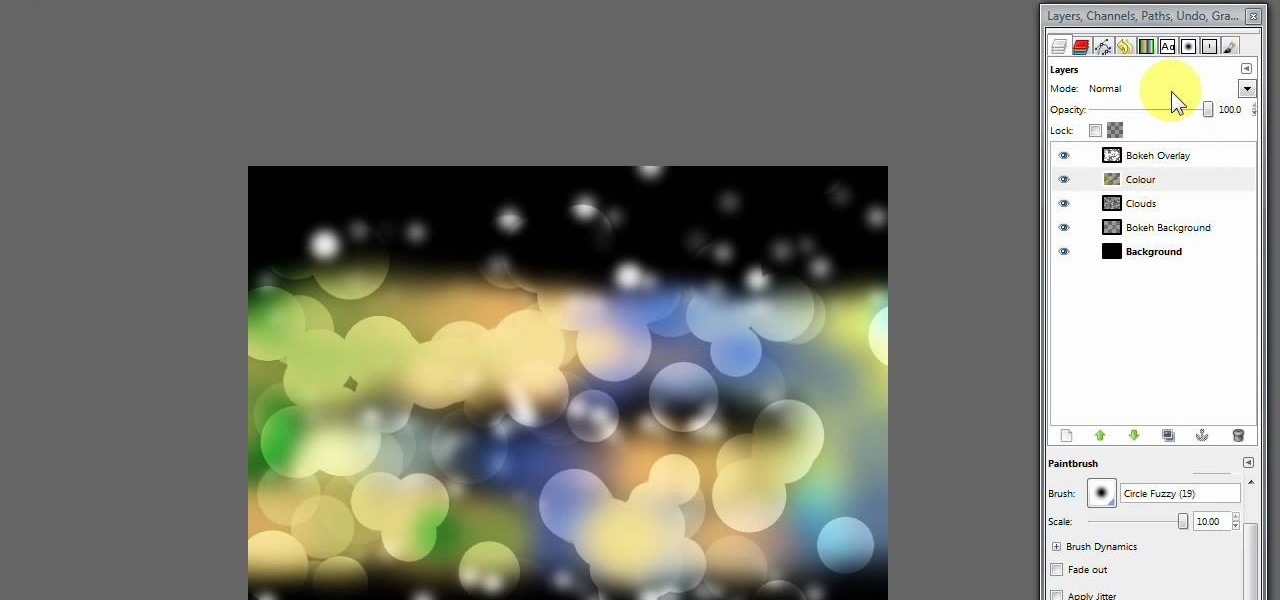
In this video, we learn how to create a modern bokeh effect in GIMP. First, start a new image and then change it to the size that you want. From here, click on the paint can and then fill your box up with a color. Then, create a new layer and name it "bokeh background". Click on this layer and then use the paintbrush tool to paint a small brush with color onto it. Start to paint on small dots and you will see that there are small tiny star like dots that start to appear. Then, fade these out ...
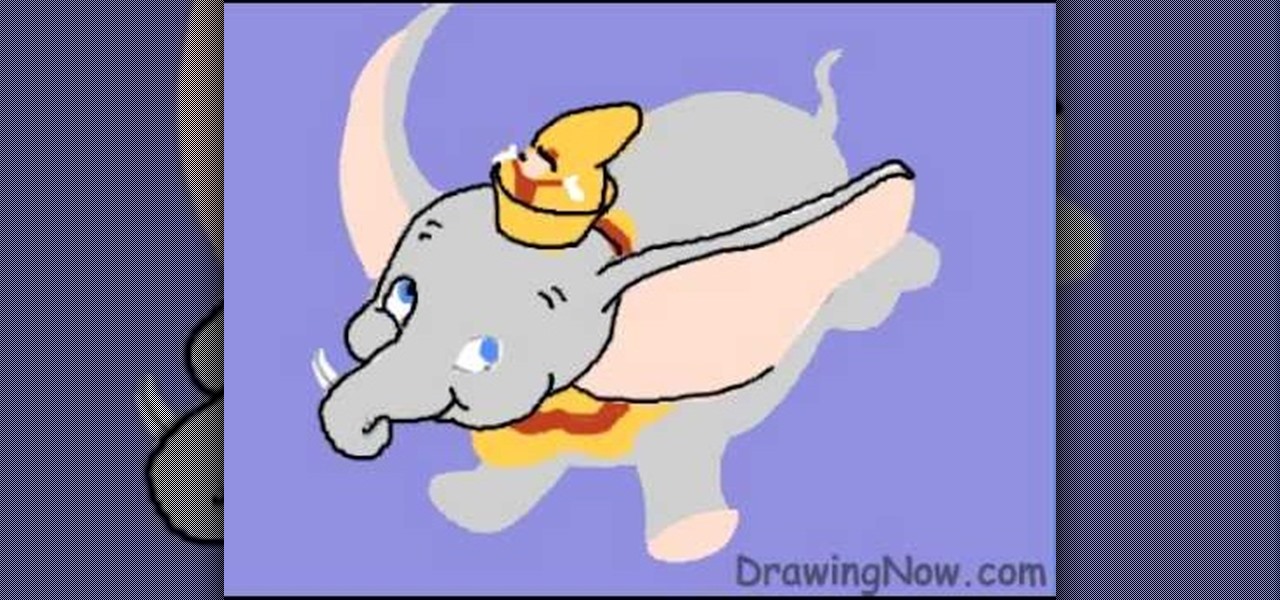
In this tutorial, we learn how to draw Walt Disney character, Dumbo. First, draw the ears flying out in the air, then draw the head outline around it. After this, draw in the trunk outline, the eyes, and the hat. Next draw in the body and legs of the character as well. Next, color the background of the drawing and then start coloring the character in with gray. Next, use a paintbrush to outline the body, then add in any details you see fit. Color in the inside of the ears and then color in th...
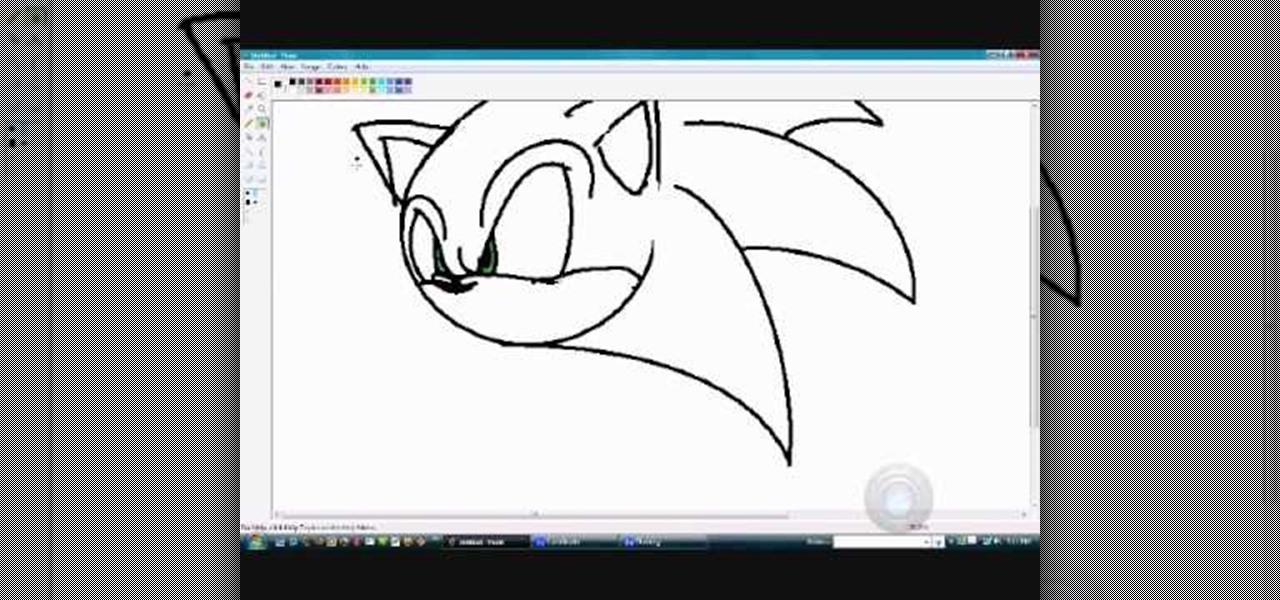
In this video, we learn how to quickly draw Sonic the Hedgehog. Start off by drawing the eyes and eyebrows. Next, draw the ears on the side and connect the head around it. After this, start going to the side to draw the three spikes for the hair. After this, draw in the nose, mouth, pupils, and inside of the ears. Add in shading where appropriate and add highlights to the top of the head. Use a black paintbrush to draw the outline of Sonic darker. After this, finish the picture by coloring it...
In this video, we learn how to draw a cartoon fish with scales. First draw a circle for the body of the fish, followed by the details of the face and then the fins and tail. After this, color the background to look like the color of the sea. Now, take a black paintbrush and outline the details and body of the fish. Start to add in scales around the body that are small and colored red. After this, draw bubbles coming out of the fish's mouth. Color the fins and tail yellow, then color the eye b...
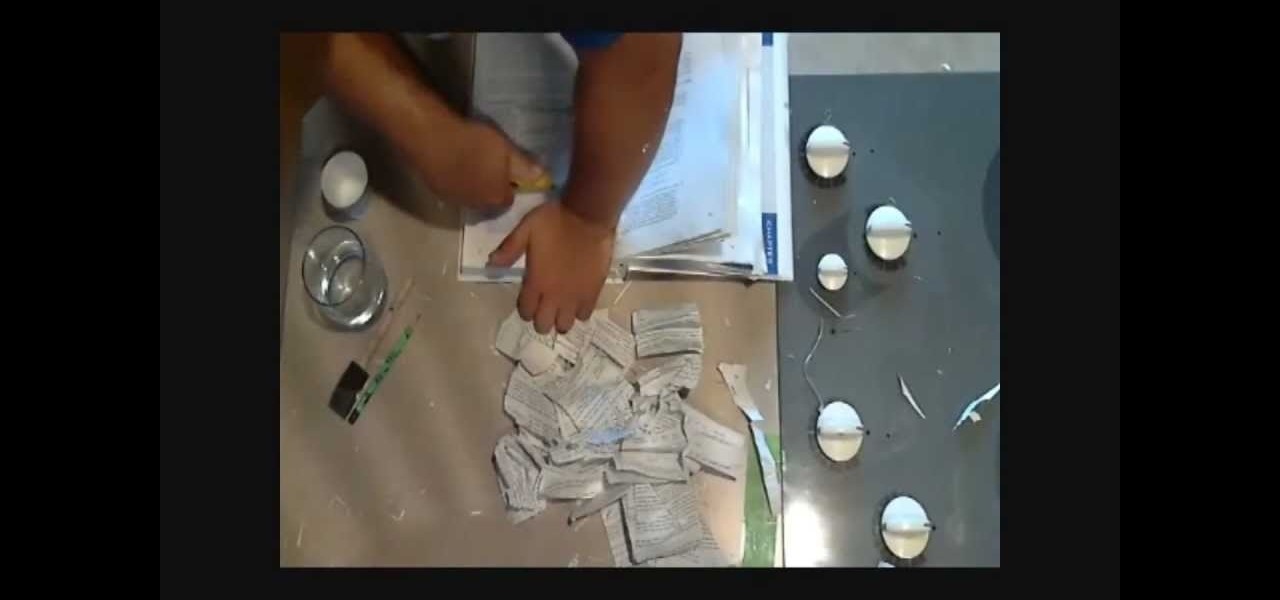
Make homemade trading cards of your family! These won't look exactly like baseball cards, or even feel like them, but they're cute and somewhat artsy depictions of your favorite photographs. You only need a few items (listed below), but make sure you have a nice photograph to transfer over. It won't look exactly like the picture, but it will look roughly hand drawn, but not quite. Definitely an interesting paper craft. Try it out. Experiment.
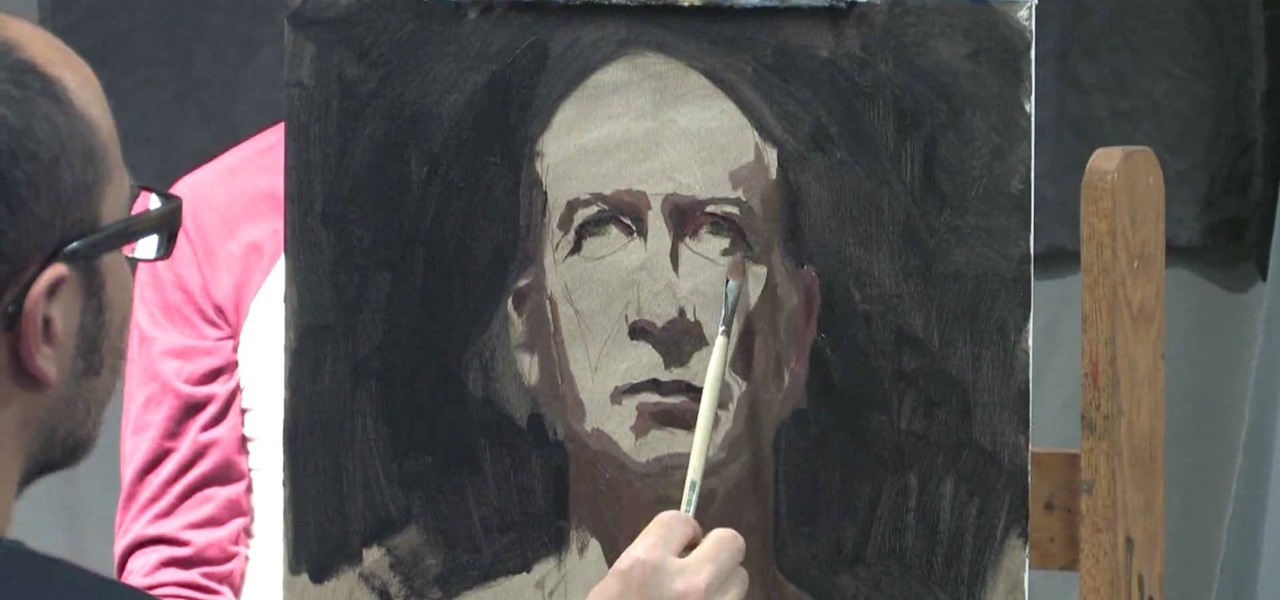
In this tutorial, we learn how to paint a portrait. Start off by having a subject to draw, then hold your paint brush loosely. Start to outline the face of the subject, then paint in the facial features. Shade around the eyes and cheekbones, and add the ears to the face. Use the paintbrush to create different types of strokes to the painting that fit the face you are looking at. Use shading to your advantage, because this can make a person look older or younger, depending on where you place t...
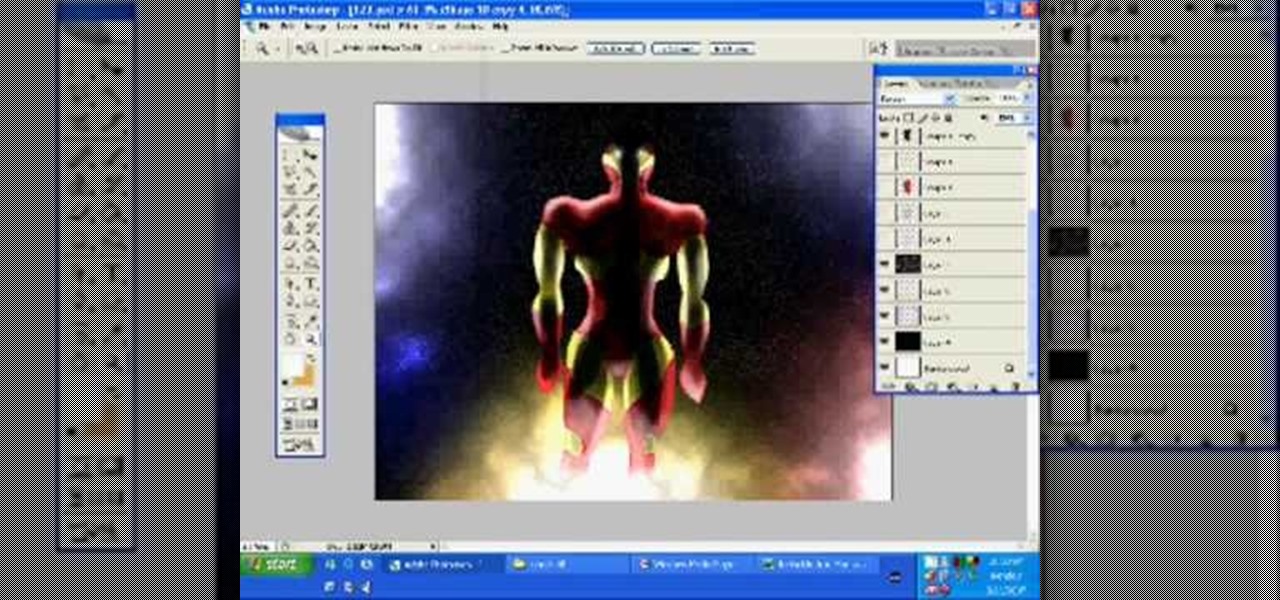
In this tutorial, we learn how to draw Iron Man from scratch in Photoshop. Begin by drawing an outline of the entire Iron Man with a light gray pencil in this program. After you have done this, use a black paintbrush and draw over the lines to make cleaner marks. Next, start to fill in details on the body, such as the metal parts, bolts, and facial features. After this, use red and yellow paint brushes to paint the different colors onto the suit. Next, use a black spray paint brush to color b...
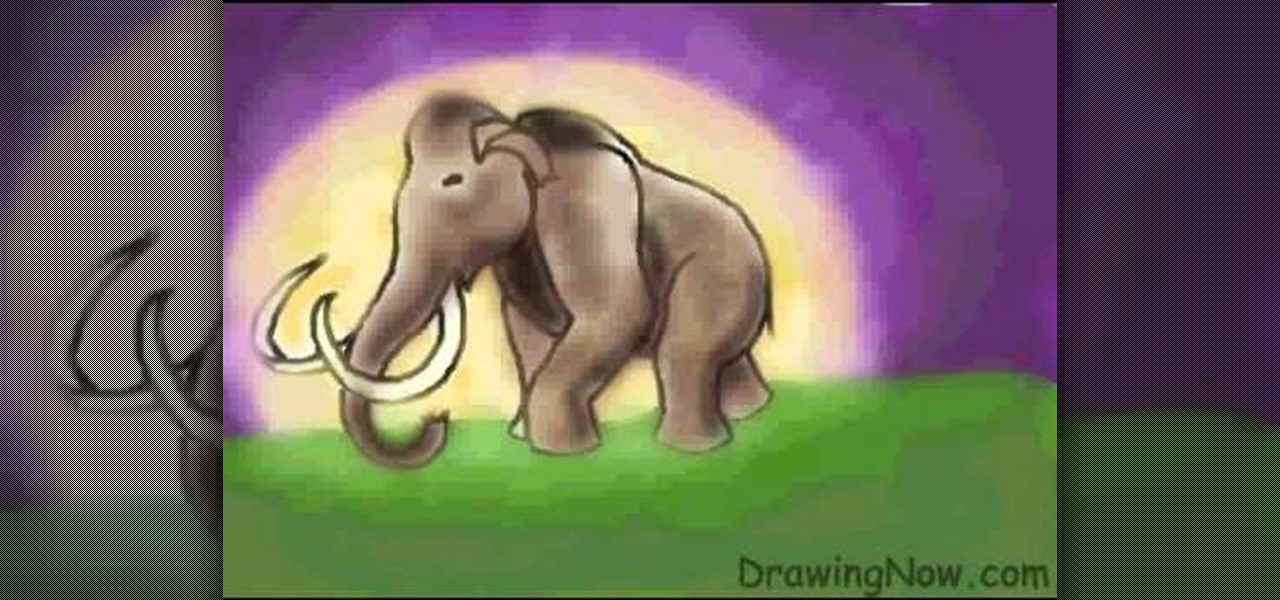
In this video, we learn how to draw a woolly mammoth. Start off by drawing the head, body, tusks, and feet. After you have the basic outline of the animal done, draw over it with a black paintbrush over the entire body and erase the lines underneath that. Next, draw in an eye and color the mammoth brown. Color the tusks ivory, then make the background of the picture purple with green underneath. Next, color the background with orange making it look sunny but also like sunset. To finish, start...
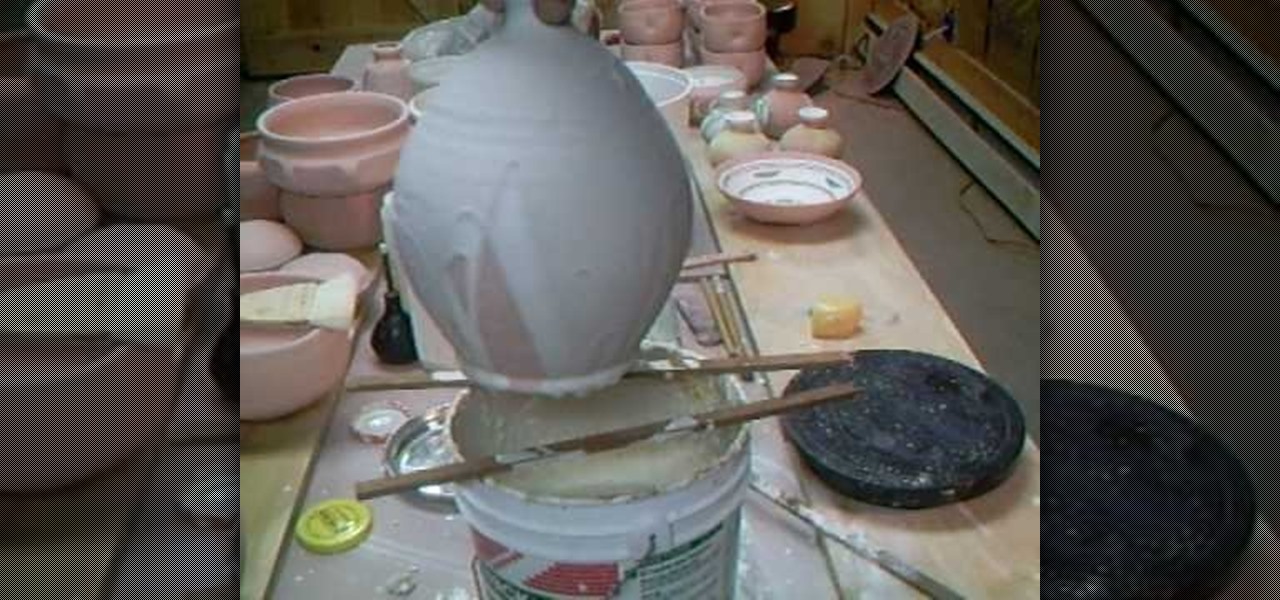
In order to glaze a lamp base, you will need the following: glaze, warm water, a sponge, copper carbonate, paintbrush, and sticks.
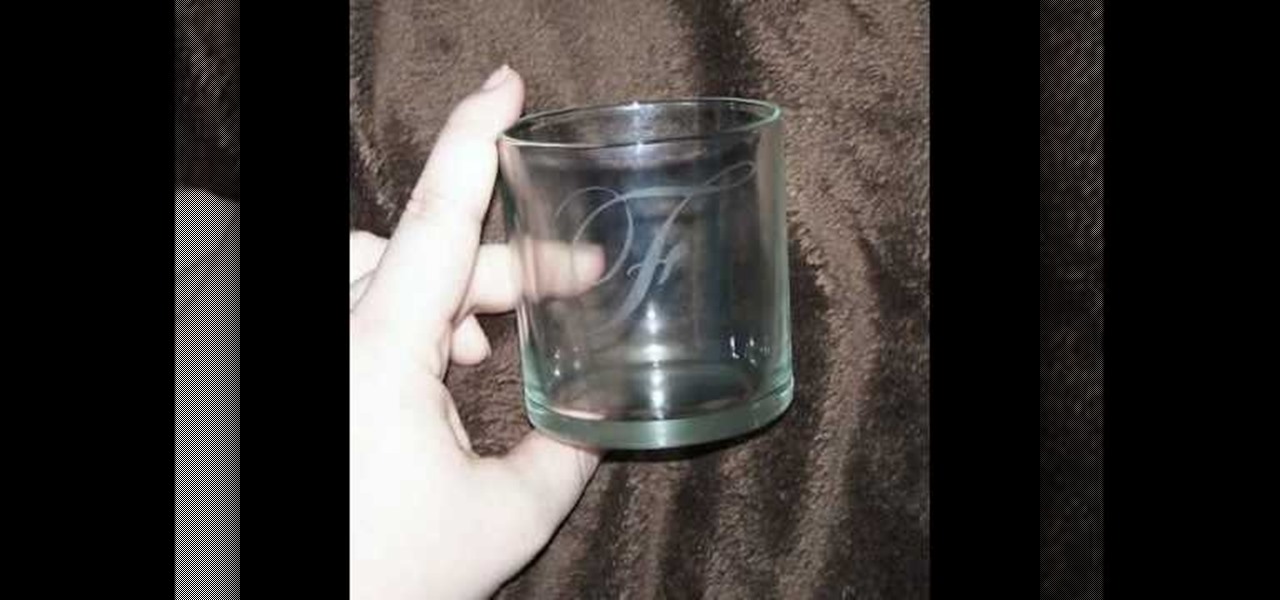
In this video tutorial, viewers learn how to etch glass in 5 minutes. The materials needed for his procedure are: contact paper, Armour Etch and a paintbrush, glass and a sink. Begin by cutting the contact paper face up on a circuit mat. Cut it on medium speed and pressure. Then put the contact paper on glass. Work carefully to prevent any wrinkles and bubbles in the design. Now put the etching cream on in a dabbing motion. The etching cream will not run into areas that are not stuck down. Fi...
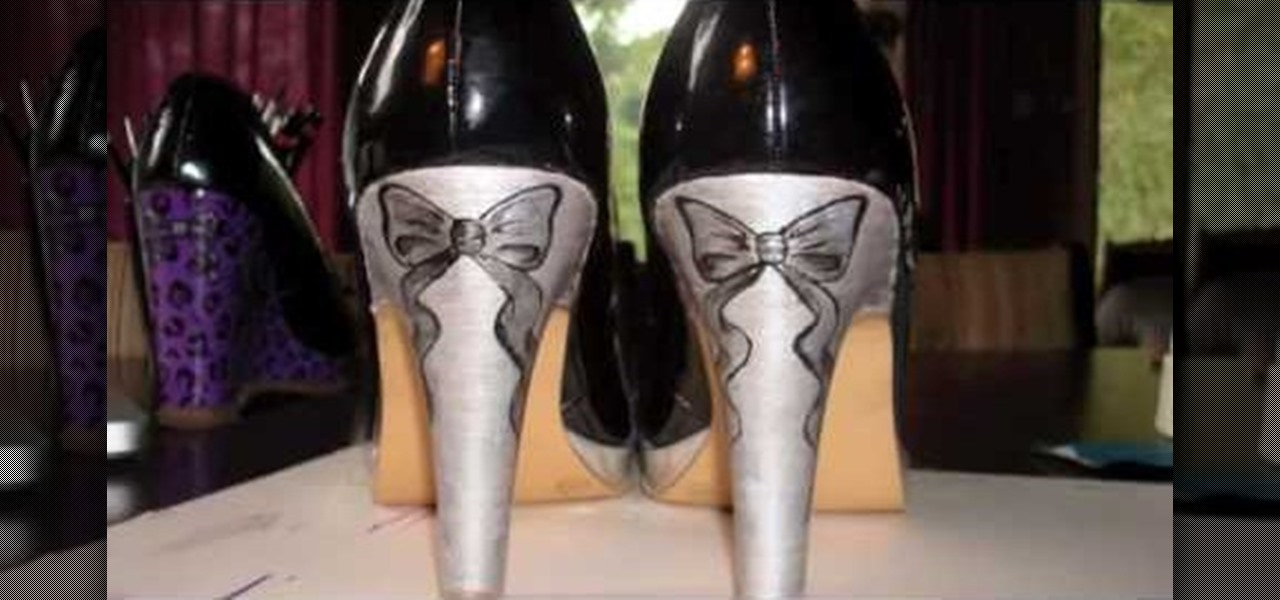
In this tutorial, we learn how to paint a pair of high heels with Anne. You will need: paints, varnishes, paintbrushes, pencils, pen, designs, scissors, sticky tape, and carbon paper. First you will need to paint both of your heels with a solid color, doing two base coats. Next, pick out a design you like and cut it out with carbon paper and tape it to the heels with sticky tape. Make sure to place the carbon paper facing down. Next, use your pen to trace the pattern along the heel. Now use a...
In this art tutorial, you will learn how to draw and then paint an orchid. You will need a Chinese paintbrush, a plate for the paint, water and paper. For paint colors, you should make sure you have red, yellow, black, green, blue and purple. First, dip your brush into the water and then mix yellow, red and black, dabbing some of each color onto the brush. When doing this, do not actually mix the colors on the brush. You want the red on one part of the brush, the yellow on another part, and t...
Simple Kids Crafts demonstrates how to make a flower out of a toilet paper tube. For this project you will need one toilet paper tube, paint, a paintbrush, glue and scissors. First, paint the toilet paper tube and let it dry. Then cut the toilet paper tubes into rings. Scrunch up a ball of tissue and glue it closed. Bend the painted rings into flower shapes. Attach the flower shapes to the tissue ball. Paint the tissue ball. Next, paint the inside of the flower shapes. Let it dry. Add decorat...
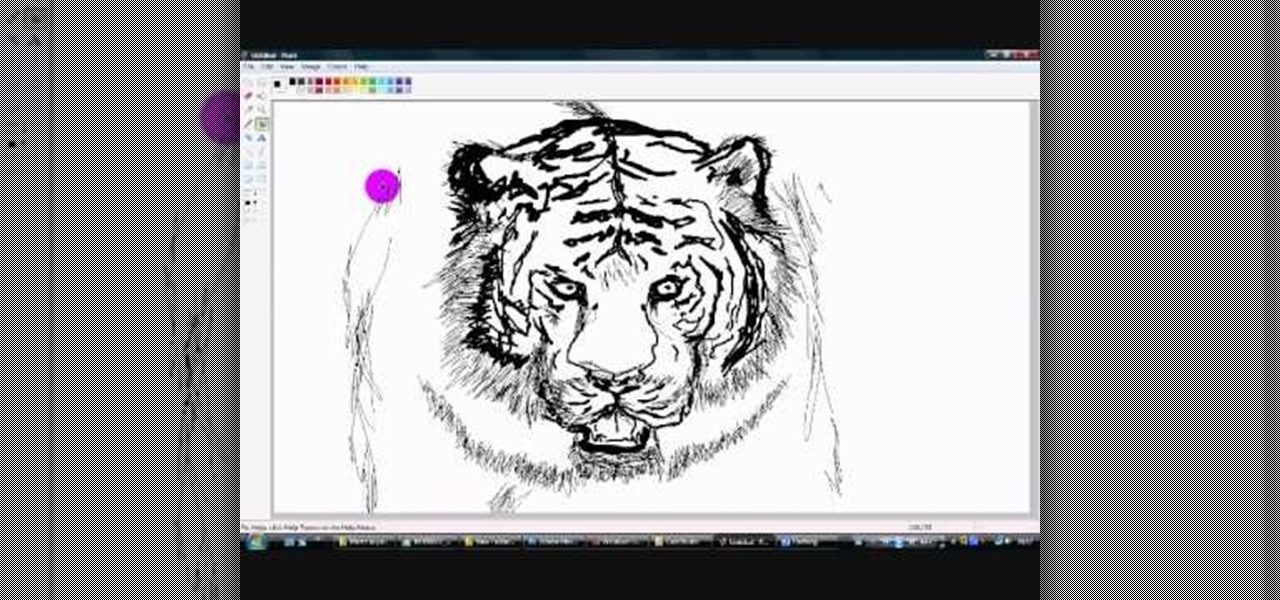
FreshLove8 teaches you how to draw a tiger in Microsoft Paint. Start with the thick pencil or paintbrush to first draw the whiskers and the nose. Connect this to the mouth that you will draw open, underneath. Continuing upwards you will draw pointed ovals for the eyes and then forehead. You can now start adding more details to the drawing, accentuating the contour. Draw the lines on the tiger's face and also add fur around it. Give it a menacing look and complete the head by adding ears. The ...
This instructional video gives you step-by-step directions on painting Bohemian-style flowers on your finger nails. The instructor starts by painting a turquoise base coat. She then shows you how to make a color fade by applying the nail polish to a makeup sponge, pressing it onto the nail, and then apply a glitter polish over the entire nail. After
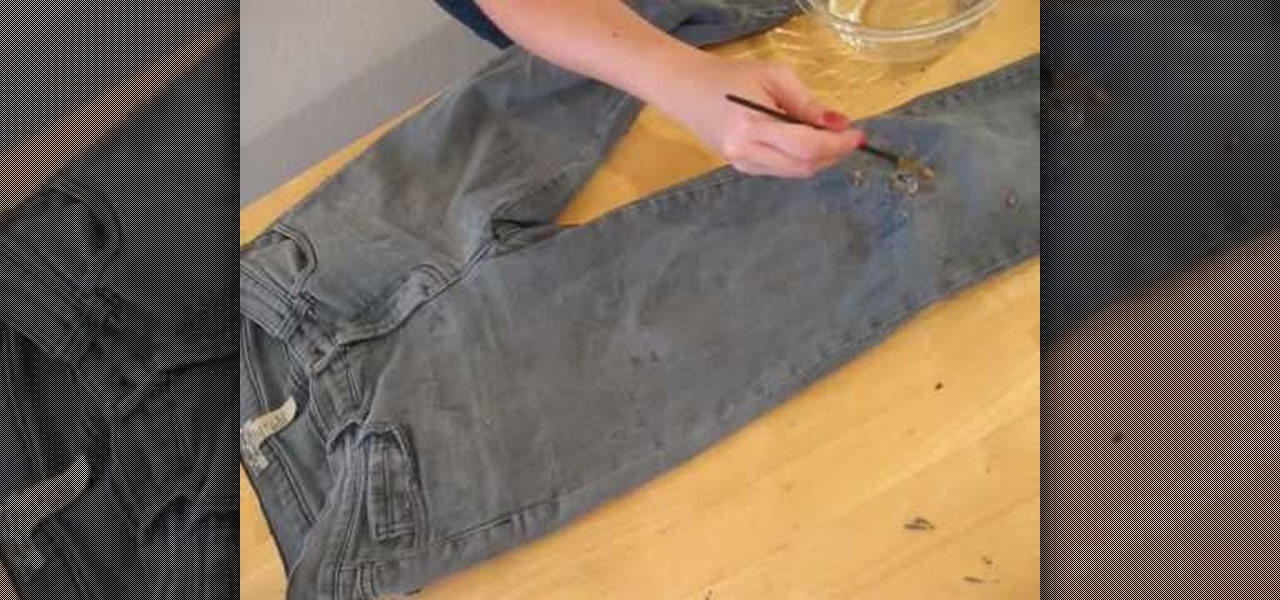
Missa teaches us how to perfectly destroy jeans to create a distressed vintage look. Everyone has an old pair of jeans around the house that they don't love anymore. Why not turn them into a fashionable pair with these techniques?
Take a break from watching your lava lamp, and have some freaky fun with phosphorescence. Inspired by the Instructables project: http://www.instructables.com/id/UV-Fun/
Go beyond the traditional 3D workflow to an immersive creative experience with the software Modo, created by Luxology. Modo is the next evolution of 3D modeling, painting and rendering for Mac and PC. Modo includes 3D sculpting tools, animation and network rendering, and advanced features such as n-gons and edge weighting.
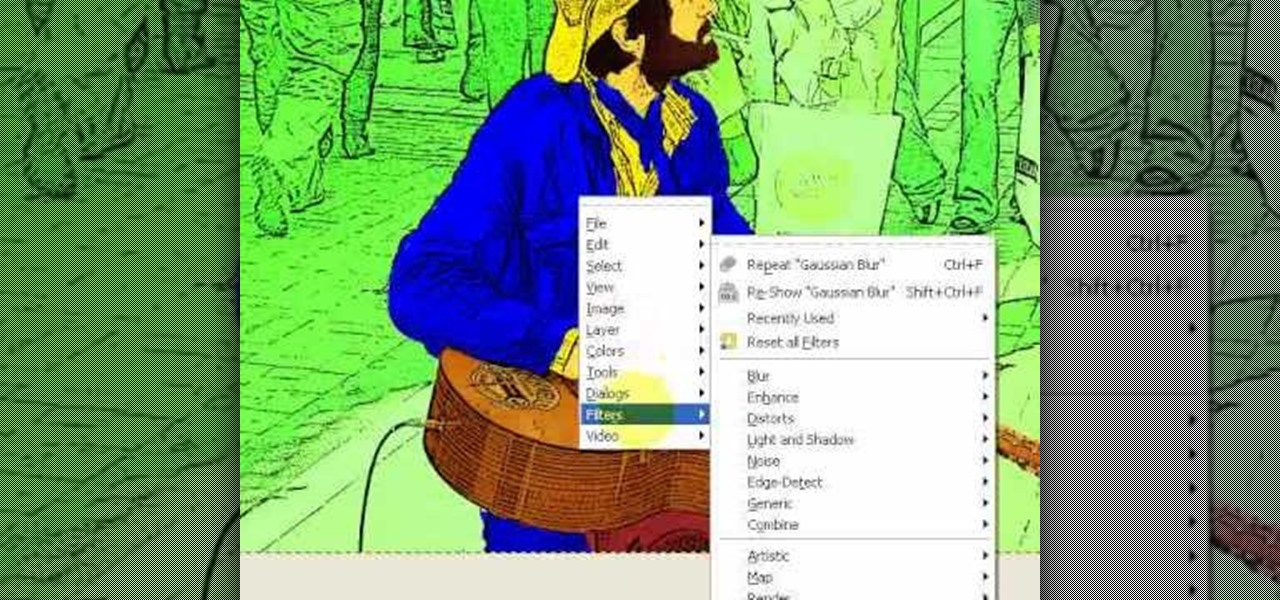
Learn how to produce Roy Lichenstein style Pop Art from your photographs using GIMP image editing software.
In order to make a pop up greeting card, you will need the following: 3D Maribu pens, a paintbrush, water, scrap paper, a pencil, a ruler, a cutting knife, eraser, 3 pieces of colored card stock, a white card, scissors, and a glue.
In elementary school, we all experienced the wonders of papier mâché, that wonderfully malleable mixture of paper and glue (or maybe paper, flour, and water). Once it hardens, it's a homemade work of art. And homemade papier mâché is art on the cheap, allowing your imagination to soar without breaking your budget.
Howard demonstrates how to control sharpening on your image in Photoshop. First, you want to copy your layer by dragging to down to the new layer icon at the bottom of the box. Next, go up to the menu bar at the top of the screen and click Filter, select Sharpen, and go to Unsharp Mask. A dialogue box will pop up so that you can adjust the how sharp your image is by using the sliders. Click OK when you are done. If you want adjust where you sharpen the picture go to the right side and click o...