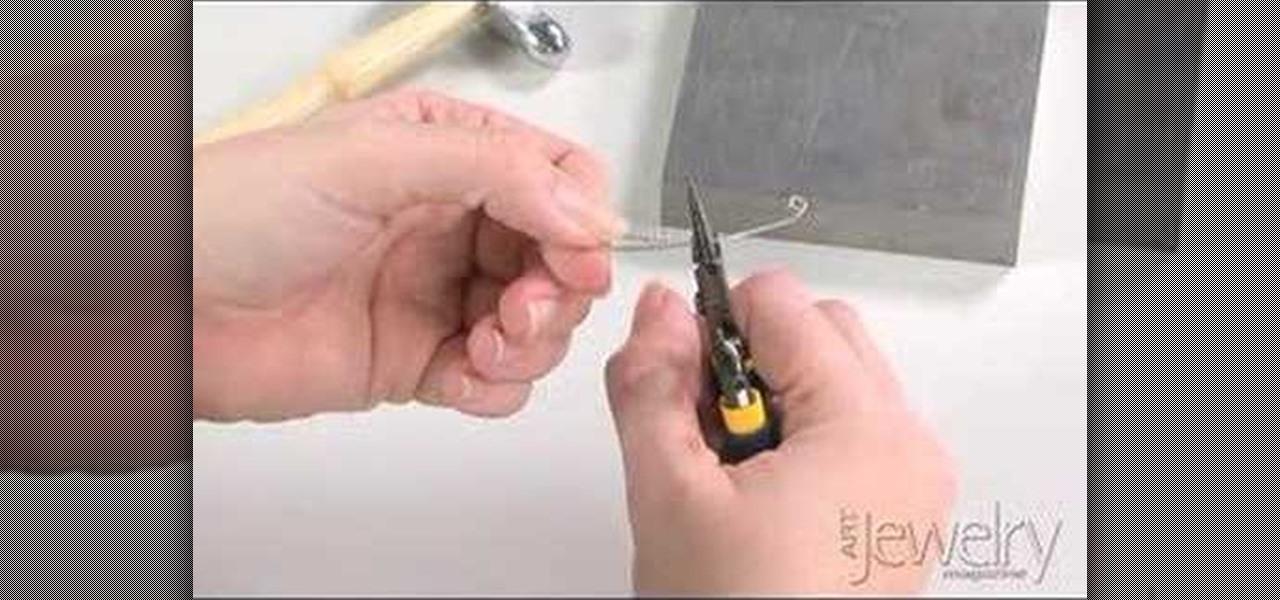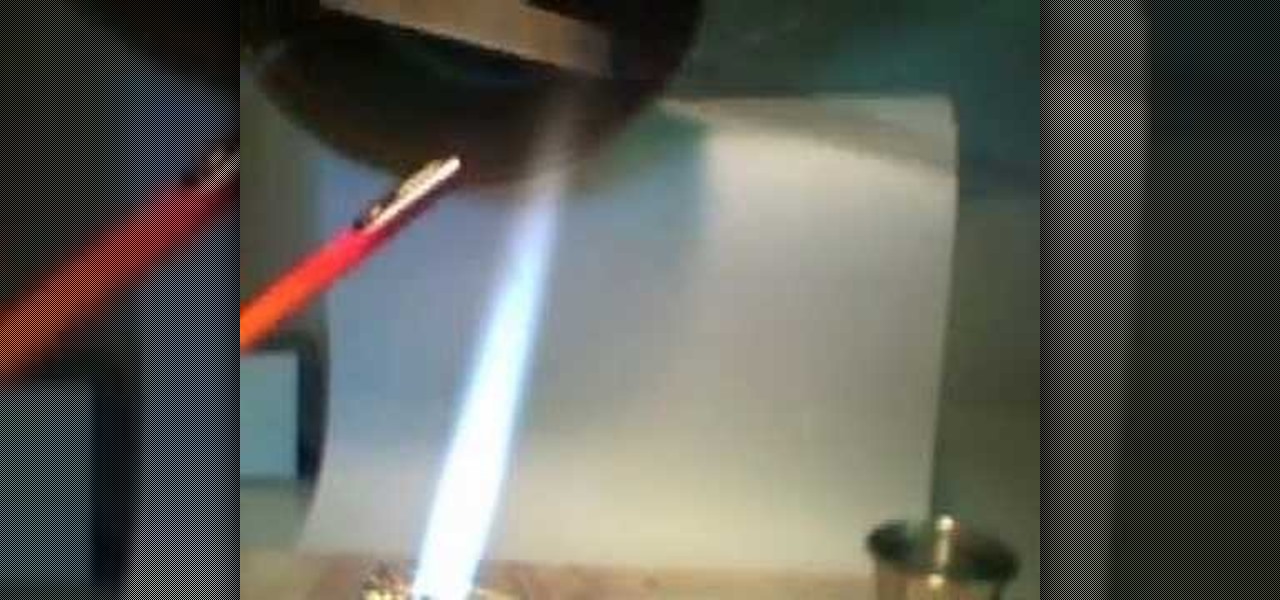
Art Jewelry Magazine associate editor Addie Kidd shows you how to make an S-hook clasp with hammered ends. You'll need silver wire, pliers, and a hammer. Learn how to craft an s-hook clasp for necklaces or bracelets by watching this video jewelry-making tutorial.
Want to make even the newest of jewelry look antique? Then you've stumbled upon the right jewelry crafting video. Take a gander to learn how to color brass flower findings using Lumiere paints and Gilder's Paste.
The trouble with jewelry that's been made by a mass retailer or even a hipster/indie artist is that it's made without any care to your wrist, neck, or finger size. Often this means that bracelets may sling too big, or necklaces wrap around your neck too tight.
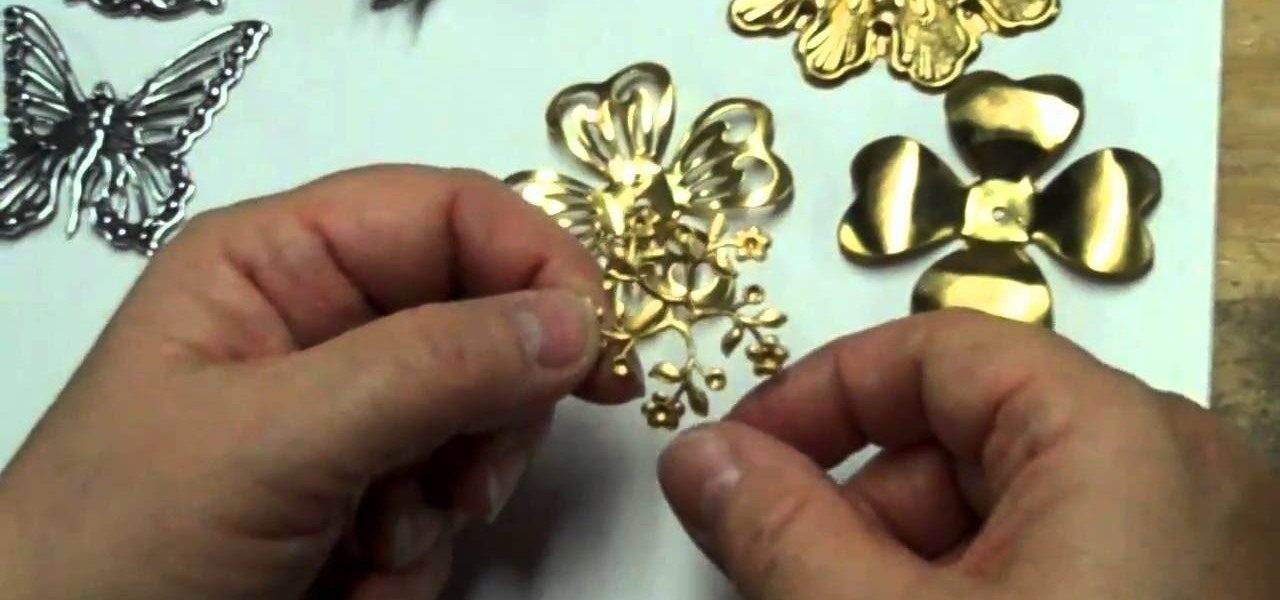
Interested in getting in on the vintage jewelry trend? Then consider this video the introduction to the rest of your jewelry-crafting career. This jewelry tutorial focuses on brass stampings, which are intricate, almost filigree-like floral patterned rounds that you can string onto necklaces or pin onto earrings.
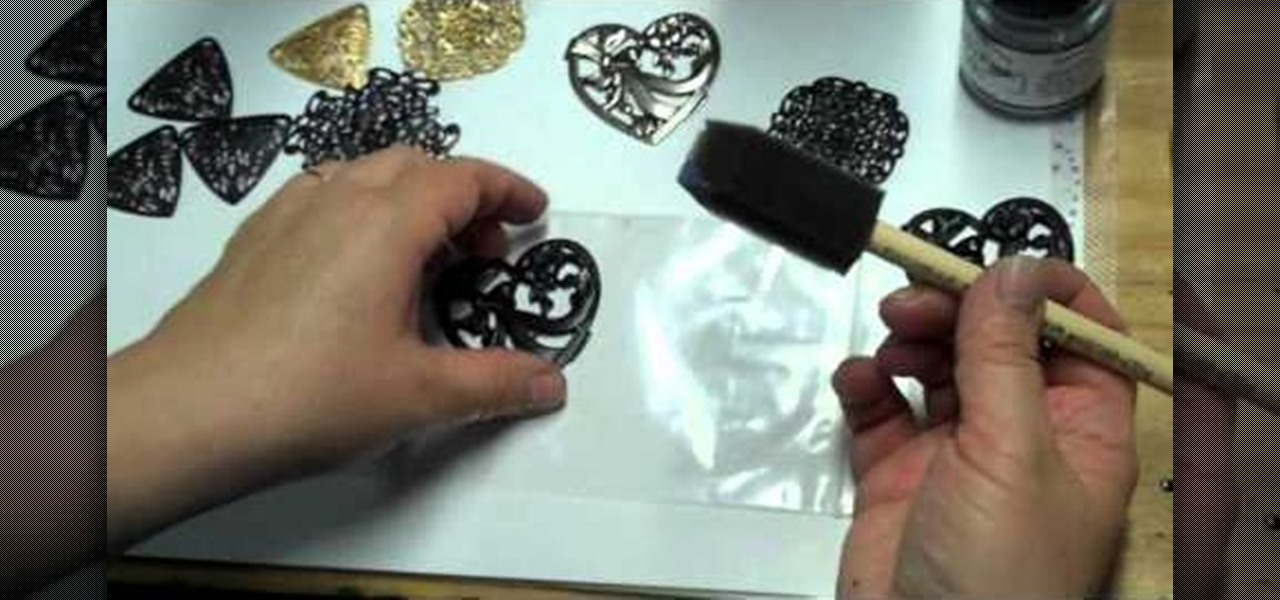
Gunmetal gray is one of the coolest, most biker-chic finishes out there when it comes to jewelry making. If you enjoy working with filigree pieces in your bracelets and necklaces, why not make them less granny fantastic and more urban chic by adding a nickel-free gunmetal finish?
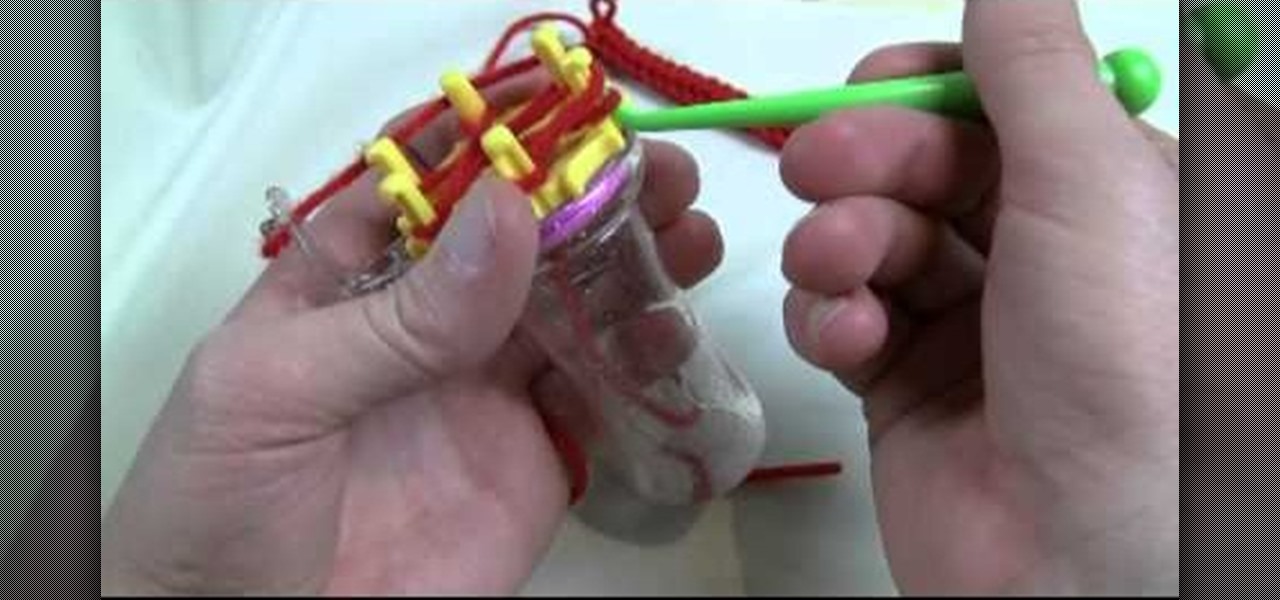
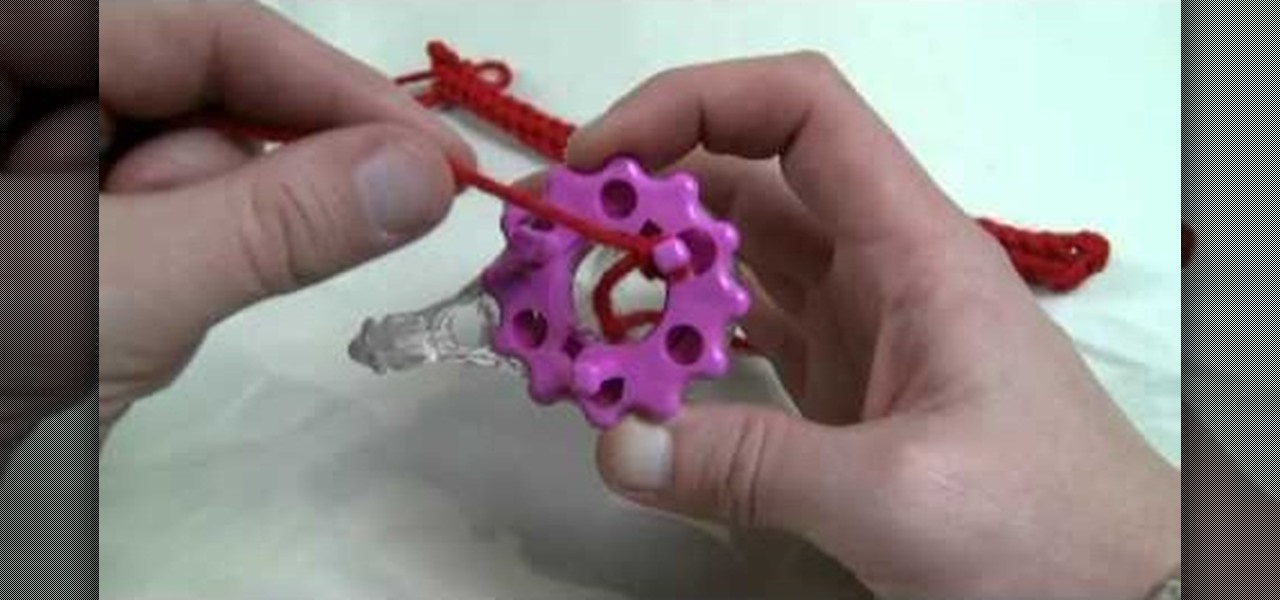
If you've already tried the 3-pegged head on the Clover Wonder Knitter, it's time to try out the 6-pegged one. The Crochet Crowd shows you how to cast on from the 6-knobbed head with ease. This tool is a great way to experiment with your knitting skills!

Clover's Wonder Knitter is a nifty little device that comes with a 3- and 6-pegged head. This is a great little device to experiment with and The Crochet Crowd is going to show you how to cast on from the 3-knobbed head. Also, check out the 6-pegged head tutorial.
If your little youngster is celebrity his first Fourth of July and you want to get him decked out for the occasion without posing any potential choking hazard with beaded necklaces or bracelets, then this fuzzy hat is the perfect way to get him in the spirit.
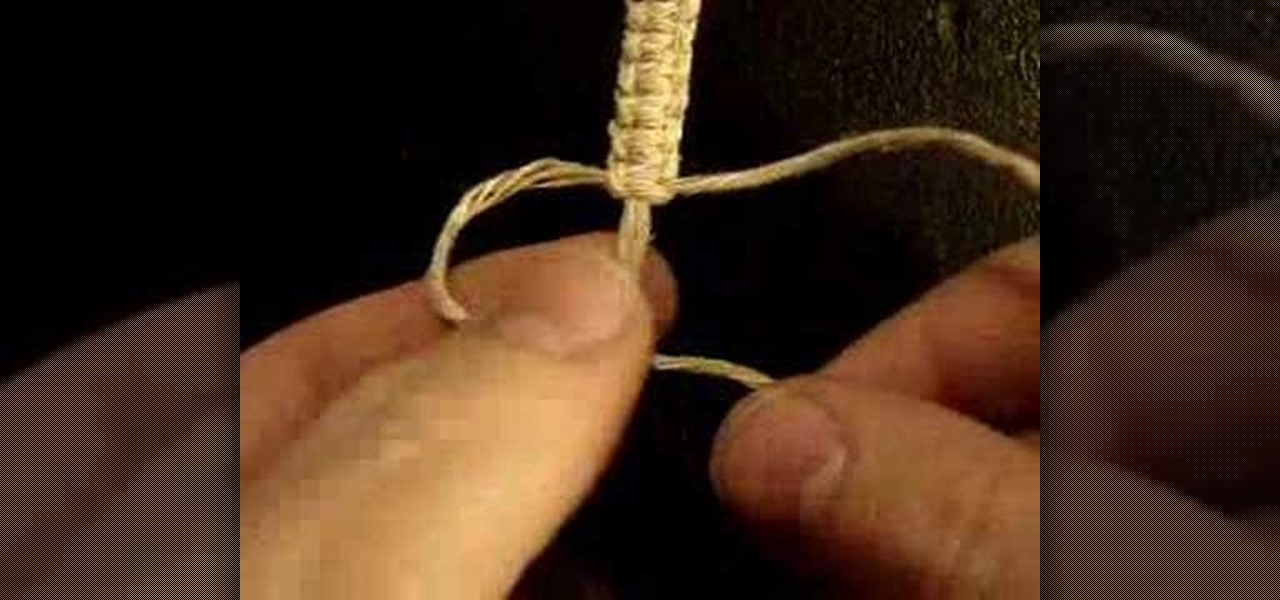
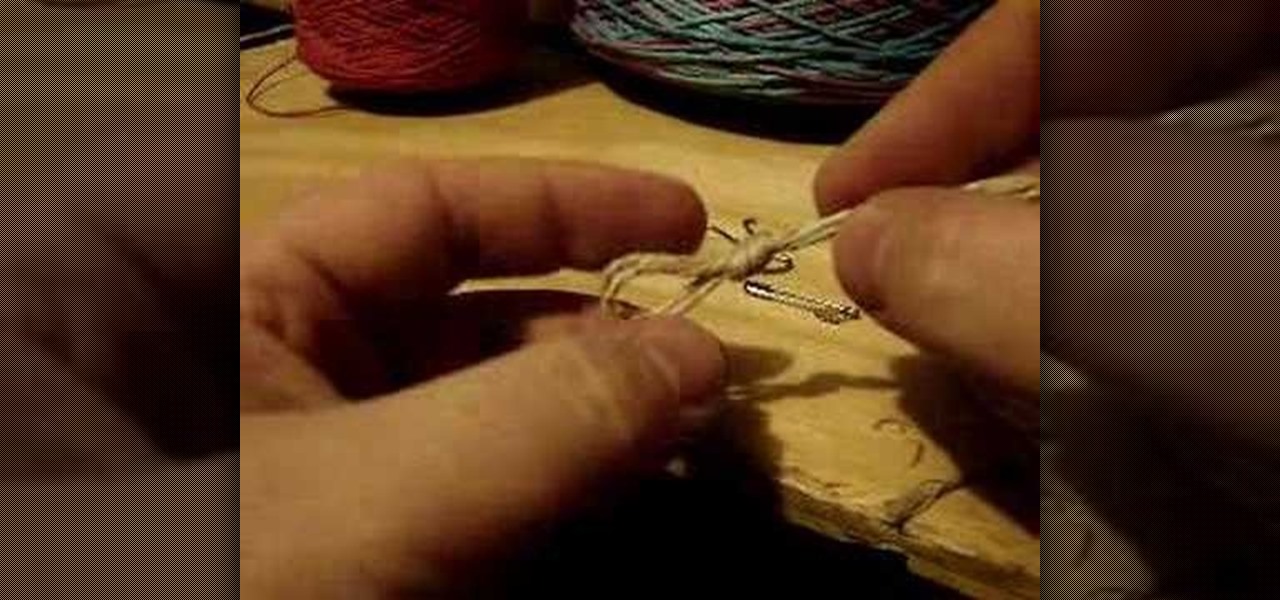
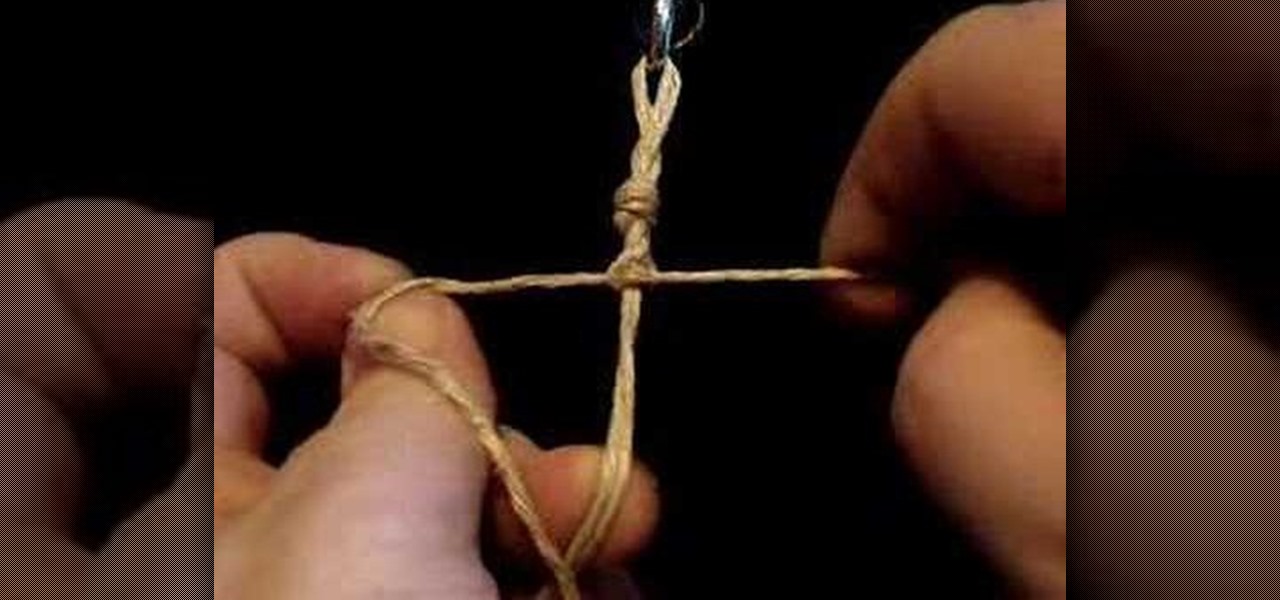
This video explains to a jewelry maker how to make a square knot which can be used is hemp jewelry. The hemp twine varies in thickness and comes in a many of colors. There are many different stitches used to create hemp jewelry, however, the half knot and full knot stitches are most common. Step by step explanation is included. You can make a lot of different jewelry with our help and this guide, some of which are anklets, bracelets, chokers, or necklaces.
Tired of losing track of all your favorite headbands? This tutorial shows you how to make a headband holder! This project could also be used to organize your necklaces, or make a smaller version to use as a bracelet holder.
These earrings, bracelets, and necklaces look expensive, but they're actually homemade and totally doable on a budget. With Christmas just a few days away, if you're looking to stay within your budget while giving out beautiful gifts then this may be the perfect craft for you.
Hemp jewelry is crunchy granola chic no matter how you style it. Made of rustic, slightly frayed natural hemp and adorned with natural materials like seashells and wood beads, hemp jewelry is as surfer chic as you can get.
Clay isn't just for baking into flimsy pots and dishes and the source of Color Me Mine's untampered physical power. In may cases, clay, like painting or drawing, can be molded into as many guises as the imagination will take you.
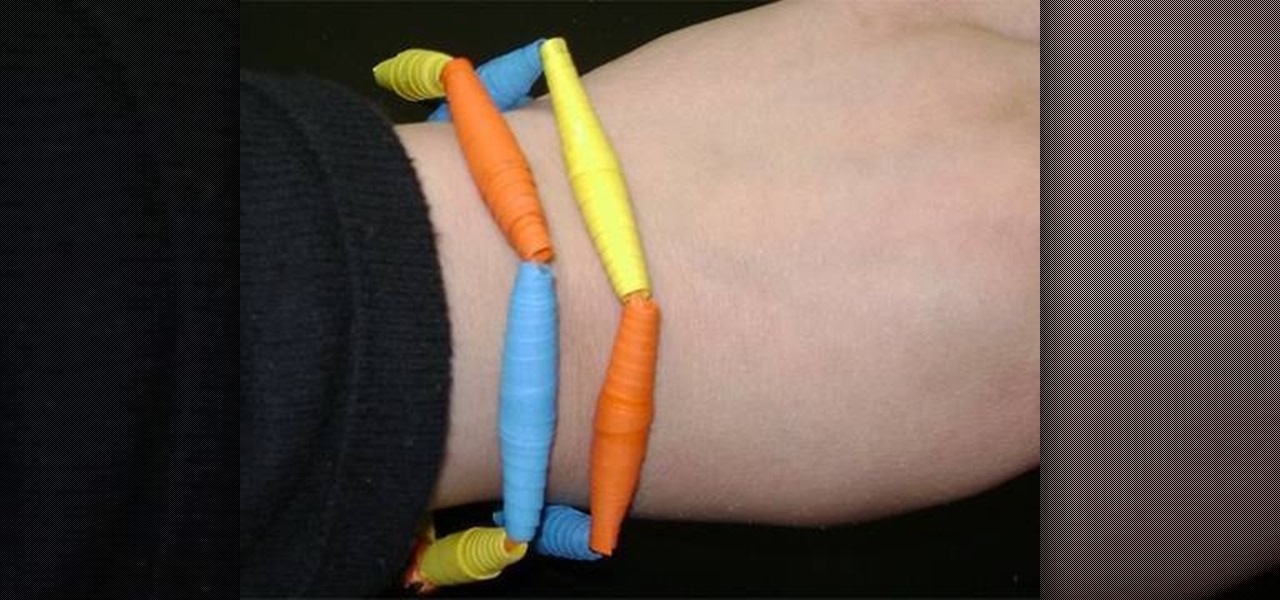
One of the easiest and cheapest ways to craft jewelry is out of paper! In this tutorial, learn how to make fun bracelets and necklaces with paper 'beads'. This eco-friendly project is best for kids that are a little bit older, and can be worn by anyone!
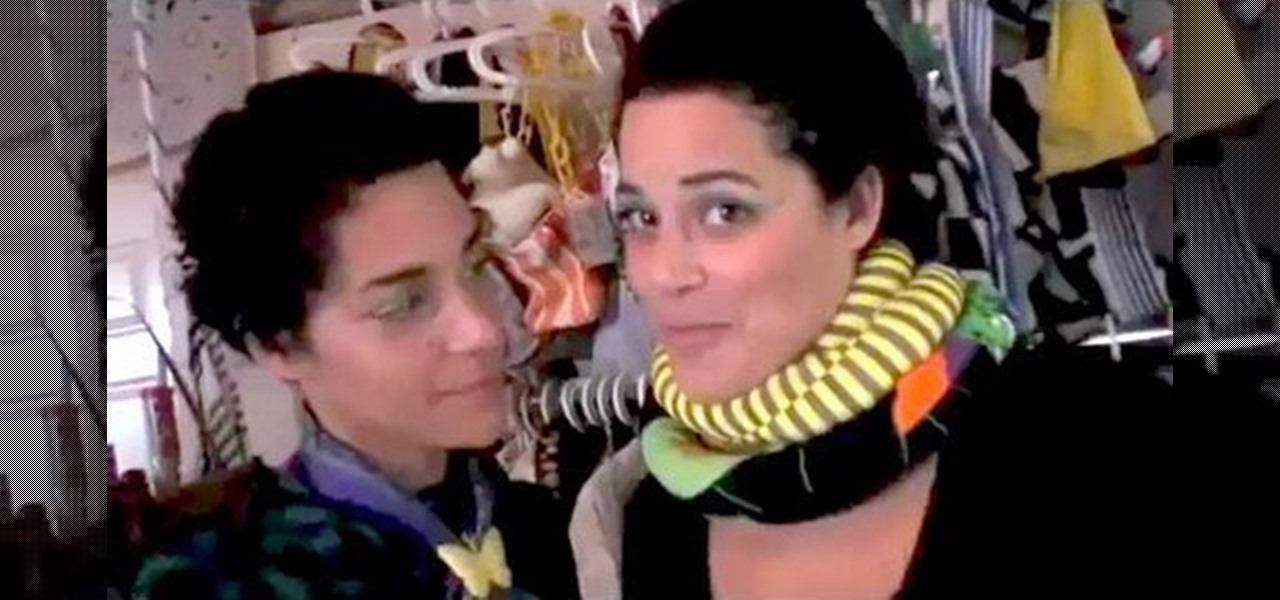
This Threadbanger video visits the Compai Girls for a lesson on how to make a Dookie Scarf. What's a dookie scarf you ask...watch and find out! Hint: possiblities with scarves are endless: necklaces, bracelets, belts... This project is good for beginners.
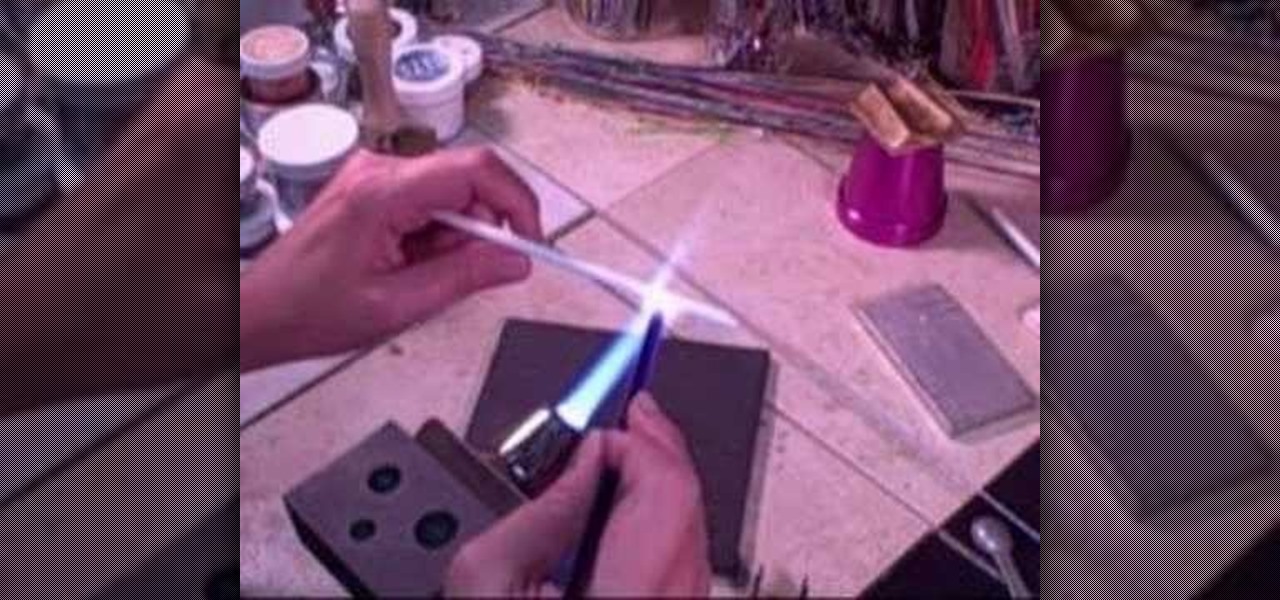
Here is a quick video on how to make encased stringers for glass beads. This is a great way to add fancy stringer decoration to your glass beads. These lampworking instructions demonstrate how to add thin ropes of color and pattern embedded in the molten glass bead. Use this technique to make finely crafted glass jewelry such as beads for necklaces, bracelets and earrings.
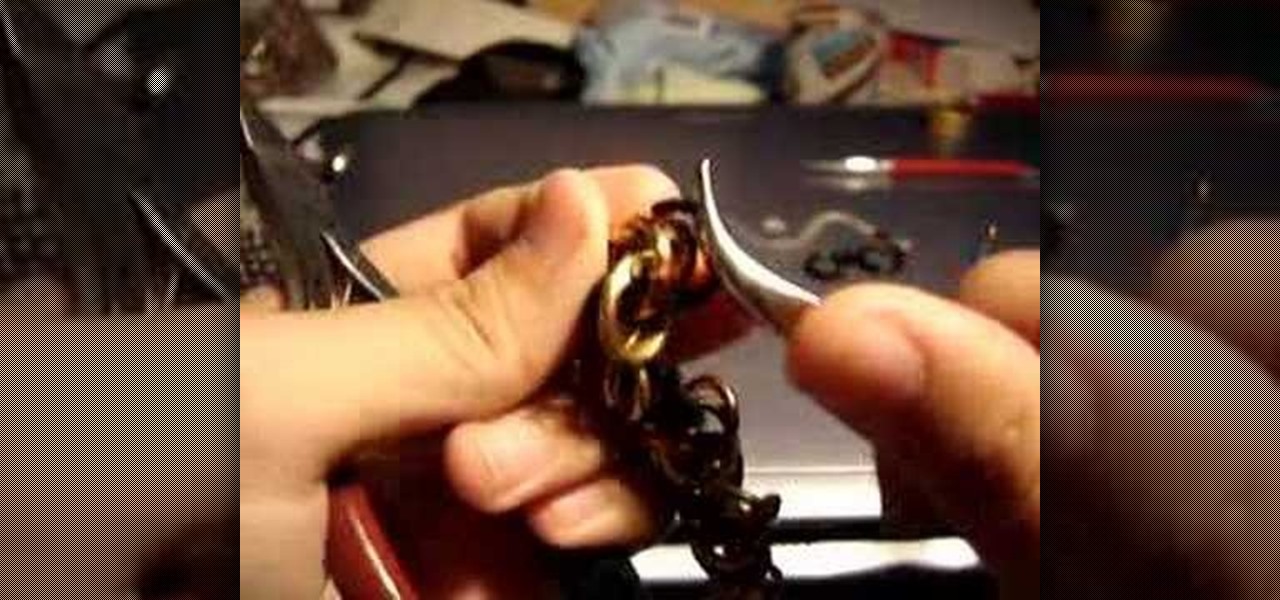
This metalsmithing video segment shows how to speed weave Byzantine chainmail.The Byzantine chain is a popular metal weave pattern for supple and flexible necklaces, bracelets, and other pieces of jewelry. This video assumes you know how to construct 2x2 chainmail units.
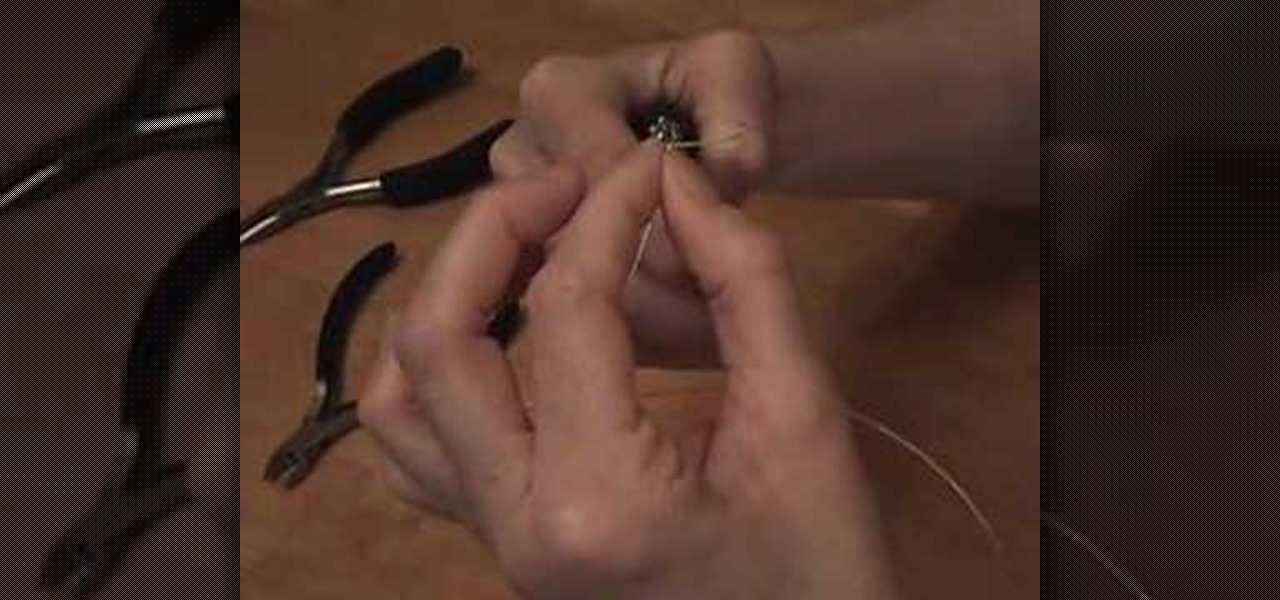
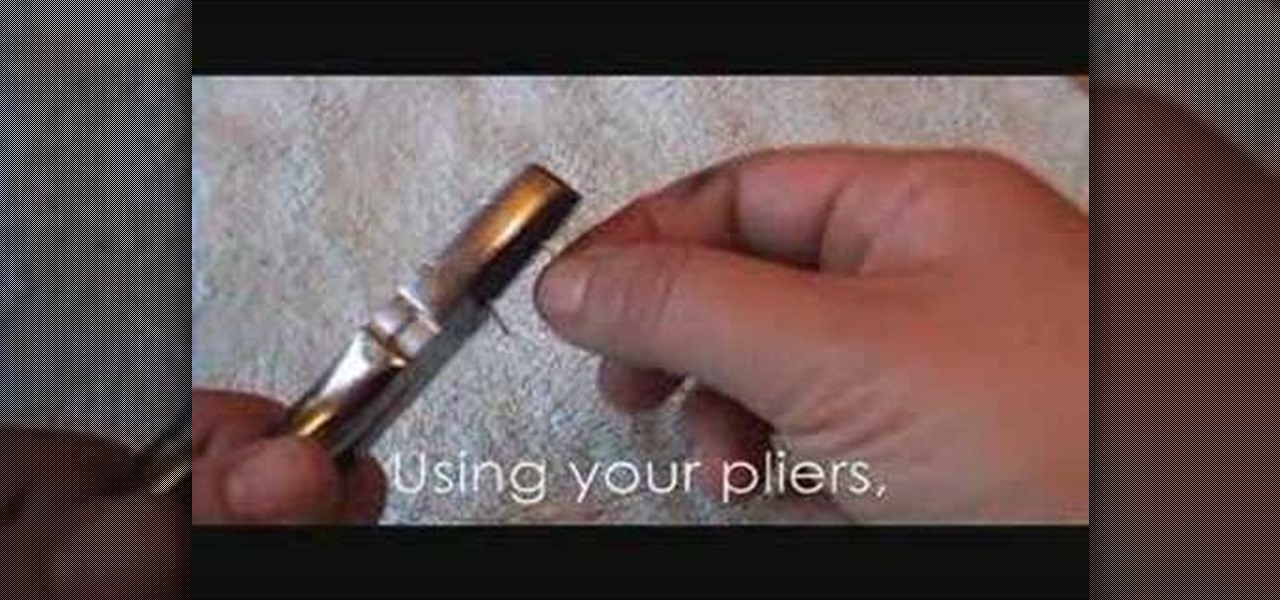
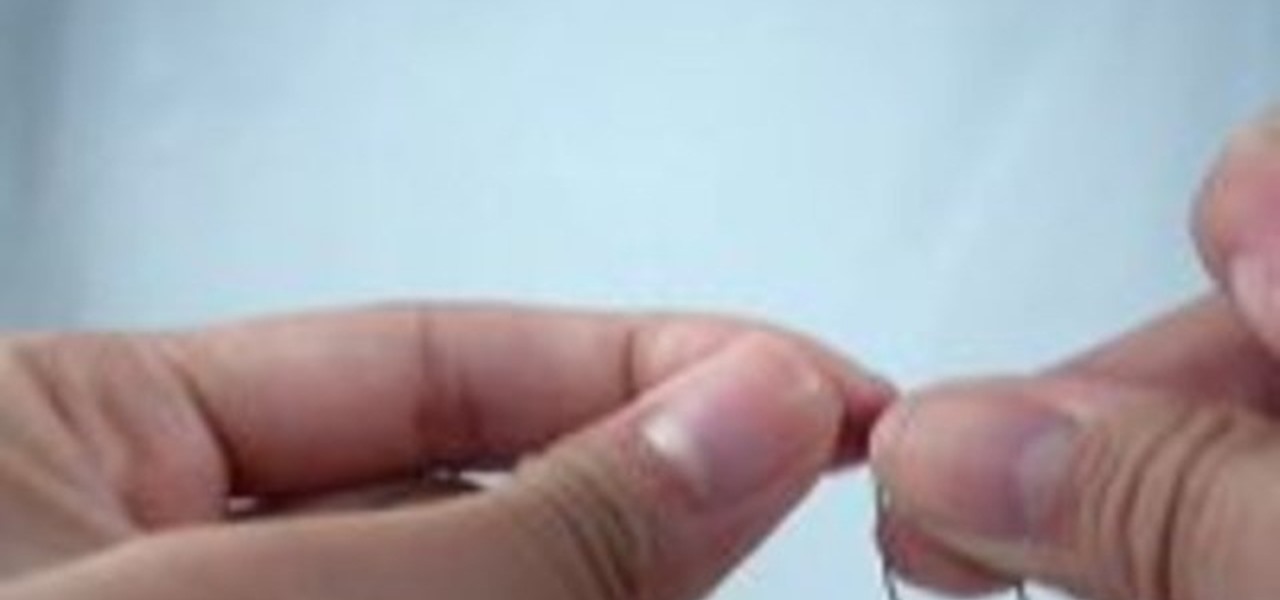
Work with sterling silver wire to make a link for jewelry clasps, loops, chains, bead work, and earring hooks. All you need is some silver wire and a pair of needle nose pliers. Jewelers need to make these simple loops for beading necklaces, connecting rings, and making earrings. Follow the instructions to link two silver wire loops to begin making a chain.
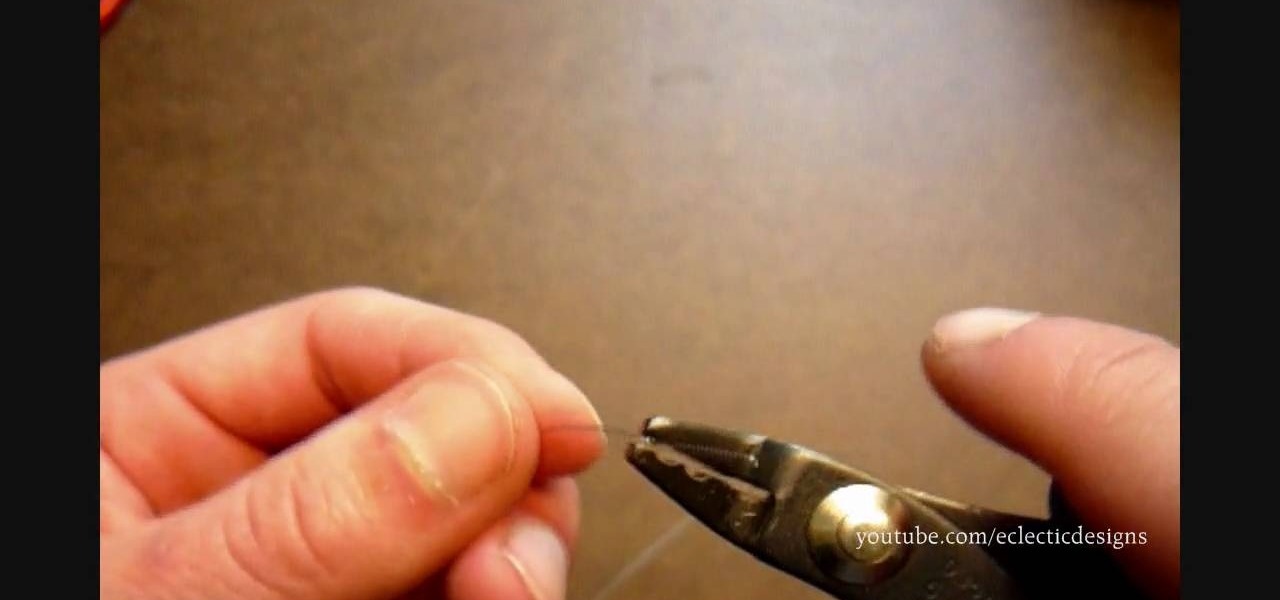
Learn how to straighten wire with this jewelry making video. Use a pair of pliers to straighten a piece of warped wire. When making earrings, bracelets, rings and necklaces, don't throw away the bent pieces of left over wire. They can be salvaged!
Watch this video jewelry making tutorial and learn how to flatten a crimp tube while making jewelry. Crimp beads when clamped, other beads from sliding around past a marked section,as well as secure closures on earrings, necklaces, or any other kind of jewelry.
Watch this video for an introduction to a very versatile stitch, the Netting Stitch. In this tutorial, the process is shown step-by-step to create angular pendants and drops for necklaces with seed beads. Learn how to do a netting stitch for beaded jewelry by watching and following along.
In this bead weaving video tutorial learn step-by-step how to make the very versatile Right Angle Weave for bracelets, necklaces and earrings. The right angle weave creates row upon row of beads, up to any thickness or length desired. Learn how to stitch the right angle bead weave by watching this jewelry-making video.
Art Jewelry Magazine associate editor Addie Kidd shows you how to make an S-hook clasp with looped ends. You will need wire, pliers, and a hammer. Learn how to make an s-hook clasp with looped ends for necklaces or bracelets by watching this video jewelry-making tutorial.
This two part video shows you how to build a multi-color stringer for making beads for lampworking glass necklaces.
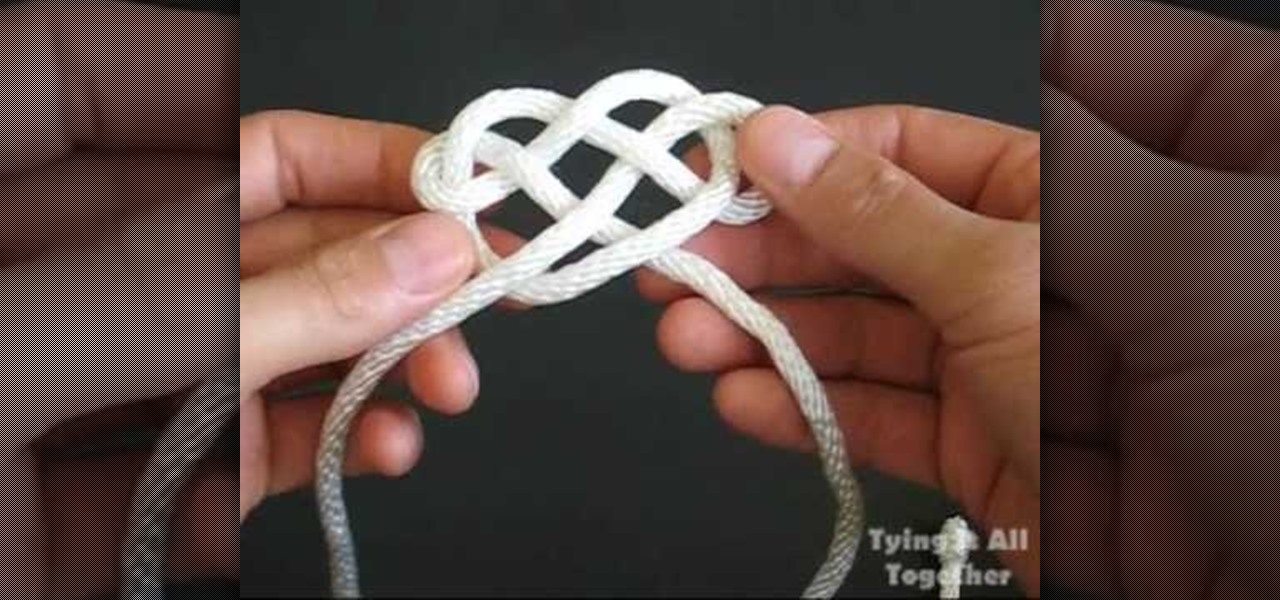
In this tutorial from the TyingItAllTogether Channel, you can learn how to make double and quadruple looped pendent knots. These knots are commonly found in Celtic designs. Once you learn how to create these knots, you can use them in arts and crafts projects for necklaces or bracelets. To begin, the double looped knot is done by taking a piece of rope and folding it in half, allowing the two sides to be next to each other. With one side of the rope, loop it around the other side of the rope,...
Attention jewelry makers! When making your own unique jewelry designs, one must learn how to secure the end crimp beads with crimping or chain-nose pliers. Crimp beads can be used for finishing off your strung jewelry or as "stoppers". In this tutorial, learn how to hone your jewelry-making skills!
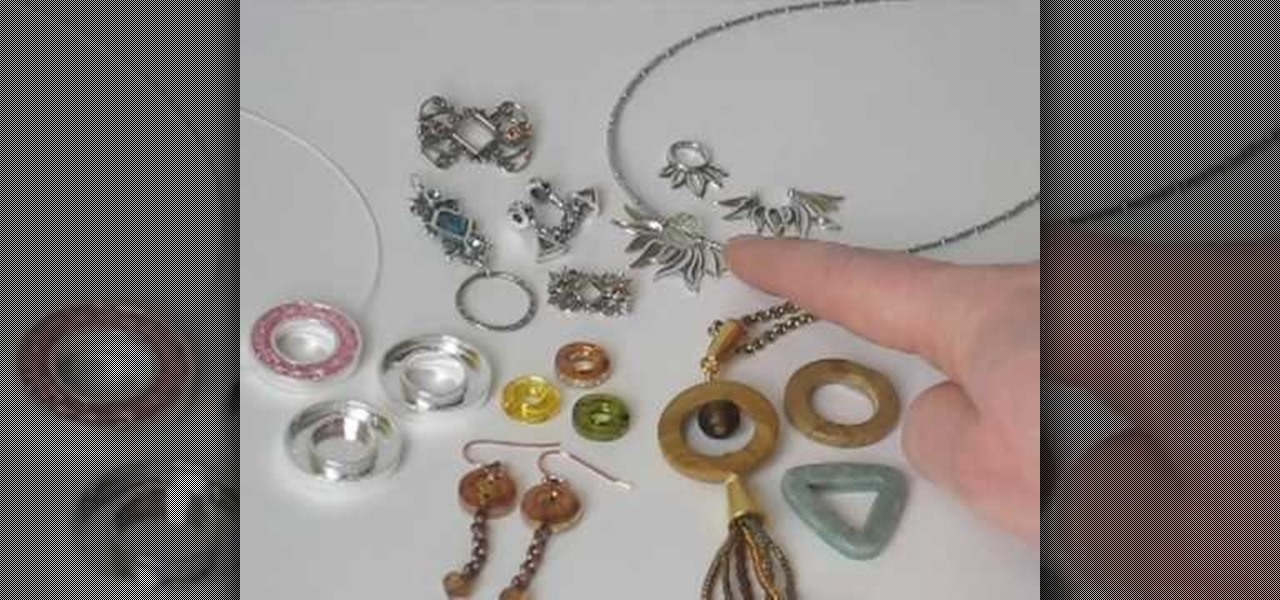
Got a bunch of old mismatched (or just plain fugly) necklaces and bracelets lying around? If you're like us, your first thought is "ew" and your second thought is to toss them, fast. But there's more fashionable potential in these jewelry pieces than you think.
Want to create netted necklaces, earrings, purse decorations or any other netted designs. This video demonstrates and explains how to create a netted bead. However, the basic procedures which are
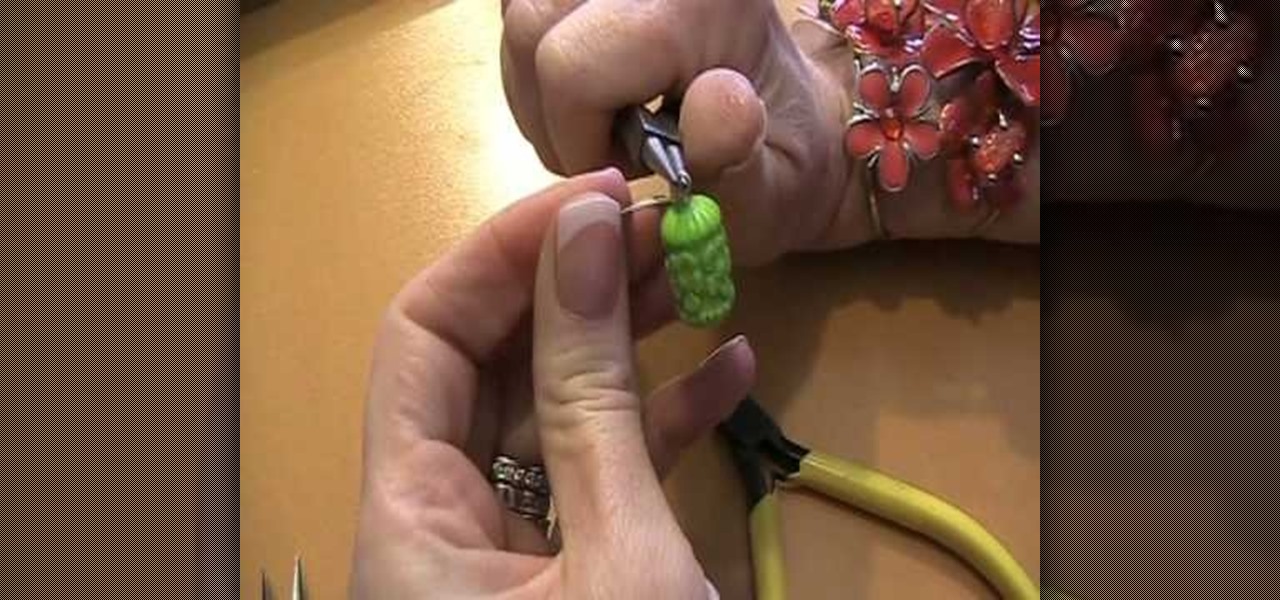
When it comes to making earrings or necklaces, you could take the easy way out and just add a normal head pin to the top of your bead or pendant. But what if you like to create motifs with the wire itself? A great way to start embellishing with wire is by creating this coiled top dangle, or a wrapped head pin.
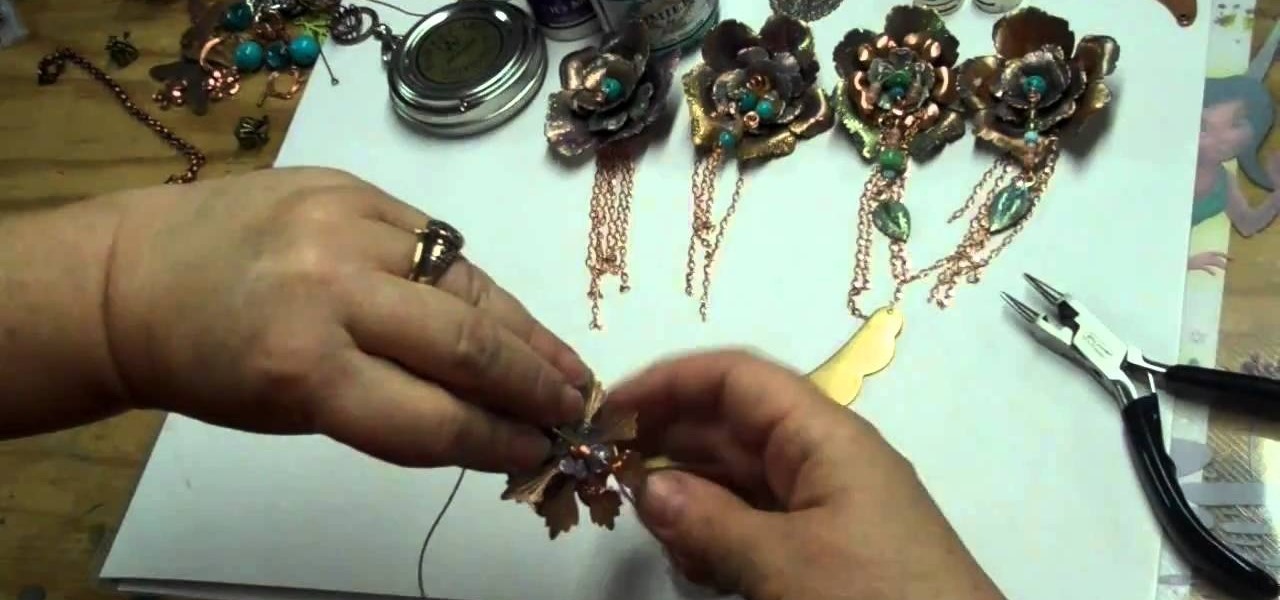
The difference between an amateur piece of jewelry and a professional one often lies in the details. Almost anyone can link chains together into a necklace and add small floral baubles, but the professional will take care to make sure the baubles are attached almost imperceptibly and the closure blends in with the rest of the necklace and also won't budge.
Bead frames are pretty simple to understand. Rather than simply stringing beads onto a pendant or necklace, you can attach them to bead frames, which come in all shapes and varieties, to make a novel design that can take advantage of negative space. It goes without saying that elaborate bead frames make the entire design more ornamental, whereas a simple round wooden bead base helps put the spotlight on the bead in the center for a subtle glamour.
Picture this familiar scenario: You've just gotten yourself a ginormous jewelry haul from Forever 21 and excitedly rip open all the tags and stickers, squeeling in glee as you try on that new semiprecious jeweled necklace and metallic stud earrings. But like shreds of Christmas wrapping paper left under the tree the afternoon after the big holiday, everything must organized.
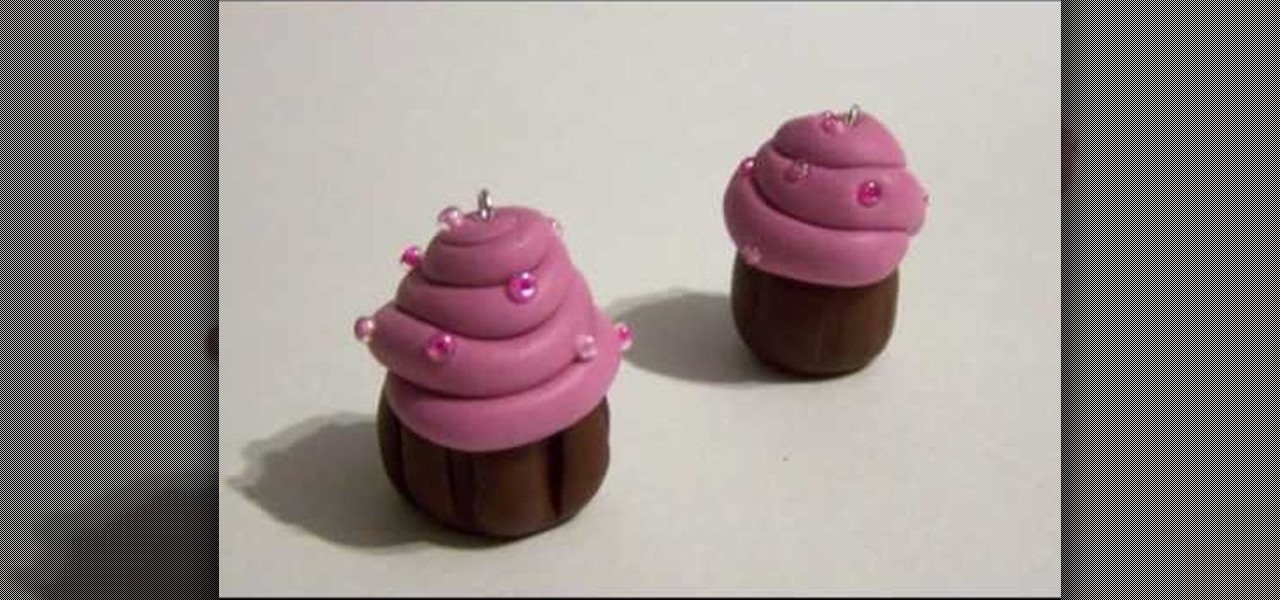
Keep your favorite dessert or food item close to you at all times by making a foodstuff-shaped piece of polymer clay. From chocolate cupcakes to orange slices to donuts, polymer clay can be formed into almost any food imaginable. Plus, miniaturizing makes food look adorable, making it even more irresistable.
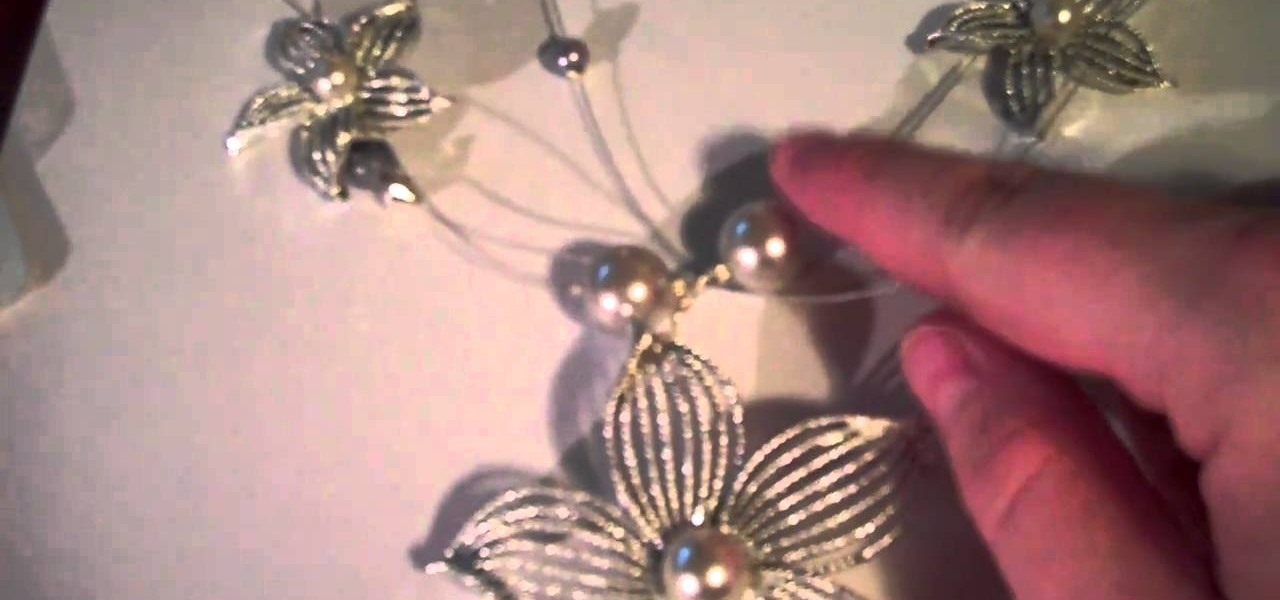
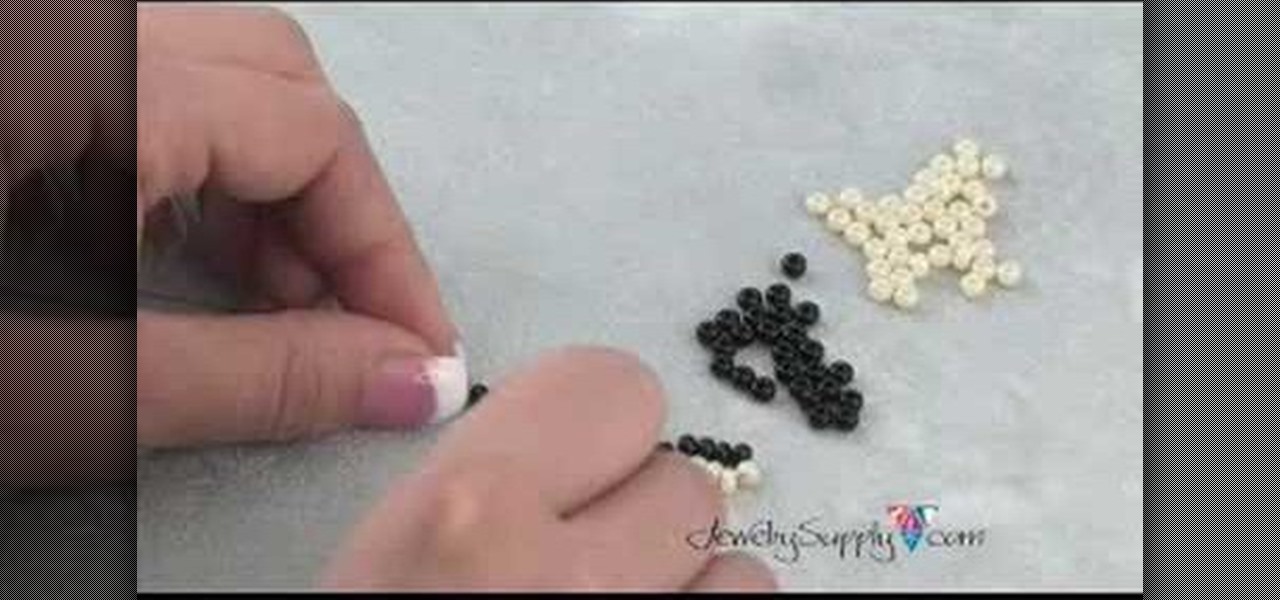
This is a video using Swarovski Crystals to make jewelry. This video shows how to make one with a gold bow. You need a pendant with 2 hoops (in this case it is a gold bow), a pendant holder, a crystal, a bill, and pliers. You take the bill and hook the crystal on it. Then you hook the bow on it and secure it using the pliers. You take the pendant holder onto the top of the bow pendant, and press it down to secure it, and you’re finished. You can also make rings, earrings, necklaces, and many ...
In this jewelry-making basics tutorial, learn how to make an eye pin. To create an eye pin, you will need wire. Size 24 or 22 gauge wire is the best kind of wire to make an eye pin. The thicker the wire, the more difficult it may be to work with. To begin, straighten out your wire and cut the length you need to make your eye pin. Taking some round nose pliers, you will bend the wire up while rolling it toward yourself. Do not pinch the wire too tightly with the pliers because it can leave per...
This video shows how to make an earring holder. You will need a canvas and some acrylic paint. Paint the entire canvas including the sides. You can paint it a solid color, or paint any design you like. Use glue to attach some glitter, or use puffy paint or glitter glue to decorate the earring holder. When the paint is dry it is ready to use. Simply push your earrings through the canvas. If you have earrings that are delicate, you may want to use a nail to form a hole in the canvas before plac...
The Hempdiaries believes that you too can create a bracelet using hemp and jewelry accessories. The narrator first begins by showing you what the two mandatory materials you will need which are hemp and a dowel rod. To begin he shows you how set the dowel rod between your knees to provide a foundation for the string and then an arms length of two pieces of string folded in half. Tying the string around the dowel rod he shows you how to begin the flat pattern for the hemp bracelet and that thi...
This video is an instructional video on creating and using the right half knot spiral knot tying technique for creating hemp jewelry. The technique creates items like anklets, bracelets, chokers, and necklaces. Also, creator of the video demonstrates every step and procedure for creating the knot spiral. First, tie an overhand knot by crossing the right side of the cord over the left side of the cord. Second, bring the left cording under the right cording to create the second phase of the kno...
To tie the overhand knot, make a loop and pass one end of the string through the loop and tighten by pulling both ends. To tie a double overhand knot, make a loop and pass one end of the string through the loop twice before pulling both ends to tighten the knot. To tie a surgeon's knot, take the left string and bring it over and around the right string twice. Then take the right string over and around the left string and pull both ends to tighten, leaving a complete loop of string below the k...
Anna Saccone, from The Style Diet, teaches you how to wear a boyfriend cardigan. Since the boyfriend cardigan is loose and big, you should wear them in a casual or slouchy style. You can also pair a boyfriend cardigan with boyfriend jeans that fit loose too for the full effect. Also, rolling the jeans or wearing ripped worn jeans will add to the full effect. You can wear a simple plain white tank top under the cardigan for simplicity and for a relaxed look. You can also accessorize with brace...