In this C4D video tutorial, learn how to do simple camera animation, texturing, material setup. Whether you're new to MAXON's popular 3D modeling application or are just looking to get better acquainted with Cinema 4D and its various features and functions, you're sure to enjoy this free video software tutorial. For more information, and to get started using this trick in your own Cinema 4D projects, watch this 3D modeler's guide.
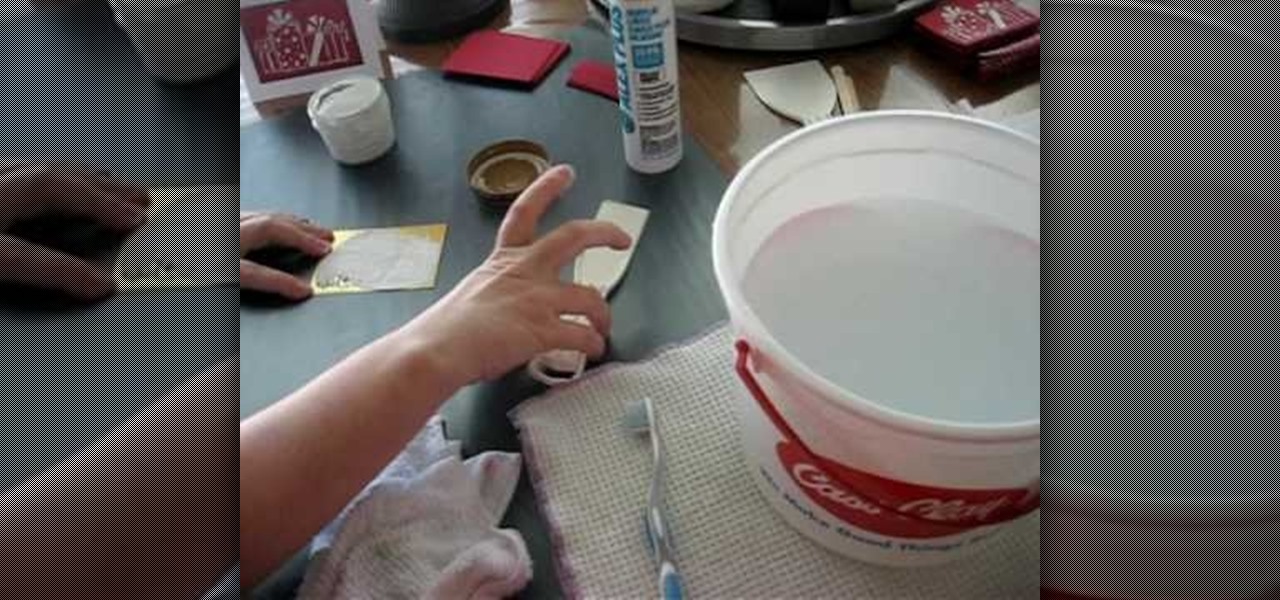
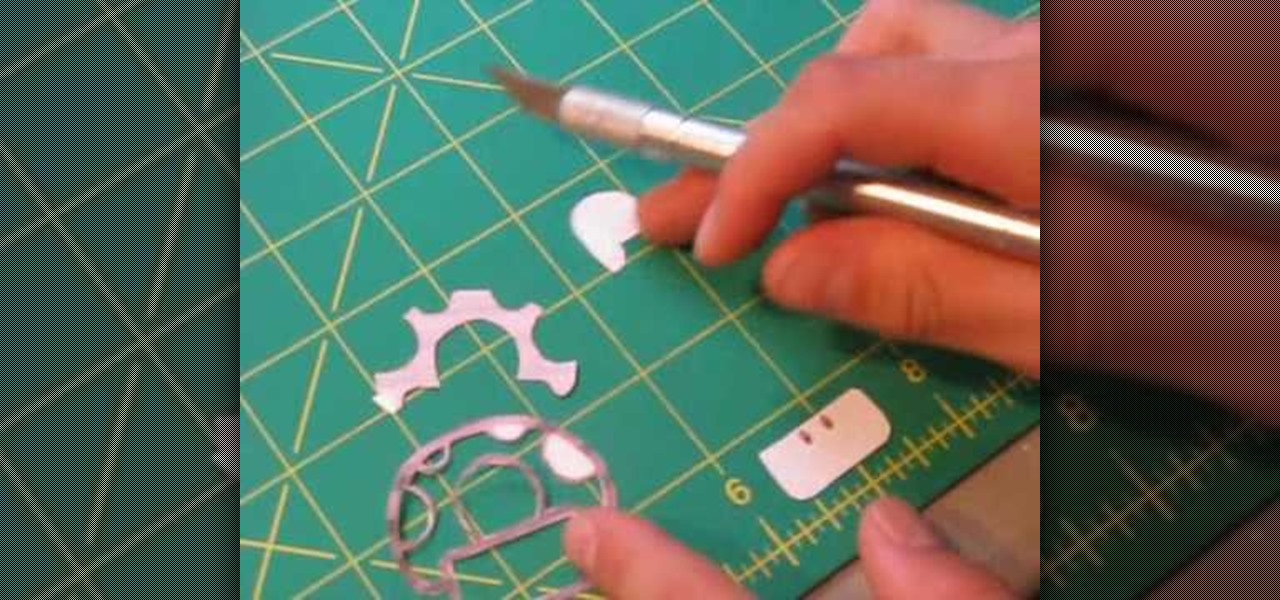
Caulk is not the first material you'd think of using when crafting a birthday card, but when guided onto the paper in neat designs as created with the help of brass stencils, caulk motifs can be quite beautiful and tactile.
Yarn is certainly not the most expensive fabric-making material world, but why would you spend $5 for a roll when you can spin together yarn yourself?
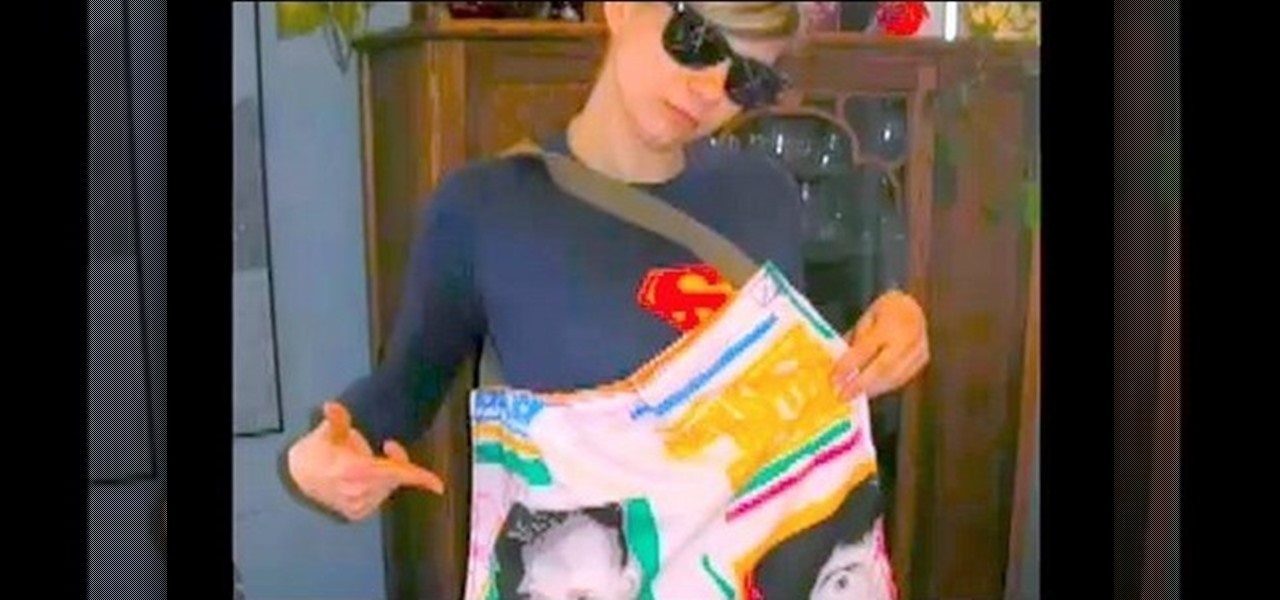
This video, assembled for a school project by some art school students, teaches you how to draw comic book superheroes in two parts. They begin by going over the material that you will need, then the basic shapes that make up the majority of comic character's bodies, then goes over examples, including how to draw the popular anti-hero Vegeta from Dragonball Z.
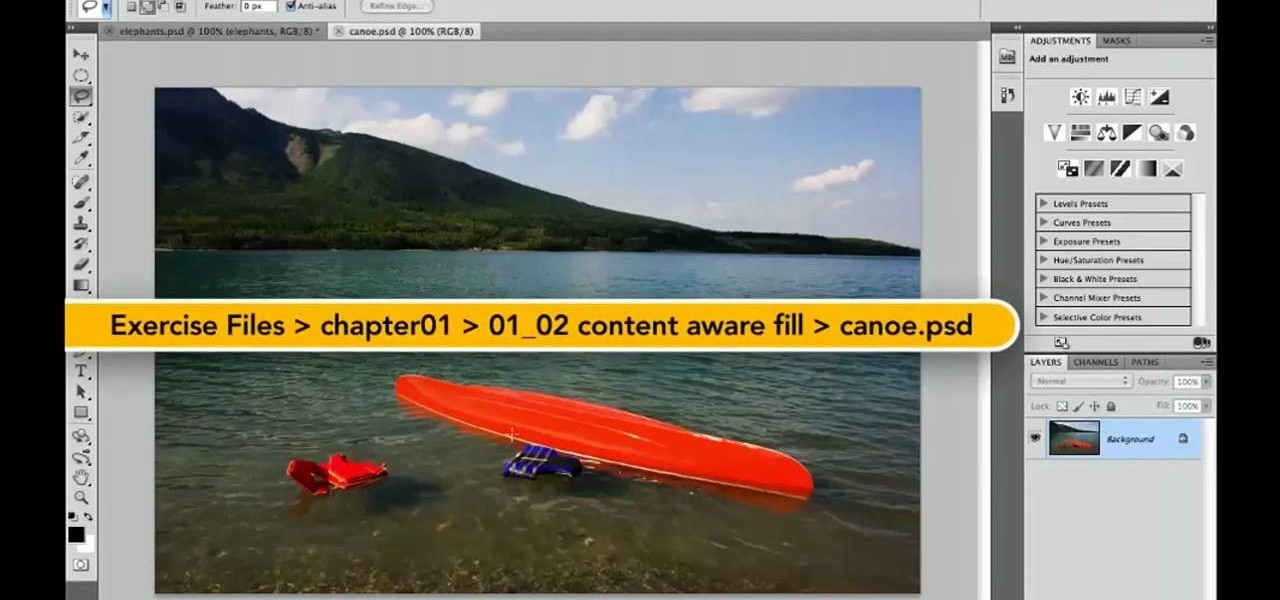
Whether you're new to Adobe's Creative Suite or a seasoned graphic design professional after a general overview of Adobe Photoshop CS5's most vital new features, you're sure to be well served by this from the folks at Lynda, which presents a detailed, step-by-step overview of how to use Photoshop's new content-aware fill tool to selectively and seamlessly erase material from a digital image.

This music production software tutorial shows you how to create Glitch-type effects for use with your drum patterns in Reason 3.0. It is an advanced tutorial only because of the speed at which he has to cover the material. In this example Ace Pincter will be adding glitch effects to drum patterns using Dr. Rex, but you can use any Reason drum pattern. Included: RV7000 Gating, Automation, Matrix offsetting, Filtering by gate, and Distortion.

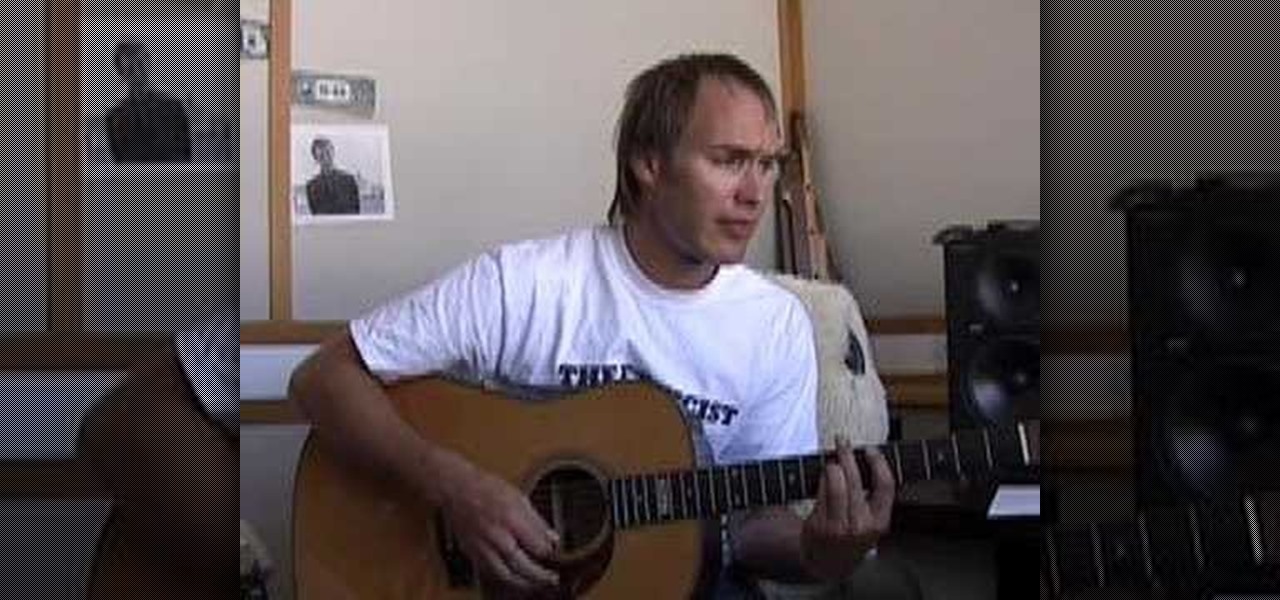
Learn to play Colplay's "The Scientist," a great tune that uses an unusual tuning (in 4ths). It uses chords like power chords and barre chords, but they are easier to play. This is great for a beginner trying to stretch into intermediate material. Chords are taught in detail because they are not normal chords.
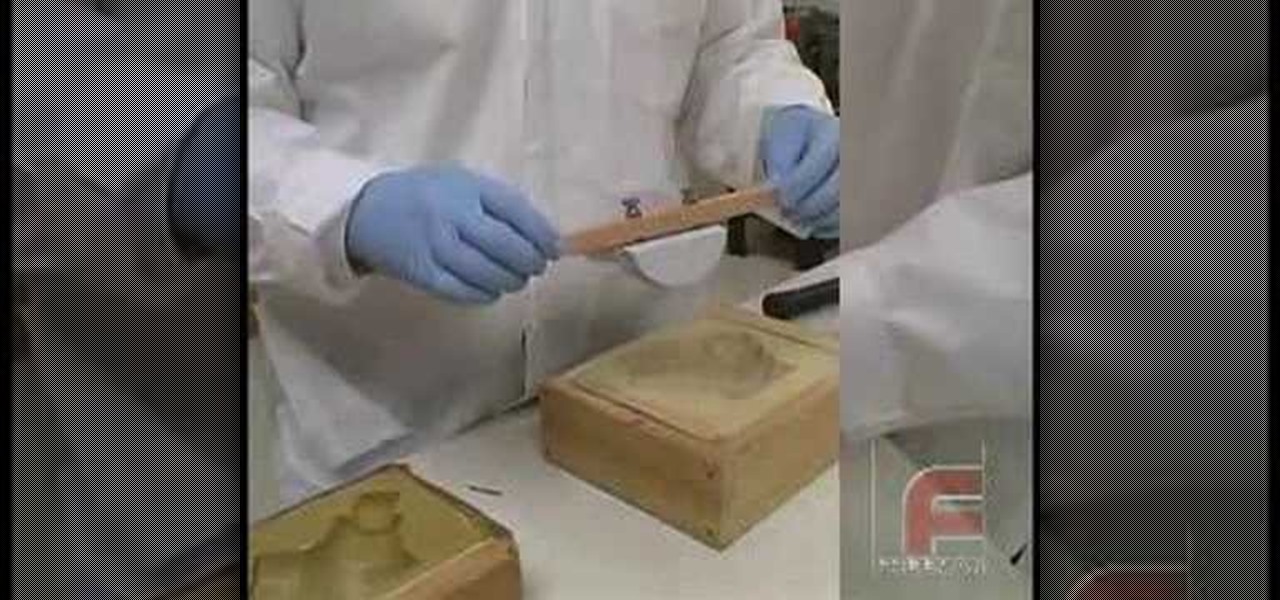
This video covers creating a detailed professional surface cast mold for creating mechanical parts. Ideal for working on medium-sized projects, this process of pouring a high quality material around a lower quality core creates a highly accurate, yet economical part. This process can be used in automotive, mechanical, fine art and film special effects uses.
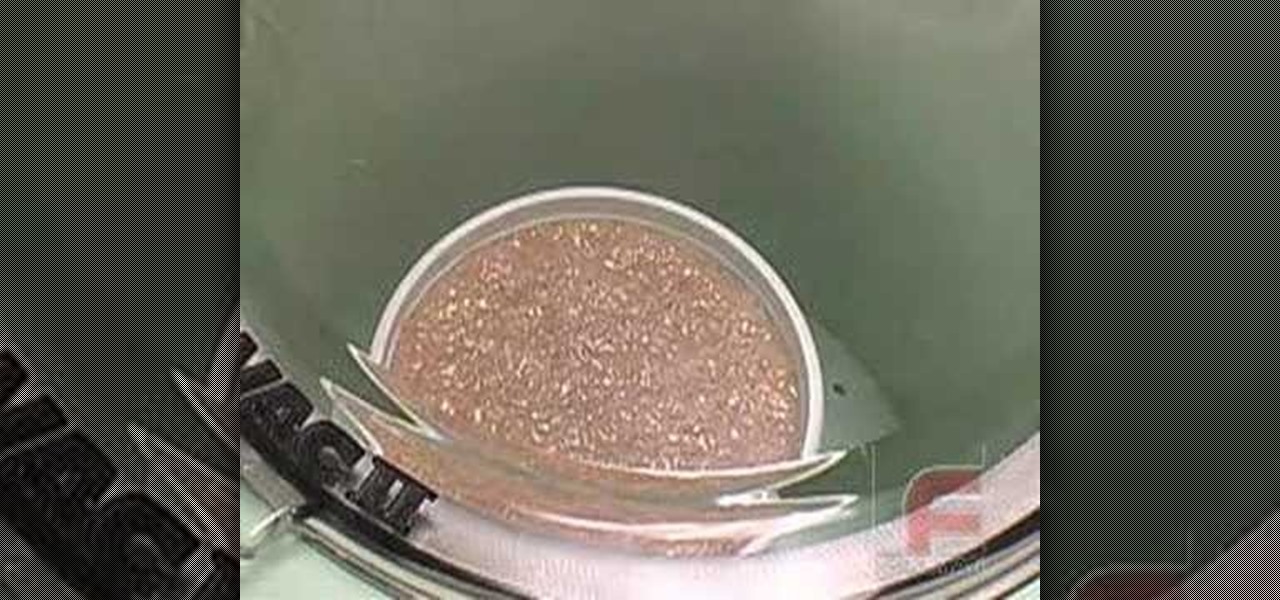
This video illustrates in great detail how to create a perfect urethane rubber mold. Urethane Rubber molds are widely used when a flexible mold material is required and a more expensive or less abrasion-resistant silicone rubber is not desired. However, their use requires careful application of release agents. This process can be used in automotive, mechanical, fine art and film special effects uses.
We recycle cardboard, but Gomi Style is going to re-use the cardboard and create chairs with the fine found material. The gang at Gomi style made a two different types of chairs from tossed out cardboard, simple and easy
The helpful folks over at Threadbanger take today to teach us how to make a tote bag. And not just any tote bag, but one made from recycled material. It's stylish, environmentally conscious, and...actually that's it. Just those two things.
Bob Fenwick shows us how to hang our own drywall from the basic tools needed for the job, to the actual hanging of the material. He gives a number of great tips for the beginner.
Walk on water? Impossible. Walk on cornstarch? You bet! Check out this video to see what happens when you mix up a tub of cornstarch and water. It's goopy cool fun. Mix cornstarch and water in this classic experiment to form a gooey liquid and solid material that behaves like quicksand. Some people refer to this as the Oobleck recipe, others call it a Non-Newtonian fluid. After watching these video segments, you'll call it a great science lesson as your students learn about the amazing proper...
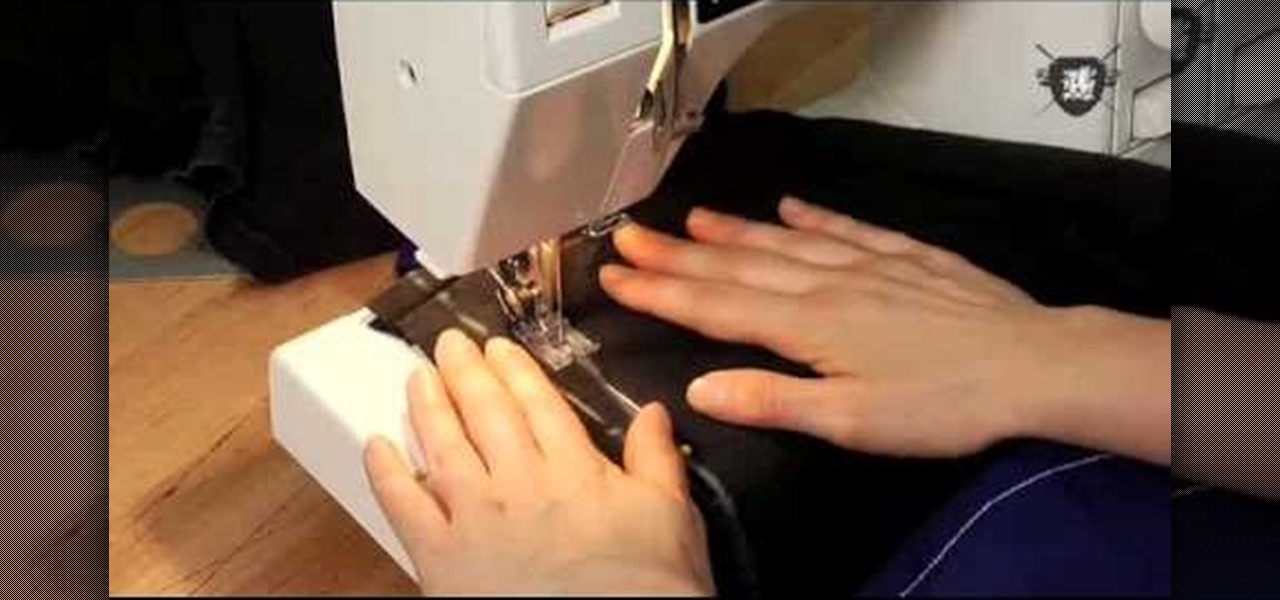
In this tutorial, we learn how to make a Lace Cardigan with the Sewing Studio. First, you will need to gather all of your tools and the material. Now, cut out a piece of fabric into a large rectangle. Now, draw and cut out the pattern from the diagram you see in the video. After this, finish up the raw edges with stitching, then line up the two lower edges and sew along the edges. This will be the seam on the center back of the cardigan. Next, attach the triangle to the top of the neckline an...
Polymer clay is a favorite material for many crafters because it's so versatile. Those interested in creating miniatures - like small version of Domo Kun or tiny, hamster-sized apple pies - can easily mold the clay into any shape they wish, while jewelers enjoy polymer clay because you can experiment with different colors to produce all types of effects.
Fondant is quite the tricky cake decorating material. On the surface it looks smooth, slick, and solid, but the consistency of fondant is actually quite thin and the sugary paste is very liable to tearing while you're working with it.
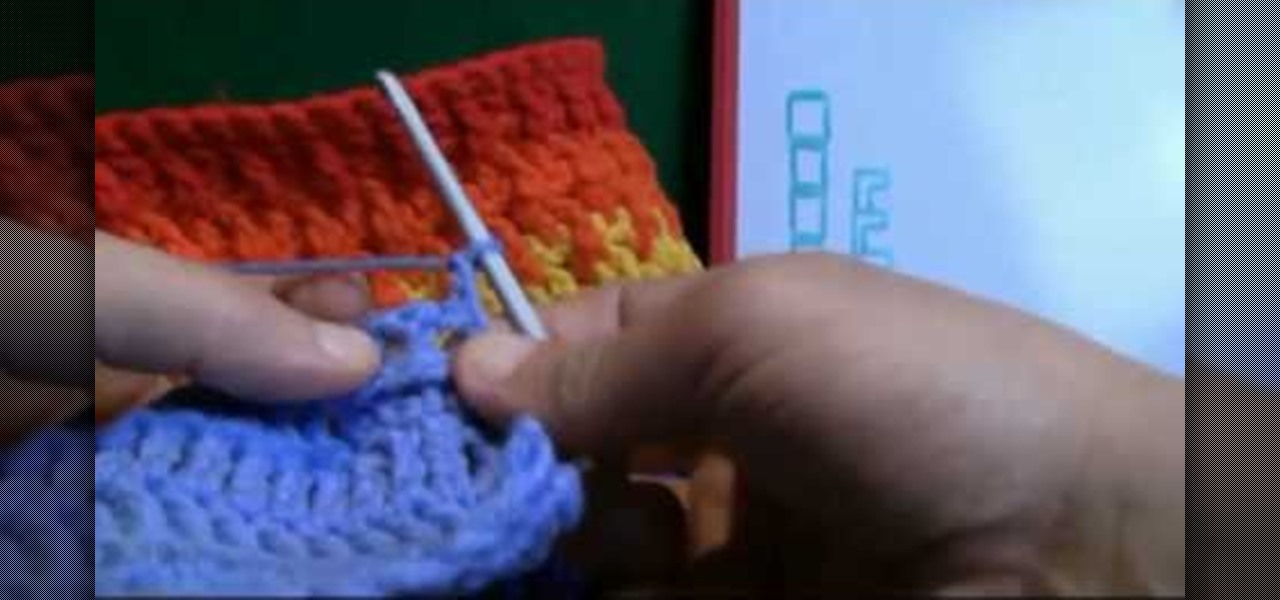
Now that you've mastered the front post double crochet stitching pattern, let's work on the back posts!
Duct tape isn't only handy for taping your rear view mirror back when your drunken cousin knocks it off in a fit of intoxicated rage. In fact, duct tape is a excellent and cheap material for crafting.
When you begin working with complex scenes, you'll often find yourself applying the same material to a multitude of objects, which becomes quite time consuming. By using blender's "Make Links" tool you can quickly apply a single materials to as many objects as you'd like. Whether you're new to the Blender Foundation's popular open-source 3D computer graphics application or are a seasoned digital artist merely on the lookout for new tips and tricks, you're sure to be well served by this free v...
Stencil maps can help push your model to the next level by allowing you to layer materials exactly as you see fit. This tutorial covers how to create a stencil map, applying it to your model in Blender and then using it to layer two different materials via the Material Nodes. Whether you're new to the Blender Foundation's popular open-source 3D computer graphics application or are a seasoned digital artist merely on the lookout for new tips and tricks, you're sure to be well served by this fr...
Stop trying to make lightsabers in your home movies using Sony Vegas - that's SO prepubescent teenage boy material. Step up your sci fi animation game by learning how to make yourself invisible (and no, by invisible we don't mean just deleting yourself out of the picture).
This survival cache is made for adventurers who, if lost, may stumble upon this handy little tube and immediately get some food and knowledge of their geographic location.
This video shows you how to make compost from organic debris in the garden and leftover food.To make compost, you must add organic debris or scraps of food to such as pine needles, leaves or fruits to your compost bin. You should use horse or cow manure to speed up the process. You can also use nitrogen fertilizers as long as they do not contain herbicides. Then add water to the whole mixture.It is recommended that the compost bin should be about 3 feet high and 3 feet wide in order to insula...
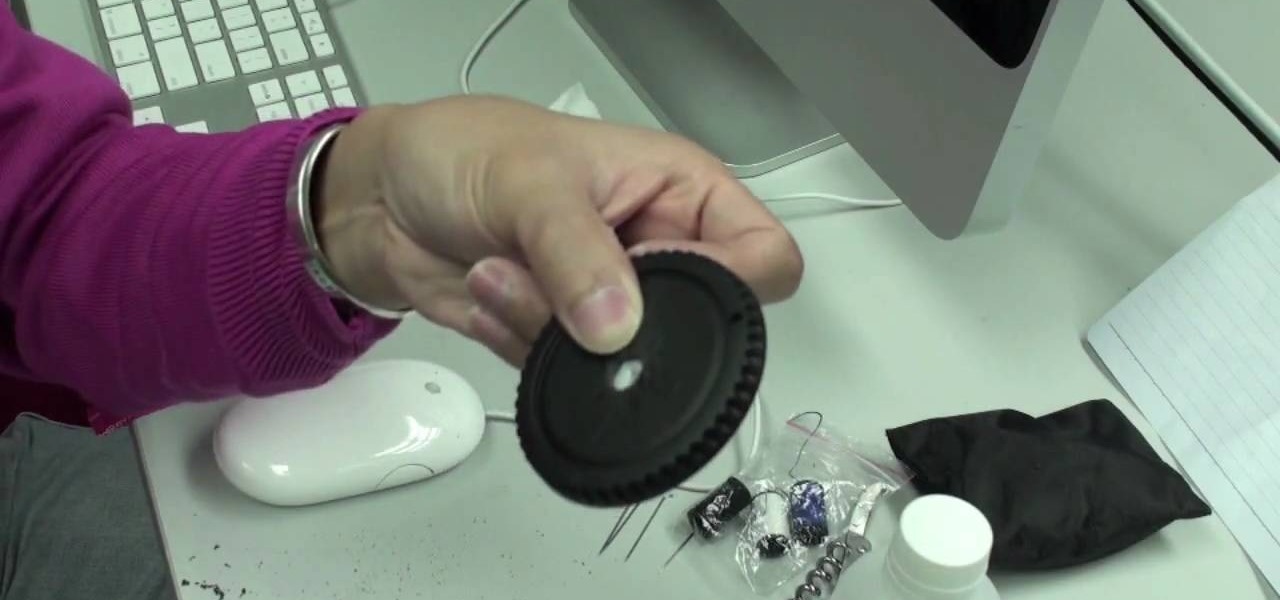
In this video you learn how to make a digital pinhole camera. The video begins with an introduction addressing the main themes to be dealt with in the video - tight budgets, photography and specialized lenses. In this video, Kai modifies a photo lens cap by poking a large hole in it. After making this large hole, he makes a smaller hole in a thinner material and lines the hole up in the center. He calculates the size of the hole he needs based on the wavelength he will be photographing. He us...
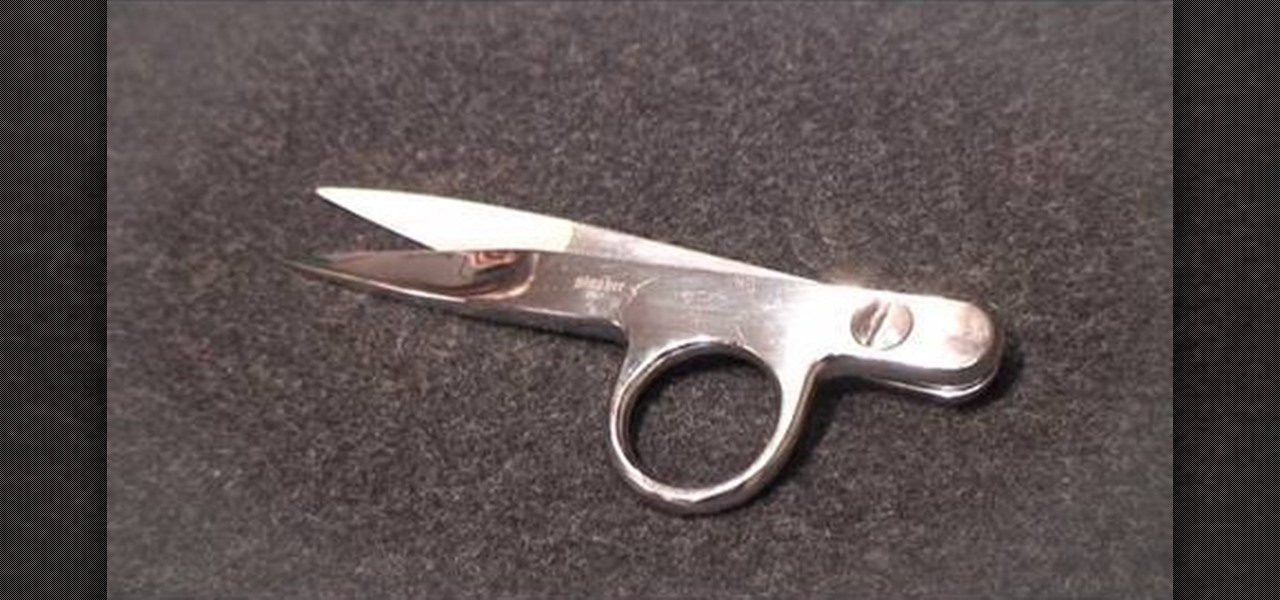
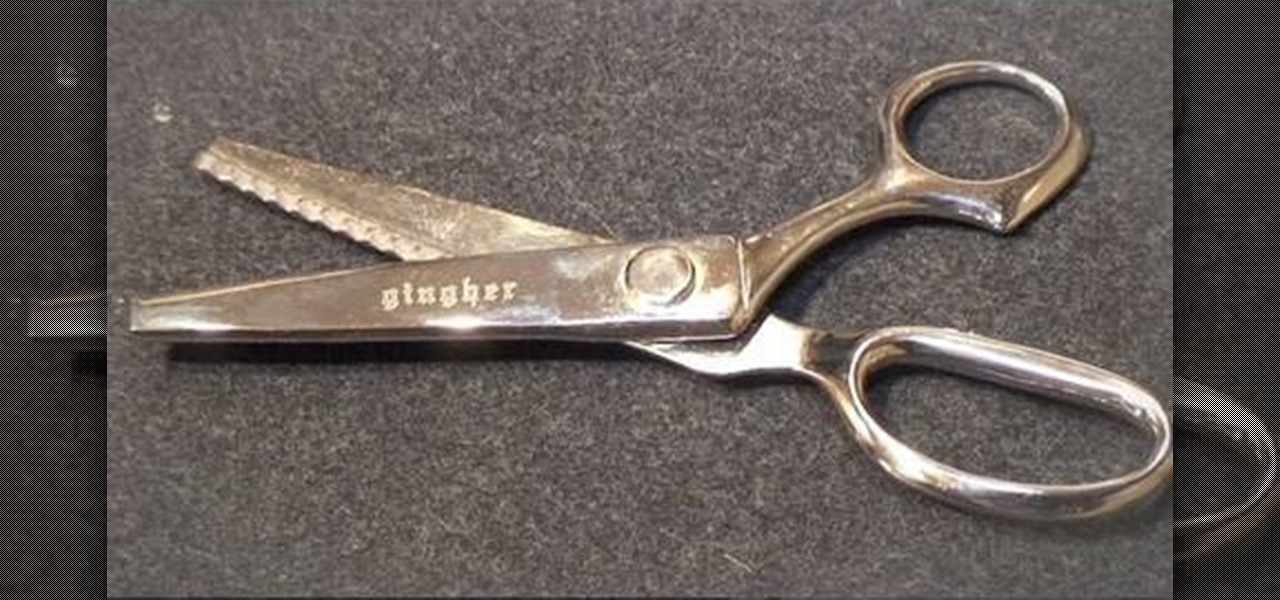
Thread banger, Kenneth King shows you how to save your good fabric scissors by using thread snips, a simple but important tool you must always have in your sewing workshop. Thread snips are small pairs of scissors that are specifically used for trimming off any excess thread in your material. Kenneth explains that using fabric scissors to trim these excess threads eventually causes them to wear dull spots. Always keep your thread snips handy and do all your thread trimming at the machine.
Ana Maria, an art student and origami expert, delicately explains and exhibits how to fold an origami cicada. The only material required is a perfectly square piece of paper, which is also known as origami paper. There are only seven easy steps or folds to create the paper-crafted bug; all of which are shown in plain detail by the artist. Every fold has another fold or edge to use as a guideline, so this simple creation should result in being very neatly accomplished.
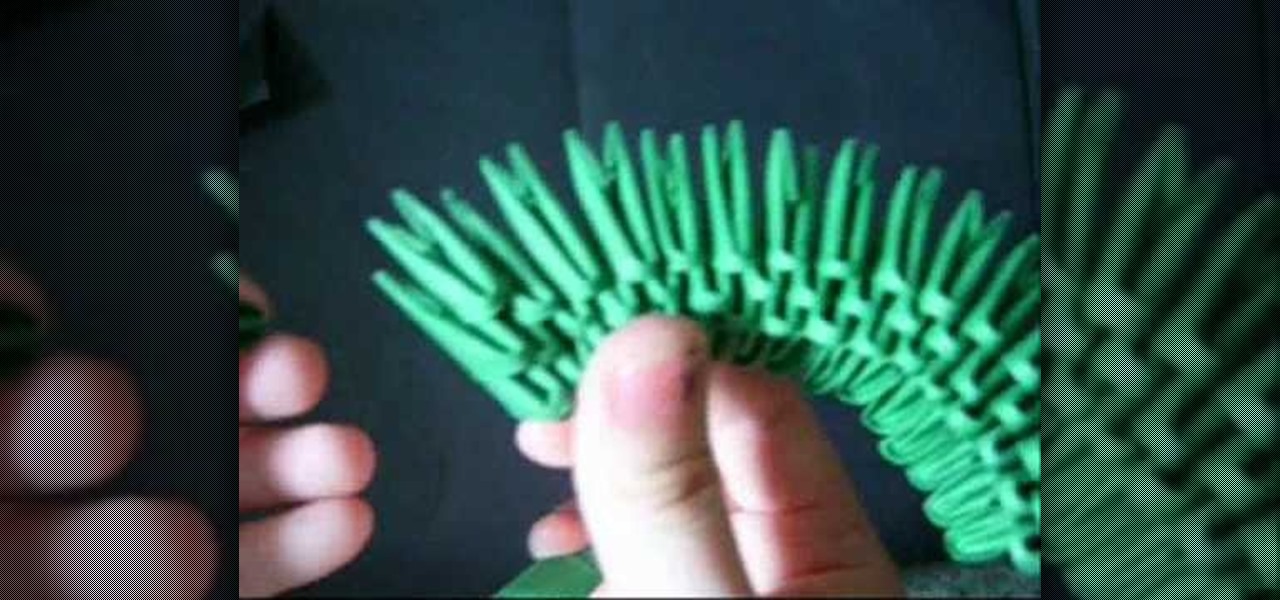
Origami is one of the oldest art forms. The uniqueness of this art is that it is made with only a single substance, which is paper. Paper is very common and cheap material. This video describes how to make a slice of 3D origami watermelon using paper of green, white and red colors. This can be used as a show piece with other fruits in a fruit basket. This is also a great gift idea. Make a 3D watermelon origami fruit basket to adorn your dining table.
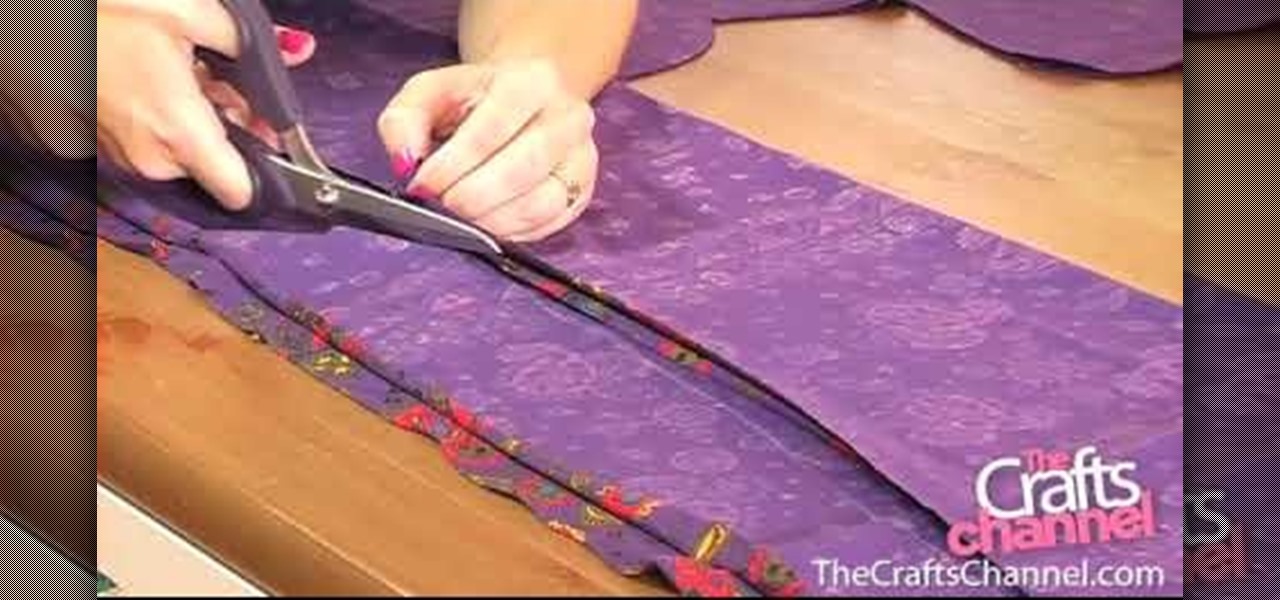
Pinking shears are scissors with an blade that is spiked instead of straight across like a regular pair. Pinking sheers are used to finish off fabric that does not necessarily need a strong hem. They can be used for any type of material that will not unravel - such as silk or charmeuse. This tutorial from Threadbanger will show you how to finish off your fabric by pinking, which is actually incredibly simple to do.
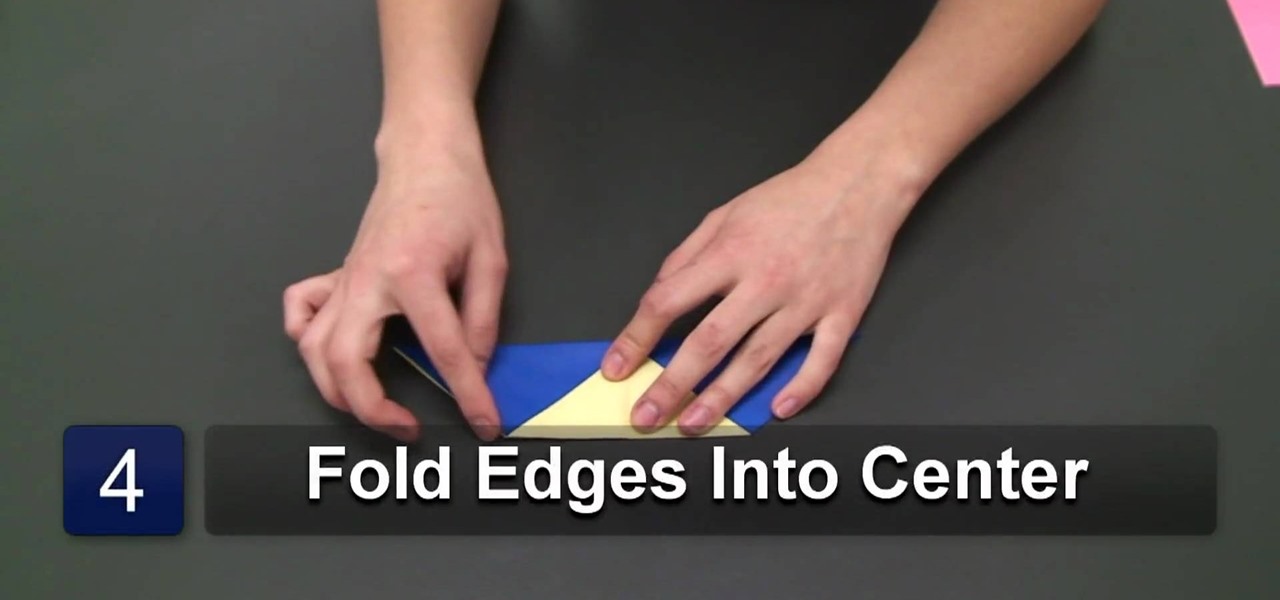
1: Chose a stretchy fabric & fold in half, so that the right side of the patterns are together. 2: Lay dress on top of fabric & trace the dress with dressmakers chalk, allowing for a 1.5 cm seam allowance (except for the bottom. allow 5 cm).
Check out this how to tutorial to learn how to make cordage from plant fibers. Don't forget that the plant, dogvane, is ideal cordage material.
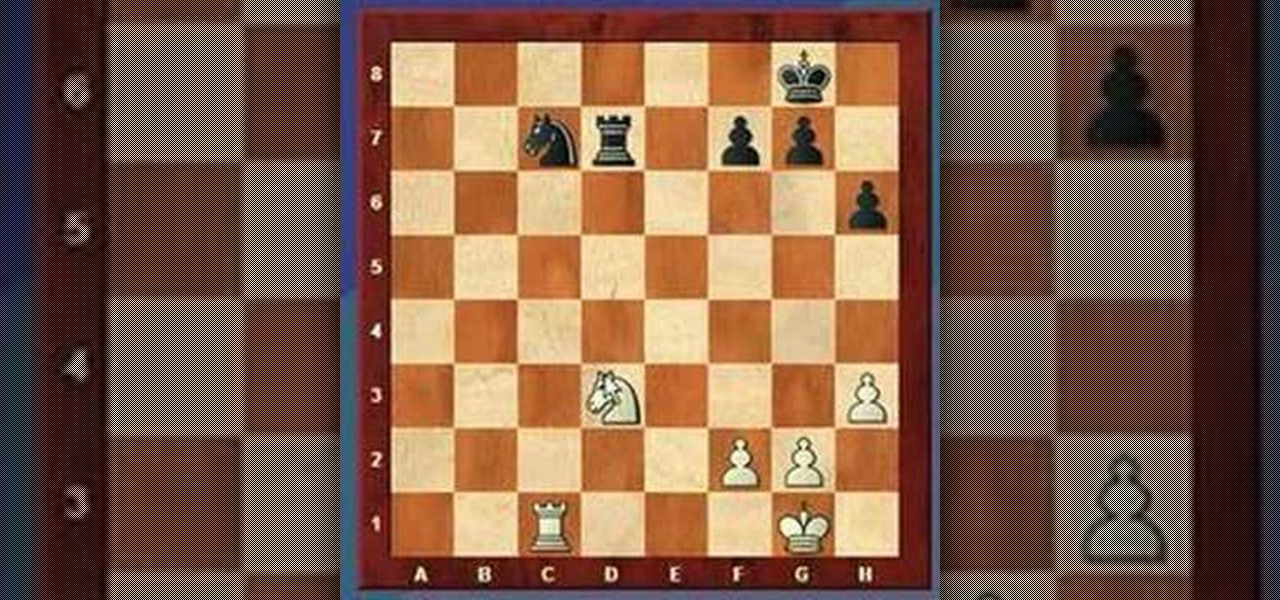
Ever here of the "overworked" defender" chess move? Of course you have, but that doesn't mean you know how to pull it off. See how to do it, right here. A chess piece is overworked when it has more than one defensive job (guarding pieces or squares) to do. Typically, the overworked piece is exploited by capturing one of the pieces it's defending or occupying a square it's defending. This forces it to leave one of its defensive jobs usually resulting in material loss or checkmate.
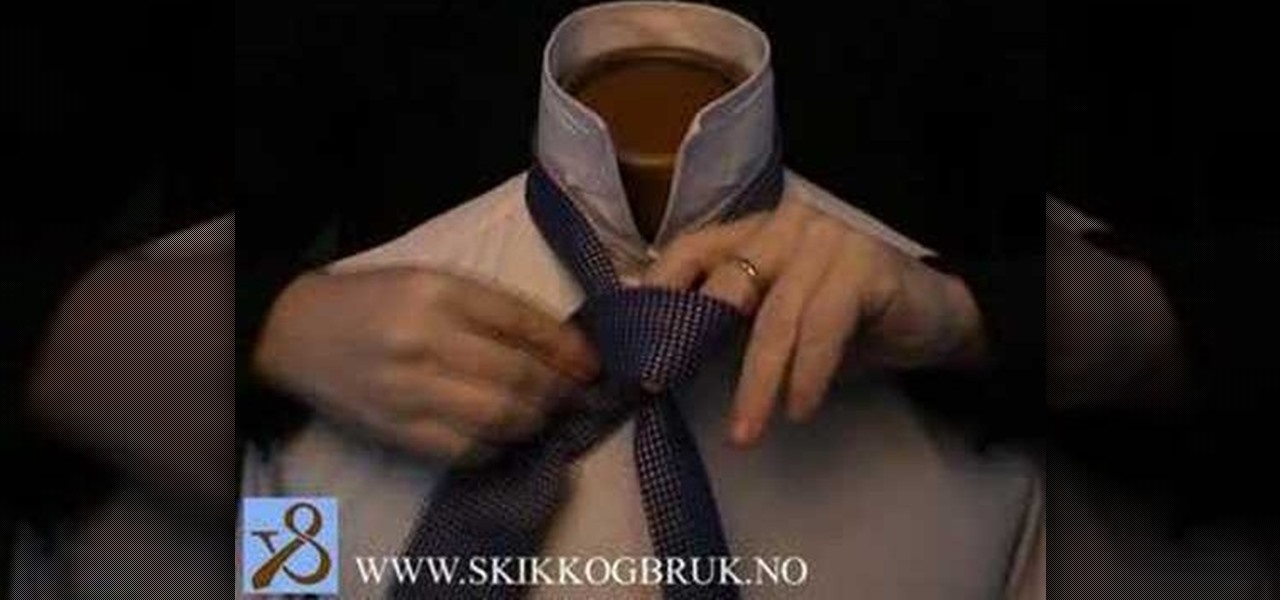
The Windsor knot, also (wrongly) known as the "Double-Windsor" (a non-existent enormous 16-move knot), is the most well known knot in the world. The Windsor is a large, symmetrical, self-releasing triangular knot. The tie was named by Americans in the 1920-30's after the Duke of Windsor. The Duke was known for his fondness of large triangular tie knots, but didn't in fact invent this particular knot. His secret was a specially tailored tie with an extra thickness of material.
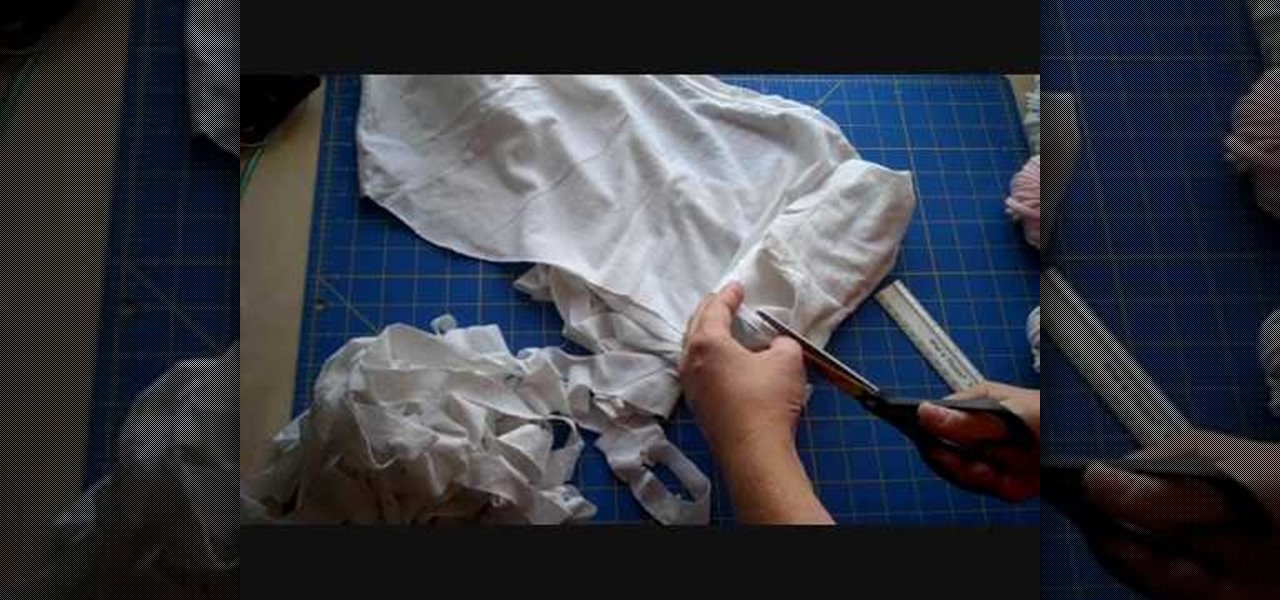
Of two old t shirts, one is taken and marked from the collar to under the armpit on all four sides of the t shirt. The marked lines are cut along. The shirt is tried on and pinched and pinned under armpit until the right fit and marked with chalk. Both sides of the shirt is cut off and along the chalk line is pinned. A straight edge and chalk is used to make a line from the pin to the bottom edge of the shirt on both sides.Both side of chalk lines are pinned down. The bottom is made even with...
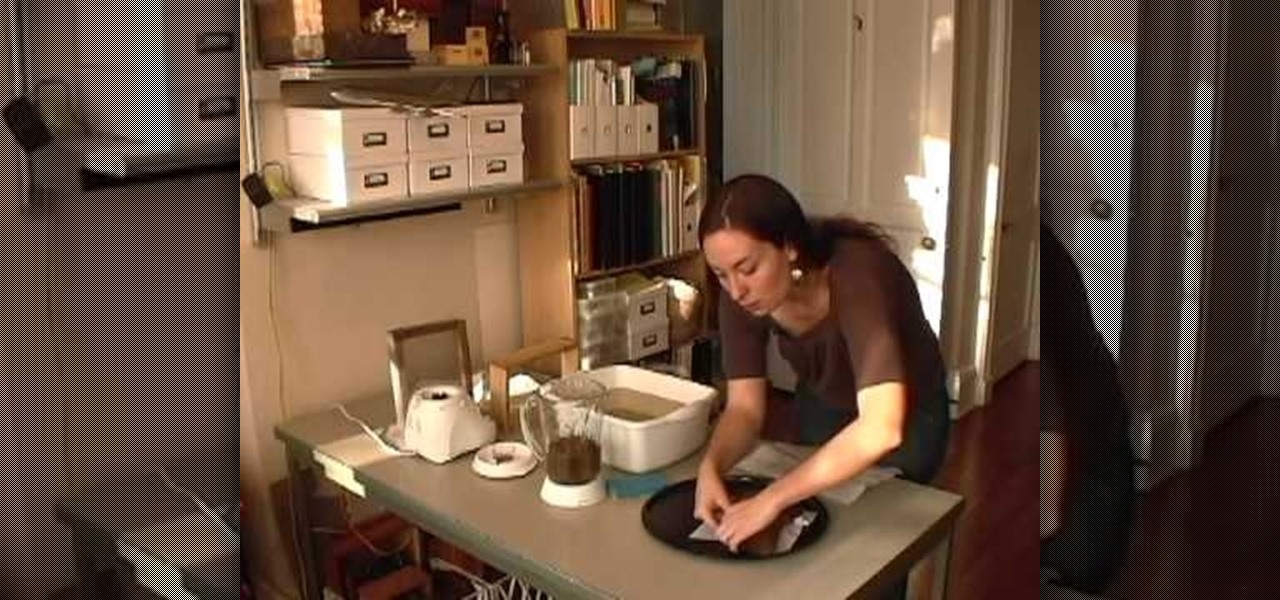
In this video, Liz Grotyohann demonstrates how to make decorative bowls from recycled paper. The materials required for the purpose a bowl shaped mold, a blender, a basin of water, a tray, a paper making tool, a sponge, some cloth and any kind of household waste paper like paper bags or junk mail. Liz prefers to use compressed packaging material and lines the bowls with old maps. She wets the map and covers the bowl with it. Pieces of brown paper are put in a blender with water and blended to...
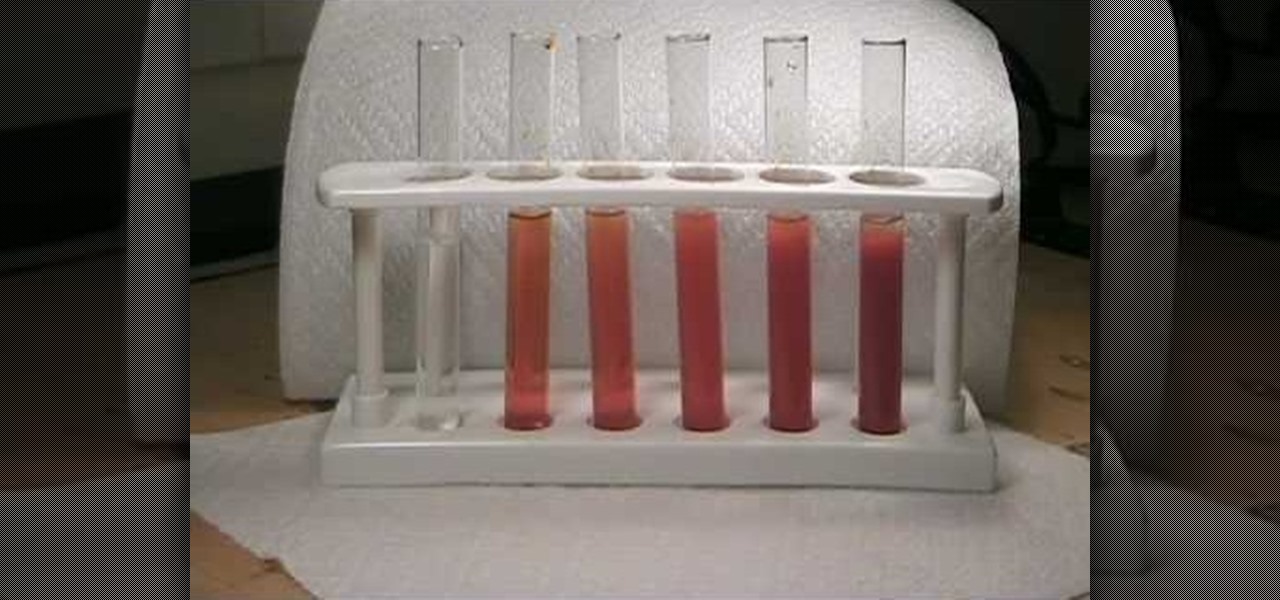
This video shows you an alternative procedure to bismuth subnitrate, using Pepto-Bismol tablets. You'll learn how to test for alkaloids, similar to a toxicology report. Put on your goggles, for this great home science experiment.
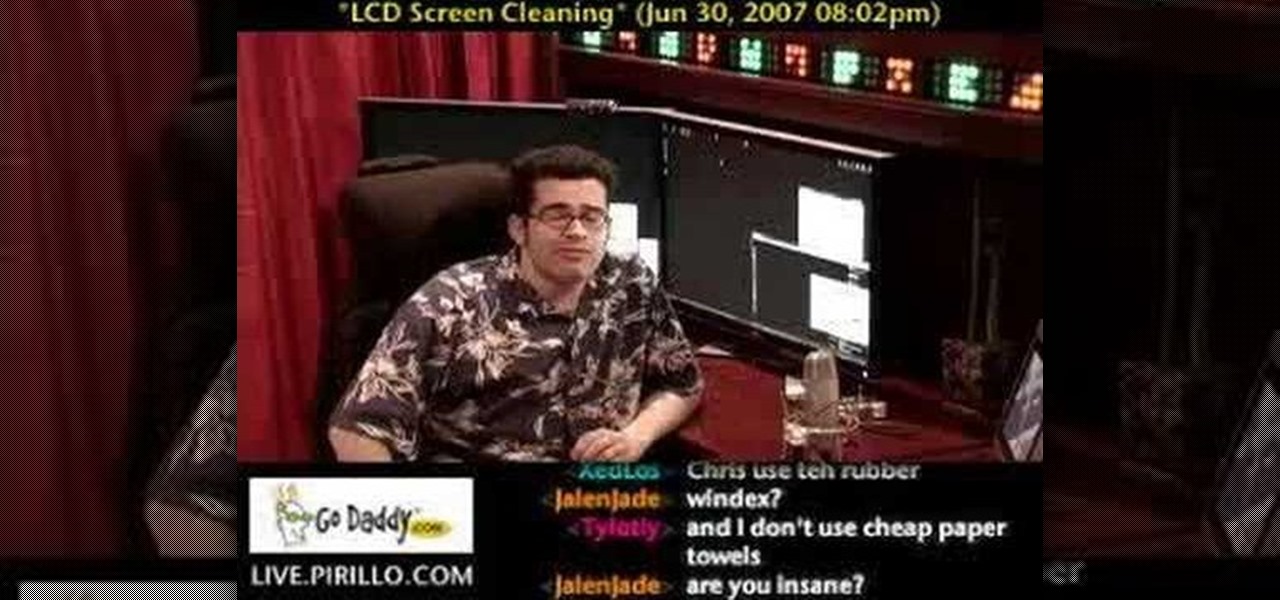
There are a variety of substances that you can use to clean your LCD screen. The one thing you don't want to use is anything that has alcohol in it. Alcohol will damage your LCD. Any LCD cleaning liquid will work to safely clean your LCD. It is also good to use a microfiber cloth also so that they don't put any scratches in the screen. You should never use napkins, paper towels, or Kleenex. The primary ingredient in most LCD cleaners is water. The key is that they remove the impurities and ch...
This video tutorial demonstrates tips for how to organize your home office when you are visually impaired. Here a rehabilitation specialist is helping a visually impaired person. The person who is visually impaired should know what is visually important to him/her. Mostly these people obviously need to know where every thing is because they don’t have their eyes to depend anymore. Here visually impaired person is 66 year old Deanne Jackson. She has wet macular degeneration. In order to set up...
In this software tutorial you will learn how to create an island terrain in Unity 3D game engine. PART 1 covers creating a new project and exploring the interface.
Watch this knitting instructional video on spacing and marking buttonholes for knitting projects. This knitting demonstration uses the swatch of a right sweater front to show an easy way to mark the placement of buttonholes on your knitted material. Lily Chin attributes the method to Carol Anderson of Cottage Creations. You wil be working the button bands from the right side, from the bottom up, so you'll be marking the placement of the bottom of each buttonhole. If this was a boy's or man's ...
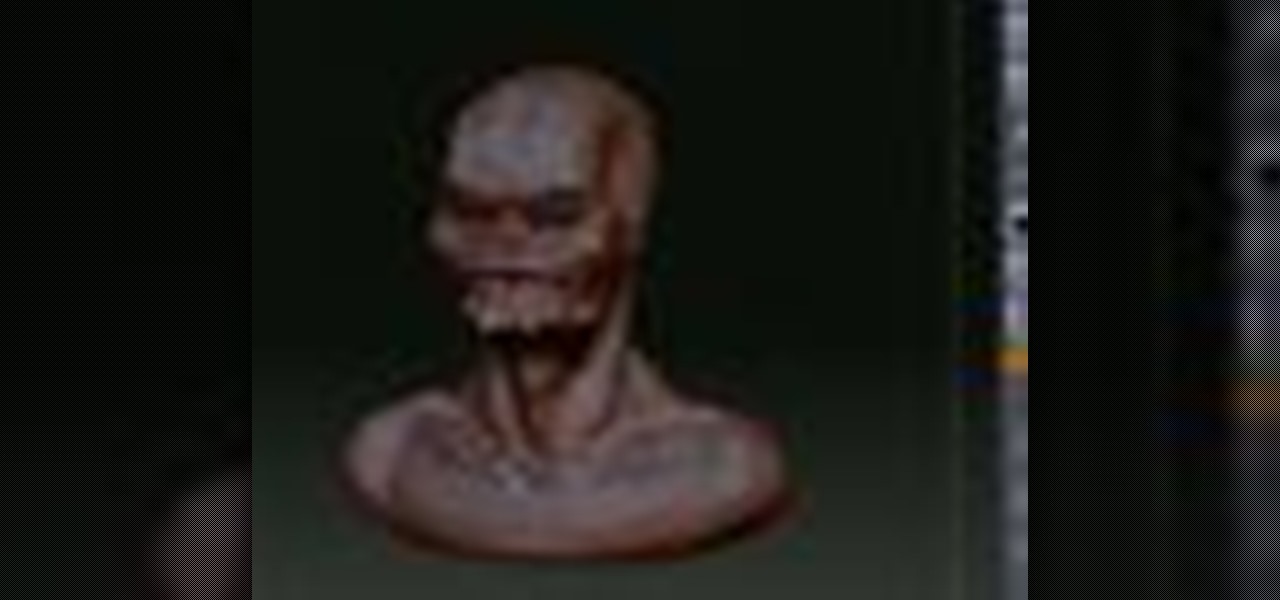
This 5 part tutorial goes through the right steps to use when sculpting a creature or character in Zbrush. If you do things in the right order, it will be easier and create a better result. First, establish a workable base mesh, then make your bust, then part three is to create realistic eyes, part four covers choosing a base material to start painting on and lastly, creating the teeth and finishing up.