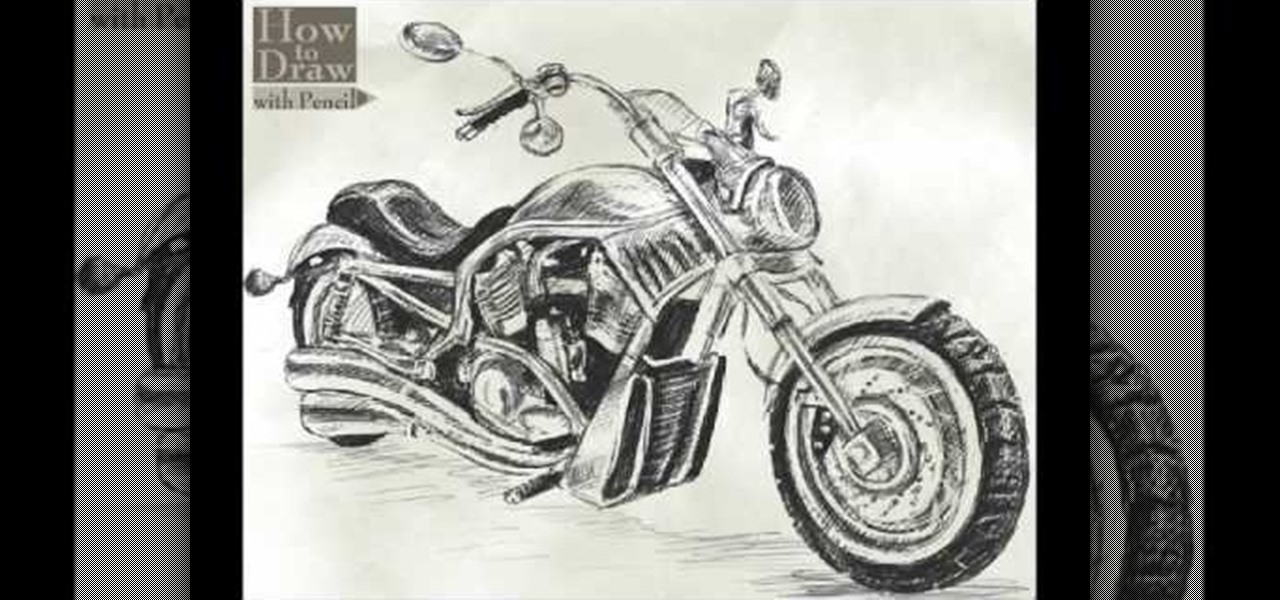
In this video, we learn how to draw a Harley-Davidson V-ROD. First, draw the outline of the vehicle using a light pencil. After this, start to add in the details of the wheel and front of the motorcycle. From here, add in shading and additional details to make it look more realistic. Make sure you draw on the small details of the motorcycle because this will make all the difference. Shade in additional details on the drawing and then erase any lines that you don't need. Use the eraser to crea...

In this video we learn how to draw a KTM X-BOW "ROC" car. Start out drawing the outline of the car, adding in the details for all the areas. After this, shade in around the tires and on the hood, back, front, and sides of the car as well. Then, add in dark shading to the areas that you originally shaded. Fill them in completely so it's black, then use the eraser to crease a highlight on the different areas of the car. When finished with adding details, you will have a great drawing of a uniqu...
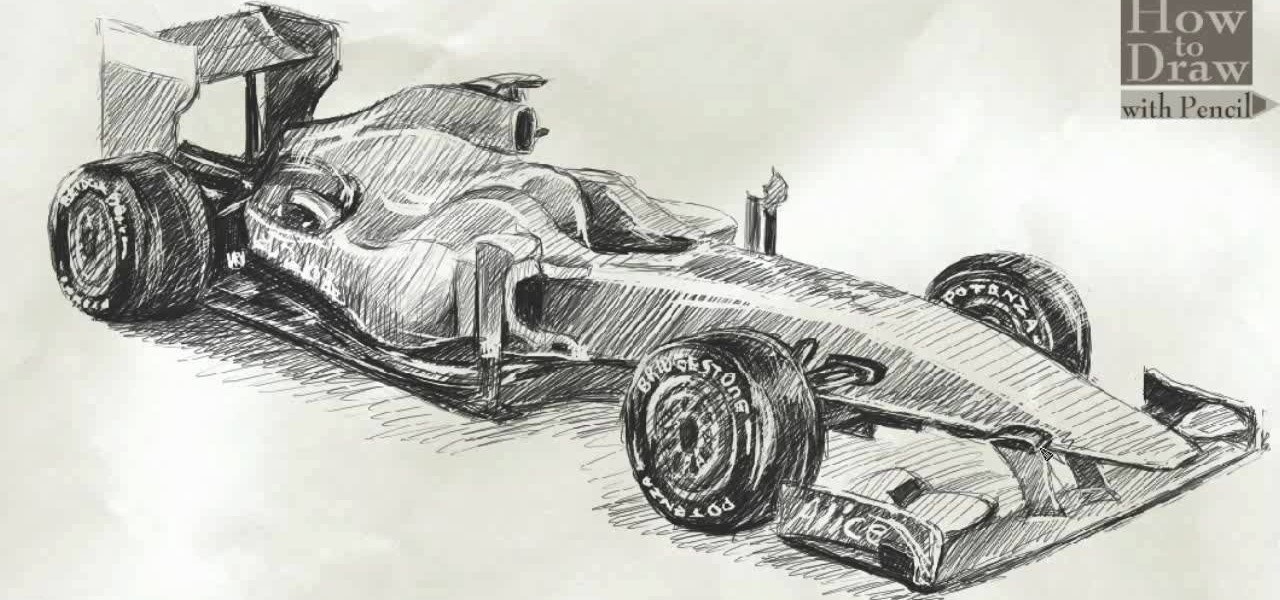
In this video, we learn how to draw a Formula 1 Ferrari F60. Start out by drawing of the car, then start to shade it in. Shade in the wheels and then the rest of the vehicle with a lighter pencil. After this, use the eraser to erase different parts of the car to make it look more realistic. Draw in darker lines with the pencil to make it more shaded. Then, add in shading on the bottom of the car and continue to darken the care until it's completely filled in. Add in writing on the wheels and ...
In this tutorial, we learn how to draw Husky. First, you will start by drawing the dorsal fin of the character. After this, draw the rest of the body including the lower and upper body. Also make sure you draw the head. Now, draw the arms crossing, then go over the drawing with a harder pressed pencil. Draw in the details of the face, then start drawing in the details of the fins and the upper body. Once the details are in, draw the hair and add in some scales along the entire body. Once fini...

In this tutorial, we learn how to draw transparent objects. Start out using light pencil markings, and draw the basic shape of the bowl. After you have the round top and have make it three dimensional, add shading to the bottom circle in the bowl so that you can see the bottom of the inside. After this, add shading to the side of the bowl to give it a realistic feel like it's sitting on a table. Next, use your eraser to remove some of the shading, then fill in darker pencil marks onto these s...
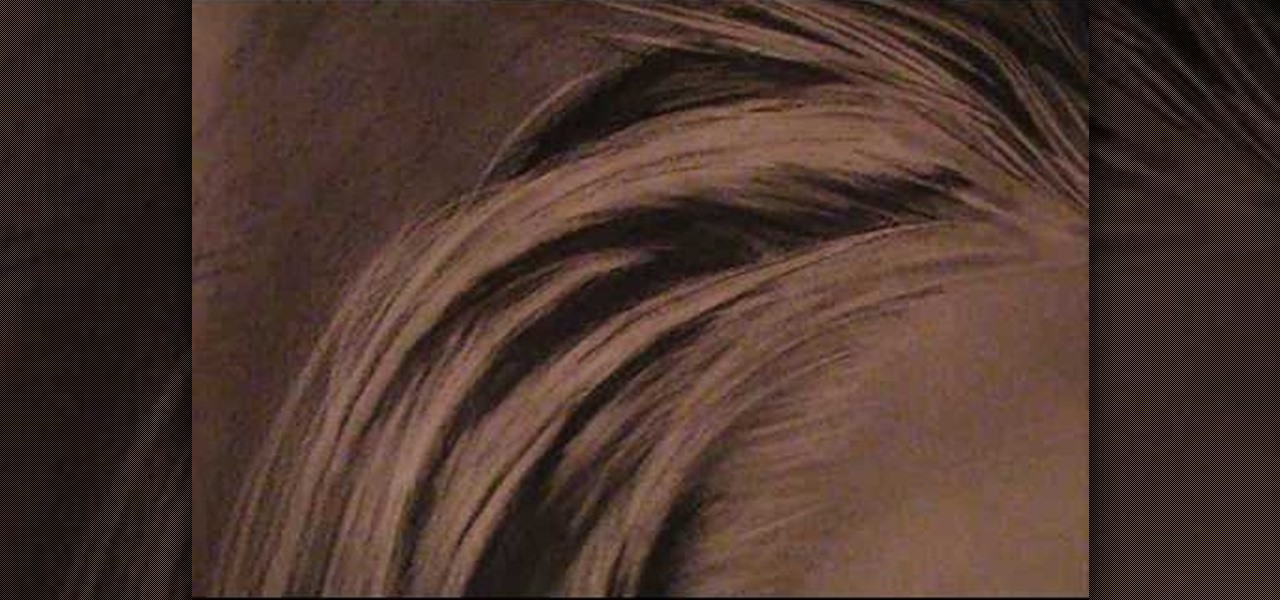
In this tutorial, we learn how to draw realistic hair. Start out with a rough outline and look where the hair is clustered together. Draw the clustered area first. Then, cross hatch over the entire surface of the area and blend in. Add hair to the forehead area, then use a darker pencil to form the shape of the hair. After you do the clusters, start to draw the hair that is separated from the rest. Keep looking at the picture you are drawing, then use an eraser to change the drawing to match ...

In order to make and use a stencil, you will need the following: pencil, blue painter's tape, Dura Lar film, Self-healing mat, spray adhesive, old canvas board, airbrush, compressed air, airbrush paint, utility knife, paper, eraser, and an idea for a stencil.
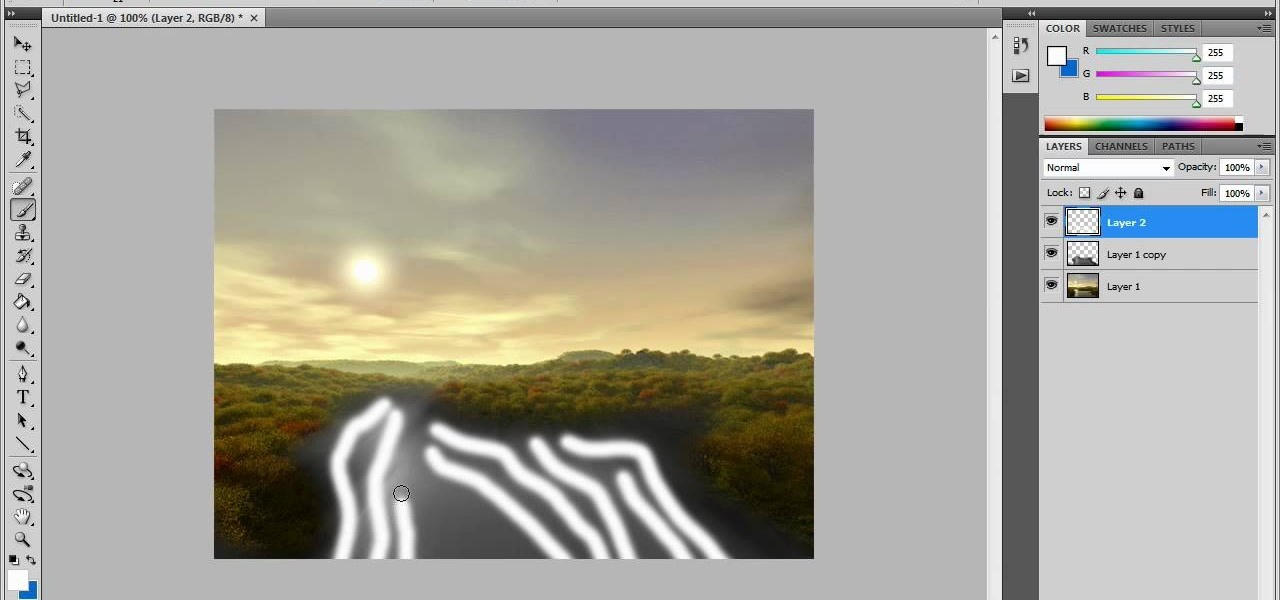
In this video tutorial, viewers learn how to create fog using Adobe Photoshop. Begin by importing the image into the program and duplicate the image. Now go to Filter, select Blur and select Radial Blur. Set the amount to 100, Blur Method to Zoom and Quality to Best. Now select the rectangular marking tool and select the sky. Then open the Hue/Saturation menu and set the Saturation to -100. Use the eraser tool to remove the gray from the edges. Now use the paint tool and paint white streaks o...
In this video, we learn how to get white teeth using PhotoShop. Before you begin, open up PhotoShop and open the picture you want to change. Make sure you zoom in on the teeth so you have a good view and it's easier to paint. First, select the dodge tool, the choose midtones. Now, select the brush that is "round-soft" and brush the brush over the teeth that you want whitened. If you make any mistakes, you can use the eraser tool to clean up what you changed. Once you are done, save your photo...
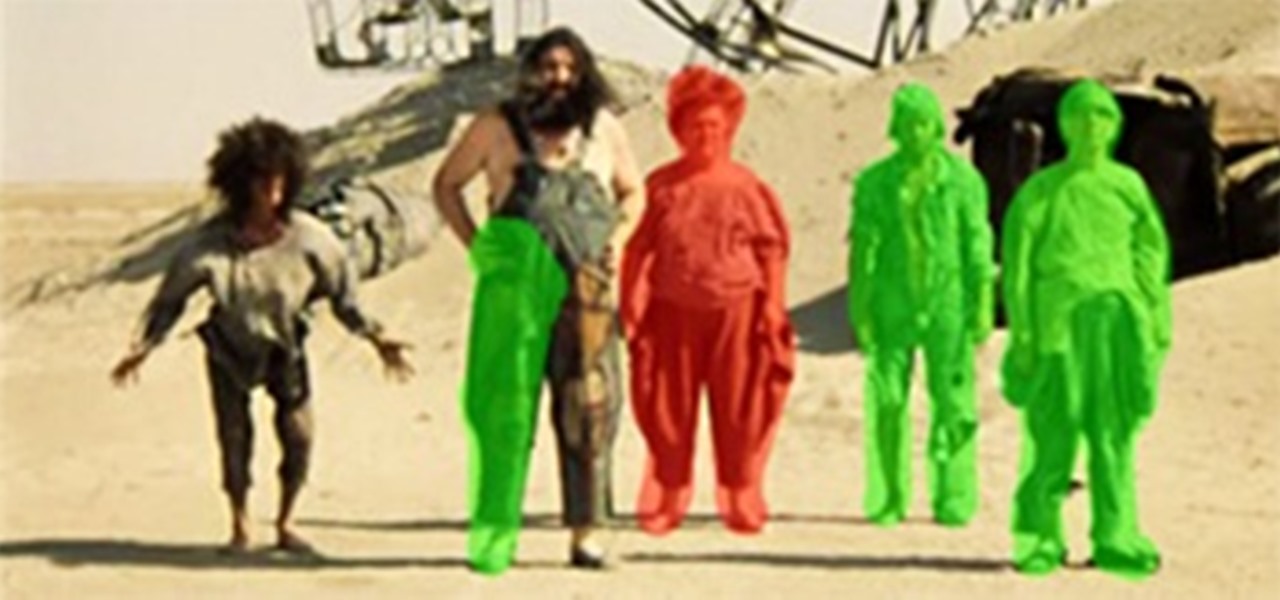
In this video, we learn how to turn a photo partially black and white using PhotoShop. First, open up the program and open up the picture you'd like to change. Now, click with the right key above the layer and choose duplicate "layer". Now click above the eye icon to hide the layer, then select the layer. Now you can go to image, adjustments, then black and white. Now make the second layer visible and select the eraser tool. Wave your brush over everything but what you want to keep colorful. ...
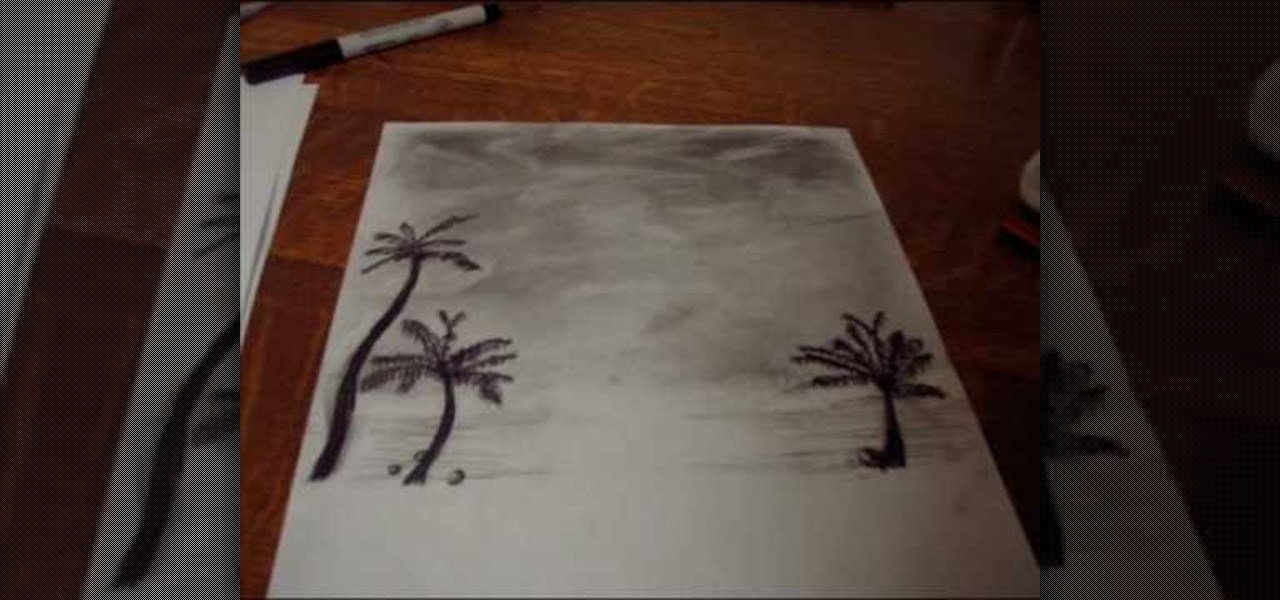
In this how-to video, you will learn how to create a drawing of a palm tree setting. First, you will need two pieces of paper, charcoal, and cotton. Use the one piece of paper to add charcoal to your cotton. Next, cover the piece of paper you are using for the drawing with a wash of charcoal. Next, use an eraser to create images of clouds. Next, draw the palm tree with the charcoal on the lower half of the paper. Add as many palm trees as you feel necessary. Finish the drawing by doing the fi...
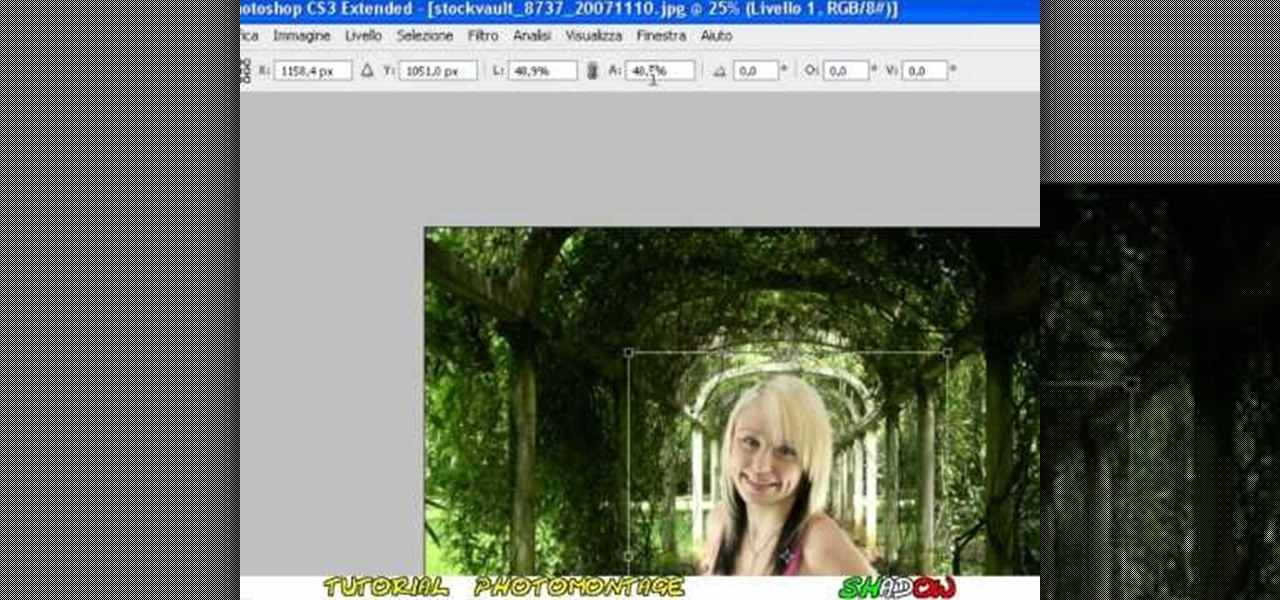
In this video tutorial, viewers learn how to create a photo-montage using Adobe Photoshop. Begin by inserting the images into the program. Then double-click on the montage image to unlock it and select the eraser tool to remove the background. Once the background is removed, select the move tool and move the montage image to the background. To modify the dimensions, go to Edit and select Free Transformation. Hold the Shift key to maintain the proportions. This video will benefit those viewers...
This video is about drawing a horror anime.The materials required for this are a large sheet of paper,a pencil and an eraser.To create the anime, you need to fist draw the skeleton, then do the eyes followed by the eye brows. You should add more details to the face as this would help in creating the nose.Switch over to the mouth,then the ears and the hair.After you are finished with the head,erase the inner circle and start drawing the neck.Then you have to draw the shoulders and the collar b...
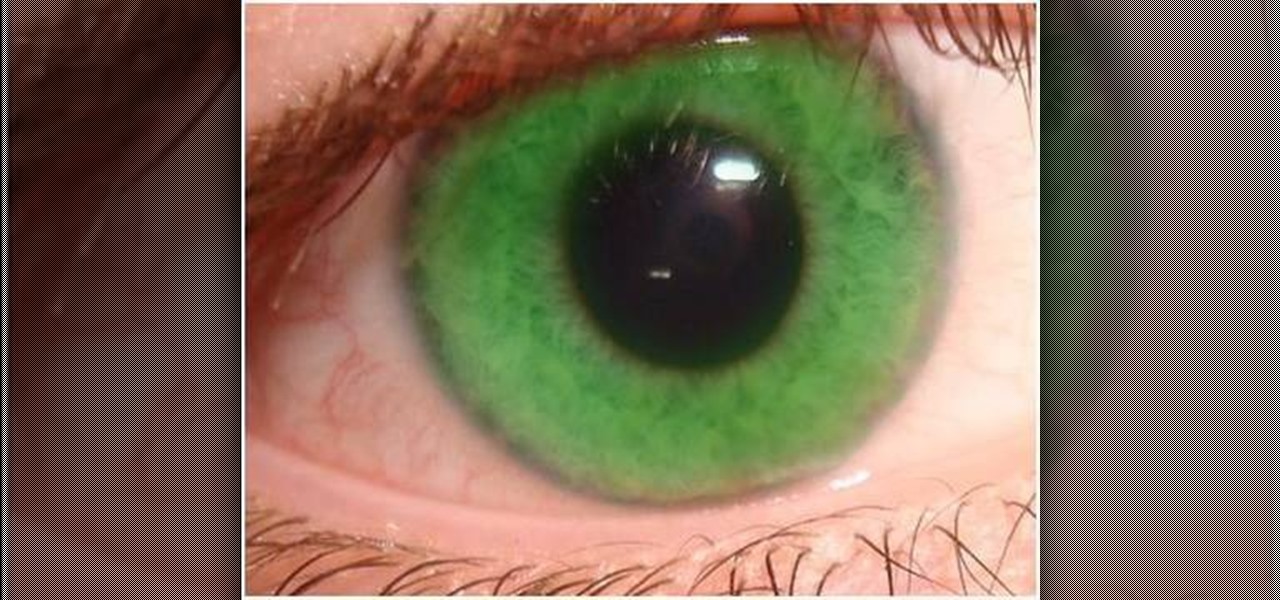
Stevmay09 will be teaching you how to digitally modify your eye color for free using GIMP. First you need to zoom in on the eyeball then click on the free select tool. Then start on the corner of the eye and make your way around the entire eye. Once you have the area around the eye selected you need to create a new layer. Make sure its filled with transparency then select the color you would like the eye to be. Then get the paint brush tool and select the icon shown then increase the scale an...
This video gives instructions on how to make a stencil from a manila folder and a number of additional supplies. Supplies required aside from the manila folder include an X-acto knife, a pencil, an eraser, and a cutting board, the cutting board and manila folder are recommended. First step to producing the stencil is to draw an image to serve as the stencil pattern. After making the design, cuts must be placed in the design known as 'Bridges', bridges are links in the design which holds the p...
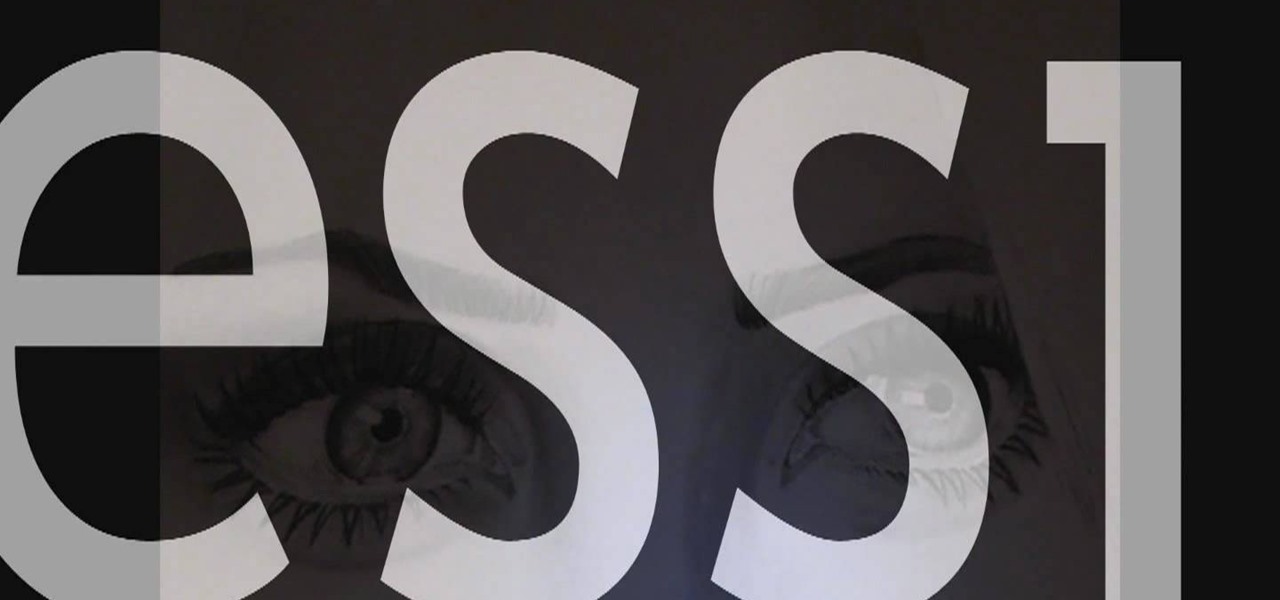
An unknown artist demonstrates step by step how to draw a realistic eye in this video. She first begins with lightly drawing the eyes shape, starting with the upper lid and gradually beginning to darken the line once she is satisfied with the shape an contour. She then draws the upper lid and continues on to the iris, pupil, and cornea. Then she works on shading the eye, drawing the lashes, and then using the eraser to remove any stray lines and whiten certain areas. Then, she begins drawing ...
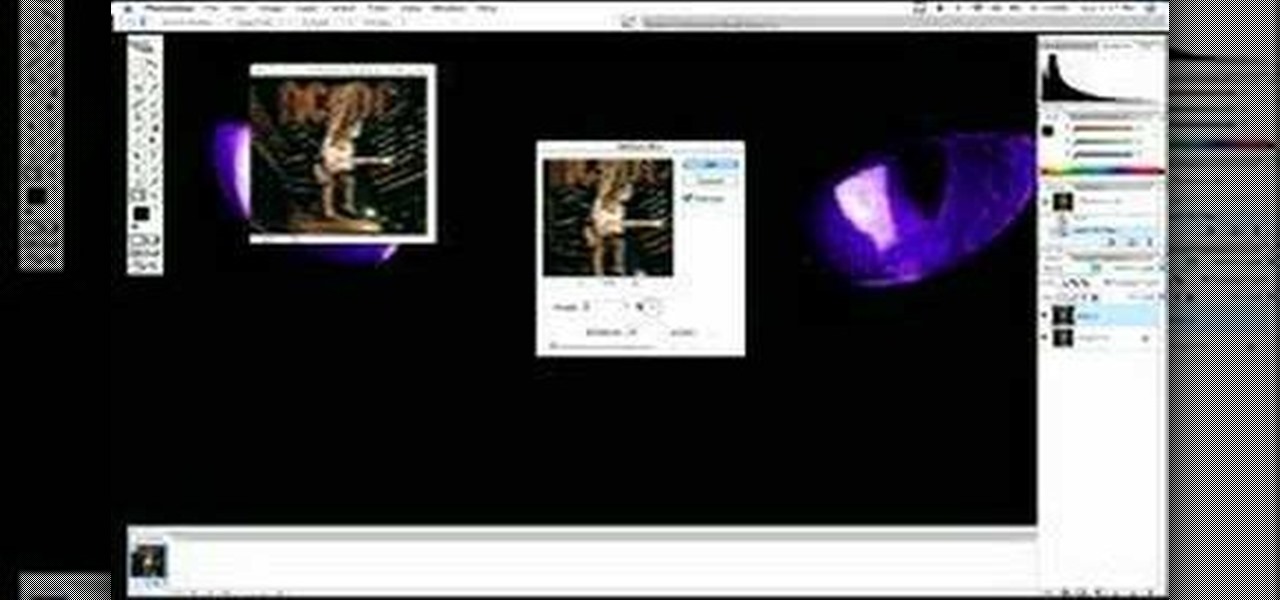
Adding motion to graphics using Photoshop can create an exciting and dynamic effects. Select a picture you want to add motion to. First, duplicate the background layer. Then under Filters, select blur, and then select Motion Blur. Then you set the angle of the Motion Blur. You can select any direction and also set the intensity of the blur by setting the distance setting. Then you will need select the eraser tool and select under Options select the brush. Chose a soft edge brush and erase ove...
This is a DrawingNow.com video tutorial of how to draw Kenshin from the "Samurai X" anime series ("Rurouni Kenshin" is the title in Japan). The tutorial begins with a blank page and demonstrates, stroke-by-stroke, how to sketch out the basic structure, and then builds on this to produce the finished article. The drawing has been carried out using the tools available on DrawingNow.com's own drawing applet, but the same steps could be done in any drawing program which supports layers. The tutor...
SpongeBob Squarepants has been a popular cartoon character for some time, but how do you draw him? This speeded up film accompanied by rock music shows, you will know exactly how to draw the character from start to finish. There is no narrative as the film is really self-explanatory. All you need is a pencil, an eraser, and a piece of paper and probably lots of practice. It looks as though the presenter has drawn this many times. If you follow what he does to the letter you should be able to ...
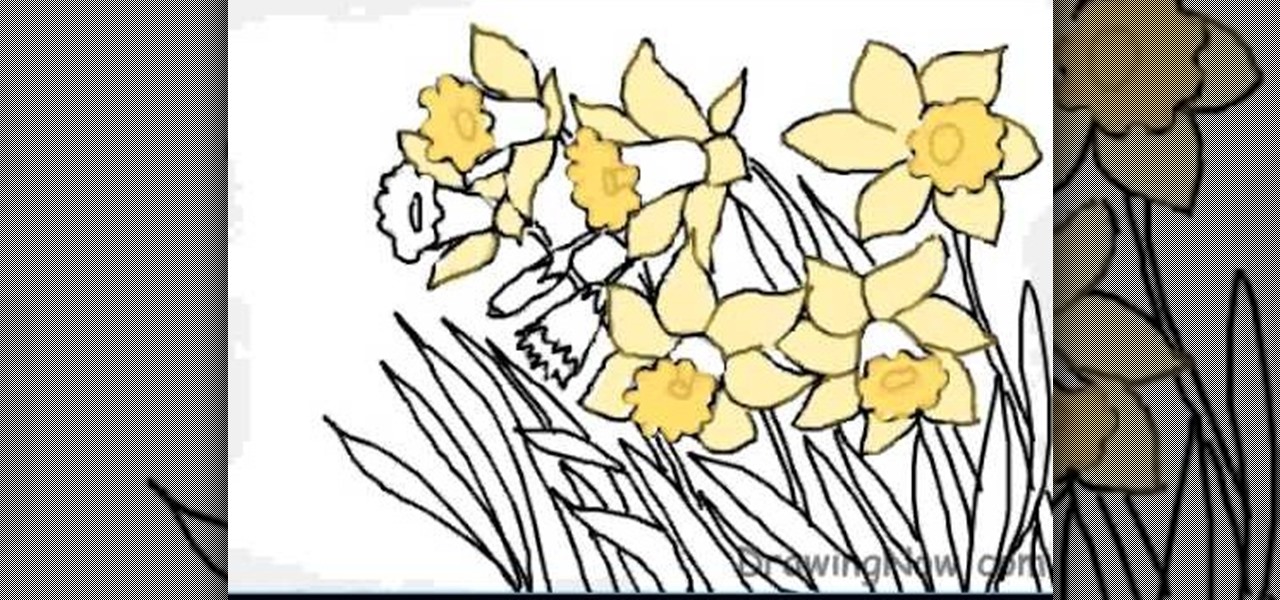
The first step is to draw the daffodil's outer parts carefully. The second step is to draw the circle shape for inner surface of flower.
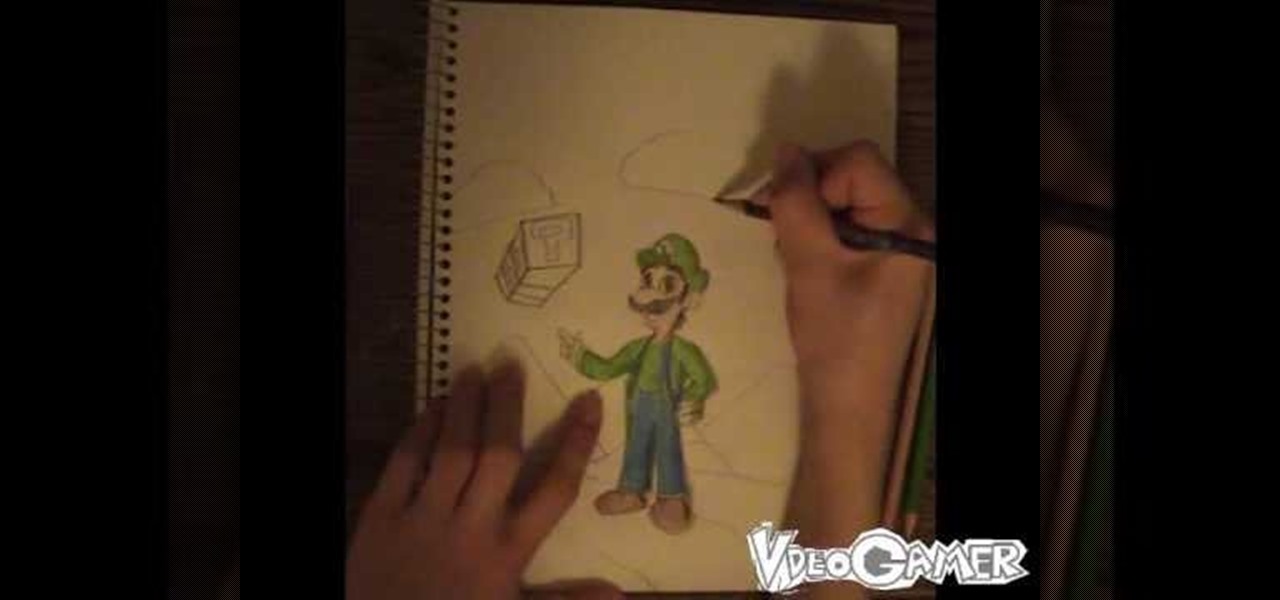
Wondering how to draw Luigi? Materials needed:
Go beyond the traditional 3D workflow to an immersive creative experience with the software Modo, created by Luxology. Modo is the next evolution of 3D modeling, painting and rendering for Mac and PC. Modo includes 3D sculpting tools, animation and network rendering, and advanced features such as n-gons and edge weighting.
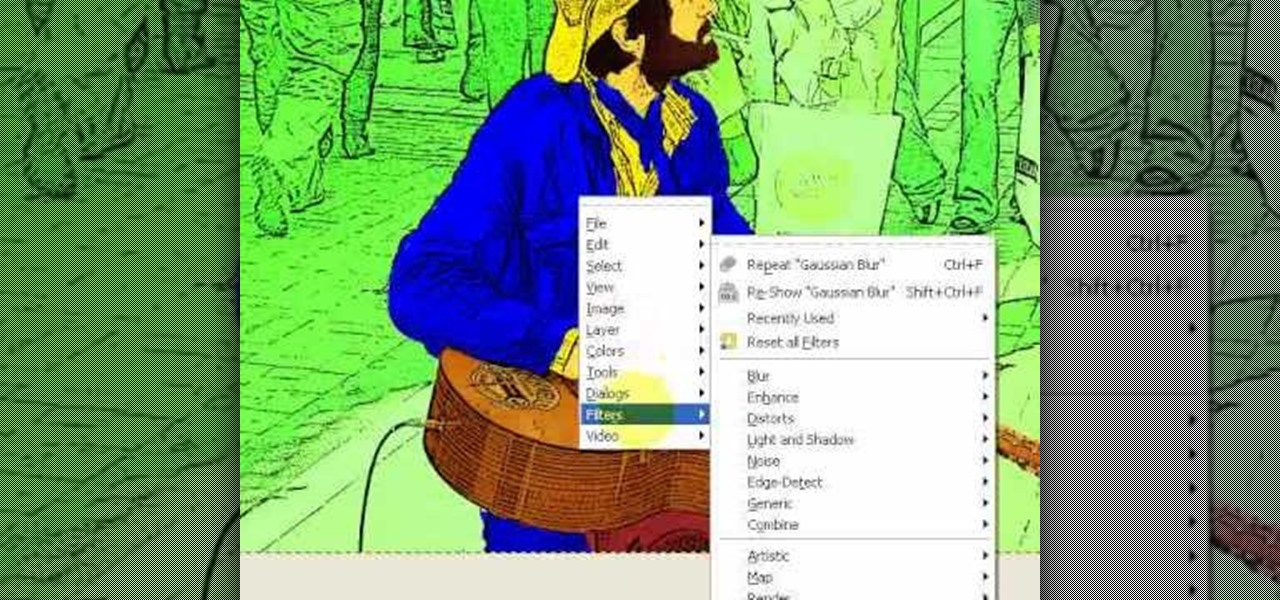
Learn how to produce Roy Lichenstein style Pop Art from your photographs using GIMP image editing software.
Watch to learn how to say the names of things that have to do with school, like books, paper airplanes, and soccer balls, in French.
Photobombing, the act of covert sabotage on a photographer and unsuspecting subject, can be a terror. This malicious and disingenuous art form has steadily grown since it first received significant coverage in 2009.
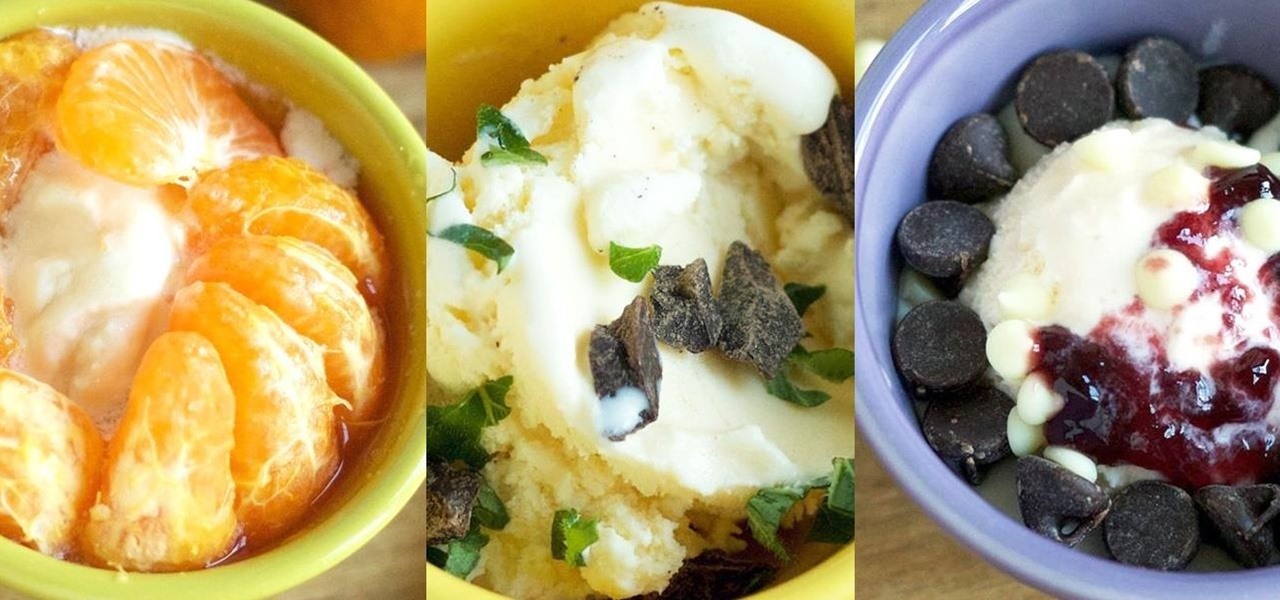
In this video, from happyauershow, we learn how to make some healthy snacks for kids. First, is a sweet Kid Kabob. You need a skewer, strawberry, pineapple, marshmallow, and Rice Krispies Treats. Simply make a pattern on the kabob however you'd like. You can use whatever fruit your children like best. The next snack is Kid Sushi. For this you will need Rice Krispies Treats and Fruit Roll-Ups. Roll up the Rice Krispies Treats in the Fruit Roll-Up, cut in sections, and you have the Sushi Rolls....
During our high school years, one of us (hint: her name starts with a B) worked at Cold Stone Creamery. She loved working there, and from this love emerged a fascination with adding creative ingredients to plain ol' vanilla ice cream.
The phenakistoscope is a predecessor of the flip book, but don’t worry: it’s easier to make than pronounce.
In this tutorial, we learn how to draw a vintage car. This car will take a lot of detail, so make sure you take your time with it. Start out by drawing the hood of the car, then work your way to the back of it. Once you have the basic outline of the car finished, add in the details! Don't forget the windshield, side mirrors, paint, wheels, tires, etc while drawing. To finish this up, start to shade with the pencil and then use the eraser to create a shined appearance as well. Add in colors if...
In this video we learn how to draw a nose using simple methods. Use a grid to start sketching out your drawing. Note the dark and light areas by outlining them on your paper. Then, crosshatch the first layer using whichever method works the best for you. Then, use a tissue to blend the pencil marks in with each other and create a lighter shade. Grab your darker pencil and mark on the darker areas of the nose, then start to shade in darker then before. To finish, use your pencil to add in the ...
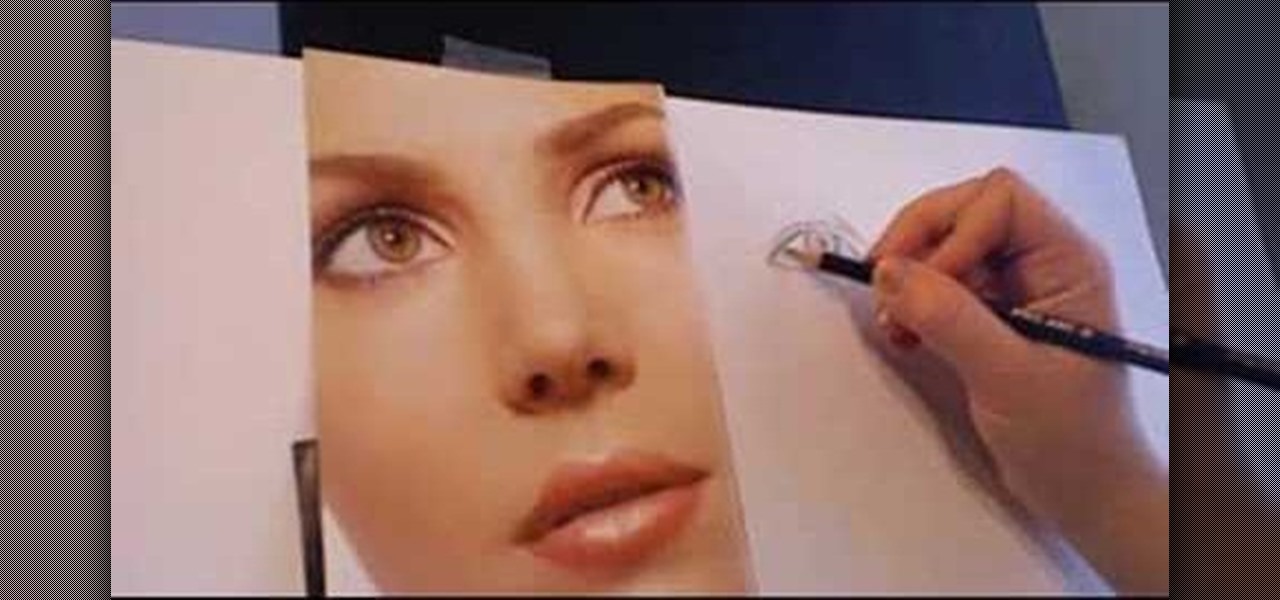
In this tutorial, we learn how to draw a realistic portrait. Using a pencil, you will first draw the out line of the face. After this, add in the details and bold lines to the eye. From here, you will add in the details and shading to the rest of the face. Use your eraser to create smooth lines and white lines to make the features look glossy. Draw in a white line on the bridge of the nose to make it look more realistic. Also make sure to add in lines that are on the face as well as hair that...
In this how to video, you will learn how to add tattoos to a body part using Adobe Photoshop. First, open both of the images in Photoshop. Next, copy and paste the tattoo image into the body image. From here, lower the opacity of the tattoo so that the white becomes invisible. Increase the opacity of the black area of the tattoo. Next, place the tattoo to where you want it to appear on the body. Once this is done, take the eraser tool and erase the areas where the tattoo is not overlapping th...
In this easy to follow video, the artist will walk you through her simple illustration of Hammer Bro, one of the infamous villains in the Mario Bros. video game series. She begins by breaking down the character's beak, head and helmet into basic shapes, (such as triangles and half circles) and then pencils in the detail. Finally ending with the shell and arms, she leaves you with an excellent depiction of the Hammer's character. Given that you have something to draw with and something to draw...
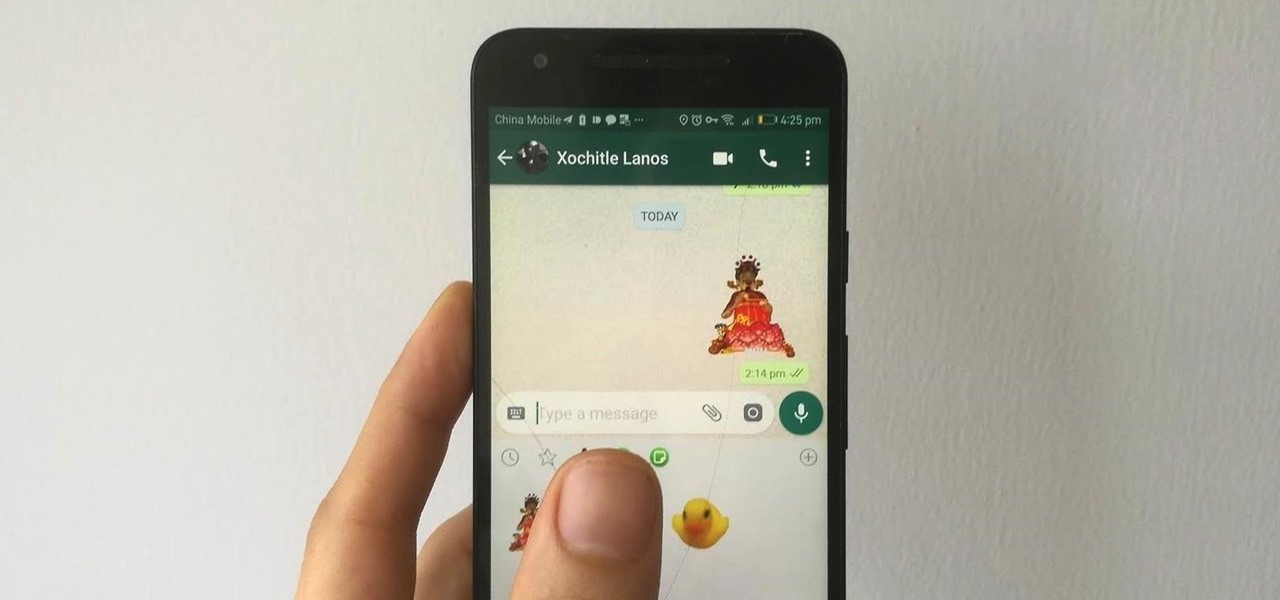
WhatsApp stickers can make your chat more fun. The stickers that come with WhatsApp are fine, but they're standard and accessible to everyone. What if you wanted to show off unique stickers that your friends haven't seen? To take things to the next level, you can create your own WhatsApp Stickers.
On Instagram, you can write text over any picture or video in your Story, but it may be hard to get your message across with a distracting background. Although there is a "Type" option for Stories, which allows you to write text over colorful gradient backgrounds, the selection is limited to just over twenty options, and there are no options for solid colored backgrounds or translucent overlays.
A partnership between augmented reality company Zappar and IoT services provider EVRYTHNG will bring AR experiences to consumers while supplying market data to brands.
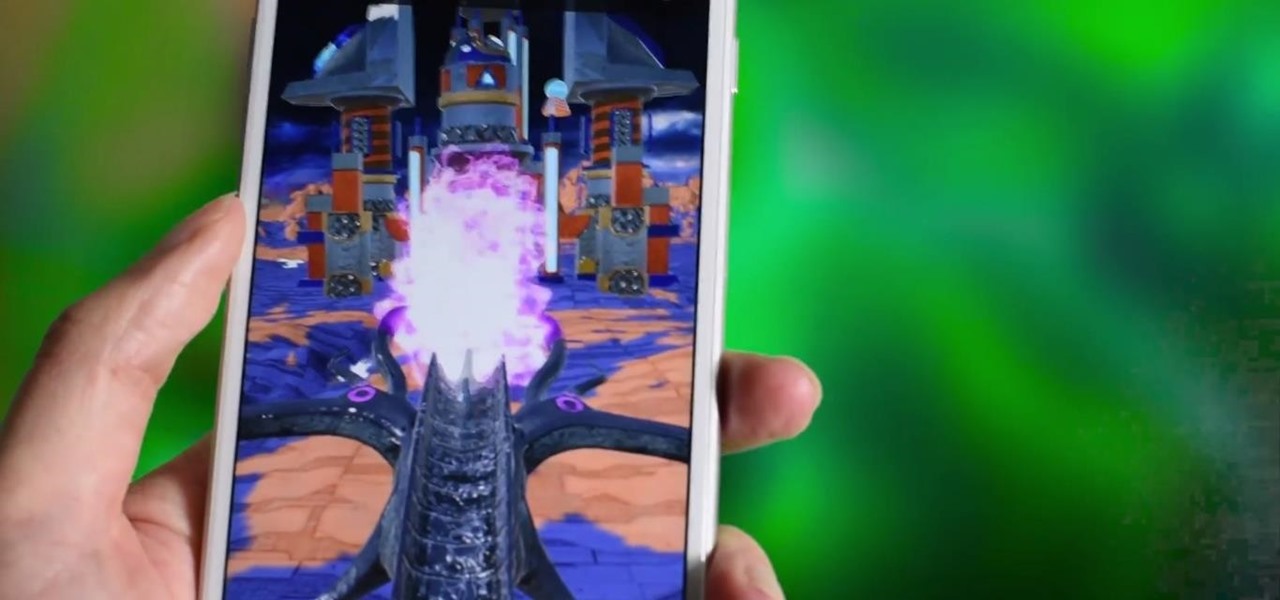
Universal Studios and Cinemark Theaters have enlisted mobile augmented reality game Seek to promote The Mummy, a reboot of the action-adventure film franchise starring summer movie mainstay Tom Cruise.
Kings Dominion, an amusement park located in Doswell, Virginia, just announced a mobile augmented reality game for park visitors. Gameplay in The Battle for Kings Dominion — available on May 19 for iOS and Android devices — follows the playbook designed by Niantic through Ingress and Pokémon GO.
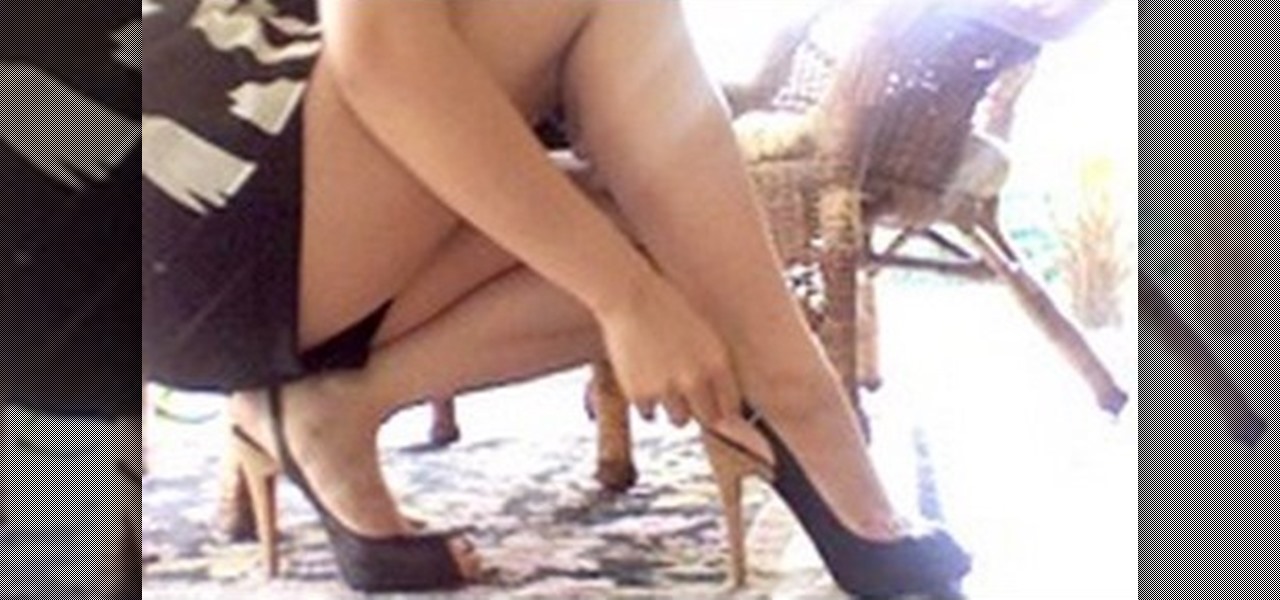
There are several different ways to go about stretching your shoes. This method uses water, a ziplock bag, and a freezer. Michelle Phan demonstrates how:
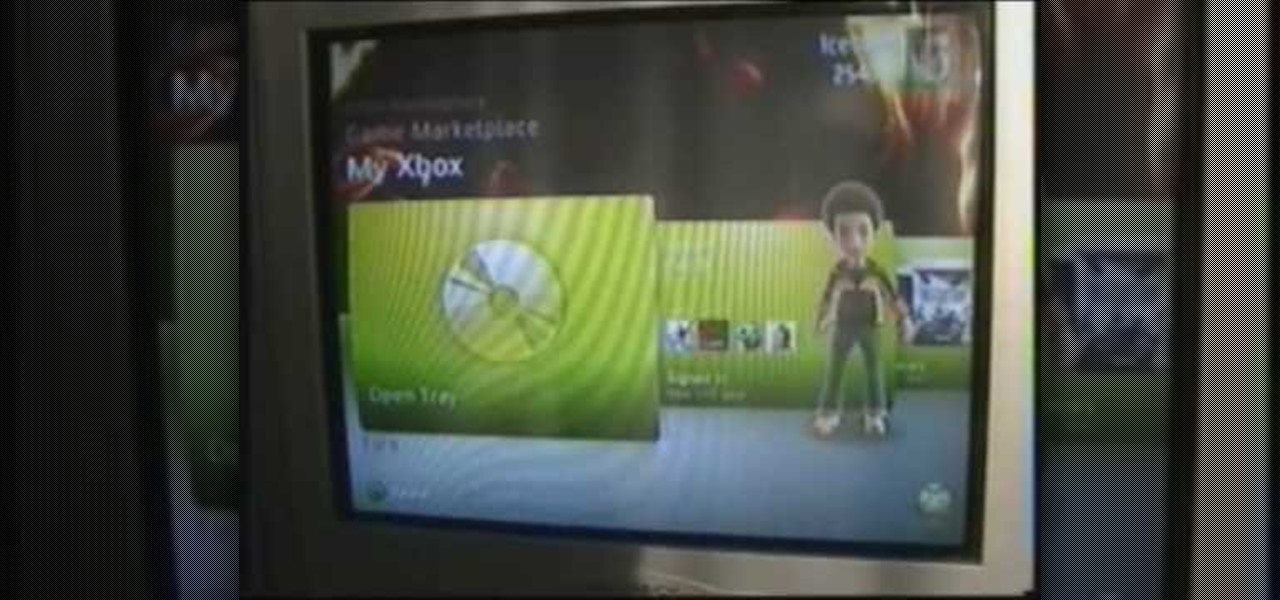
If you've accidentally jiggled your Xbox while a game was playing (or maybe your pet did), you might experience the Perfect ring scratches - or a laser burn. Ignore all the advice that tells you to use toothpaste, an eraser, or even crazier substances. All you need to do is go down to your local video game store or rental store (like Vintage Stock, GameStop, EB Games, or a similar place) and ask for a disk resurfacing. It's usually either cheap or free, and definitely worth it!