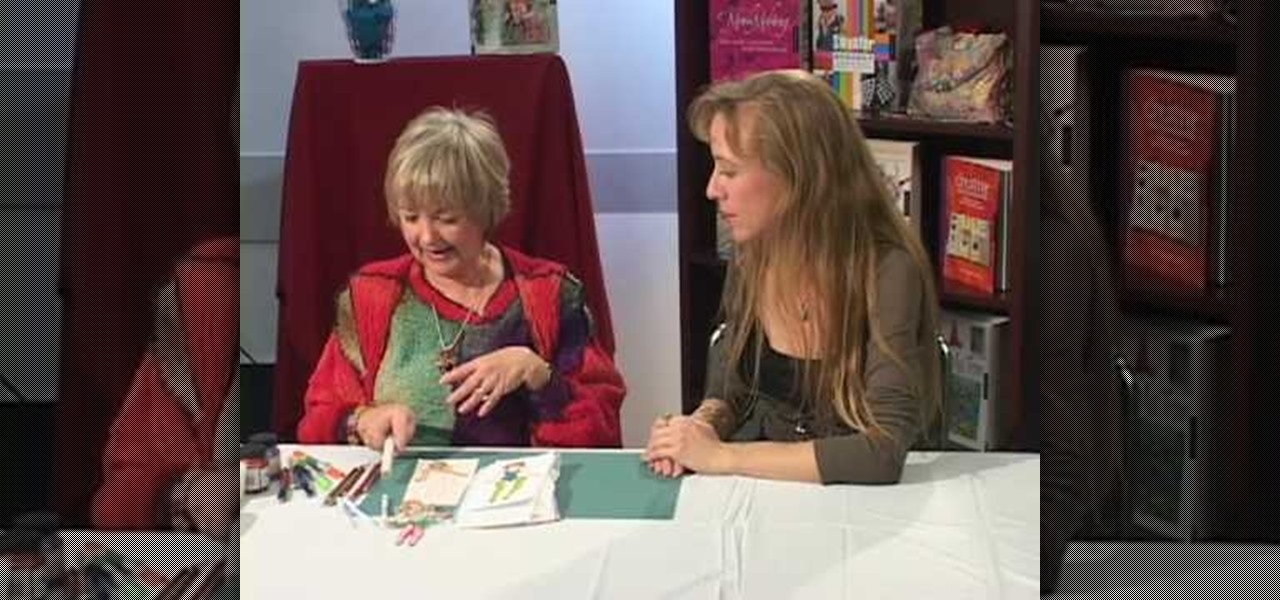
Do you have frustrations to take out that can only be helped with magic? If you are in need of the power of a voodoo doll but don't know how to obtain one, check out this helpful tutorial from Planet Voodoo.
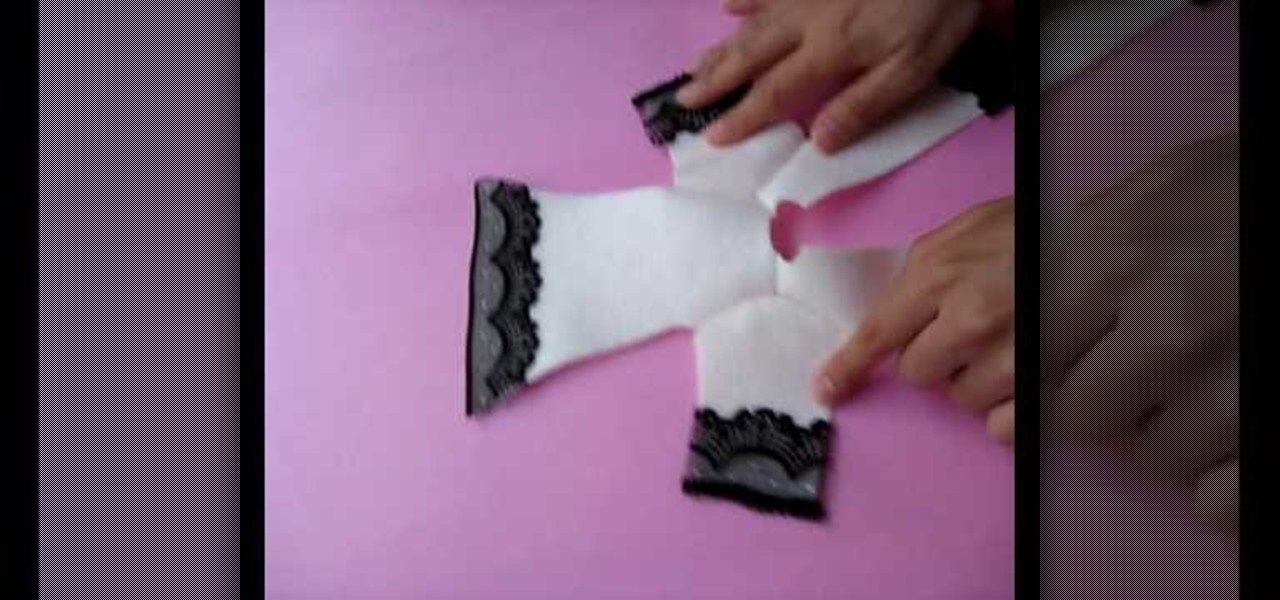
Channel Pulip shows you how to make a holiday coat for a doll. You will need wool felt, with no crease, trimming, lace, ribbon or button. Cut out the pattern as shown. Sew together at shoulder with 4mm seam. Pin and sew sleeve on. Sew lace on coat bottom and sleeve bottoms. Sew the side seams. Turn the coat inside out. Sew trimming from top of coat to bottom. Sew trim on collar and sew collar to coat. If you are adding pockets, sew trim on them and hand stitch the pockets to the coat. To clos...
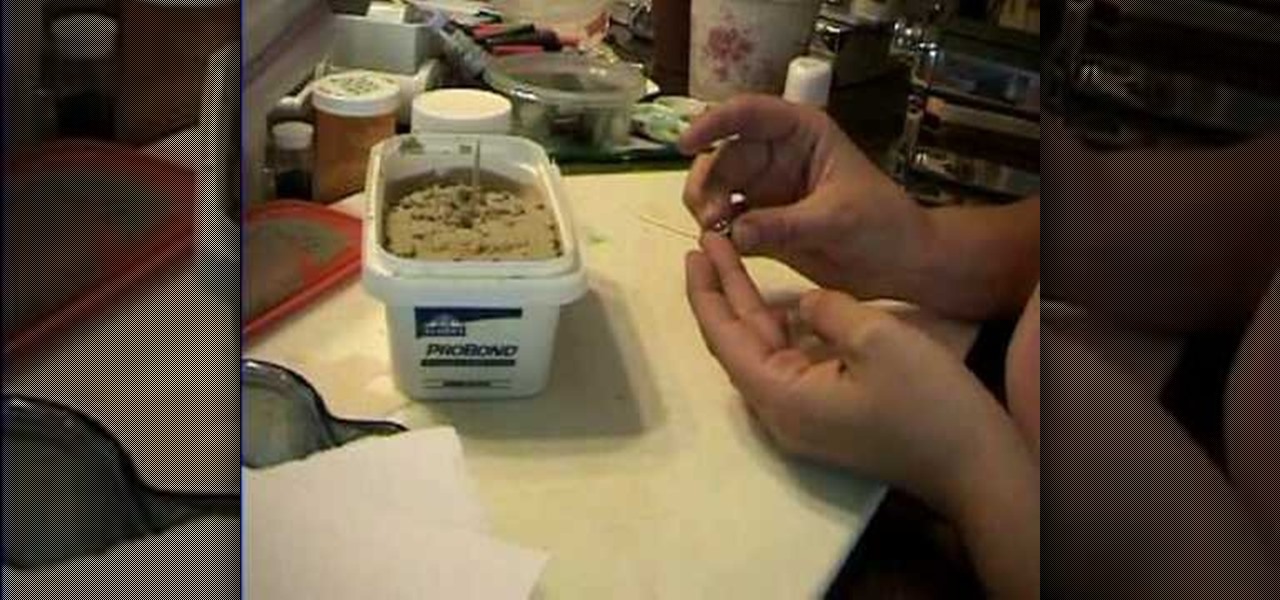
This short video explains how to create a mini milkshake for a doll. Using Elmer's Probond Stainable Wood Filler is preferable because it happens to already be the right color, although using this brand is not absolutely required-any wood filler would do. You can find this at a hardware store. If tiny cups are not at your disposal, don't worry! Our presenter shows us how to use a bead cap in the tiny cup's place. Fill the bead cap with the wood filler, and then using a tiny spoon that can be ...
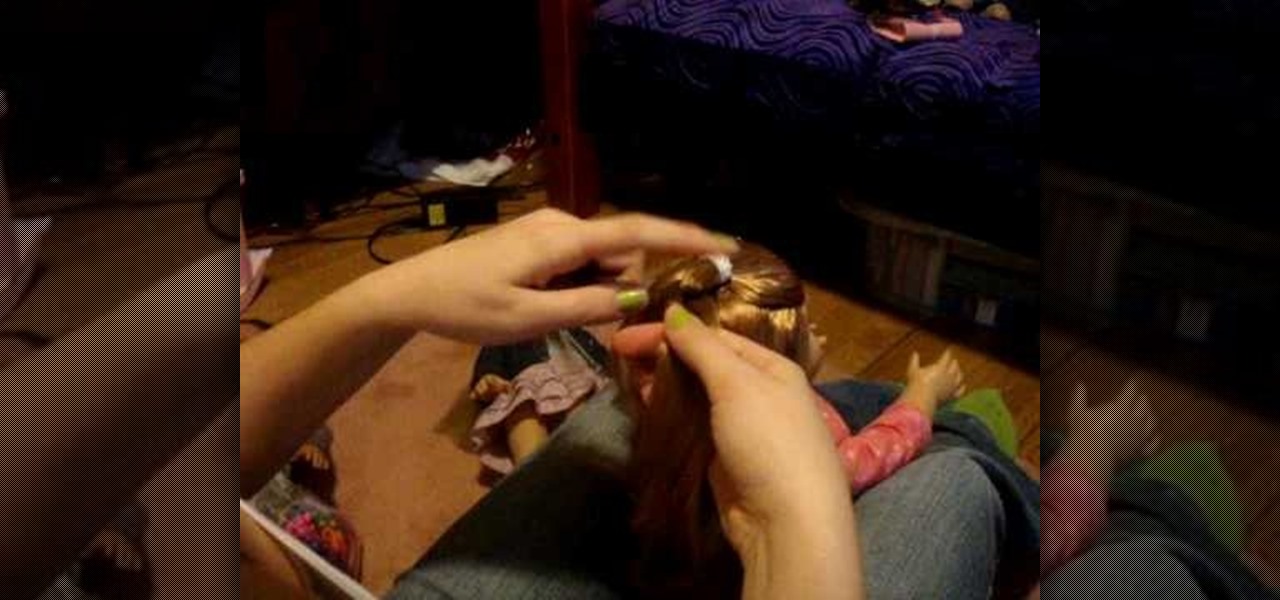
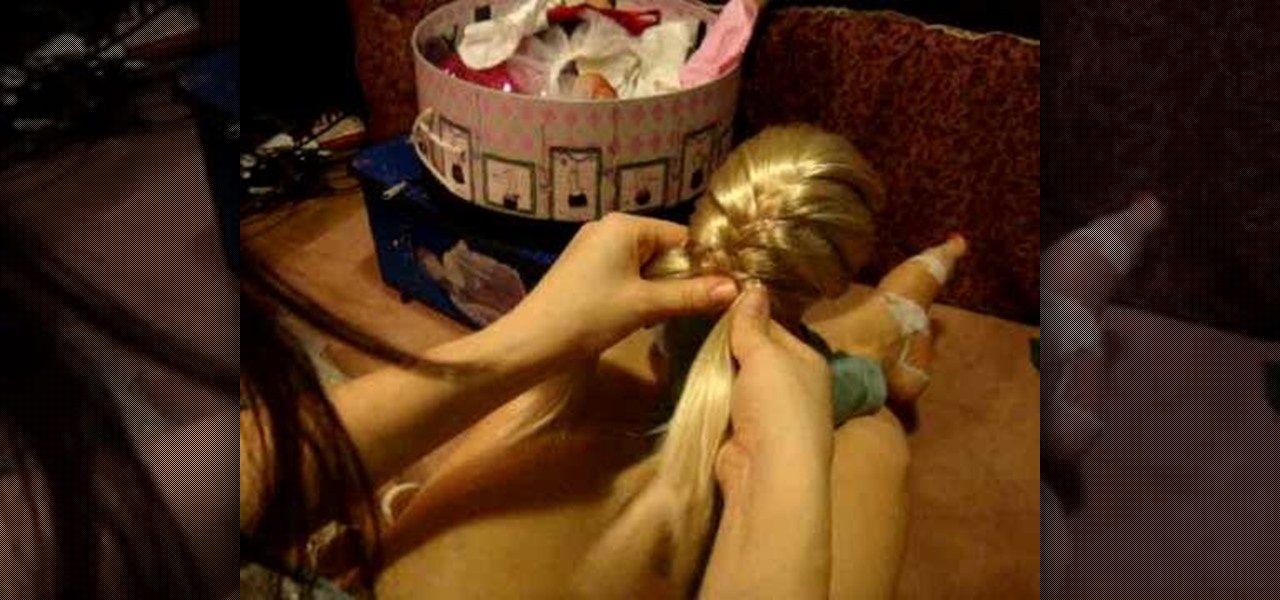
This quick video will show you how to do a basic braid on your American Girl doll. Follow these easy steps to do a basic braid for your American Girl doll: Put the hair into a ponytail and split into three sections. Take the outside section and put it over the middle section, then take the other outside section and put it over the middle section. Repeat this till you get close to the bottom of the hair. Put in a rubber a rubber band and you are all done!
Voodoo you want the best costume this year? You're probably laughing so hard right now that you need to hold yourself together with pins and needles, right?
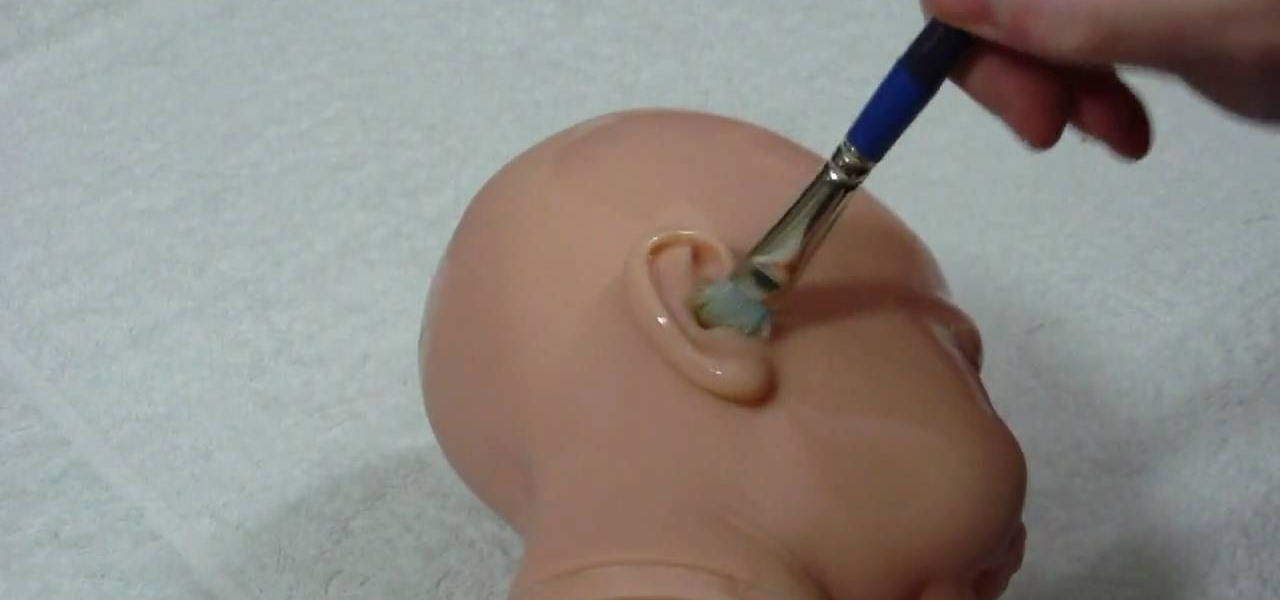
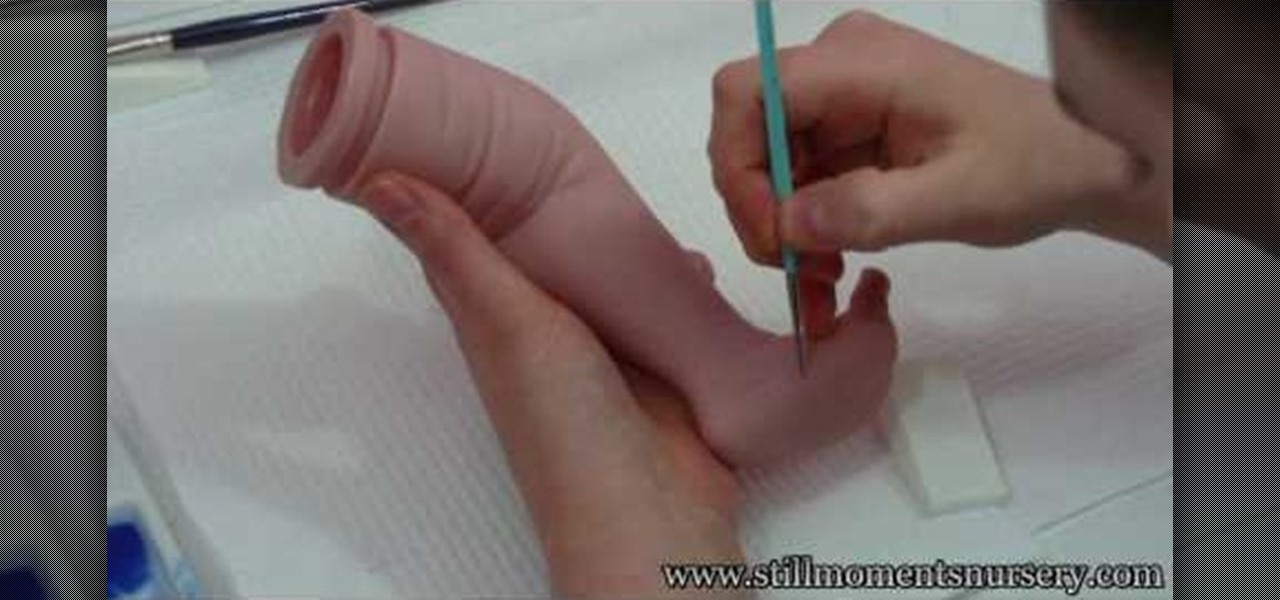
The importance of paint cannot be underestimated when it comes to correctly constructing a reborn baby doll. There are many tutorials showing you how to correctly replicate the hair on your baby doll's head, but what about the eyebrows? This tutorial shows you how to use a variety of paints and fine tip brushes to correctly achieve realistic eyebrows as well as head hair for your next reborn project.

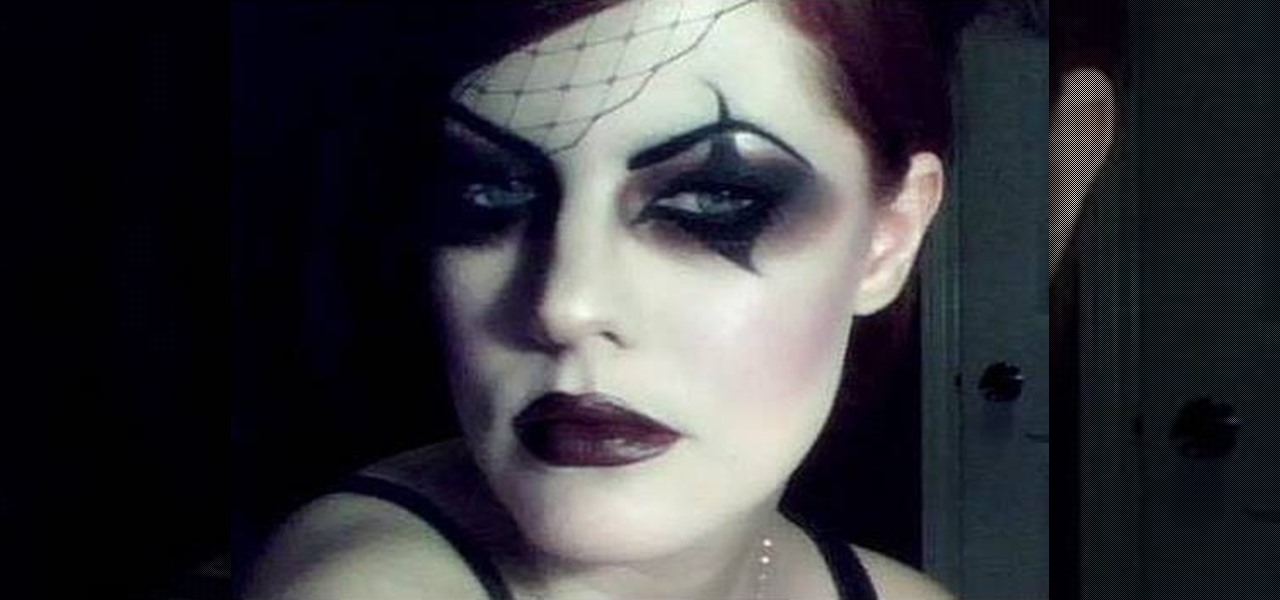
It's funny to us that so many Victorian makeup looks done for Halloween emphasize heavy, dead makeup with lots of deep plums and reds because the Victorians wore little to no makeup (women were basically considered whores if they wore rouge).
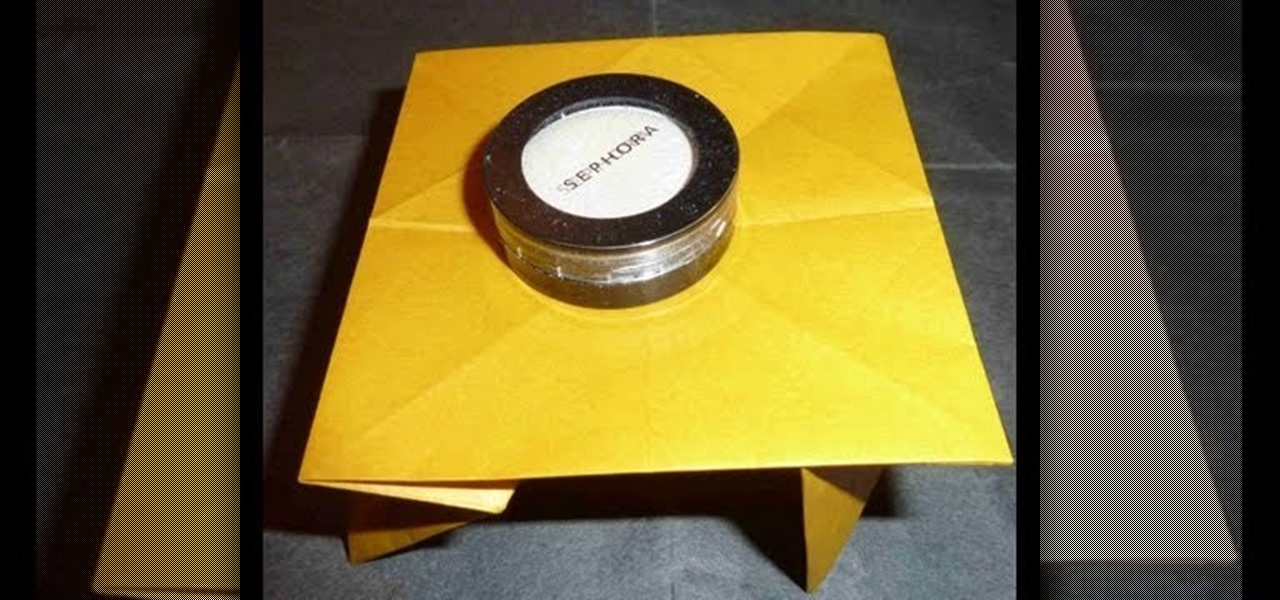
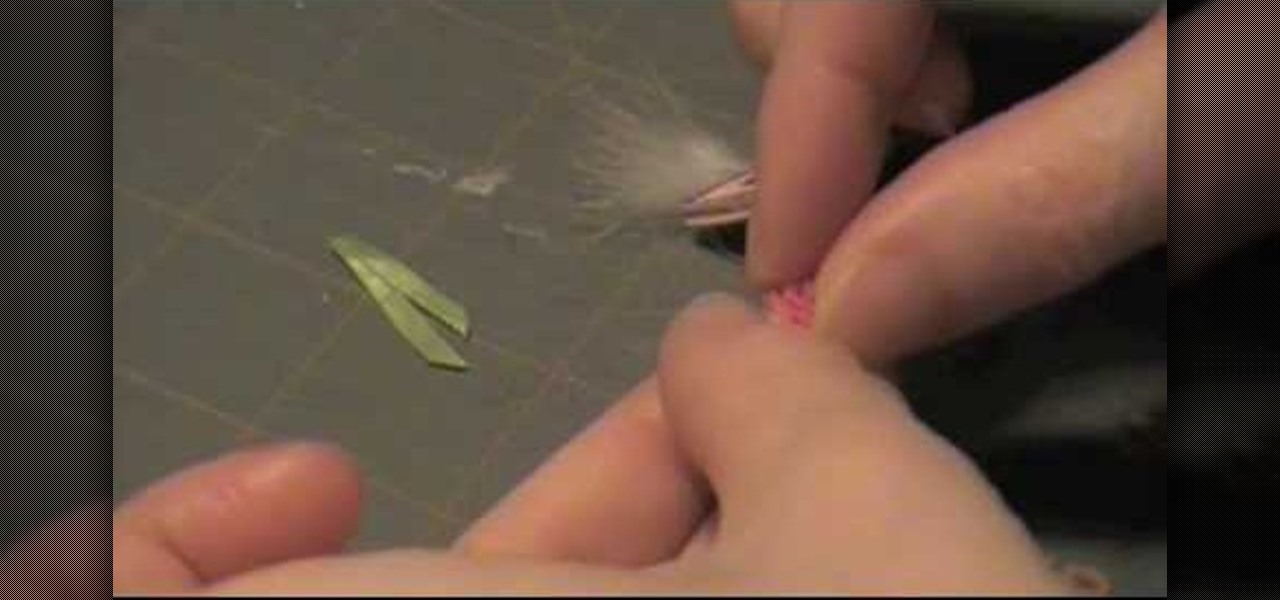
Got a niece who loves playing make believe in her doll house? Then she'll get a kick out of this project. After all, every doll house needs a set or two of furniture. Make her a furniture piece that's unique and can actually hold a few light objects (like fake food) by watching this origami tutorial.
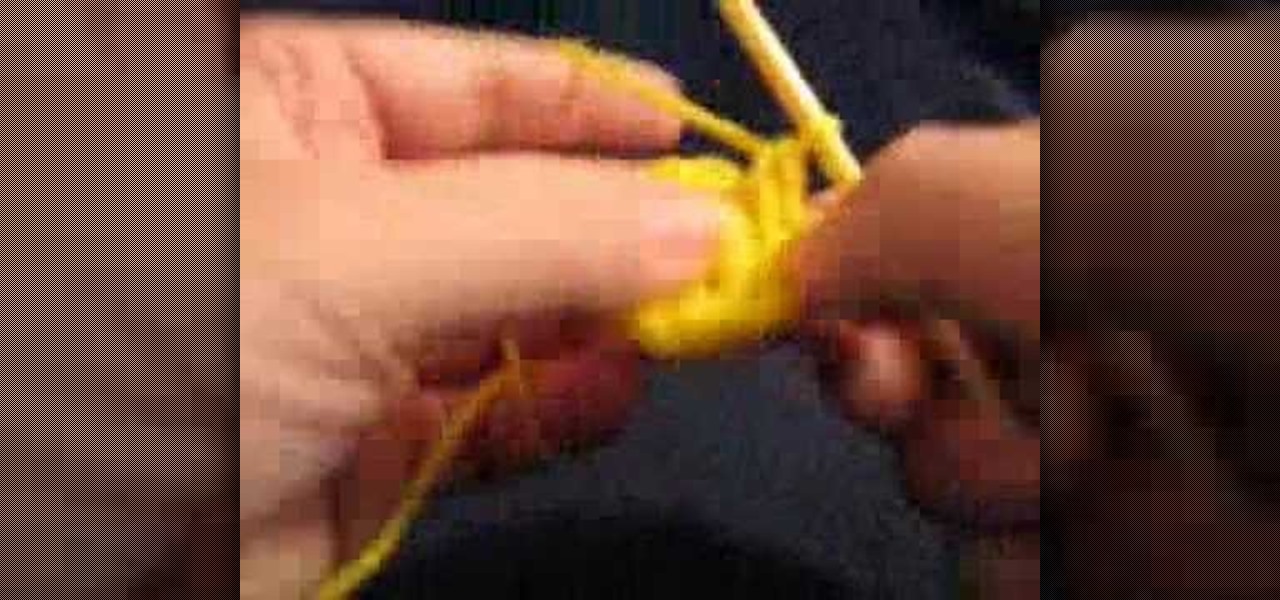
This crochet how to video is a demonstration of how to make a stuffed ball shape using single crochet in the style of amigurumi.
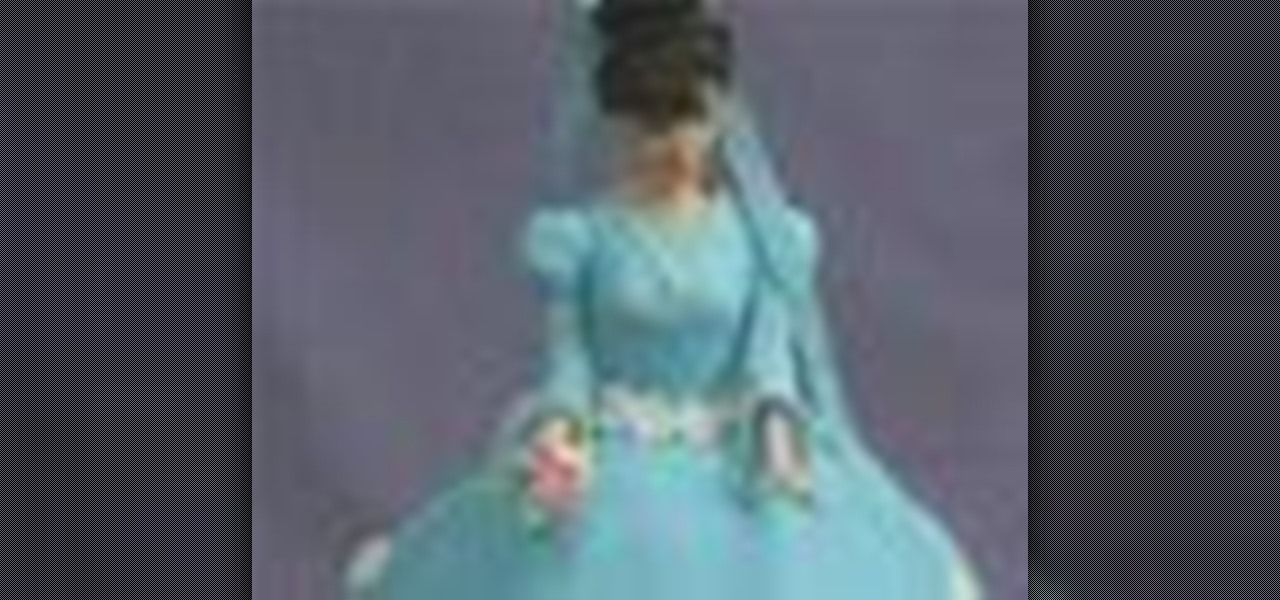
Make your little girl a magical princess birthday cake! Learn how to decorate a cake with fondant, flowers, and dolls in this free cake decorating video about making princess cakes.
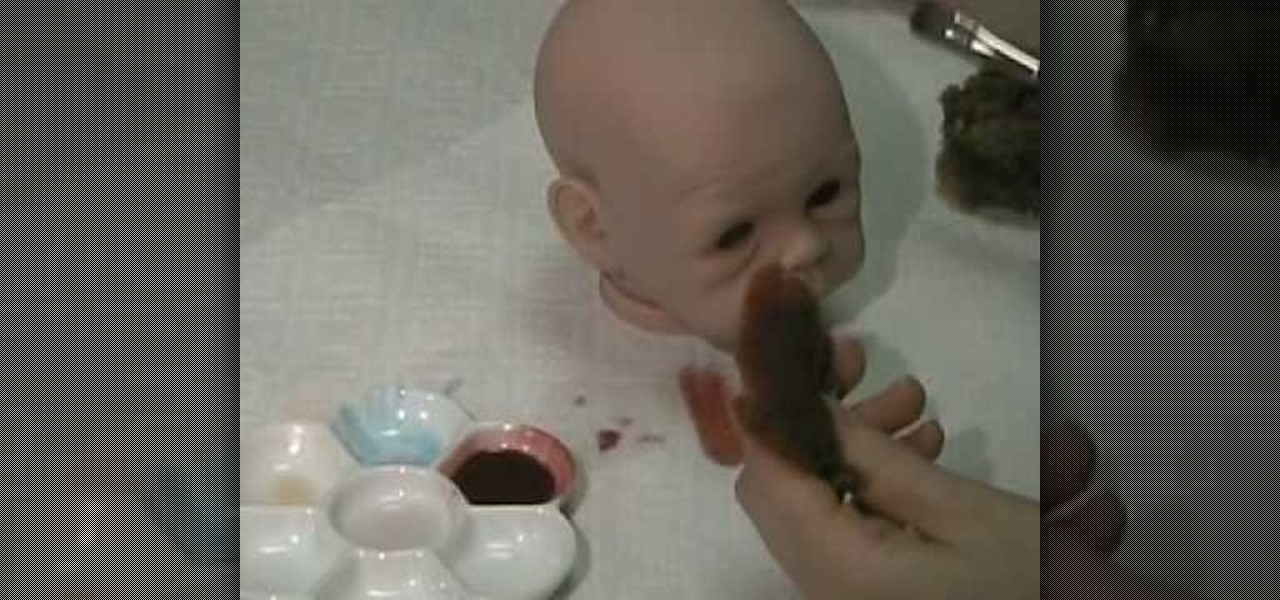
In this tutorial, we learn how to apply blue wash to neutralize orange on a reborn doll. First, gather all of your materials and mix up your paint. Once it's mixed, dab the paint onto a sponge with the paint brush. Then, use the paint brush to paint on the color to the limbs of the baby. Make sure to take extra time around the feet so you get in between the small areas. Then, use the sponge to dab the paint all over the limbs. after this, continue on to the rest of the limbs of the baby using...
http://www.nextgenwalkthroughs.com presents the Condemned 2 video walkthrough. How to beat the Doll Factory level - completed on Hard difficulty with Gold Level achieved on all levels.
If you don't have the patience or the tools to root hair, you can use paint instead! This tutorial is primarily for reborn doll artists who want to learn how to use Genesis heat set paints to replicate the look of real hair on their baby doll head. You will need: your doll head, a palette, Genesis heat set paints in your chosen colors, a few paintbrushes and some soft makeup sponges. You will also need a little paint thinner and some water.
Crochet a complete preemie hat from scratch using this tutorial. This tutorial is for the advanced student in crochet. It will take you about one hour to complete this hat and you will love it. Simple yet fabulous, for your dolls or for any preemie baby.
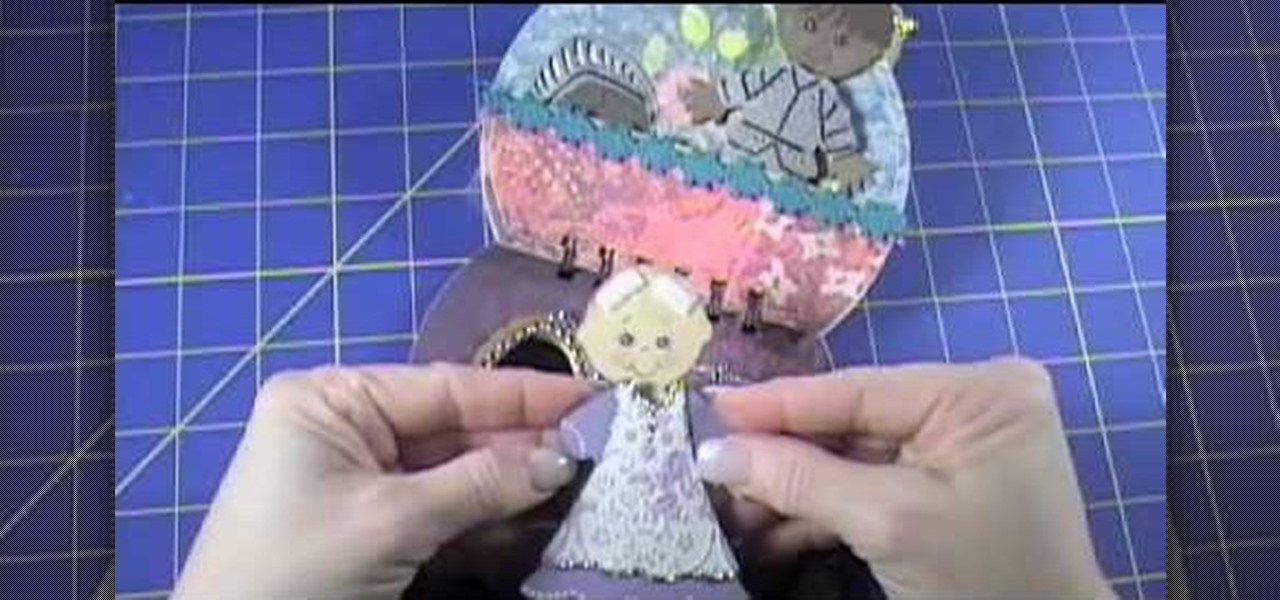
The video describes the making of Paper doll dress up and a Tin Purse to put the dolls inside. You can use the cartridge paper but regular paper should do. She was sticking to the princess themes in this tutorial. The tin comes from provocraft but creative imaginations also offers one. Instead of purchasing a tin you can find a old tin purse maybe once for a over sized set of playing cards. There is a tab feature you can use on the dolls but which children the might come off. She suggests usi...
Learn how to mix the dough before making your own craft dolls.
This video gives step by step instructions on how to make a carry on tin case for your American Girl doll.
Barbie is all set to go for her party. With her sparkling dress, she is going to intoxicate everyone. The only thing that would add to this, would be Barbie accessories. So why not make some beautiful headbands for Barbie that would add more grace to her attire. This video is for all who love dressing up their dolls.
In this video, John Park takes you through all the steps of building a Gakken Karakuri somersault doll. You can purchase the doll, but the instructions come in Japanese and not English. It's a good think John's here to help you out! You'll have the somersault doll built in no time at all!
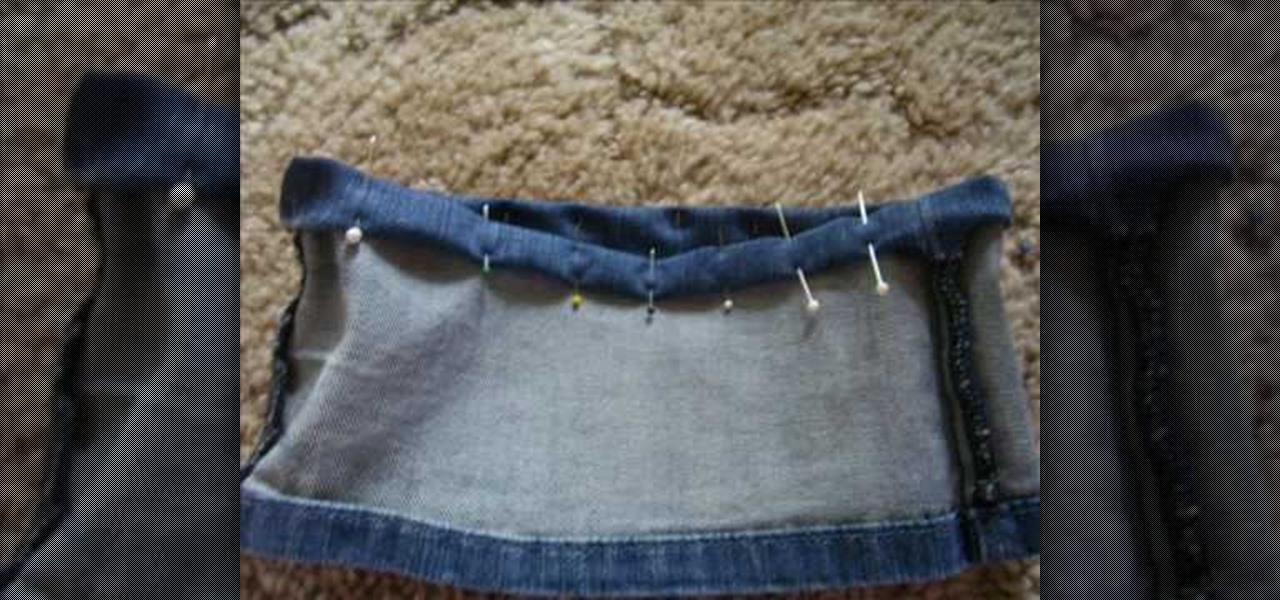
Are you a collector of the amazing doll collection made by American Dolls? Want to make your own custom clothes for your American Doll? In this video, learn how to sew a simple skirt with guidance from this sewing expert.
You start off with a printed design on your doll. Use regular paper, but you have to print the doll in individual pieces - body, hands, legs, head. You stick those on the front of hard materials like thick card stock or some thick fabric. Now you can putt the doll together and make adjustments. You put the doll together by using small thumb tacks. It's even better if you have ones that have a rhinestone on them. Once you've done the joints, you can also add a little tutu or some fairy wings. ...
Do the Pussycat Dolls make you want to get up a shake your rump? Here's your chance! In this three-part tutorial, learn the "Jai Ho!" dance moves from the Pussycat Dolls music video!
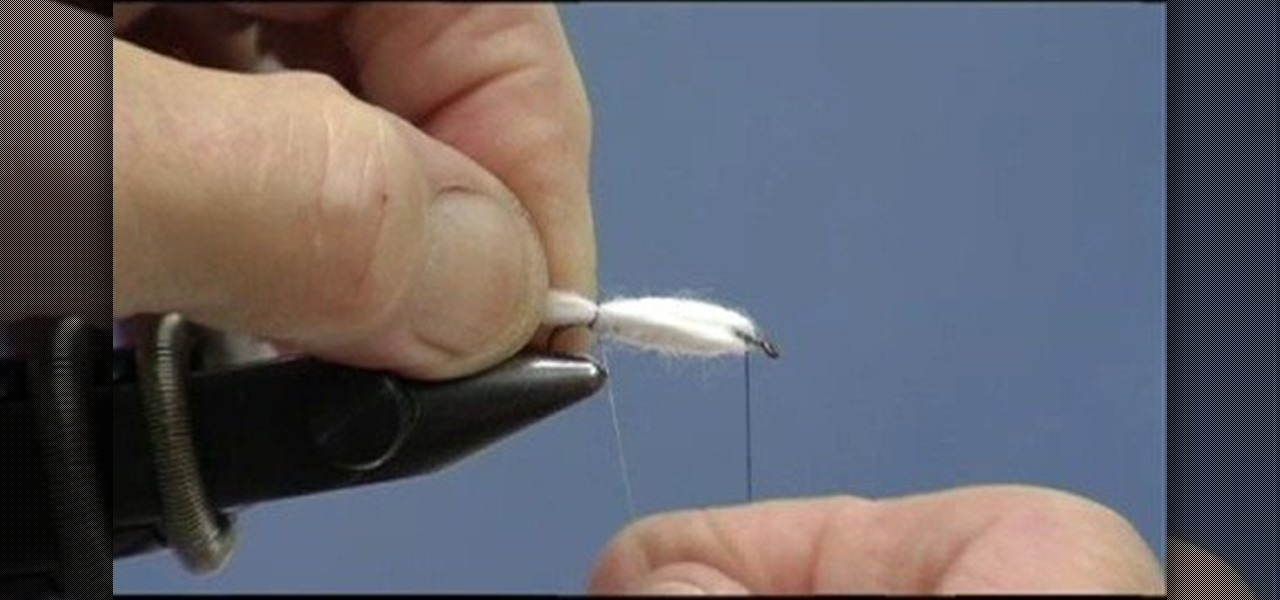
Check out this instructional fishing video that demonstrates how to fly tie for beginners. In this fly tying tutorial, Dave demonstrates the "Baby Doll". This is the pattern that goes back to the early 1970s that caused a minor revolution in its time. This is a very simple and popular fly to tie. Learn how to fly tie a Baby Doll with this fishing video!
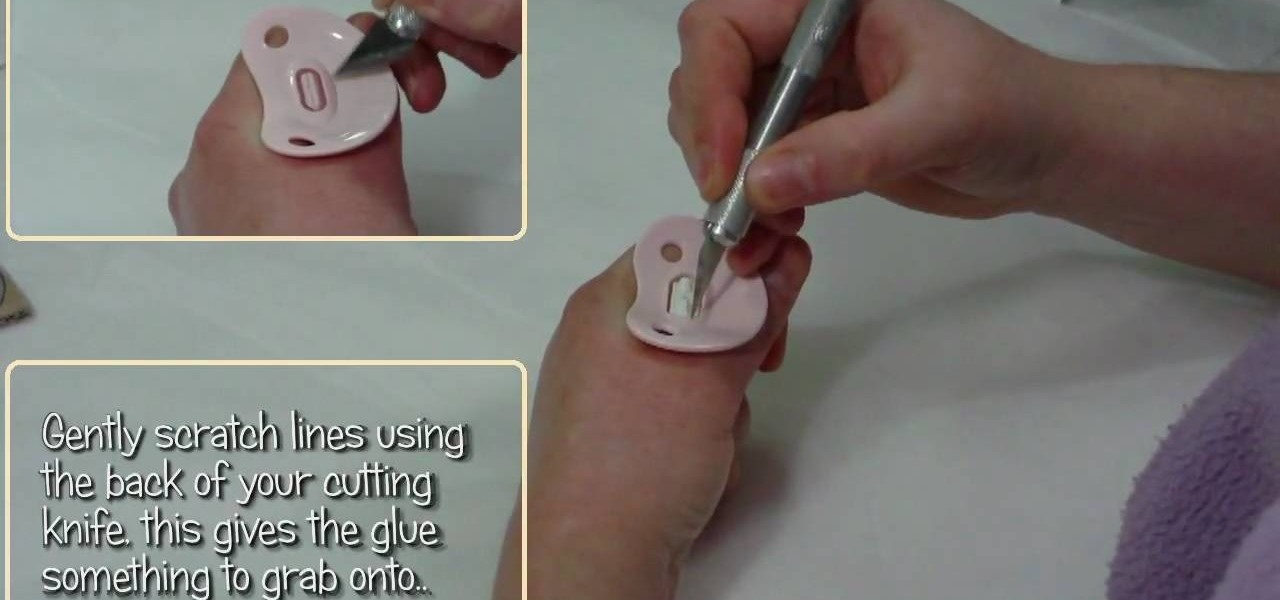
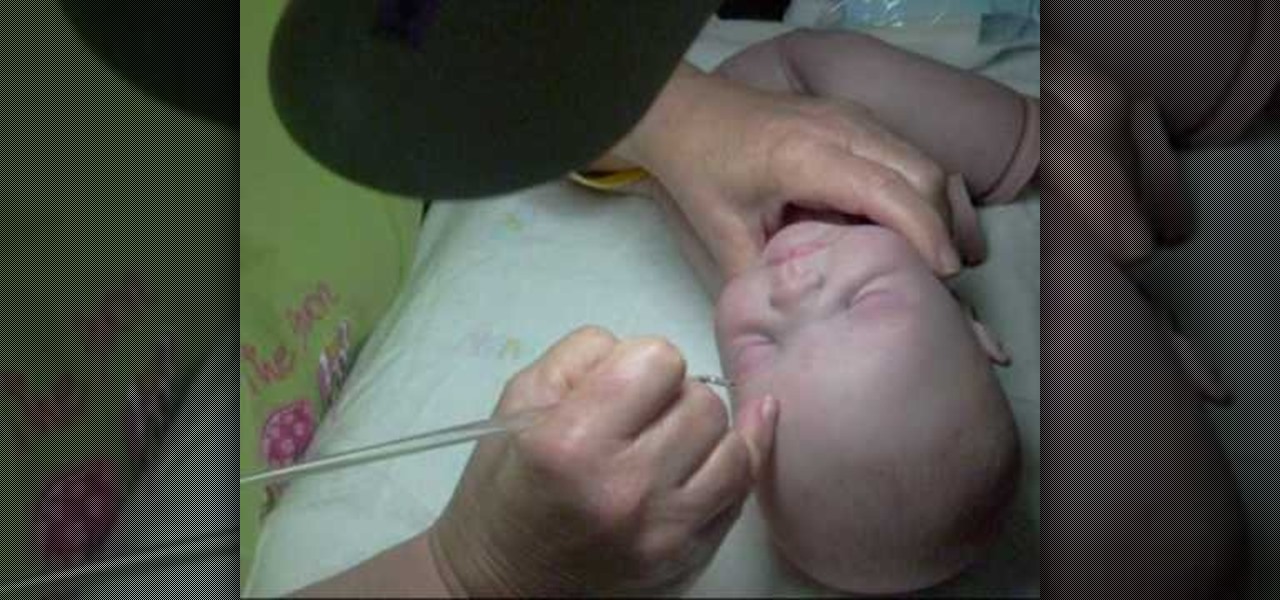
In this tutorial, we learn how to glue a magnet onto a dummy/pacifier for a reborn doll. First, gather all the tools you need to do this project. After you have these, remove the teeth from the pacifier. Next, scratch lines using a cutting knife so the glue grabs onto the center better. After this, apply the glue and the magnet, then place it on the dummy and press it there for several seconds until it is firm in the right place. After this, glue the surface of the pacifier onto the baby, the...
In this tutorial, we learn how to apply veins to a reborn baby doll. Gather up all your materials, then mix the proper paint for the veins. After you're finished mixing, use a very fine tip brush to add the veins onto the baby's chest and stomach. Use a sponge to dab onto the paint after you have painted the veins onto them. When finished with the chest area, start to apply the veins to the limbs of the baby. Continue to do this until you have painted realistic veins on all the appropriate pa...
In this video series, Sonja Fischer shares her passion of collecting Barbie dolls with you. Sonja gives you the history of the Barbie doll, and she gives you pointers for collecting unique and priceless dolls. She offers advice for storing and displaying your Barbie doll collection.
The Pussycat Dolls have achieved more enduring popularity than many thought they would, and their song "When I Grow Up" still gets airplay today. This video for all you hip-hop dancers out there will show you the steps to a great dance you can do to the song, choreographed by Dutch dancer Spikey Lee.
To make a carnival themed paper doll follow these steps. First cut out all of the body parts for your paper doll. You may use any type of patterned paper that you would like. Next decorate the paper by adding more paper, sequins, drawings, etc. Next punch holes into the body parts so that you can put them all together by using string. Next you can make the dolls clothes out of paper, small flowers, sequins, glitter, etc. Finally you should add the clothing to the finished doll body and finish...
We know dolls are supposed to be children's toys, but there's something about them that scares the living daylights out of us. Maybe, just maybe, it's those lifelike eyes that appear almost too real to be fake? That seem to follow us as we move around the room? Okay, maybe we've seen a few too many horror movies, but you have to admit there's just something off about dolls.
In this video, we learn how to clean brushes using Genesis cleaner for reborn dolls. First, dip the brush into the cleaning solution and allow the dye to drain off of the brush. After most of the paint is gone from the brush, dip it into water and continue to clean until the water running over it runs clear. Continue to repeat this process for all of the different brushes you have used. When finished, lay the brushes down on a flat and dry surface, then let dry overnight or until they are com...
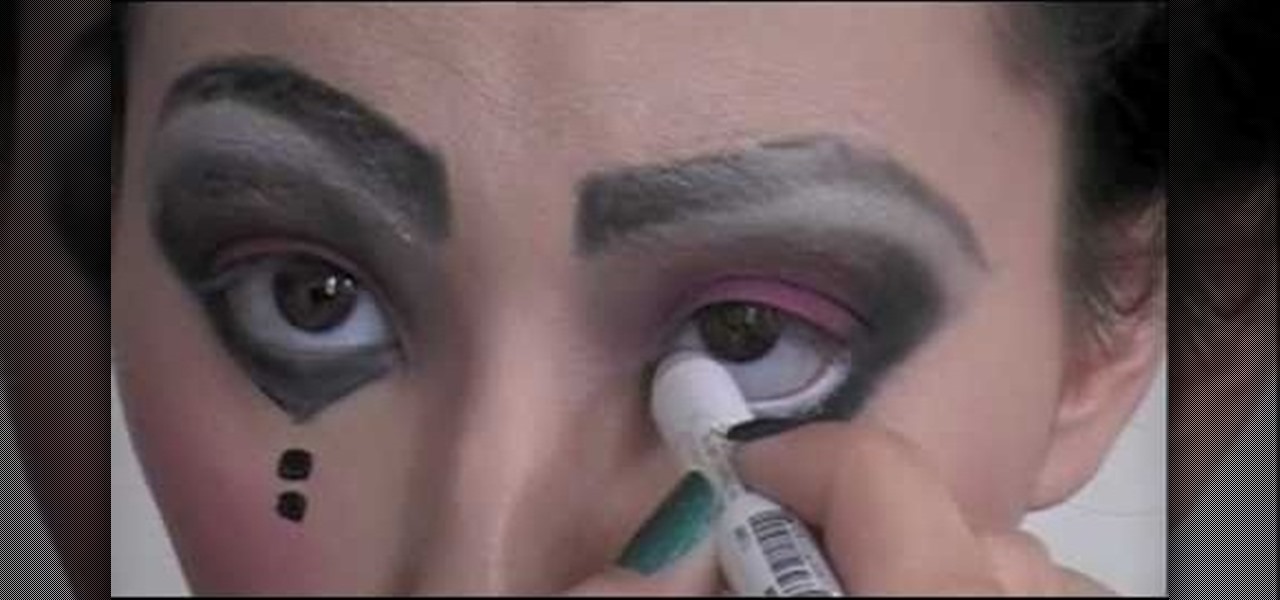
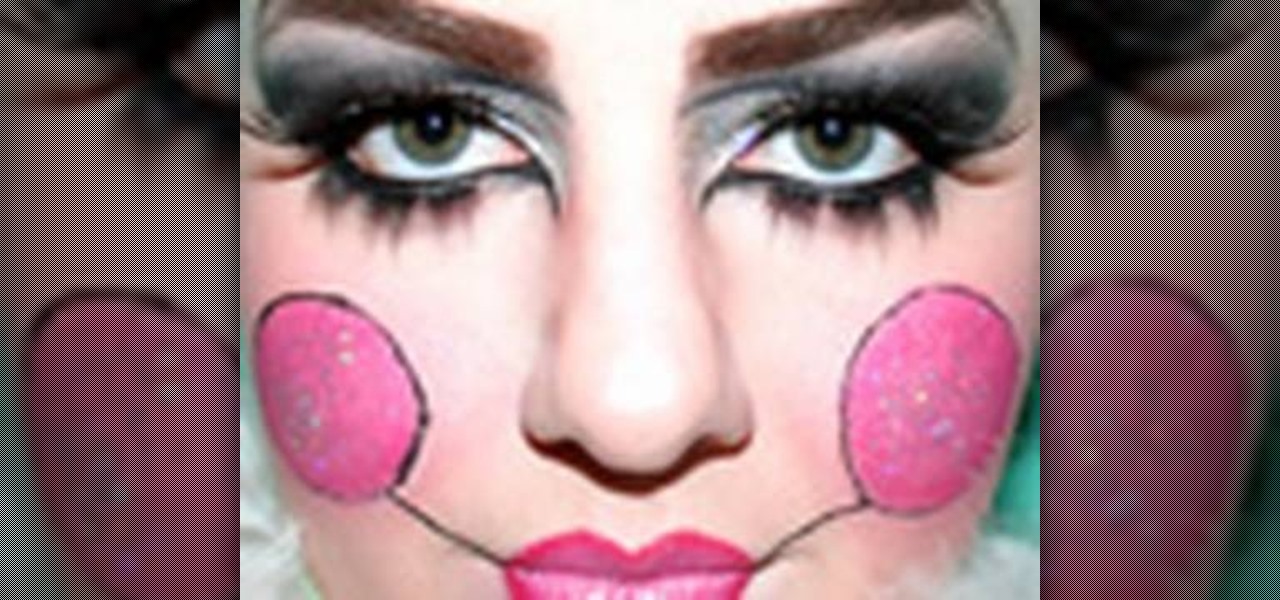
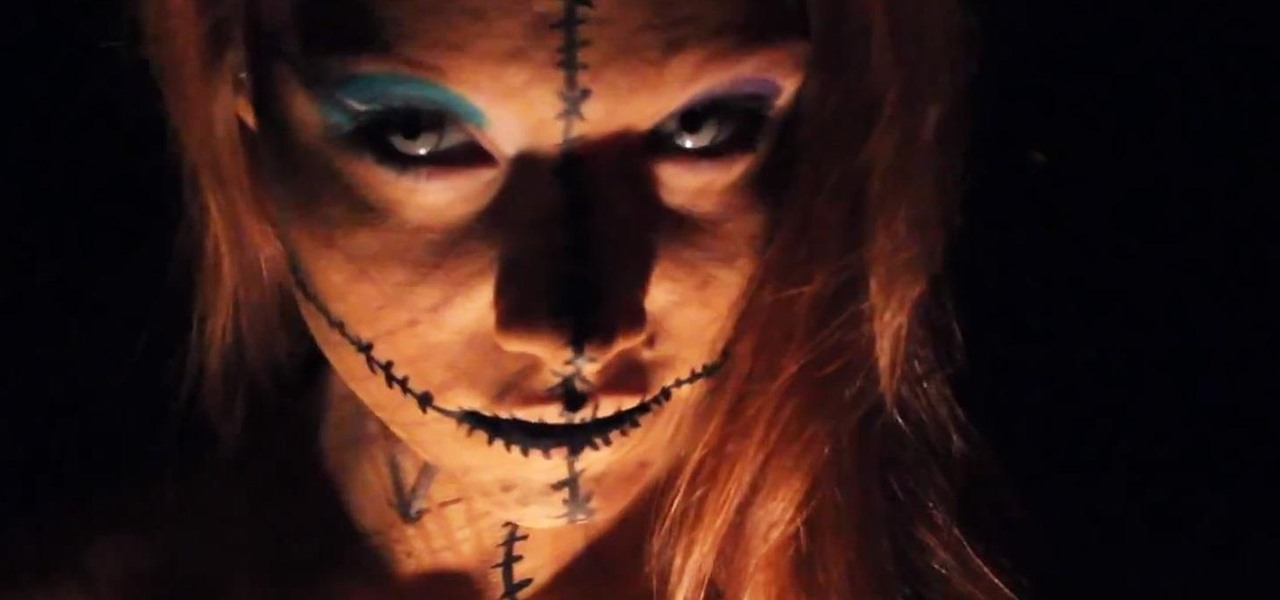
Want to scare the living daylights out of all your friends and family this Halloween? Then dress up like a clown or a doll. Either one will do. Watch this makeup tutorial to learn how to get a "sexy" doll/clown look that's reminiscent of those creepy dool eyes crafted so exquisitely they make the doll almost look...alive (cue spooky music).
Showing how to make of a cucumber out of polymer clay. The instructor begins with the color of clay she is going to be using, greens and translucent. She makes six inner 'seeds', then she shapes them around a core piece. Around the middle, she wraps 2 layers of translucent clay, then a light green, and the final dark green outside. The whole time she's lightly shaping the piece into a tighter compact whole, saying this needs to be done while the clay is warm, and not to walk away or take any ...
This great video from Garden of Imagination shows you how to create mini tacos from polymer clay. Perfect for your dollhouse, or dolls, these detailed miniature gems are deliciously real look but only mini. This excellent video shows you everything you need to know to create your wonderful mini tacos for your dolls taco night. They take some time and patience but everyone will be raving about your special mini tacos out of polymer clay. They look so real almost good enough to eat.
Make an Eddie Earthworm doll. Yes, you will need cloth and pins. A sewing machine is helpful. Part 1 of 3 - How to Make an Eddie Earthworm doll.
In this video, you can learn the first steps to making your own Lilly Lamb doll using the ePattern available in the Etsy store.
Are you a dollhouse junkie? Do you own the house, the clothes, and all the dollhouse accessories? That might be fine, but do you have a doll-sized lollipop? Didn't think so. In this tutorial, learn how to make a miniature sized lollipop out of polymer clay, a perfect size to fit your favorite dolls!
In this video, we learn how to do cowgirl pigtails on American Girl doll Nicki. First, brush the hair out and then make a part down the middle so you have hair on both sides. Then, put one of the pigtails to the side. After this, go to the other side and brush it out again. Make this low and then tie a rubber band around the pig tail. To make it curly, you will take little pieces of the hair and curl them up with your fingers. Repeat this on the other side and then you will be finished with t...
In this video, we learn how to do a hippie hairstyle on your American Girl doll. To start, you will simply take the side of the hair and braid two braids into it. Pull these across the back of the head and then repeat on the other side of the head in the same exact braid. Next, you will pull these braids all together and then braid these together going all the way down to the bottom of the hair. Tie this off with a rubber band at the bottom. This will finish up your hippy hairstyle, enjoy and...
In this video we learn how to do a ponytail veil on your American Girl doll. To start, you will take the top front section of the hair, then brush it back. After this, you will tie it in a rubber band and then repeat these steps on both sides of the head. Then, you will take the hair that's in the ponytail of each one and split it into two. From here, you will tie these with another piece from another side and then tie together with a rubber band. do this once more on the very back and then t...
In this video, we learn how to do a fishtail variation on your American Girl doll. First, brush the hair out so it's smooth and then take a section from the top right side and top left side. Cross these together on the back of the head and then grab another piece of hair. Start to braid these together and push them from side to side. Alternate grabbing pieces of hair from each side of the head, making them as big or little chunks as you want to. As you continue to cross the hair, you will rea...