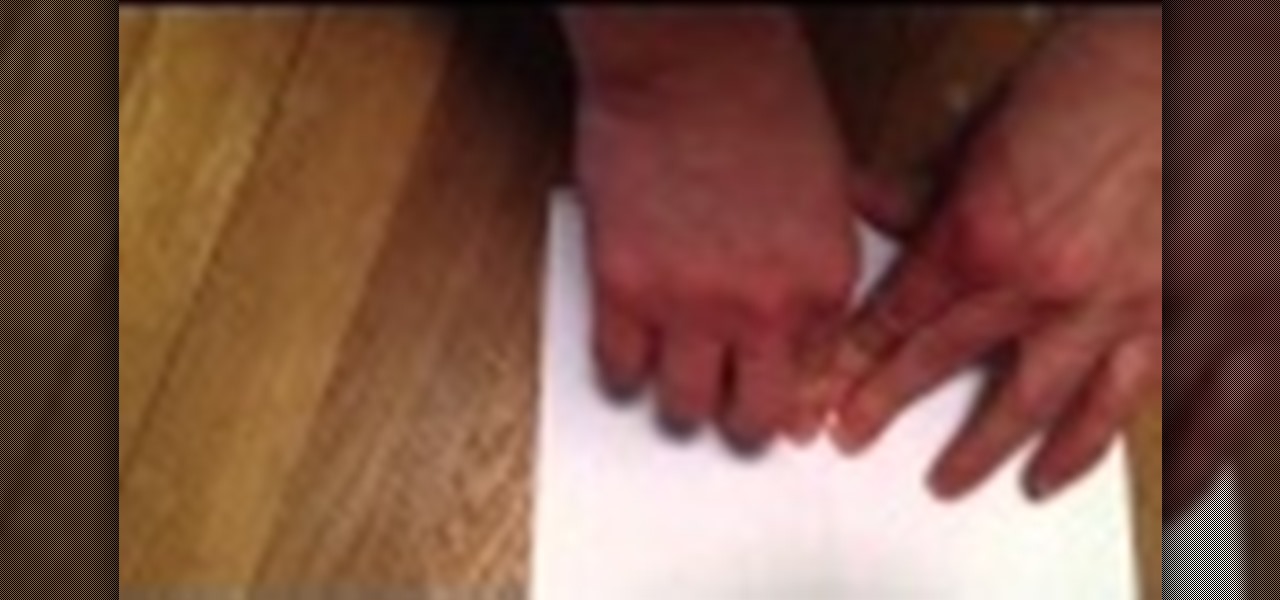
Fed up with traditional origami? Well, learn how to fold some three-dimensional origami! This origami video tutorial will teach you how to origami a mini 3D peacock with a fanned tail. Traditional Japanese origami is the art of paper folding, but 3D origami is a little more complex, a little more challenging... a little more interesting. See how to model and fold a miniature 3D peacock with a fanned tail with these origami instructions.
Fed up with traditional origami? Well, learn how to fold some three-dimensional origami! This origami video tutorial will teach you how to origami a 3D diamond-tail for a peacock. Traditional Japanese origami is the art of paper folding, but 3D origami is a little more complex, a little more challenging... a little more interesting. See how to model and fold a 3D diamond-tail peacock with these origami instructions.
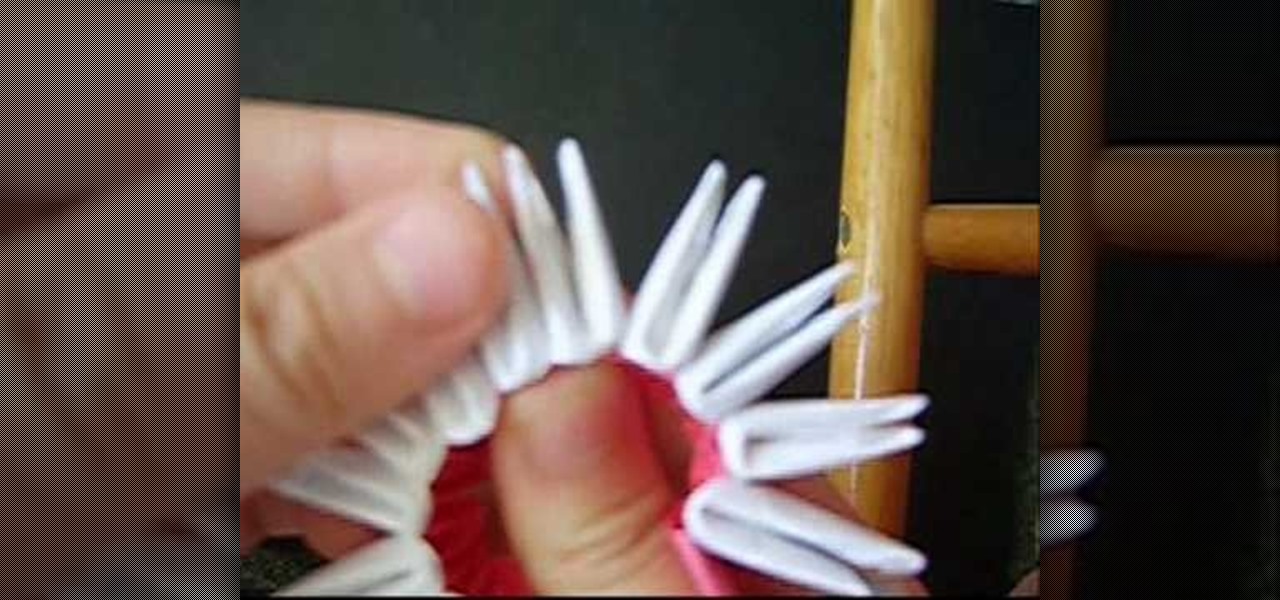
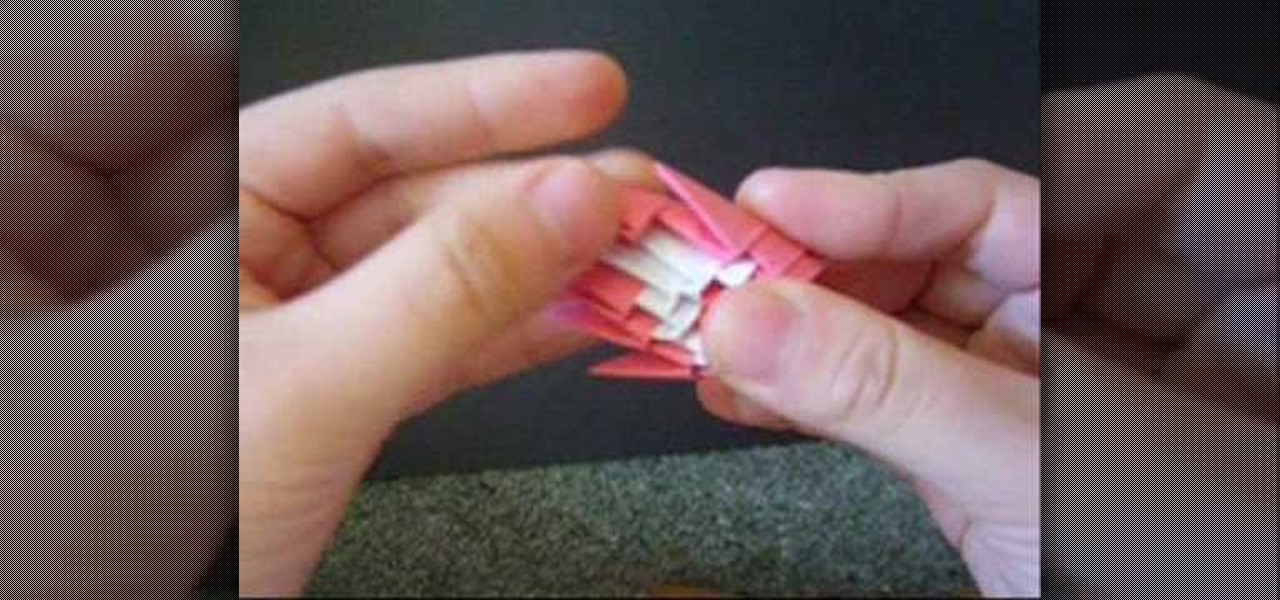
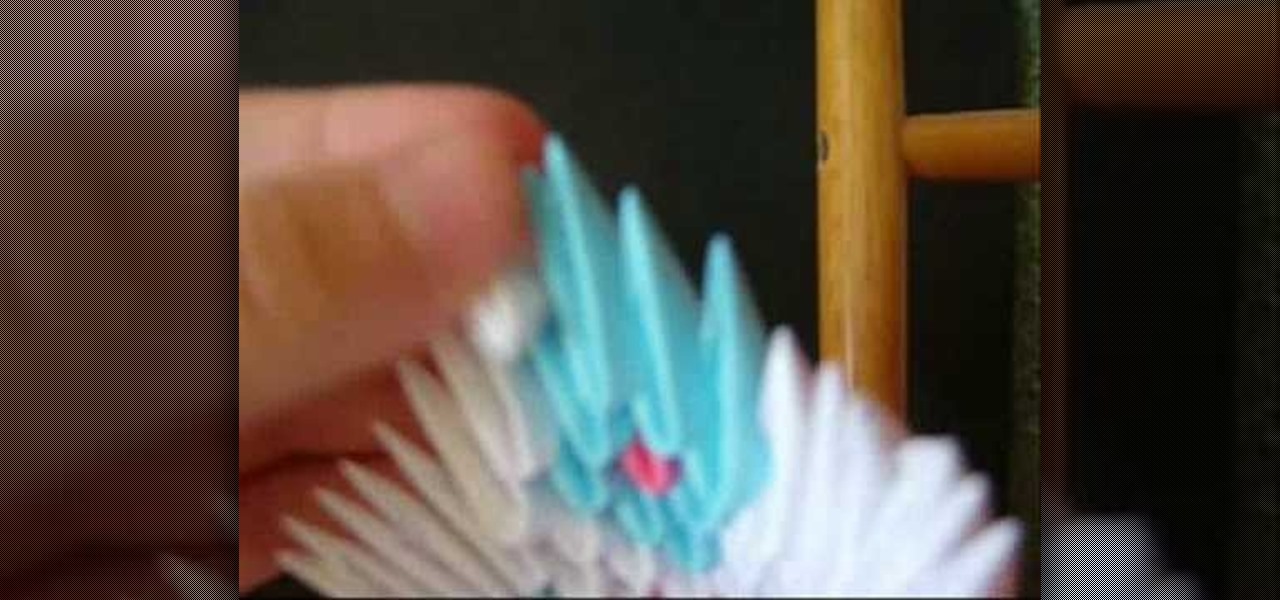
Fed up with traditional origami? Well, learn how to fold some three-dimensional origami! This origami video tutorial will teach you how to origami a 3D circle-tail for a peacock. Traditional Japanese origami is the art of paper folding, but 3D origami is a little more complex, a little more challenging... a little more interesting. See how to model and fold a 3D circle-tail peacock with these origami instructions.
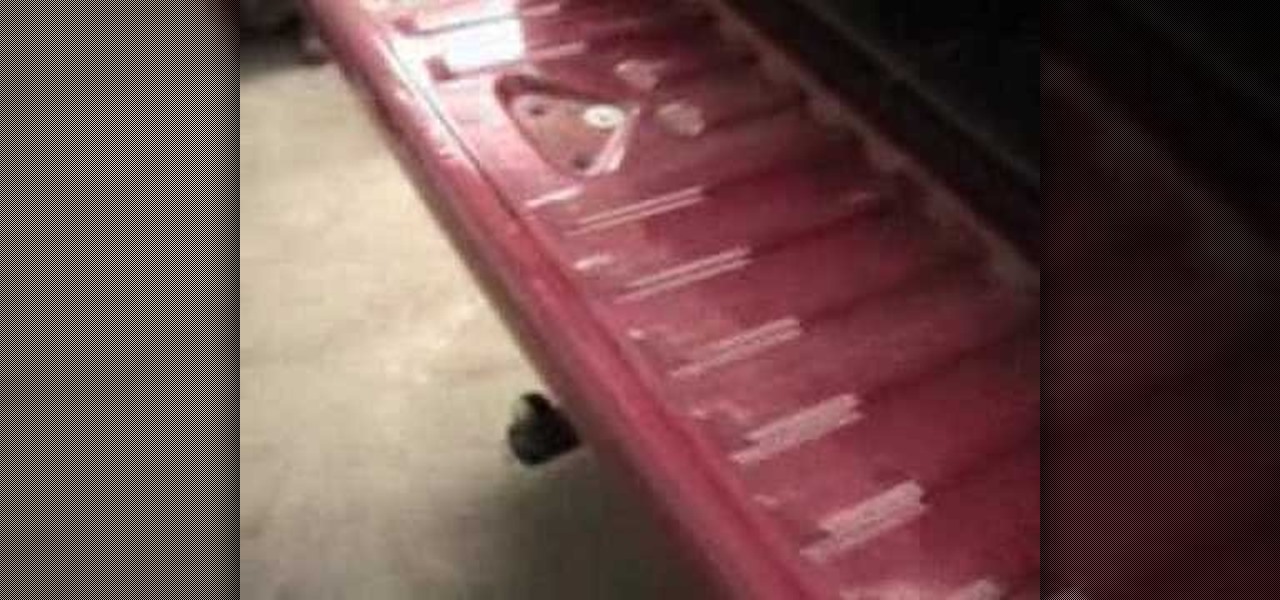
Rolf shows you how to fix a sticking tailgate handle on a 1998 Dodge Dakota 4x4 Sport truck. If you have a Dodge Dakota truck, or any truck with a sticking tail gate handle, this tutorial will show you how to fix it.
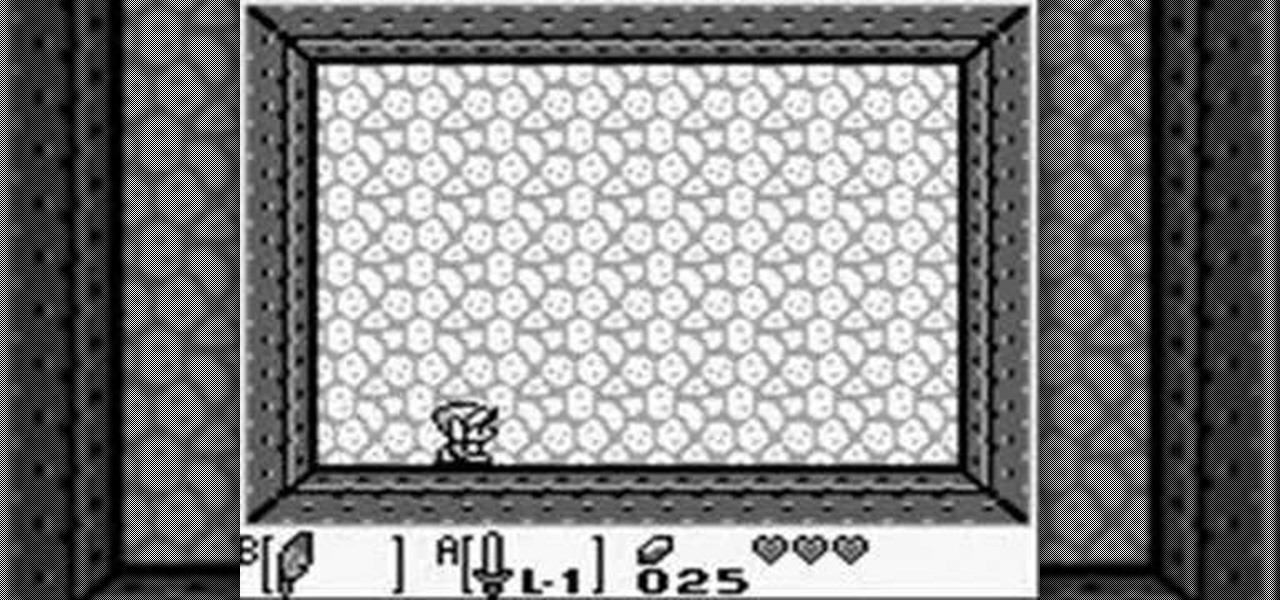
Take a look at this instructional video and learn how to use a glitch that allows Link to scroll past walls and obtain the key item in the Tail Cave dungeon. From the classic Gameboy game Zelda: Link's Awakening, this glitch occurs in the sidescrolling boss pit screen in the first dungeon.

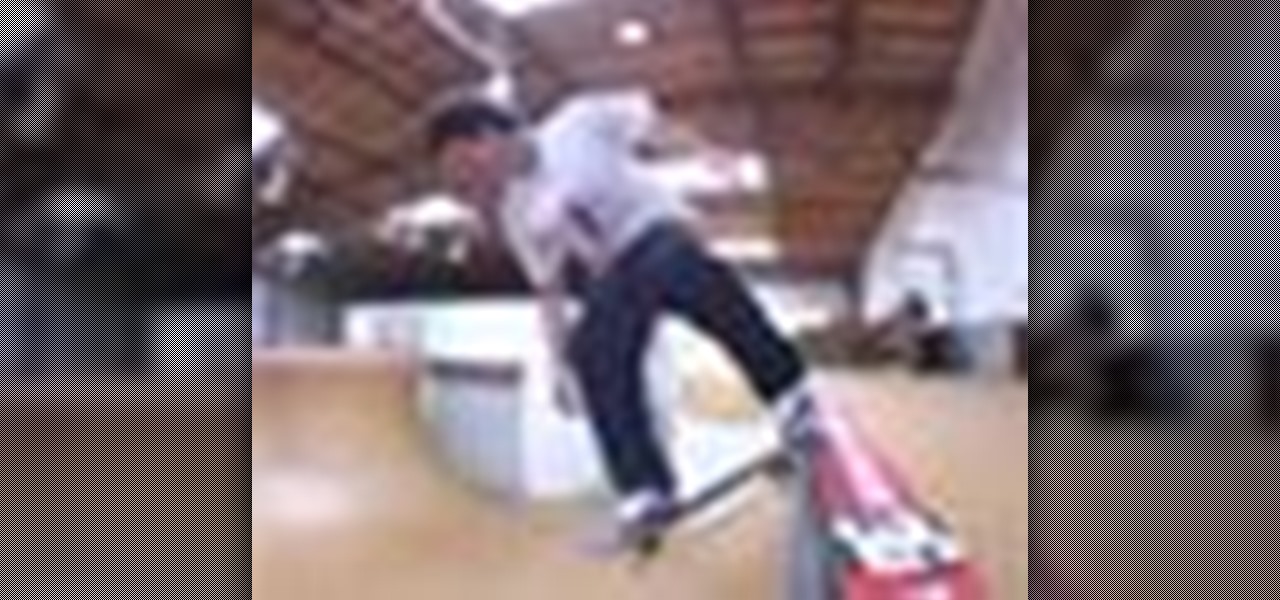
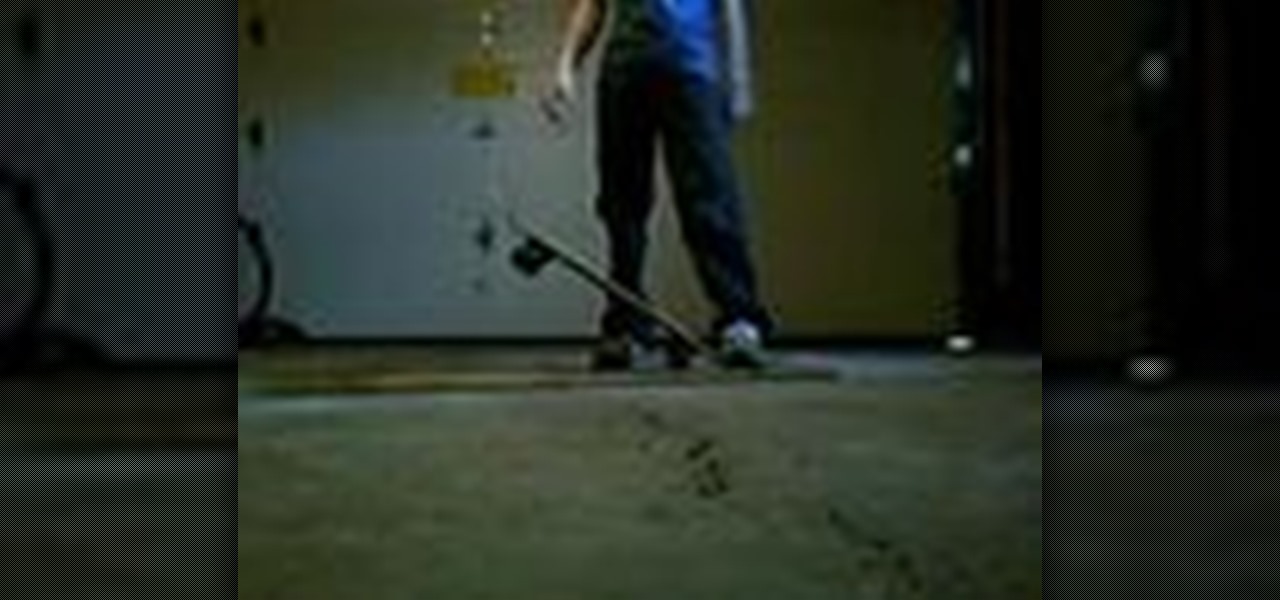
This video provides excellent step by step technique to master a tail stall on a skateboard.

This method of adjusting your sling is great for wearing your child in a front carry and hip carry fashion. Watch this how to video to learn how to thread a ring-sling with the tail open for maximum adjustability.
Place slip knot on hook. Hold yarn taut with 2 sets of 2 of fingers placed about 1½” apart, with tail in other hand. Create loop that crosses over bottom of 1st strand with loop toward right side. Fold loop over main strand going past tail. Insert hook below at tail strand. Pull up a loop using main strand for this loop. Pull 2 ends of yarn taut while leaving slip knot on hook. In 1st chain work 1 single crochet. Skip 2 chains; work 1 double crochet in 4thchain. Picot stitch by chaining 3 & a...
Amazing Peacock Tail - Macrame Bracelet Tutorial. It looks great and its fun to wear :)
Learn how to make a cool looking paper airplane that also has a cool looking tail.
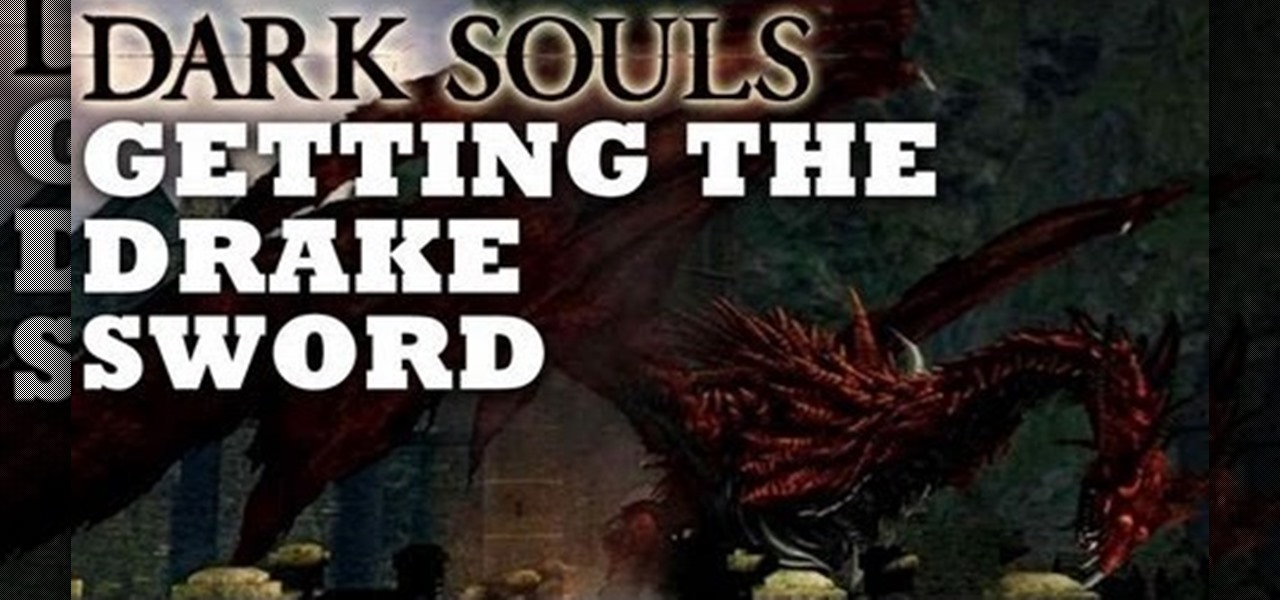
Defeating the dragon boss you encounter on the bridge in Dark Souls is easy with this trick. You'll just need your trusty bow and arrow and the ability to aim at his tail. Once you take him down, you'll find the Drake Sword which is one of the best weapons available in the game.
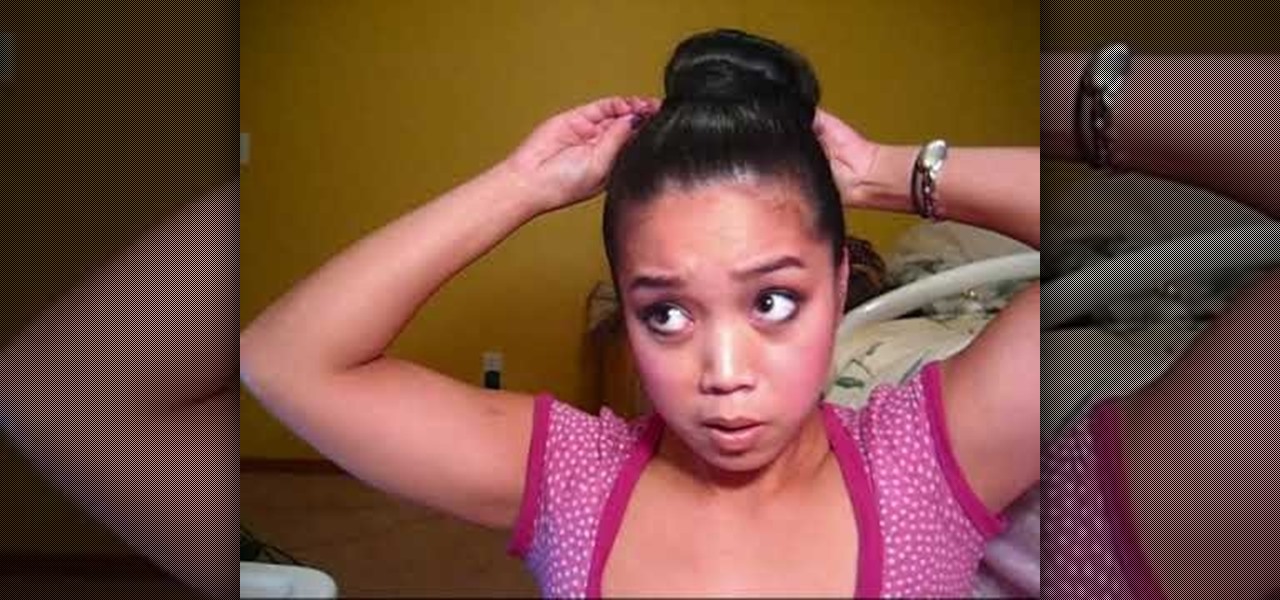
Ponytails, who doesn't love them? And the only thing better than a small one, must be a big one. This video will show you how to use dry shampoo with oat milk and a back brushing technique to achieve that big ponytail look. For this you'll need long hair, the aforementioned product, a brush and a mirror helps as well. Come on, bigger is better! Go for it! If you have short hair, this is not likely the right hairstyle for you.
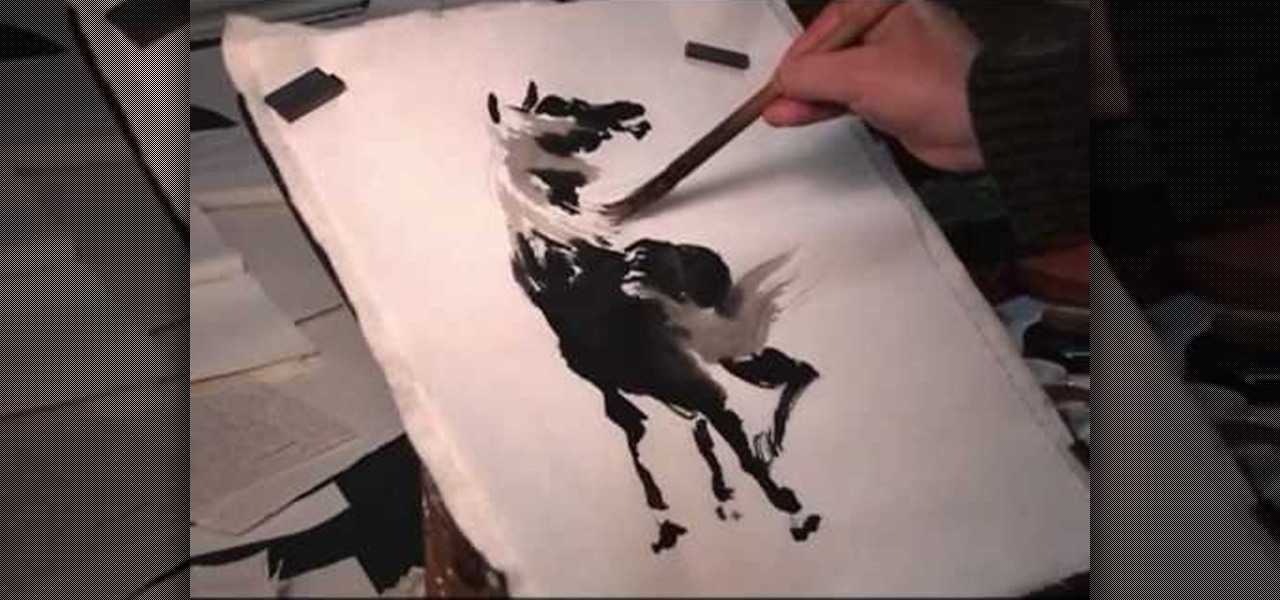
In this tutorial, we learn how to draw the back view of a horse. Start by drawing the tail. Use a horse main brush made out of real horse main hair. Change to another brush to use a darker color for the rest of the body of the horse. Paint around the tail that you made to create the rear end and the legs that are on the horse. Also create the feet and make sure to just use one stroke as you are creating these. Next, creating a neck and then the head along with the main on the top of the horse...
In this video, we learn how to face paint a snake design. First, dip a paintbrush into dark green paint and place it on the forehead. Bring the brush down in a snake shape until you reach the cheek. Make a lump at the bottom of the snake followed by a small line for the tail. After this, dip a different brush into white and make a small dot on the face to make eyes, then make two teeth fangs. Also fill in the bottom to make the rattle on the bottom of the tail. Next, use red to make a snake t...
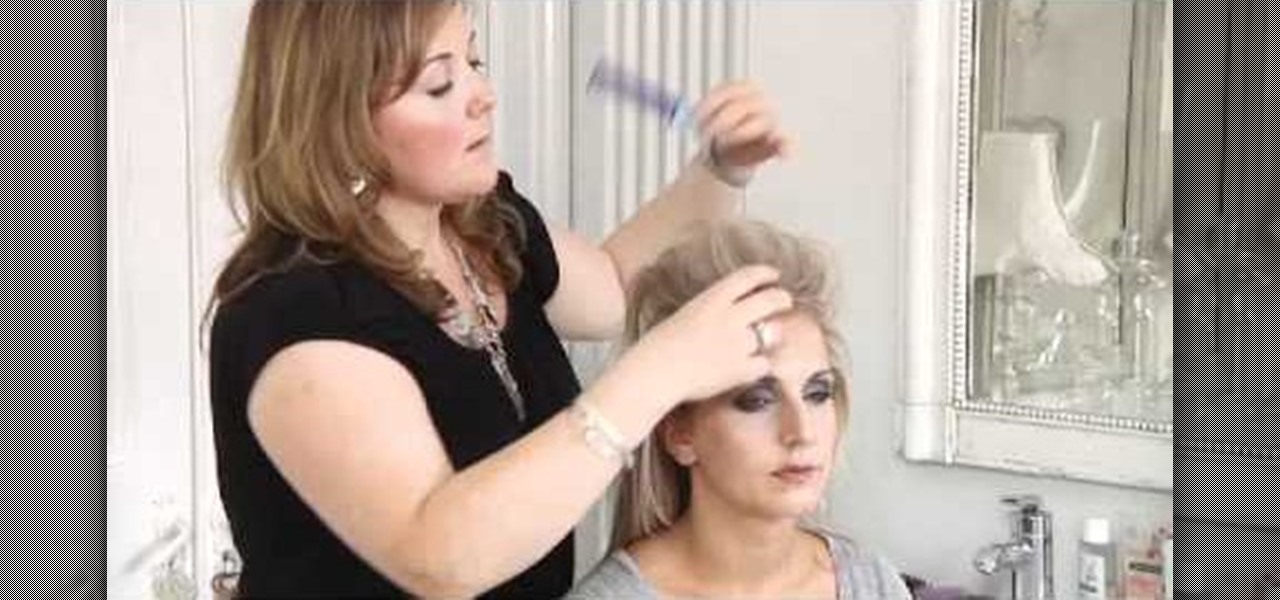
In this tutorial, we learn how to create a vampire look for Halloween with your hair. First, curl your entire head of hair, then put half your hair in a high pony tail. Now, add in more curls on the pony tail and pin your bangs off to the side, using gel to give it a sleek look. When curling the hair, leave some hair on the bottom and only curl the top and middle. When curling the bottom of the hair, only curl the bottom half of the strands, not the entire thing. Next, add some lace to the si...
In this video, we learn how to make a vertical striped bracelet cuff out of beads. Start with a long piece of string and string on your beads until you have a length that fits well around your wrist. After this, tie the ends together and cut the tails off the excess string on the short side. now, start to thread through new beads around the entire bracelet. At the end of every few rows, tie it to keep it tight at the end. When you are finished, tie the string and make a knot, then cut off any...
Bangs are the hottest hair trend for spring and summer, but who wants to drop $100 for trim at a salon?
In this video tutorial, viewers learn how to perform a switch backside flip on a skateboard. Before attempting this trick, users should be able to do a switch flip. Begin by going into a switch flip position by covering the bolt with the right foot and cover the tail with the back foot. Ride the board at a moderate speed. As you ride, wind up your shoulder to the backside. Then pop the tail downwards and flick the board with your front foot. Keep your shoulder turning to allow the board to fo...
In this video tutorial, viewers learn how to do a fakie kick-flip on a skateboard. Users should first know how to do the kick-flip before attempting this trick. Begin in a kick-flip position, with the back foot on the tail and the front foot slightly above the center of the board. Bend your knees and pop the tail. Flick your front foot up and out off the board. Then catch in midair on both your feet. This video will benefit those viewers who are interested in skateboarding, and would like to ...
Shoo Rayner demonstrates how to draw a realistic bat that can be scary, funny, or friendly for children's books. You will need a pencil, pen, and eraser to help you achieve texture. With a light pencil sketch, draw a round head and an oval body. But don't worry too much about accuracy, because there are many types of bats that look different from each other. Your bat needs large ears, a tail, a short forearm and a long upper arm. But most of the bat's wing is its three fingers and a thumb. Th...
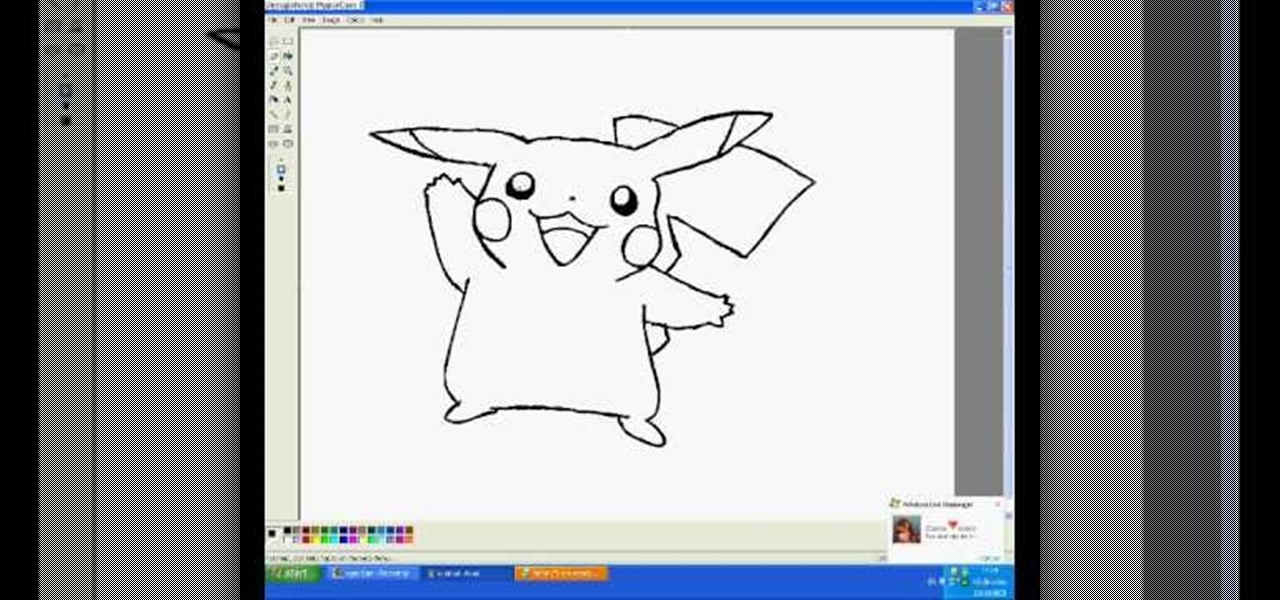
Have you ever wanted to draw Pikachu is MS paint? Well, this video will show you exactly how to do it! The eyes are first. Then, a great big grin. Next, the complicated contours of his face, followed by his long floppy ears. He adds a few details to the face, including the patches on his cheeks. Then, he adds his chubby little arms. He draws the squarish body and his feet. He adds a tail. Then, he does some touch-up work. Last, he starts on color, paying close to detail. He adds some shadows ...
Learn the right way to draw a wolf with its full body, by watching this video. The artist begins by drawing three circles faintly and connecting them with a line, representing the head and body of the wolf. Next, the skeletal structures of the legs are outlined. The tail and ears are faintly outlined next. The artist then begins outlining the face in detail, adding the eyes, nose, mouth, ears etc to the wolf’s head. The body is now outlined adding rough edges to indicate fur. The legs of the ...
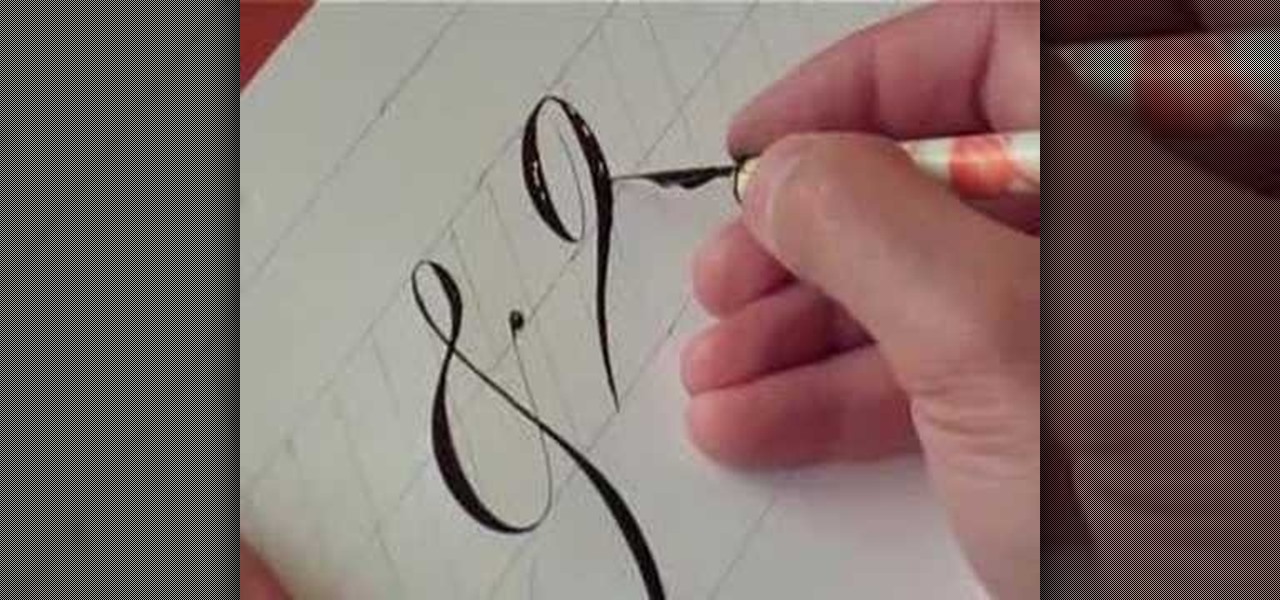
Have you ever tried to write in calligraphy copperplate?Let's start with the basics-punctuation marks. First we nee a book and a pen to write in calligraphy. The letter '&' looks similar but has a long tail. The question mark,exclamation mark and brackets look similar like in a normal font except all have the similar properties of calligraphy i.e., the variation in thickness. This will add a unique style in hand written documents as well as to add some charm in your letters.
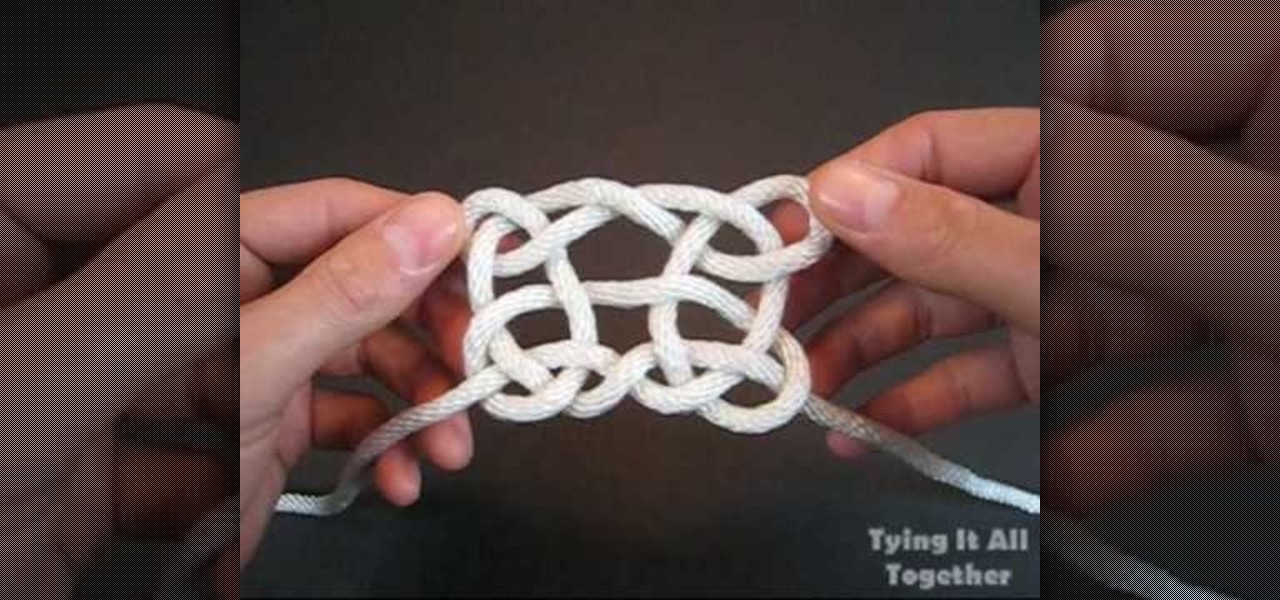
TyingItAllTogether explains that, "Pagoda is the English language term for a tiered tower with multiple eaves. Common throughout eastern Asia, most pagodas were built to serve a religious function. The Pagoda Knot was created in admiration of this sacred architecture." In this video, learn how to tie a decorative pagoda knot. Working with a single piece of string, follow along as the string is transformed into a work of art. Begin by making a series of four loops. Cross the tails, then weave ...
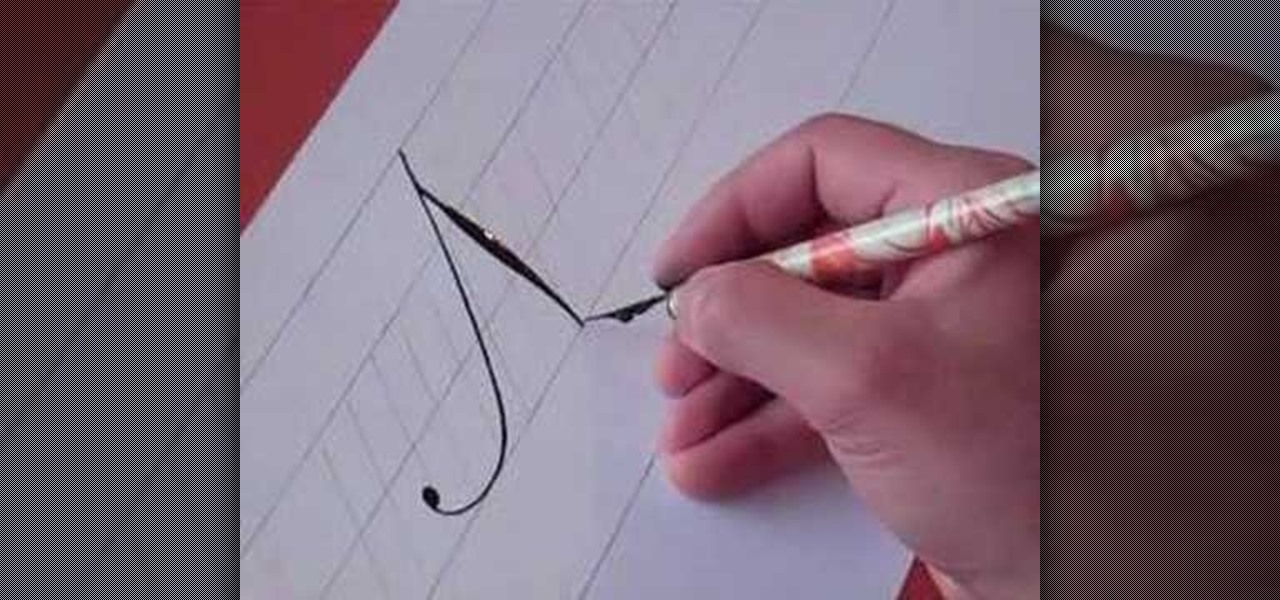
This video tutorial with Hamid Reza Ebrahimi, shows you how to write the letter N in calligraphy copperplate. The video illustrates step-by-step how to write this letter in the most accurate way possible. To begin, you draw a thin slanted downward stroke with a moderately curled tail. Then you create a stoke tangent to the first stroke with a tapered thickness in the middle. To complete the capital N you draw a tangent line upward that is thin and has a large looping tail. For the small case ...
Ready to move past simple cranes into amazing stick-tail peacocks? In this great tutorial, master origami artist Jewellia7777 offers a step by step guide, color ideas, tips, and helpful advice on folding your own origami peacocks. This video teaches how to take this simple structure and construct an amazing 3D origami sculpture that will dazzle your friends and family. If you are having problems unraveling the complexities of modern 3D origami, then this great video is a must-see.
A "hair bow" is a very interesting and unique up do which can be made fairly easily. After making your hair manageable with conditioner and other hair products, take a portion of your hair from the front and separate it from the rest. Make a tight, high ponytail with the rest of your hair and use a hair styler to carefully pull your hair through, making a tight knot. Separating your pony tail in half, tuck first one side and then the other into the pony tail, making two loops. You should then...
Shape up your lower back and glutes. Learn how to do exercises and stretches for your workout routine in this fitness video. Take action: position feet 5 feet apart, bend over, exhale and lean to right, exhale and lean around to left, and focus on stretching the target muscles. Tom Clifford, the instructor in this how-to video, has a degree in physical education, fitness and health from Eastern Michigan University, where he ran track and cross-country. Tom has worked as a personal trainer for...
In this how-to video, professional skateboarder Colin McKay teaches you how to drop in on a vert ramp. What's a vert ramp? A vert ramp is a form of half-pipe used in "extreme sports" such as skateboarding.
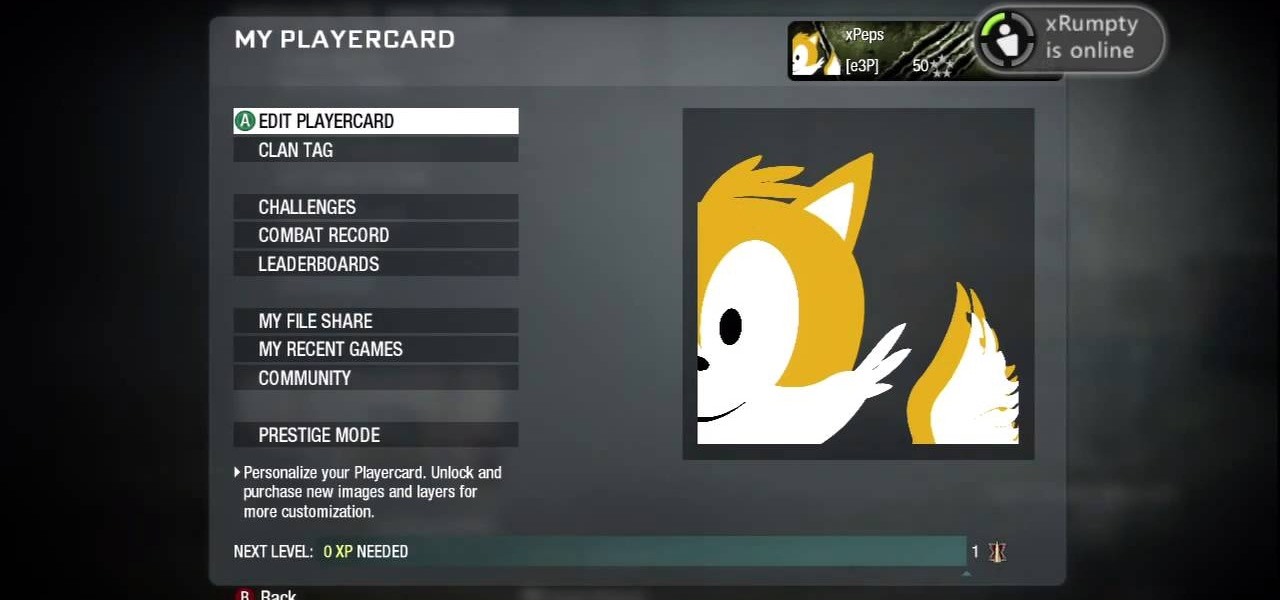
Want to show off your OG (original gamer) status? This clip will teach you everything you'll need to know to draw a custom Sonic & Tails playercard emblems in the Call of Duty: Black Ops Emblem Editor.
In this tutorial, we learn how to draw the 8-Tails Jinchuuriki, Killerbee. Start out by drawing the outline of the character. You want to make sure you draw reference lines on the head so you know where to place the eyes, nose, and lips. Next, you will start to draw in lines to show wrinkles on the face and then the headband on the top of the head. After this, add some shading into the face to add some depth. From here, you will draw in the hair and the band around the head, giving it more de...
In this tutorial, we learn how to do a Y braid on your American Girl doll. First, brush your doll's hair out and then put the hair in pig tails. From here, you will split the tail in half on both sides. Then, you will combine the two middle pieces and start to braid the hair like normal. Do this all the way down until you reach the bottom of the hair. When finished, tie the end with a rubber band to keep in place. This will finish the Y braid look for your American Girl doll, enjoy! Decorate ...
In this tutorial, we learn how to tie a bowtie left- handed. First, put the tie around your neck and adjust the two tails. The right should hang 1" lower than the left. Then, cross the longer over the shorter and push up over and through to make a simple knot. Form a bow with the back bow using your thumbs and fingers. Next, take the front tail and pull it behind the just-made bow to create the center of the full bow. Then, push the new one right through the knot in the opposite direction. Th...
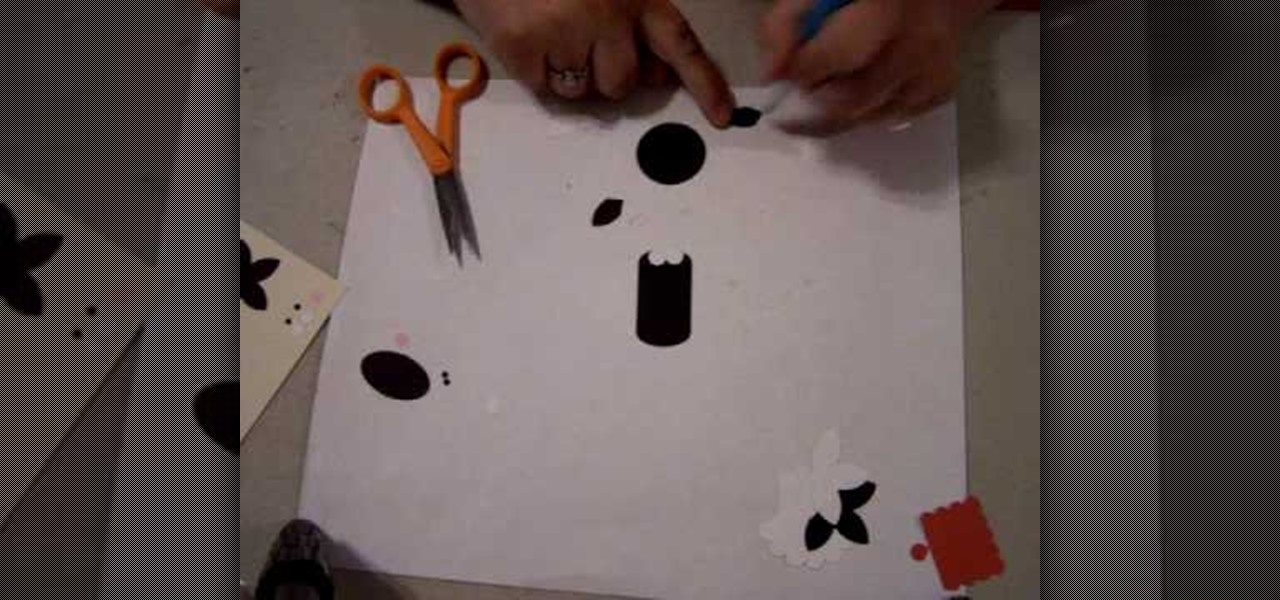
In this tutorial, we learn how to make a cat punch using Stampin' Up! products. First, you will need to use the: circle scalp punch, circle punch, oval punch (black and white), and five petal punch (black and white). You will also need two small circles each of black and pink for the eye and cheek area. Once you have all of these punched out, you will be able to assemble the head. Use the circle as the head and apply the white and black circles in the middle for the eyes. Use the flower punch...
In this video, we learn how to make a large fancy hair bun. First, you want to have your hair brushed and straightened. You will need: brush, hair ties, bobby pins, rolled up sock, and hair spray. Start off bringing your hair up into a pony tail, then tie it with an elastic. Next, grab a hair roll and bring it under the base of the pony tail around to the font. Now, let your hair fall evenly, while pushing your head down. Grab you elastic, and wrap it around the base of the hair bun. Next, ta...
In this video, we learn how to draw a cartoon fish with scales. First draw a circle for the body of the fish, followed by the details of the face and then the fins and tail. After this, color the background to look like the color of the sea. Now, take a black paintbrush and outline the details and body of the fish. Start to add in scales around the body that are small and colored red. After this, draw bubbles coming out of the fish's mouth. Color the fins and tail yellow, then color the eye b...
In this tutorial, we learn how to clean a coyote. Start out by cutting the legs and up to the inside of the rear end. Cut the skin around the feet and then peel the fur and skin upwards. Trim into the butt of the coyote, then cut around the tail into the middle. Keep pulling the skin up around the legs of the animal and around the thighs, using a sharp knife to loosen the skin. Remove the skin completely from around the legs, then cut the tail so only the bone is left and the skin is off. Aft...
In this tutorial, we learn how to make a double bow with Sandy. First, take two satin ribbons of different colors and place one on top of the other. Leave a long tail, then make a large loop and scrunch it in. Make a loop on the top and a loop on the bottom. Each should get a half a twist and be opposite of the one you made before it. Practice with a single ribbon before you do this one. After you have six loops, create four more to make a bigger bow. When finished, you will have six large lo...
In this video tutorial, viewers learn how to perform an Ollie on a skateboard. An Ollie is a basic trick for getting off the ground and allows users to perform other tricks once learned. Place your back foot on the edge of the board's tail and front foot placed behind the front board bolts. Then pop down the tail with the back foot, bend the front foot, flick the board in midair and land on the board with both feet. This video will benefit those viewers who are interested in skateboarding, an...
In this Education video tutorial you will learn how to build a wind turbine with PVC windmill blades. This project when completed will charge a 12V battery. You can turn a motor in to a generator. When you spin the shaft on the generator, electricity is generated. So you get a motor with a flywheel and attach the turbine blades to it. When the blades turn with wind action, electricity will be generated. Take PVC pipes, 8" in diameter and 24" long. Cut the blades out of the pipe as per directi...