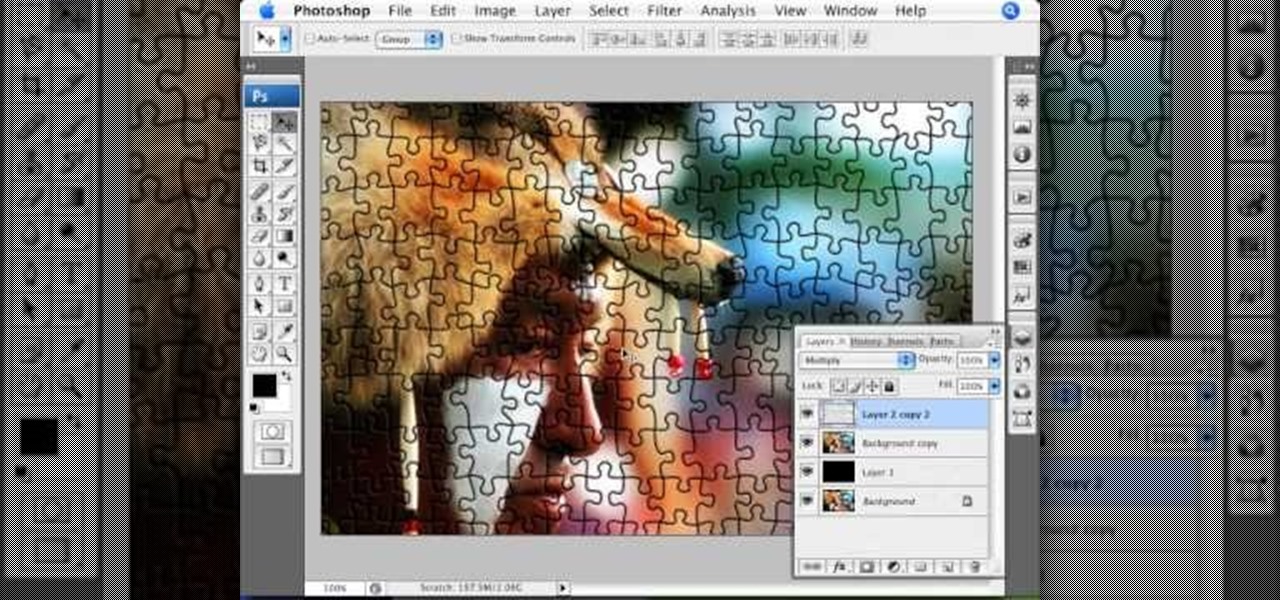
This video from photoshopuniverse shows us how to make your picture look like it's a puzzle by using Photoshop! First you want to open up the layers palette and duplicate the layer. Now add a new layer and bring it down to the middle and fill it in with black. Now to get the puzzle into place, go to Filter---Show Menu Items---Texture---Texturizer. Click the arrow to load texture. Load in puzzle texture. Now you can set the scaling to however many puzzle pieces you want. He put it at 75% and t...
Don't throw away that old keyboard! You can make a sweet wallet with the circuit sheets inside! Inspired by this Instructables project. Hack together your own cool wallet with this mod video.
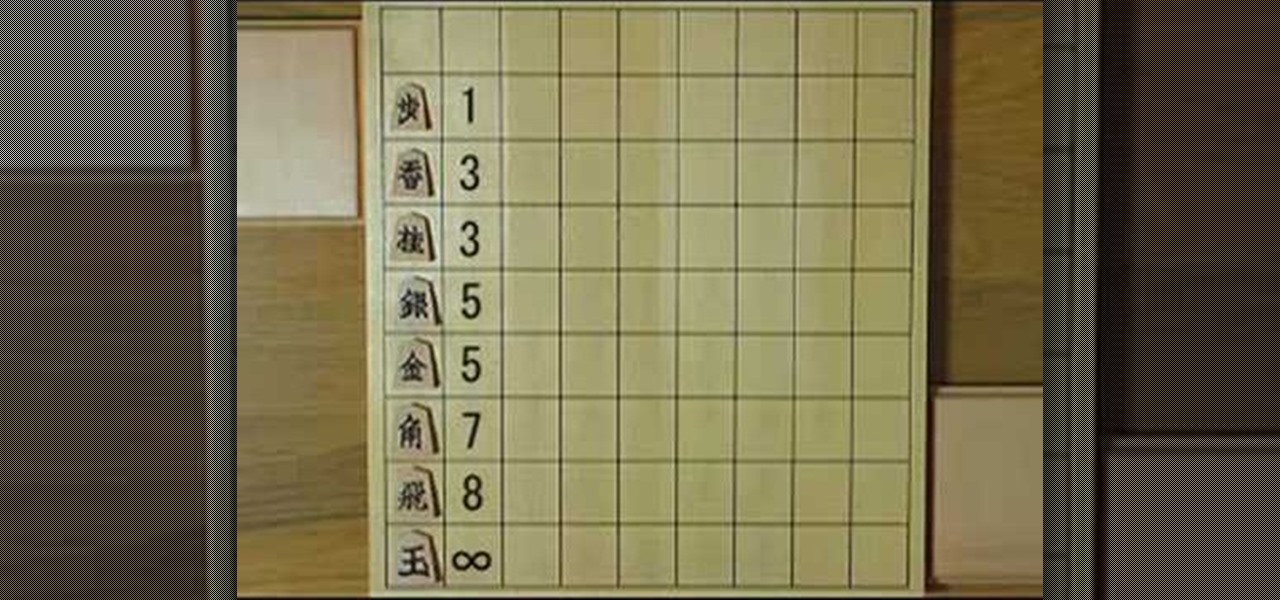
Do you like chess? How about Japanese chess? Aren't there different chess variants in Japan though? Maybe, but this specific chess variant is called Shogi. The chess-like game Shogi is won by capturing the king, just like chess, but defeat is conceded at mate, or when mate becomes unavoidable.
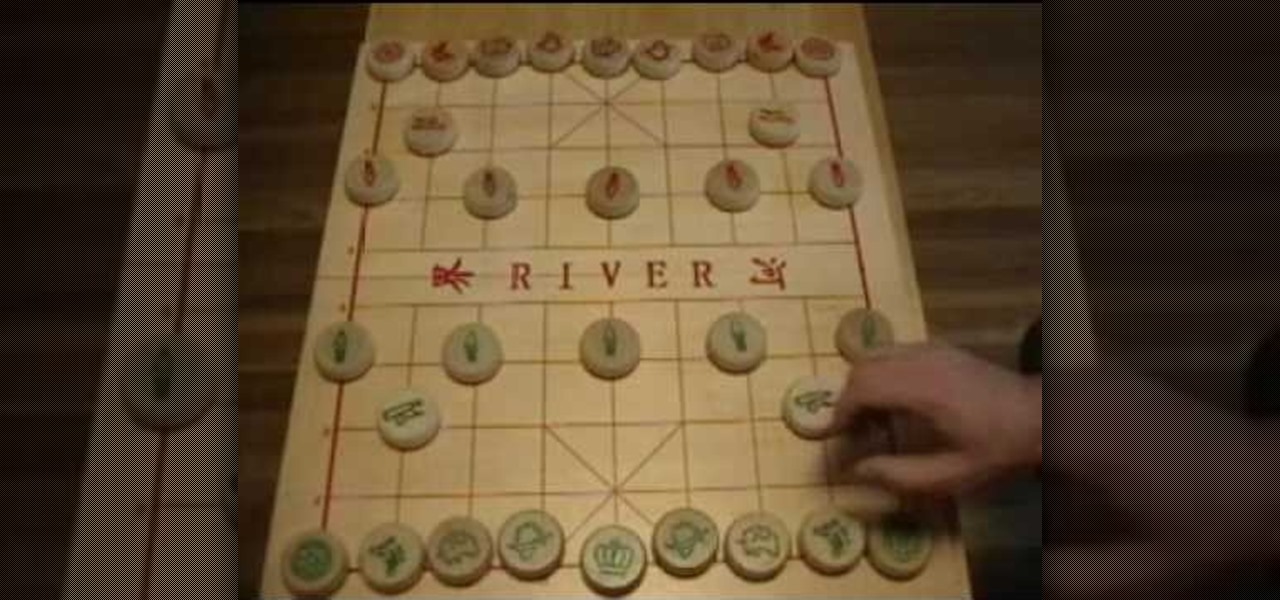
Chinese chess is the world’s most popular board game. Chinese chess, also known as xiangqi, has been played throughout East Asia for over 1000 years. The playing pieces have traditionally been identified using Chinese characters, so only those who could read Chinese characters could play. Now, Chinese chess is available in a set in which the pieces are identified by symbols on one side and Chinese characters on the reverse side so that anyone can enjoy this challenging strategy game.

Want to "remove the guard" in your chess endgame? Well, look no further, you are saved. Watch this to see how to do the great chess move. An enemy piece may become undefended or underdefended if the piece (or a piece) guarding it is removed (e.g., captured, forced to move away, etc.).
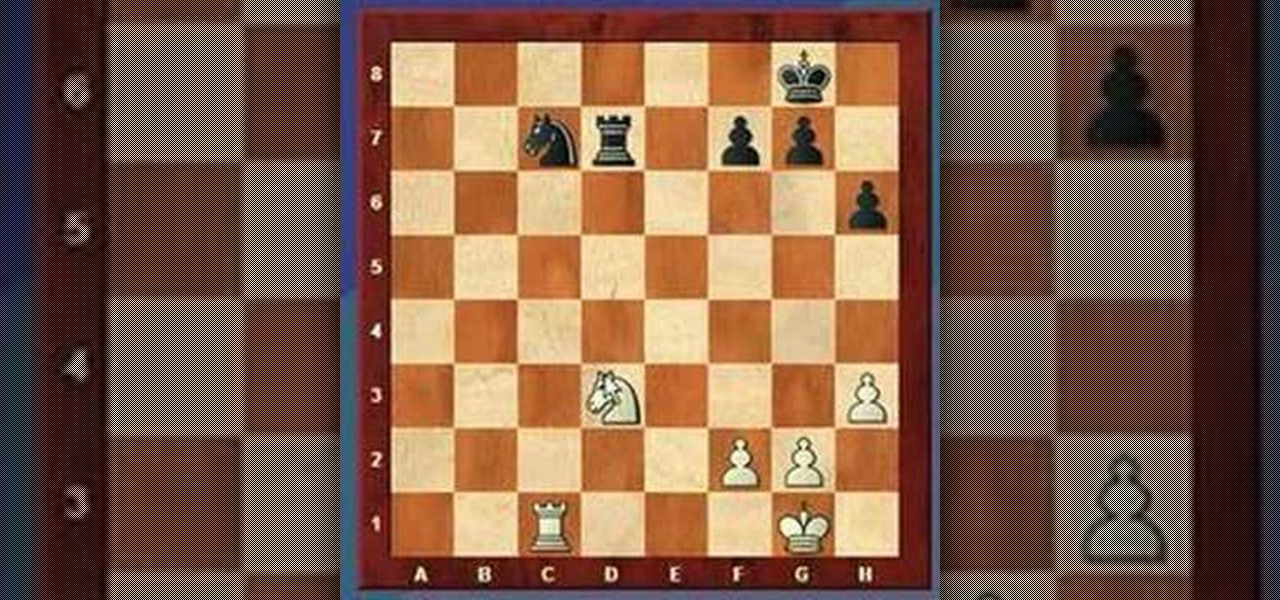
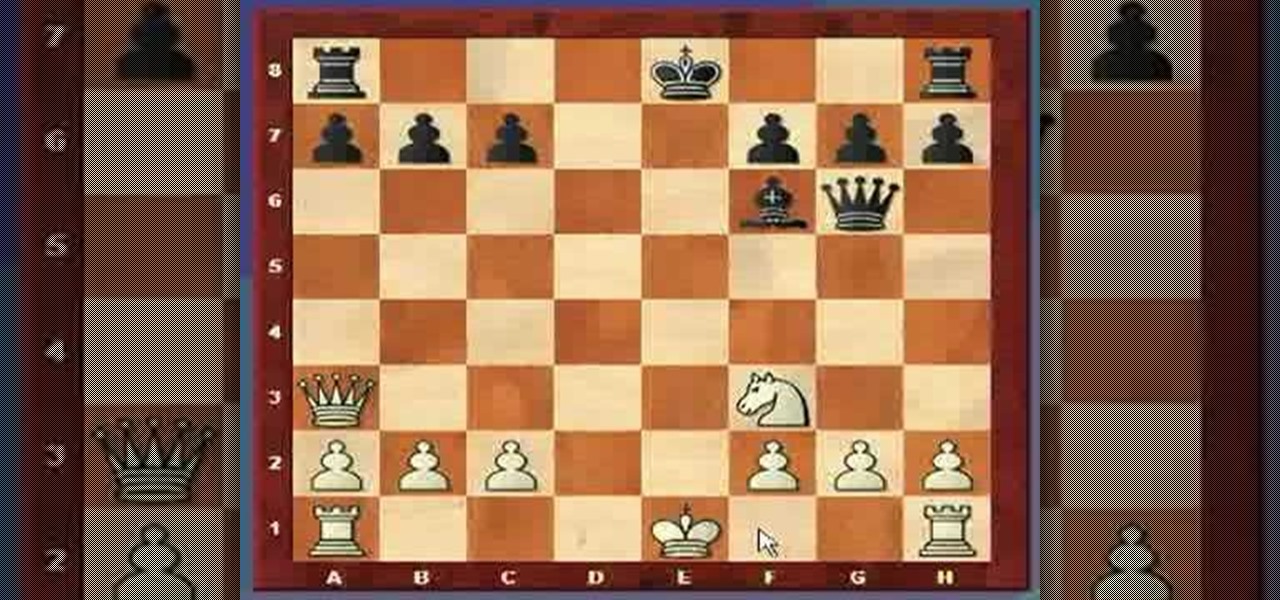
Ever here of the "overworked" defender" chess move? Of course you have, but that doesn't mean you know how to pull it off. See how to do it, right here. A chess piece is overworked when it has more than one defensive job (guarding pieces or squares) to do. Typically, the overworked piece is exploited by capturing one of the pieces it's defending or occupying a square it's defending. This forces it to leave one of its defensive jobs usually resulting in material loss or checkmate.

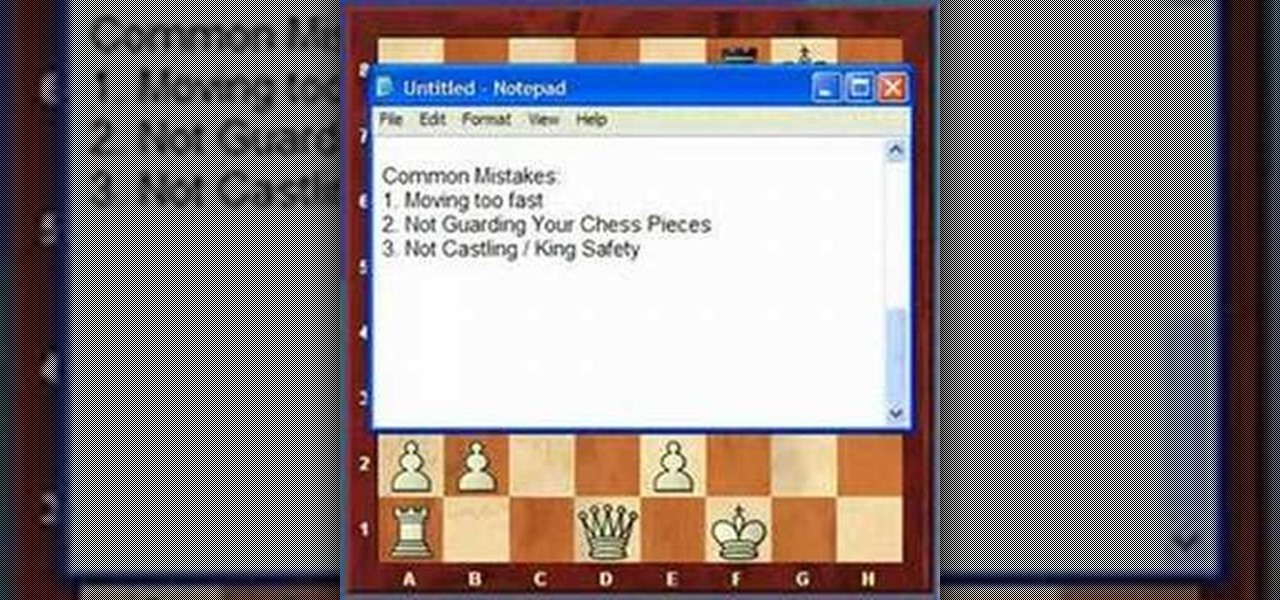
I bet you just can't win a game of chess, can you? You're probably rushing yourself, or not protecting your pieces. Well, in this video, you'll see how to avoid the common chess mistakes, such as moving too fast, giving away chess pieces for nothing (or not protecting your chess pieces), and not castling.
You know the basics of moving the game pieces on the board and capturing, now you need to know the special moves of the chess pieces, such as Pawn Promotion, Castling, and En Passant.
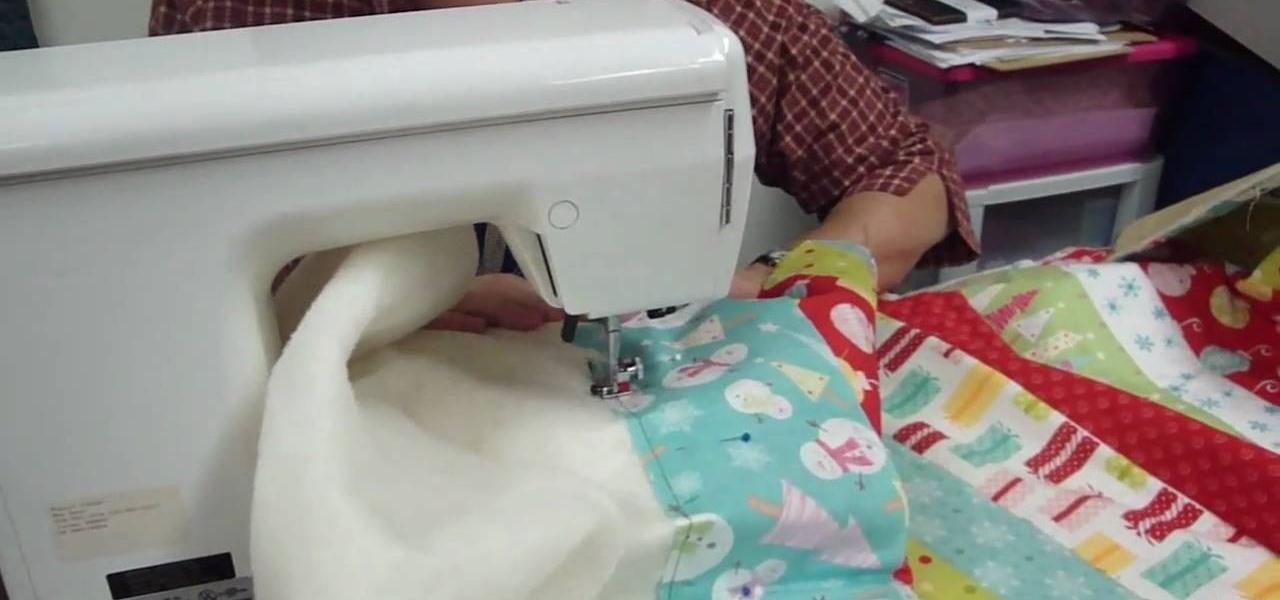
Looking for a new way to do your quilting? Why not try the 'quilt as you go' method! With this method you don't finish the whole piece at one time, but instead take various pieces of fabric and use them one by one. This is a great method if you happen to have a big bag of fabric odds and ends you didn't know what to do with. You'll need a piece of backing, thread, pins and of course a sewing machine. Watch and learn how to quilt as you go!
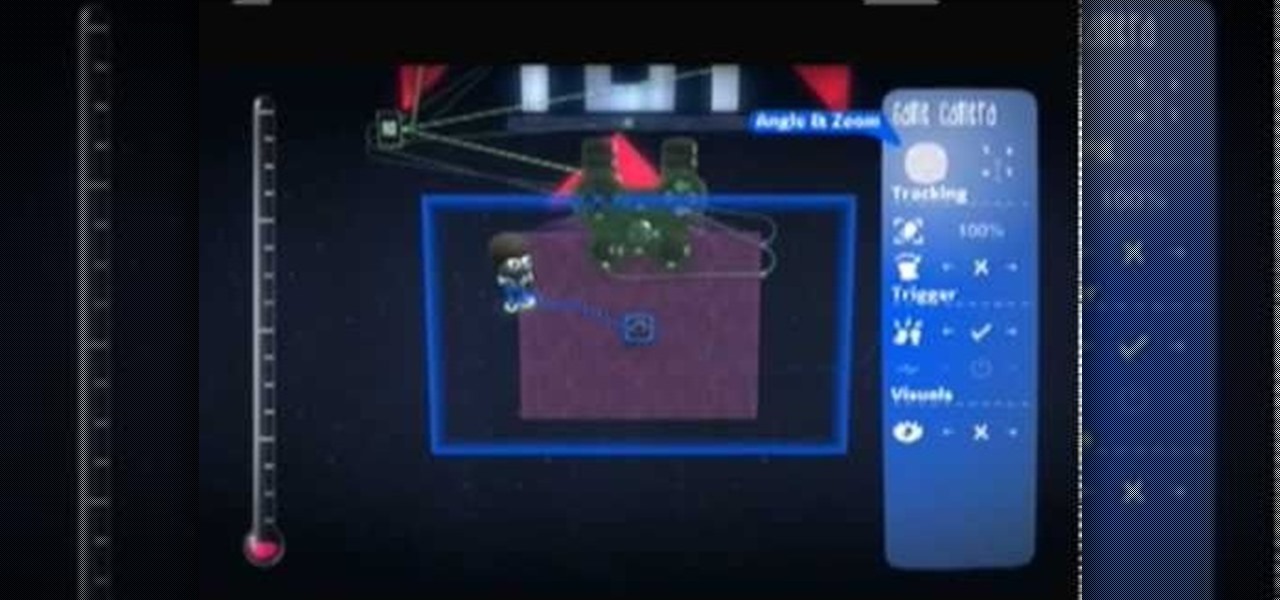
The first thing someone sees when they start a video game (after the studio cards and legal info, technically) is the start menu. Having an intuitive, attractive one is a great way to affect people's first impressions of you game, in LittleBigPlanet 2 and elsewhere. This video will teach you how to make an awesome two-piece selection menu for your custom game and guide players exactly where they want to go.
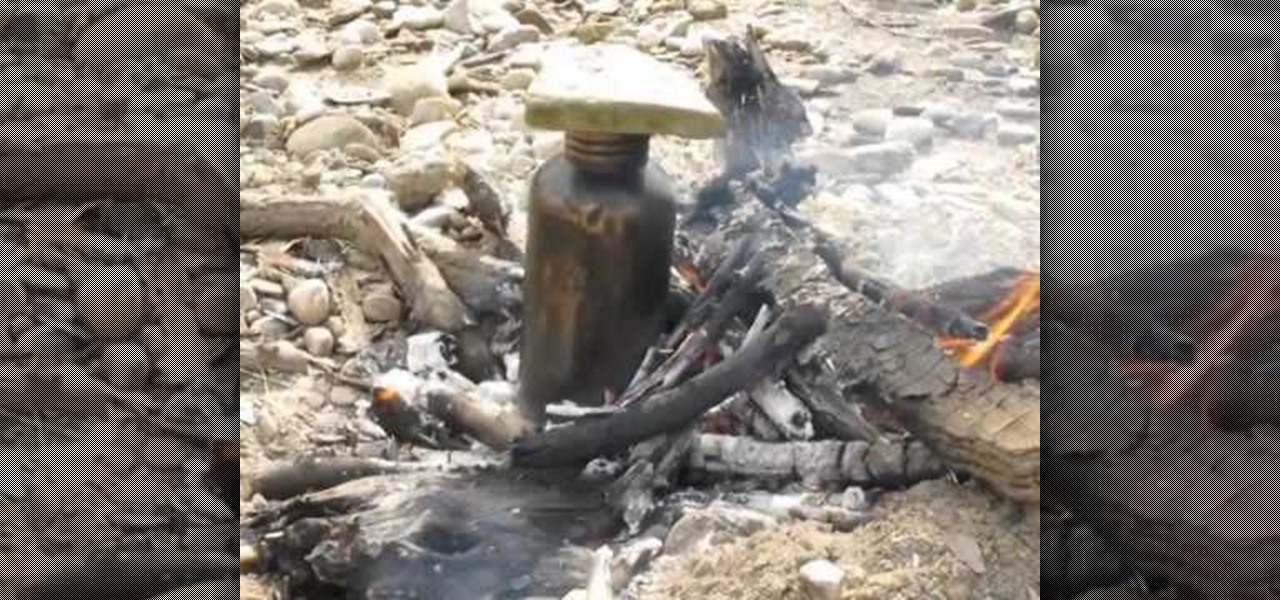
Lighting a fire in the wilderness can be tricky, but having a piece of charcloth can make the task easier. Charcloth is carbonized cotton fiber, which lights easily when exposed to a spark, making your task of lighting a fire in the wild, much, much easier. You'll need a fire, a metal container with a lid and a piece of cotton fabric. Voila, charcloth!
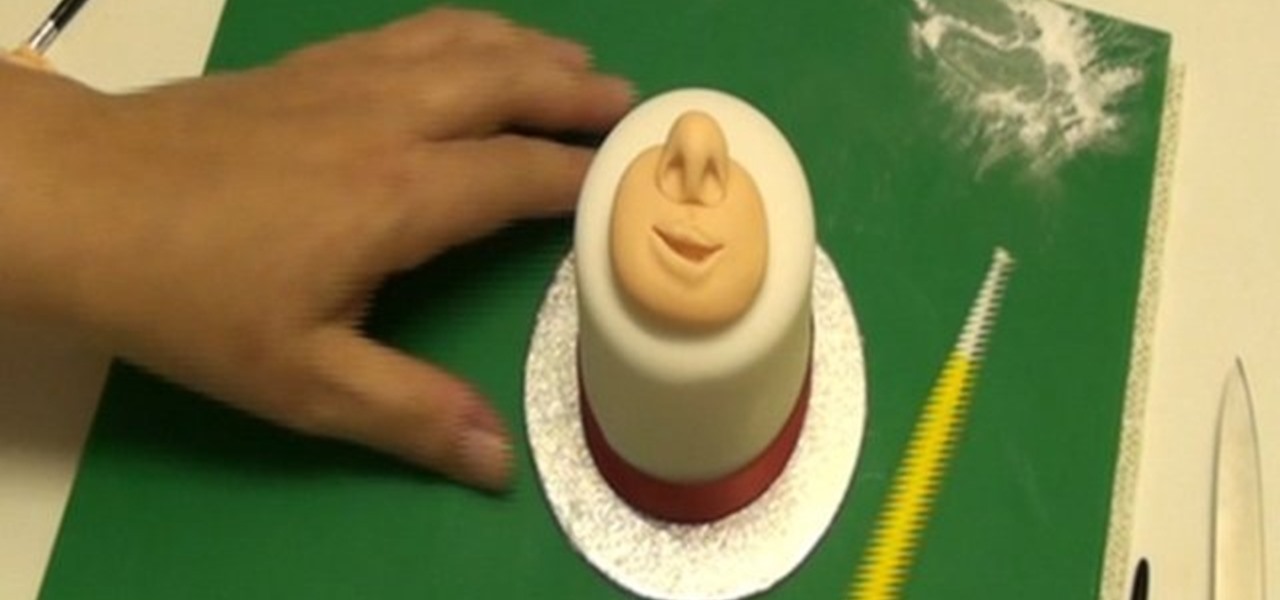
Lorraine McKay shows us how to make a Scottish tam o'shanter figure with fondant. First, take a hat shaped piece of cake with fondant, then take a smaller ball of fondant and roll it into a small sausage shape, then glue it onto the cake. Use a smaller piece of fondant for the nose, pressing it in with a knife, then use the knife to create a smile on the mouth. Push into the mouth to smooth out the cut. Then use a ball tool on the bottom of the mouth to create lips on the figure. Use a piece ...
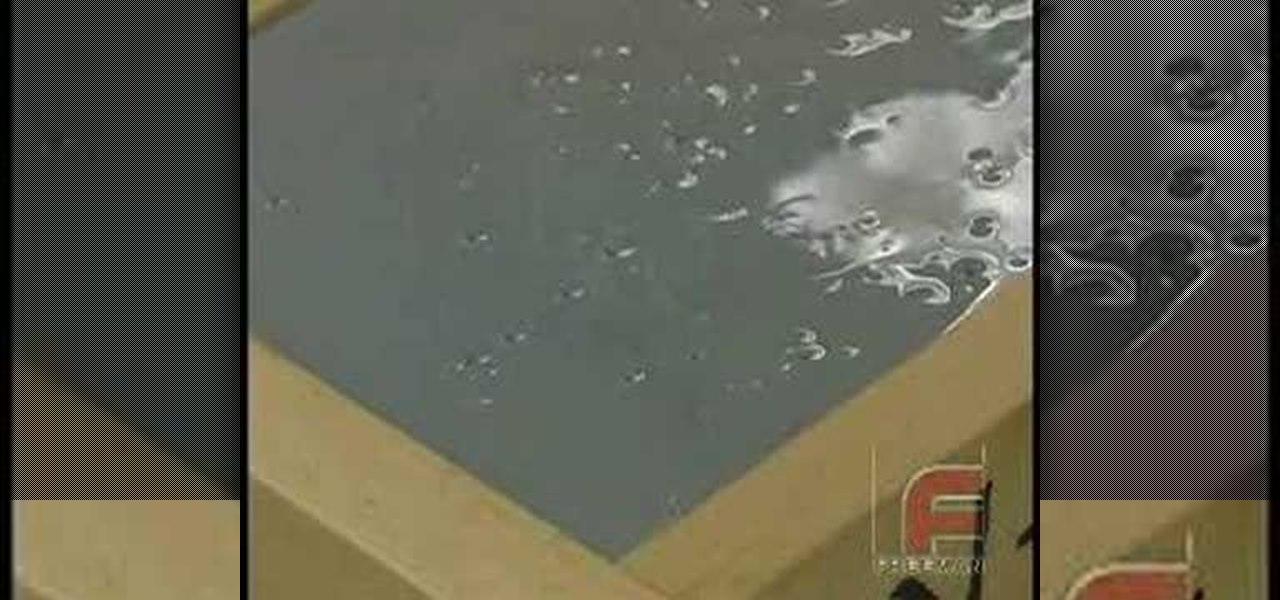
Check out this video for how to create simple one piece silicone rubber molds. This technique is ideal for smaller projects (less than 12" x 12"), this is the easiest process for creating parts, patterns, tools, & molds. We demonstrate creating a silicone rubber mold and then the casting of parts with Repro, epoxy casting resins and polyurethane elastomers. This process can be used in automotive, mechanical, fine art and film special effects uses.
In this tutorial, we learn how to make a Saw 2 death mask. Start off by grabbing an old helmet and covering it with plastic wrap. Then, make paper mache over it. From here, cut a piece of rubber into small strips. Then, draw and cut three stripes on a piece of cardboard. Then, use two strips for the shoulders and one for around your waist. Then, make the front chest piece with cardboard. From here, make a square with Styrofoam and cut out a piece of an egg carton. Now, draw the eyes and mouth...
In this tutorial, Simon Leach teaches us how to double dip or glaze ceramic. This trick will save you a lot of time, just make sure you practice a lot. First, mix your glaze up in a large bucket and grab your pot that you want to glaze. Now, place your piece into the glaze and then flick the wrist to lift the piece up quickly. Don't let the glaze go over the base of the piece or it will become too messy. Now, dip the piece back in, getting some glaze on the inside and swishing the liquid arou...
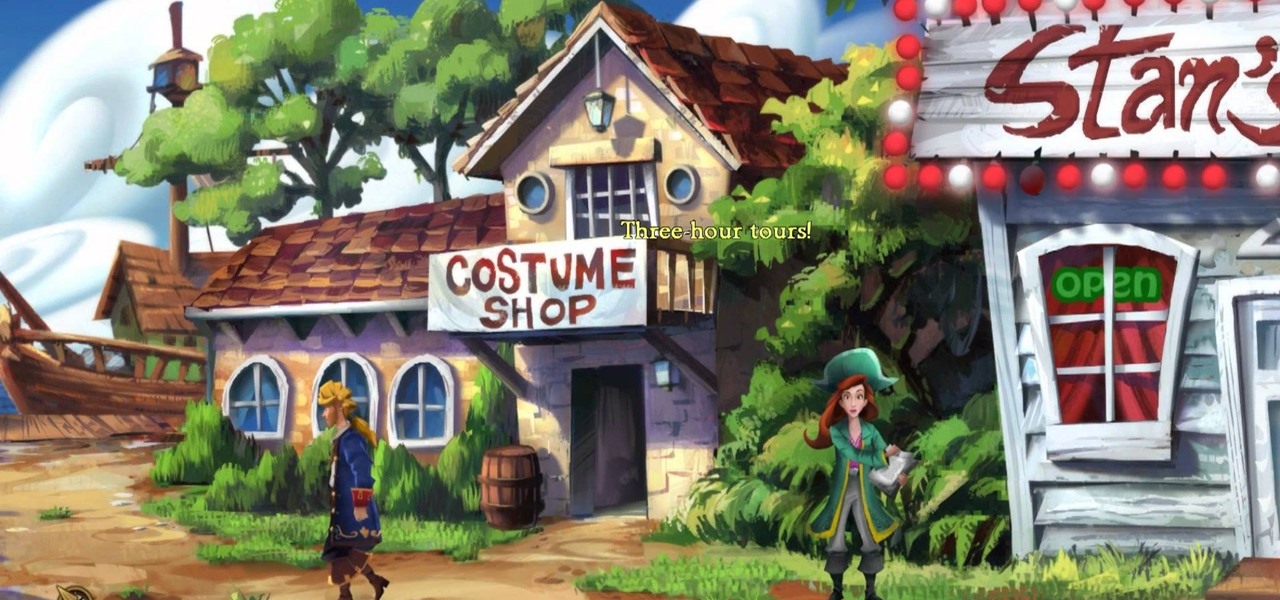
It's time for chapter 2 of Monkey Island 2! Four map pieces! It's off to Booty Island! If you're going around in as much circles as Captain Threepwood then this video is going to be the best map on the high seas! In this video you will get a full walkthrough of this entire chapter along with all the item locations and orders that you will need to get them in.
In this video, we learn how to build a bionicle switchblade. Start with the piece of the blade that has holes inside of it. Then, start to connect the edges and the other pieces that go inside of it. Grab the piece for the blade, then lock it into place by attaching the elbow pieces that connect around it. Once you have connected these together, you will have one entire piece with the blade on the very edge of it. The end of it should be bendy, so grab a rubber band that is thick and wrap it ...
In this Arts & Crafts video tutorial you are going to learn how to fold an origami ninja star. Take a normal paper. Fold it diagonally from one corner and cut off the extra portion to make a square. Fold it in half and cut into 2 rectangles. Fold each piece in half along the length. Fold both ends of each piece in opposite directions to make a triangle. Now fold the ends again to make a bigger triangle at both ends of each piece of paper. Each sheet will form a 'Z' shape. Now place one sheet ...
In this tutorial, we learn how to make a triple decker peanut butter and jelly sandwich. First, take three pieces of bread and seal your bread bag up again. Next, grab your favorite kind of jelly and peanut butter. Use a spreader to spread the items on the sandwich instead of a butter knife. First, spread a layer of peanut butter onto one of the slices of bread. Next, stack another piece of bread on top of the peanut butter, and spread the peanut butter jam on top of that piece. After this, p...
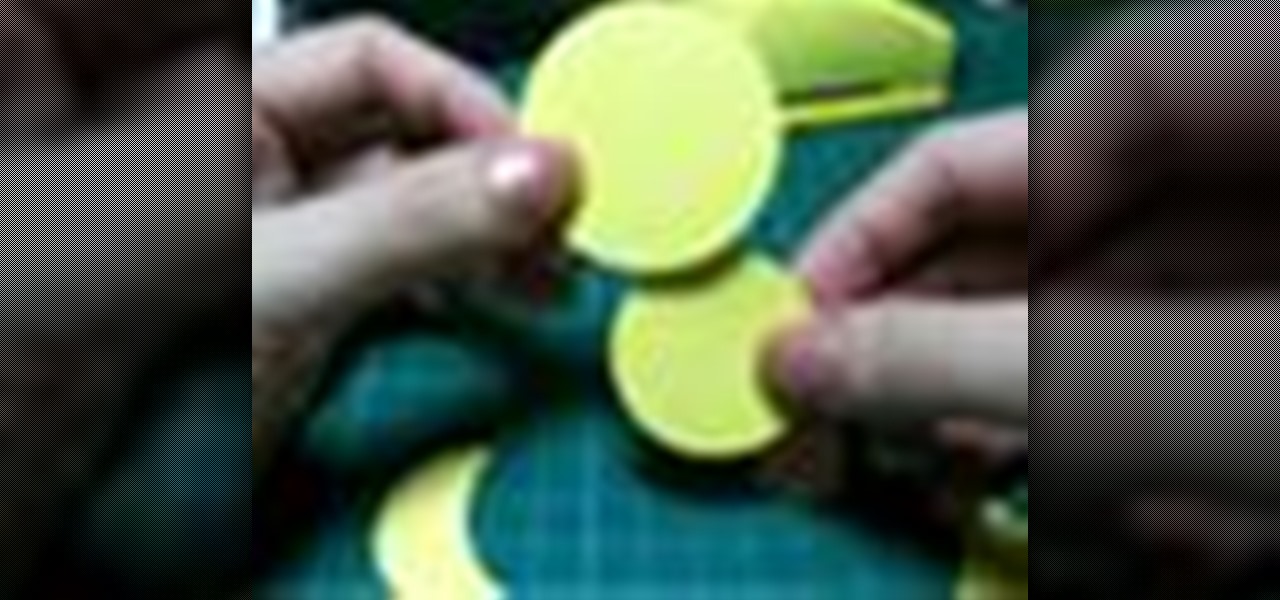
In this how to video, you will learn how to create a little chick with punches. You will need a 1 3/4 circle punch, a 1 1/2 circle punch, a 1 1/2 circle scallop punch, and a small square punch. You will also need a pink and yellow material to cut from. Cut out one piece from the 1 3/4, one from the 1 1/2 circle, and two pieces from the 1 1/2 scallop circle. Take one piece of the scallop and take the 1 3/4 punch and punch the side out. Take the punched piece and place it on to of the other sca...
This video illustrate us how to make roast beef stew. Here are the following steps:Step 1: First of all take the beef and wash it properly.Step 2: Take onion, tomato, coriander and red chilies and cut them in small pieces.Step 3: Now take the beef pieces and apply curd, ginger paste, garlic paste and salt on these pieces and leave it to marinate.step 4: Now arrange these pieces on a microwave safe grill rod and arrange the cut onion tomato and coriander on the pieces.Step 4: Now set the micro...
This video is about making a marble greeting card. The materials required for making them are marabu marble starter kit which consists of six marble paints,a marabu konturf paste, a polyester ball, a bowl, kebab sticks, a pencil, a cutting knife, a glue, sweat pieces of card, three cards of different colors and a bucket of water. The video starts by folding one piece of card into half and then cutting the ball into two pieces. Keeping the piece of ball as the center draw a flower around it on...
In this how-to video, you will learn how to design and create four of your own Lego light sabers. All you need is six different pieces as seen in the video for the first design. Now connect them vertically, one at a time. All you need is six different pieces as seen in the video for the second design. Now connect them vertically, one at a time. All you need is seven different pieces as seen in the video for the third design. Now connect them vertically, one at a time. For the last design, you...
In this short video tutorial you'll be shown how to build or create a LEGO fire extinguisher/spray paint can. The process only requires two LEGO pieces to complete the item. The first piece required is a 1x1 studded can LEGO brick. The second piece is a 1x1 nozzle LEGO brick. Each piece is clearly shown and described in the video to make the process easier. Simply attach the two LEGO pieces together, forming an item which resembles either a fire extinguisher or a spray paint can. The last ste...
It is not that hard to make your own drill press table. Start with a 3/4-inch piece of plywood. Cut a 3/4-inch dado cut on both ends of the 3/4-inch board about two inches from the end. Top the 3/4-inch plywood with a 1/4-inch piece of oak cut into three pieces. When you cut the board into three pieces cut the center piece out with a 10-degree angle so that when you glue the two end pieces down the center piece will slide in and out but be held in place by the angle. This allows you to change...
Here's another video showing you how to rip up a piece of paper and then have it magically restore itself to its pristine state. This requires two pieces of paper and little handy work, distraction and you're off to the races!
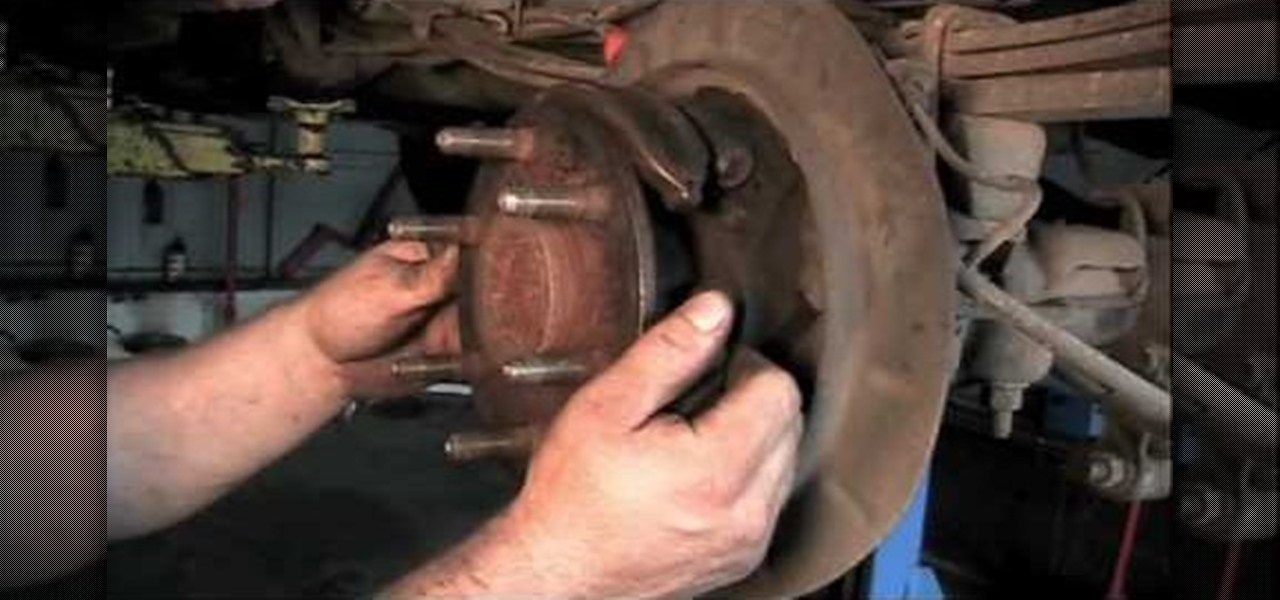
Chevy Silverados and Tahoes from the year 2000 onwards have used a one-piece design for the parking brake pad shoe, and it is not a very good piece. It breaks all the time, but this video will show you how to replace it without removing the axle.
In this Family video tutorial you will learn how to craft felt frog puppets with your kids. The materials you will need for this are felt (pink, dark and light green), a piece of red lace, 2 large white pompoms, 2 small black pompoms, scissors, glue and marker. Take two layers of dark green felt and draw out the outline of half of the left palm. Fold the felts in half and cut out the outline. Stick the two pieces along the edges to make a glove. Next cut a rectangular piece out of the light g...
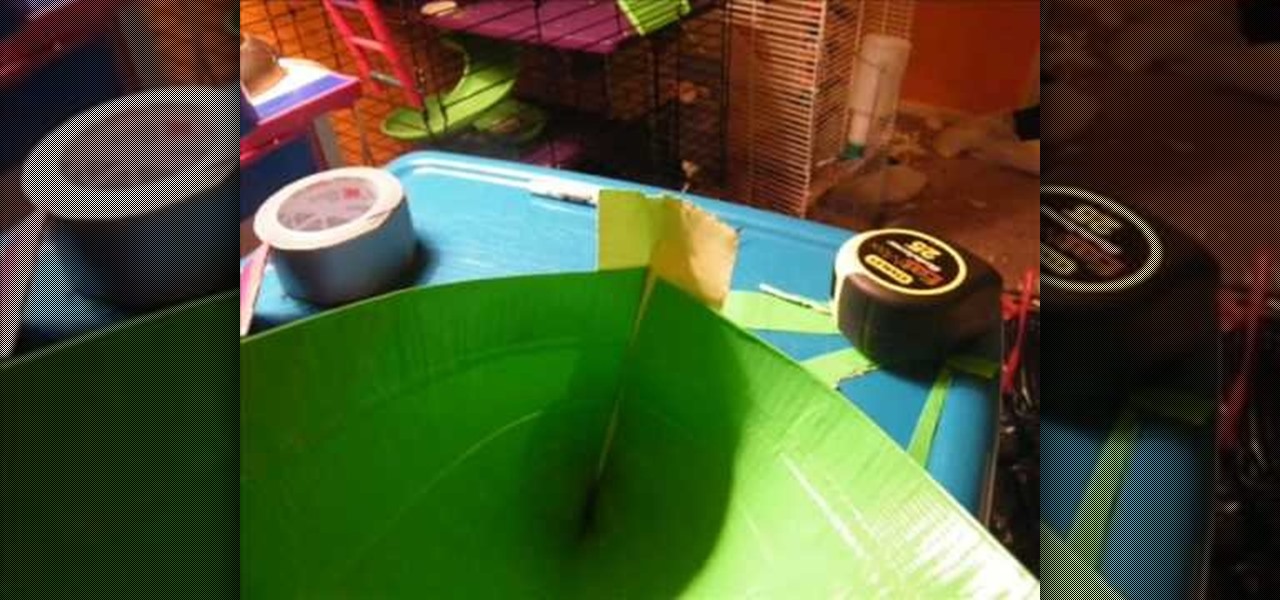
Alex shows us how to make a duct tape iPod holder in this tutorial. This will prevent damage and is also waterproof! You will first wrap four piece of duct tape around your iPod with the non-sticky side first. Stick one piece on top of each other so it covers the iPod completely. Don't make it to tight. Next, use the sticky side to tape the last two pieces onto the other pieces of tape. When finished, you will have a unique iPod holder that protects your iPod and is a cheap alternative to cos...
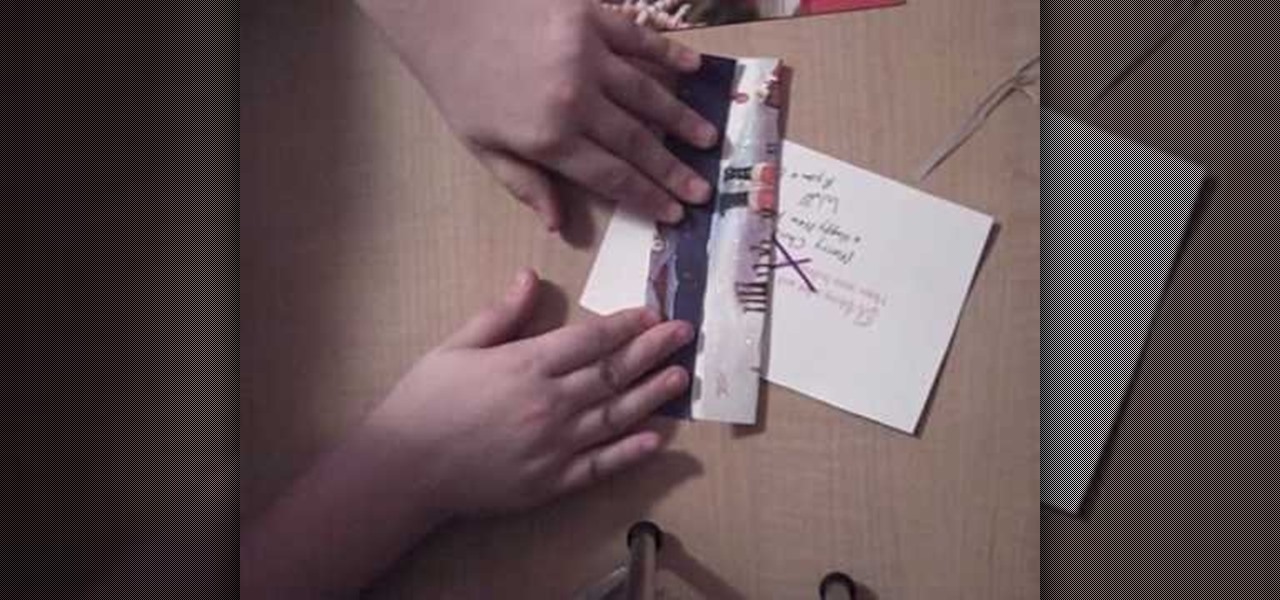
This video shows us how to make a homemade jewellery box out of a Christmas card.For that you need a pair of scissors,a tape,a christmas card,a marker and another card to draw your X with.First take the card and cut it straight down the middle into two pieces.Now take the back side piece of the card and cut off 1/4 of an inch from the left and the bottom portions.This will help to fit the cards together.Next use the extra card and trace an X on both sides of your card piece,in the middle.Take...
This particular video demonstrates a method to wax your snowboard. This method of waxing the snowboard does not involve use of iron. It is done using a large piece of wax and a piece of cork. Firstly we need to rub the piece of wax over the surface of the snowboard. Hard rub is required and one ball jay is the most efficient. After rubbing for some time we need to polish the waxed using a large round piece of cork. After polishing for some time you will discover a shiny looking snowboard read...
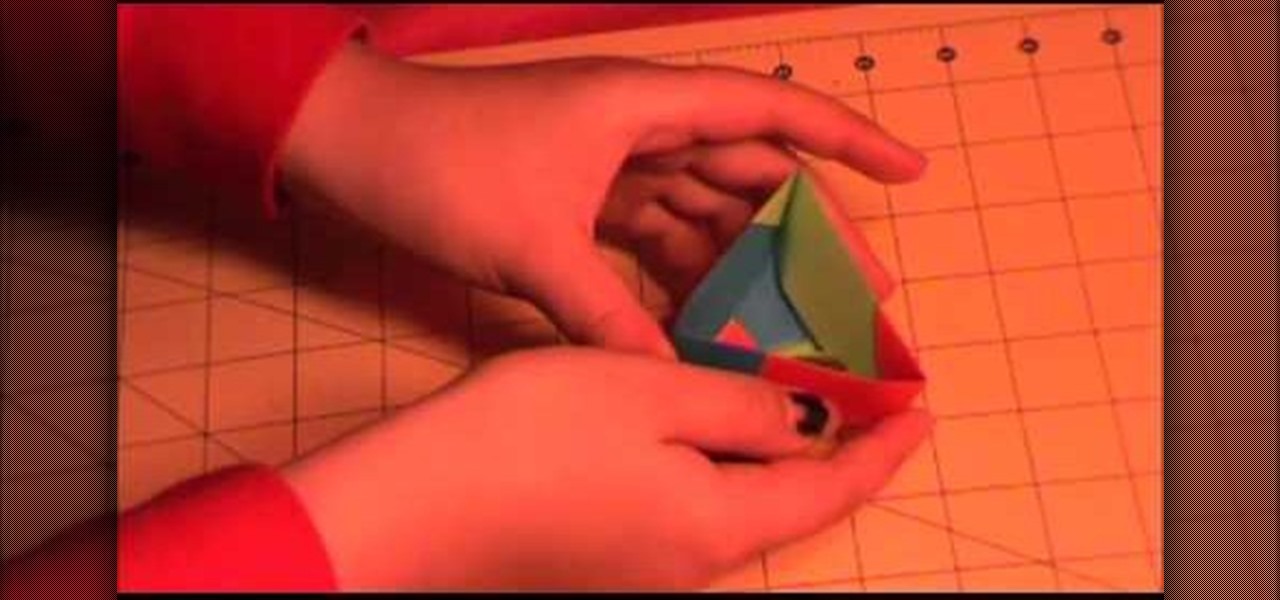
The Amazing Origami channel takes you through step by step instructions of how to build a triangle origami box in this video. Six pieces of origami paper, three different colors, are all the supplies you will need to make your very own box! First, separate the origami paper into two groups of three, all three colors should be in both groups. These groups will make the top and bottom of your box. The three pieces of paper used for the bottom will all use the same folding technique, this is als...
This video is a tutorial on how to perform the multiplying chalk trick. The magician uses two pieces of chalk to perform this trick, although he also suggests using anything chalk-shaped. First, the magician performs the illusion of hiding one piece of chalk in his right hand. The other chalk is visible to the audience in his left hand. He switches the chalk and pretends to put it in his pocket, but in reality he is hiding the piece of chalk. He continues to repeat this action over and over. ...
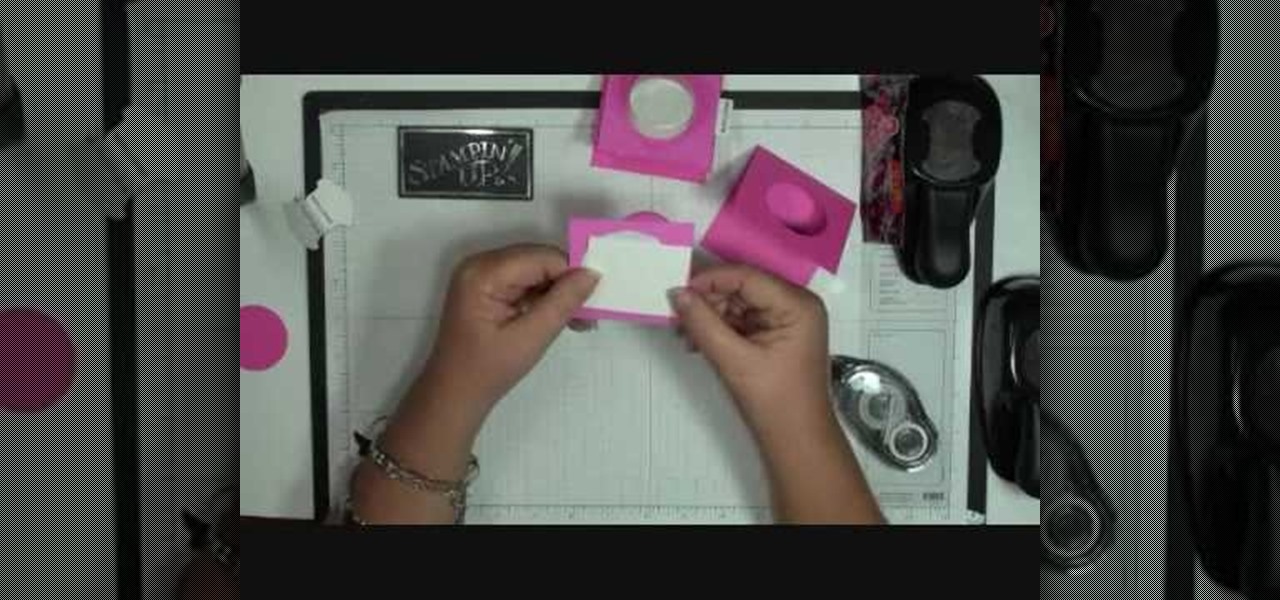
Dawn5377 teaches you how to make a pink sweet treat cup door. You need a stamp from the sweet center set and you use it on a small piece of pink cardboard. You punch the middle out. Also punch the middle of another piece of pink cardboard. Insert the treat cup door and stick it in. You use dimensionals to hold a white piece of paper, which acts like a tray under the plastic dome. You add some sweet treats inside and stick the other pink piece (with the heart) on the other side. Also remember ...
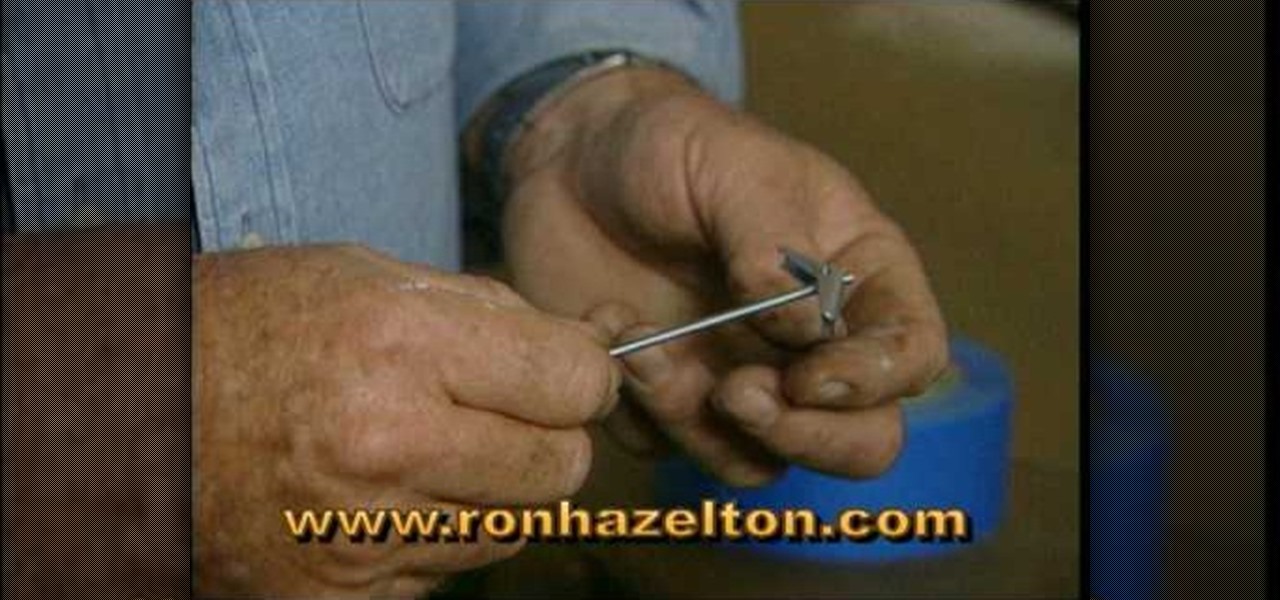
Ron Hazelton shows the most secure way to hang heavy mirrors or art on plaster walls using toggle bolts. Attach a sturdy hanging wire to the piece if necessary. Draw a level line on the wall where the top of the piece will go. Stretch the hanging wire taut and measure the distance between the wire and the top of the frame. A two-bolt system will keep the piece level. Drill two holes this distance below the wall line. Using masking tape prevents the plaster from chipping. Fold the toggle wings...
Designing bathing suits can make for difficult fashion illustrations. Learn to draw one-piece bathing suits from a fashion designer in this free fashion illustration video series.
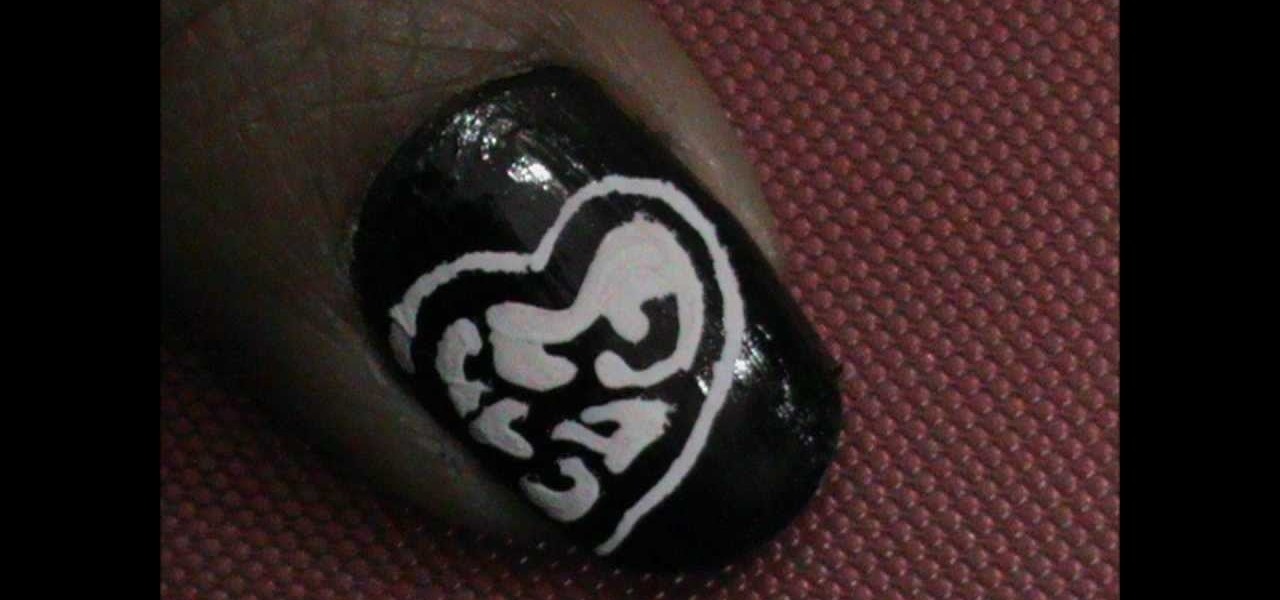
This is one of my personal favorite designs from last year, that I wanted to share with you all for this year's valentines day !
Is That All Duct Tape demonstrates how to make a duct tape wallet. You will need a knife, duct tape of any color and measuring tape. First, rip off a piece of tape about 10 inches long. Put the tape sticky side up. Attach another piece of tape sticky side down on top of it half way down. Fold the first piece of tape on top of the second piece of tape. Add more pieces using the same technique until it is 8 inches tall. Trim the sides so it is even. Fold the piece in half. Seal the side seams w...
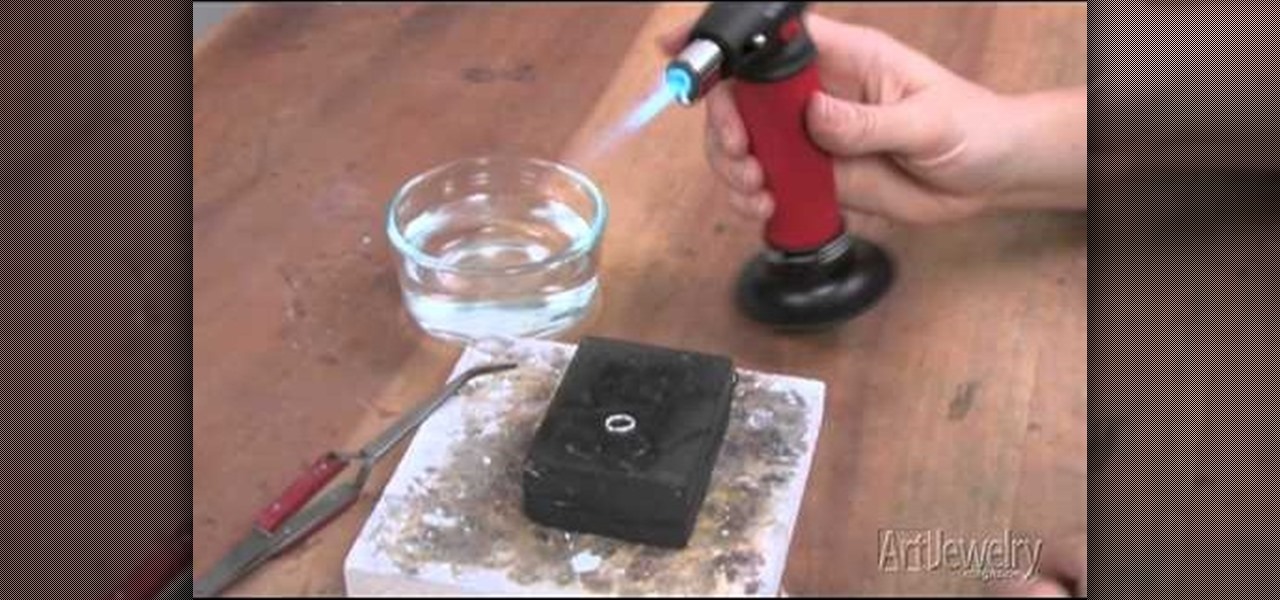
You can fuse metal together without having to solder it. By using a butane torch, you can heat your pieces of metal until they are almost but not quite melted. Once they reach this flashpoint, you can easily fuse the pieces together.