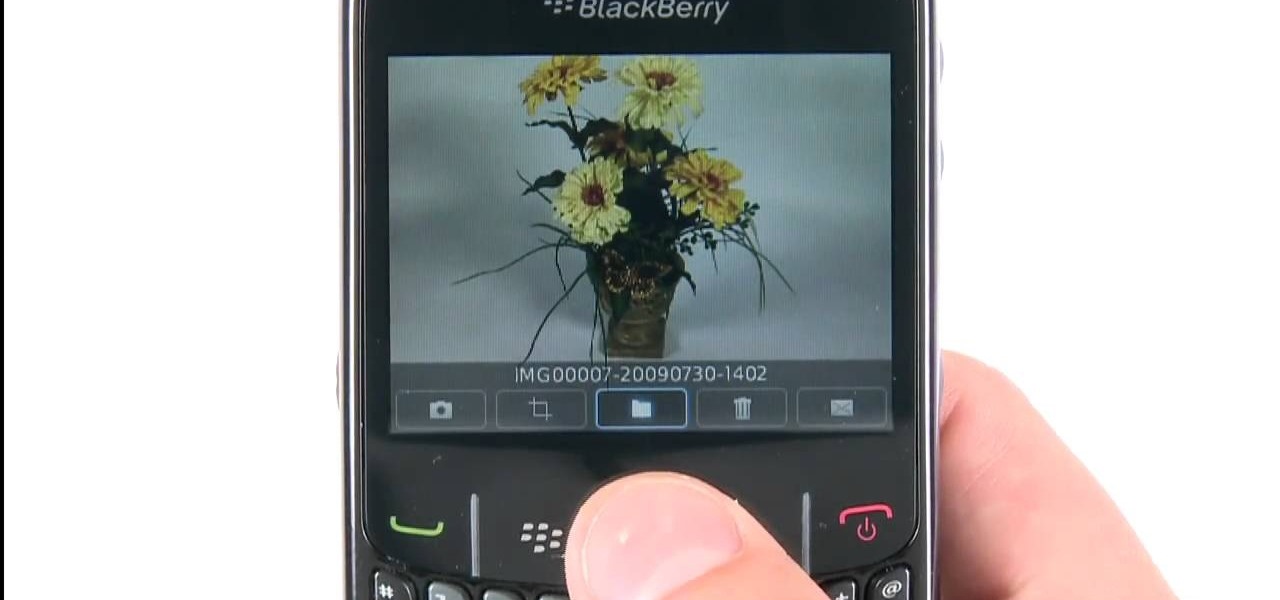
Learn how to use the digital camera in your BlackBerry Curve 8520 phone to take pictures. This clip will show you how it's done. Whether you're the proud owner of a BlackBerry smartphone or are merely considering picking one up, you're sure to be well served by this video guide. For detailed information, including step-by-step instructions, take a look.
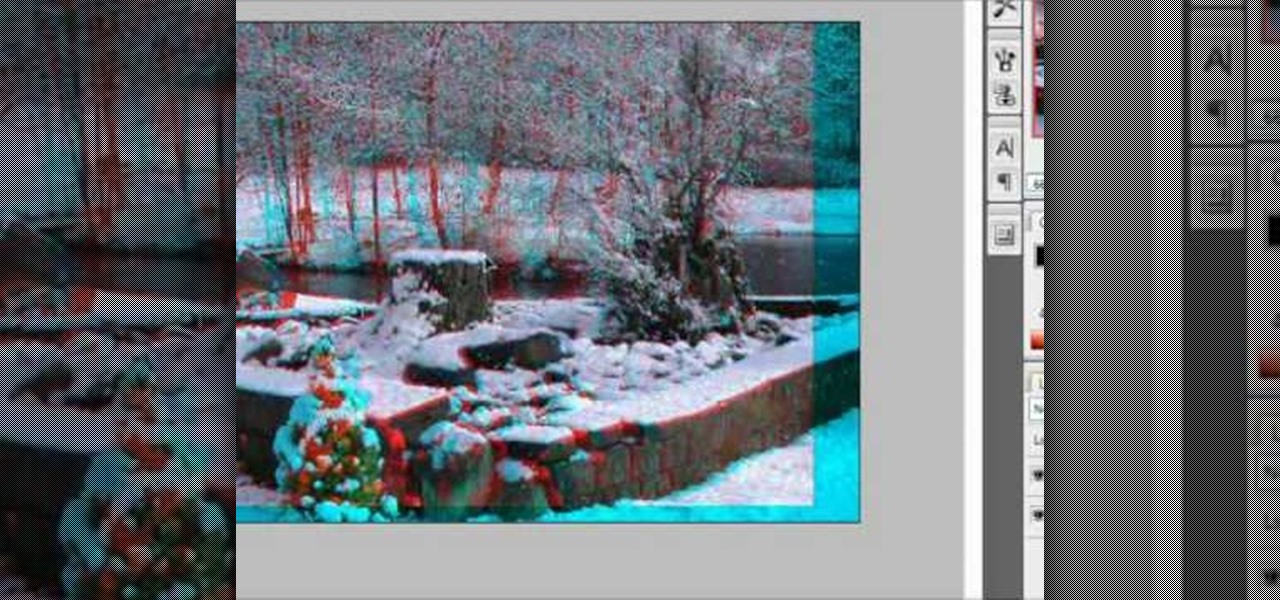
3D glasses are enjoying a renaissance right now, but the new ones are a far-cry from the red-and-blue affairs of your youth. Old-fashioned 2-color 3D pictures are called anaglyphs, and still have a very nostalgic appeal to many people. This video will show you how to make stereoscopic anaglyphs using Photoshop, allowing you to create all sorts of cool images to use that old pair of 3D glasses on.
Check out this informative video tutorial from Apple on how to create picture-in-picture effects in iMovie '09.

Watch this video to learn how to use silicone putty to repair a broken or damaged antique picture frame. Make a mold with the putty and make a reproduction. Great visual demonstration and detailed instructions!
This tutorial shows you how to make a picture frame using a Mattel Juicebox media player.
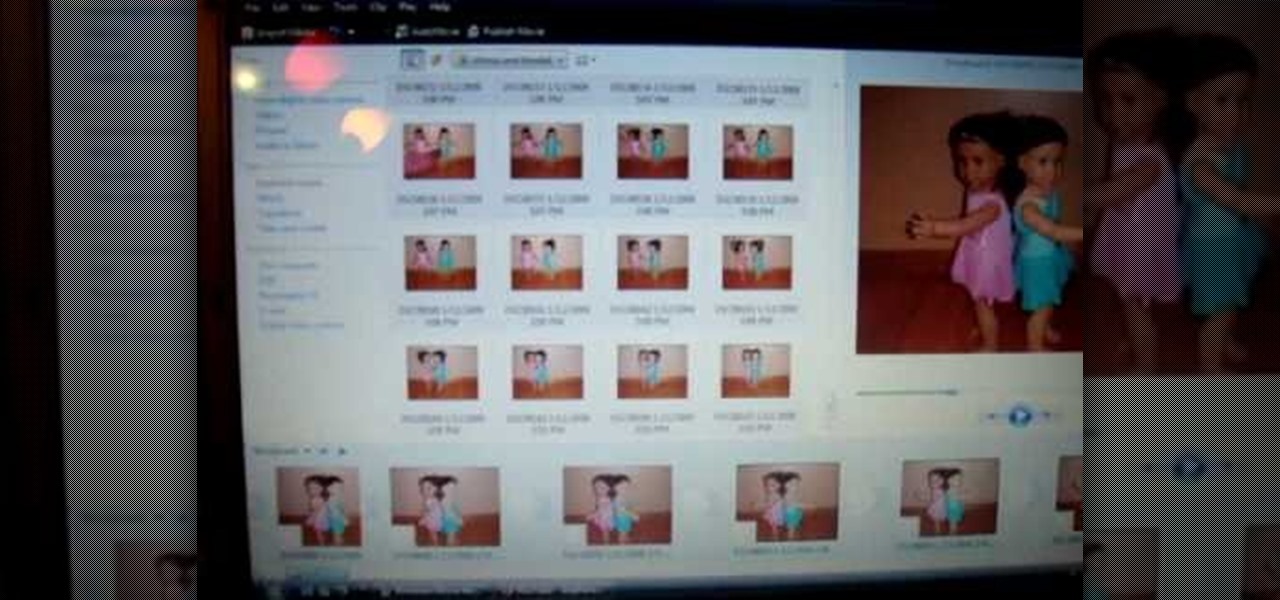
In this video, we learn how to make a stop motion video with your American Girl Dolls. First, you will need to get a tripod to place your camera on and move it around. After this, put your doll out and then take a quick picture. Then, move her arm a little bit taking pictures one by one. You will be moving her, going out of frame, then coming back into the frame. When you're finished, load the pictures onto your computer and then choose all the pictures that you want to use. From here, you wi...

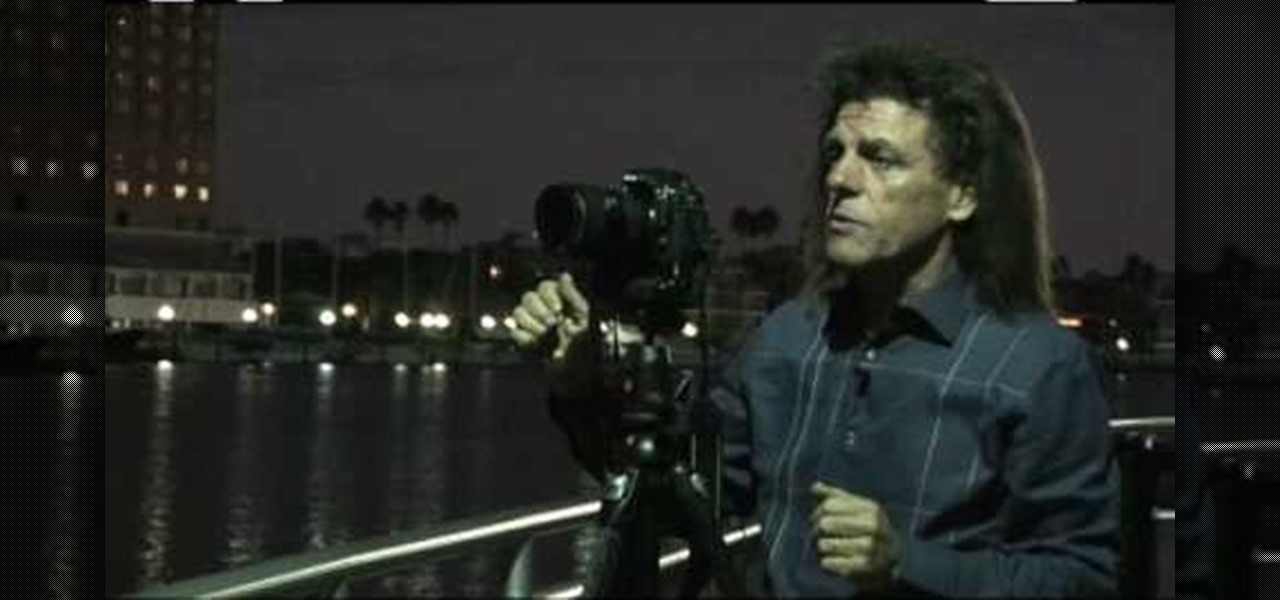
In this tutorial, we learn how to take pictures right after sunset. To get the optimal setting for pictures after sunset, you will first want to place your camera on a tripod. You want to get a view of both the sky and the tops of buildings that have just turned their lights on. After sunset, set your flash to a setting for outside and then take a picture of the sky with the clouds showing lightly in the air. Make sure to take a wide angled shot so you can see a clear view of the surrounding ...
In this tutorial, we learn how to clone yourself in GIMP. First, open up GIMP on your computer and then open the picture where you want to clone yourself. After this, open the other picture where you want to copy yourself and right click to copy it. Now, create a new background layer for your main picture. Use the lasso tool to cut out one of yourself inside of a picture, then transition it into the main picture. Exit out of the other image, then start to edit the colors and opacity in the fr...
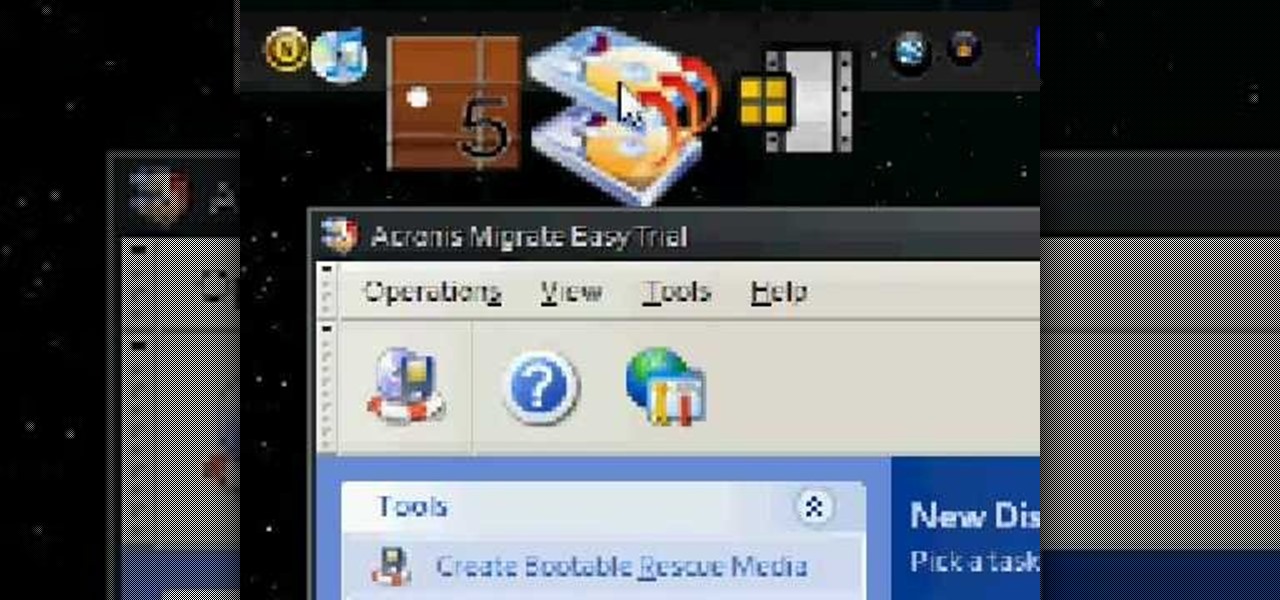
Hard drive space is cheap and abundant these days, and it's probably a great time to upgrade to a huge one. Now all you've gotta do is clone all of the data from your old drive to the new one. This video will show you how to use a program called Aconis Migrate Easy to do the whole process quickly and easily.
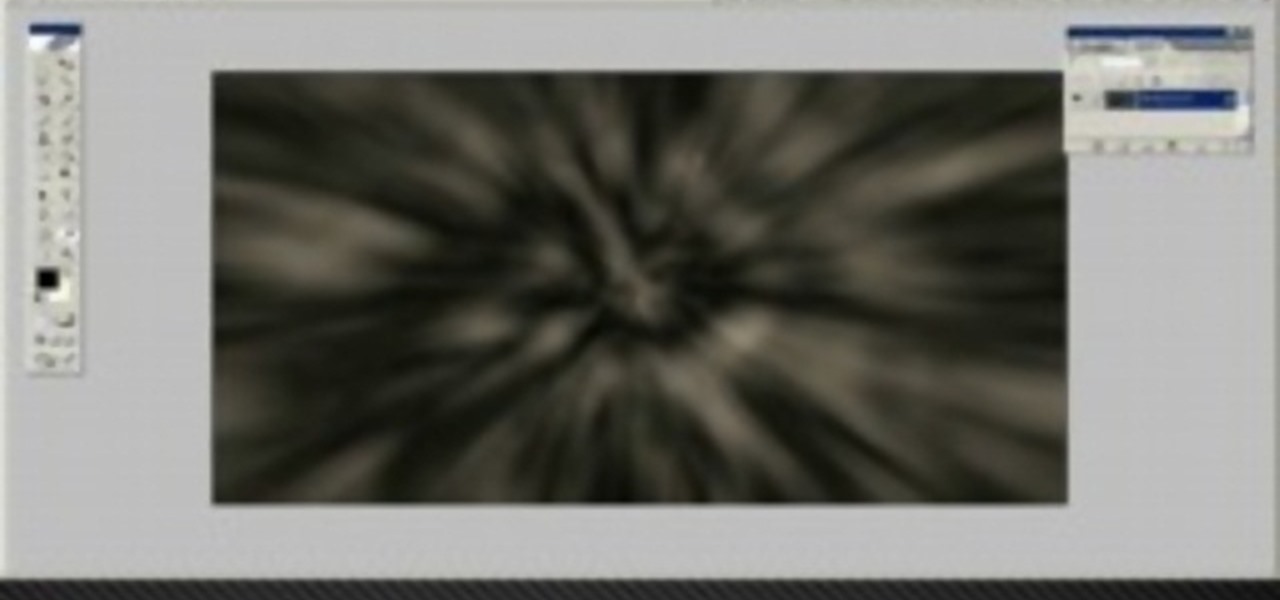
In this tutorial, we learn how to blast effect a picture in Adobe Photoshop. First, open up a picture in Photoshop, then go to filter, then blur, and radial blur. Change the amount to 77, the blur method to 200m, and the quality to best. After this, hit "ctrl+I" to invert the colors. When you are done with this step, the picture will look like it has been blasted! To make this more different, you can change the colors on the picture or add in any other settings that you prefer. When finished,...
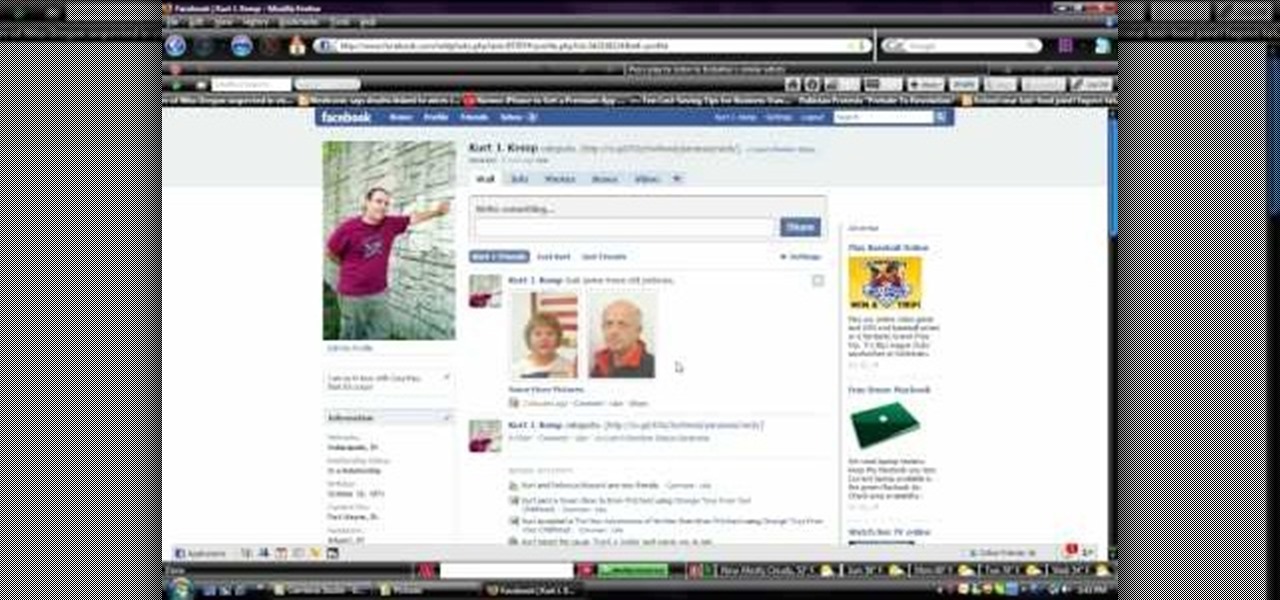
In this video, we learn how to create a photo album and tag photos in Facebook. First, log onto your account and then view your profile. Next, you will see a tab that says "photos", click on this. Now you will see a link that says "create a photo album". Click on this, then you will be able to make a name for your album, then write in a location, description, and choose your privacy settings. After this, upload the pictures that you wish and wait for the site to load. After this, add in capti...
This video tutorial is in the Arts & Crafts which will show you how to make a dangling picture frame. You will need pictures that you want to frame, old CD cases, a drill with a very thin drill bit and fishing line. Remove all paper from inside the CD cases, cut the pictures to the size of the CD case and place two pictures inside one case back to back. Next you drill a small hole at the top and the bottom of the case in the center. String one CD case with another with the fishing line. You c...
Have you always thought of Excel's grid system as kind of limited? Too small for what you need? Well, now in Excel 2008 for Mac, its grid might be too big for its own good! It's huge with plenty of room for all your data. The Microsoft Office for Mac team shows you just how to explore the bigger grid in this how-to video.
In this video tutorial, viewers learn how to reupholster the seat of a chair. Begin by taking the seat off the chair and remove the staples on the back of the fabric. Remove the fabric and cushion, leaving you with the wood base. With polstry foam, cut the foam out 1/8" larger than the board. With wool batting, cut the batting 4" larger than the board and then staple it to the board. Finish it by covering it with some decorative fabric. Cut the fabric 4" larger than the board and staple it on...
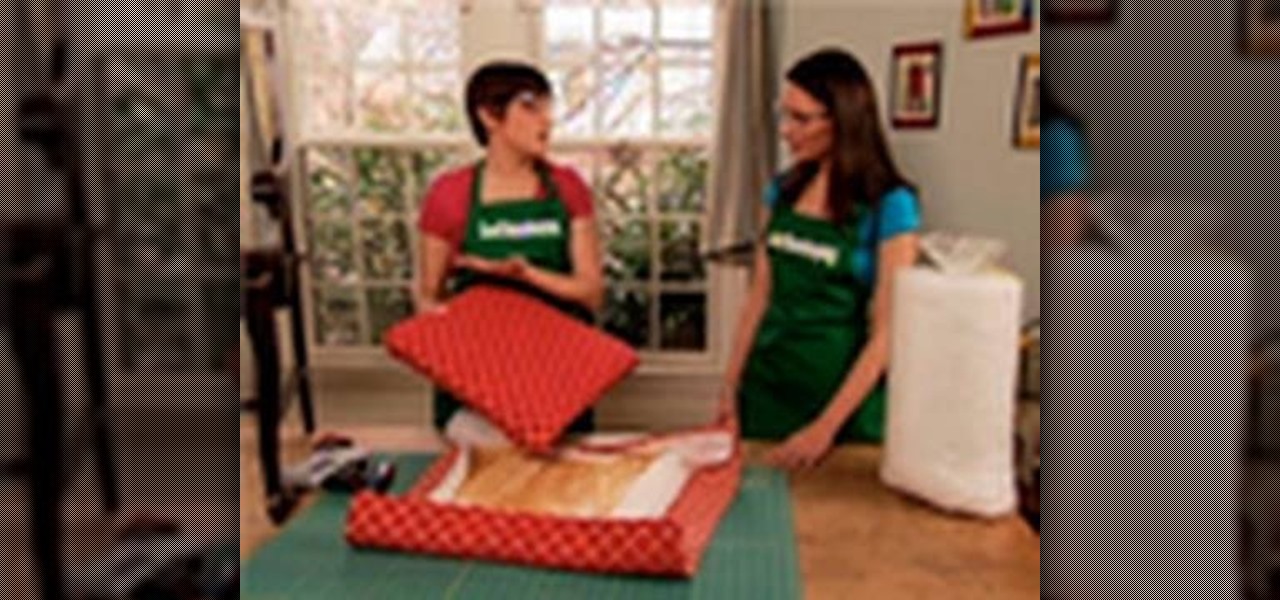
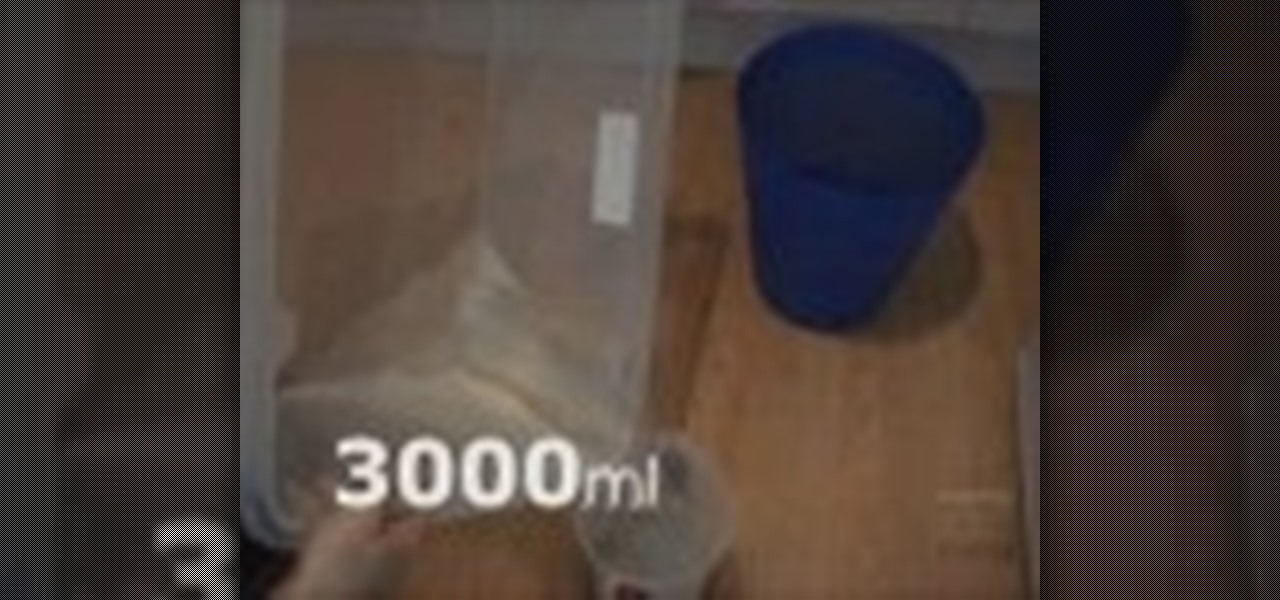
Here we will demonstrate how to measure the volume of a balloon. A balloon is not a straight edged polygon shape, usually, so the mathematical equations get that much harder, on the flip side, it may be a spherical or ovalish shape, but measurements with math alone are detrimental due to the uneven sizes of the balloon. Here is how to do it properly. You will need a bucket, preferably, to hold water, a larger container than your original bucket, and a measuring container. Place the bucket ins...
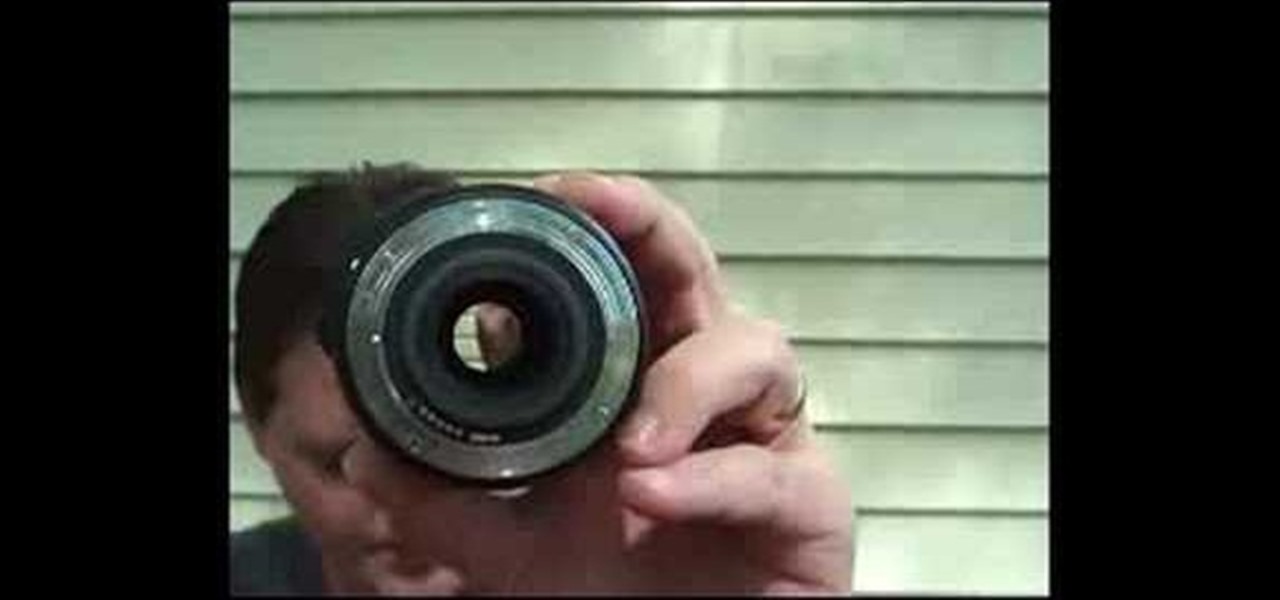
What is the difference between a F1.8 lens and a F5.6 lens? It's really very simple! F8.1 has a much larger lens, and therefore it allows more light to pass through. There are several benefits in having a larger lens. Number one: The quality of the background is improved. Number two: Your focus speed is faster. Number three: Low light ability is better. F1.8 lens are a professional level. F5.6 lens are the commercial kind. For a higher quality photo, you might consider using a larger size lens.
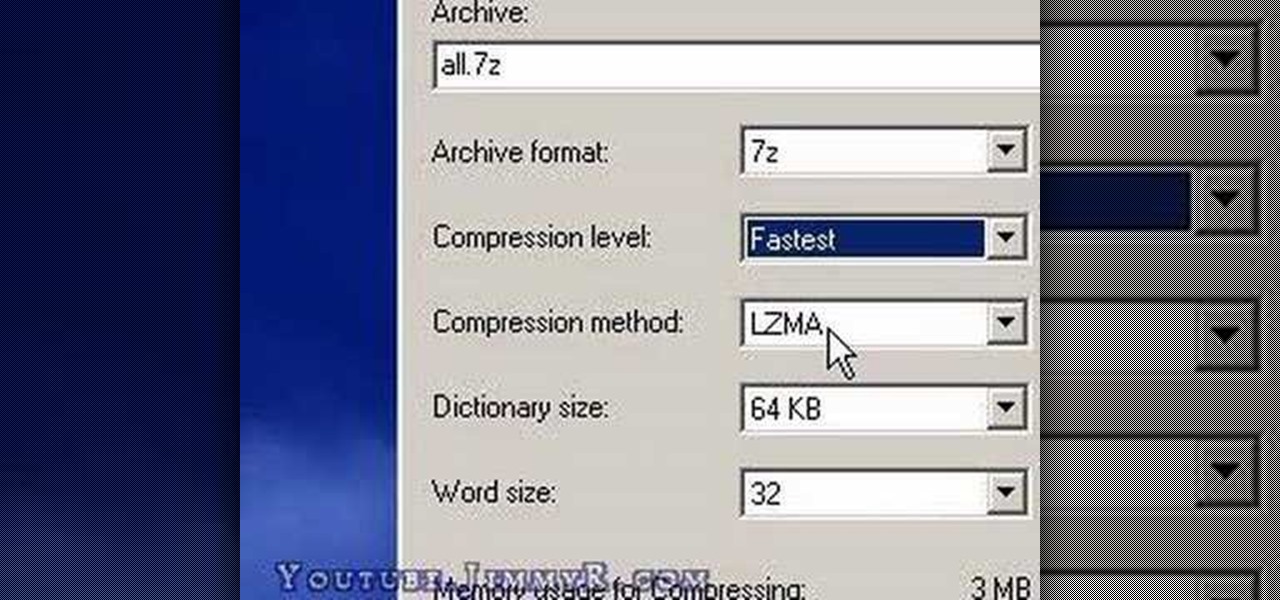
Sometimes you may want to send files larger than the file size limit that your email program will allow. Learn how to send larger files by email by using either free services on the Internet or free compression software like 7Zip.
Love taking pictures with your phone on the go? Many people do, especially because it's difficult carrying around a bulky camera everywhere they go. But how do you transfer these images to your computer, where you can store them for future use or for Facebook photo albums?
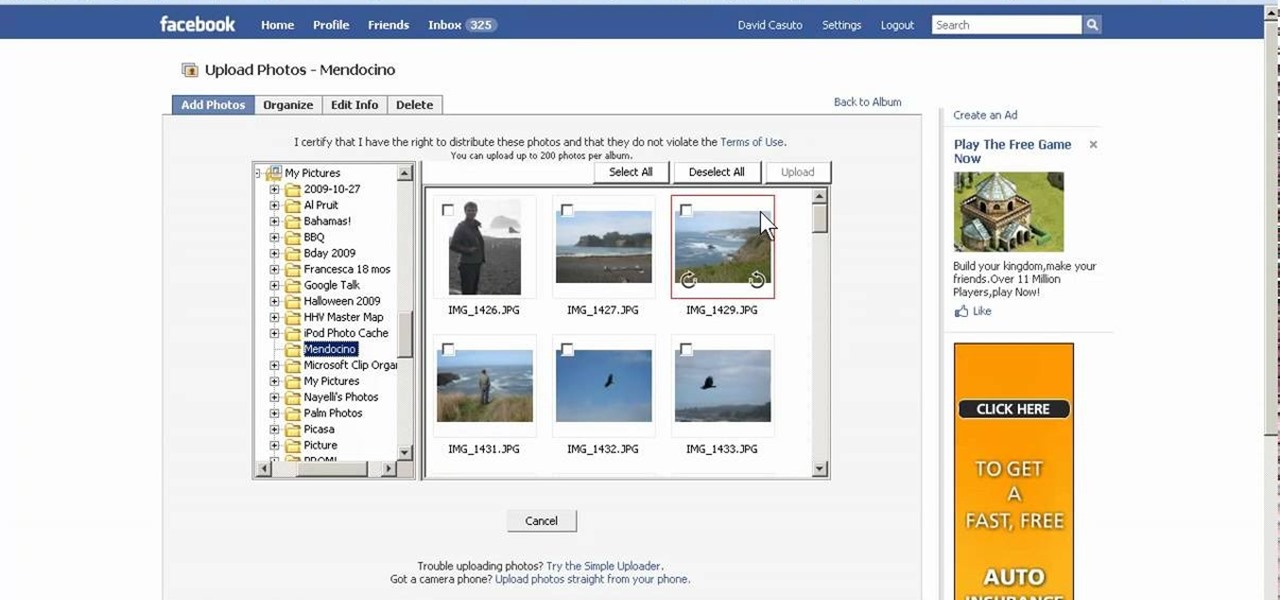
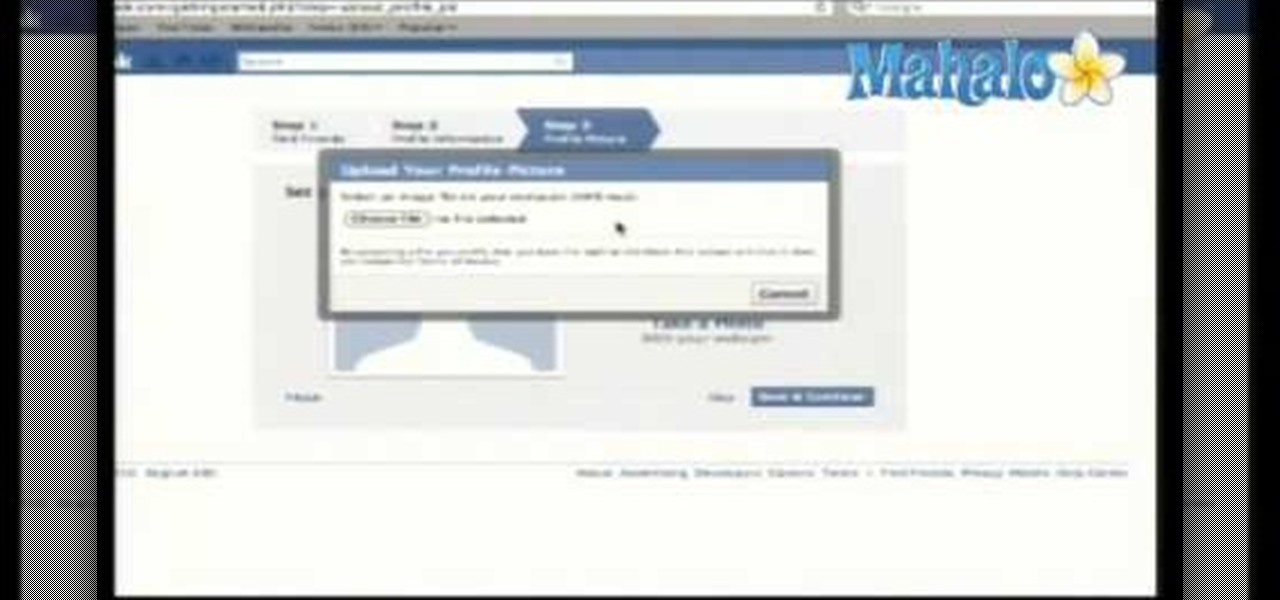
In this video, we learn how to upload pictures and set a profile picture onto Facebook. First, you will need to locate the pictures you want to use on your computer. After this, log into your Facebook account and click on your profile, then the tab that says photos. Now you will be on a new screen where you can browse your computer to find the photos you want to upload. After you click on all these, click the "upload" link and then wait for the photos to load. After this, you will be able to ...
In this tutorial, we learn how to gel your flash to blend it with ambient light. First, you will need to be indoors with lights on and grab your camera. Make sure you have a separate flash on the camera, then take an amber colored film strip and place it over the flash. Next have your subject sit down and start taking pictures. Use different shades of amber and when you see the pictures it will have the background light more dim than the subject in the picture. When finished, you will have a ...
Want to upload a profile picture to your Facebook account? This clip will show you what to do. Whether you're completely new to the Facebook's popular social networking site or simply require a small amount of clarification on how to perform a particular task on Facebook, you're sure to benefit from this helpful video guide. For more information, including detailed, step-by-step instructions, and to get started uploading your own pictures to Facebook, take a look.
Mark Wallace shows us how to use a wide lens for portrait photography. A longer lens minimizes distortion in your picture and it maximizes what type of view you can see, so you can see more of the thing you are taking a picture of and less of the background. These lenses help keep the picture clean and uncluttered. You can see the difference between a wide and short angle lens by taking pictures with them and looking at the differences between them. There is also a zoom available, which makes...
This clip will show you how to do a picture-in-picture inside of Premiere Pro CS3 or later. Use this technique to start stacking your videos in a vertical fashion as well as opening new creative doors for your expression! Whether you're new to Adobe's popular non-linear editor or a seasoned video professional just looking to better acquaint yourself with the program and its various features and filters, you're sure to be well served by this video tutorial. For more information, including deta...
In this clip, learn how to control your Facebook fan page by changing your profile picture. You may need to change your picture from time to time as your business or cause changes. Follow this clip and make a perfect Facebook Fan page to promote yourself or your business.
In this how to video, you will learn how to create an animation with pictures using Photoshop. First, open an image in Photoshop. Double click the layer to unlock it. Next, open another picture in the program. Select and copy the first image, then paste it into the second image as a new layer. Close the original picture. Next, open another picture and copy it. Paste it into the other picture and close the latest picture. Open yet another image and copy and paste it into the previous picture. ...
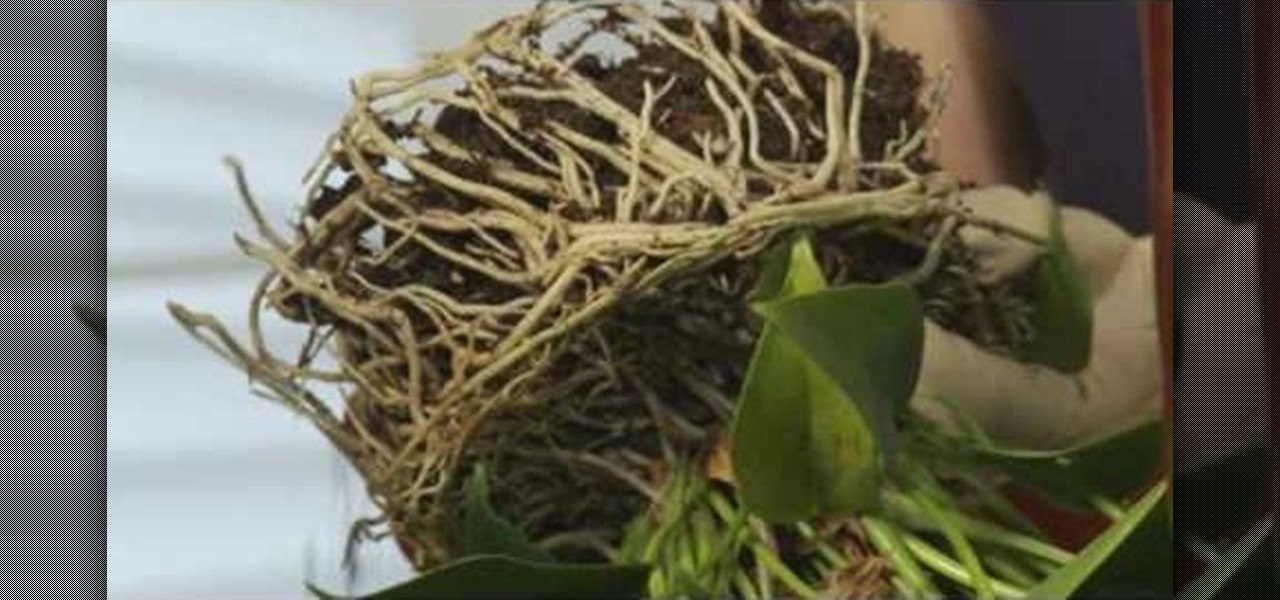
This video from Lowe's shows you how to successfully repot a plant into a larger container. You will know it is time to repot your plant when the roots are visible on the surface, or when they start growing through the drainage hole. If you need to repot one of your plants into a larger container, simply follow these steps: You will need a clean pot that is no more than two sizes larger than the old one. Place a wire mesh or pieces of broken clay pot over the drainage hole. Add a layer of pot...
In this video, Lance Sisiolo draws a beautiful house using Microsoft Paint. He uses line tool to draw most part of the house. He uses different types of lines. He also uses curve tool to draw sky and the entrance of the house. The unwanted part of the picture is erased using erase tool. Then he uses fill with color tool and airbrush tool to paint the picture. He uses different colors to increase the beauty of sky and the house. Then some trees are added. Using airbrush tool he increases the b...
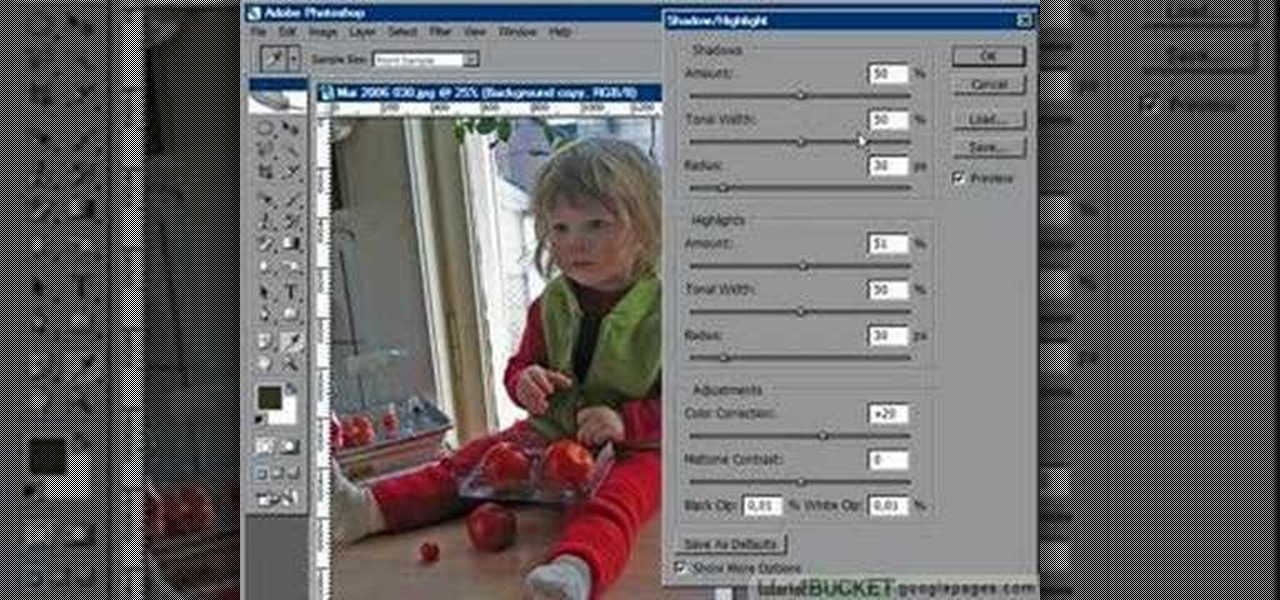
For anyone who has taken a picture and forgotten to turn on the flash, the result is usually a picture that is too dark. In this video, learn how to use the shadow highlight feature in Photoshop to correct images that are too dark. The tool can be automatically applied and is used specifically to brighten the foreground of a picture. You can play around in Photoshop to lighten the foreground yourself instead of doing it automatically. The next time a picture turns out too dark, don't throw it...
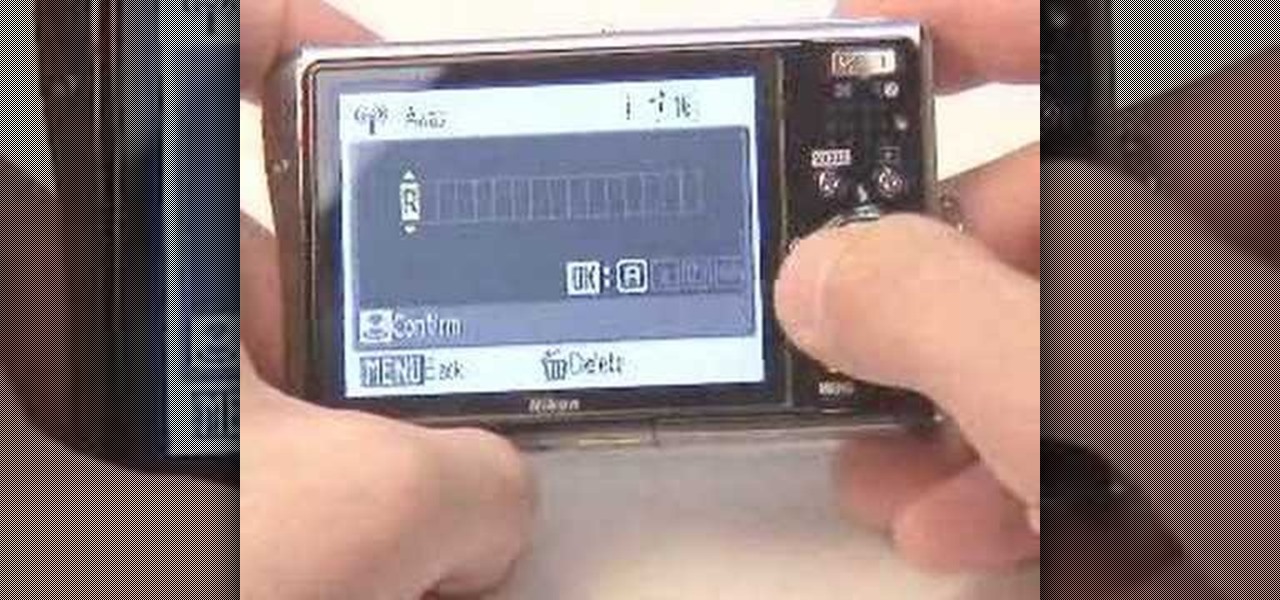
To help familiarize yourself with the Nikon COOLPIX S700 camera, here's a short video tutorial which offers descriptions of a few of the camera's coolest features, as well as tips for taking great pictures. Watch this helpful camera video to see how to take great pictures with a Nikon COOLPIX S700 camera.
To help familiarize yourself with the Nikon COOLPIX S51 or S51c camera, here's a short video tutorial which offers descriptions of a few of these camera's coolest features, tips for taking great pictures and an explanation of how to use the incredibly cool wireless feature of the S51c camera. You'll see how to take great pictures with a Nikon Coolpix S51 digital camera.
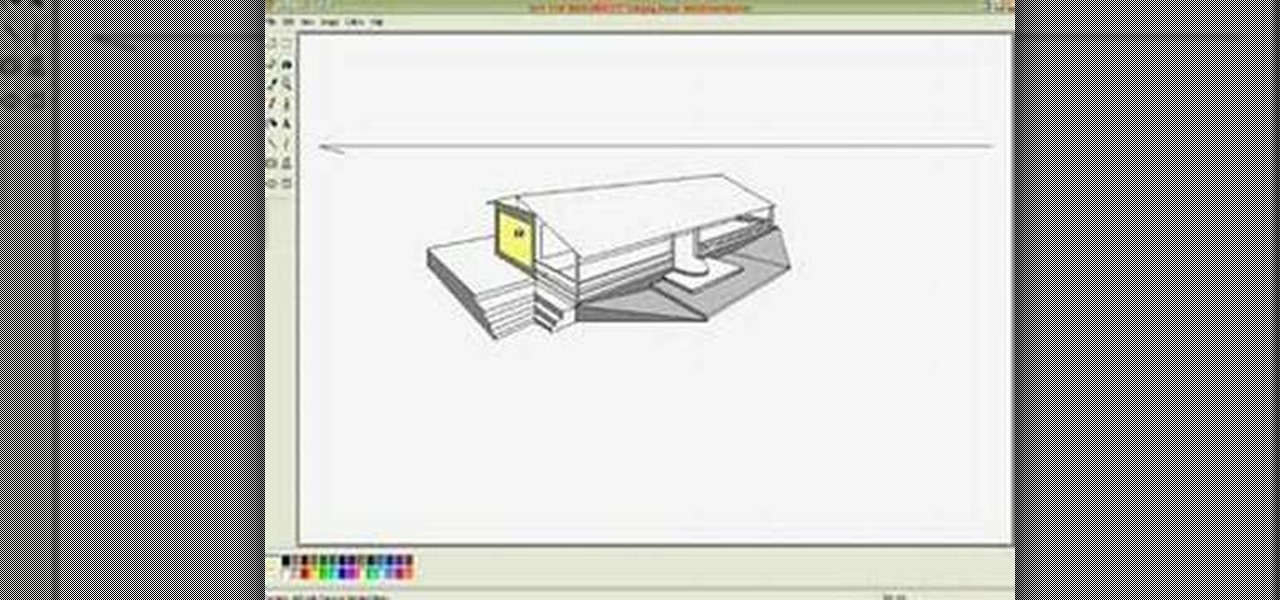
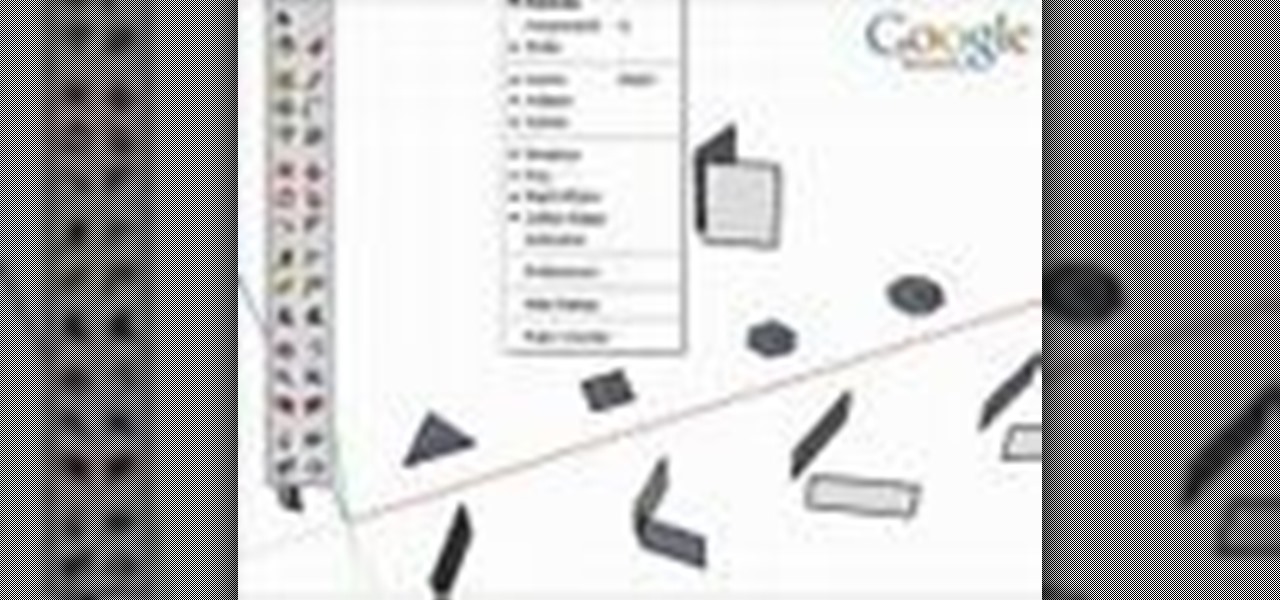
This 3D modeling software tutorial shows one approach to breaking a picture frame created through the follow-me tool into the actual pieces that would be used to build it in Google SketchUp.
Photoshop is a great computer software program designed to help people manipulate images and text. Learn how to create a clown picture from an ordinary photo from a Photoshop expert in this free video series.
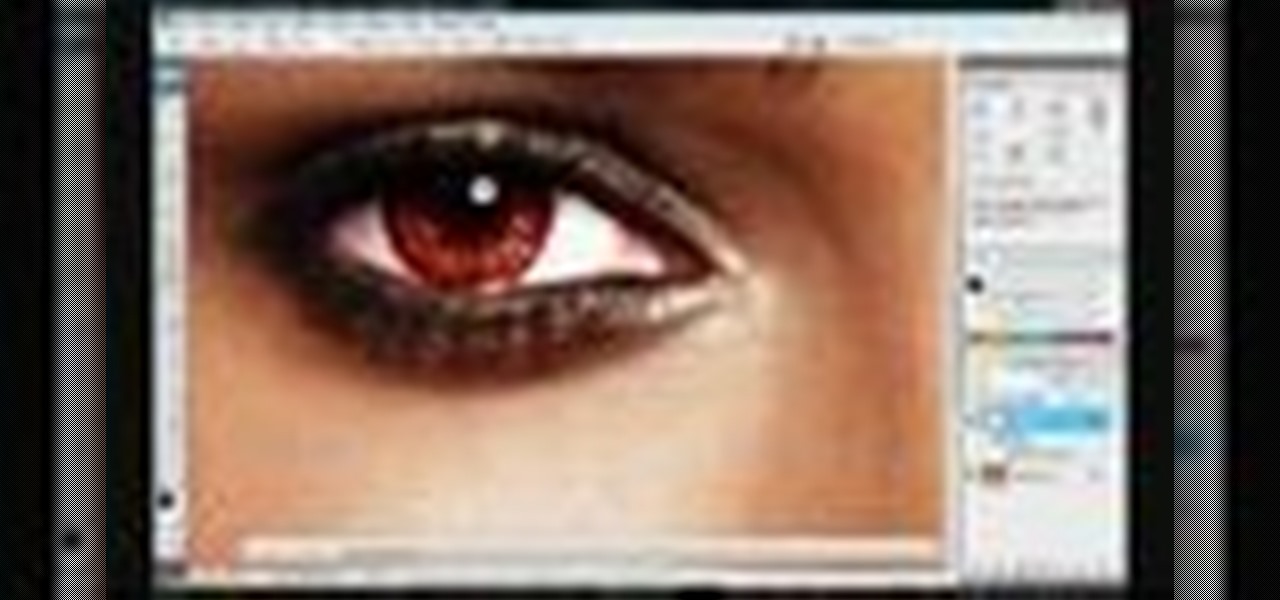
This software tutorial shows how to make an animated gif file that changes the color of your eyes or of anything you want in Photoshop. Animated gifs are perfect for profile pictures on sites like Myspace and forum sites. So check out this Photoshop tutorial and learn how to make your own cool animated gifs.
This cameo style necklace pendant is made out of little picture frames, scrapbooking paper, vintage photographs, magazine cut outs, or whatever you want. These charms have a great antique feel. Learn how to craft a picture perfect frame cameo-style necklace pendant by watching this video jewelry-making tutorial.
Hanging pictures on your walls adds style and elegance to your rooms. Meghan Carter shows you the right way to hang pictures so you don't damage your pictures or your walls. With her simple tips, you'll be hanging pictures in no time, and you'll avoid common mistakes that can not only look bad, but also damage your home and pictures.
Google made a huge splash this year in their annual Google I/O with an awesome announcement regarding their Photos app. Although I was primarily interested in the details surrounding Android M, my ears instantly perked up when Google announced that their Photos app will now offer free, unlimited, high-quality storage.
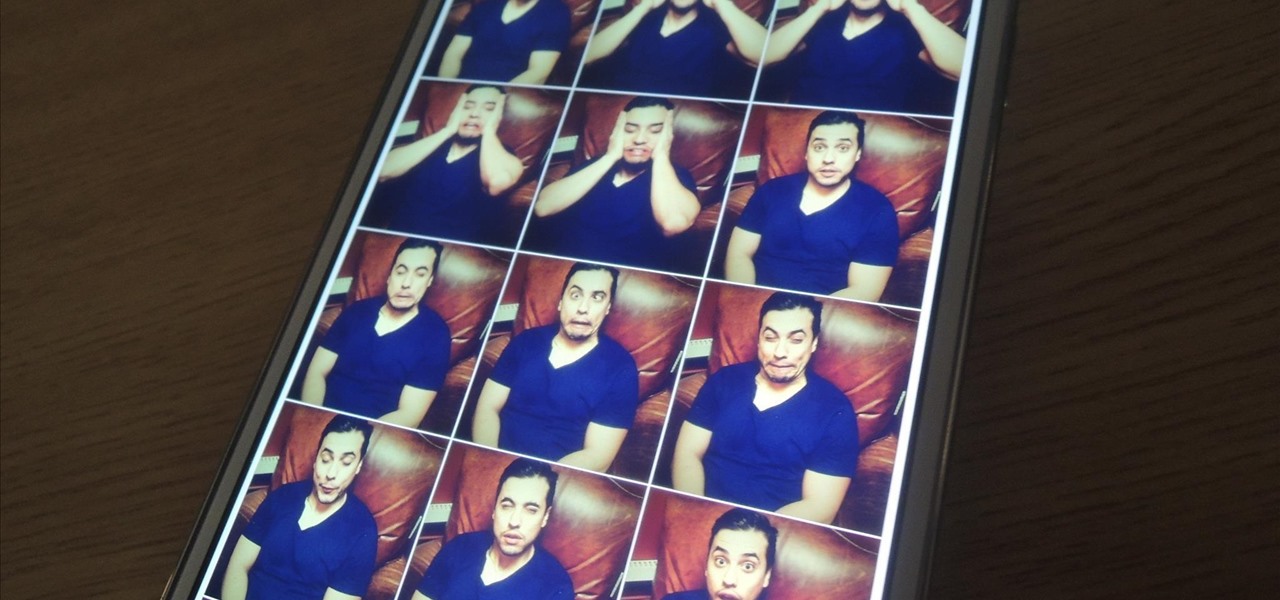
When we take pictures with our smartphones, it’s safe to assume we’re taking more than one. We're either trying to capture the right light, look, or expression… or maybe a slight nod to the right to show off your good side.
Step 1: Drywall Picture Hook Step 2: How to Hang a Picture or Mirror on Drywall
So you have a picture you're dying to get up on the wall, but don't want to risk hanging it crooked. This video is your answer! Learn a few tips and tricks to make sure that every picture you hang is perfectly straight and level.
Learn how to set your camera to automatically record the location to the pictures you take. Also learn how to edit the pictures you have just taken. It's easy and this clip will teach you everything you need to know. For all of the details, including complete, step-by-step instructions, watch this brief, official C6-01 owner's guide from the folks at Nokia!