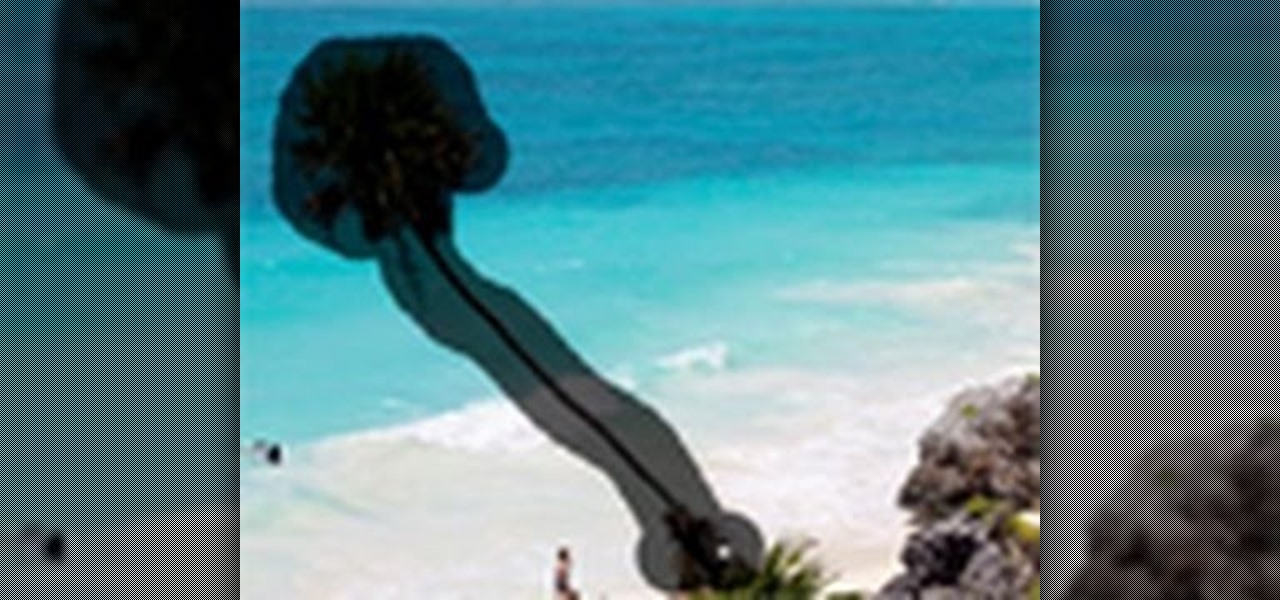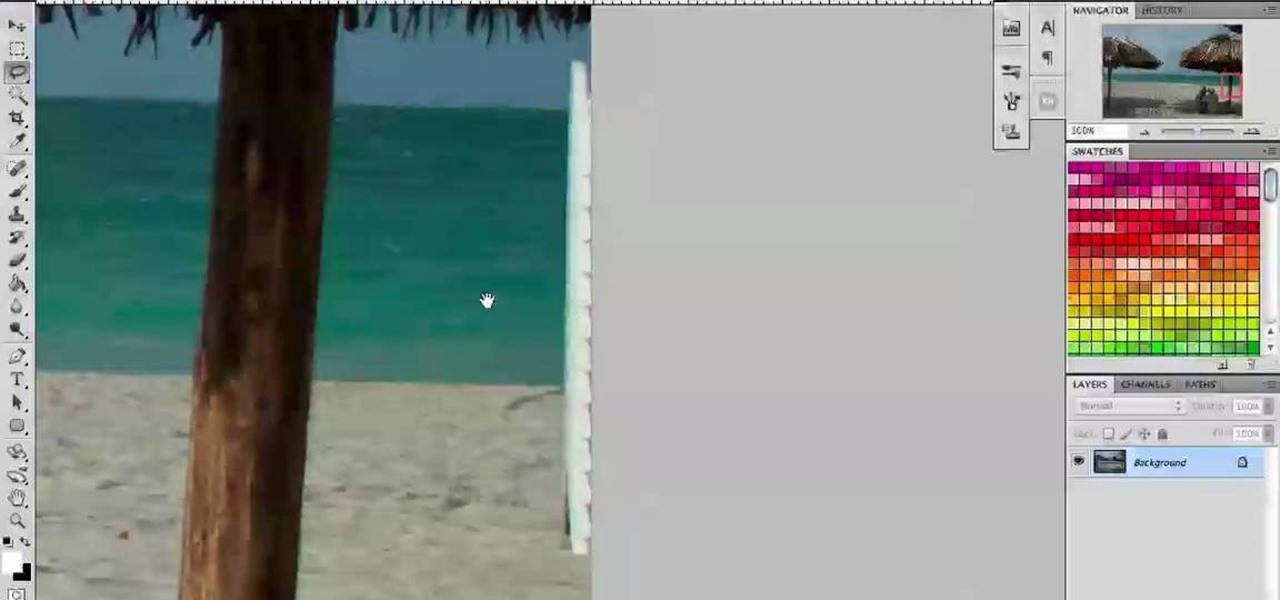
This tutorial presents a quick lesson on how to take advantage of Photoshop's new content-aware fill tool. Whether you're new to Adobe's Creative Suite or a seasoned graphic design professional after a general overview of Photoshop CS5's most vital new features, you're sure to be well served by this video tutorial. Take a look.
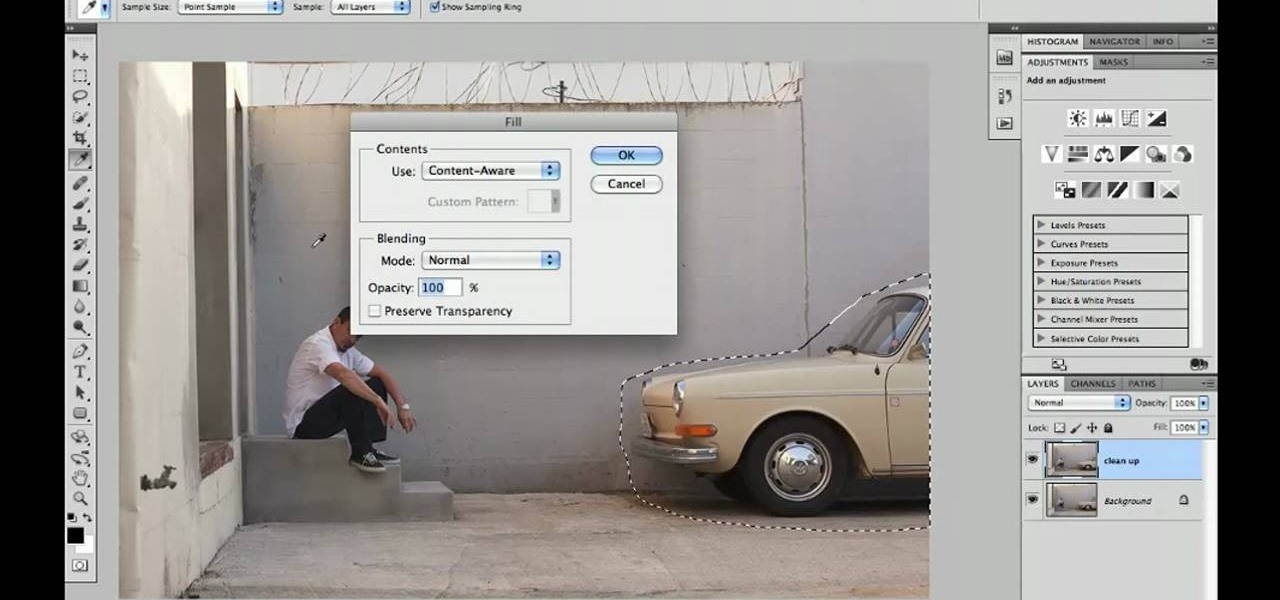
Learn how to utilize Adobe Photoshop CS5's new content-aware fill feature to remove and replace existing backgrounds within your digital images. Whether you're new to Adobe's popular image editing software or a seasoned graphic design professional just looking to better acquaint yourself with the unique features of Photoshop CS5, you're sure to find something of value in this video tutorial. For more information, and to get started using the content-aware fill tool for quick, seamless edits, ...

Don't leave anything at home! Before you head out of the country you have to make sure you have the essentials packed. You will learn tips on how to keep your valuables safe and how to meet airline regulations. Be aware that you will have to show your passport so you will have to carry it on your person. Also discussed, how to pack your carry-on bag, items that may be prohibited from your flight, and the process of getting onto the airplane.
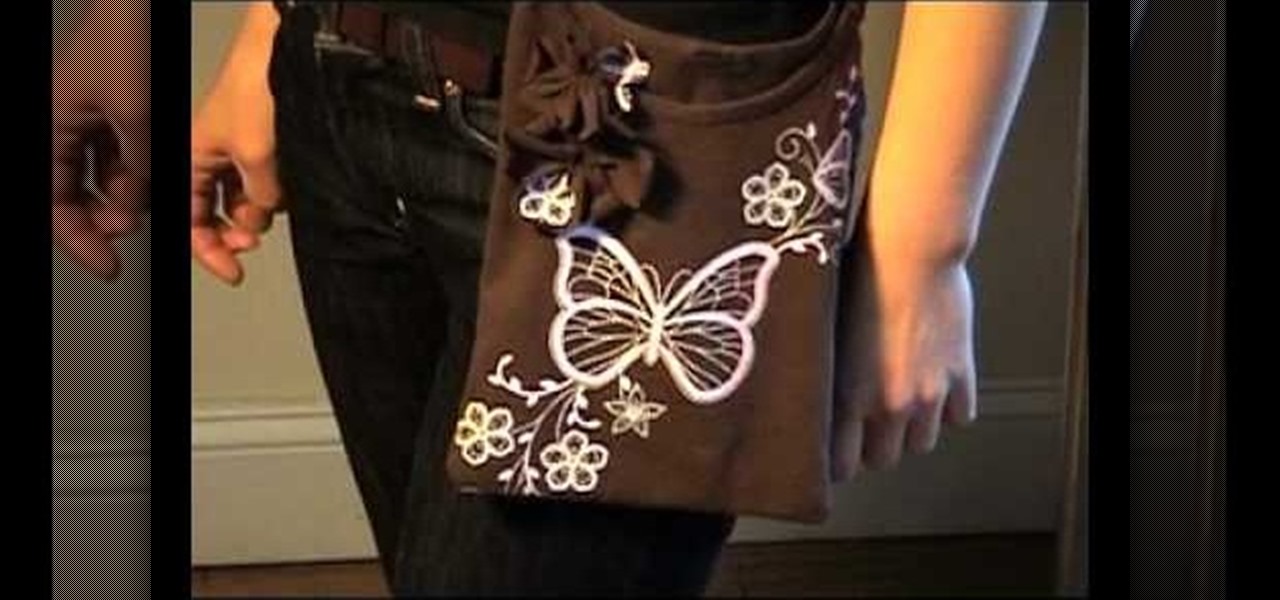
Shiho Masuda demonstrates how to make a T-shirt pochette using recycled materials in this video. You will need an old T-shirt, gardening twine (or leather strap), needle and thread, a ruler, a scissors and a pencil. First, sketch the dimension of your pochette on the T-shirt, staying about 1 inch from the sides of the collar. Next, cut along the lines (save the excess material). Flip the T-shirt inside out and sew the sides together, leaving 1 inch at the top for shoulder straps. Now flip the...
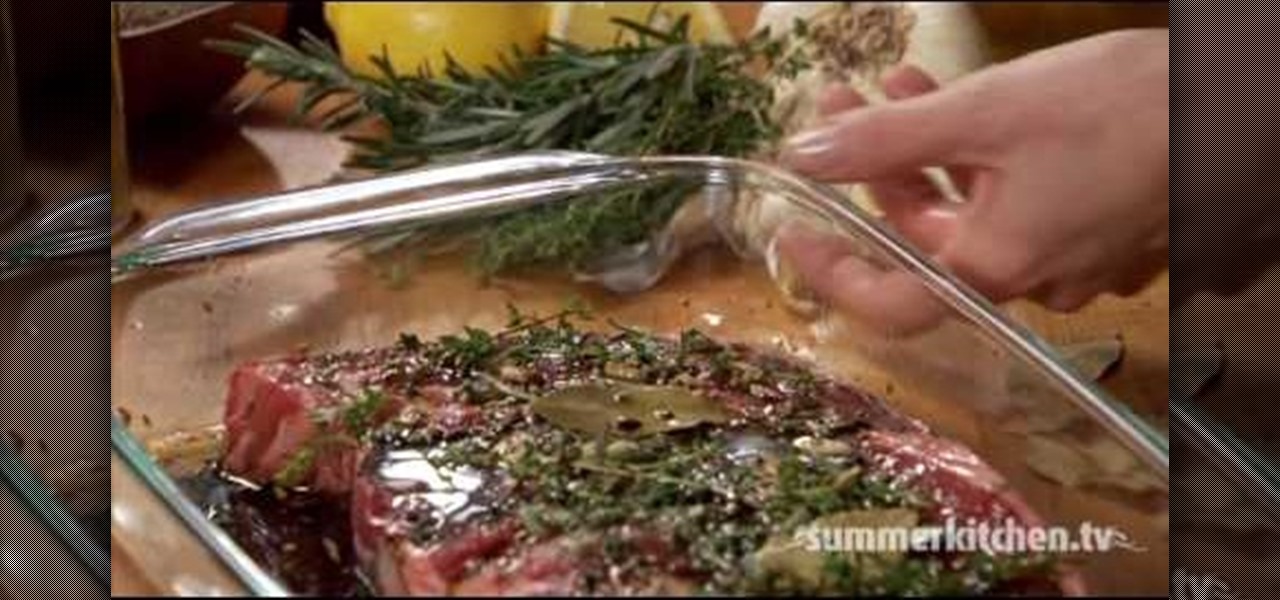
Summer Kitchen shows us different ways and options in preparing steaks for grilling. Basics on preparing steak for grilling: Let steak sit at room temperature for at least 30 minutes before grilling to allow for even cooking. Trim excess fat from the steak. Brush the steak with oil and season with kosher or sea salt and ground pepper. For even more flavor, you can also make rubs, glazes or marinades and use them on your steaks before grilling. For a sample rub mixture, you will need: chili po...
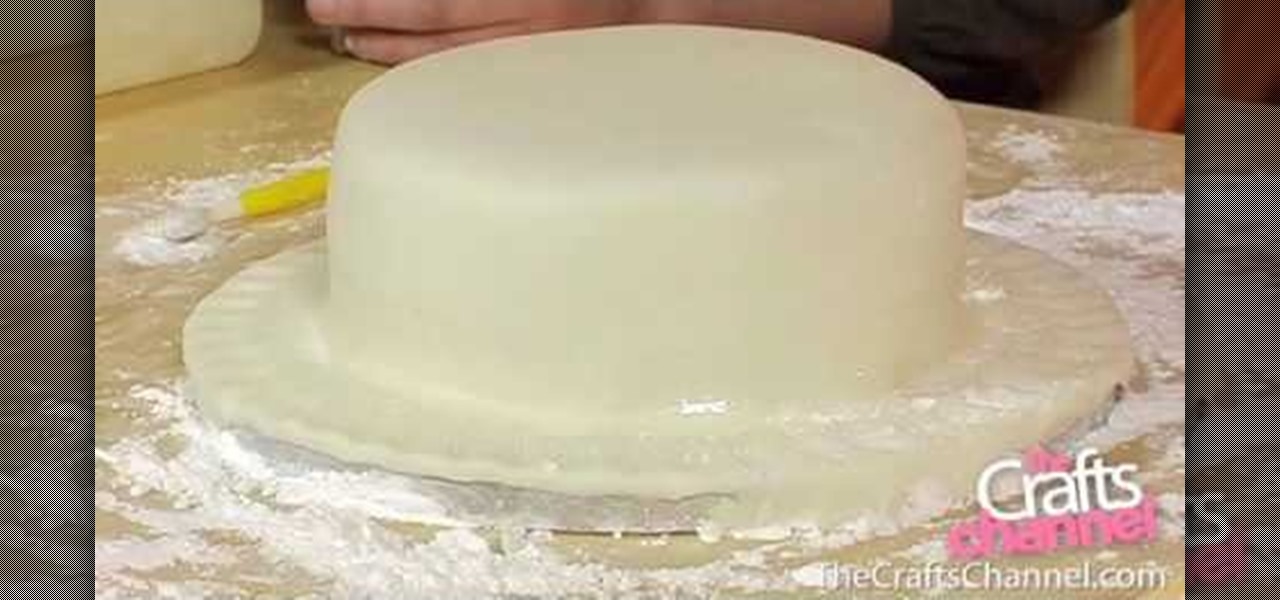
Kate Hemmings on The Crafts Channel shows that covering a cake isn't as tricky as you may think. You will need a type of icing that rolls out, such as fondant icing. Ideally, you will want to have fondant icing with glycerine, and so the Pettinice brand is excellent in this case. If you use this icing, you will not encounter problems with cracking of the icing when you try to shape it over the cake.

In this video tutorial, we learn how to use the content-aware healing feature in Photoshop Elements 9. Whether you're new to Adobe's popular raster graphics editor or a seasoned designer looking to better acquaint yourself with the new features and functions of the latest iteration of the application, you're sure to benefit from this free software tutorial. For more information, watch this video guide.
One of the new features of Adobe Photoshop CS5 is the content-aware fill feature. For instance, if your photograph was taken at an angle, but you want to level it out without losing any of the image, this tutorial will demonstrate how you can achieve this effect.
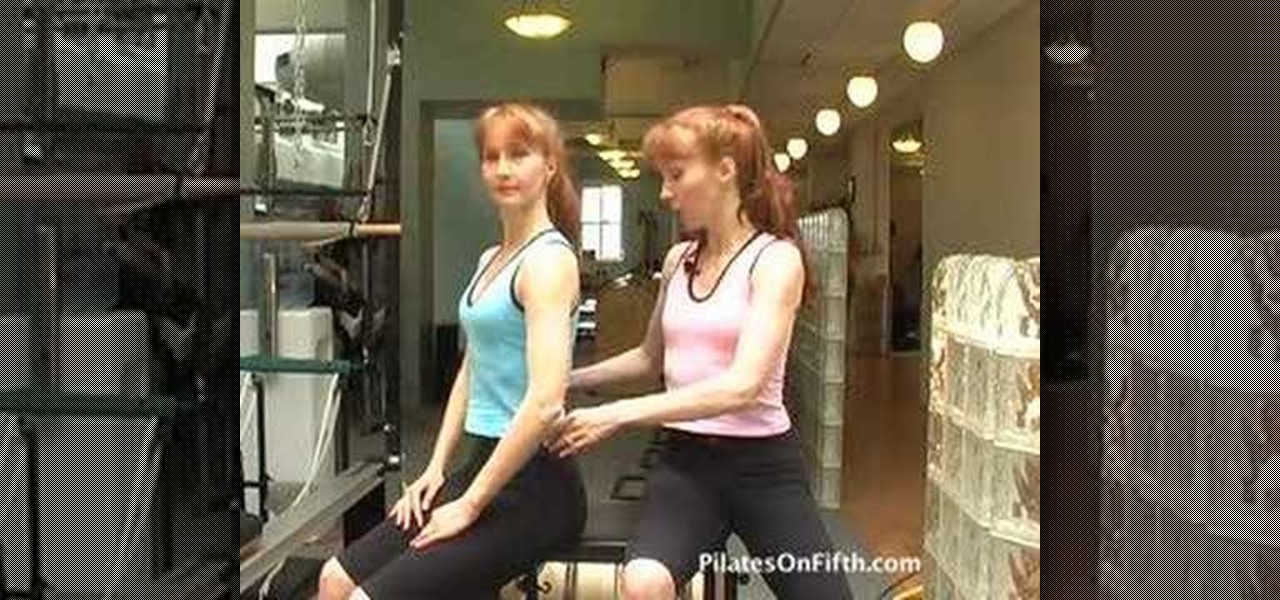
Pilates exercises involve strengthening the core and flattening the abs, so why are your instructors always talking about the pelvis? This how to video explains the importance of pelvic placement and how it relates to the lower back and the muscles around the hip joint. Just becoming aware of your pelvic placement as you drive your car, walk down the street or do any household activity can help you improve your alignment and strengthen the deep postural muscles of your body.
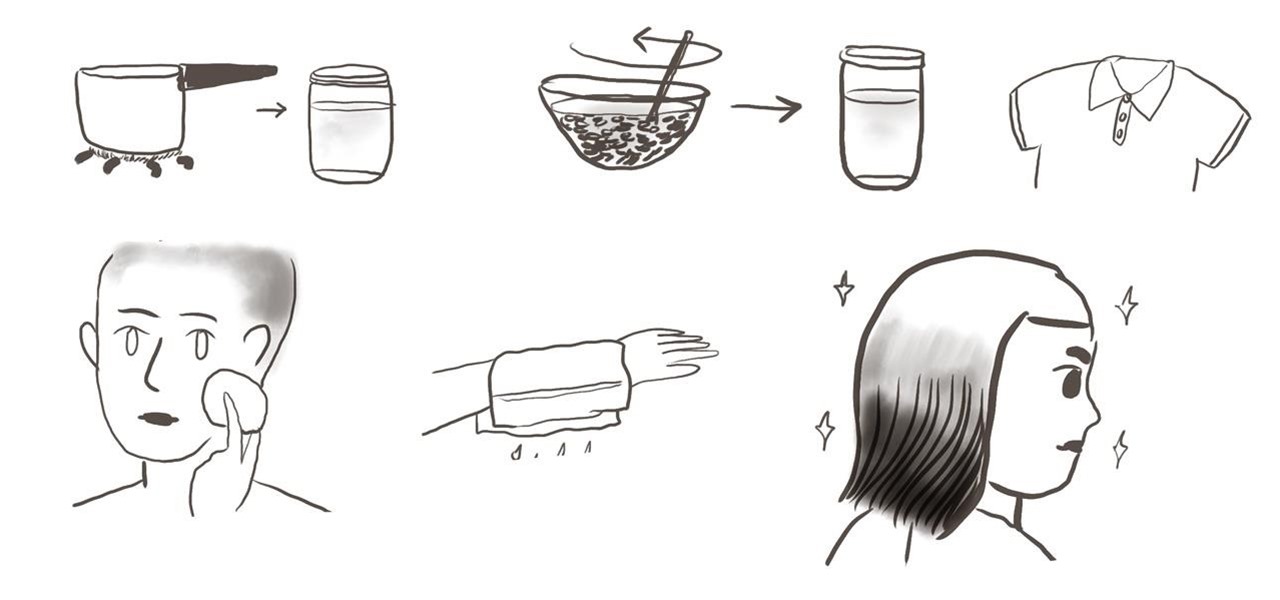
Rice water refers to the cloudy water that is leftover after washing rice in a bowl, or the excess water drained from a pot used for cooking rice in boiling water. Whichever method you prefer, rice water can be saved in a separate container once cooled, then used for a number of beauty, health, and home uses.
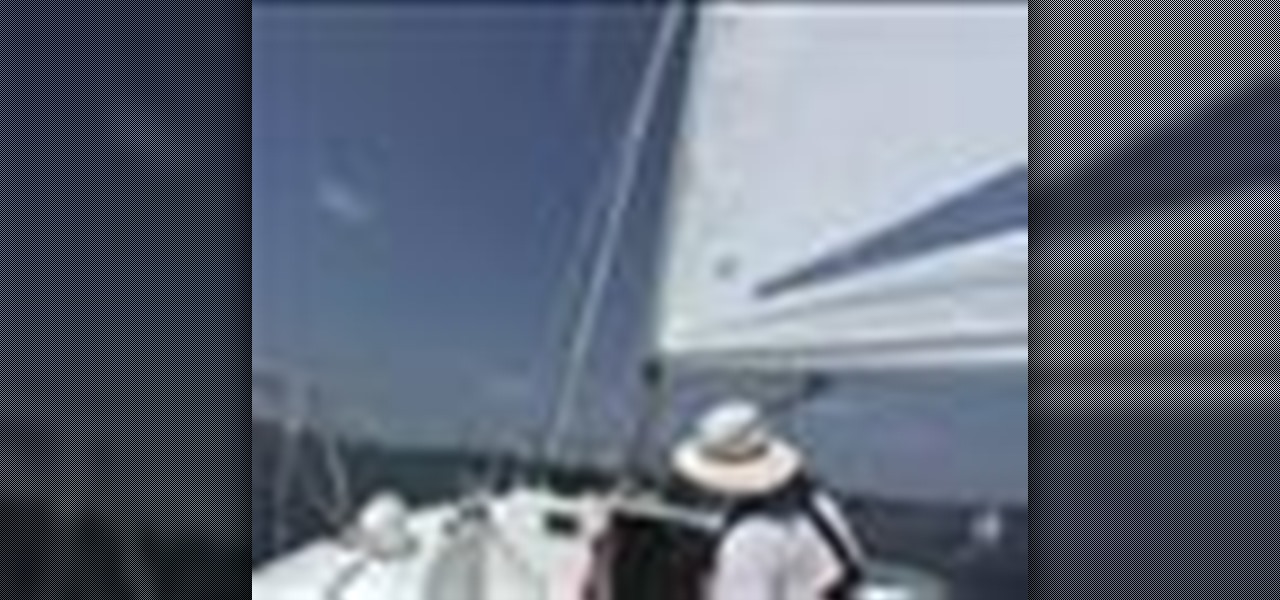
This video shows roller furling of a jib in 5 knots of wind. Mild tensing is kept on the jib's sheet to enable the jib to warp tightly around the headstay. In high wind conditions, this is best done in a deep running reach. The mainsail will tend to shield the jib from the wind. This will prevent excess luffing of the sail and make furling easier. In a pinch, you can always let the jib out, by loosening it's sheet and roll in the jib, but in high winds excess luffing may occur and this can da...
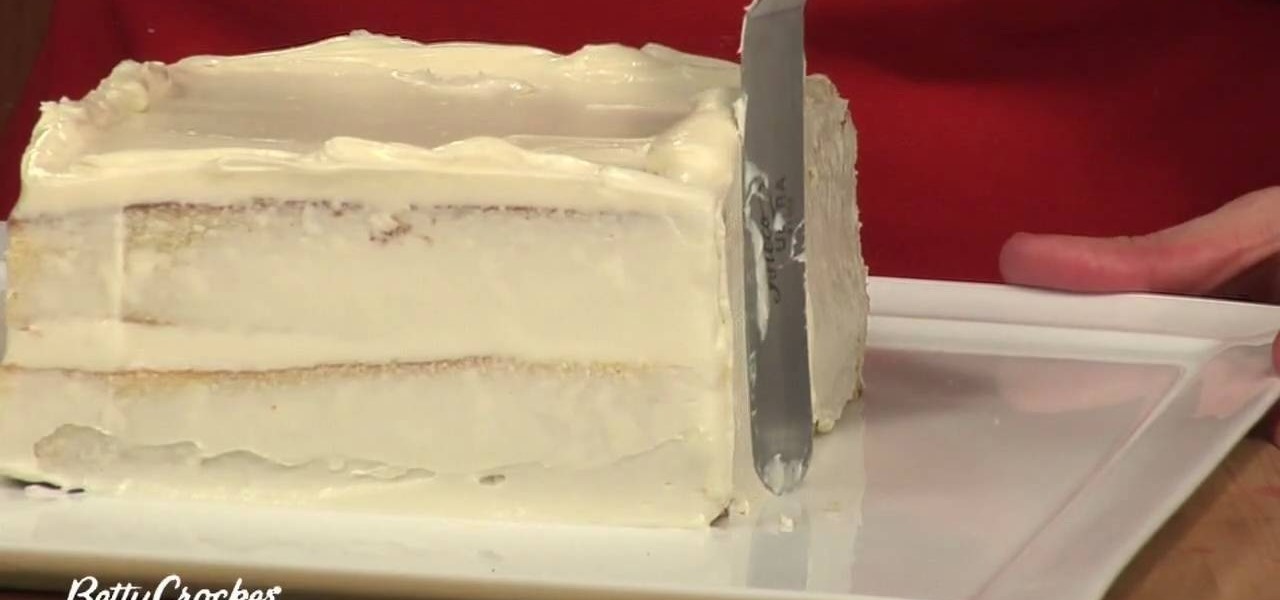
Leif Hanson for the Betty Crocker Kitchens shows how to crumb coat a cake. This is when you put a thin layer of frosting on the cake to hold the crumbs in. She starts with a square cake with exposed edges. First, you take a big scoop of frosting and put it on top of the cake. Next, you spread it around with a spatula. As you spread it evenly you want it to go over each edge and corner, but don't let the corners sag. Next, she loads the spatula, fills it from the top edge to the bottom edge, w...
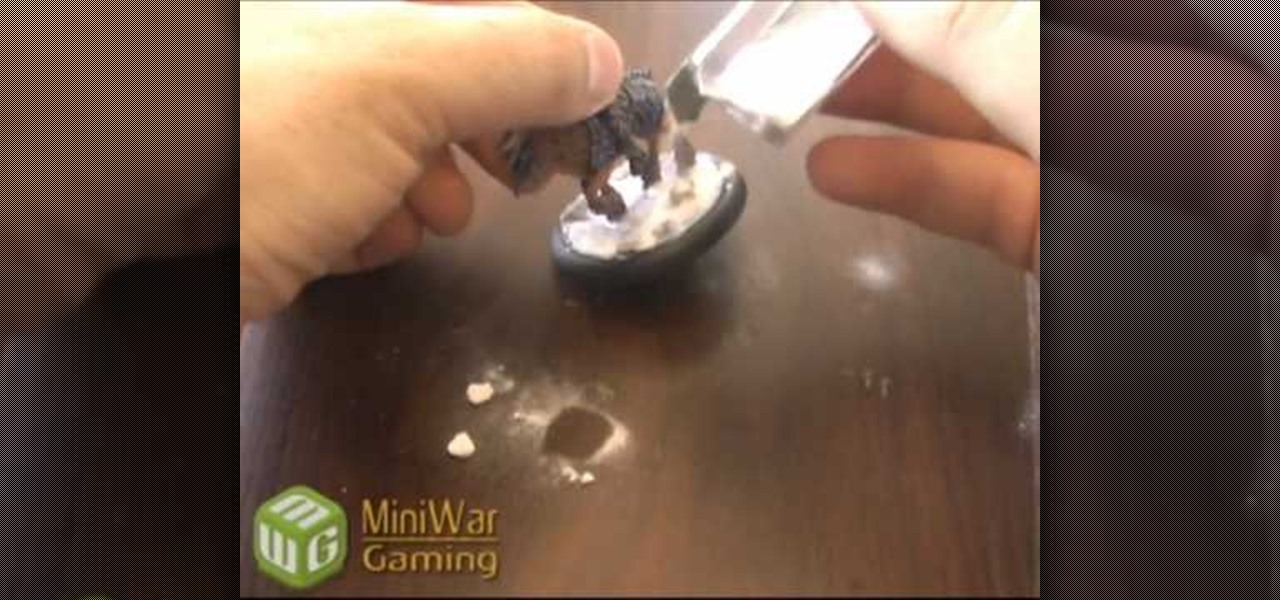
The materials you will need to add snow and other details to the base of your miniature game figure are white tacky or craft glue, super glue, a few small rocks or pebbles, coarse turf, a small paint brush, and baking soda. Begin by using the super glue to apply a few rocks to your base. You don't want to apply too many as the main focus will be on the snow. Add white glue to the base being careful not to get any on the figure itself. Use your paint brush to spread the white glue around until...
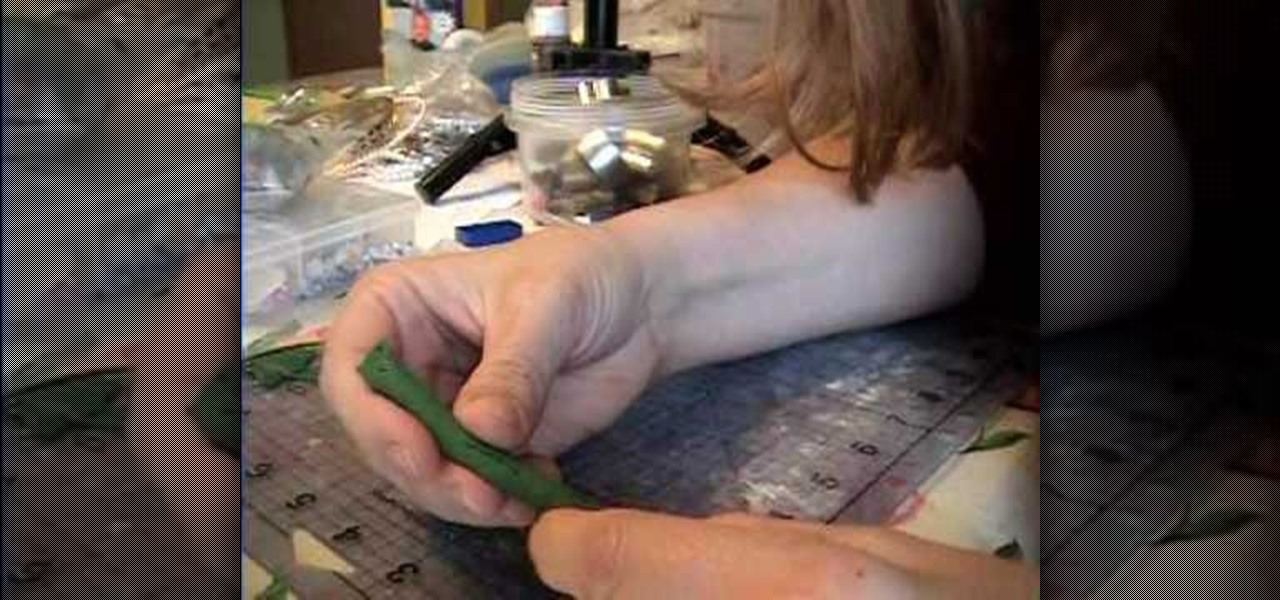
Use the tread on wire-nut, to create a mold for mini clay cupcakes. Usually used for joining together electrical wires, the repeated lines of the wire-nut will here be used to form the ridges expected on a cupcake bottom. Press the wire-nut into a small piece of clay to form a depression just as big as you want your finished cupcake to be. Bake in the oven to solidify into a mold. Dab the dried mold with a bit of cornstarch or baby powder; this will prevent fresh clay from sticking to it too ...
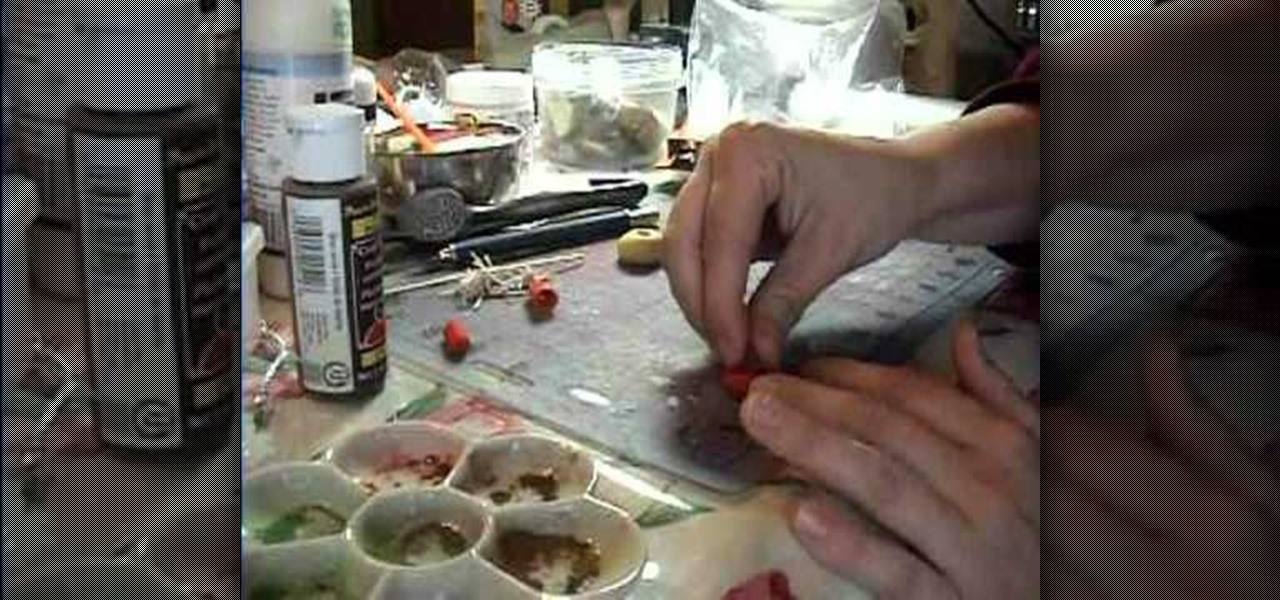
To make a hollow clay bell pepper, you will first need four thin strips of aluminum foil. Roll each one into a tiny, thin strip. You will also need pearlized white clay rolled out very thin (number seven on a pasta machine), and rolled out green, red, or yellow clay (number four on a pasta machine). Take your four strips of tin foil and line the up on one end placing them together in a bundle. Place on the white clay and the clay around it one time, remove the excess. Use your fingers to make...
It is important use a 70% or 90% volume alcohol that you can find at a local pharmacy. For lipstick: Fill alcohol lid with alcohol, and dip the top part of the lipstick into the alcohol. Use a tissue to wipe off the excess alcohol on the lipstick, and its ready to use. You can throw away any leftover alcohol.
While intestinal gas is a normal occurrence within the digestive process, it can also cause bloating, burping and flatulence. Follow these tips to remedy the problem.
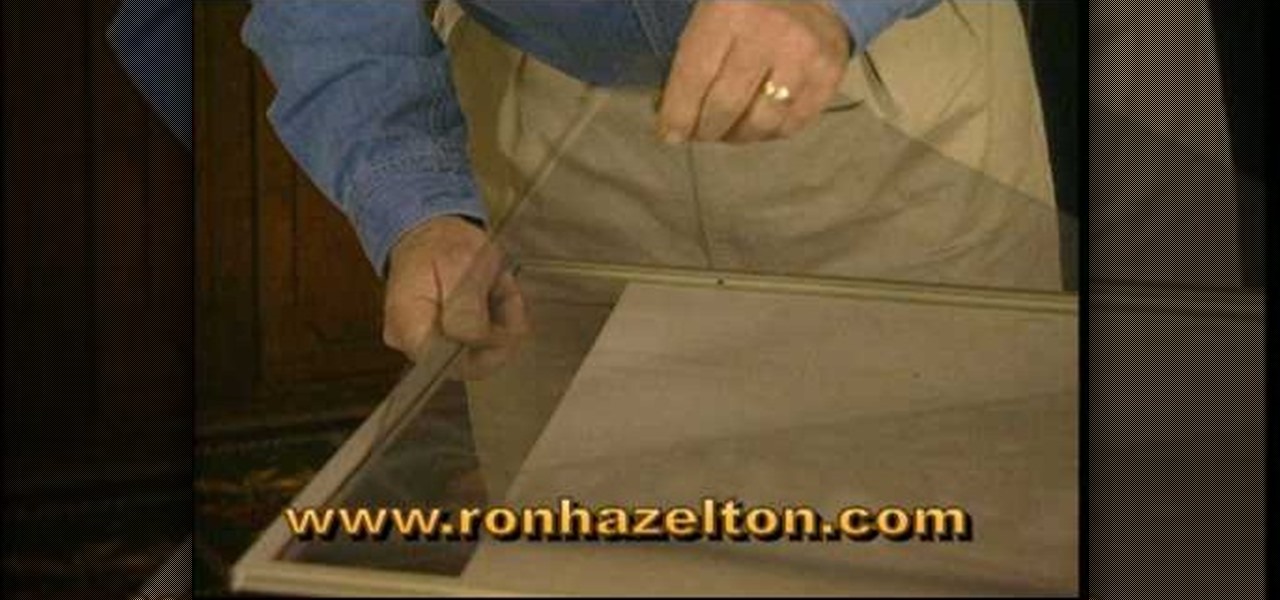
You don’t need to be handy to clean your patio screen door. Cleaning can be done quickly and easily in a few simple steps.
If you've got an oil slick on your head by noon most days, try these strategies to keep grease under control.
Repotting a plant is a simple task when you know all the right steps. Whenever a plant outgrows its container, it should be replanted in a new pot.
Fancy feet are a must for sandals and peep-toe shoes. Pamper yourself with a pedicure that’s easy and gets you back on your feet in no time.
Acne is a persistent condition that can be treated with natural remedies Cleanse with Oil
In this tutorial, we learn how to make a cute PSP or phone strap. You will need: ribbon or lace, pearl chain, extra ribbons, metal ring, charm cord, and pliers. First, measure out the pearls and the lace so they are the same length. Then, you will need to sew the pearls down to the lace at various points along the length. From here, sew the ends of the lace together with the metal ring inside, at the bottom with the inside facing out. Then, sew the ring into one spot along the strap. Trim off...
In this tutorial, Lowe's teaches us how to hang wallpaper. Wallpaper can update a room and give it personality. Make sure you prep and measure your wall before you begin to hang. Now, cut out your paper to the appropriate size for your wall, then draw a line on the wall from the corner to a few inches out of the wall. After this, apply a clear adhesive to the wallpaper if it isn't already adhesive. Now, dump them into a water box and fold the water together and let set. After this, apply the ...
If you're anything like us, then you want to lose weight - or maintain your already fabulous waistline - without having to sacrifice your favorite foods. Dieters need to live a little, too! If you love munching on bread, consider this grilled Lebanese flatbread instead. Unleavened dough makes this sucker crunchy and super tasty, but without the excess fluff of most breads that equates to major carbs and calories. Check out the video to get the instructions.
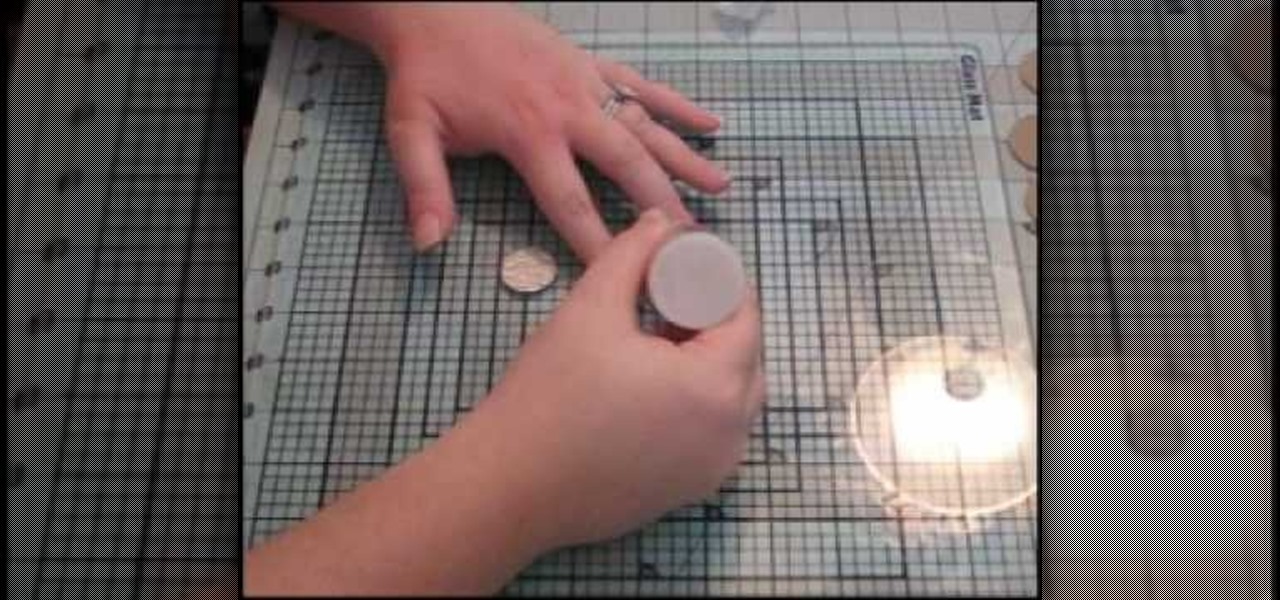
In this video, we learn how to make custom chipboard buttons for scrapbooking. First, take a scrap of chipboard and use a circle trimmer to cut circles out. Cut circles out of patterned paper in different sizes using many different patterns. Now, apply glossy finish onto the papers and wipe off the excess liquid. Ink the edges after this, then put adhesive onto the back of each of the different circles. Now, you can punch holes into the center of the circle to make it look like a button. Now,...
Nutrition and cardiovascular exercises are necessary to reduce the size of your belly. Ab exercise won't reduce girth. They will strengthen your core, but you will need to lose excess body weight.
You know the brown sugar facial scrub from Fresh? Well, this DIY facial scrub is pretty much the same thing, minus the cancer-causing parabens. Exfoliate and nourish your complexion without putting yourself at risk for some nasty side effects by making this brown sugar and olive oil facial scrub.
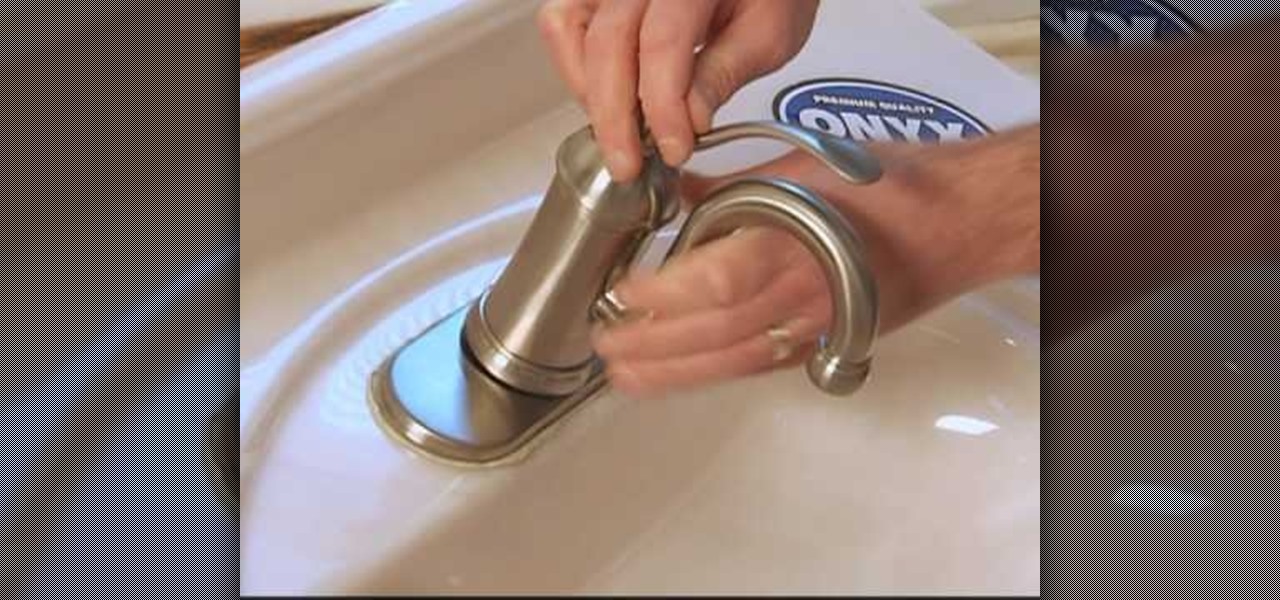
In this tutorial, we learn how to replace a bathroom faucet. Tools you will need are: faucet, adjustable wrenches, bucket, towel, safety sponges, pliers, and plumber's putty. First, turn off the water supply and turn off the faucet to remove any excess water. Next, use a wrench to remove the nuts that are holding the faucet in place. Next, apply putty onto the pre-cut sink holes and insert your new sink. On the other side, secure the new faucet and nuts with a wrench. Now you can turn on your...
Before beginning to tape your hockey stick, take your desired cloth grip tape and score it in half with a knife making sure to not cut through the cardboard core. The purpose of this is to make thinner strips of tape. To begin the taping process, start at the top of the stick and go down the stick in a diagonal for about six inches. Then, back at the top of the stick, wrap with white (shin guard) tape around and around to make a knob. Now, we focus attention on the blade end. Run a thin strip...
This video from the website What to Cook When shows us how to crack open the crab legs and get the meat out of them. Firstly starting with the cluster of legs, simply grab one of the legs and break it off of the cluster. Now simply grab the leg and starting with the joint, break it into half and pull it apart. Then take the middle section which you just broke and put your fingers right in the middle of that section, crack that one leg and then flip it over and crack it the other way. And once...
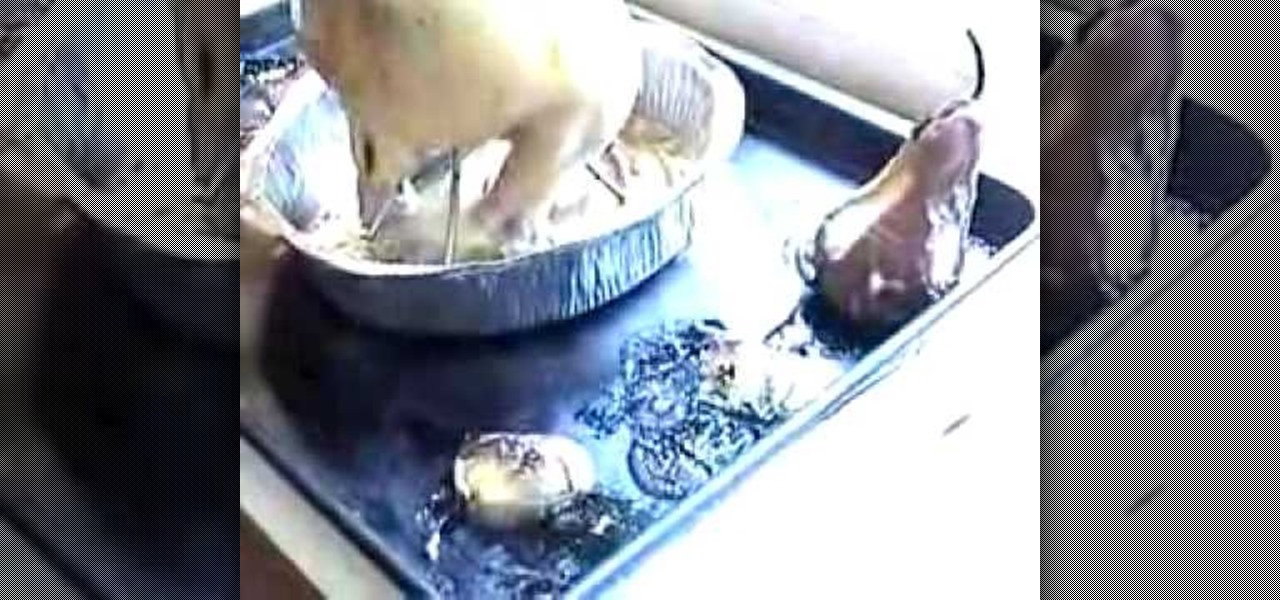
This video shows you how to prepare Chicken and Pears. For this recipe, you will need: one whole chicken, a stand to roast chicken on, a toothpick, salt, pepper, and pears.
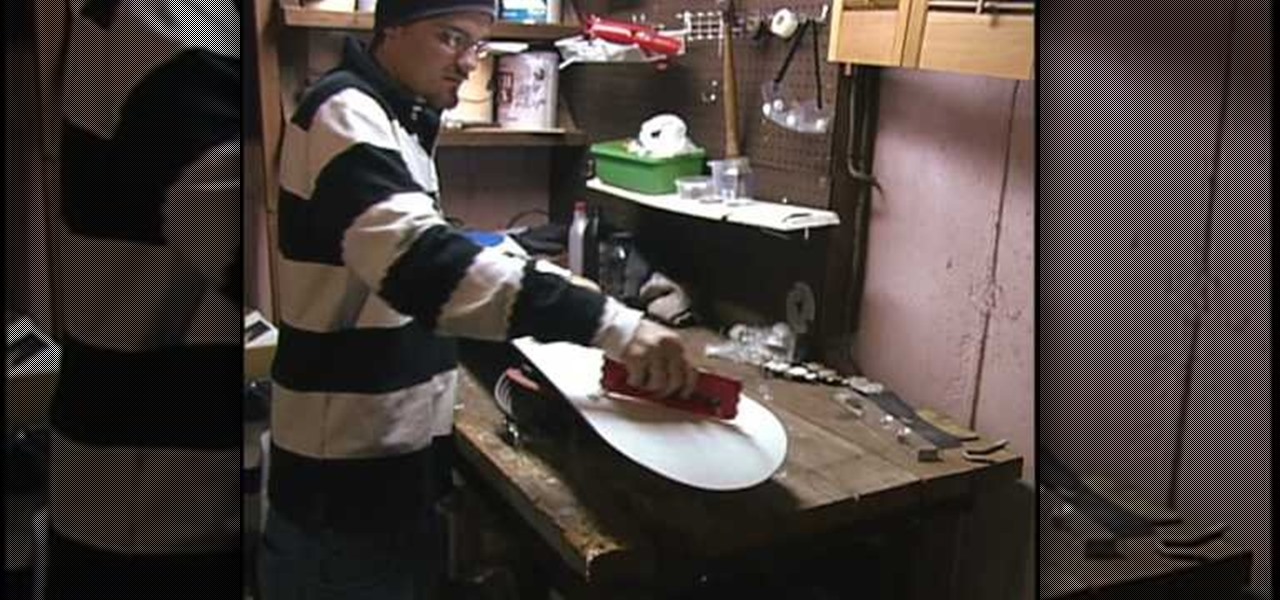
To wax a snowboard you will need an iron, board wax, a flat scraper and a buffer pad. First, use the iron to melt the wax. The iron should be hot enough to cause the wax to quickly drip but not hot enough to produce smoke. Iron the wax onto the snowboard by using small concentric circles to melt the wax evenly. Go over spots several times, if necessary. Be sure to use wax that is appropriate for your riding conditions. Scrape the excess wax off of the board. Use a buffer pad like the rough si...
To change the transmission fluid on a Honda Civic, you will need a good rug, a drip pan, 10 quarts of transmission fluid, a funnel and a ratchet wrench. First, remove the dipstick to release the pressure on the liquid. Then, remove the drain plug with the ratchet wrench. You may need to bang on the bolt with a cheater bar to loosen it. Drain the fluid into the pan. Then replace the drain plug until it is hand tight. Use the ratchet wrench to tighten the drain plug. Clean up the excess transmi...
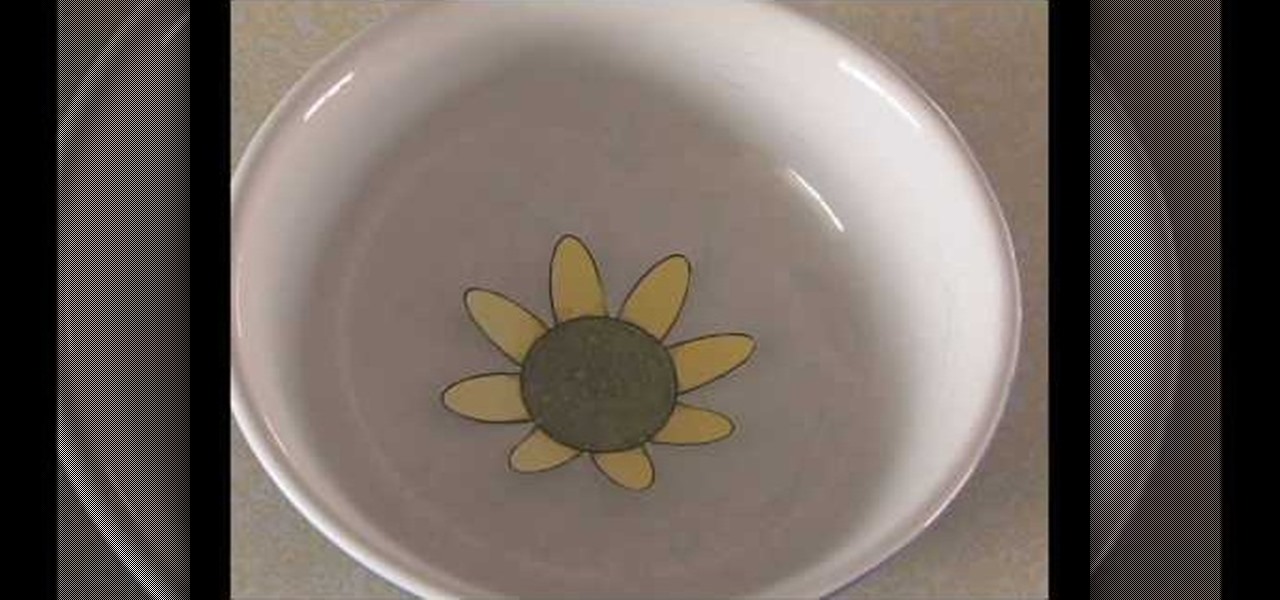
This video shows us how to make a blooming paper flower. To start, you shall first draw a flower on your computer, using paint or other similar program. The flower should be simple, a circle with eight identical pedals arranged around it. Print your drawing and, using a pair of scissors, cut your flower out leaving no excess paper. Take each pedal and fold it inwards towards the center of your circle. Now, get a bowl that will easily accommodate your flower and fill it with enough water to al...
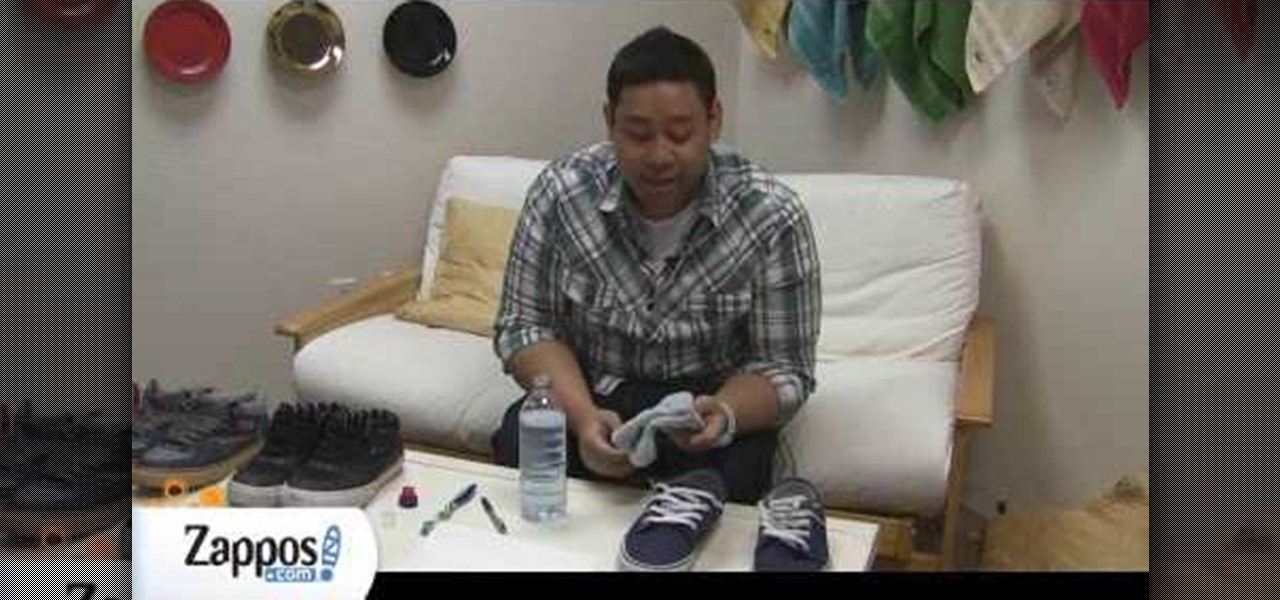
In this video, Jeff shows how to frugally clean your vulcanized shoes. You need a water bottle with a tablespoon of non-bleach detergent, a pencil with a clean eraser, an old toothbrush, a cloth and some paper towels. First, wipe the shoes clean by pouring the detergent solution onto a wash cloth and then scrubbing down the shoes. Soak up any excess water with a paper towel right away. Then, use the eraser of the pencil to help clean the dirt off of the soles of the shoes. If your shoe has te...
Ron Hazelton describes how to replace a screen in a door or window. The screen is held in the frame by a vinyl cord that can be removed with a knife. Lift the old screen out of the frame. With the new screen on a flat surface, using the frame as a template, cut the new screen a half-inch larger than the frame all around. Cut 45-degree notches in the screen at each corner. Place the screen evenly on the frame. Press the cord back into the groove on the sides first, then the top and bottom. Fin...
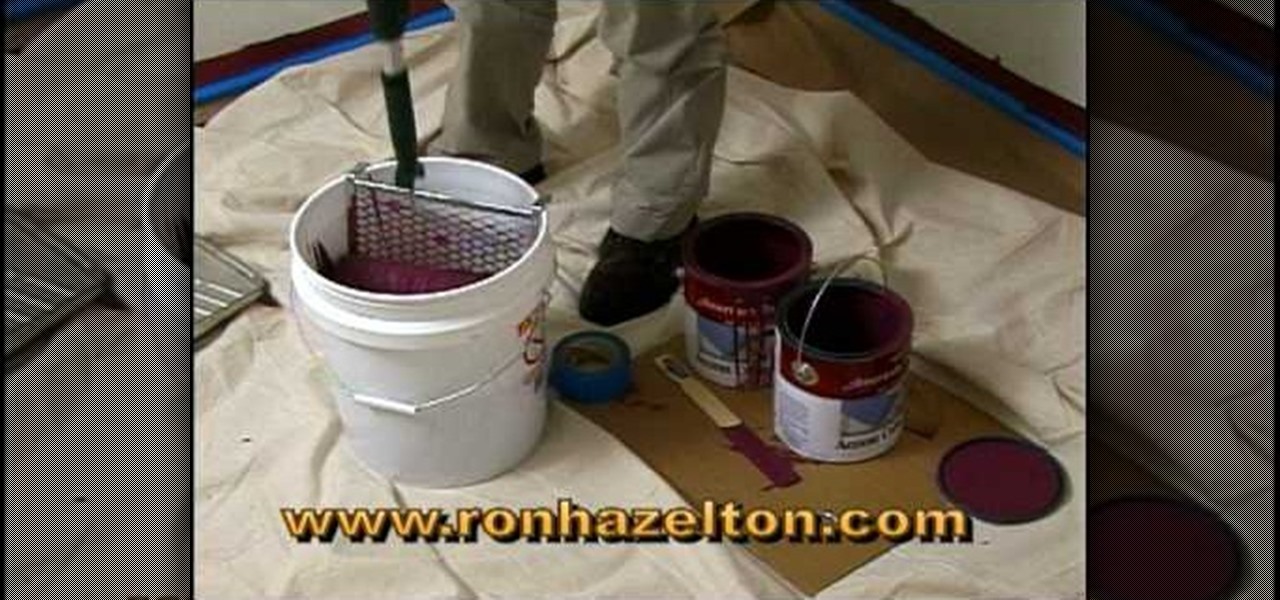
To save time and get a more uniform result when painting with a roller pour your paint in a five gallon bucket rather than a roller pan. Put a painters screen down into the bucket and hook it over the edges of the bucket. Dip the roller into the bucket and roll the excess off of the roller by rolling it on the screen in the bucket. This allows you to have far less stops refilling the pan and if you keep the bucket near the wall you save time loading the roller with paint. When you are ready t...
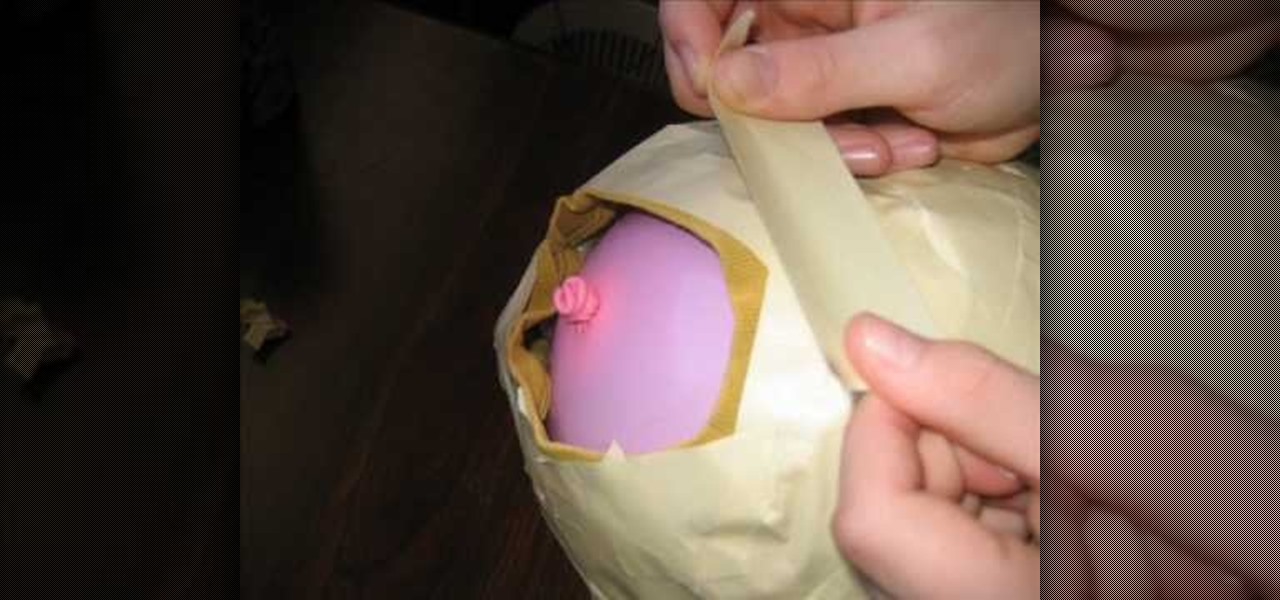
No matter what you think of Slipknot's music, you gotta admit they have a cool, horror movie look. This video will walk you through how to make your own Slipknot full head masks. You'll be surprised how simple the process is.
You can’t expect to paint a masterpiece on untreated cloth. Here’s how to gesso, or prime, a homemade canvas in a hurry. You will need gesso, water, a plastic mixing bowl, a drop cloth, fine grit sandpaper and a house paintbrush. Tip: some painters prefer to use a squeegee to apply gesso, instead of a brush. The edges of your canvas will drip a little, so use a smaller brush to work the excess gesso back into the sides.