

How To: Make your own silver wire wrap earrings
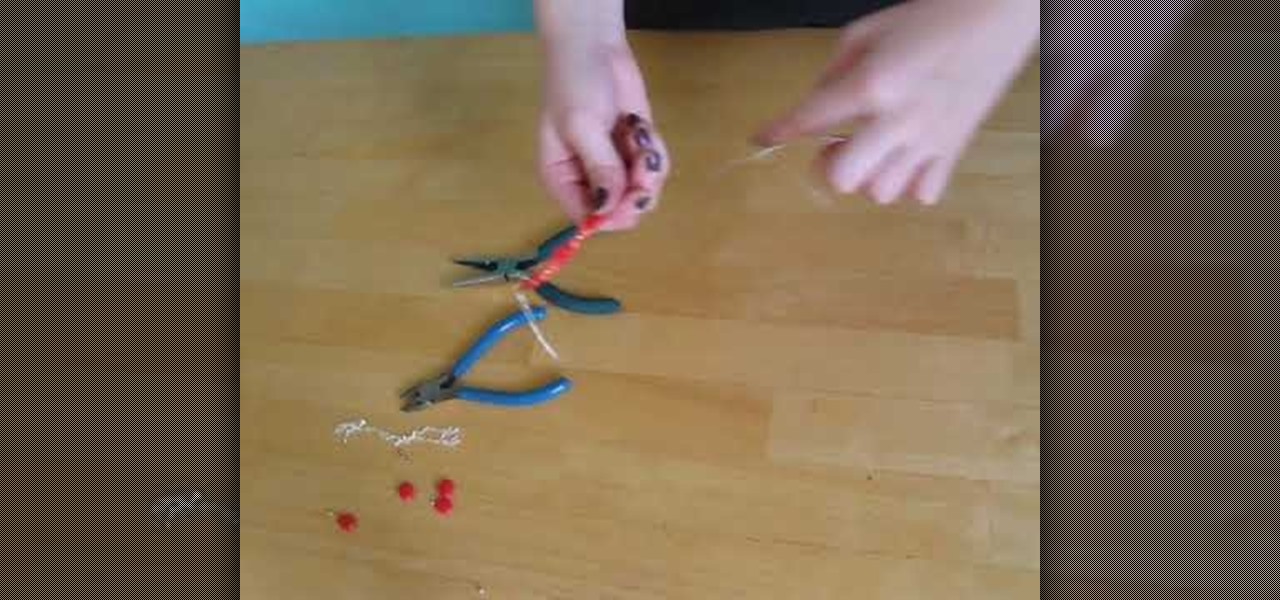
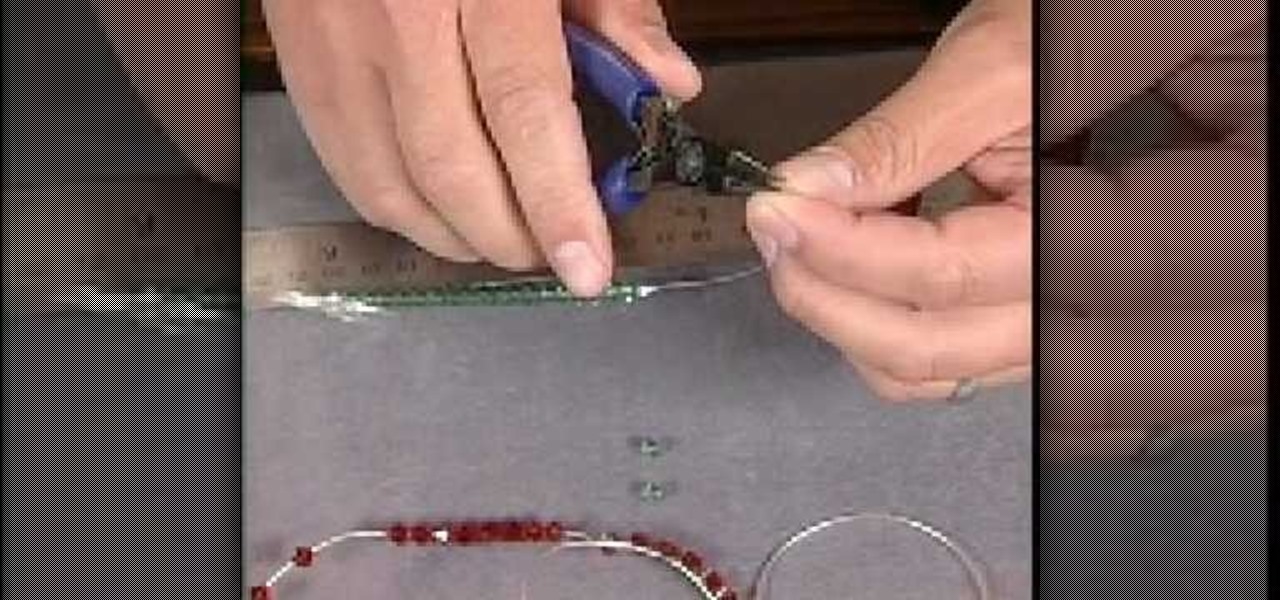
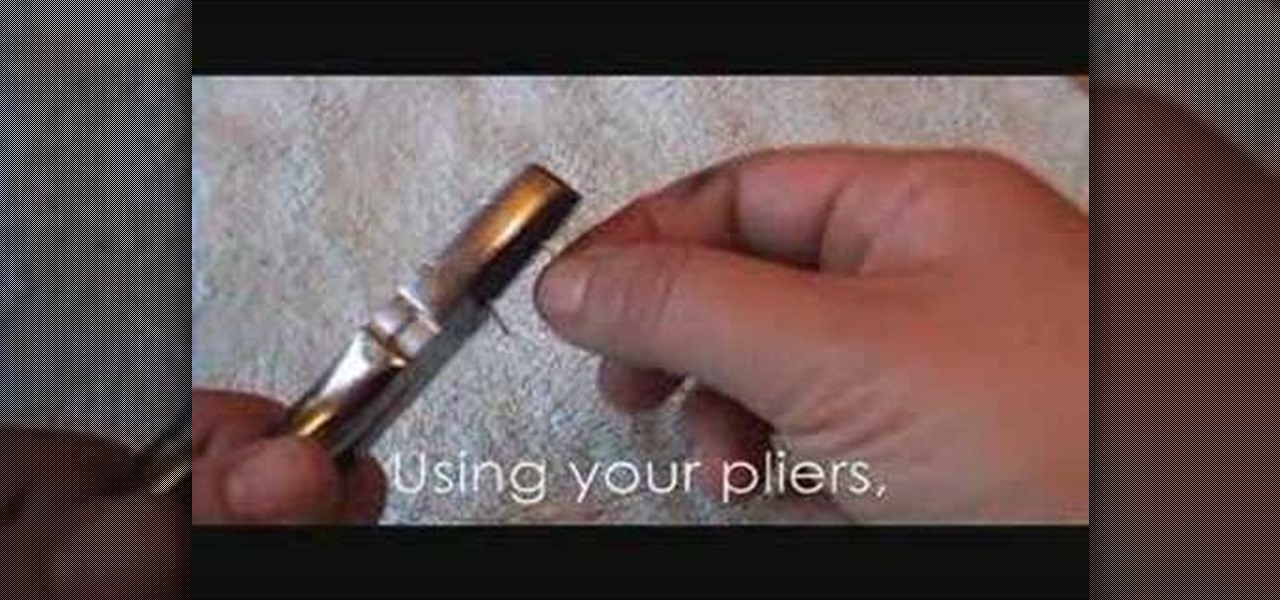
In order to make your own silver wire wrap earrings, you will need the following: sterling 20-gauge wire, chain nose or small round nose pliers, fine sterling wire, and multicolored crystal beads.

In order to make your own silver wire wrap earrings, you will need the following: sterling 20-gauge wire, chain nose or small round nose pliers, fine sterling wire, and multicolored crystal beads.

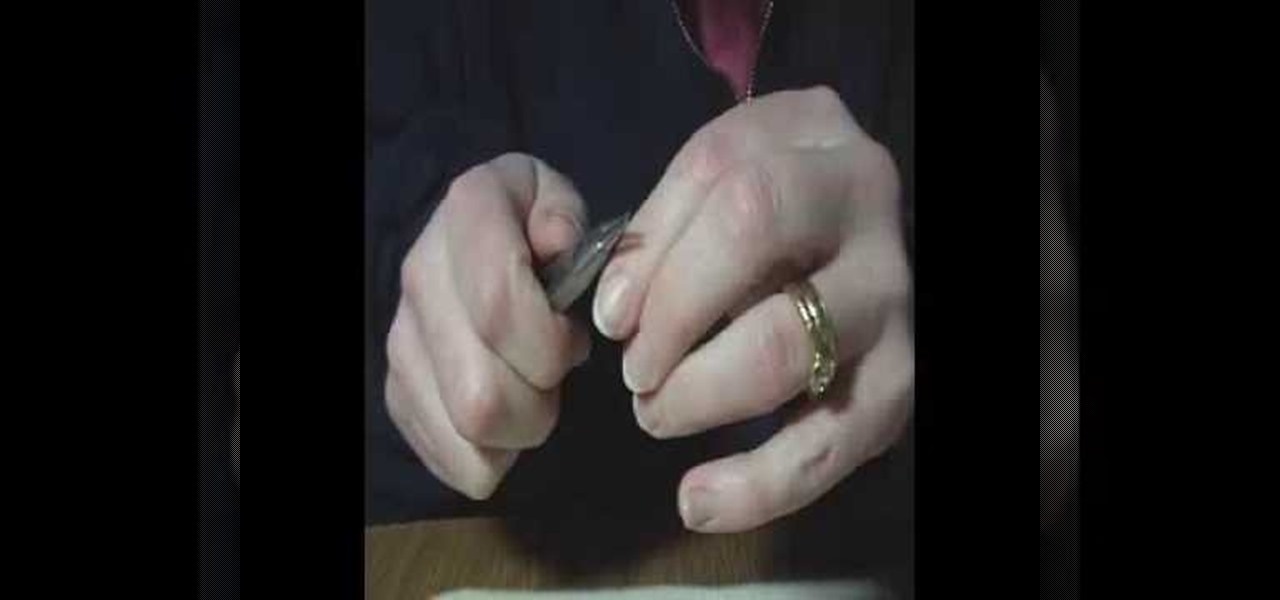
Where making jewelry, there are a lot of times that you will have to make a simple wire loop. This is how to do it.
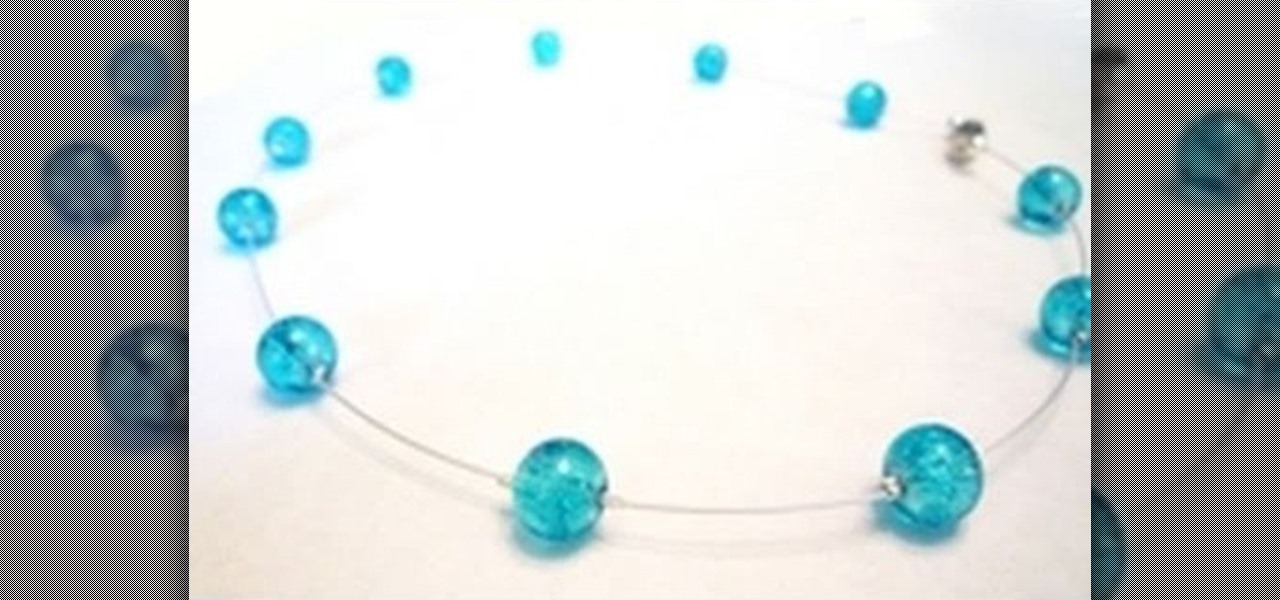
In this tutorial, we learn how to make a floating illusion style necklace. You will need: beading wire, crimping pliers, wire cutters, beads (your choice), crimp beads, crimp covers (3mm), and a clasp (barrel clasp). First, cut your beading wire to the length you want your necklace, add 3-4 extra inches. Next, space your beads out on a beading board evenly, 1 1/2" apart. Now string a crimp bead onto your wire and take the end of the wire and string it through the crimp bead on the opposite si...
Missa teaches us how to create a claspless lariat necklace in this video. First, cut your wire so it's 20 inches long and then make a loop on one of the ends, and attach a chain to it. Now put on the end bead and attach the chain to the metal wire. Now make a loop around the end where the bead is. Now take pliers and clamp the wire on the end down. You can now take wire cutter and cut an inch down on the chain and cut it off. You can now apply your favorite beads to the wire, and any pendants...

In this tutorial, we learn how to work with memory wire to make jewelry. This is a coil material that remembers its shape and comes in a variety of different sizes. First, decide how thick you want your jewelry piece to be, then cut the excess wire with wire cutters. Next, apply a drop of superglue to one end of the coil followed by a Memory Wire end cap and let dry. Now, string your beads onto the wire. When finished, put a bead stopper onto the wire and apply glue to the very end with anoth...

Ceiling fans are great to have in your home and can sometimes be better to use than an air conditioner during summer. But installing one may be tricky for those who have no experience working with electrical wiring. In this video series, you'll find out how to wire a ceiling fan in your home. It can be difficult to do and dangerous, so please be careful and enjoy!
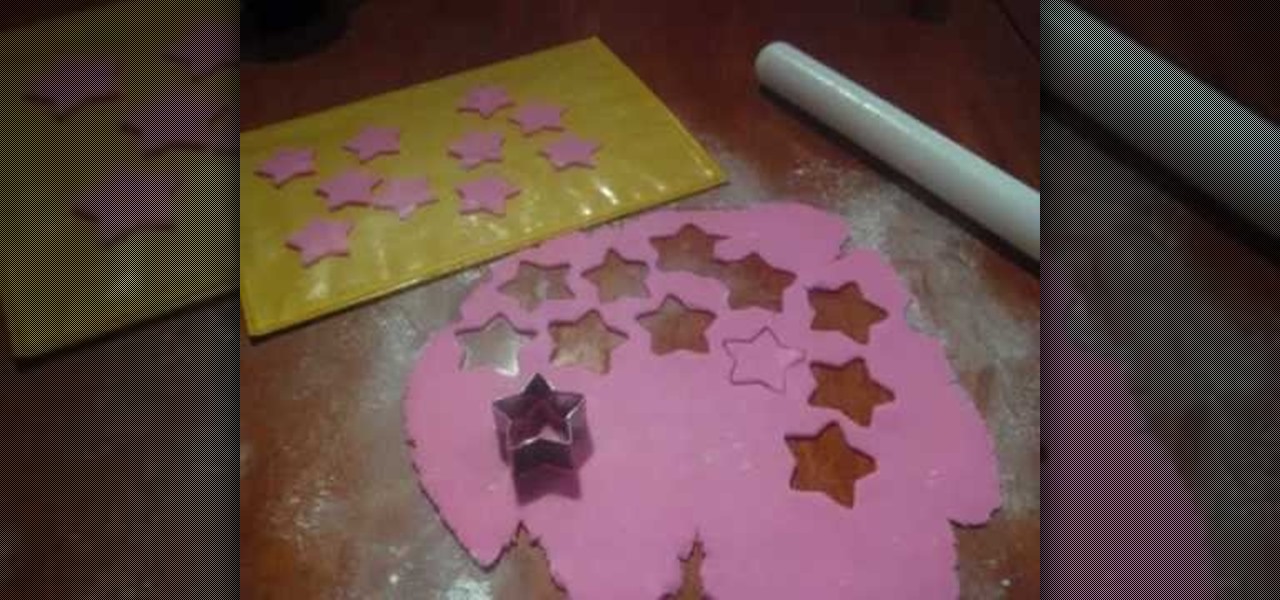
In order to make Shooting Stars for Cakes made from Fondant Icing, you will need the following ingredients and supplies: fondant cookie cutters, wire cutters, gumpaste, a pastry brush, icing spatula, glue (or gumpaste with water), a paint brush, a fondant rolling pin, powdered sugar, floral wire, and a cookie sheet lined with wax paper.
The video describes to make wire hoop earrings. Take a steel metal of anything and take a eighteen gauge wire and wrap a few length of it around the taken piece of metal which is cylindrical in shape. Cut the wire at the desired part and remove from metal.The wire takes the shape of a standard spring. Again cut it into two or three pieces. Hold the wire again and straighten the edge and after that once again bend it down holding at the place where bent begins. Put some on it to design and the...

In this jewelry-making basics tutorial, learn how to make an eye pin. To create an eye pin, you will need wire. Size 24 or 22 gauge wire is the best kind of wire to make an eye pin. The thicker the wire, the more difficult it may be to work with. To begin, straighten out your wire and cut the length you need to make your eye pin. Taking some round nose pliers, you will bend the wire up while rolling it toward yourself. Do not pinch the wire too tightly with the pliers because it can leave per...

Those interested in learning how to make their own jewelry, can learn how to make a floating illusion necklace by following the steps in this video tutorial. You will need a beading board, beading wire, crimp beads, beads of your choice, a barrel clasp, wire cutters, and crimping/flat-nosed pliers. First measure out how much wire you will need. The tutorial is making a 16-inch necklace. Make sure to cut extra wire. For a 16-inch necklace, this means you should cut approximately 20 inches of w...
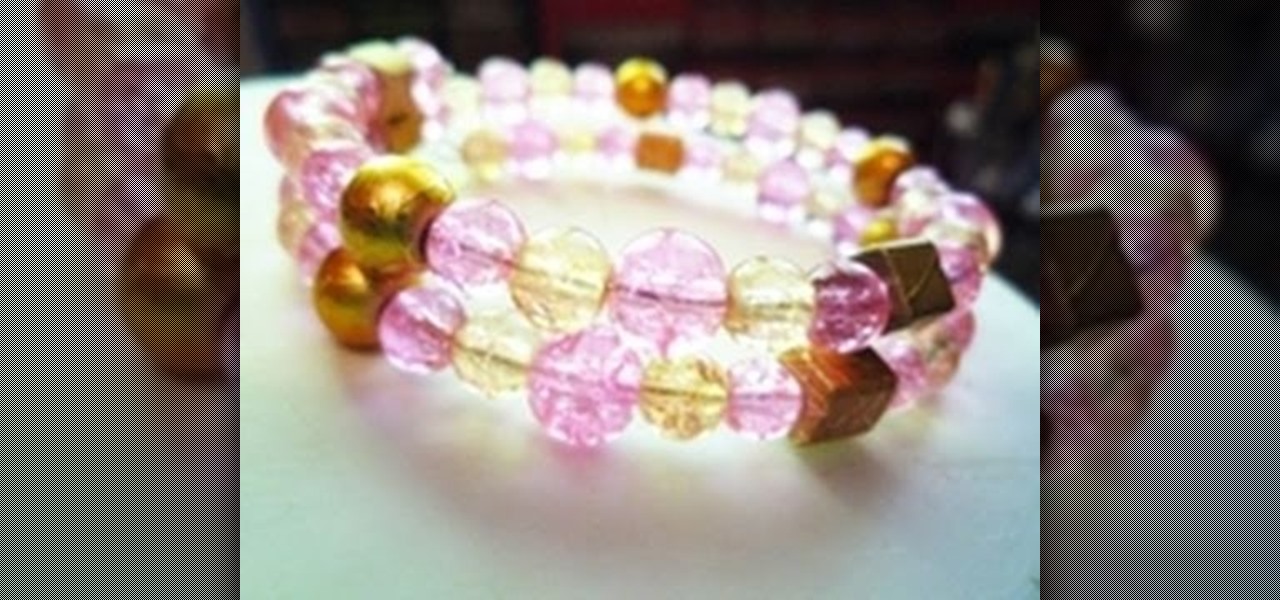
In this video tutorial, viewers will learn how to make a memory wire bracelet. This video provides all the materials required to make the bracelet. The required materials include a memory wire (bracelet size), heavy duty wire cutters (memory wire shears), round-nose pliers and several beads. First, determine how thick you want your bracelet to be and cut the wire according to that size. Now, layout the design of your beads; make a loop on one side of the wire and add the beads on. Once finish...

Do you have magnet wires that you need to solder together to get your device working again? This video can help you immensely! Soldering is when you put two wires together using a soldering iron so that even cut wires can be made useful again. Great care and time is taken into soldering these wires properly. Watch the video to learn the proper techniques of soldering magnet wires. The wires shown in this video are extremely thin and are used for small, ready-to-fly airplanes.

Wire spirals are quick to make at home, and can be added onto any jewelry. To make wire spirals, you'll need soft round wire, bent chain nose pliers, round nose pliers, a flush cutter, a spiral maker, and a WigJig Olympus or Delphi. Learn how to make wire spirals by watching this video jewelry-making tutorial.

Jewelry wire components are quick to make at home, not to mention cheaper and more customized. To make a wire component for jewelry, you'll need practice wire jewelry, a flush cutter, fine step jaw pliers, nylon jaw pliers, and a jewelery making jig with metal pegs. Learn how to make wire components by watching this video jewelry-making tutorial.
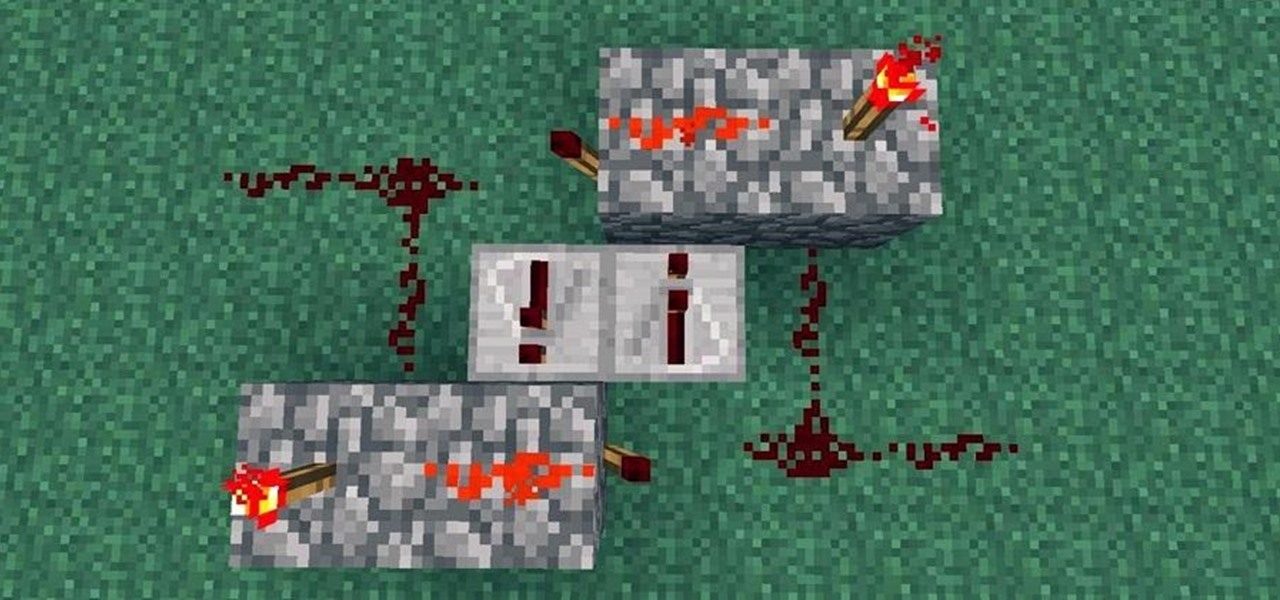
If you're at all like me, you constantly get frustrated that repeaters only boost redstone signals in one direction. It's annoying!

Once you've reached an age where sparklers are no longer fun, it's time to upgrade to science and steel wool. It may be basic chemistry, but as you'll see in the video, simplicity can amaze more than complexity, as well as create some really impressive fireworks that are perfect for the Fourth of July.
Wow! No longer do you have to buy those huge marble machine roller coaster toys — you can DIY one! This video covers the materials, tools and techniques used to make a homemade rolling ball marble machine. If you haven't seen this rolling ball marble machine toy in action yet, WATCH IT. It's a looping rolling marble machine made with wood, rebar tie wire and polyurethane tubing, featuring a magnetic elevator.
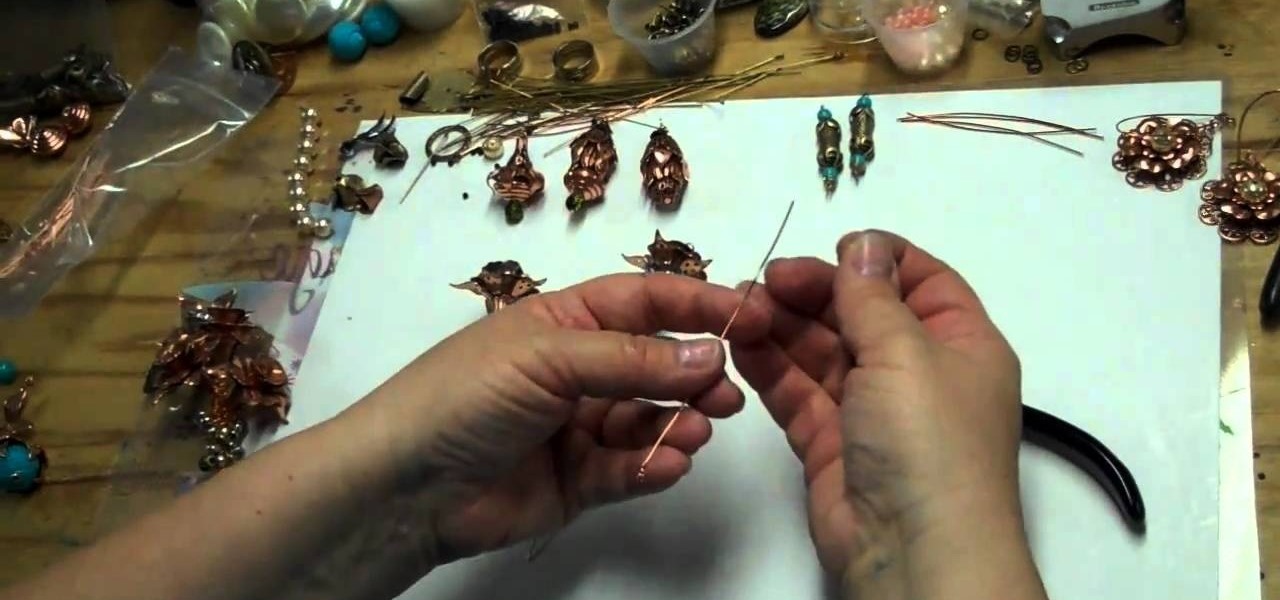
Learn about wire jewelry, different types of accents for wire jewelry and more with expert wire jewelry making tips and advice in this free online crafting video series.
When you think of flower brooches, you probably imagine those dusty, ancient things your grandmother used to wear on her wool cardigan. But brooches can be uber cool - and even street chic - when done in a vintage/Steampunk style.
Learning how to wire wrap jewelry is one of the most important skills you need to learn on your way to achieving jewelry making enlightenment. Wrapping with wire, whether it's attaching a stone to a pendant with an intricate, flowery wrap or adding a head pin to a crystal, allows you to attach adornments to your necklace or earring, something you'll be doing over and over again as a jewelry maker.

In order to make a scalloped edged bobby pin accessory, you will need the following: wire, a bobby pin, small beads, a ruler, and scissors. Cut about 2 feet of wire. Fold the wire in half. Lace the wire through the bobby pin. Anchor it by wrapping it around the exterior. Then, repeat with the other end of wire. You will repeat this, in order to secure each bead. Begin sliding the beads on the wire. Group three at a time, remembering to anchor them. When you reach then end, begin scalloping. A...
The ancient Romans were well known for their decadence. Whether it was coddling enough vino to fill every barrel in donkey kong or having nightly orgies with any partner of their choosing, they knew how to party and could put any frat boy to shame with their decadent endurance.
Hitting up antiques stores or flea markets every now and then engenders eccentric rewards of odds and ends, pretty semiprecious stones that look dazzling but have no home.
This is a demonstration of making a hand tied bouquet.Keep all the required articles nearby on the table.Take a few stems of lemon grass and bind them with a wire to form a single bunch.Tie the aspedestra leaves in a loop with wrapping a wire to the stem.Now take the stems with single flower like movie star roses or carnations or iris or tulips pluck or cut the loose petals.Now hold one of the stems loosely in the left hand,now with the right hand place the second stem so that the flower is o...

This is part one of two in how to make a beautiful tree of life pendant. It is very easy, and you'll only need a few items. Things you'll need: wire 2-3 mm thick, Round nose pliers, 4 pieces of thin wire, 12 inches long, wire cutters. With your round nose pliers, bend the thick wire about an inch form the end. Make a question mark shape, and twist the end around. Go down about 5mm, and make a 90 degree bend. Go across as far as you want, and make another 90 degree bend. Keep making bends unti...

Create a simply beautiful beaded wire ring in minutes with this step by step guide. This delicate ring design will look simply lovely with any style of bead. Be creative. Learn how to craft this beaded wire ring by watching this video jewelry-making tutorial. Get beading!
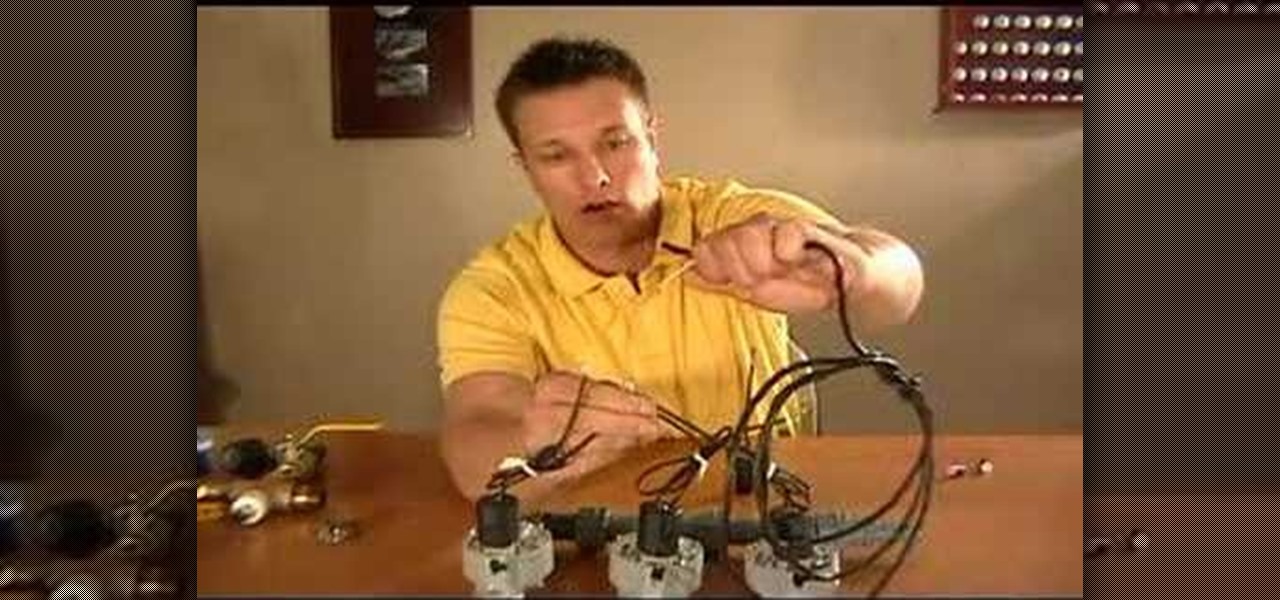
This video tutorial will show you how to wire automatic sprinkler valves for the health of your green grass lawn. Attach wire to the sprinkler valves and run it to the automatic sprinkler timer. That's it. You don't need to be an electrician or a plumber to accomplish this sprinkler step. Just get some wire strippers and do your own electrical work.
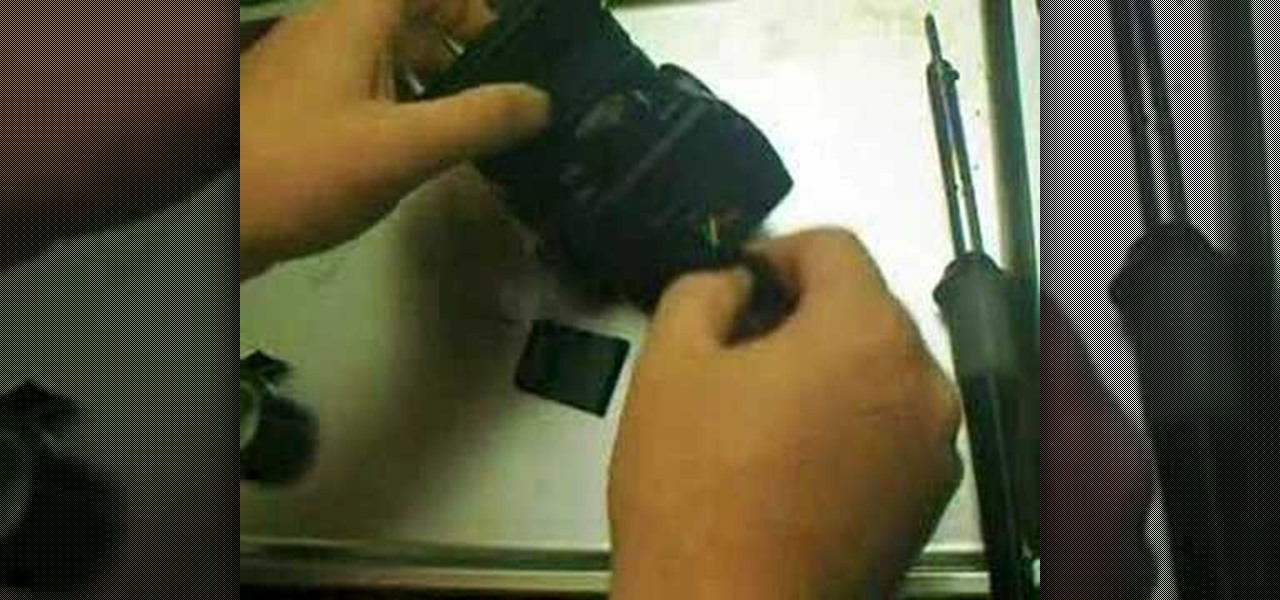
In this tutorial, we learn how to repair the Vivitar 285's Flash Foot. First, remove the flash foot using a soldering iron. Melt the solder just enough, don't ruin the wires or the backing. Now, set the iron down and then short the wires out, you will see the flash go off when you do this. Trim of the exposed wire from the end, then wrap a small amount of electrical tape around the wires. After this, you will repair the metal around where the wires were connected. Then, solder the wires back ...
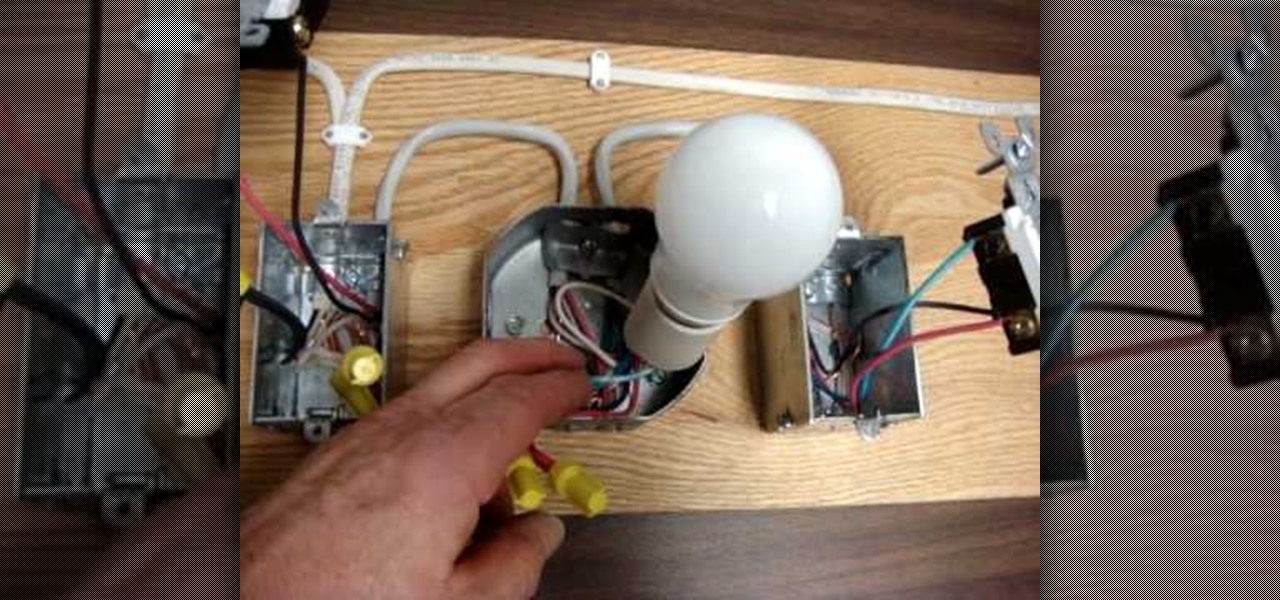
In this video, we learn how to wire a three way switch. The arrangement should be one turning the light on, one turning it off, and the other turning back on. All of the switches should be wired coming in from the source of the power on a cord. A neutral wire should go through and the hot wire should be connected to the first switch and feed into the second. The brass terminals have traveler wires going from the first switch to the second. These have two terminals on each side where a cable w...
This is a video tutorial in the Electronics category where you are going to learn how to install a three way dimmer switch. Mark Donovan of Home Addition Plus demonstrates how to replace a faulty 3-way dimmer switch in this video. Make sure you buy the right dimmer switch for your configuration and make sure you disconnect the power source before you start the work. Remove the top panel and then remove the screws that hold the whole dimmer switch and pull it out. There are three sets of wires...
In this tutorial, we learn how to make a beaded bookmark or "book thong". First, take a wire and add on a small horse shoe shaped bead. After you do this, use pliers to help bend the wire around this pin to keep it in place. Next, add on a peace sign pendant, then tie the wire around and push the wire into a cylinder bead. Continue to add on more beads to the wire until you reach the end. Use different types of bead to make it more unique and completely your own design. To finish, apply a cla...
In this video, we learn how to build a portable personal heater. This is a great weekend project that is easy to make and will keep you warm during a freezing winter. You will need: two double a batteries, charger, twin double a battery charger, winding wire, and balsa wood. First, cut the wood the size of the battery holder and cut it out. Now, reel off 30 ft of winding wire and hold down with duct tape. Wind the wire around the piece of wood and tape down the other end of the wire. Scrape o...
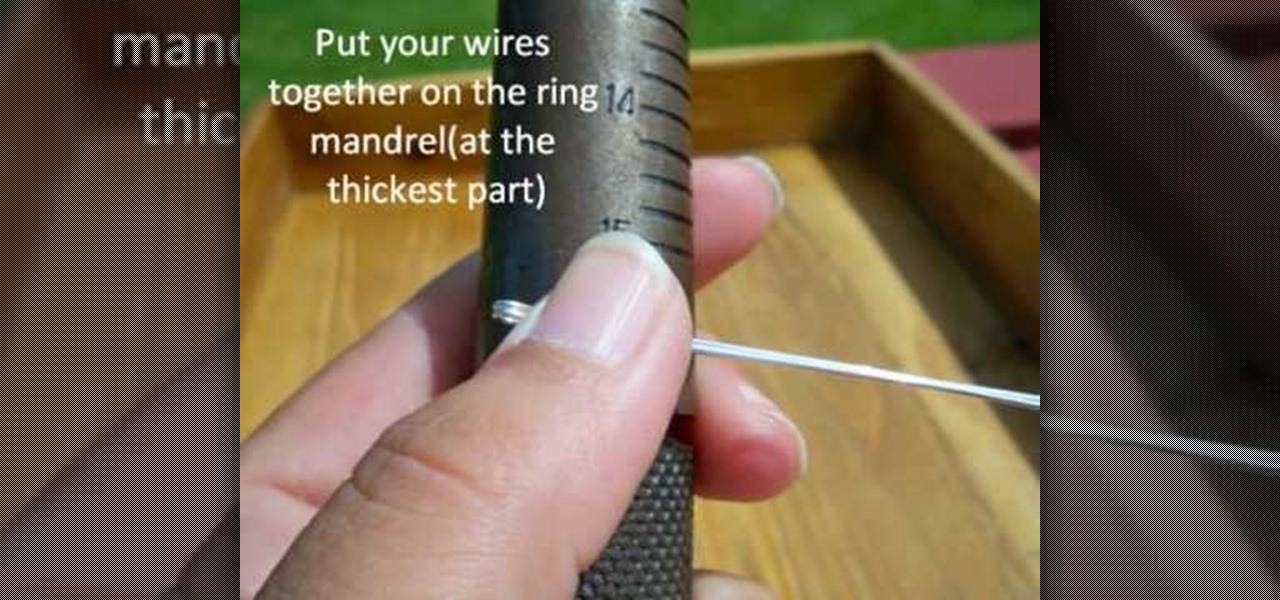
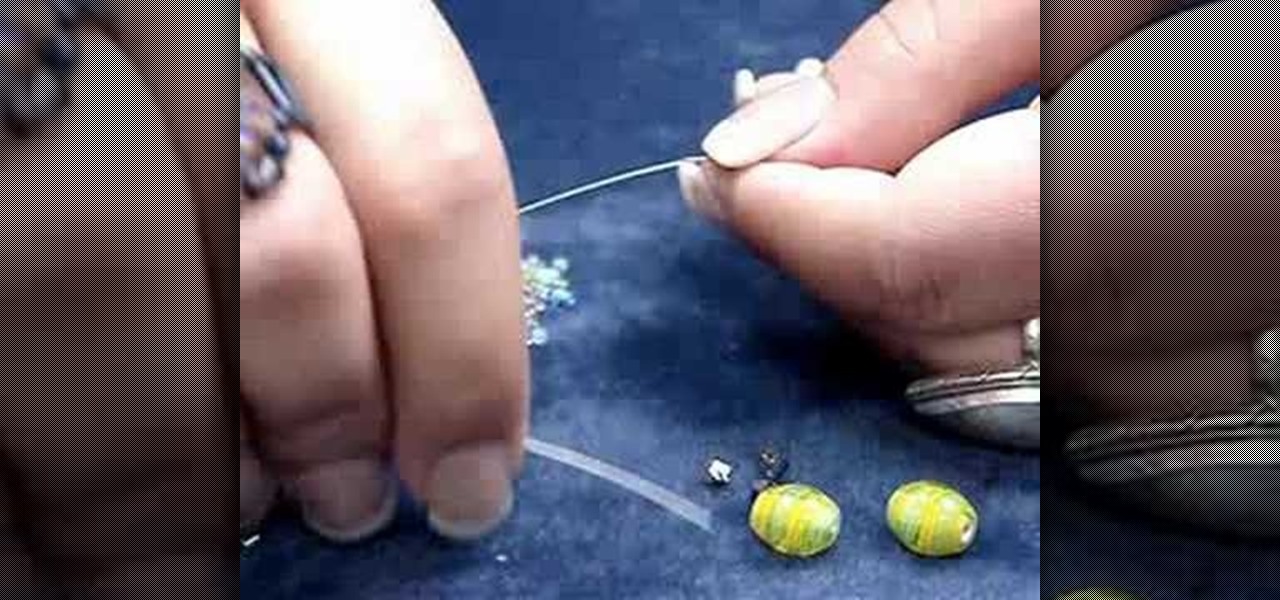
First of all you need to have a piece of silver wire which is about three inches long and twenty-two to twenty-four gauge. Now take pliers and bend the wire into a right angle. Now take round nose pliers and wrap the wire around the tip. At the half way reposition the wire and then complete the loop. Now look at the loop which should be nicely stemmed in the middle. No insert the bead into the wire and grab the bead with thin nose pliers. Bend the wire at the right angle. Now take round nose ...
This video shows you how to Brown Ground Beef. For this, you will need a skillet, an egg turner or a slotted spoon, ground beef, ground black pepper, Worcestershire sauce, and oregano.
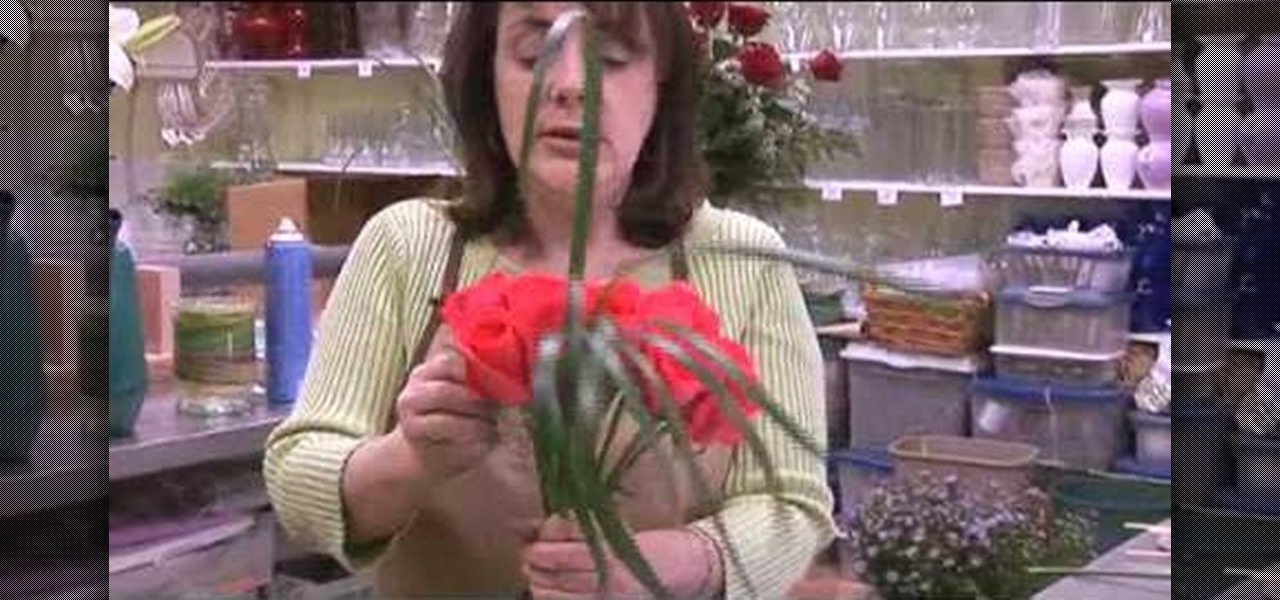
In this video, Marc Nelson describes how to make large hoop earrings to the wearer's choice out of silver wire and beads. The process if very simple and inexpensive. First he takes a larger gauged silver wire for the actual hoop earring. Then taking the smaller wire for bead placement, he preemptively threads the smaller wire through the beads. Because you have to use the smaller wire for holding the beads in place, the wire must be much longer. It seems with enough practice and know how, mak...

Learn how to make sparks with steel wool wire and a battery in simple steps. You will need thin steel wool, string wire, a battery with two terminals on top and scissors . First measure a meter of string wire and cut it out using the scissors. Now wrap the string wire around the steel wool exactly in the middle. Rub the battery terminals on the wool to check whether it sparks. Now get outside in a safe place and ignite the steel wool by rubbing the battery. Spin the steel wool by holding the ...
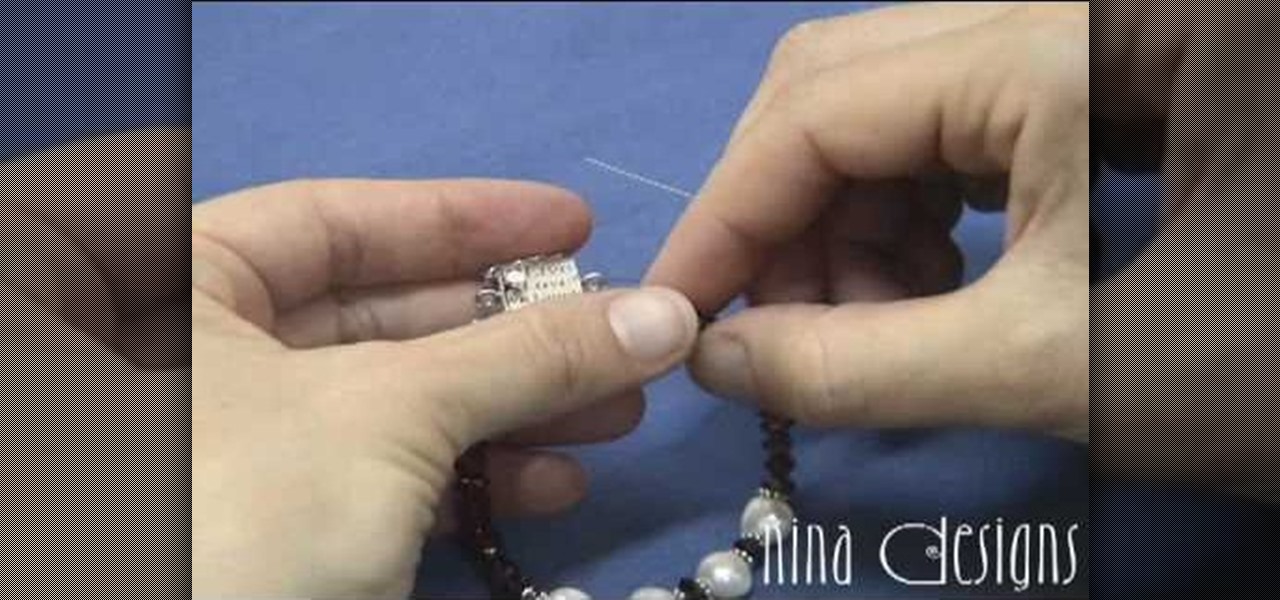
Learn how to finish a bracelet with crimps and covers to finish a bracelet start by putting a crimp bead over your beading wire and then add a clasp. After putting the clasp on the wire run the beading wire back through the crimp. Move the crimp bead up toward the clasp leaving a little room for play in between the clasp and crimp bead. Take your crimping pliers and put the crimp bead in the backspace of the pliers. Squeeze the pliers firmly to smash down the crimp bead. The crimping pliers w...

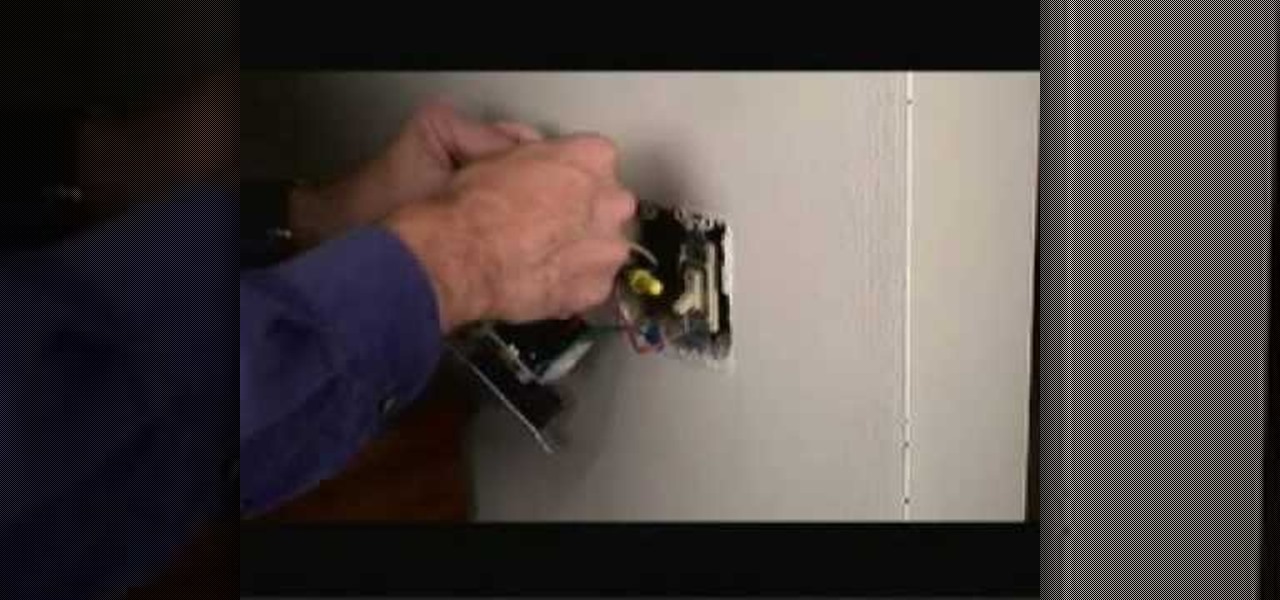
You can very easily replace your normal light switch on the wall with a dimmer switch. The first step is to turn the power off at the circuit breaker. To prevent anyone from accidentally turning the circuit on put a piece of tape over the fuse switch so that it is clear that it is to stay turned off. Remove the screws that hold the switch plate and use a tester to make sure that none of the wires are still live with electricity. Remove the two screws that are holding the switch itself in plac...
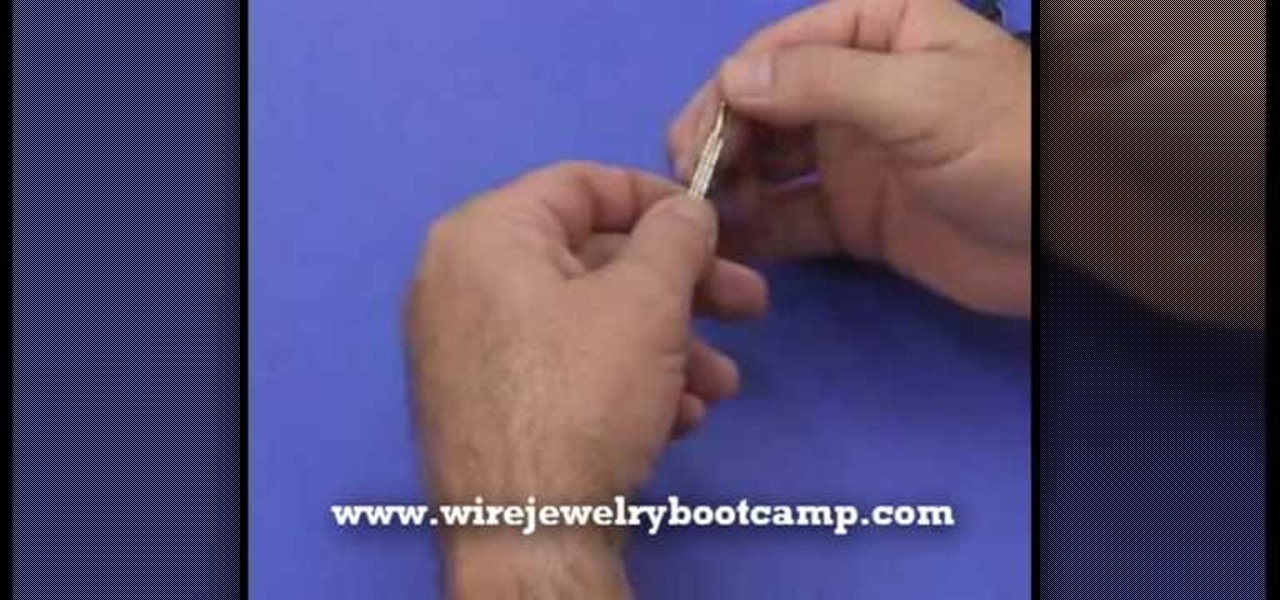
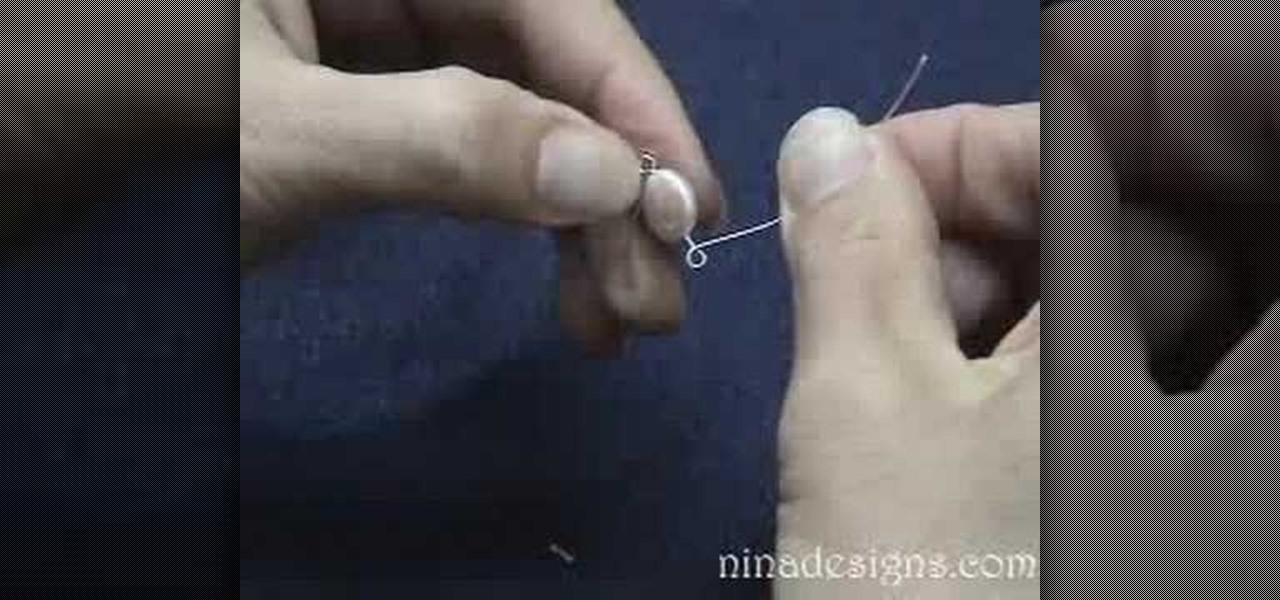
Work with sterling silver wire to make a link for jewelry clasps, loops, chains, bead work, and earring hooks. All you need is some silver wire and a pair of needle nose pliers. Jewelers need to make these simple loops for beading necklaces, connecting rings, and making earrings. Follow the instructions to link two silver wire loops to begin making a chain.
Learn how to straighten wire with this jewelry making video. Use a pair of pliers to straighten a piece of warped wire. When making earrings, bracelets, rings and necklaces, don't throw away the bent pieces of left over wire. They can be salvaged!