This how-to video serves as a disassembly guide for MAC's 3rd generation iPod Nano, breaking it down into the pieces: display, battery, logic board, housing, cables, etc. If you're determined to do your own iPod repairs, installations, or modifications, at least follow some advice on you to open up the Nano without causing damage. You will need a Phillips head screwdriver, a black stick, a plastic pick, and a chisel tip screwdriver. Watch this video iPod tutorial and learn how to take apart a...

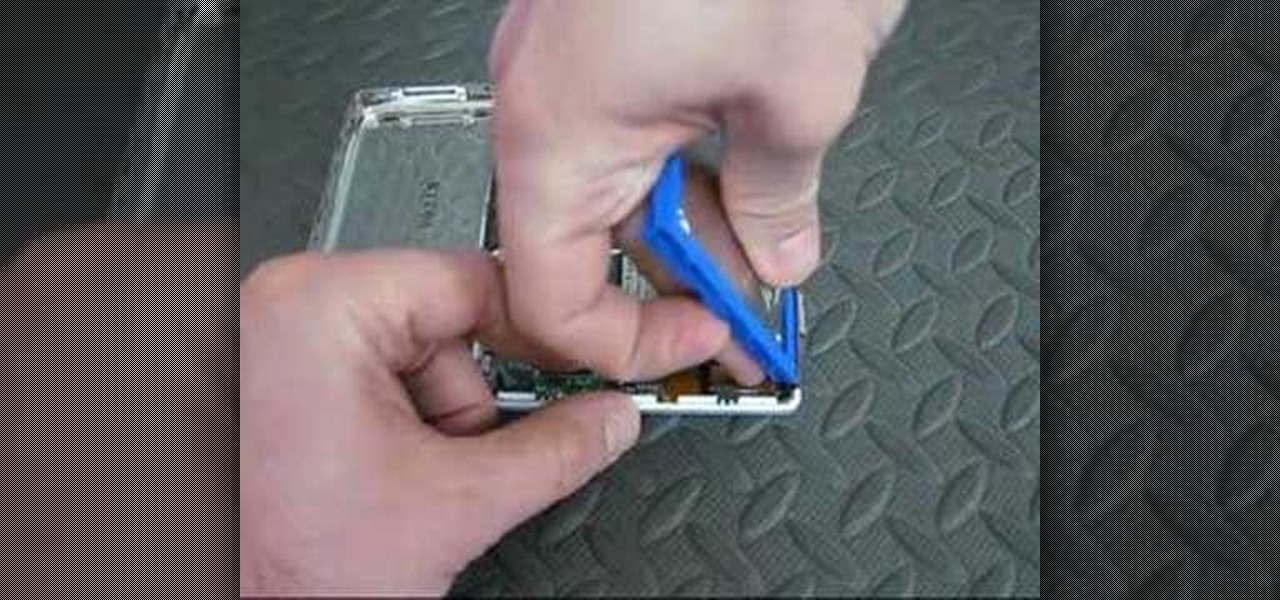
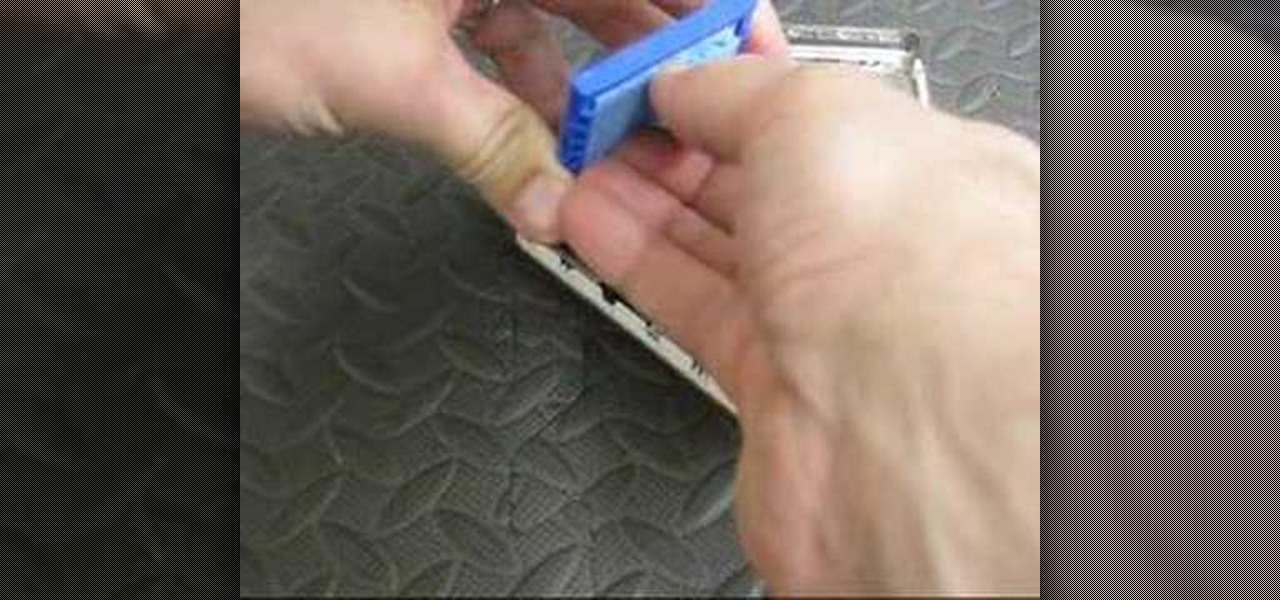
Opening an iPod Nano 3rd generation is more difficult than previous models, because of the metal clips. You will need the specialty tool designed to pry open the iPod, before you can get the iPod open and remove the screws. Watch this video iPod tutorial and learn how to install an LCD screen into a third generation iPod Nano.
Check out this instructional electronics video that illustrates the simple procss of reconnecting the ribbon cable on a 4th generation iPod. Sometimes the ribbon cable that tethers both halves of the fourth generation iPod during the battery replacement process needs to be reattached to the logic board. Watch as one of our technicians illustrates this process and start listening to music again!
Check out this instructional electronics video that illustrates the simple process of reconnecting the 4th generation iPod hard drive. The hard drive inside a fourth generation iPod can sometimes come loose from the logic board, but it can easily be reattached. Watch as a technician from iPodJuice.com shows you how it is done and start listening to music again!
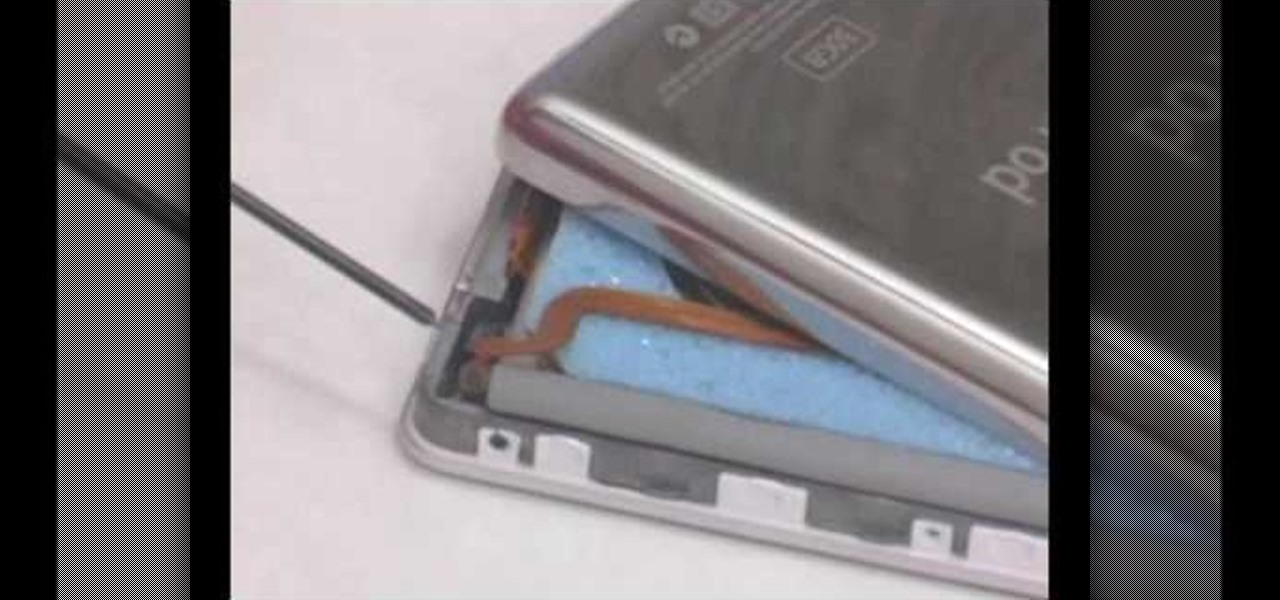
Having trouble opening the third generation iPod? Don't give up! Check out this instructional electronics video that illustrates the simple process of opening a 3rd gen iPod. This video from ipodjuice.com demonstrates a technique that can be used to open even the most difficult 3rd Generation iPod battery installation. Change the battery on your iPod and start listening to music again today!
Check out this electronics tutorial video to learn how to replace and install a fifth generation ipod video battery. This instructional video illustrates the procedure of installing a battery on a 5th generation iPod video. See how it's really done!

Having trouble opening the 5th generation iPod video? Check out this instructional electronics video that shows you how to open your fifth generation video iPod. Try this simple trick if you are having a bit of difficulty getting the iPod video open, shown to you here by a technician. Fix your iPod and start listening to music again with this tutorial video.
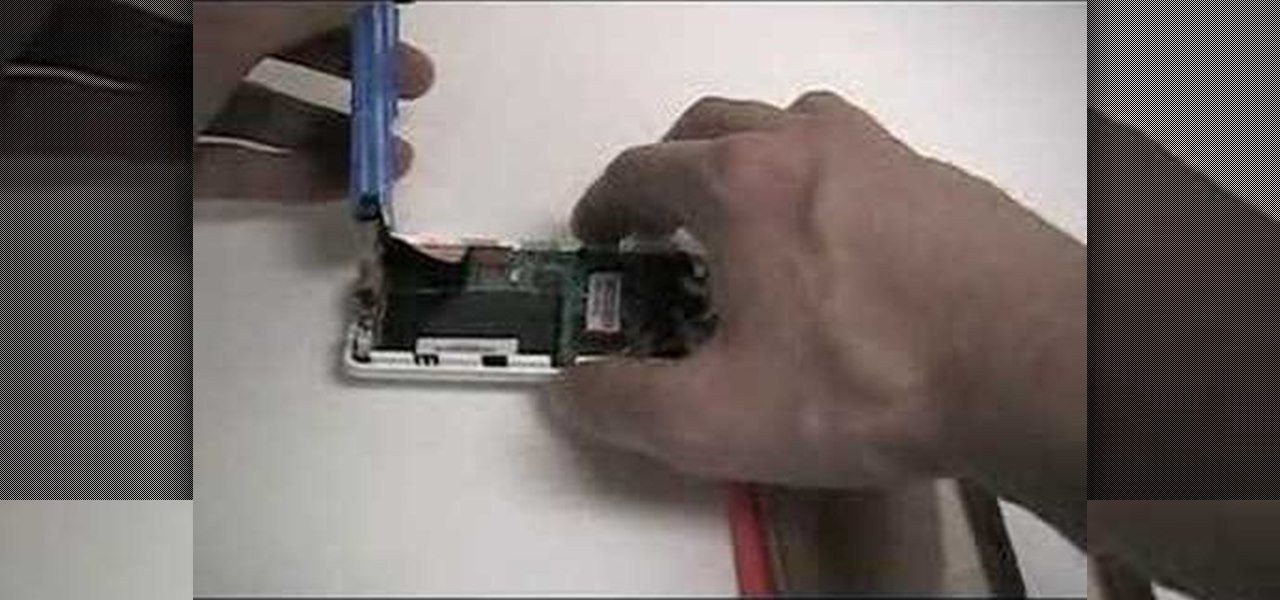
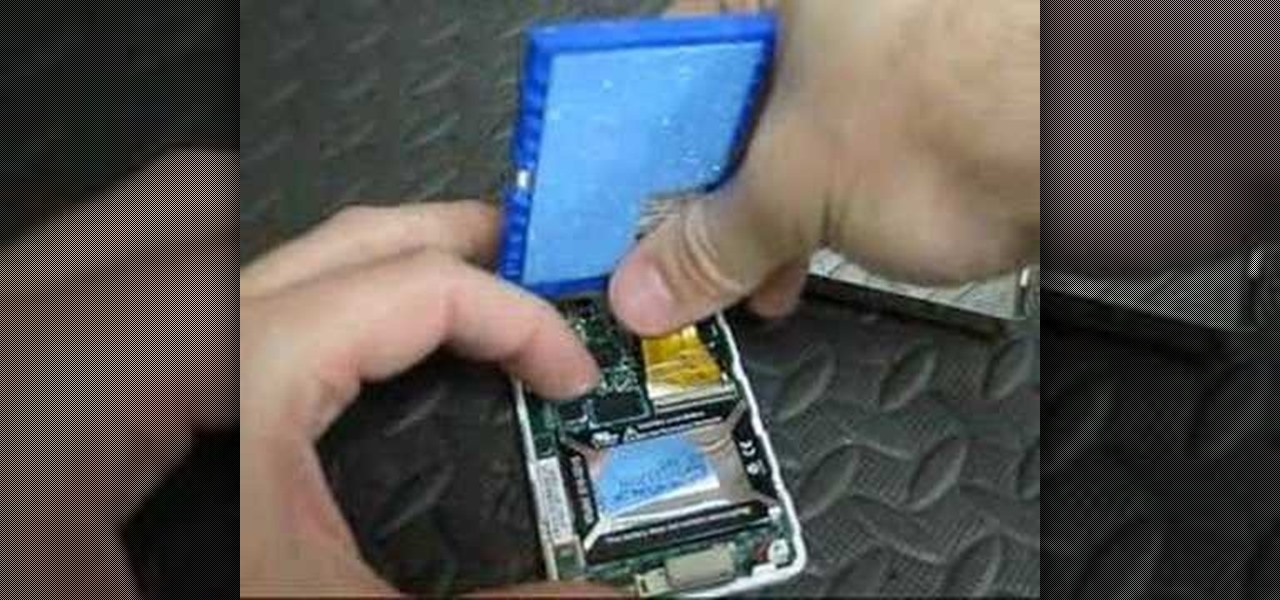
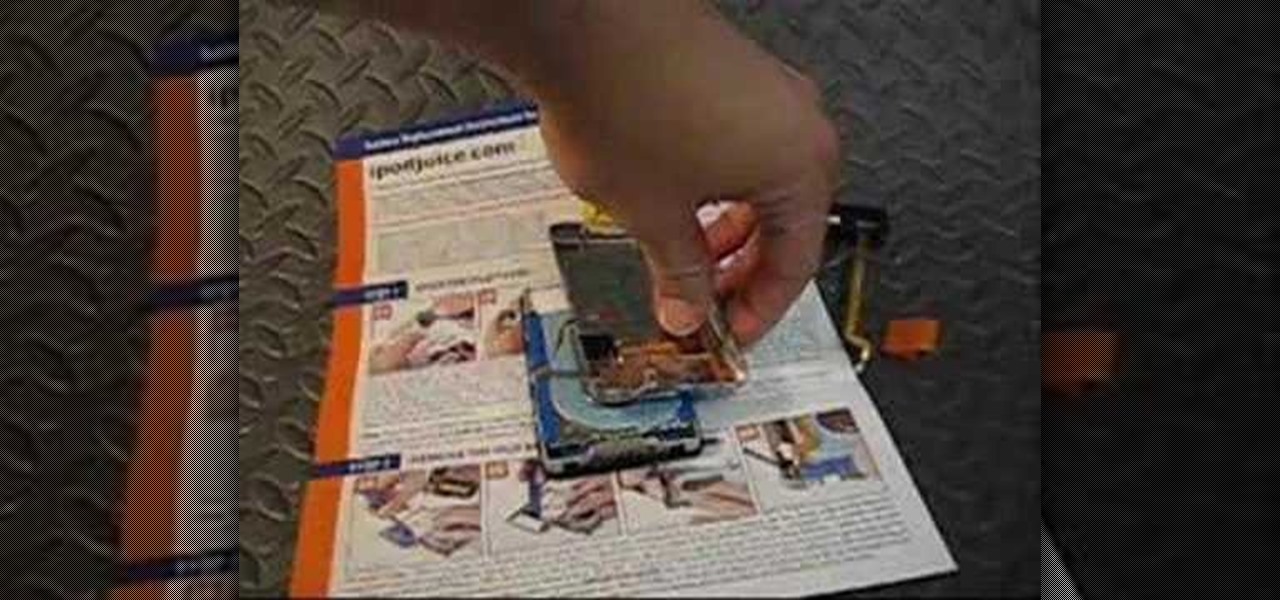
Check out this electronics tutorial video to learn how to reconnect the hard drive for a third generation iPod. Getting the hard drive re-connected to the logic board inside a 3rd generation ipod can be a little tricky to do, but watch as a technician shows you how to do it. Try to connect the hard drive first and then lay it flat dowon on top of your new battery. This instructional video illustrates this simple process.
When your iPod is no longer holding a charge, the battery is most likely dead. If your iPod is past Apple's warranty time, you might want to try replacing the battery yourself. You will need a prying tool and a new battery. Watch this video iPod tutorial and learn how to replace a 2nd generation iPod battery.
You can save a lot of money doing your own iPod repairs and updates, but make sure you're doing it right. Make sure to use the right tools and follow the tips listed in this instructional video. Opening the iPod the first time can be especially tricky. Watch this video iPod tutorial and learn how to change the battery on a fifth generation iPod Video or Classic.
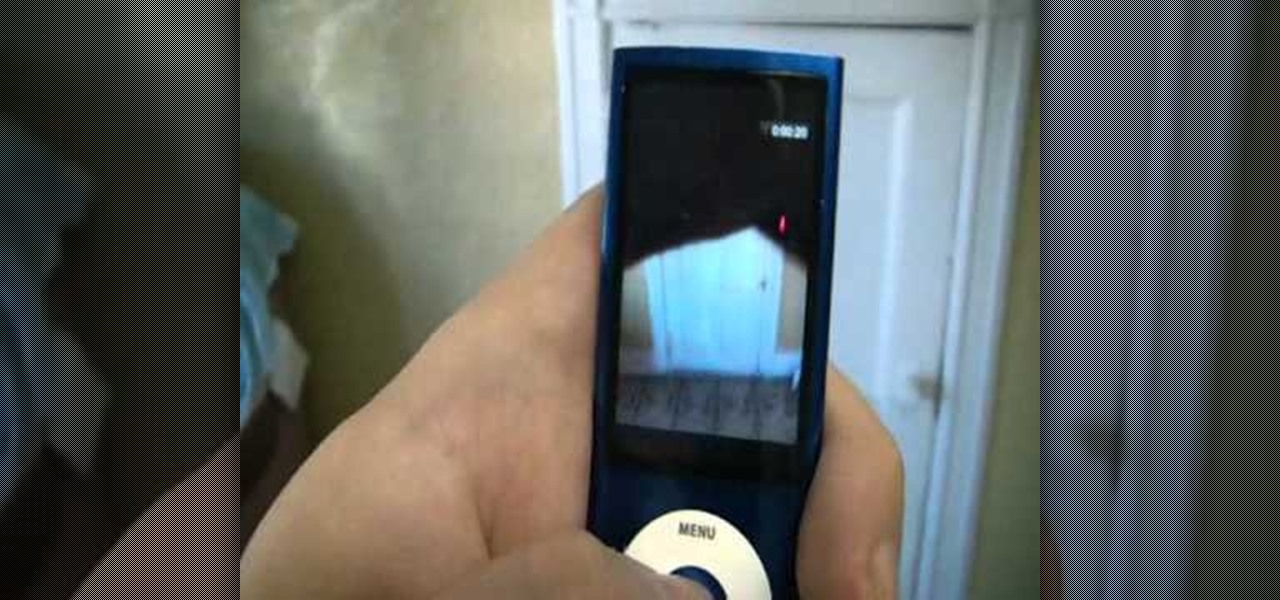
Is your iPod Nano screen getting a little unclear? Replace it then.
After you've taken your iPod Nano apart and fixed it, you might want to put it back together. Check this video out to see how to assemble the iPod Nano Generation 2 with narration for each step.
The second generation iPod shuffle is half the size of the original and much easier to wear, but that's easy to figure out. What may not be so easy, is figuring out how to use it. This video from Apple takes you through all the basics.
This shows you how to save your iPod and a ton of money by fixing a dead battery yourself. Here's how to take apart the 3rd generation iPod and remove and replace the battery.
This video shows a step by step method for saving money and your iPod when it's battery dies. Take apart the 2nd generation iPod and remove and replace the battery.
How to take apart the 1st generation iPod and remove and replace the battery.
In this tutorial, we learn how to repair an iPod Nano 4th Generation. First, remove the top and the bottom bezel from the device using a small and flat tool. When these are removed, switches will fall out, make sure to set these aside in a safe area. Now, remove the Philips screws that are in the top and the bottom of the device and set them aside. You will be able to take apart the top from the bottom now. The dock connector will be inside where the motherboard and circuits are at. Repair th...
This video shows the correct procedure to dismantle a first generation iPod Nano. The presenter starts by using a putty knife (aka the iPod take apart tool) and separates the casing. Next, the presenter removes the battery from the internal circuit board by using a soldering iron to melt the soldered battery connections. A small Phillips head screw driver is then used to remove three screws from the logic board. Finally removing two small ribbon cables will free the logic board from the plast...
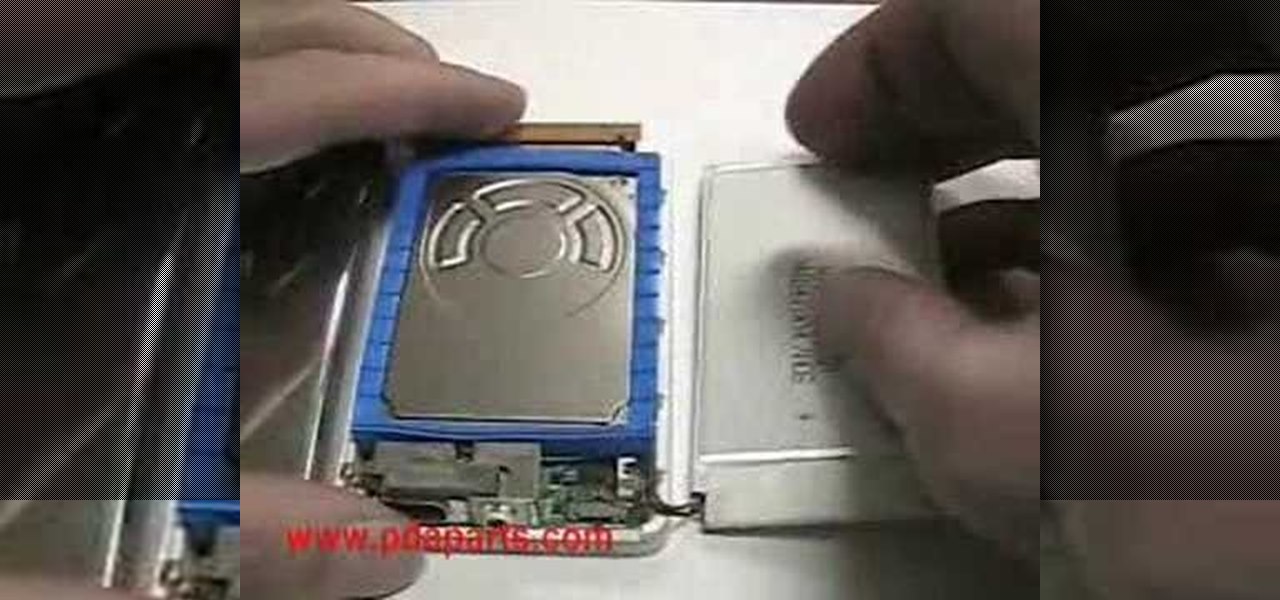
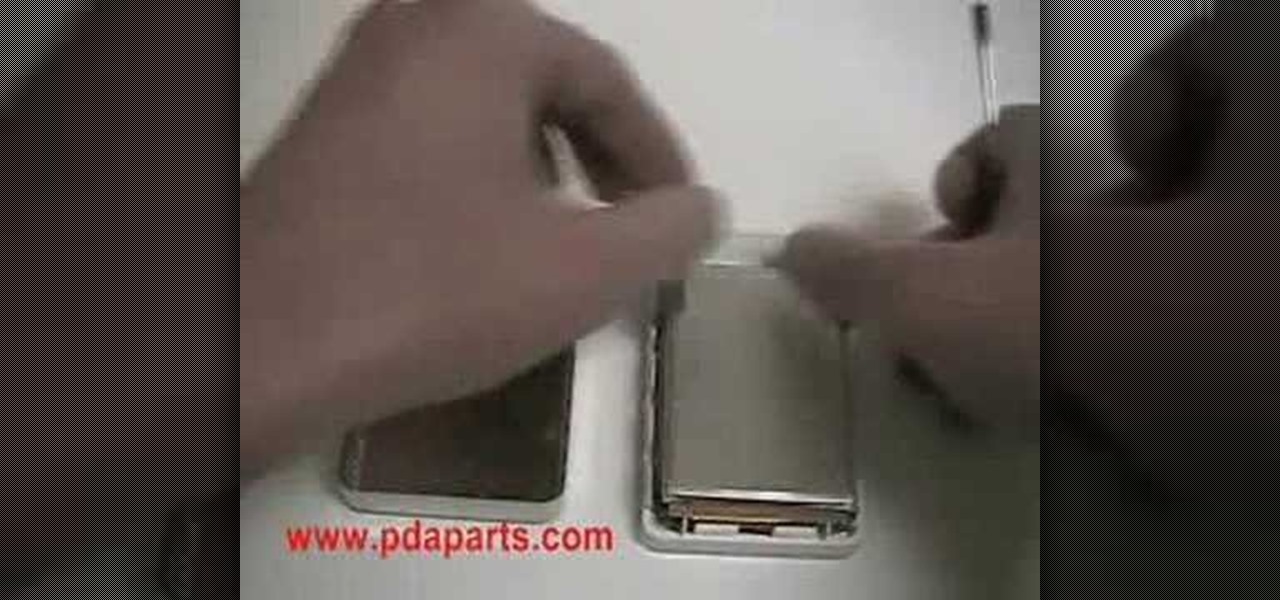
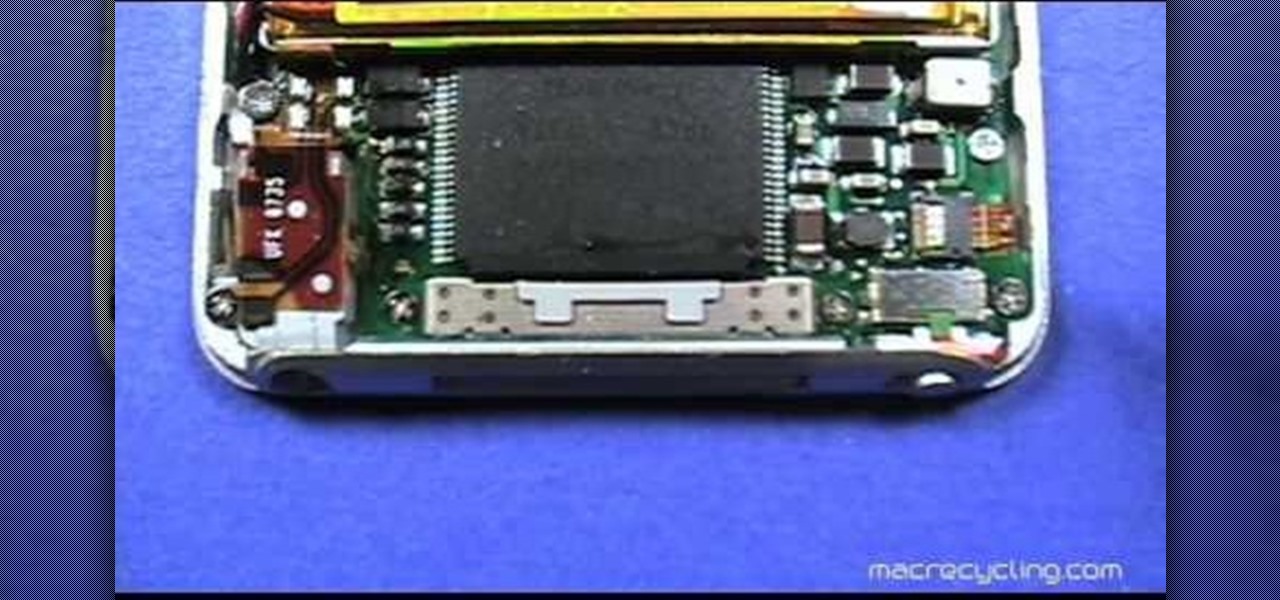
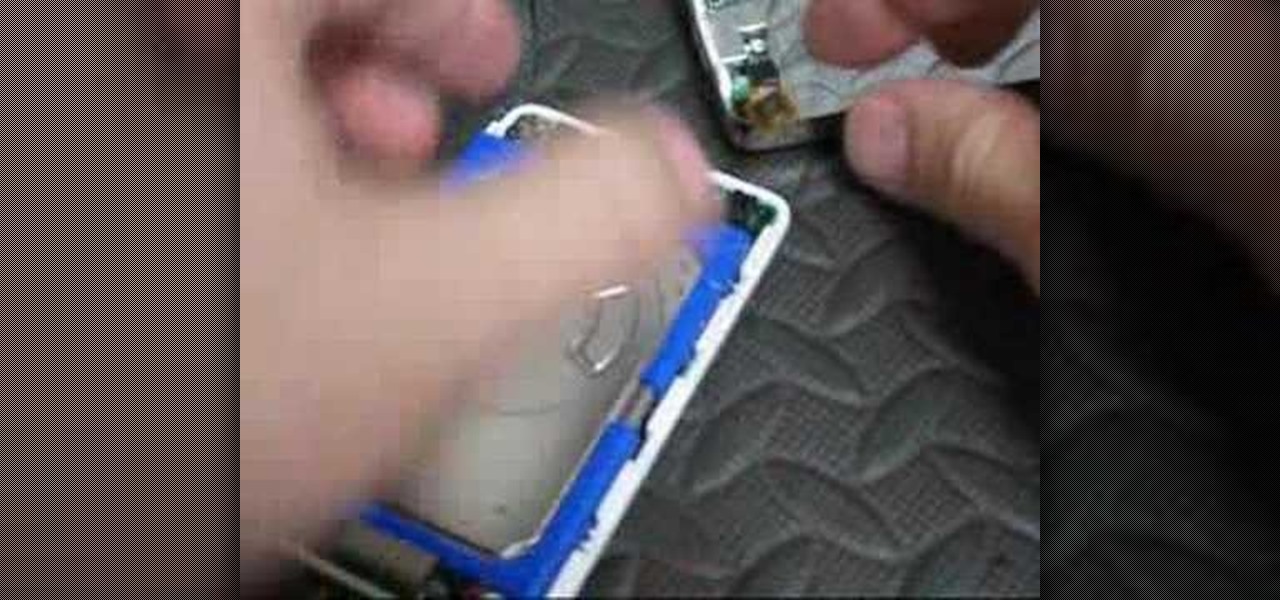
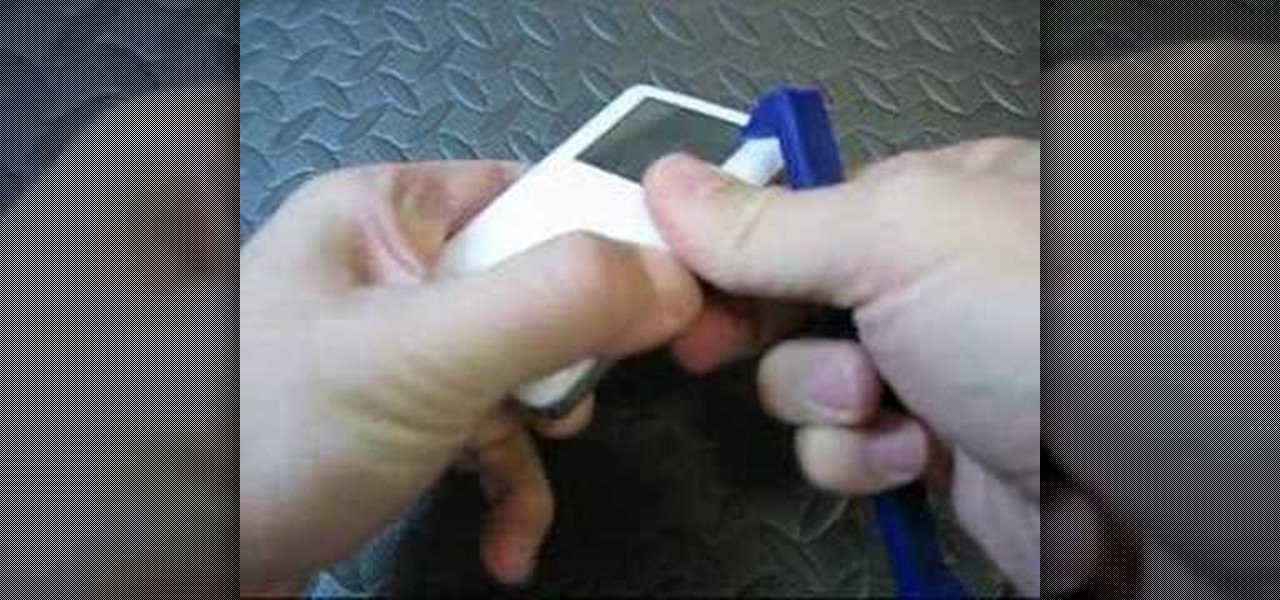
This video from Powerbook Medic teaches us how to take apart a 3rd generation iPod. First step is to use a putty knife or a flat head screwdriver to break apart the two pieces. After that remove the headphone cable and set the bottom pan aside. After this, you disconnect the hard drive, and battery cable form the board. Then use a T6 screwdriver to unscrew the T6 screws which are holding the board in place. Then take the last cable away. Now you can take the board out as well as the battery. ...
In this iPod Nano owner's guide, we learn how to use the iPod Nano 5g's built-in video camera. For all of the details, including step-by-step instructions, and to learn how to start shooting digital footage on your own iPod Nano, take a look.
In this clip, you'll learn how to install and use a Wacom Bamboo pen tablet on an Apple computer running Mac OS X. Happily, it's an easy process. So easy, in fact, that this video tutorial can present a complete, step-by-step overview of the process in just under four minutes. For more information, including detailed, step-by-step instructions, take a look.
In this clip, you'll learn how to install and use a Wacom Bamboo digital tablet on a Windows PC. Happily, it's an easy process. So easy, in fact, that this video tutorial can present a complete, step-by-step overview of the process in just over three minutes. For more information, including detailed, step-by-step instructions, take a look.
In this clip, you'll learn how to install a 2G Bamboo Craft tablet on your Apple Mac OS X or Microsoft Windows desktop or laptop computer. Happily, it's an easy process. So easy, in fact, that this video tutorial can present a complete, step-by-step overview of the process in just under four minutes. For more information, including detailed, step-by-step instructions, take a look.
Check out this instructional electronics video that illustrates the simple process of removing the foam padding of an iPod Photo. In order to get the case to close when installing the battery you may need to remove some of the blue foam padding from the underside of the hard drive. This video from iPodJuice demonstrates how to safely remove the light-blue foam from the bottom of the hard drive on an iPod Photo.
Before you begin repairing your Video iPod, get all of your tools and equipment ready to go, like your anti-static mat, your ESD bracelet, and some screwdrivers.
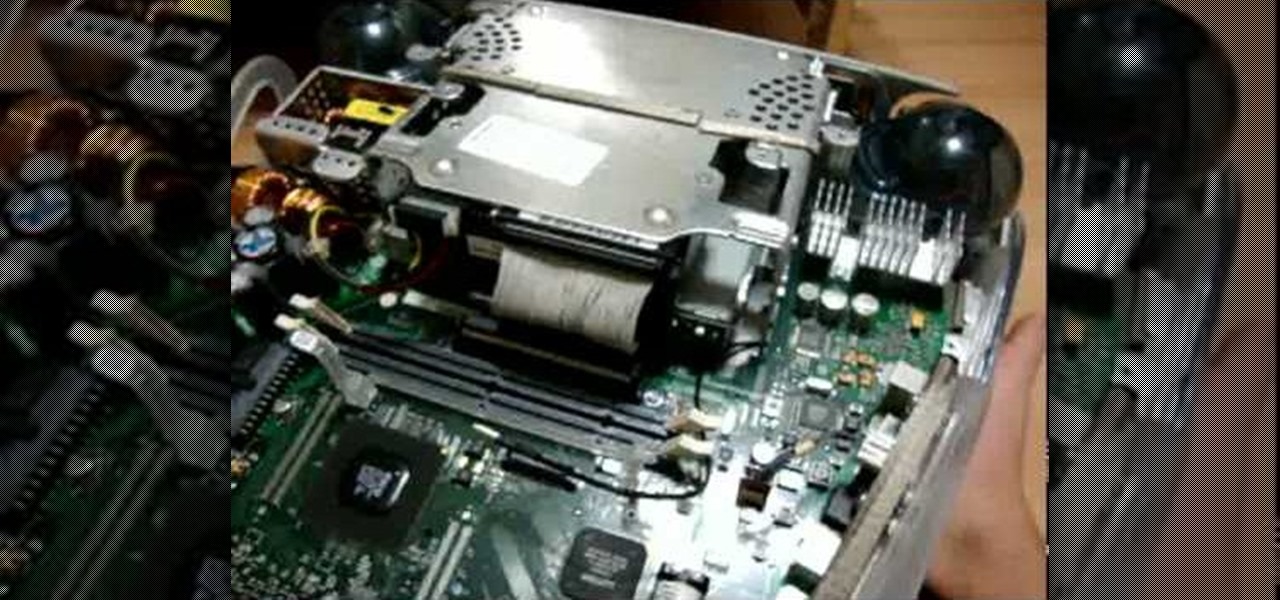
bghoo8313 describes how to swap an imac G3 hard drive. Unscrew knob on the hatch on the back of the computer unit. Remove the RAM and the card. Take out 4 screws, 2 on the top and the other 2 under the guard. Pry it open with a screwdriver. Take out the outer screws under the guard. Open the unit from the "Apple" logo on the back. You will hear snaps, but the unit is not damaged. There are 6 radiation screws, take them out. Use a magnetic head screwdriver to avoid dropping screws. There are 4...
Do you own the first generation iPod Touch and have a broken screen? You just might be able to fix this, with help from this vieo. Here, Donald Bell repairs a cracked screen on a first-generation Apple iPod Touch.
In this clip, you'll learn how to create a barebones password generation app with PHP. Whether you're new to the PHP: Hypertext Preprocessor scripting language or are a seasoned web developer merely looking to improve your chops, you're sure to find benefit in this free video programming lesson. For more information, including detailed, step-by-step instructions, take a look.
Need a little help with your iPod? Has your battery been failing you again and again? Will it not hold a charge? Well, it might be time for you to replace the battery, no?
Need a little help with your iPod? Has your battery been failing you again and again? Will it not hold a charge? Well, it might be time for you to replace the battery, no?
Fix your iPod and replace the hard drive with this excellent tutorial step by step. In this Video Tutorial we show you how to replace the Hard Drive (30GB / 60GB / 80GB) on your iPod Video. Again you need patience, steady hands, a flat head screwdriver, pry tool and lack of Apple warranty. Replace iPod video 5th generation hard drive.
Installing the Software Download the PC/Mac client from Dropbox for your computer. When installing the software you will also be prompted to create an account. Please do so at this point. This account gives you free access to 2 gigabytes (gb) of cloud storage that can be accessed from any PC/Mac or Dropbox Enabled Device.
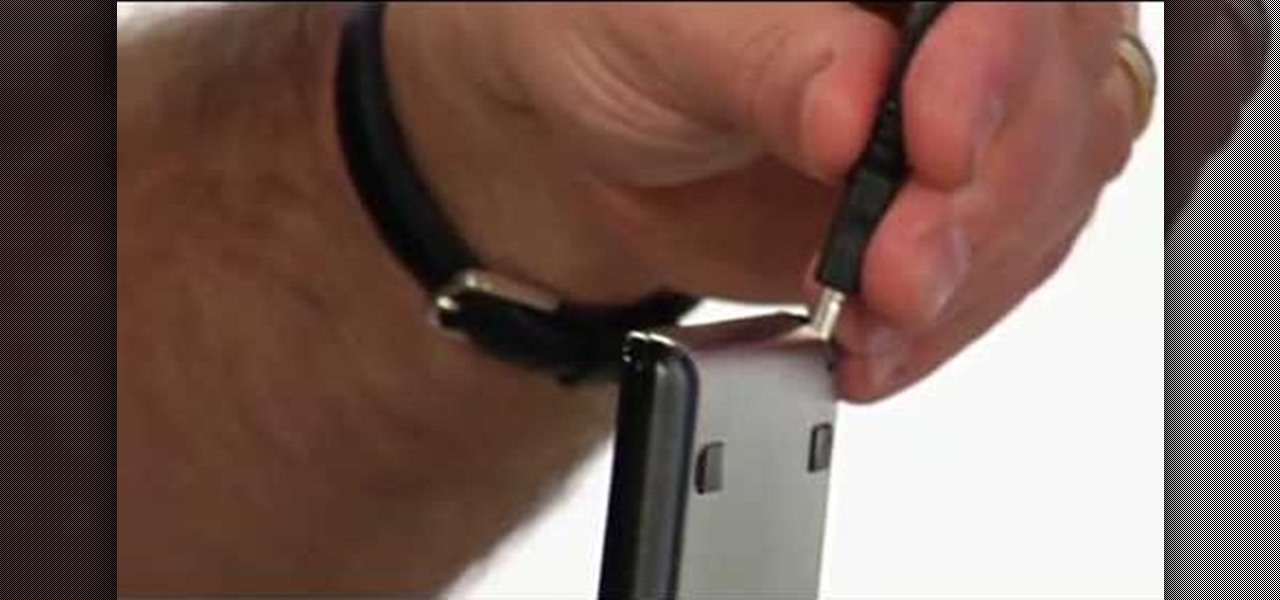
Don't pay someone else to replace the battery in your 4th generation iPod, watch this video instead and learn how to do it yourself! The hardest part is removing the battery out so be patient and make sure you have a Torx T-6 screwdriver. Replace the battery in a 4th generation iPod.
This video shows you how to replace the headphone jack and hold switch on a 4th generation iPod. Replace the headphone jack in a 4th generation iPod.
This video shows you how to disassemble a first generation iPod nano so you can replace the battery. You will need a soldering iron and need to do some electronic soldering so make sure you're comfortable with soldering or have practiced a bit beforehand. Be careful or you'll be buying a new Nano! Replace a 1st generation iPod nano battery.
This video shows you how to replace the Hard Drive on your 4th Gen iPod in case you're seeing the sad faced iPod or file folder with exclamation point. Replace the hard drive on a 4th generation iPod.
If your 3rd gen iPod screen shows a sad face or a file folder with an exclamation point icon whenever you try to turn it on it is a likely indictation that you need to replace the hard drive. Learn how you can replace the hard drive yourself in this tutorial. Replace the hard drive on a 3rd generation iPod.
The Truth is that the Jackass boys are getting older and are not going to be able to do what they do forever, so why not make a new generation of Jackass? This does not have to happen right now but it would be a great for th future. Personally I would do almost anything that Johnny knoxville has done and there should be a contest or tryouts to see who are the craziest. Critisism is wanted please tell me what you think.