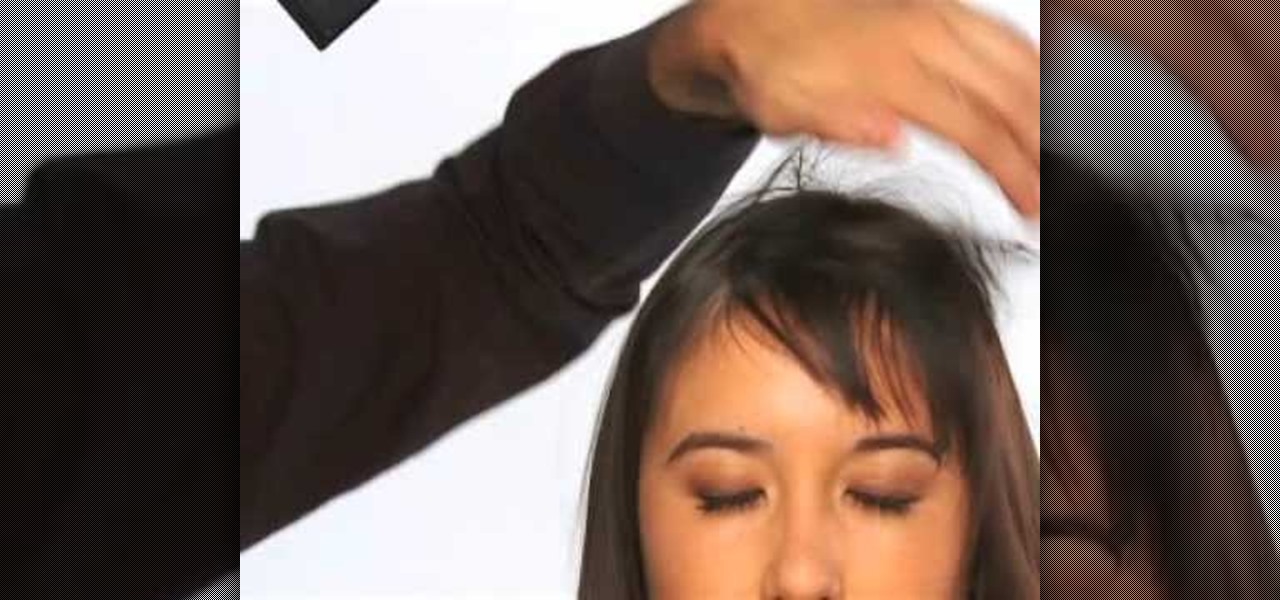
Bangs can instantly update your look with minimal effort. And in Hollywood, it seems that bangs, from sideswept to blunt, are the latest trend in hairstyles. From Olivia Wilde, who wears it blunt on her forehead, to Nicole Richie, who likes it messy and bohemian, bangs flatter just about any face shape.
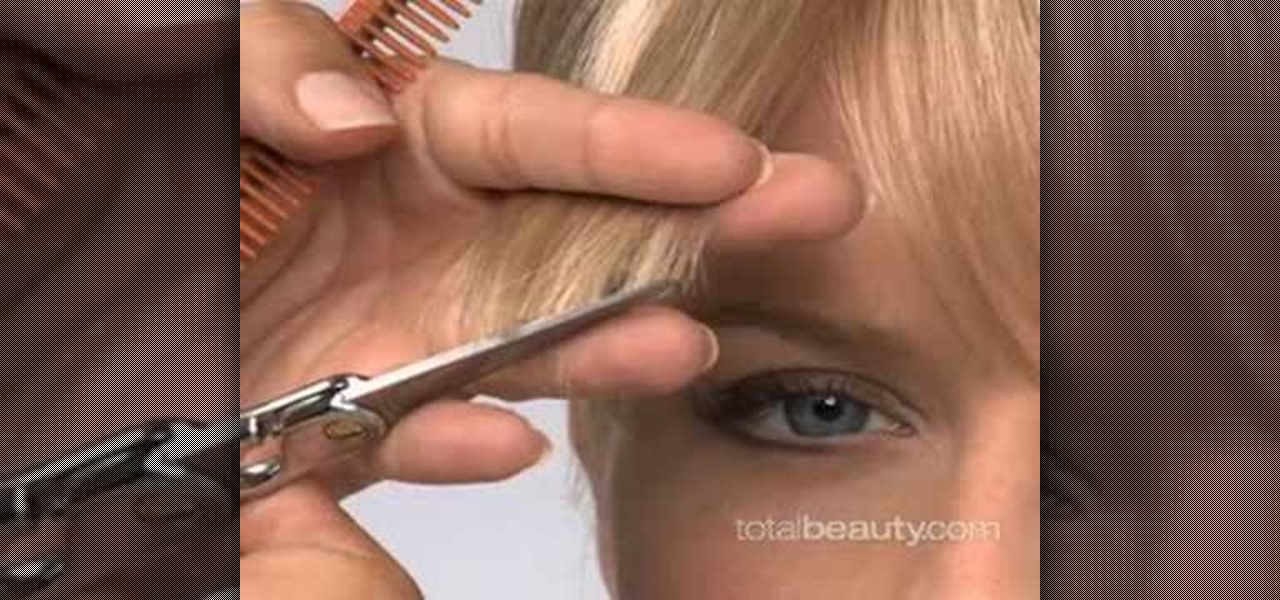
Bangs are one of the easiest and quickest ways to change up your look. Even if you're going from slightly overgrown bangs that graze your cheekbones to blunt cut bangs on your forehead, the change is instant and can do wonders to flatter your face shape.

In this video, we learn how to get 360 waves using olive oil. First, buy some extra virgin olive oil and your brush. After this, get a rag and put hot water on it, then ring it out. From here, rub this all over your hair to get rid of any chemicals in your hair. Now, brush your hair as normal all over until it's fully combed. Then, put the olive oil into the palm of your hand and spread it around your head, pushing towards your forehead. Then, brush your hair again until the olive oil has bee...
In this video we learn how to draw Neji Shippuuden. First, draw the outline for the head, use lines in the middle of the face to figure out where to place the facial features. After this, use a pencil to draw on the hair around the face and then draw on the headband. From here, add on the details to the hair and then start to add in shading around the face to make it look more realistic. After this, draw in the shoulders on the side and then draw in the rest of the details of the face. Finish...
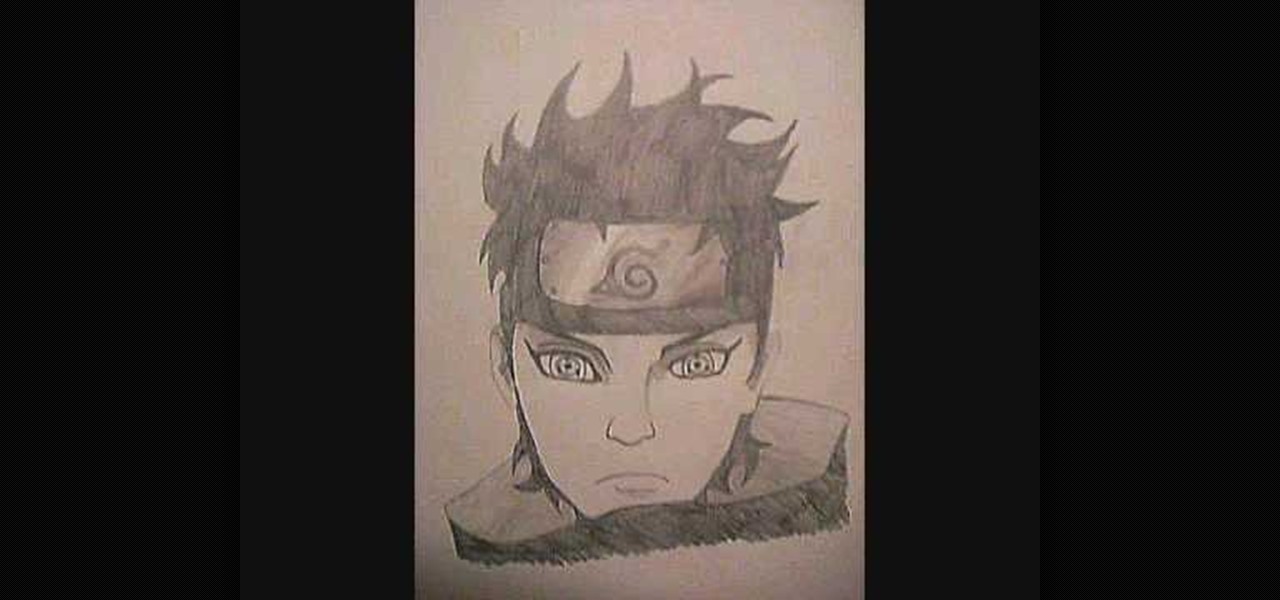
In this tutorial, we learn how to draw Shisui Uchiha. First, draw the outline of the face. After this, draw in the eyes pushing on the pencil harder to make them darker. Then, draw in the band around the forehead and draw in the details of the face as well as the facial features. Add in lines on the face to make it look more realistic and aged. From here, draw in the hair on top of the head, adding a lot of lines to show the strands. From here, draw the shoulders on the body under the head an...

In this tutorial, we learn how to draw the 8-Tails Jinchuuriki, Killerbee. Start out by drawing the outline of the character. You want to make sure you draw reference lines on the head so you know where to place the eyes, nose, and lips. Next, you will start to draw in lines to show wrinkles on the face and then the headband on the top of the head. After this, add some shading into the face to add some depth. From here, you will draw in the hair and the band around the head, giving it more de...

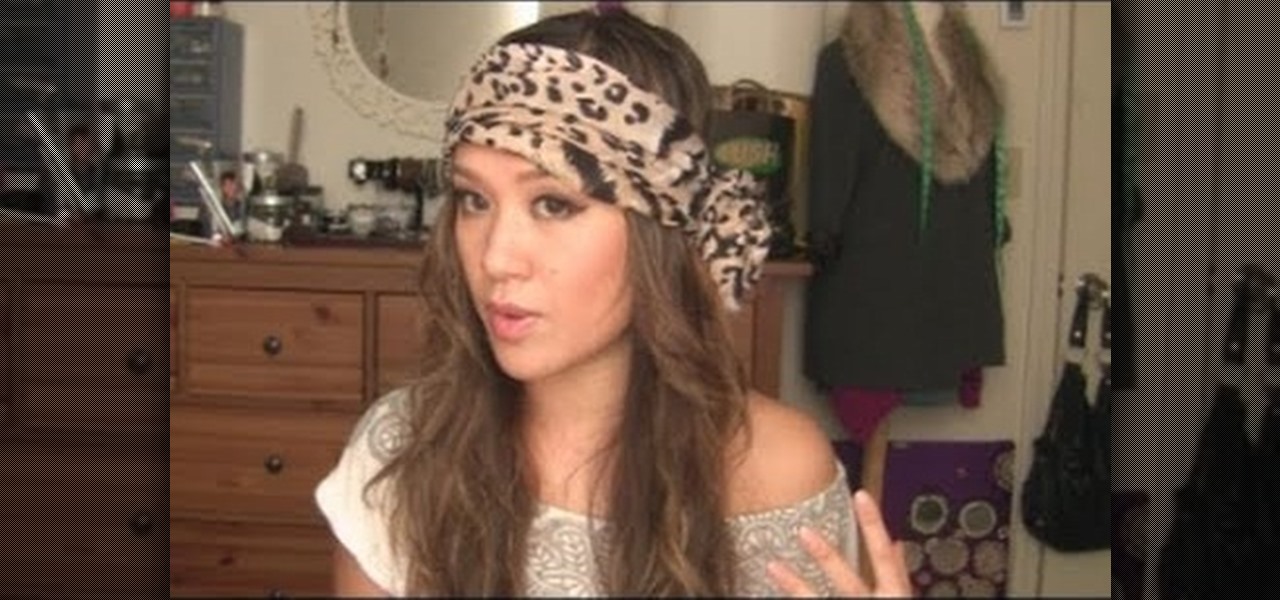
Head scarfs are second only to headbands when it comes to bohemian head wear. Just ask boho/hippie poster child Nicole Richie, who basically alternates between the two whenever she goes out.
Sometimes a good looking accessory can be made by using simple things and a little bit of your own ingenuity. This video is a perfect example of the same.
In this tutorial, we learn how to meditate with a visual guide. Begin my taking a slow deep breath through the nose and feel the air going through your body. Then, feel the exhalation leaving the body through the nose feeling the breath. Breathe deeply at your own pace and try to lengthen and slow the breathing. On the inhalation feel the coolness inside of the nostrils rising upwards. Imagine the air rising up into the forehead and going throughout your entire body. Imagine you are breathing...
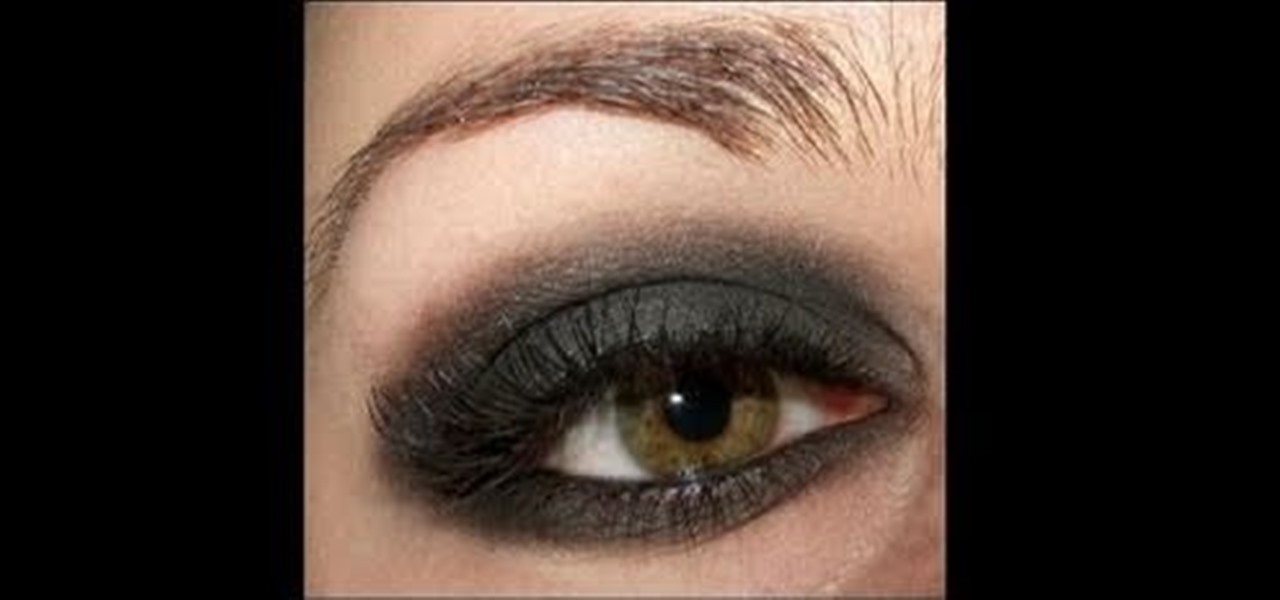
Jenny Humphrey would turn her petite little nose up at Taylor Momsen's dark and punky alter ego. Momsen, who plays Humphrey in "Gossip Girl" but also tours as frontwoman of her band "Pretty Reckless," enjoys caked on black eyeliner and shadow and torn fishnet stockings to Jenny's preppy plaid skirts and headbands.
In this tutorial, we learn how to draw Tenten. To start this character, draw a light circle along with lines in the middle for reference points. Use a bolder line to draw the chin and then the eyes, nose, and mouth. also make sure to draw in slight eyelashes and eyebrows above the eyes. After this, draw a line around the head and erase the background lines. Draw ears on the top and then start to fill in the hair for the bangs on the front of the face. Finish this off with a headbands, then dr...
In this tutorial, we learn how to draw wavy manga hair. Start off with your manga face shot and then grab a pencil. Draw in strands of hair on the forehead and create bangs across to the eyebrows. After this, draw down hair on the head going down around the ears and throughout the rest of the head. Use a light touch of the pencil to create most of the strands coming from the root of the head, then use a darker line to create different types of strands. When finished, add in additional details...
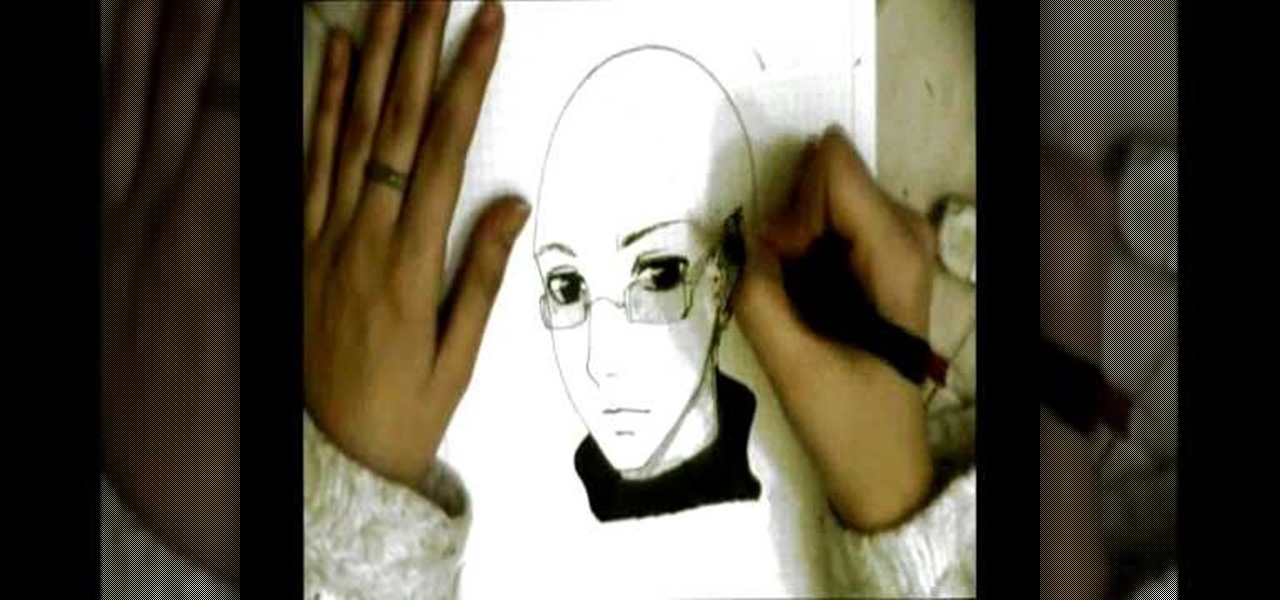
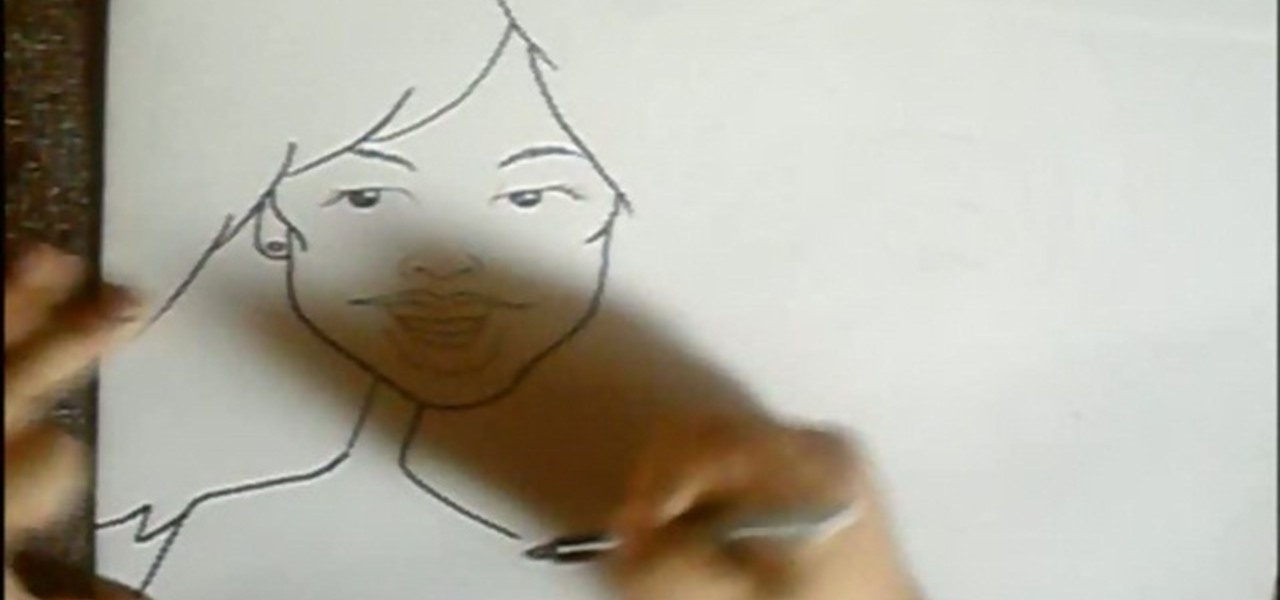
In this tutorial, we learn how to draw a young woman's face in a profile. Start by drawing the forehead, then drag the pen down until you reach the nose area. After this, draw down to the mouth, accentuating both of the lips. Next, draw the chin on the face, then the jaw line. After you have done this, start with the eye and make sure you add detail as to where the crease of the eye is at. Next, you will draw in the eyebrow and then start to add in the bangs and the rest of the hair. Add in a...
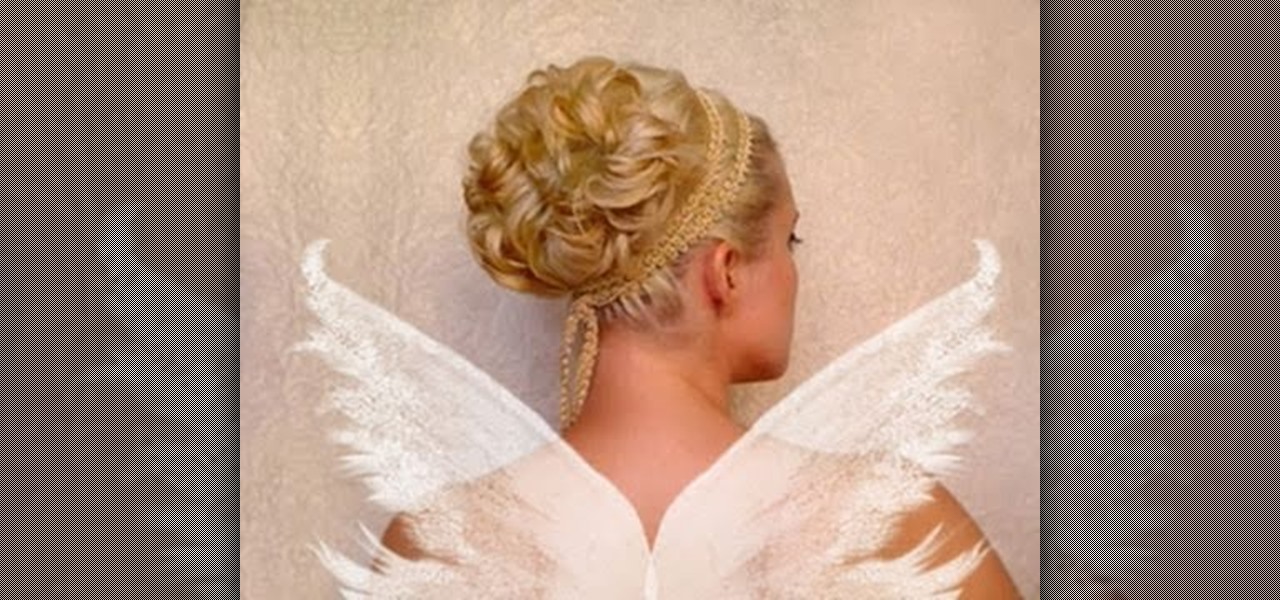
Halloween is less than a month away, which means it's time for you to start planning your costume and makeup/hair. If you're thinking about going as either a fairy or an angel this Halloween, check out this hairstyling tutorial to see how to assemble an ethereal, super gorgeous hairstyle.
The bohemian look has really been in recently. After all, with famous starlets like Nicole Richie and Jessica Szhor working long, messy waves, beaded headbands, and flowy floral maxi dresses, the trend looks good and we don't mind following along.
In order to make a large hair bow, you will need the following: a headband, fabric, thread, scissors, thread, and a needle.
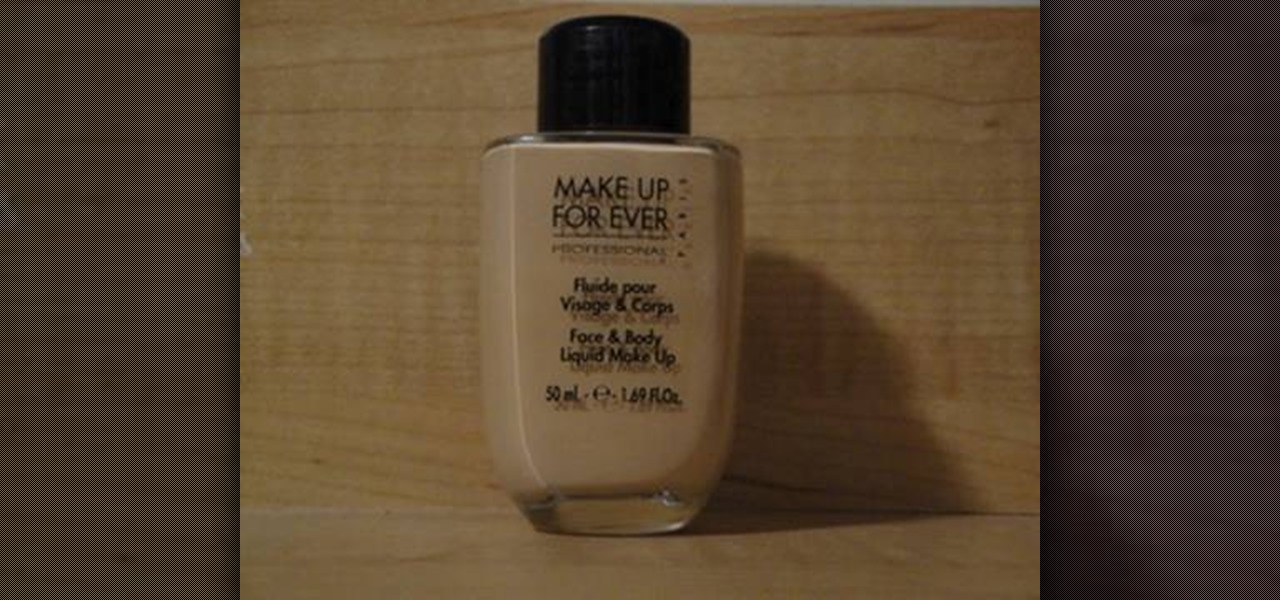
In this video, we learn how to apply MUFE face & body liquid makeup. First, pour the foundation out onto your hand and then take your foundation brush and dip it into the liquid. After this, start to brush the makeup on your face, starting with the side of the forehead and working your way around. This is a gel based liquid, so it's going to stick onto your face extremely well, you won't have to apply a lot of it. When finished applying, use a damp sponge and press it on your face around wher...
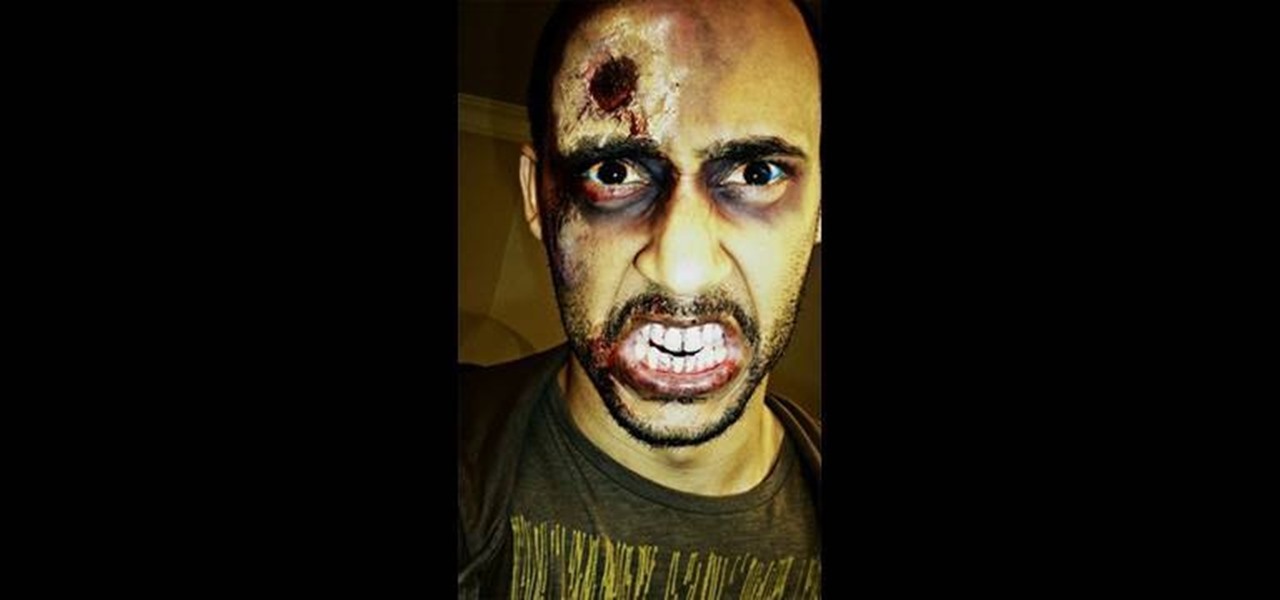
In this tutorial, we learn how to apply half dead zombie makeup for Halloween. First, clean off your skin completely and then dry it. Next, apply glue to the skin while using a sponge, then apply toilet paper on the forehead skin and layer it with glue. Next, apply more glue to the skin and then make a hole in the toilet paper. Following this, apply foundation on top of it, then set with powder. Next, apply red, blue, black, and purple eyeshadow to make a bruised look on the face. After this,...
In this tutorial, we learn how to put on dread falls. First, put your hair into two buns onto the top of your head, then place two cut off socks on top of them. After this, take a string and tie it around the two buns. After this, apply your dread falls to the side of each different bun and tie them on with any type of string. When you are done, flip the dread over your head and then situate in the back. When you are finished, you can put a headband in your hair so the dreads look more realis...
In this tutorial, we learn how to draw cartoon caricatures. Start off by drawing the eyes and the eyebrows. Next, draw in the hair on the forehead and then start to make the face surrounding the hair. After this, you will need to draw in the ears and make a note to draw in any prominent features that the person you are drawing has. Make sure to draw larger lips and a small neck, making the head look larger. For men, do the same thing and give each of the pictures a bit of personality! Don't b...
The great thing about braids is that they're so incredibly versatile. Spin a single braid through the crown of your hair and let the rest of your locks loose and you've got a pretty Lauren Conrad, girl next door look going on. Or add a few curls using a curling iron and tie your hair up into an updo to create an elegant look befitting of a formal affair.
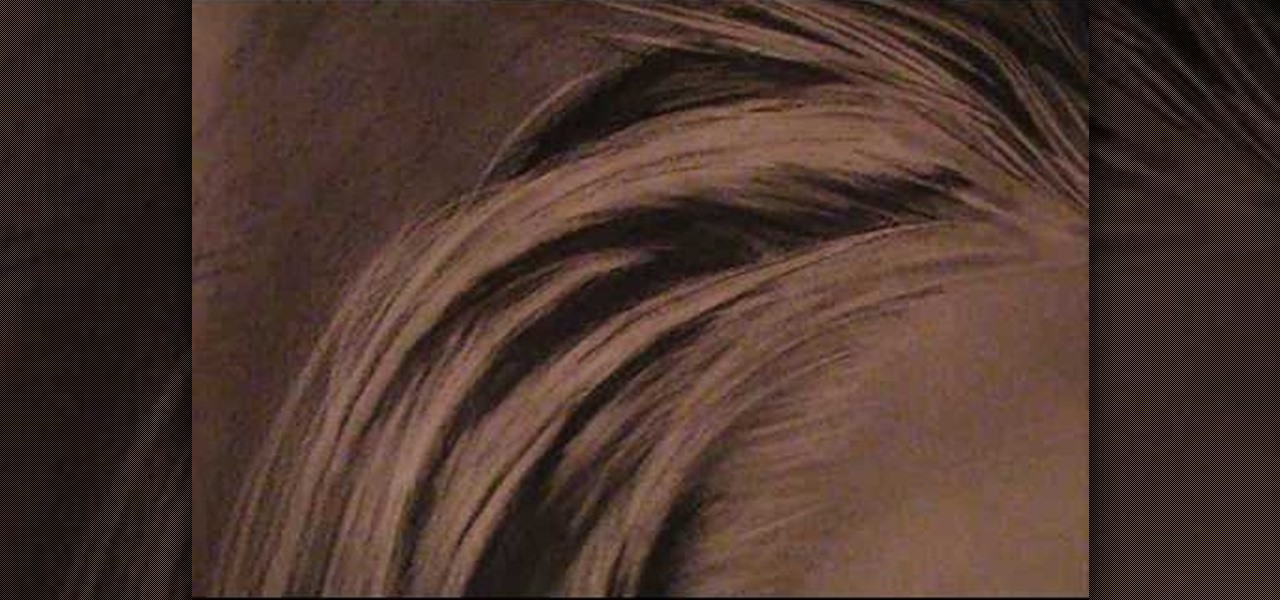
In this tutorial, we learn how to draw realistic hair. Start out with a rough outline and look where the hair is clustered together. Draw the clustered area first. Then, cross hatch over the entire surface of the area and blend in. Add hair to the forehead area, then use a darker pencil to form the shape of the hair. After you do the clusters, start to draw the hair that is separated from the rest. Keep looking at the picture you are drawing, then use an eraser to change the drawing to match ...
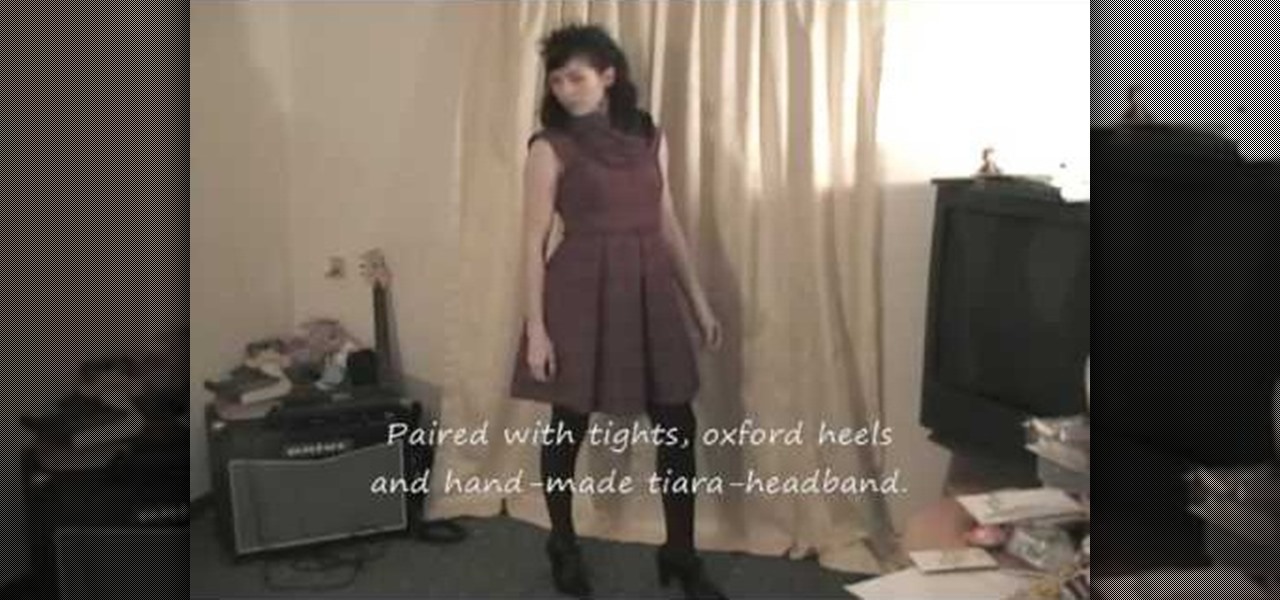
In this tutorial, we learn how to mix and match vintage clothing pieces. First off, if you have a 1940's style juniors dress, you can pair it with knee highs and vintage heels. You can also wear it with a modern cardigan. Next, if you have a 1905's style floral dress, you can pair it with a small modern red belt. Next, if you have a 50's inspired dress, you can pair it with tights and a tiara headband. If you have a 1950's day dress, you can pair it with kitten heels to make a more modern loo...
In this tutorial, we learn ten different ways to wear a beret. The first way is to wear the hat with the long side on the forehead going down on the rest of the hair. The next way is to do this same look, except move the hat to the right. Next, place the hat in the middle of the hair with your bands on the side. Next look is in the middle to the left. You can also wear it in the middle with pigtails or to the left or right with pig tails. Wearing with a side pony tail is also another great op...
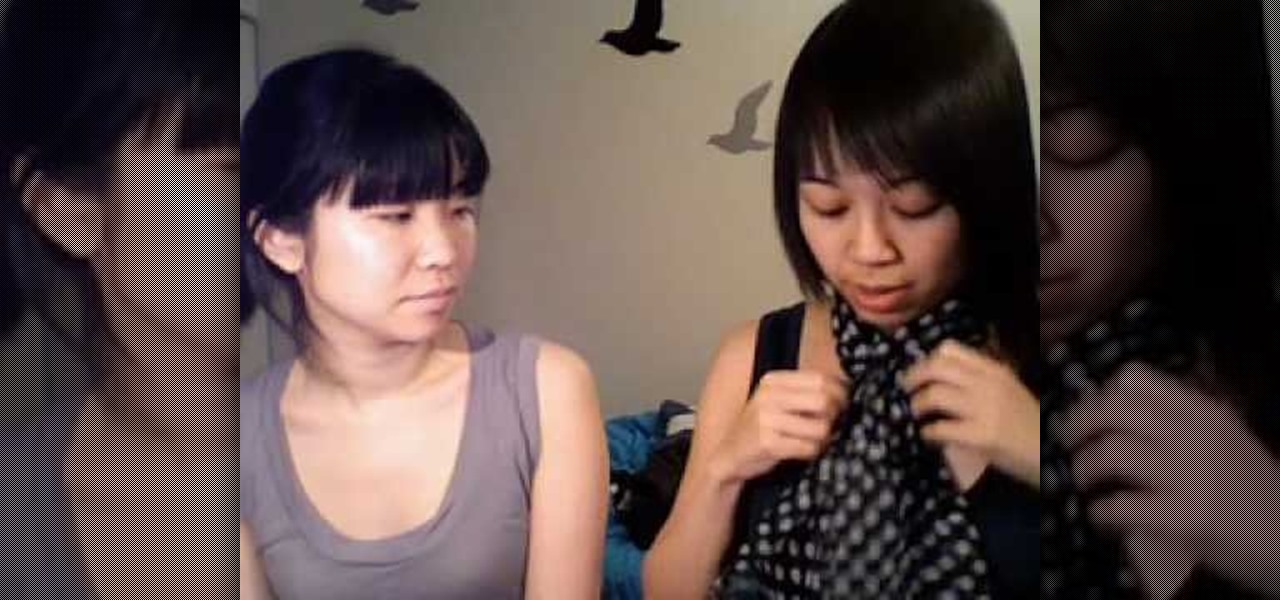
In this video, we learn how to tie scarves. The first way is to wear a scarf with tassels that is wrapped once around the neck with it's sides hanging down in front of you. With a skinny scarf, you can tie it around your head to make a headband or fold it in half and wrap it around a pony tail. If you have a rectangular scarf, you can tie it in a loop around your neck, or make a loose knot on your chest in front of you. If you want a polished look, tie a bow in front with the scarf. A square ...
In this video, we learn how to begin meditating. To start, sit in a position you are comfortable in, and you won't need to move in. Find the right balance between feeling alert, yet relaxed completely. Adjust the position of your body so your breathing and circulation are completely natural. Make sure you have no aches or pains that may interrupt your attention. Relax every muscle of your body, starting with your forehead working your way down. Remain in this relaxed state for as long as you ...
First, make the chin of the skull by drawing out a slight sharp curve facing downwards. Then, make the forehead and the upper part of the skull by drawing huge slight curves. Draw a circle on the spot where the eye socket should be. Draw a curve at the side of the circle to give it an illusion of popping out. Draw the cheekbone lines as well as the jaw lines to give the skull more definition. Draw several rectangles standing vertically to create the skull's teeth. Finish the head with a sligh...
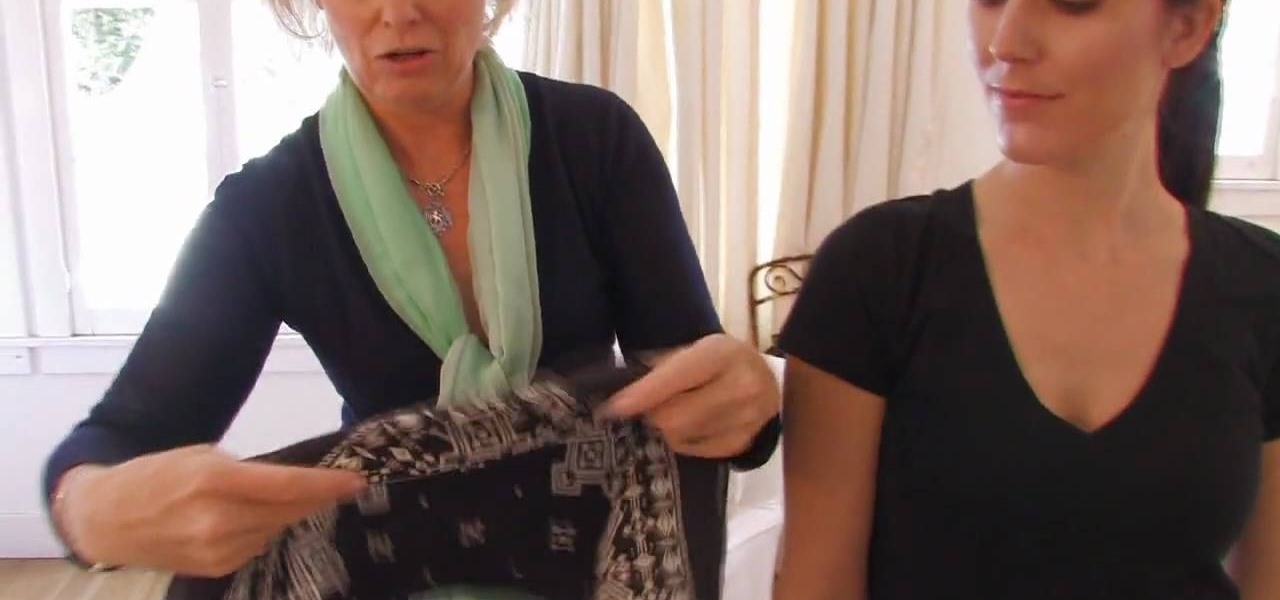
Bandanas can be a fun fashion accessory and can be used in so many ways. Don't think you can pull off this look? Well, think again! In this video, you will receive expert advice from costume designer and stylist, Cate Adair. Cate has been Emmy nominated for the smash hit ABC series, "Desperate Housewives" and has worked in numerous countries and cities around the world. If anyone knows style, it's Cate and she is here to help you!
To make the country bump hairstyle as seen on Carrie Underwood, Dean Banowetz, a stylist from American Idol demonstrates for BeautyTV. First, he takes a section of hair from the forehead to the crown and from the center of one eye to the other. Then he sections it from side to side and back combs the hair lightly to create the bump in the front. Additional back combing or a tail comb can be used to increase the volume of the bump as desired. After smoothing the top layer of hair over the bump...
Abigail Goss demonstrates a traditional Apostolic hairstyle, the vertical roll with pin curls. She starts by creating a poof, back combing the roots from the crown to the forehead. Then she creates a section of hair above the ears. She rolls this hair several times in one direction and then puts all of the hair into a ponytail at the base of the neck. At this point the style looks like a french twist with a ponytail at the bottom. She then coats the hair with gel. To make the curls, she takes...
Hayley P. shows her viewers how to apply makeup with a foundation brush to reduce the appearance of dark circles around the eyes. If you follow her instructions, you will reduce the appearance of dark circles and you will look more awake.
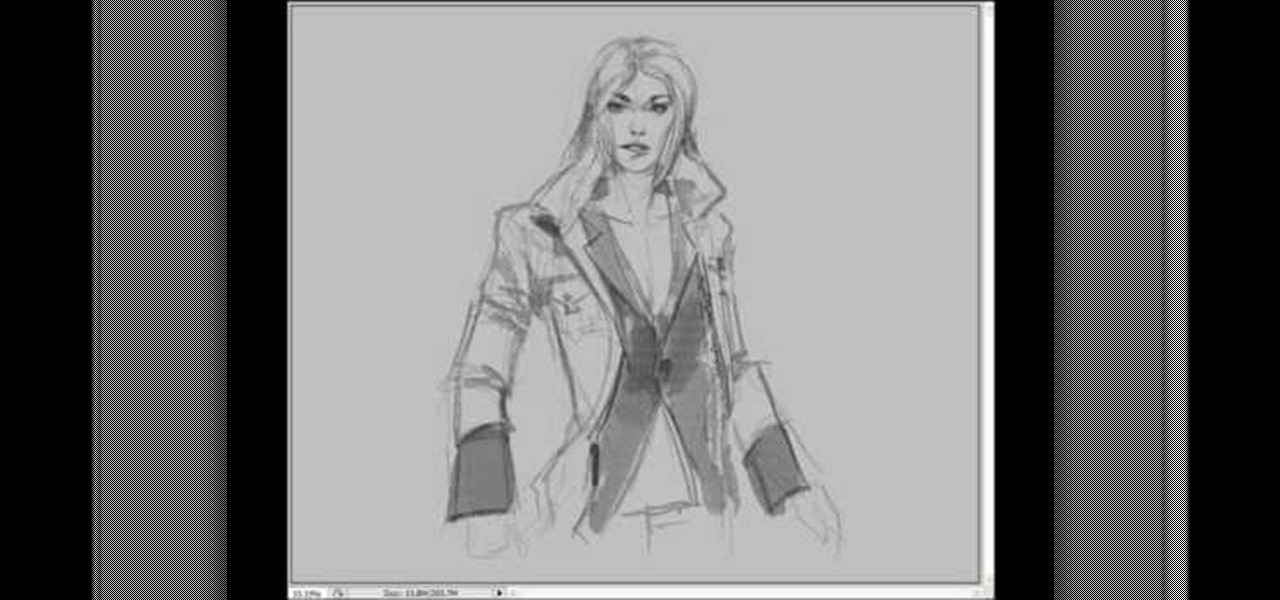
This is a video tutorial describing how to draw a comic style woman character. The first step is to draw a circle in the top of the page that will end up being her head. Then you should draw about where her eyes will be in the end. Then you should quickly draw an online of her hair and quickly draw her outfit. Because it is a woman make sure to accentuate her waist. Then you can then go back and finish her eyes, then between her eyes and half way from the chin to the forehead draw her nose. T...
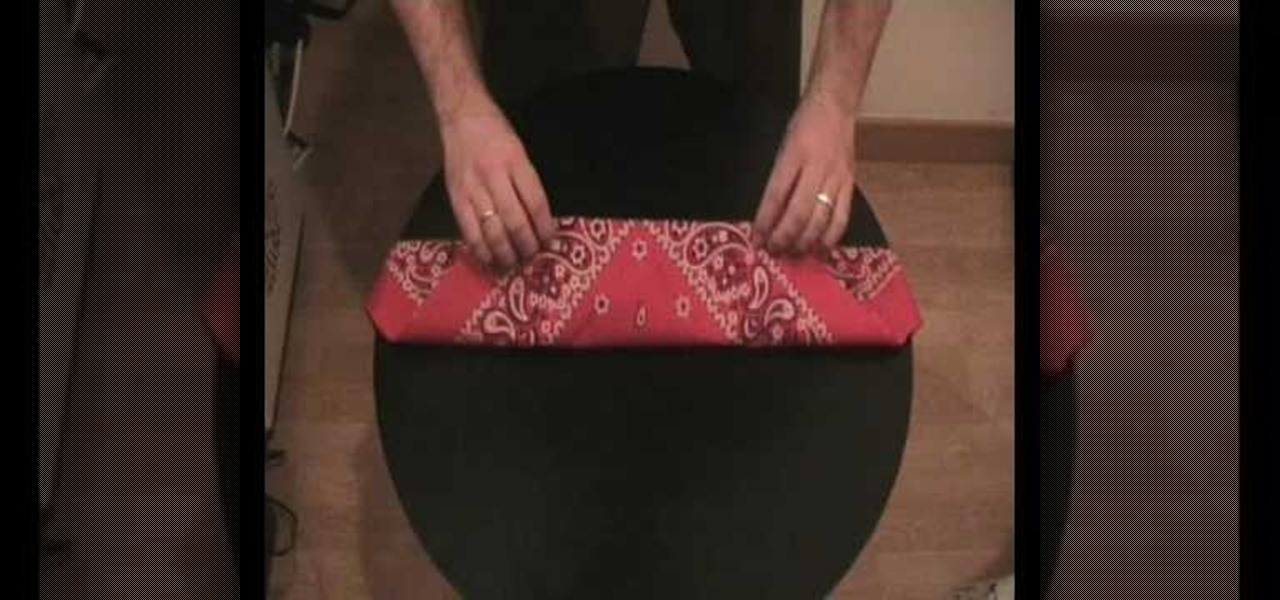
In this tutorial, we learn the proper way to fold a bandana. This is a traditional way, not a rapper or gangster style. First, lay the bandana flat and make sure there are no creases in it. Next, fold the bandana into one big triangle. After you've done this, fold the top point down and keep folding down until you've made a large and thin rectangle. Now, flip it over and you can tie the bandana around your head. Tie it in the back of your head and place it across your forehead, now you've got...
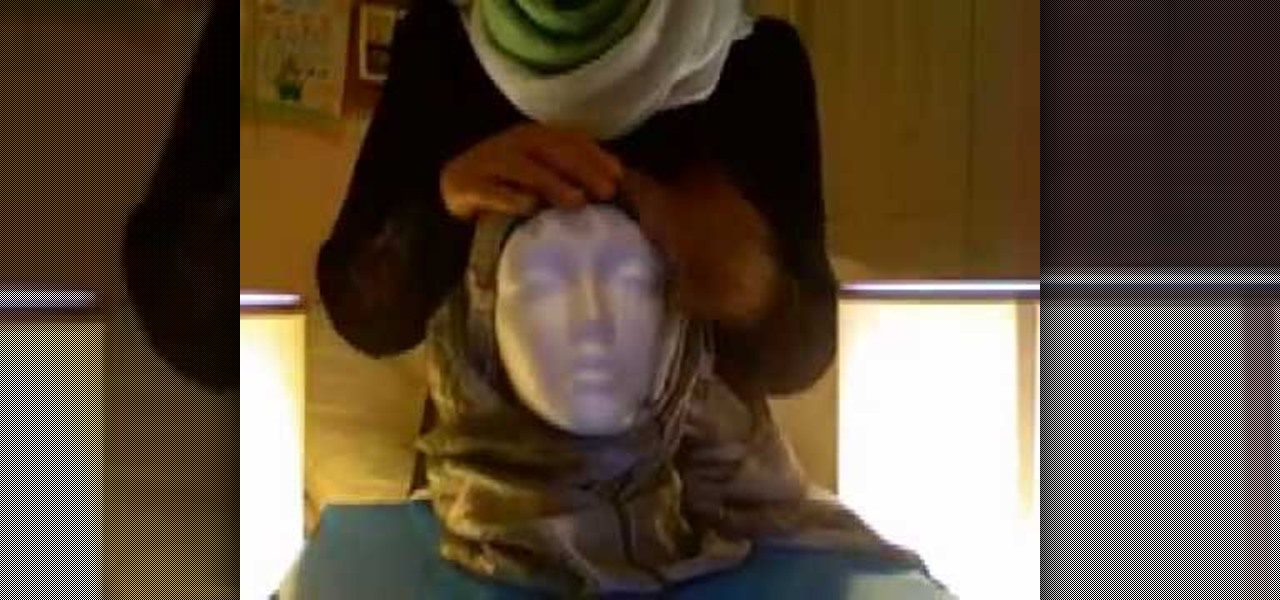
This video is a demonstration of how to fold a stylish hijab the way it's done in Egypt. Start with the undercap, and use a pashmina for the hijab and a few straight pins to help hold it in place. Take one end of the hijab and fold it over to make a triangle, making the tail longer or short as you like. Lay it over your head so the open point of the triangle is at your forehead. Pin it to the underpiece at the sides. Let the short side hang down. Wrap the long end around under your chin and u...
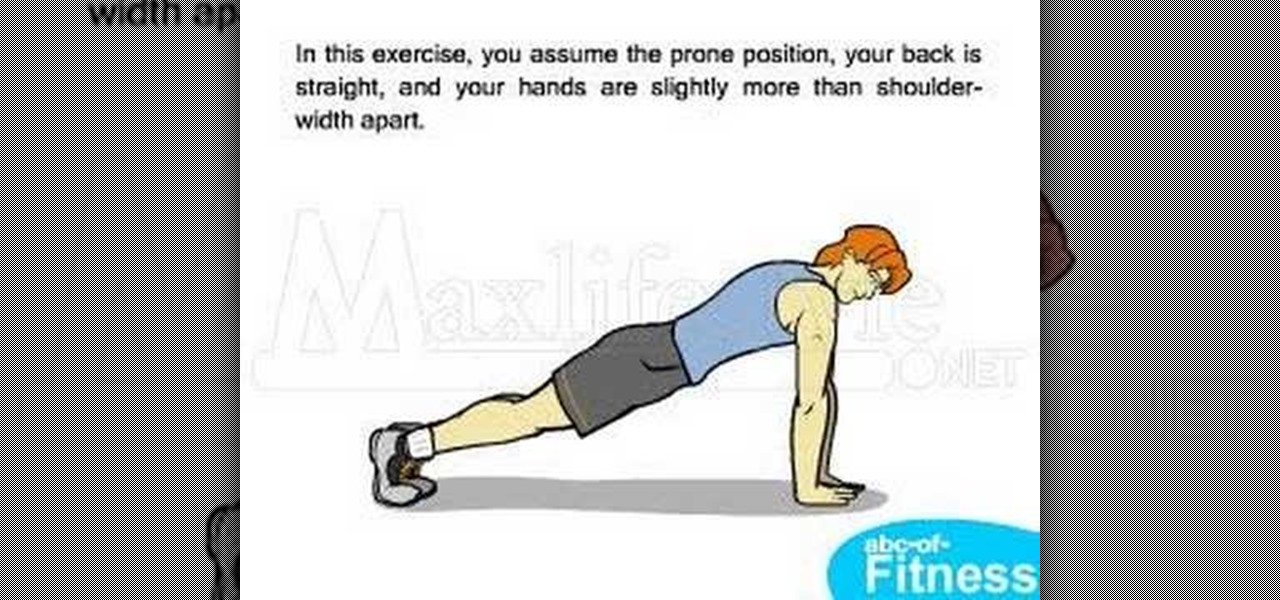
How to maintain proper form when doing push-ups
In this two-part tutorial, learn how to create cute pew bows out of ribbon. Perfect to accent a craft project such as a scrapbook or to fasten on a headband, learn how to make these bows easily with these step by step instructions in this two-part video tutorial. Do it yourself and make these adorable bows for any occassion.
This video demonstrates an easy hair poof for a different hair style. First, section the hair to create the desired width of the poof. Section back about two inches from the forehead. Smooth that section of hair taut with a comb and twist it one and half to two times. Instead of pushing the poof forward and creating an uneven style, place the finger of the hand not holding the hair on top of the taut hair. Then push forward gently with both hands. Then where the twist is held against your sca...
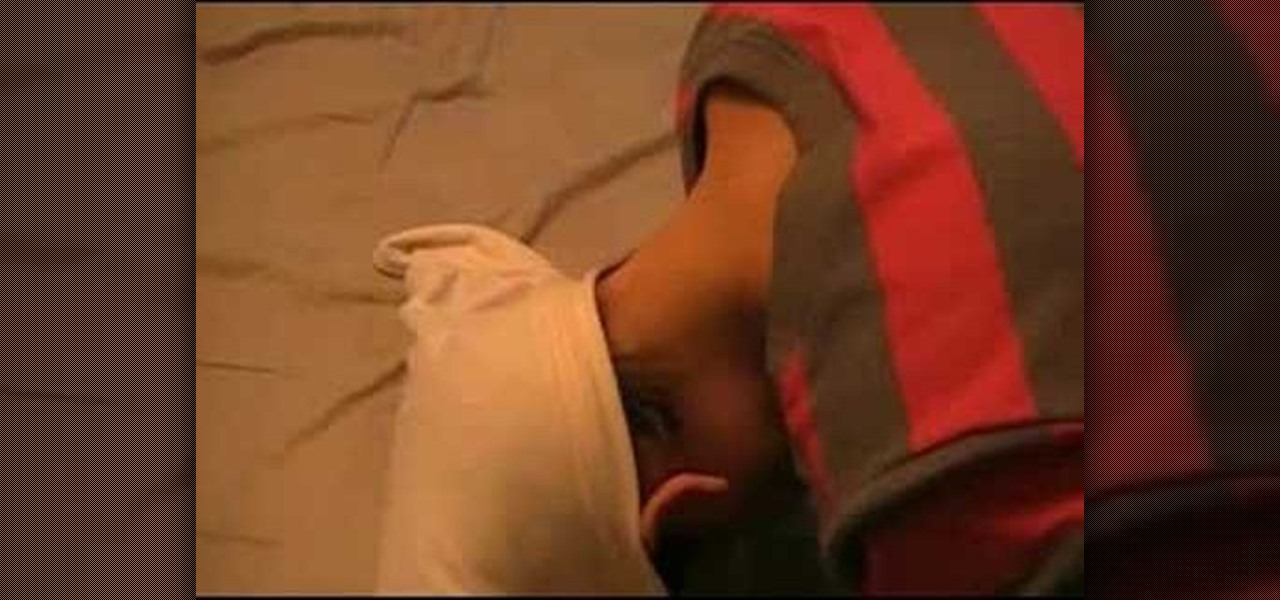
To plunk your curly hair, first put all your hair products in and make sure your hair is half dry. Spray lift booster into the top of your hair. Add volume boosting mousse all over your hair. Then, add a curl activator and a de-frizz product to your hair to get a more defined curl. Next, grab a t-shirt and place it on a flat surface. Place your forehead on the t-shirt and wrap the shirt around your head. Tie the arms of the t-shirt around the back of your head. Leave the shirt on your head fo...
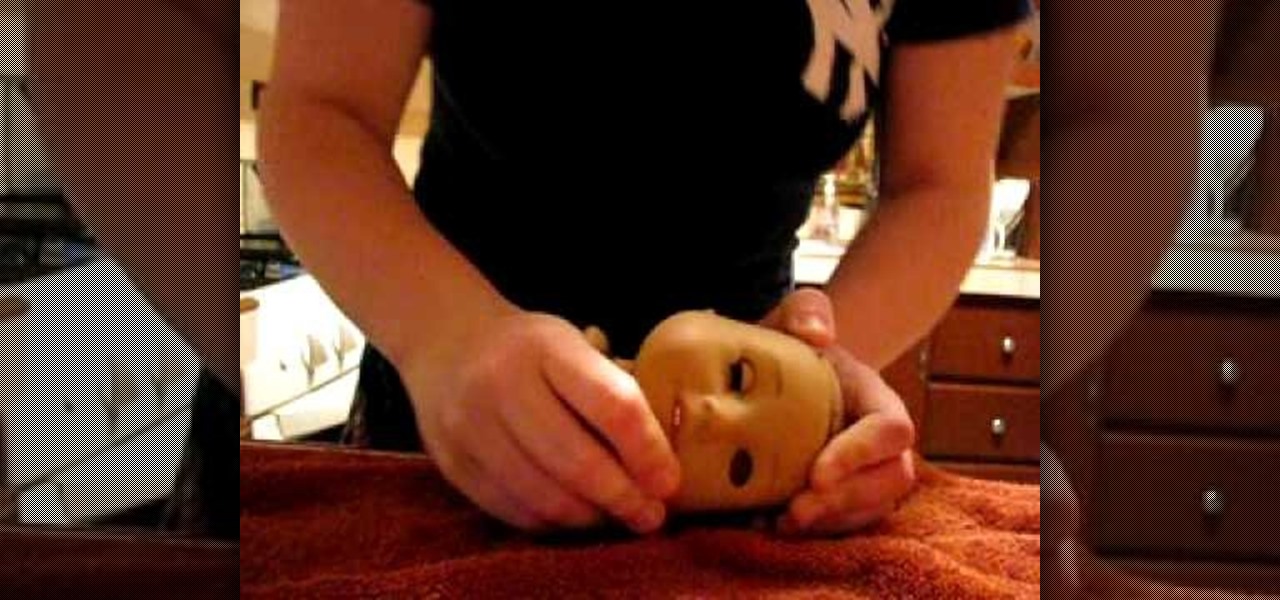
TrollForHire demonstrates how to remove eyes from an American Girl doll. To remove eyes from an American Girl doll, first you must remove the head from the doll body. It would also help if you prepare the head by removing the hair. Once the doll head is bald, stick your thumb into the open neck part of the head and grip the doll by the nose. Place the other hand on the doll's forehead and bend the face part back. With enough strength and force, an eye will pop out of the American Girl doll. R...
This video will show you how to draw the character Pein from Naruto Shippuden. The first step is to draw an oval to begin his head. Then you want to add guidelines for the headband and hair. His face angles down, so you want to factor that in when drawing guidelines for the eyes, nose and mouth. You'll want to use a black pencil to fill in the details. You can erase the guidelines with white pencil. Follow the directions in this video and you'll have a great drawing in no time.