
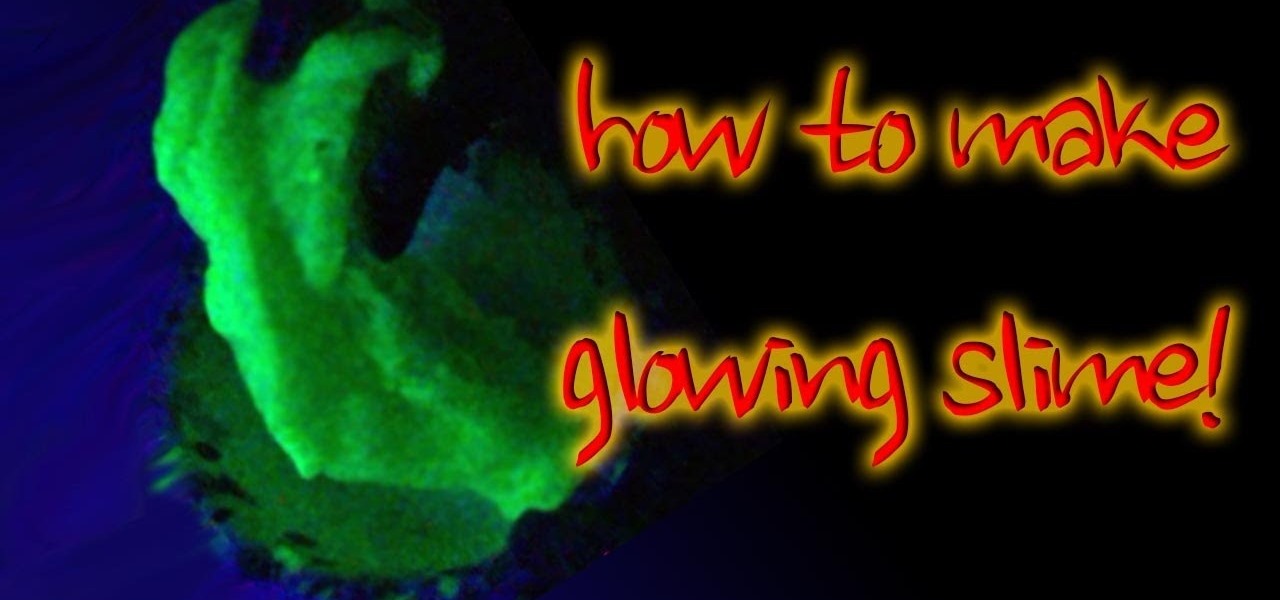
How To: Make Glowing Slime
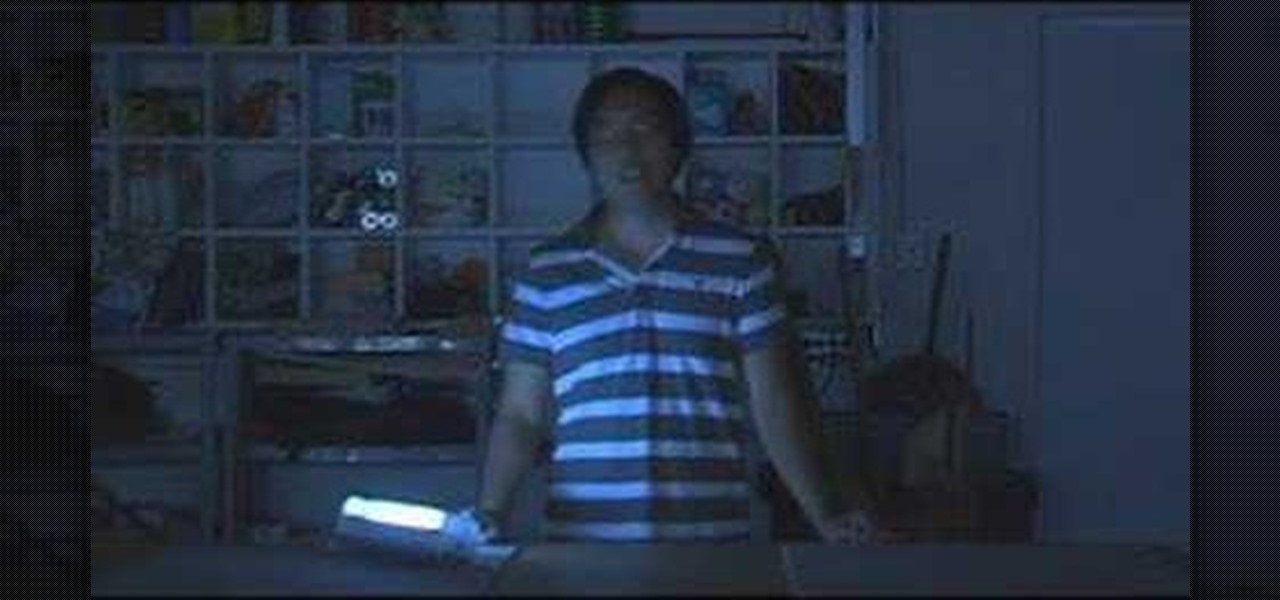
Learn how to make your own slime with ingredients you can find around the house. It can even glow under a blacklight!

Learn how to make your own slime with ingredients you can find around the house. It can even glow under a blacklight!
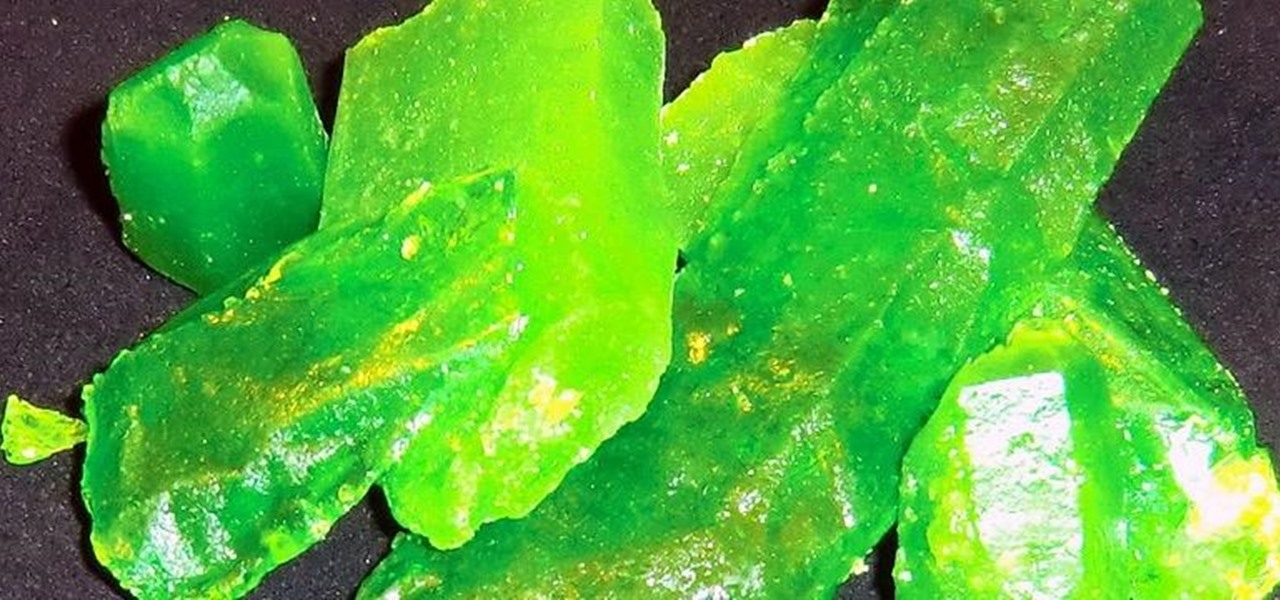
If there ever was a day to eat green candy, St. Patrick's Day would be it. But is there something better than the banality of green candy swarming the streets on St. Patty's Day? Yes—glowing green candy, and Instructables user BrittLiv wants us to show you how it's done.
Looking to spruce up your living room or bedroom? Learn to combine a vivid imagination with good paint sense to choose the right colors for your walls and feel good about your surroundings.
For the first part, make chroma key blood: Ingredients: glue, flour, mix with water like papier mache, three drops of green and two drops of yellow food color. This combination gives more of a fluorescent chroma key look.
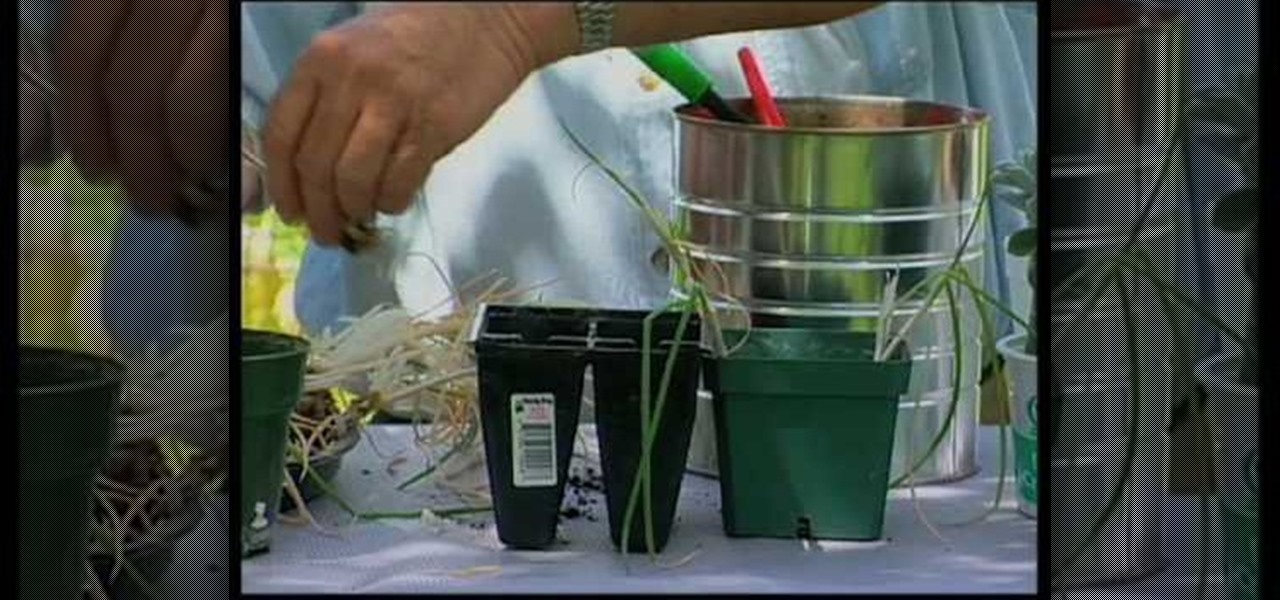
How to divide and re-pot onions and herbs
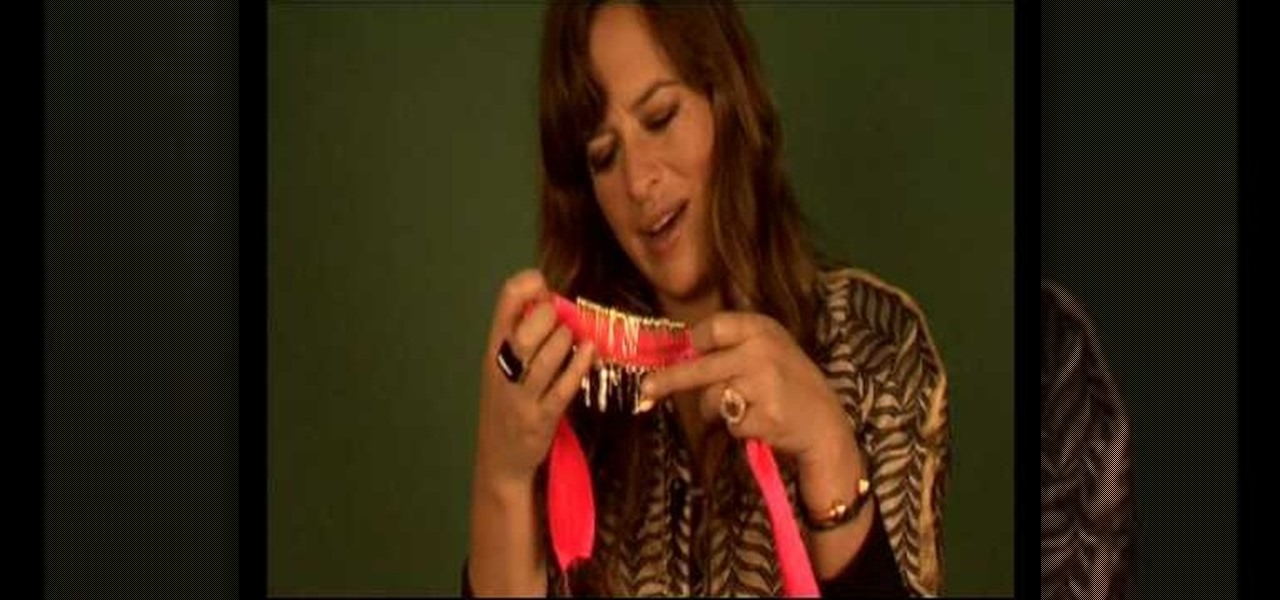
Jade Jagger from the Woman magazine's 'Make Your Own' edition is going to be showing us how she made her stylish new bracelet. Although her bracelet might look pricey from afar, she used only some basic office and art supplies to make it, such as ribbon, old keys and safety pins. Jade simply puts a bunch of safety pins in to a fluorescent ribbon and then ties some old charms and keys to the ends of the pins. It is easy and anyone can do it. You can have an impressive looking Jade Jagger inspi...

This tutorial suits for Halloween occasions, featuring Glamour Doll Eyes, which is a perfect colors for the Mad Hatter. The shadows used in this tutorial are Cloud Coverage, Shaded Orchid, Love Spell and P inky Swear. Cotton balls are used for eyebrows and eyelash glue is used for the eyebrows, to? remove it just pulled it off, you can take a cotton ball with makeup remover on it and hold it against the brow which should help loosen the glue. Other products used are Fluorescent Colored Hairsp...

Using extreme time-lapse microscopy, scientists watched a virus take over a bacteria to create a cell that looked and functioned more like a plant or animal cell. True story.
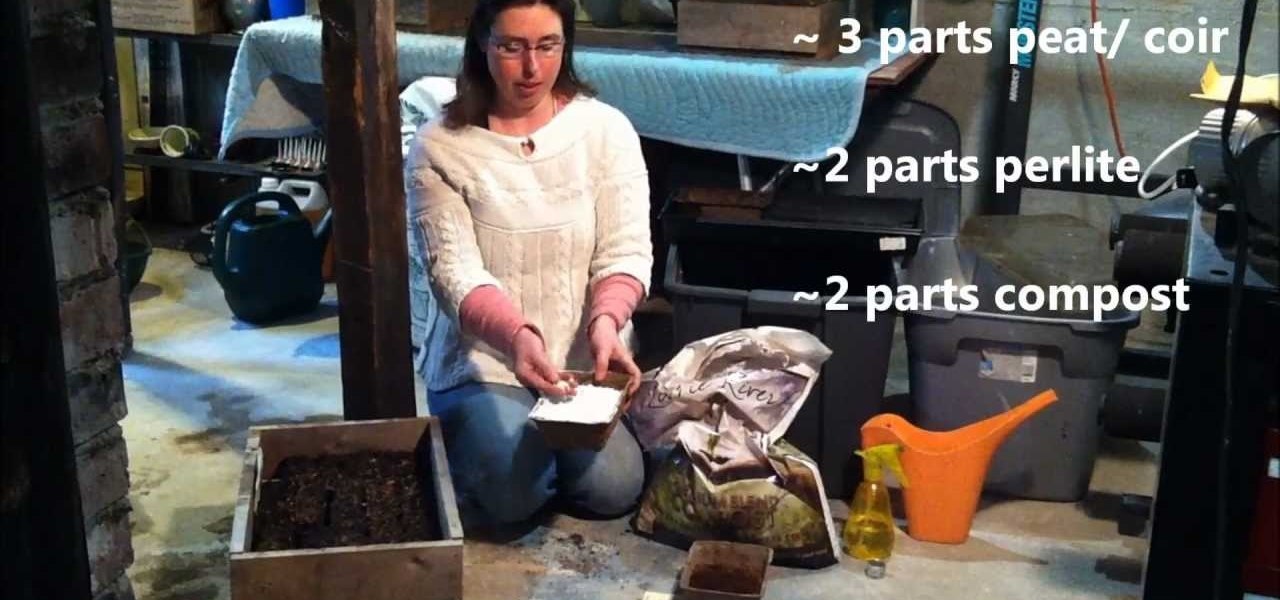
Starting your own seedlings is a great way to save money, have a wider selection of varieties and gain personal satisfaction. Here are easy to follow tips on getting your seeds off to a great start.
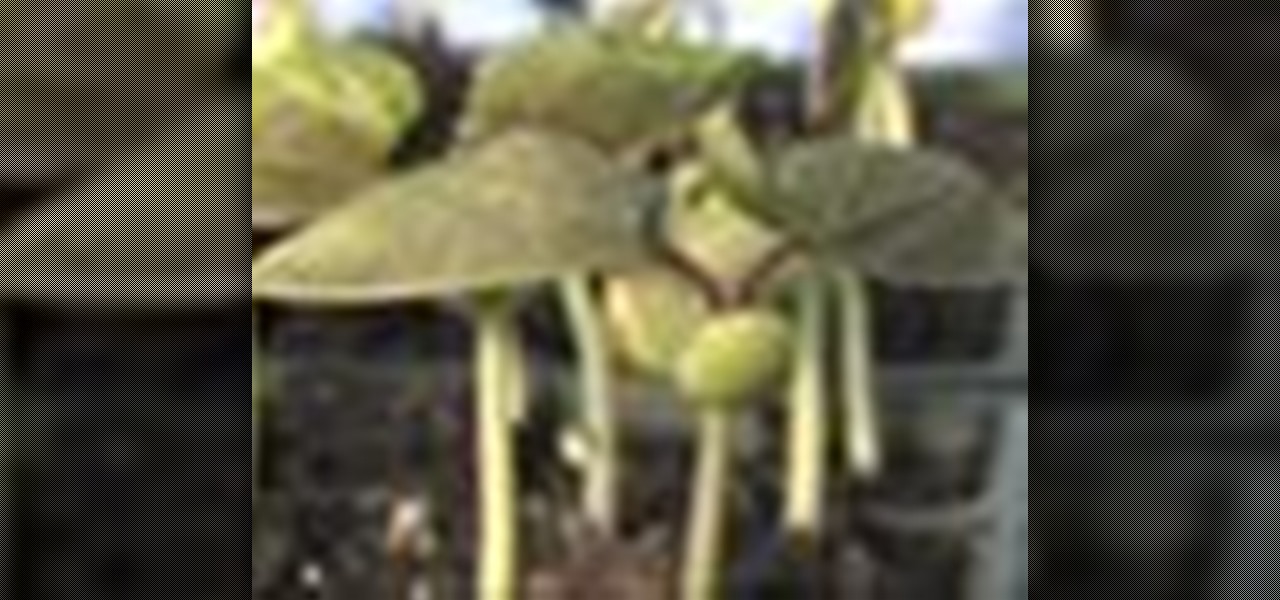
Learn how to start seeds for planting. Start your own seeds to save money, grow different plant varieties, and extend your growing season.
Preserving the environment is not only the right thing to do—it can result in significant cost savings for your business.
Many ways to help the environment are costly, but using less electricity is one measure that will save you money. Learn how to lower your electric bill with this how to video.
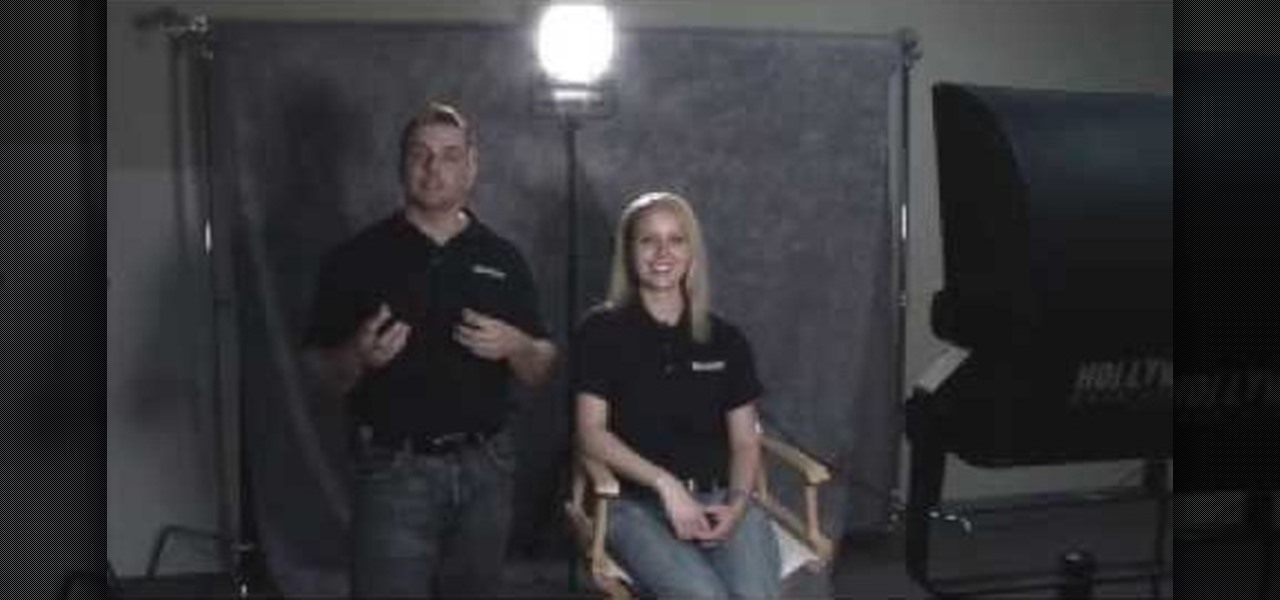
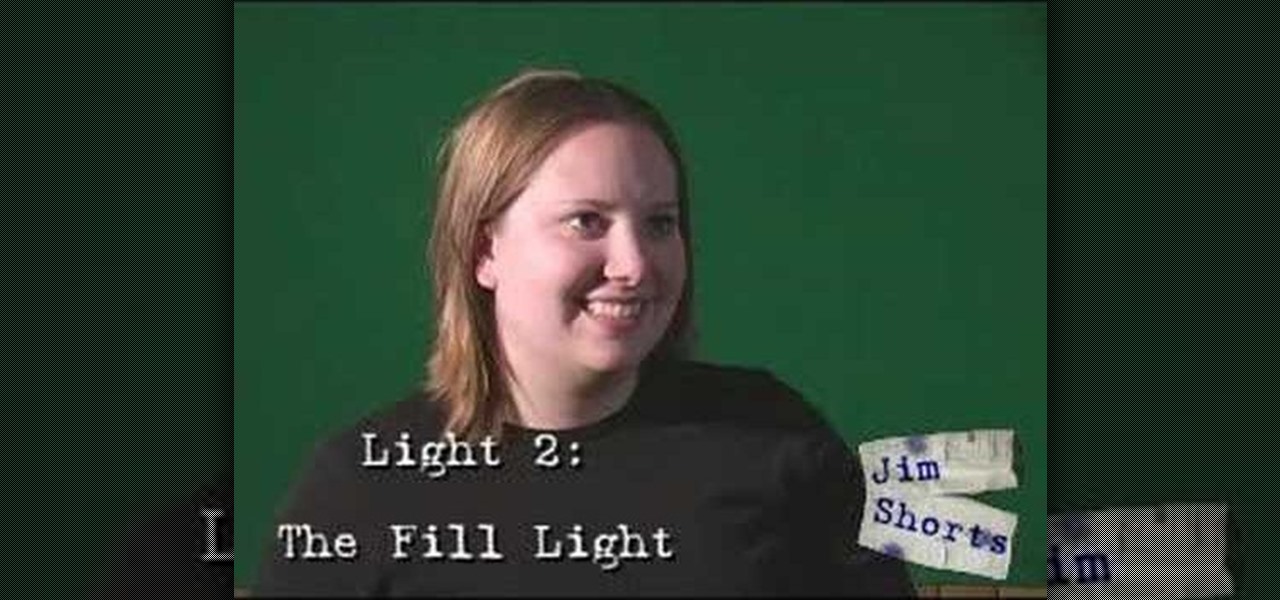
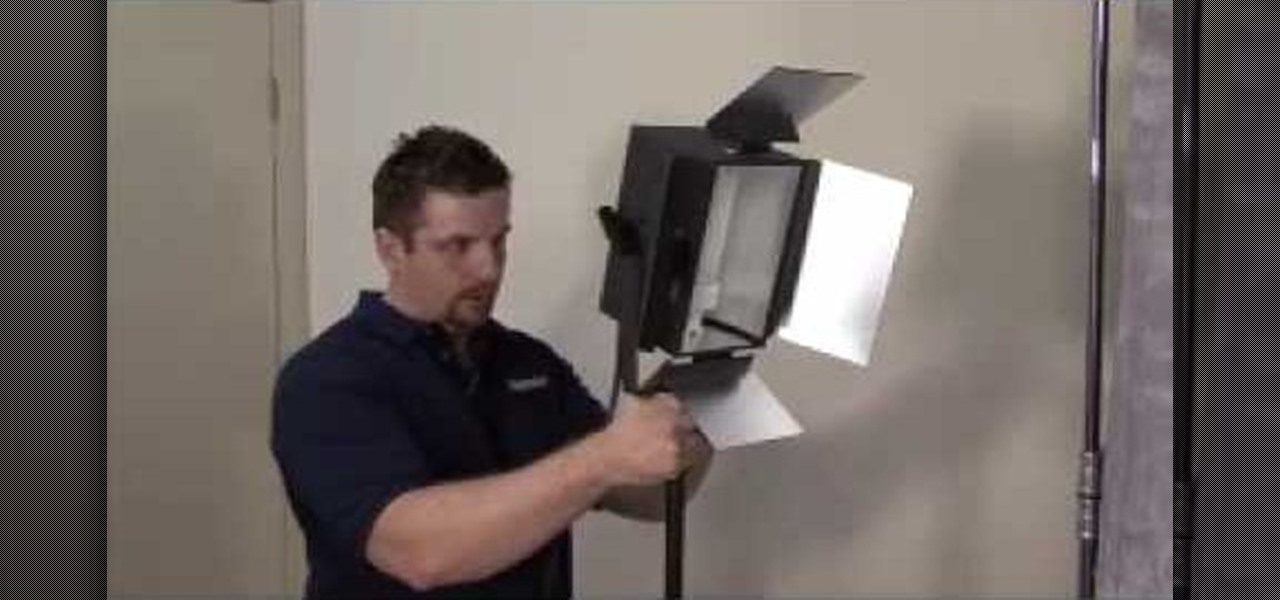
This video tutorial will show you how to apply four styles of lighting. This video teaches you how to apply four styles of lighting, namely Rembrandt, Beauty, Cameo and filling in from the Key Side. You will learn about high contrast lighting schemes, dealing with the amount of contrast used to highlight a person's face, as well as spotlight effects, and how these tend to draw the viewer into the scene. You will be shown how the Rembrandt Lighting setup contains three steps, namely taking a K...
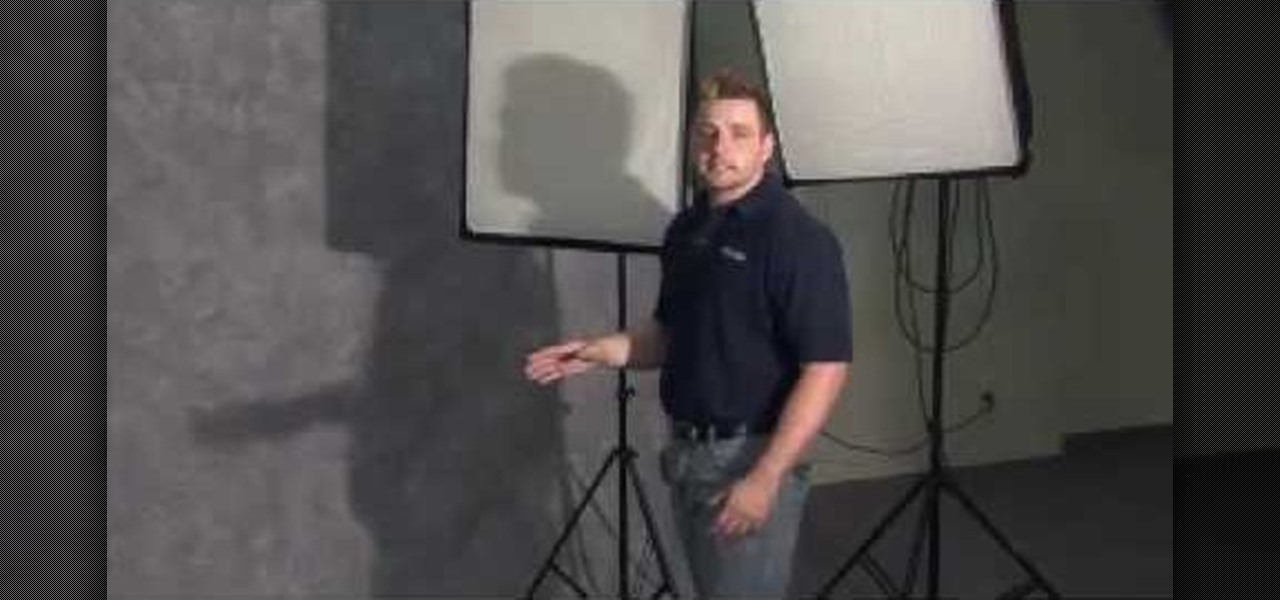
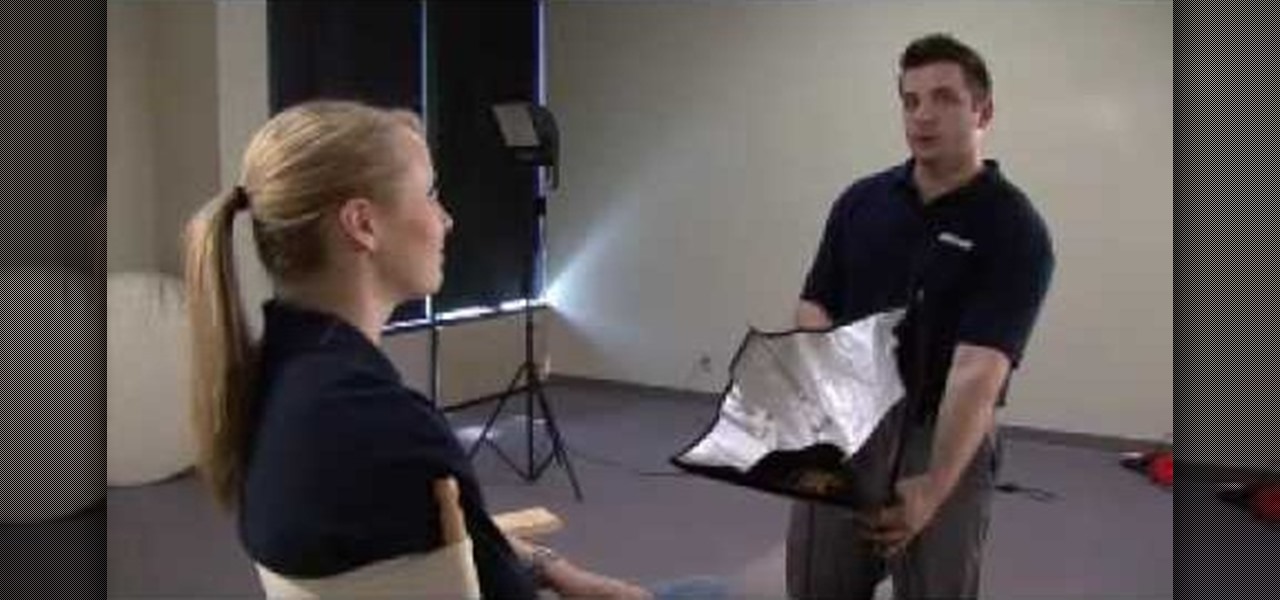
Three point lighting is the key to MAKING videos look professional. Tom Skowronski, the associate editor of Videomaker, guides us through the process of three point lighting. Three point lighting involves the use of three types of light to create a professional appearance when video taping. First, a key light is used to provide bright illumination of the subject. Then, a fill light cleans up the dark areas on the face. Lastly, a backlight fills serves to separate the subject from the background.
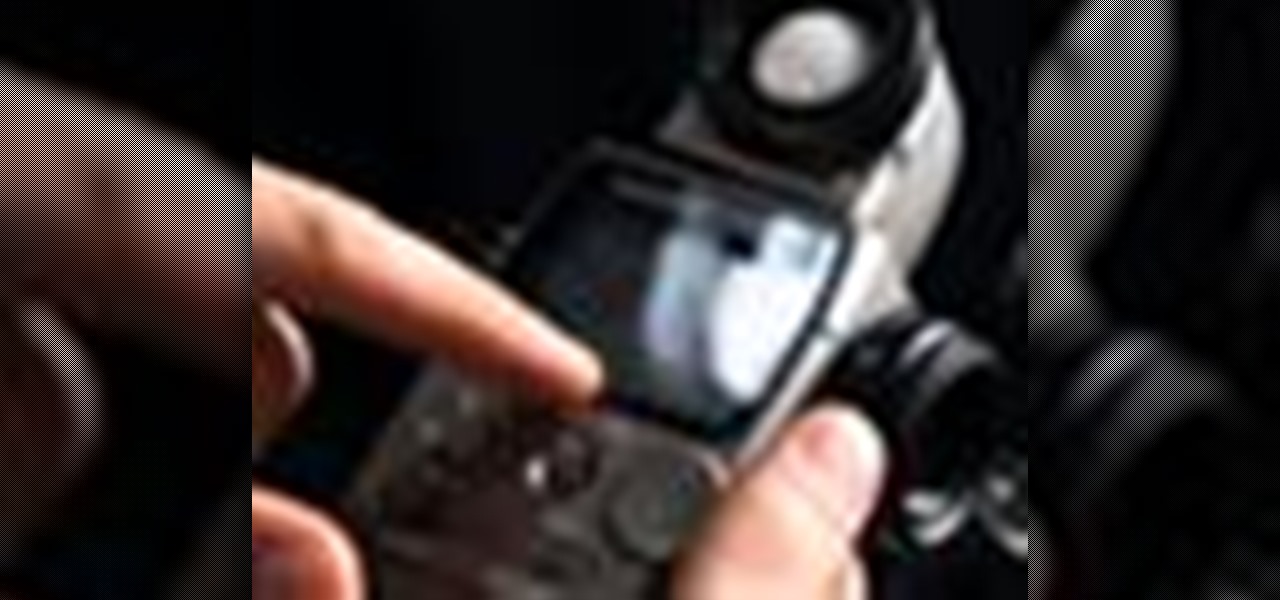
A light meter can prove to be an invaluable tool on any film set, allowing you to quickly and efficiently set lights and know the correct exposure values of those lights. Light meters were initially designed for still photographers and cinematographers can easily calibrate them to a given film stock speed for shooting film. But what about today’s digital cinematographer? I’m glad you asked. In this video tutorial you'll see how you can use a light meter to quickly and efficiently light a scen...
No light no movie. Indy Mogul teaches you how to create your own basic lighting kit for $25. Also covered are lighting basics, including three-point lighting.
It's difficult to find that perfect lighting when you're taking a photo. You won't always have studio lights — or at all — and you're not always out during golden hour. So how can you combat lighting issues without waiting around for a well-lit condition? Do it in post. Adobe's Photoshop Express makes it easy to fix and even customize the lighting in your photos using the right adjustments.
Prevent indoor lighting problems with these great tips. -When a window is behind the object, bring lights closer to object or use a reflector using the light from the window to create a 3 point lighting effect.
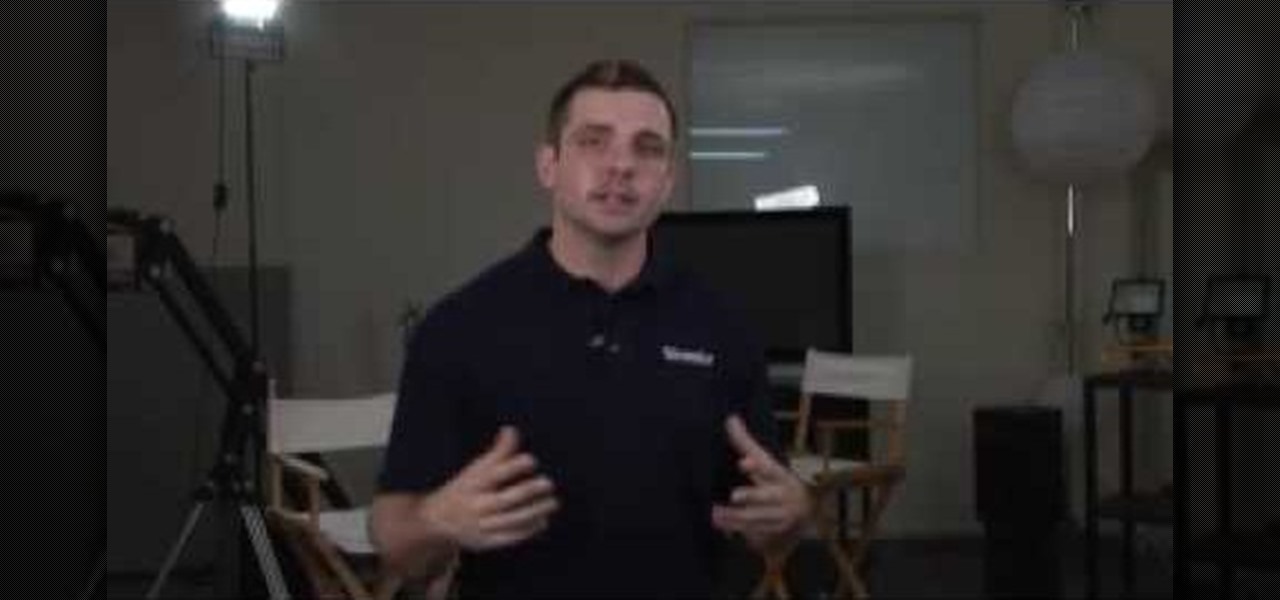
Videomaker Associate Editor Tom Skowronski explains how four basic steps can be used to improve the lighting effects for a video and give it a more professional look.
This lighting tutorial video explains the basics of lighting a scene using the 3 point lighting scheme with a Lowell light kit and various essential equipment. Using the back light, the fill and key light, three point lighting will produce a properly lit subject. This video is great for lighting designers and cinematographers alike.
In this video from FiveSprockets we learn how to light an interior space while filming on a budget. For this you need two Chinese lanterns which he found for $2.95 each. You need 2 light bulbs which he found for $3.95 each. Make sure you get extra ones. Then get a couple of pan lights. They are day light and mood light. They were $7 and $5. You also need a multi colored gel pack which is $6.00. He uses C-stands to hold the lights up but he suggests coming up with other ways if you don't have ...
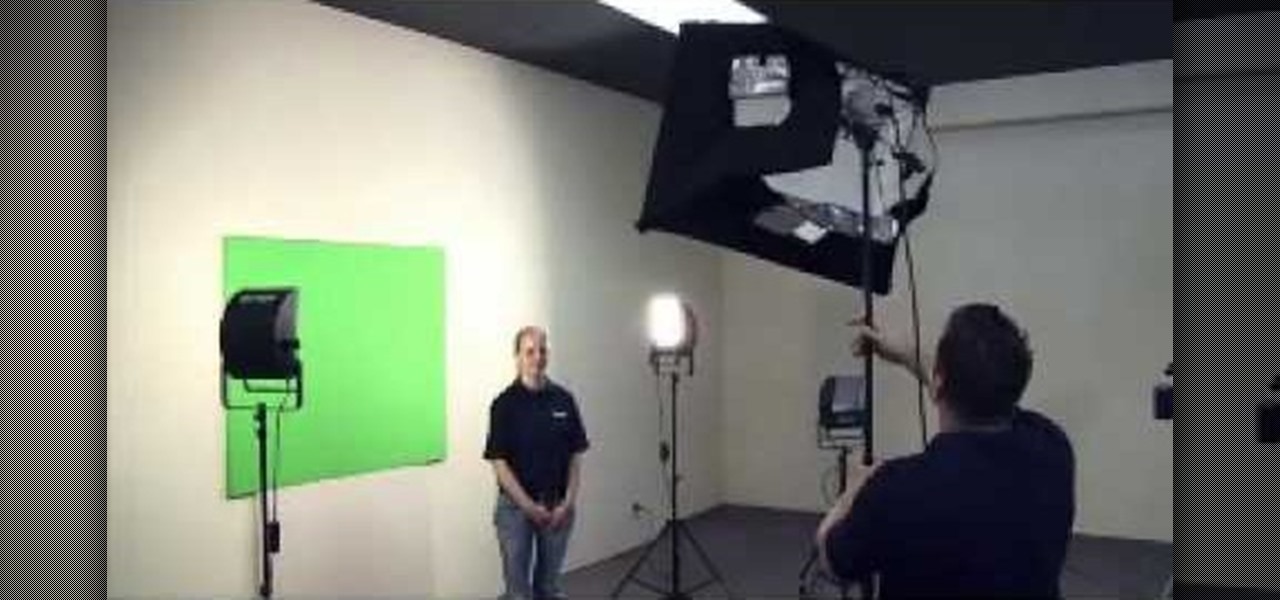
Ever wonder how to create movie magic right in your own home? This video shows you step by step everything you need to know and do to create the green screen effect, from properly setting up your green screen, to lighting it, as well as your subjects for a successful effect. Filled with tips and instructions this is a great video to watch for filmmakers, and special effects artist of all kinds.
Installing security lights outside of your home can make for a great addition, but they also create new problems with regards to maintenance and cleaning. Having lights outside exposes them to all of the elements that mother nature can throw at them. This video will show not only how to install security lights, it will also show the proper measures to take so they will keep working with minimal maintenance and care.
Three point lighting is the standard used to illuminate a subject for amateur film, video, and even theater application.
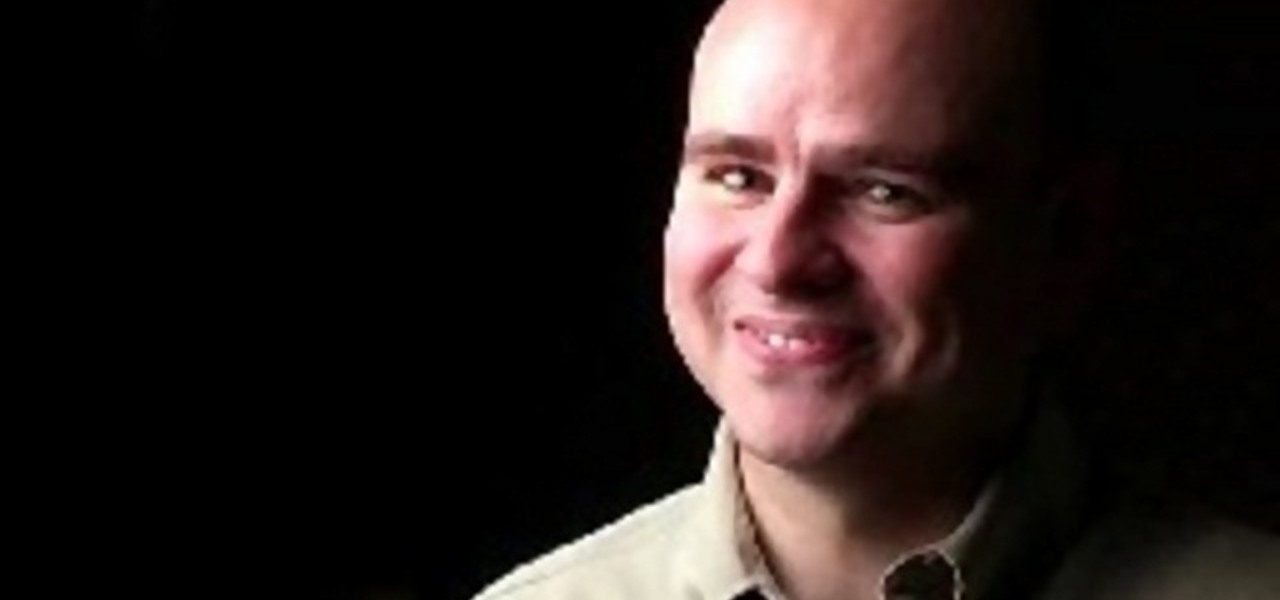
Does your video look flat? By using Three Point Lighting, you will be able to give your flat video more dimension. In this tutorial, Israel Hyman demonstrates the effects of the key light, the fill light, and the back light. This is a long standing lighting technique that you definitely should know if you plan on shooting any type of video.
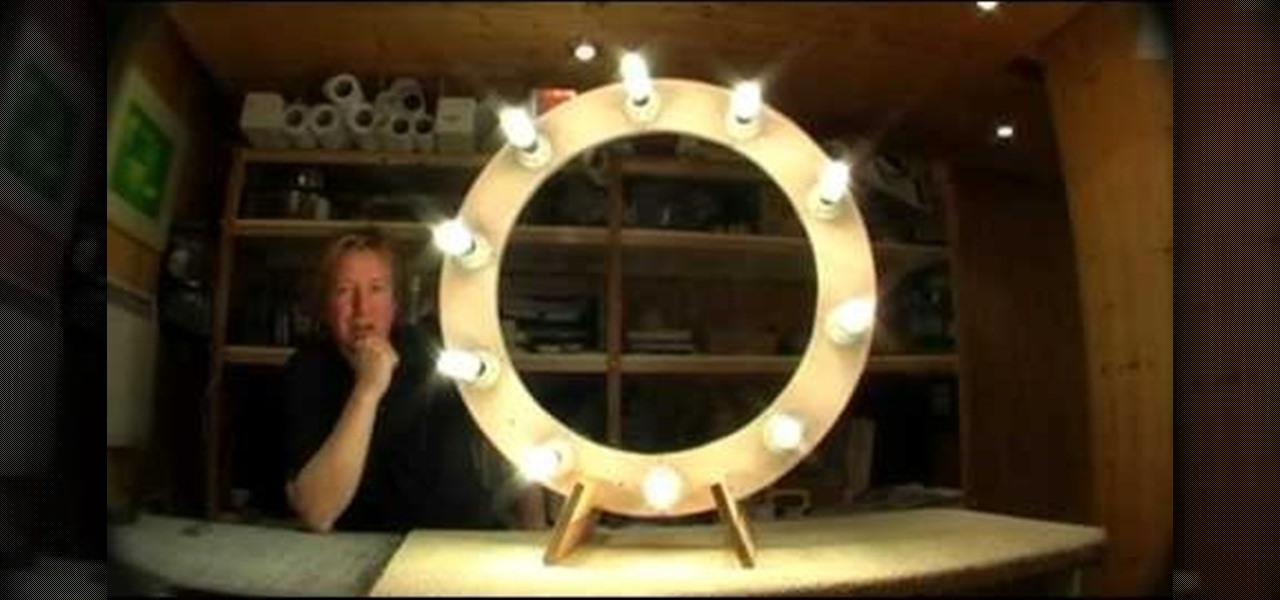
Ring Lights can create a specific lighting that brings out warmer hues from your actors/models, as well as giving you a cool effect for the eyes. If you're not looking to spend a fortune on buying an already made one, you can make one with items from around the house on the cheap, if you have to buy everything you need, you're looking to spend around $100 which is much cheaper than buying one brand new! Check out this video for a full tutorial on how to build your very own Ring Light!
Three point lighting can be used to achieve professional studio results. For this, you will need: a key light, a fill light, and a backlight.
Lighting is everything when it comes to creating a good solid video/film. You will see a great example of a ringlight made of 12 lightbulbs arranged in a perfect circle with a cut-out to allow your camera to be in the middle to capture the best light. You will get an idea of just what materials you will need to create your own ring light.
Interviewing lighting basic training tutorial provides easy to follow instruction in this step by step video. Set up the interview area to allow the best camera angles. Place your lights in key, fill, and backlight positions. Use back lighting spillover to fill subject area without camera spillover. Check your setup with the subjects and make any necessary adjustments to your camera or lighting angles. Place your crew and your ready for your interview. This scenario using key, fill, and back-...
Take Zer0 covers the topic of lighting, again, because lighting is and always will be an expansive area. We begin by describing the reasons why proper lighting will help to accentuate a scene. And lastly is a visual demonstration of how one common lighting technique can be applied.
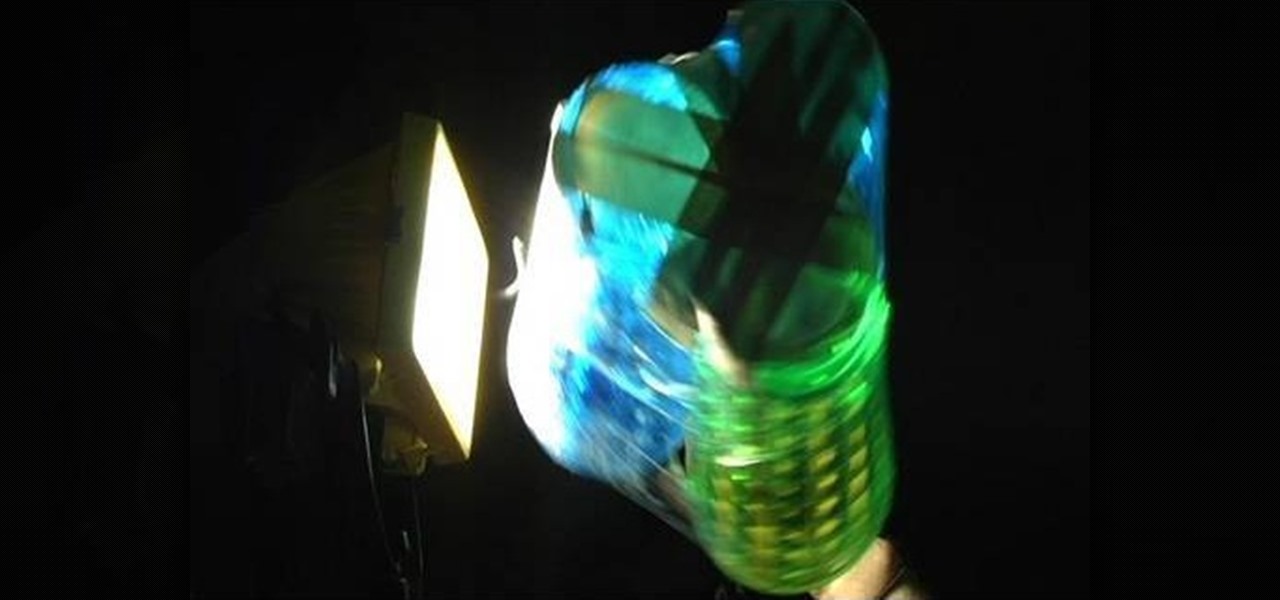
This is a creative idea for a great light effect for any video project. If you're a cinematographer and are open to knew and creative ideas (and cheap!), then this colorful, moving lighting effect is perfect for your film. You'll need three plastic cups, a 5/16-inch metal rod about 2-feet long, gaffers tape, packaging tape, drill and a light. You can get the plastic cups from the dollar store, which won't cost you more than three bucks! They need to be translucent and have the colors you want...
Lets keep this short: you can't control the sun, so it's best to adhere to (or slightly manipulate) it. The perk about natural, outdoor light is that it's free, and lights pretty well.
In this how-to video, you will learn how to light your web show. This is important as it will make your web show look more professional. Proper lighting allows you to see your face, eyes, and the colors of your shirt. If there is not enough light, you cannot see yourself as well. You will also look dark and grainy. Too much light will cause your face to look too hot. Backlit lighting will cause your face to be too dark because the light is in the background. This is why background lighting is...
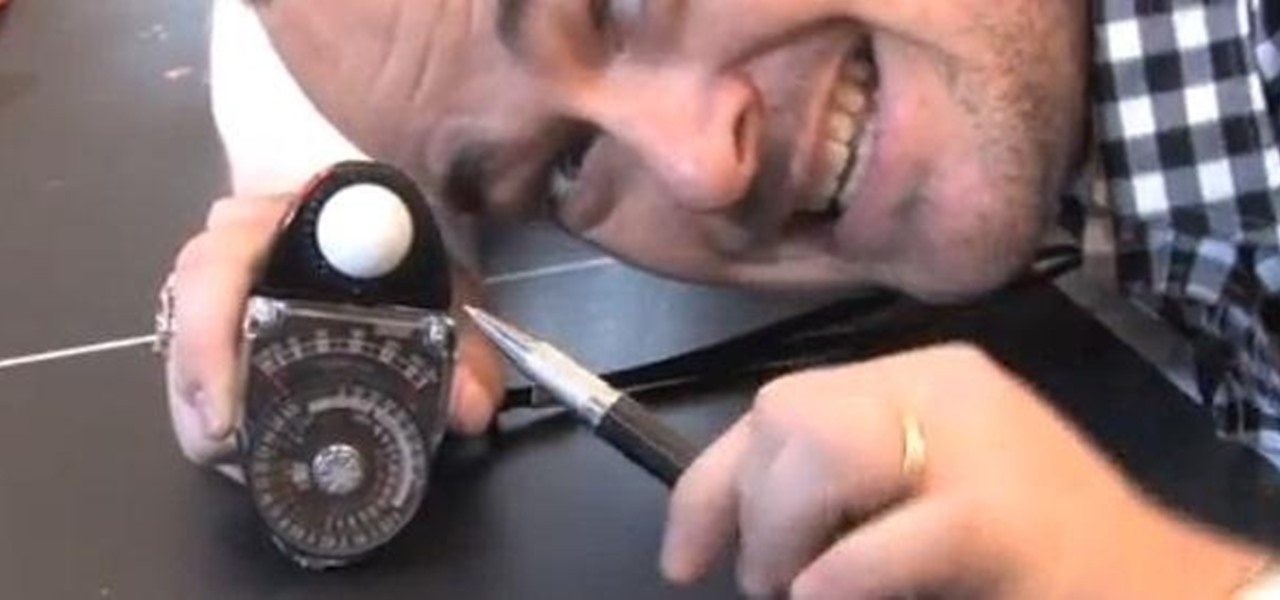
Know a little bit about film lighting, but can't quite grasp the concept of using light meters to measure light for proper exposure? You can't rely on your video camera to accurately capture what you see, so you need light meters to properly and accurately capture what you have created on set.
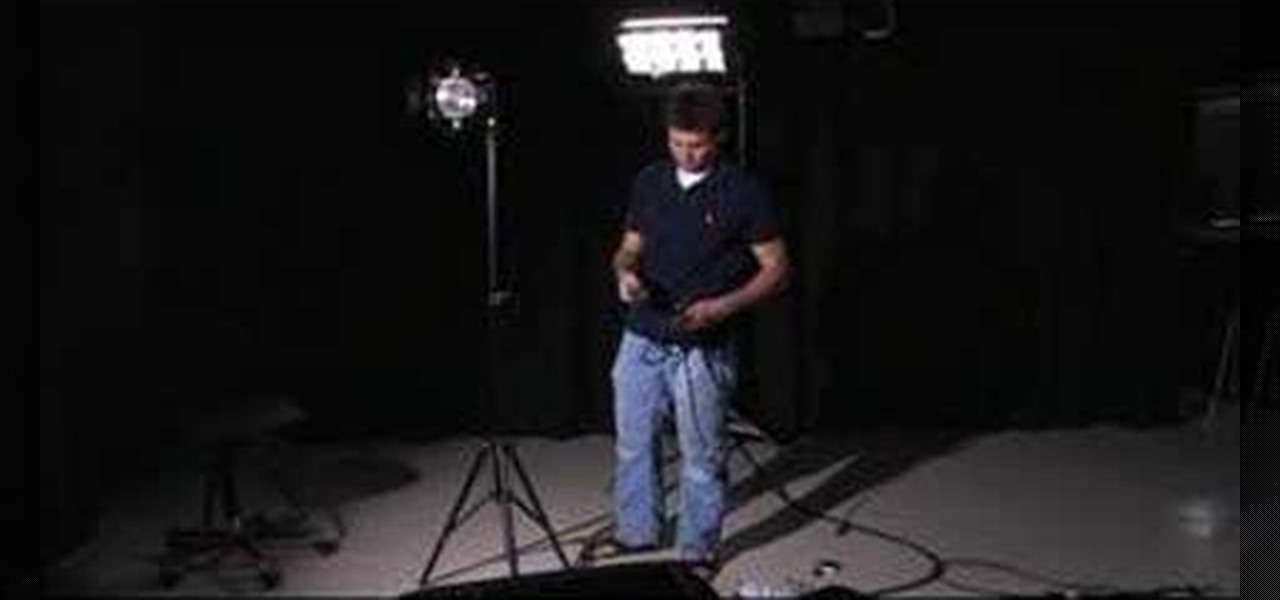
Learn how to make an adjustable light stand. This adjustable telescoping light stand is cheap if you have all of the materials already, like a painter's pole, a metal table leg, scrap wood and some screws. This light stand is a good choice for film shoots on a low-budget. Who needs expensive light stands anyways?
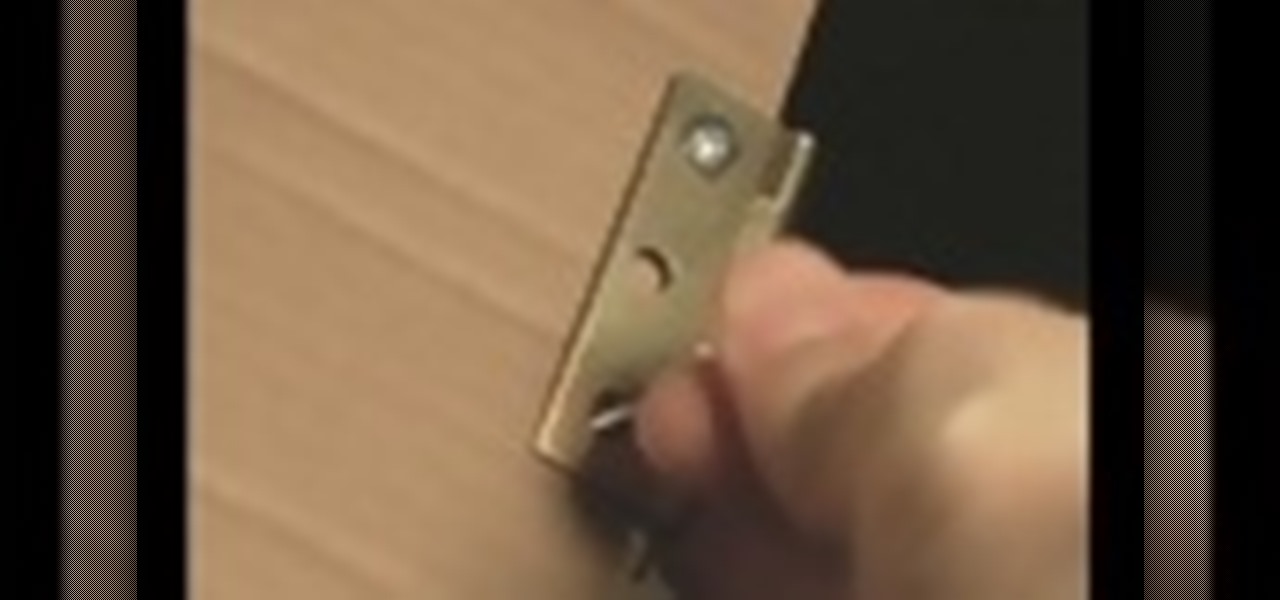
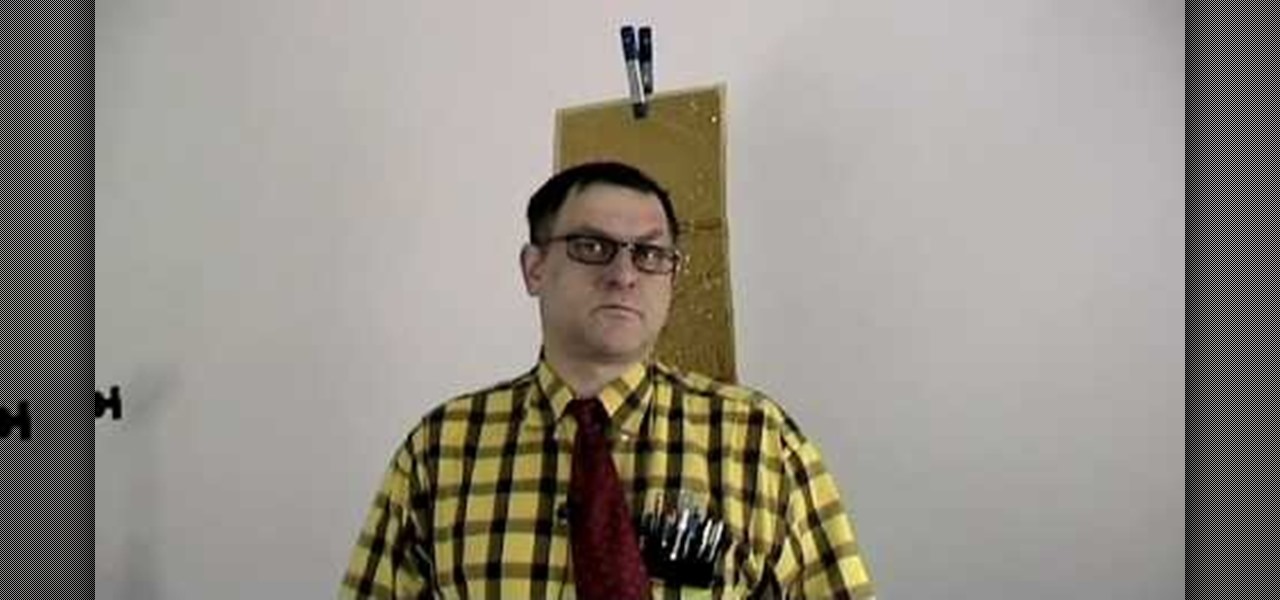
Check out this instructional lighting video that explains how to make cheap barn doors for your lights. For this project, you will need a total of 4 hinges, 12 nuts and bults, a screwdriver, cardboard, scissors, and a lighting fixture. This is a simple guerrilla filmmaking tutorial on how to design your own barn doors. A great addition to any low-budget filmmaker's lighting kit.
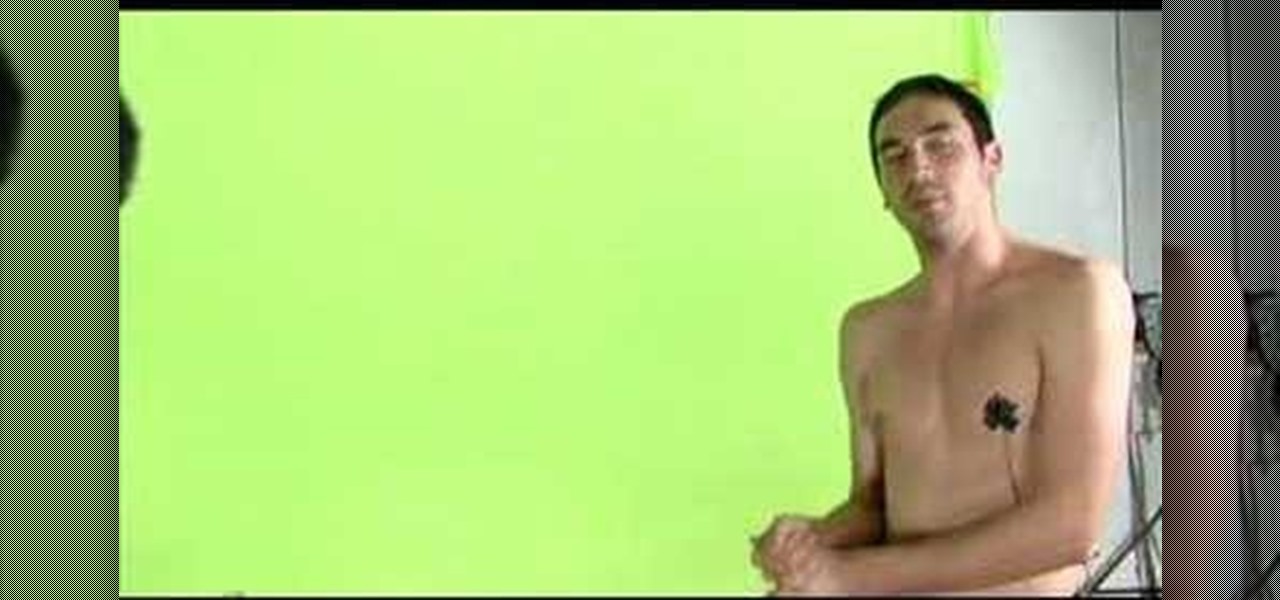
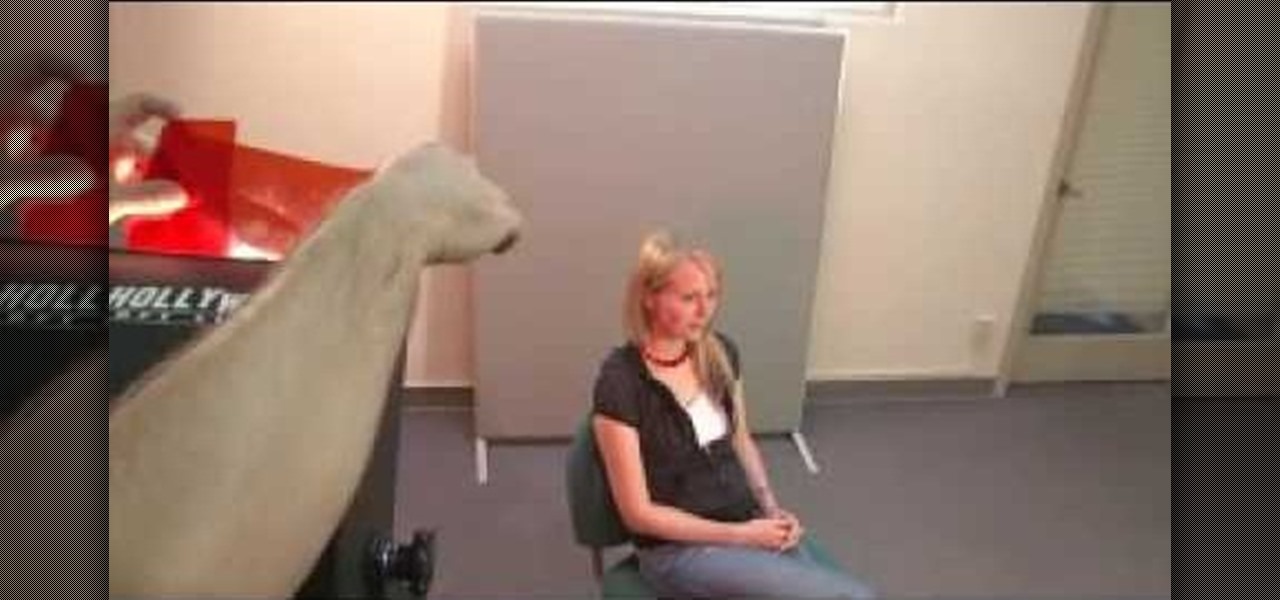
Matt, the Shirtless Apprentice, advises viewers on the proper procedure for lighting a green screen. The successfully implemented chroma key technique can significantly raise the production value of any video podcast. He gives specific advice on how to separate the light that falls on the subject from the light on the greenscreen, a traditionally tricky technique.
Lighting a movie can be dramatically expensive and complex, but for the DIY filmmaker on a budget this can be a major handicap. In this video you'll learn how to create a serviceable lighting setup for your filming using only $25 worth of shop lights and 200w bulbs.
This video tutorial belongs to the Film & Theater category which is going to show you how to build a light diffuser to improve your film lighting. Joe Richardson explains how to do this. You will need four pieces of pine wood 1" x 2" x 8 feet long, framing nails, duct tape and light cloth material. Cut the wood at the edges at a 45 degree angle and lay them out on ground to make the frame and hammer in the framing nails. Now spread the cloth over the frame and start stapling it. Pull the clot...
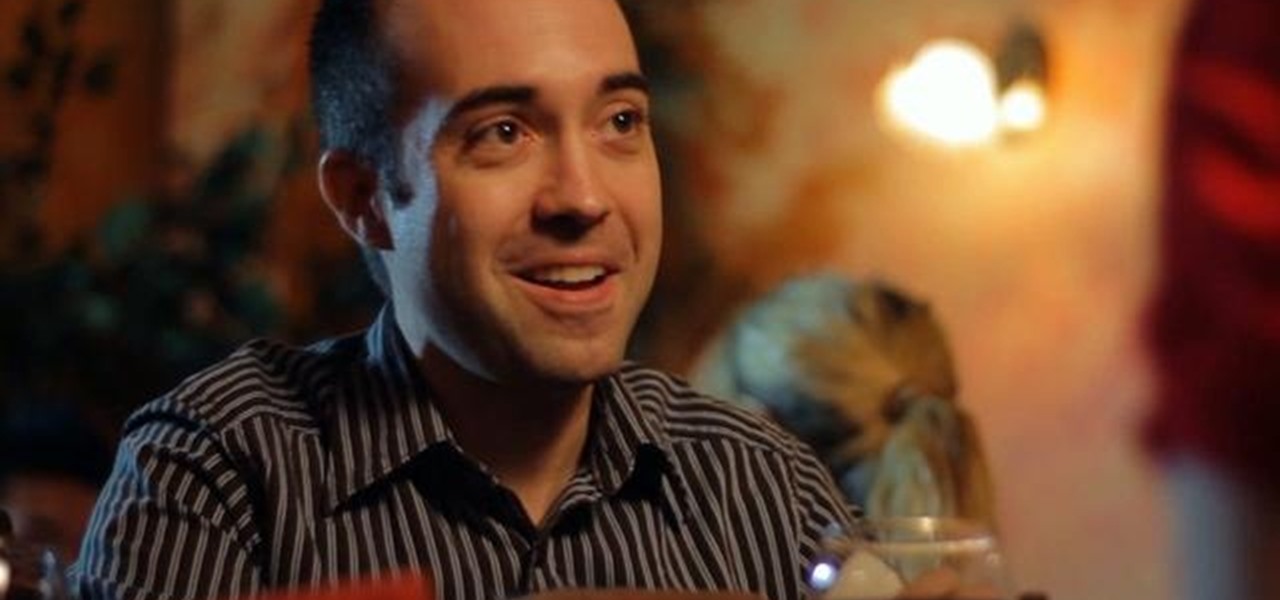
If you're trying to film a romantic dinner, you'll want the setting to seem dim and candle lit - but you'll still want the lighting quality of the film to be good. Here's how you can shoot an effective dimly lit scene.