You can paint just about anything you want in Chinese watercolor painting, but whether you're sketching out a fish or a crocodile, there exists a basic array of brushstrokes that you will use for any object.

In order to make a hook for an earring, you will need the following: round nose pliers, a wire cutter, a nail file or sand paper, an ink pen, 20-22 gauge wire. With your round nose pliers, make little hook, in the end of the wire. Bend it, until it makes a little loop.
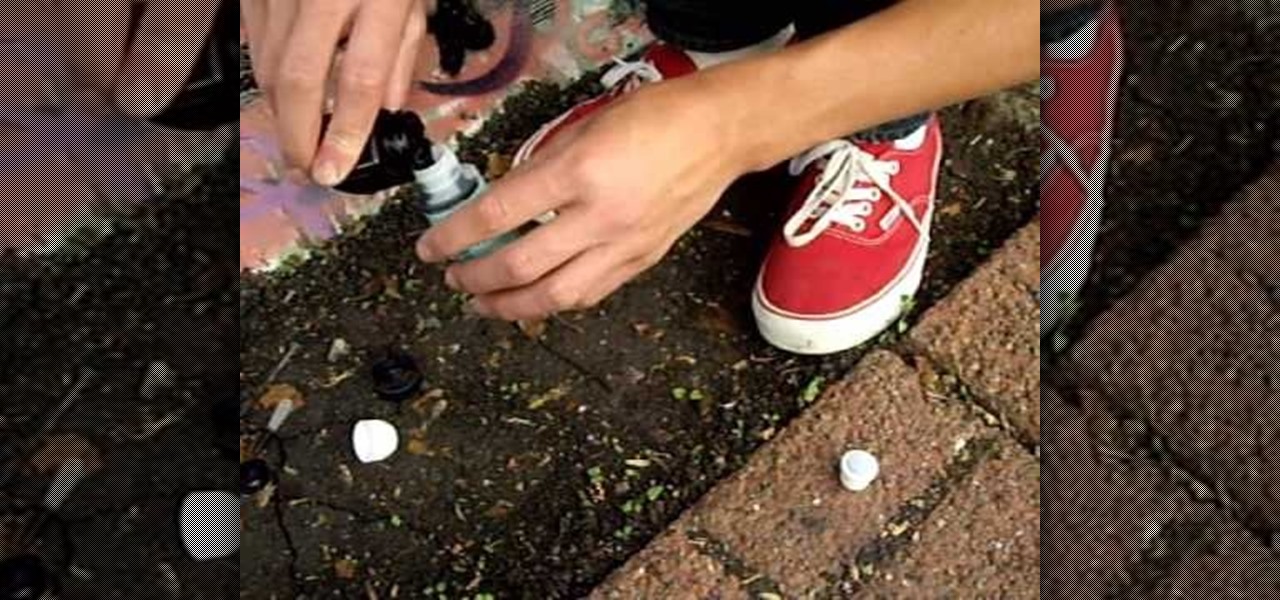
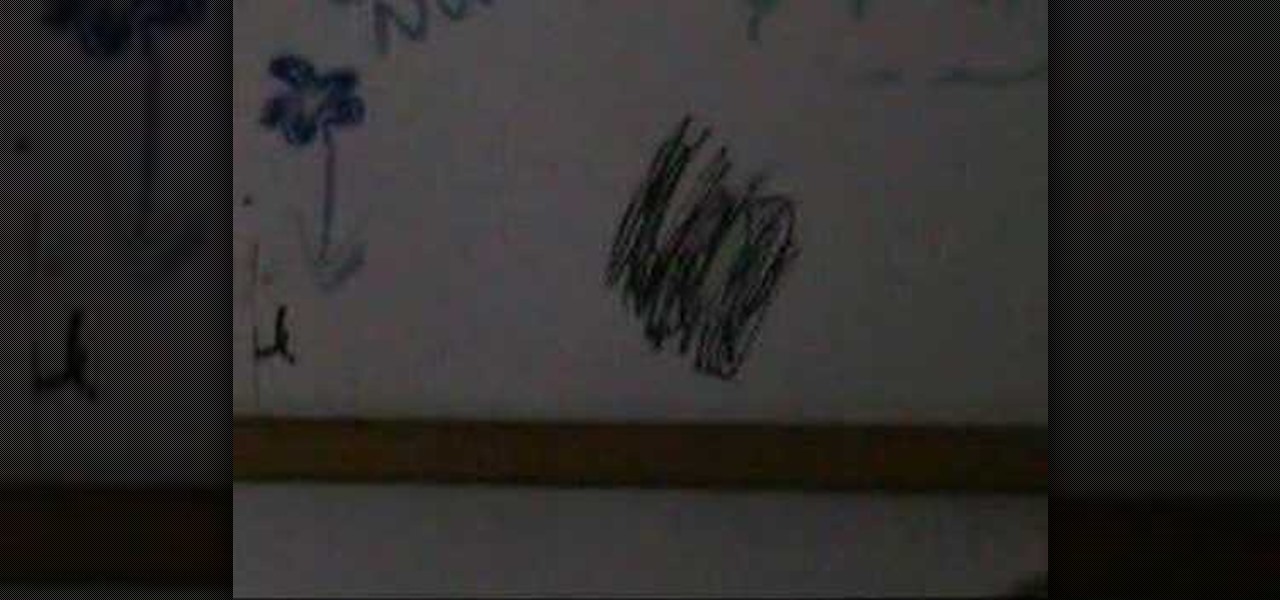
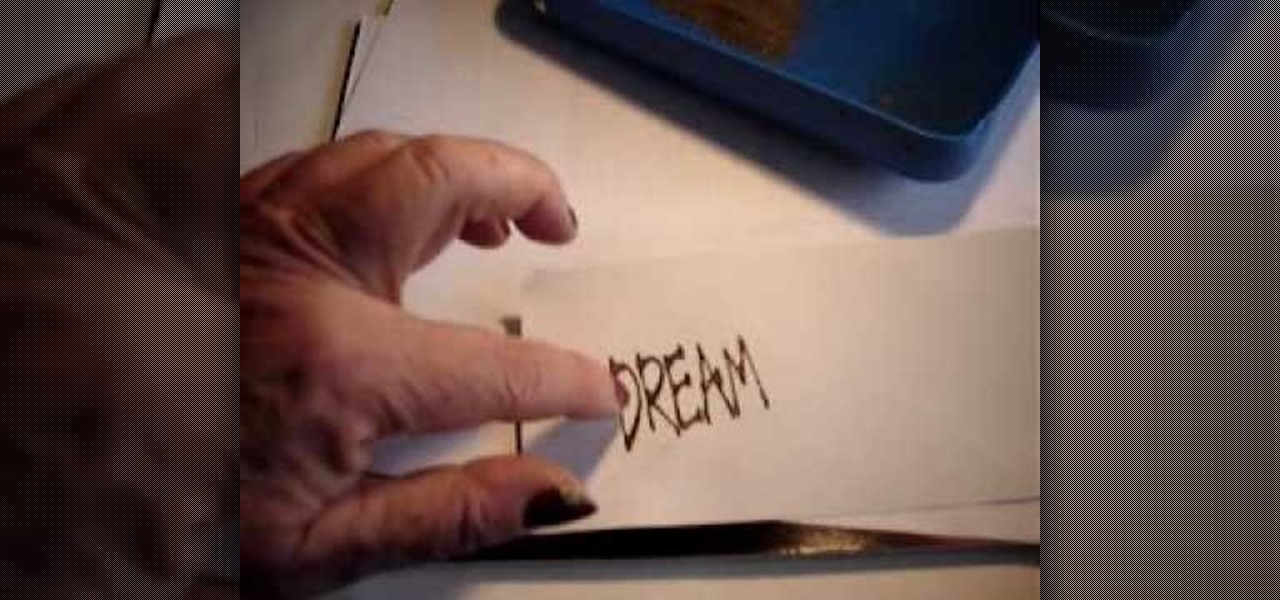
In this tutorial, we learn how to make a graffiti mop from a repurposed cleaner bottle. First, you will take stamp cleaner in a small bottle that you can pick up from any craft store and a bottle of Pilot ink (1 oz). Next, empty the stamp cleaner from the bottle and then pour the ink into that bottle using a dropper. After this, place the top back onto the bottle and shake it for several seconds. When done, take the cap off and you will be able to write on a wall now using this bottle's soft ...

This video demonstration feature a young girl painting one of China's national icons: the Panda Bear. The paper she uses is covered in silver flakes, which give the piece a shiny, cartoonish quality. That is one happy looking little bear.
Donna50242 shows us how to make an amazing looking tag to use on different things. This video is in response to another one posted earlier. This tag is made be crinkling up an ordinary brown paper tag and then flattening it out to create the worn out wrinkle effect. Using a distressing inking tool with a foam pad, we apply the ink in a swirling motion. using different colors from the ink set (Mahogany, Mustard seeds, green etc), we can create amazing effects. And that's it, your done! Try exp...

This video is a science experiment for kids, which demonstrates how to make Invisible Ink at home. For this experiment, you will need the following: a knife, a spoon, a lemon, a cotton swab, a cup of water, paper, and a saucer.

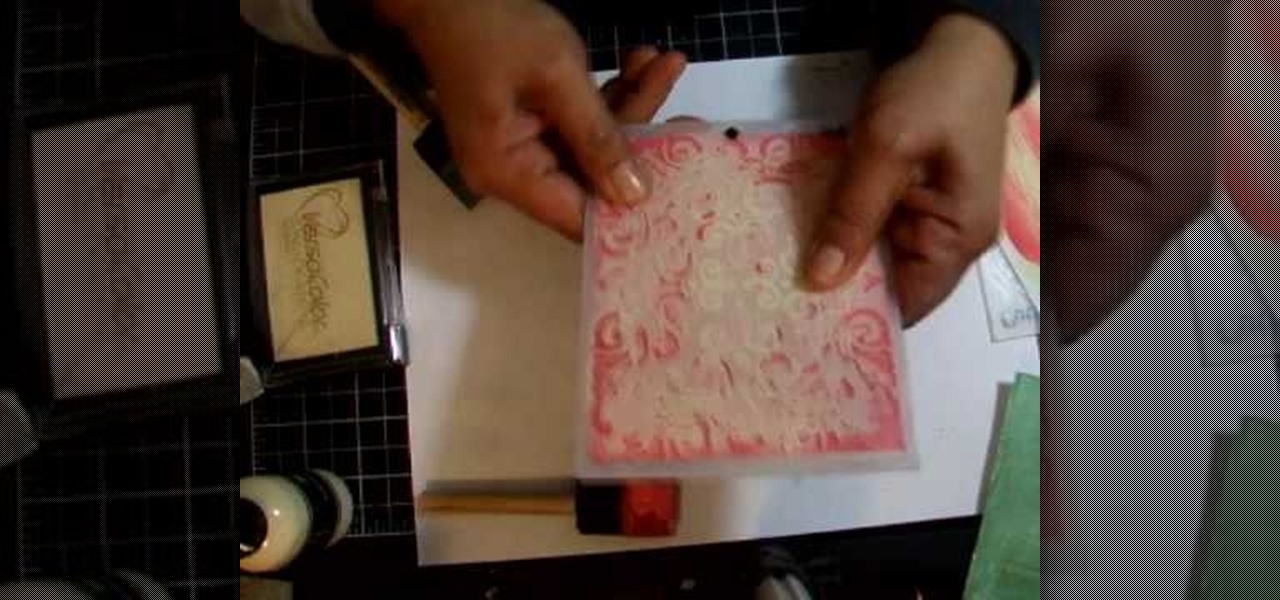
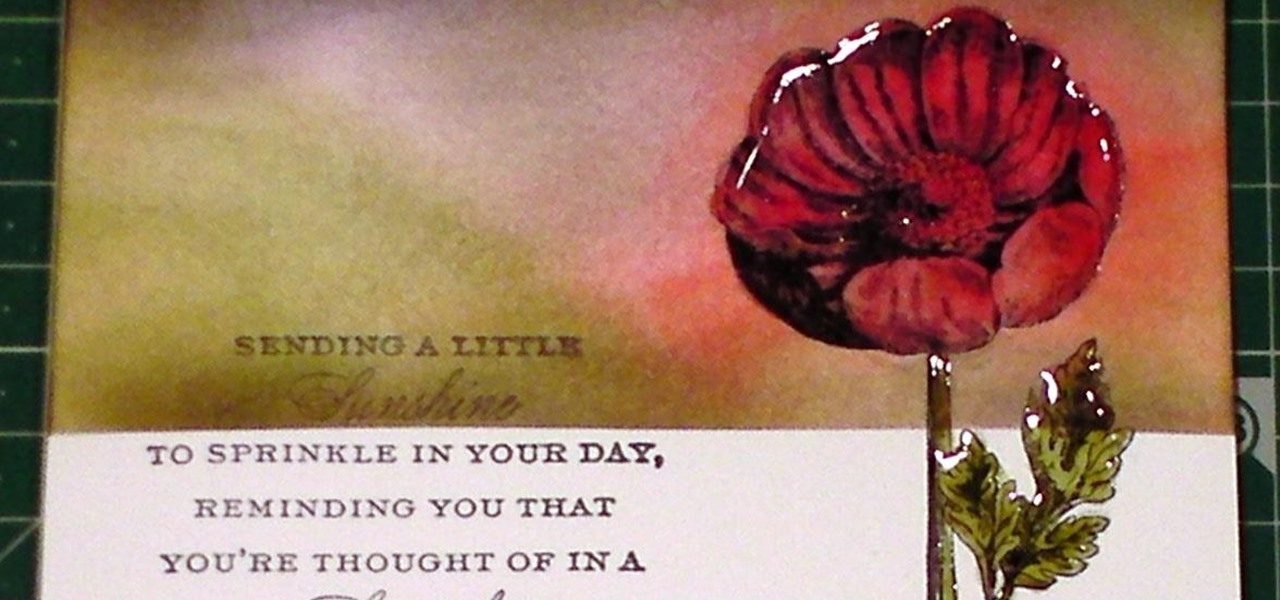
Stampinmama1 shows us how to soften edges of paper with ink sponges. When you sponge, you get a little softer look onto the paper. You're going to want to use a round stamping sponge and you would want to cut it up into six pieces to have more control over them. Rub your sponge directly onto the pad, grind it on pretty hard. Go right along the edge of your paper, ink it up again and keep going. You will get a soft feathery edge instead of a fairly bland edge with no soft look to it.
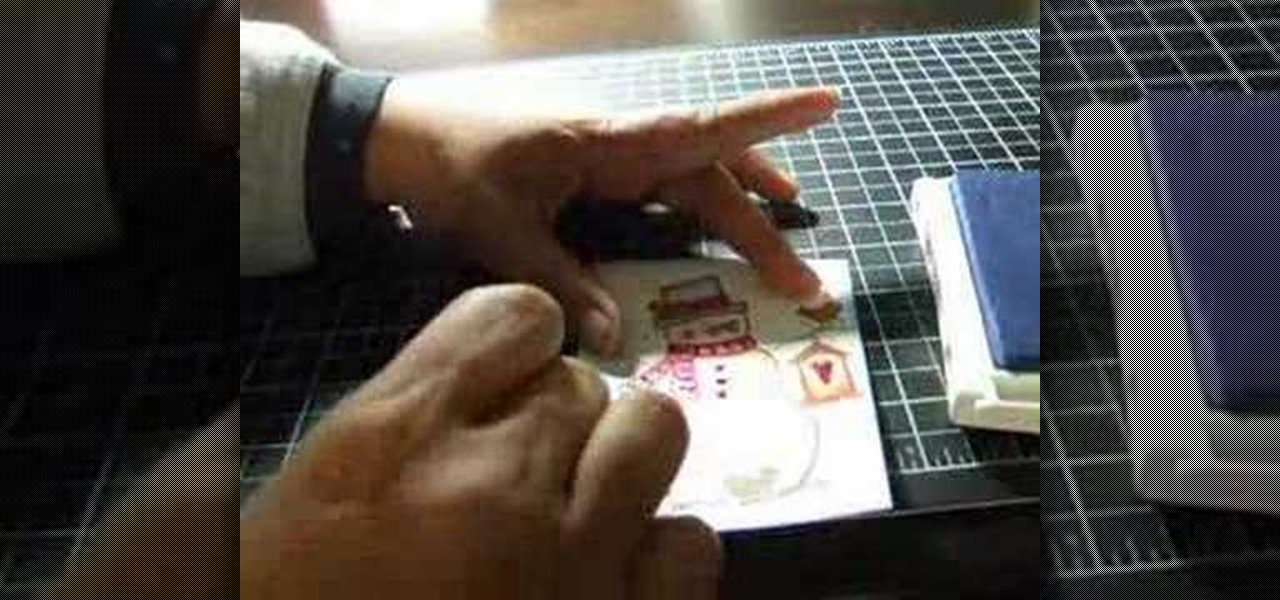
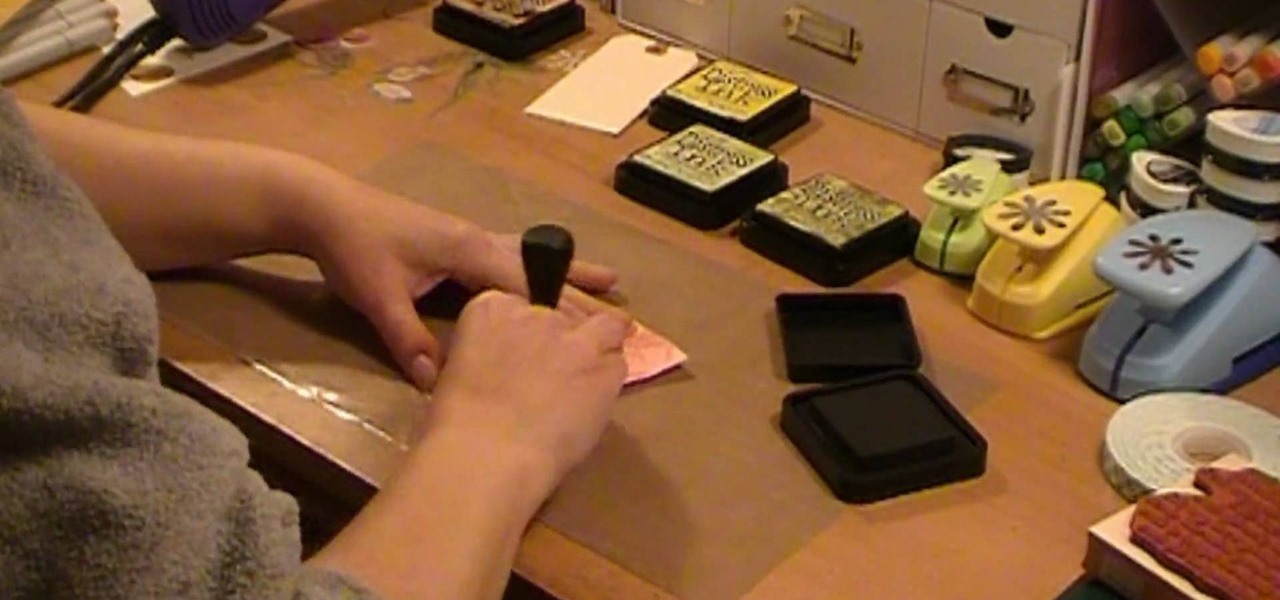
In this video tutorial, viewers learn how to shade and color the background of an image. This video explains all the materials required to shade and color the background of an image. The materials required are: a stamped image, a spoon dauber and an ink pad. Start by inking the sponge dauber and rub the edge of the cardstock. Continue to color the edge. Add more ink if you want the color to be darker. Color the background with the sponge dauber. Add link to the sponge dauber. Dab and rub the ...
This video discusses how to emboss using acrylic paints, like faux plastic.
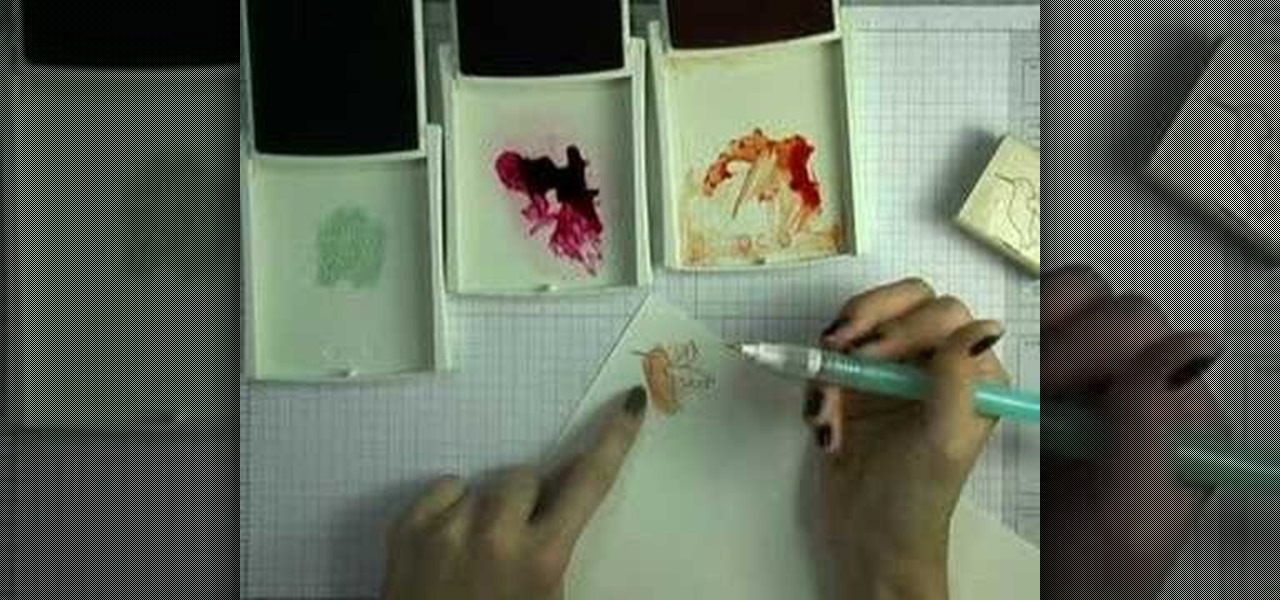
This how-to video demonstrates the right skills for stamping with a watercolor technique. You will need non-running inks to stamp the initial image, a specialty brush pen, and watercolor paper. This watercolor effect is pretty, and can add some different texture to your stamped images. Watch this video tutorial and learn how to make a watercolor look with stamps.
Watch this instructional painting video to paint bamboo using sumi-e ink and Chinese rice paper. This fluid method of painting does not allow much room for mistakes. Every brush stroke counts. You should go look at some real bamboo to absorb a real sense of the plant. Spirit and technique are required to paint bamboo in the traditional style.
This two part video shows you the materials needed to mount a Chinese painting. Chinese brush work leaves finished paintings a bit wrinkled and wavy. You will need a specific mounting brush and all purpose flour to make a mounting paste.
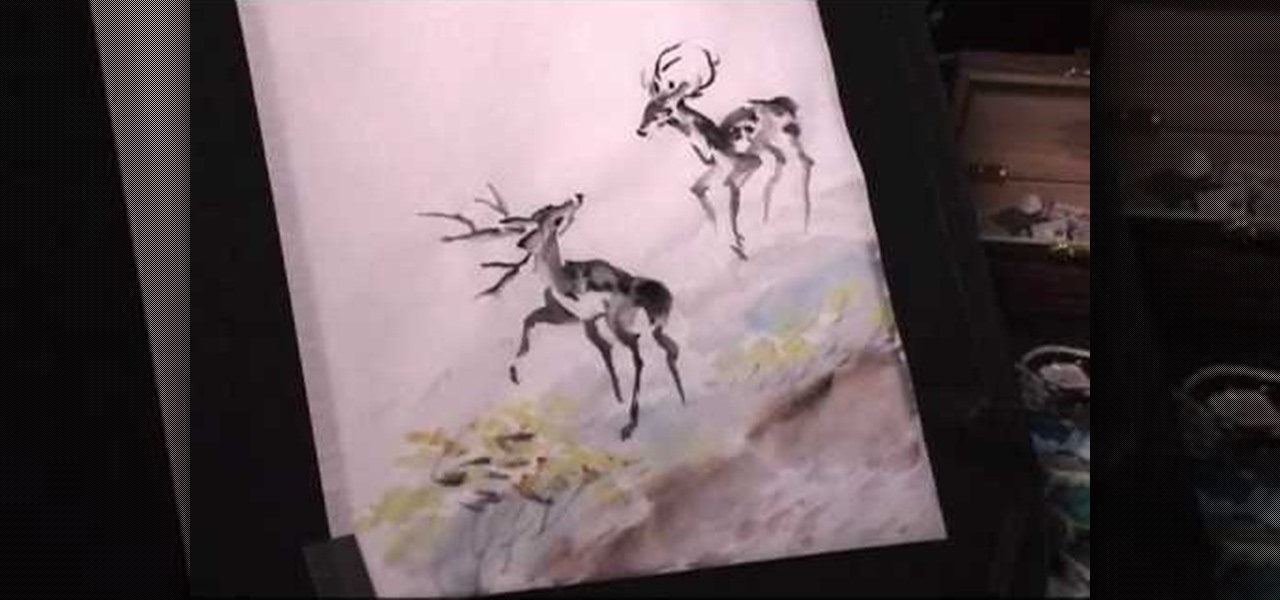
Watch this instructional painting video to paint, "Neighing Deer, By The River". Can deer neigh? Use India ink and Chinese rice paper to try this fluid method of painting. Every brush stroke counts so there is not much room for mistakes. So get out some news print to practice inking these beautiful animals by the river.
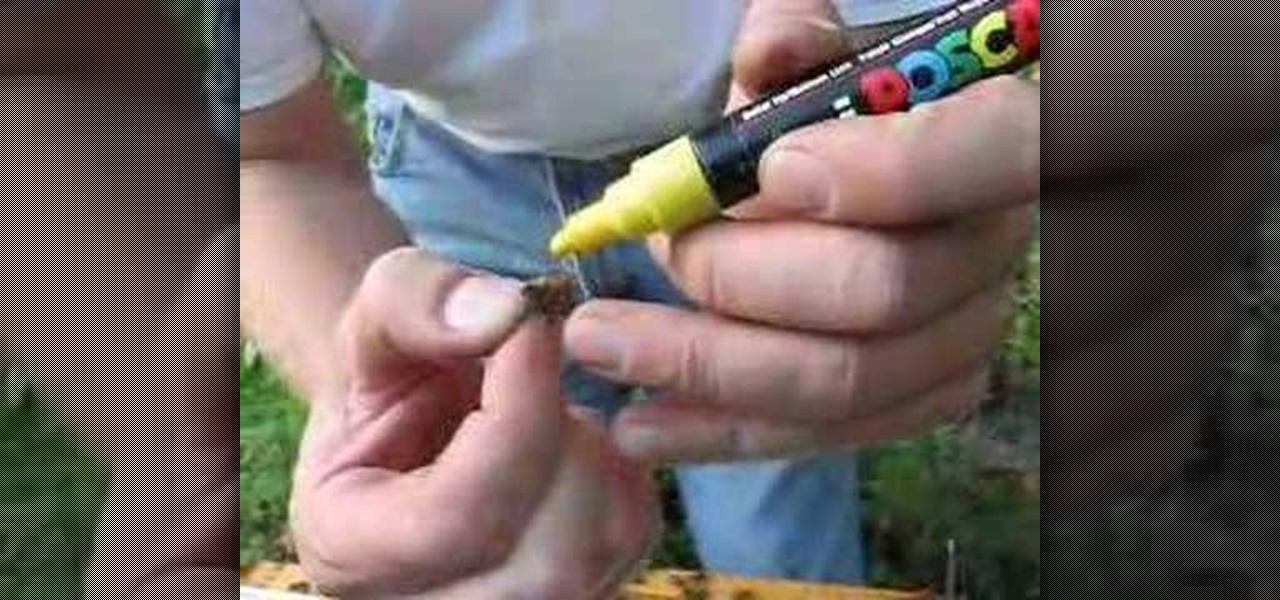
Marking a queen bee will allow the beekeeper to locate her easily by the now distinguishing spot on her back. Specialty markers can be purchased from a beekeeping supplier, but similar ink can be found more easily at a local arts and crafts store. Just make sure to let the ink dry before releasing her, otherwise her colony will clean it right off. Watch this video beekeeping tutorial and learn how to mark the queen honey bee.
Artist Matt Busch goes over how to build graphic contrast with several inking techniques and styles on Han Solo. The episode also shows how to paint in the darkest darks with acrylic paint, as progress continues on the 30th Anniversary STAR WARS Poster. Learn how to sketch, ink, and paint Star Wars by watching this video drawing tutorial.
This is a video tutorial to show how to create embossed backgrounds with embossing folders, some cardstock paper, and ink. Learn how to use the Cuttlebug embosser with innovative functions. This video also gives instructions on how to clean off the ink from the Cuttlebug embossing folders.
Video explains how to make and use invisible ink with stuff you find around the house. How to create secret messages for spy kid use and the secret to decoding the message. Use this as inspiration for one of your April Fools Day pranks!
A short tutorial on how to make invisible ink. Just like what spies used to use. Use this as inspiration for one of your April Fools Day pranks!
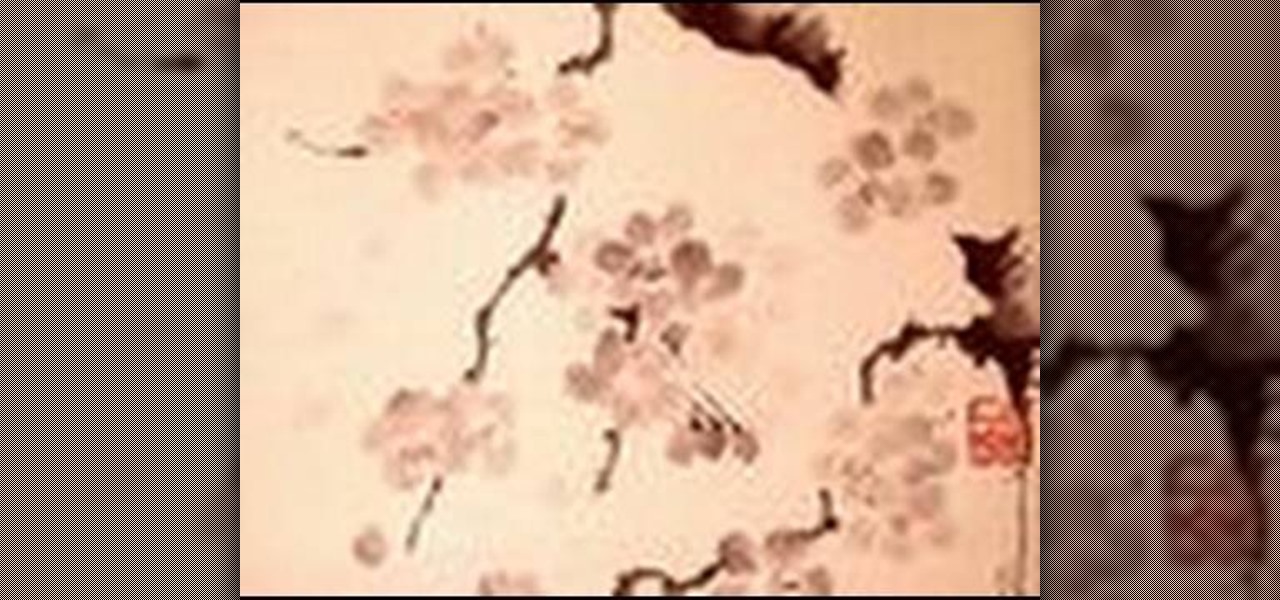
Check out this video to learn to paint a cherry blossom in the traditional Japanese method of painting in ink called Sumi-e.
Check out this video to learn how to paint a reproduction of a famous 9th century painting called "Zen Nap Four" using the traditional Japanese method of Sumi-e ink painting.
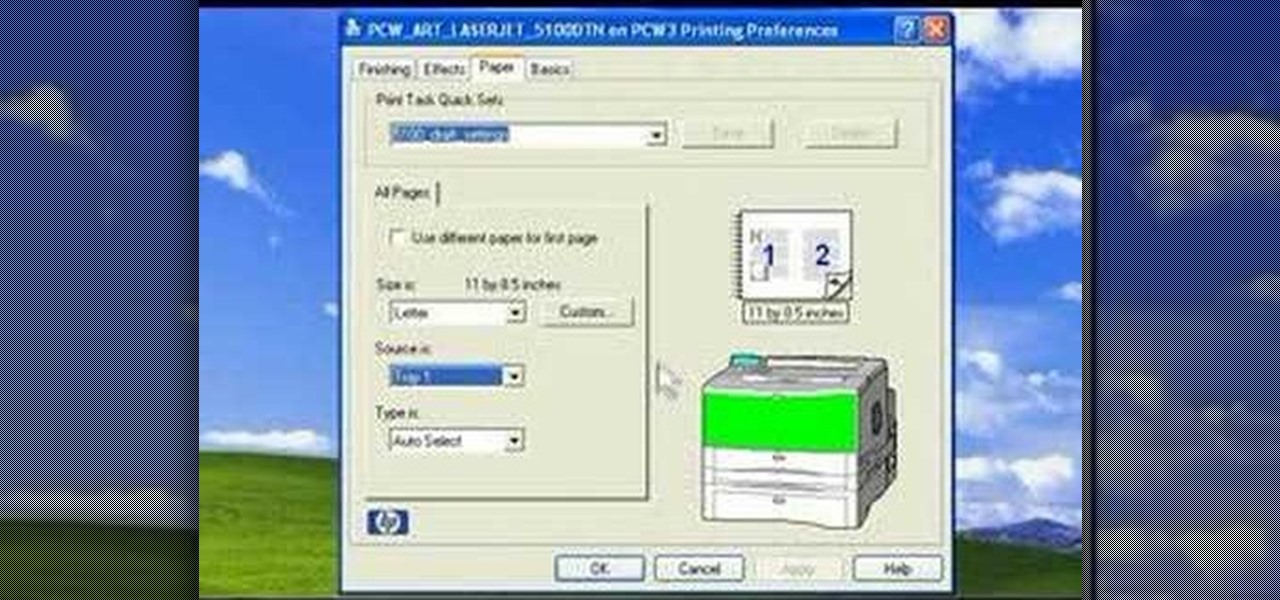
Replacement ink or toner cartridges can cost a pretty penny. See how to make your supplies last longer with this guide to saving money on printing.
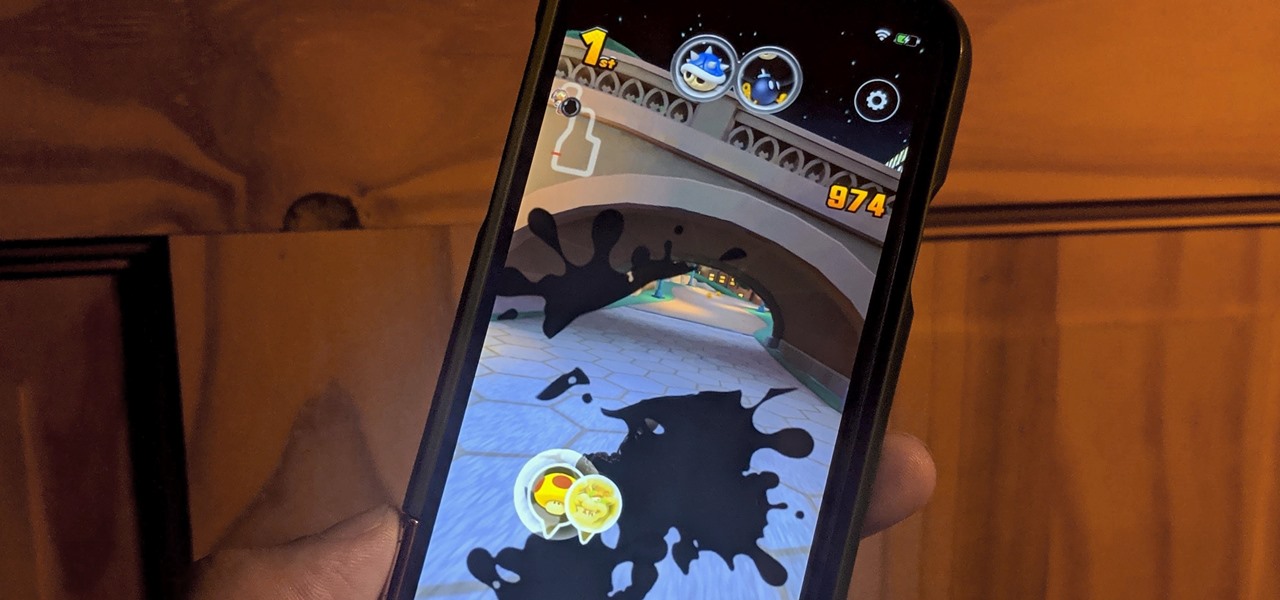
Your goal in Mario Kart Tour is to beat your rivals and come in first place, but that's never easy when you're also trying to avoid banana peels, red shells, flying bombs, and other items. One item you may be familiar with is Blooper, a squid-like creature found in most water levels. It squirts ink all across your screen, making it more challenging to navigate your driver on the track.
Maki and Miho demonstrate how to write with a Japanese calligraphy brush. To write with a Japanese calligraphy brush, first position the paper to the left side of the brush with the ink on the right side of the paper. Rub the ink stick in the ink well with a little water. Then, soak the brush in the ink. To write Japanese characters, be sure to make the strokes in the correct order. Also, write slowly or your characters will not come out well. Use a long, flat paperweight to hold the paper in...
Make a Christmas Gift Card Holder Materials
The card trick in this tutorial is great for beginners and seasoned magicians alike. In the video you will learn how to present a deck of cards to two spectators and amaze them with slight of hand.
In this Home & Garden video tutorial you will learn how to erase permanent marker from a dry erase board. Well, there are various methods of erasing permanent marker from a dry erase board. One of the methods is to use some clear spirit. Soak a small piece of cloth in the spirit and rub off the dry marker and it will vanish in no time. But, what if you don’t have spirit? This short video clip shows you how to do this very easily and quickly. All you have to do is to apply more of permanent in...
Dawn5377, teaches you how to use the clear mount stamps. These come in sizes from A to I. They are high cut so you don't get ink on your fingers when using them. The stamps come in a DVD case for easy storage, which also comes with instructions on usage. Remove the sticky part of the image, place it on the back of the rubber stamp. Place image face down on the clear block of equal size. Ink the rubber stamp and just stamp on a piece of paper. You clean the rubber stamp with spray mist and scr...
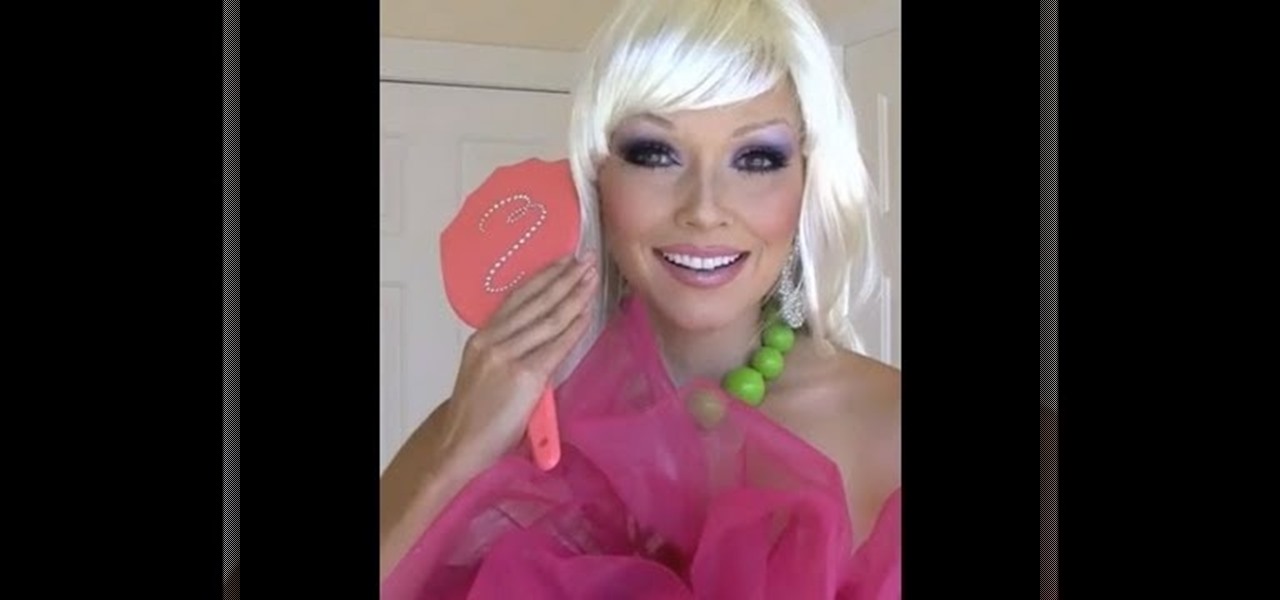
Watch as amazing make-up artist, Kandee Johnson transforms herself into Barbie with this step-by-step tutorial on how to apply the make-up and look of this famous blond bombshell doll! The following eyeshadows were used to achieve this look: MAC in Pen & Ink, Da Blng, Carbon, Vibrant Grape, Indian Ink, Fig 1, and Deep Damson. LARENIM mineral eye shadows in Bedazzle & Lust and Urban Decay's eyeshadow in Grifter were also used. Additionally used: Hot pink blush as eye shadow, Make-Up Forever ho...
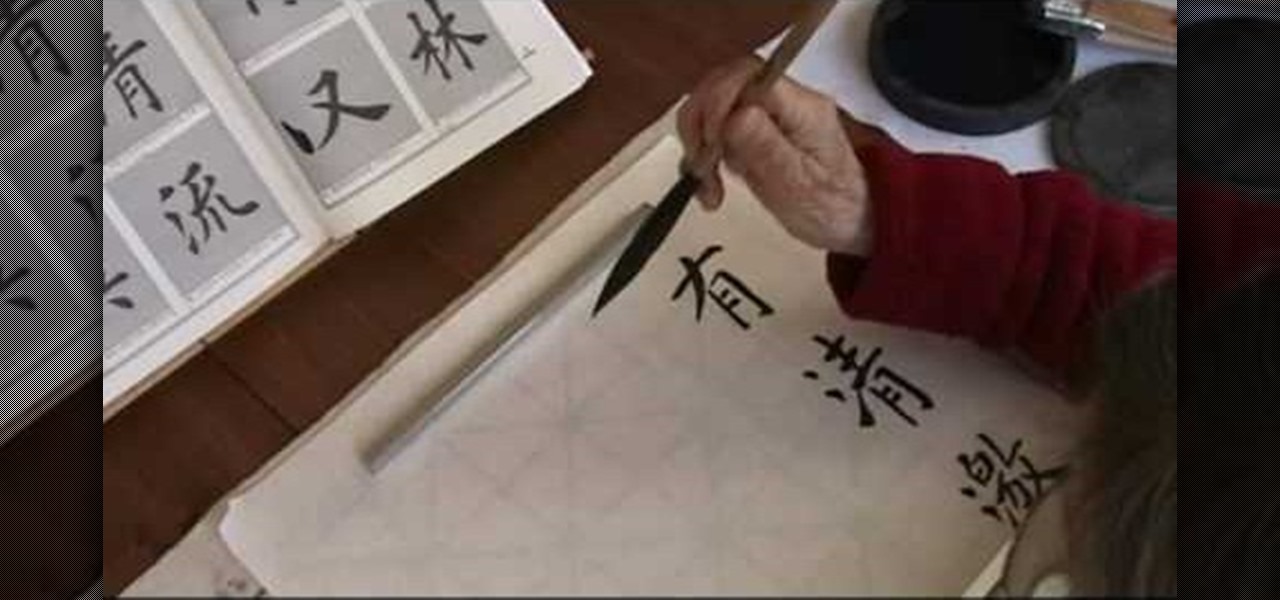
Chinese calligraphy is amongst the most beautiful but also most difficult word art forms in the world, and practitioners spend years honing their skills, even devoting their entire lives to daily practice.
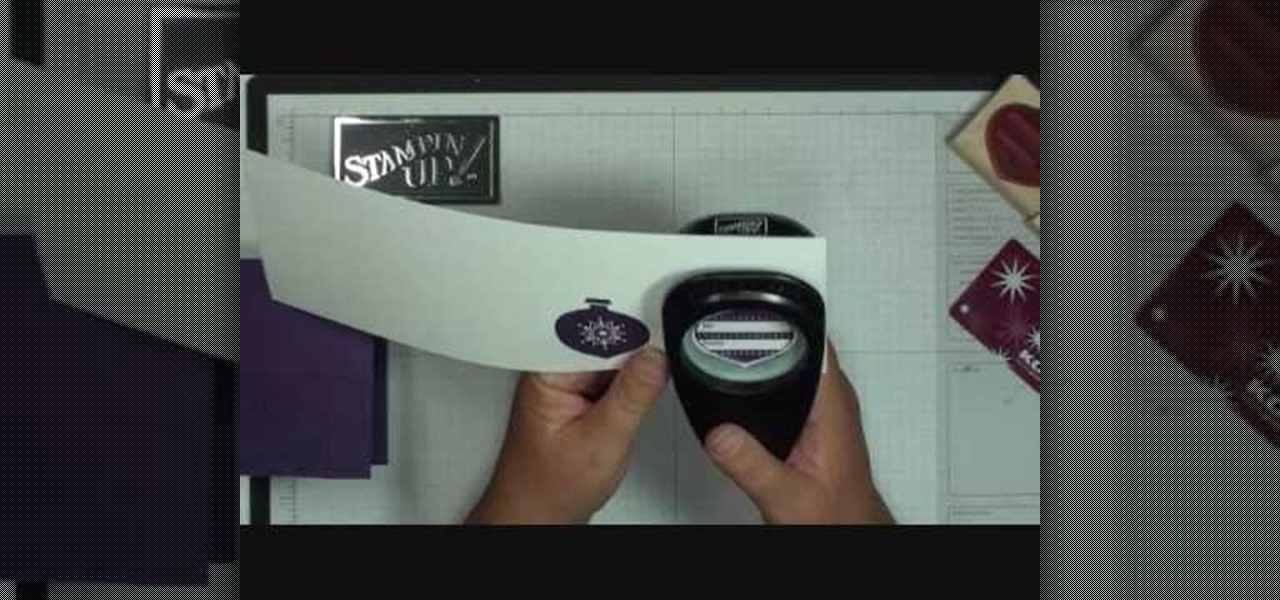
This video illustrate us how to make a vase out of three stamps. Here are the following steps: Step 1; First of all take all the requirements that is paper, stamps, stamp pad, color pencil extra.
Pen leak again? Are your fingers covered in blue or black? No problem! Steep a tea bag. When it’s cool enough to handle, wipe it over the ink stain and watch it disappear. It's that simple!
This how-to video stamping tutorial demonstrates two methods of heat embossing using a heat gun or heating tool, stamping powder, a rubber stamp, Versamark watermark ink and a pigment ink. Heat embossing is a great technique to multi-task rubber stamps and create some texture in card-making or scrapbooking projects. Learn how to do two different methods of heat embossing with an embossing tool by watching this how-to video.
This video silkscreening tutorial shows how to customize a necktie with sublimation ink and paper. Learn how to screeprint a necktie to create a unique piece of art, to wear as a tie!
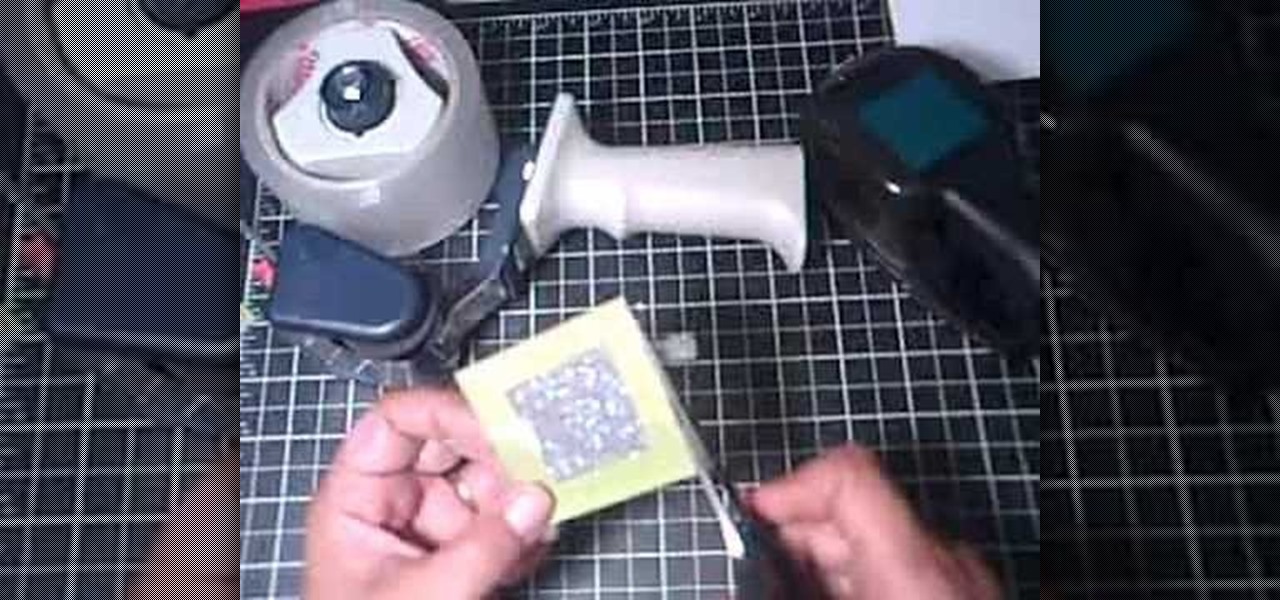
This video is part of the lawn fawn card series and it explains the making of a card using border punches and a stamp.The materials required are a set card-polka dot basics from paper tray ink.This card has a variety of dots on it. Remove the big open circle polka dot and lay it on the aqrualic and place it on a plastic bock with grids on them.Using a color box cover the stamps with ink.Now place the block over the card so that the grid lines with its length and press on it.The polka dots wil...
This artsy crafty video tutorial will show you how to make glittered window-style cards. The "glittered window" technique to card-making is basically just adding glitter to shipping tape.
This tutorial is quite an epic, so get a cuppa, kick off your slippers, sit back and relax as we go through a few great inking & blending techniques.
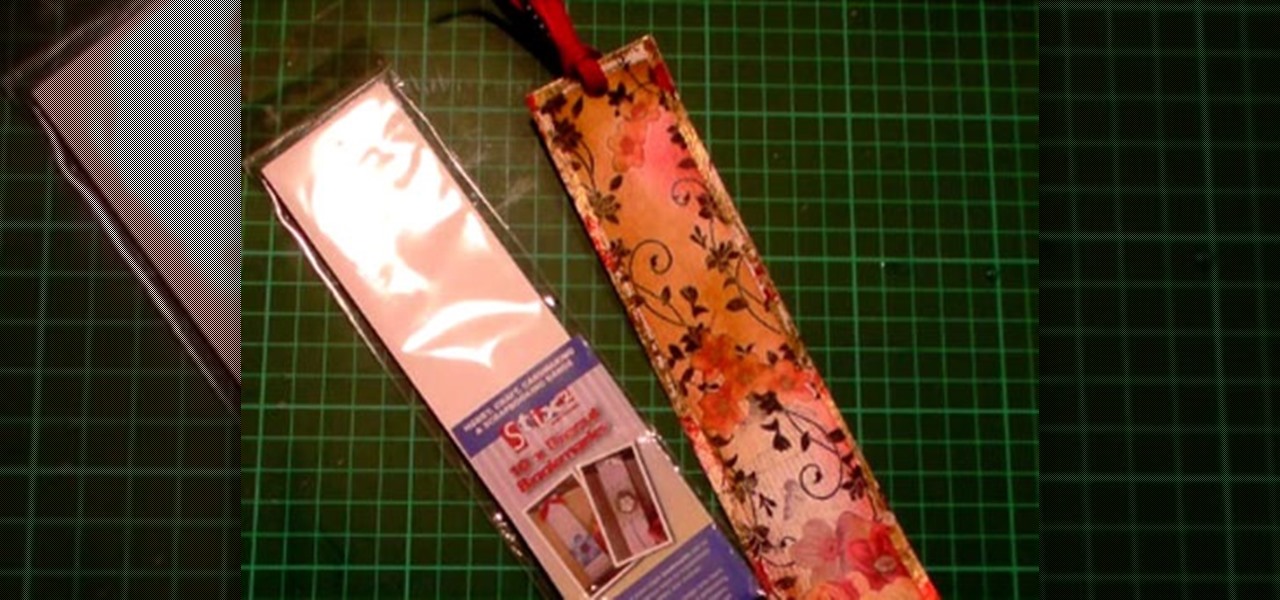
This tutorial shows you how to create something to give as a gift or keep for yourself that can be used and cherished as a handmade keepsake. I show you how I stamp and foil the bookmark, then ink it to give it a real distressed and vintage feel, finishing off with ribbon. Step 1: Items Used
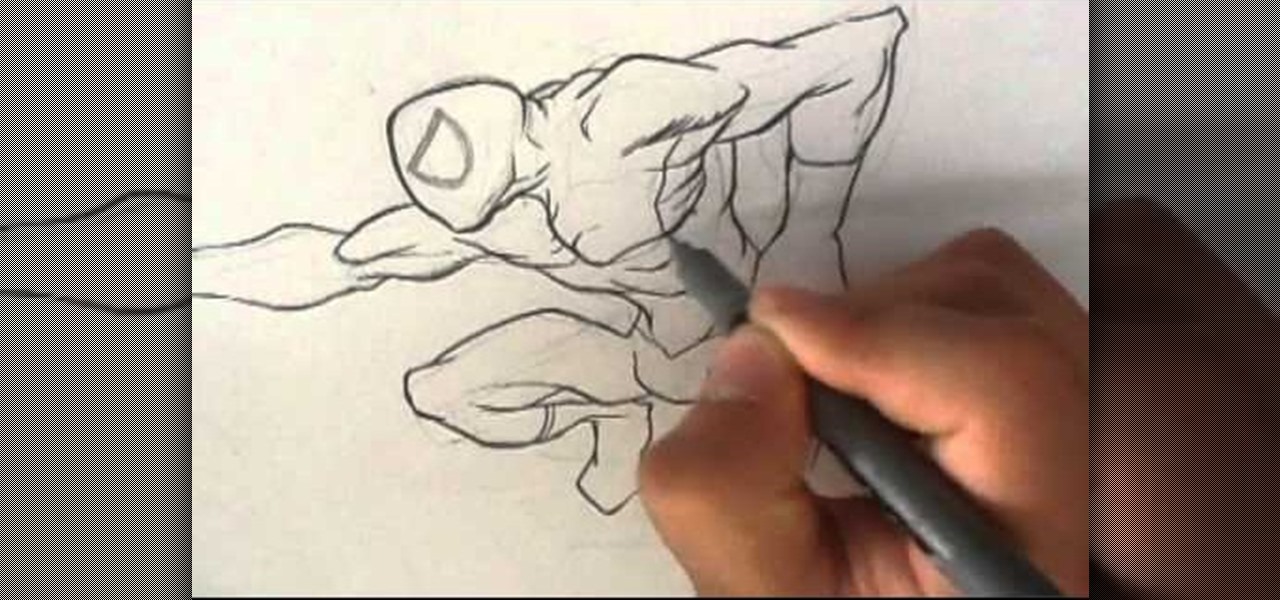
I sketch out and ink Spiderman real Fast. This is just a fast exercise I did in my sketchbook. So I decided to record it and put it on video here. Easy things to Draw. i guess this is useful for anyone that likes comics, fantasy art. How to Draw Spiderman: For more information, and drawing sites, go to :http://howtodrawfantasyart.blogspot.com/
In this tutorial, we learn how to add texture to stamped images using rubbing alcohol. First, stamp on your image with a regular stamp to a piece of paper. After you do this, you will take a cotton ball and dip it into ink, then dab this on the images. From here, you will dip that into rubbing alcohol and then dab on top of the images as well. Allow this to dry and if you don't have time, blow dry it evenly. Then, use embossed ink to raise the images up from the page. When finished, you will ...
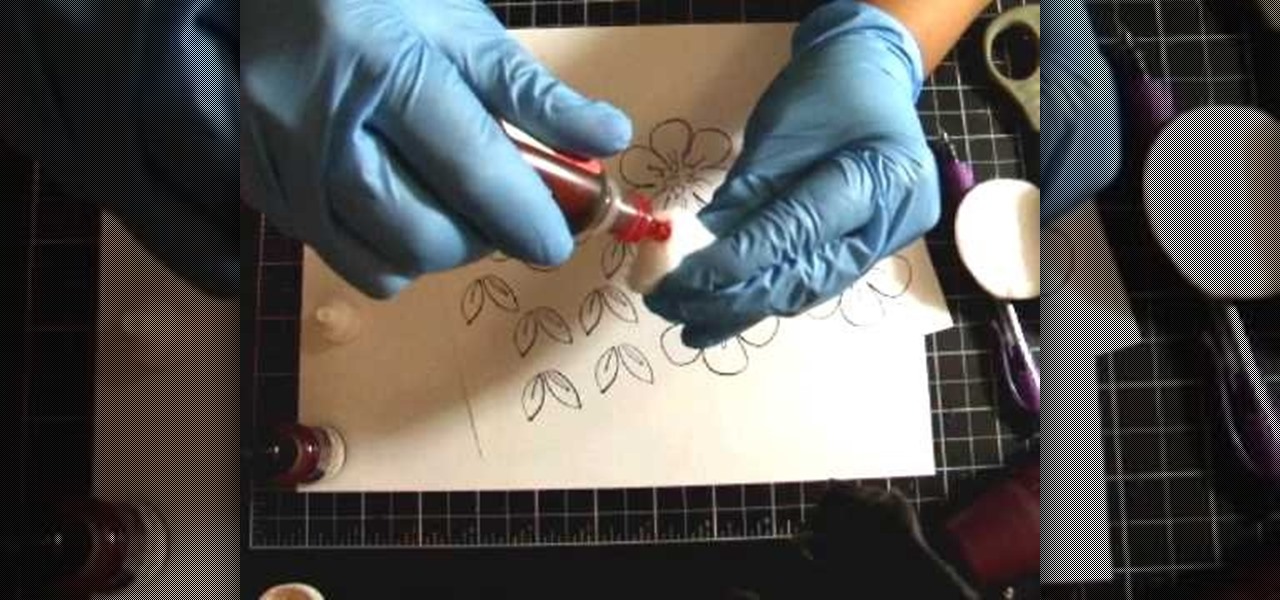
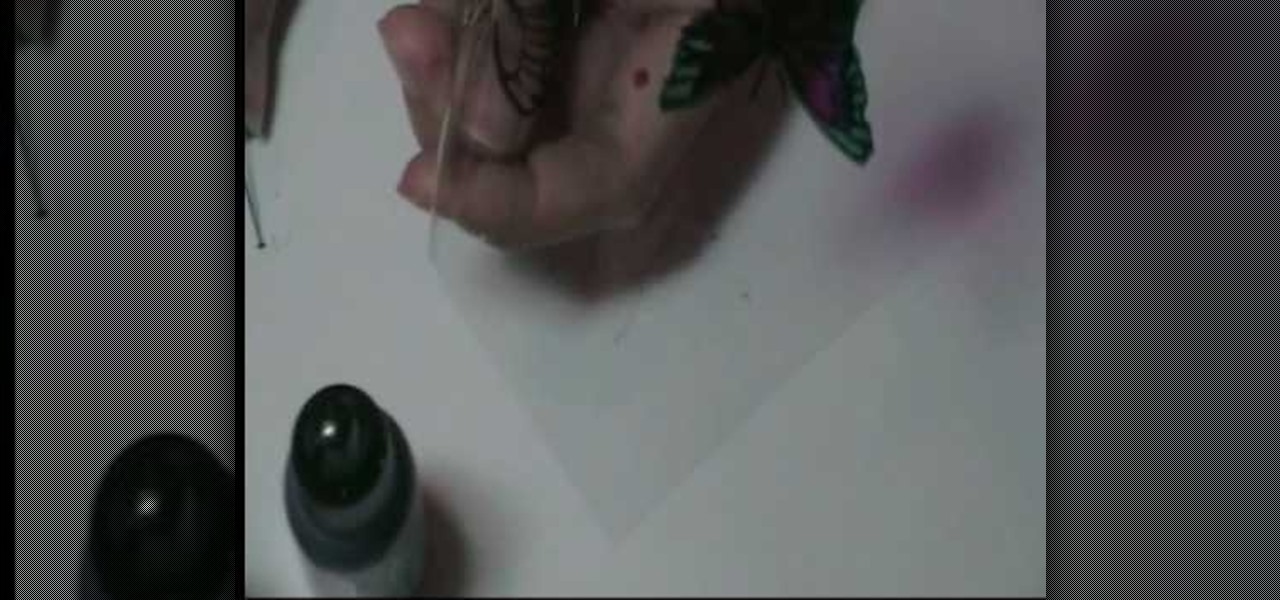
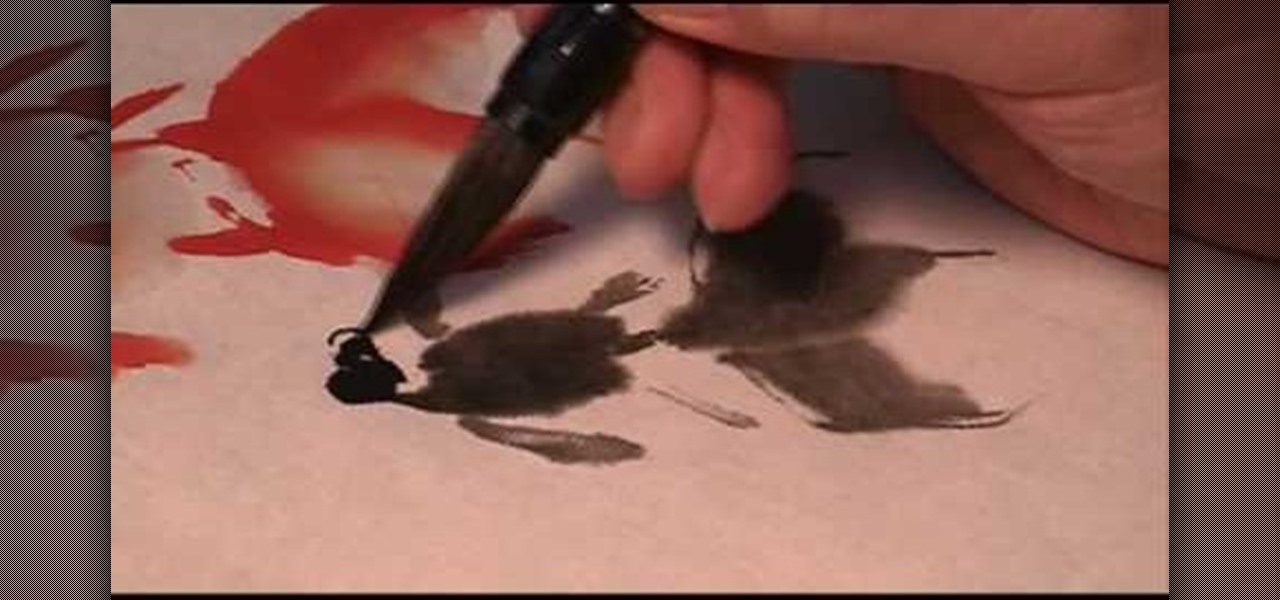
In this video, we learn how to make beautiful acetate butterflies. First you will need to make sure you have alcohol inks on hand for the colors you want to make. To start out, stamp the butterfly with black ink onto a piece of plastic acetate. After you have done this, use different colors to fill in the butterfly how you prefer it to look. After you do this, cut out the butterflies and then you will be able to use them for what kind of craft you want to do. These are cheap and easy to make ...