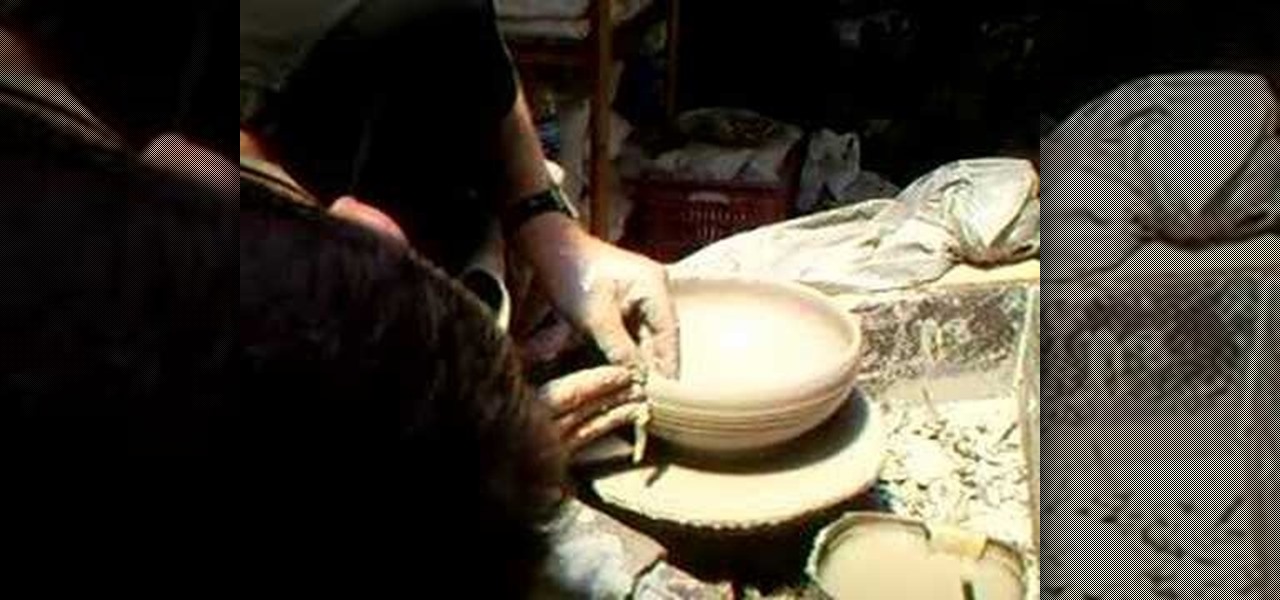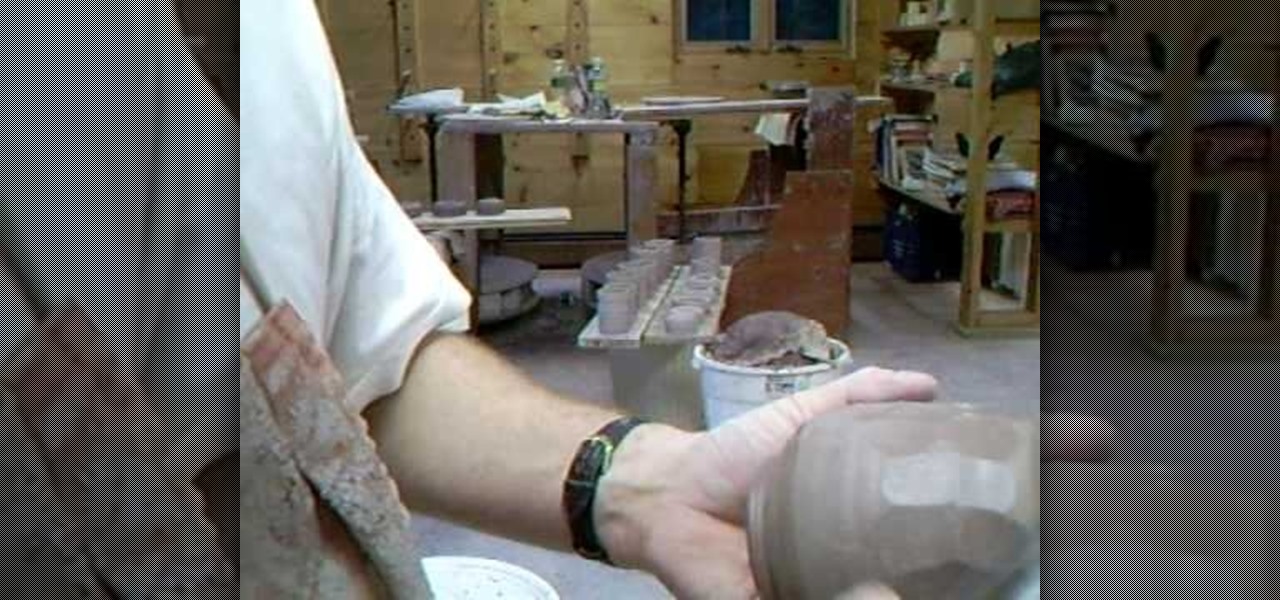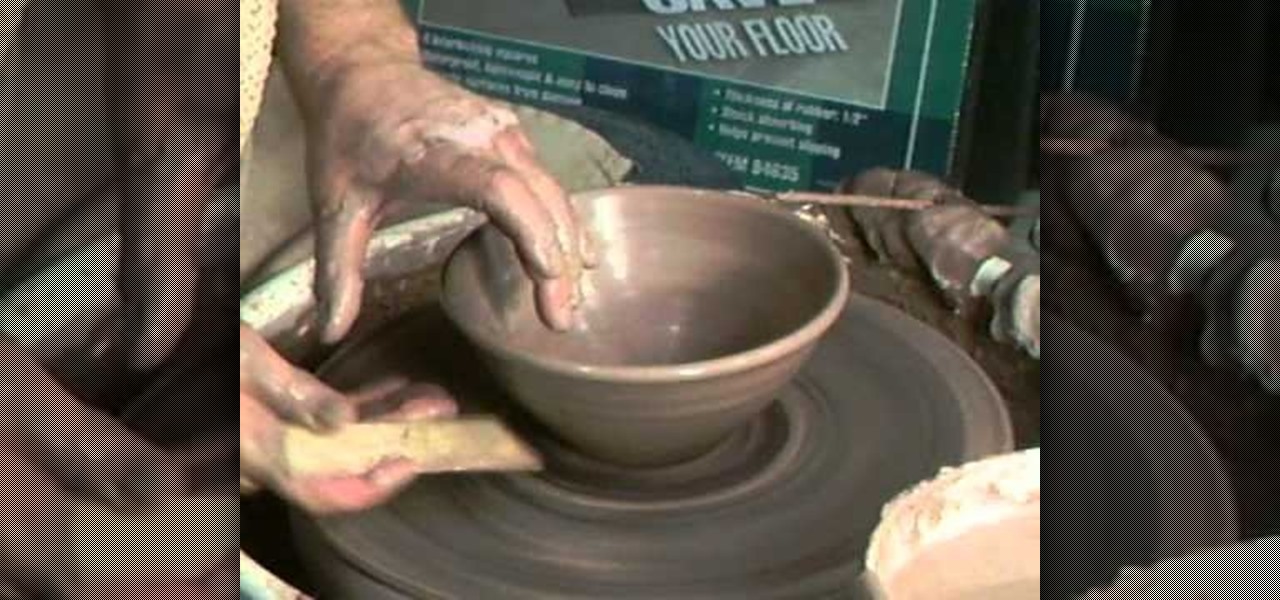
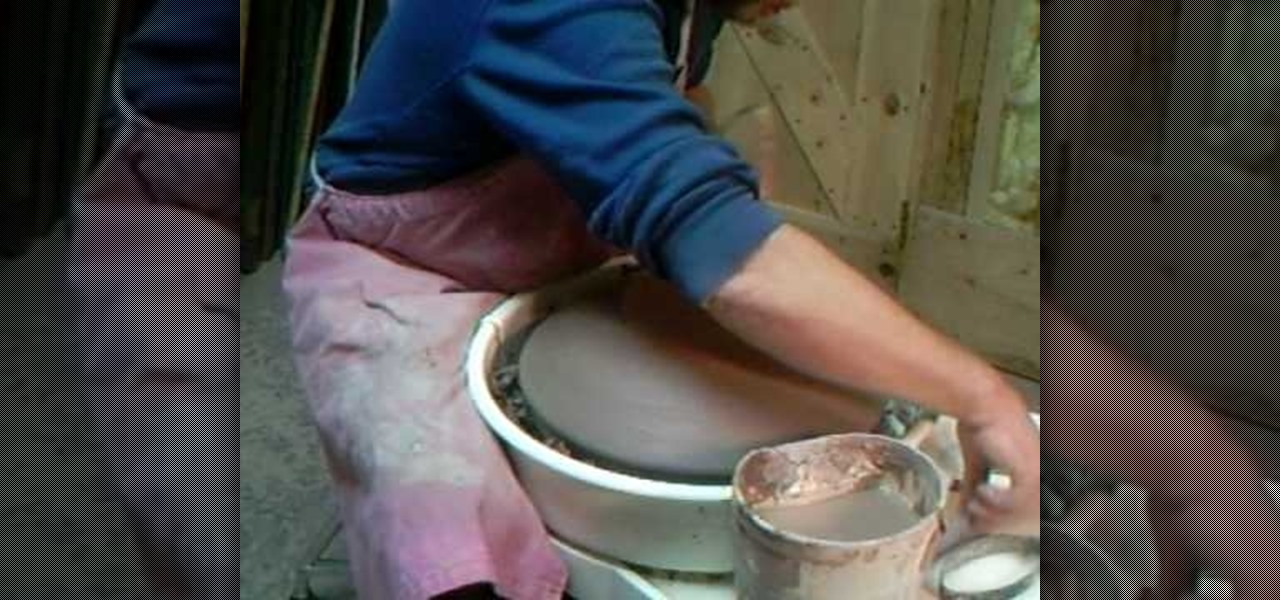
In this clip, we learn how to throw a small, 7.5 inch-wide ceramic kitchen bowl with a pouring lip using two pounds of clay. If you're interested in making this bowl yourself, or just want to learn more about ceramics, watch this video guide from Simon Leach.
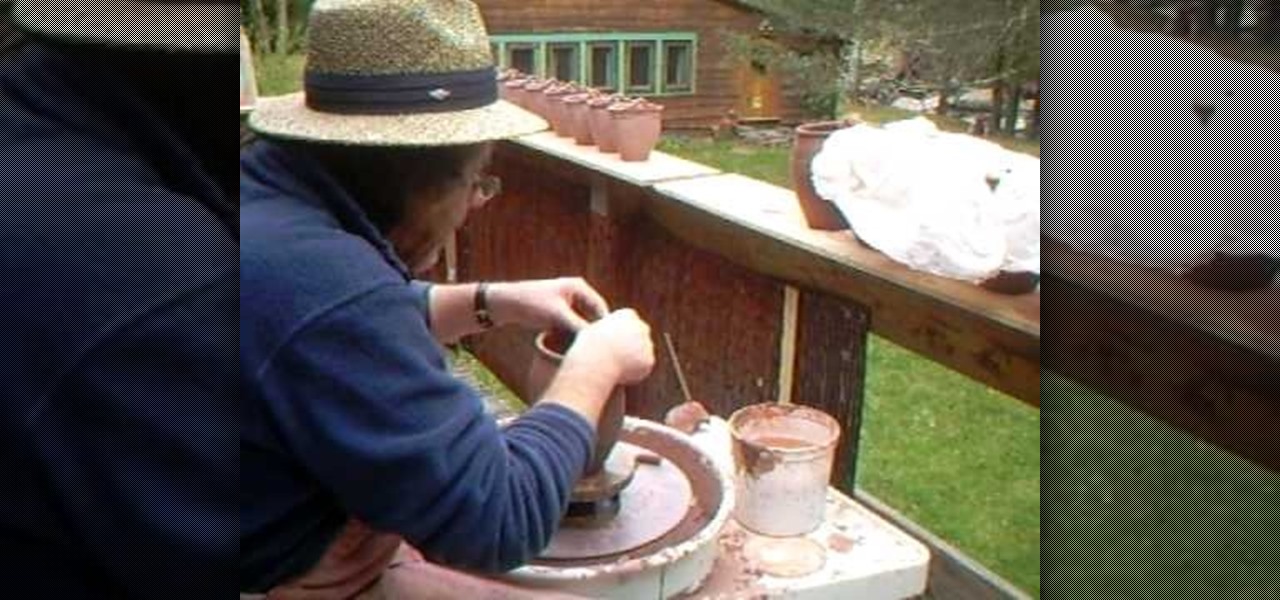
Simon Leach is in the house, or rather on his deck, teaching us how to fashion and then attach handles to ceramic hanging wall vases he threw previously. If you make pottery, and want to attach your ceramic works to your wall, this video will show you how to do it.
When you're putting a handle on a mug, you need to think about the state of the clay of both the mug and the handle. The ceramic clay needs to be a bit harder and drier than right after coming off the pottery wheel or being sculpted, but not so dry that the clay won't stick. Check out this video pottery-making tutorial and learn how to attach a handle onto a ceramic mug.
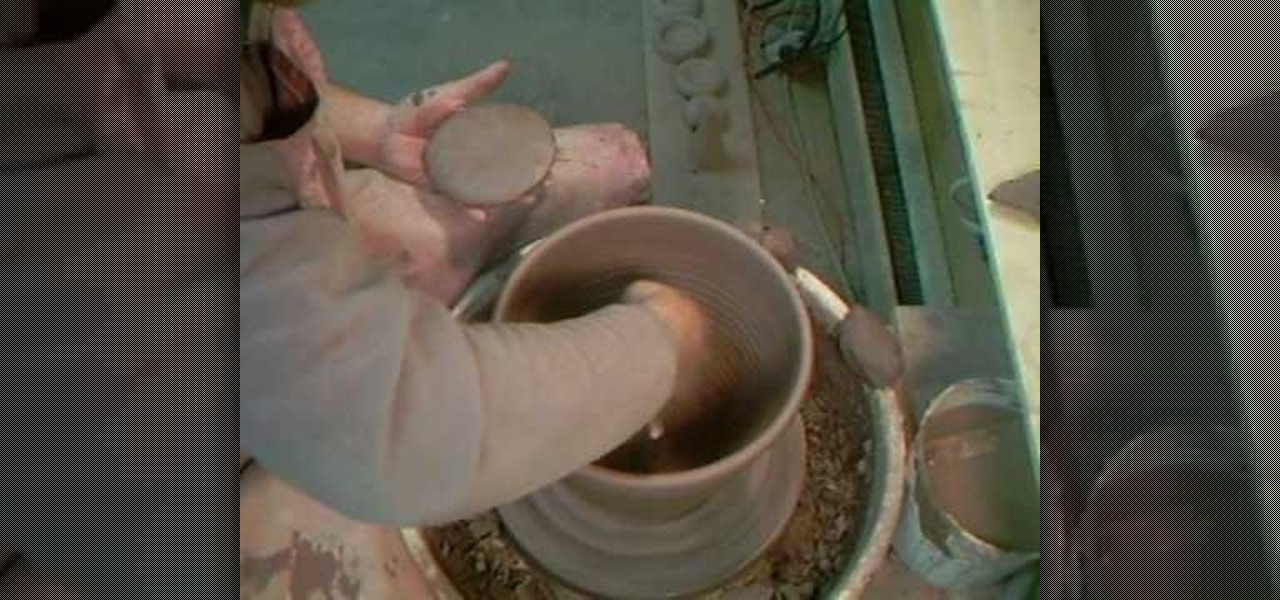
Check out this instructional ceramics video to learn how to throw a big ceramics bowl with clay. Learn how to center a larger piece of clay: get into a ball, slap it on the wheel, center it as best as you can before you get it wet. Practice your ceramics making skills with this tutorial.
So you've got your clay thrown on your kiln and you're molding and sculpting away with those busy fingers. The charger you envisioned making in your mind is finally taking shape...sort of. While the general flat plate shape is appearing, there's a noticeable lack of contours and it looks rather flat.
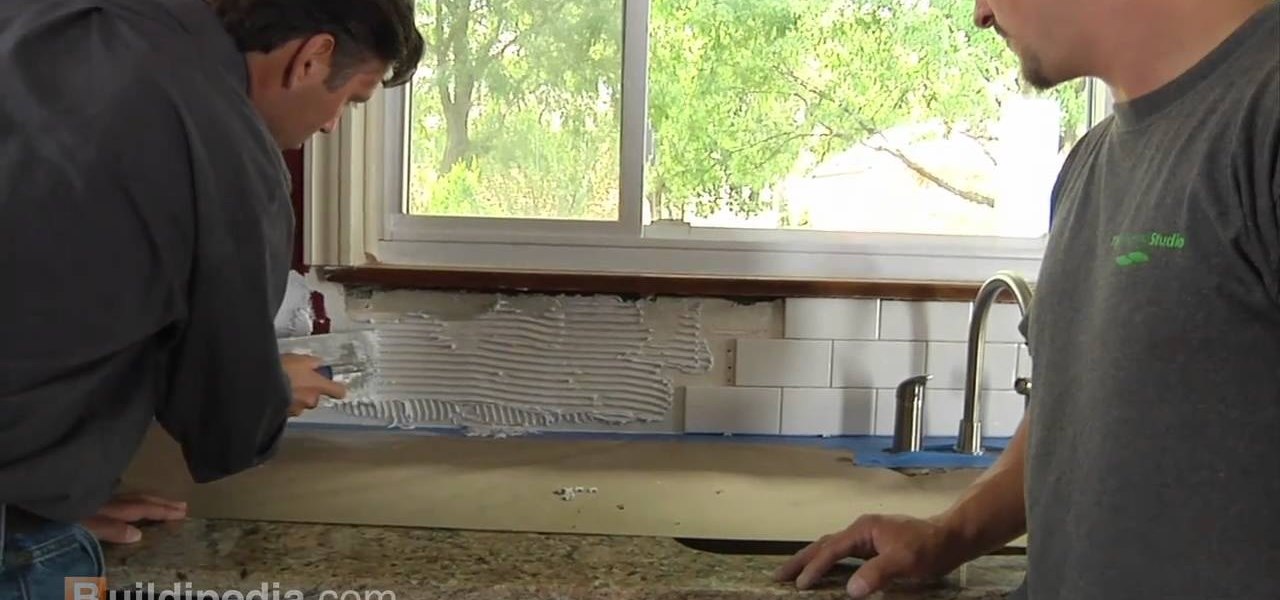
Installing a ceramic tile backsplash in your kitchen or bathroom can not only add a great new look, it can help prevent your walls from crumbling due to excess exposure to water. This simple little vid from buildipedia will walk you through the process.

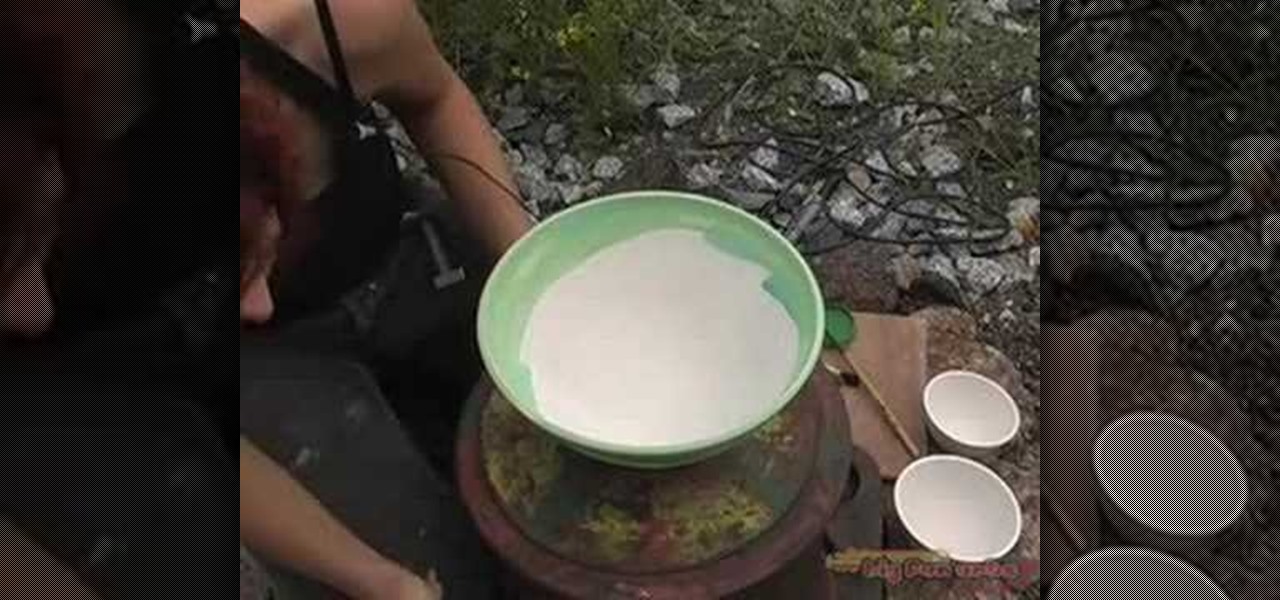
Susanne Engelhardt showcases her skills by decorating a bowl, in a trainyard! Review this video for some inspiring methods to paint ceramic bowls. This expressive style of painting ceramics allows for naturalistic imperfections.
Check out these videos to watch how to make a teapot lid with a sculpted head and face out of clay. Part 1 of 2 - How to Make a ceramic teapot lid with a face.
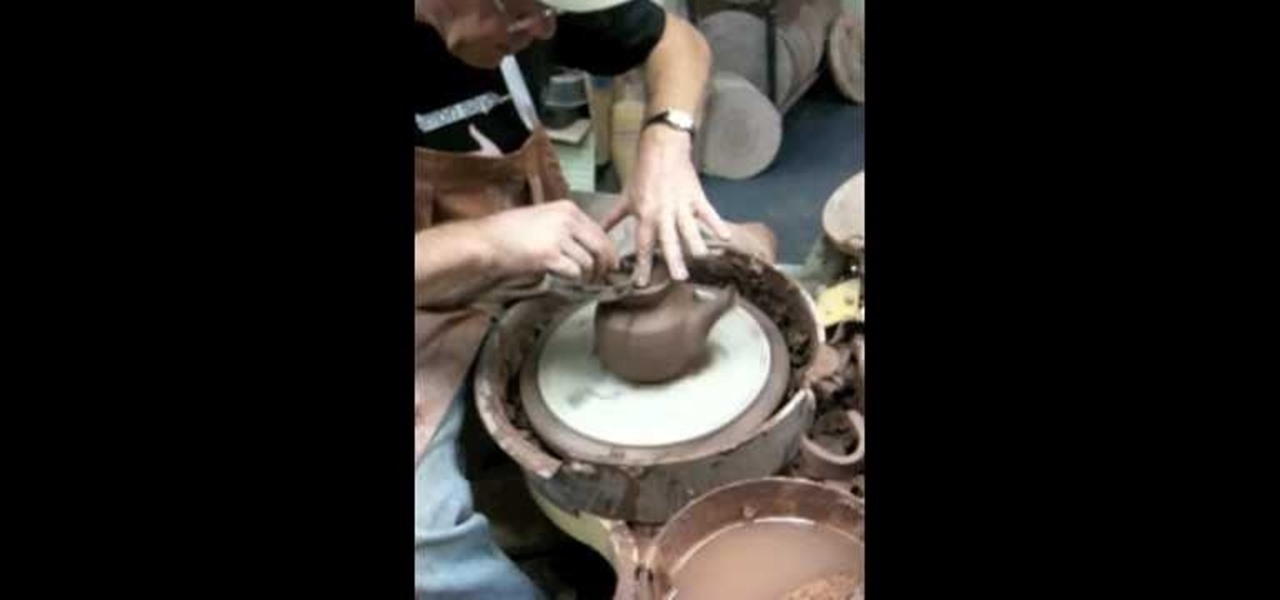
Simon Leach teaches us how to make a teapot in ceramics in this video. After you have created the basic pot for the tea, you will need to poke several small holes into the side of it where it will be poured. After this, you will need to create the spout and mark where it's going to go on the pot while it's still wet. Now, key the area on the pot where the spout is going to go, then apply water to it and push the spout onto the area. Push along the sides gently until the spout is stuck on comp...
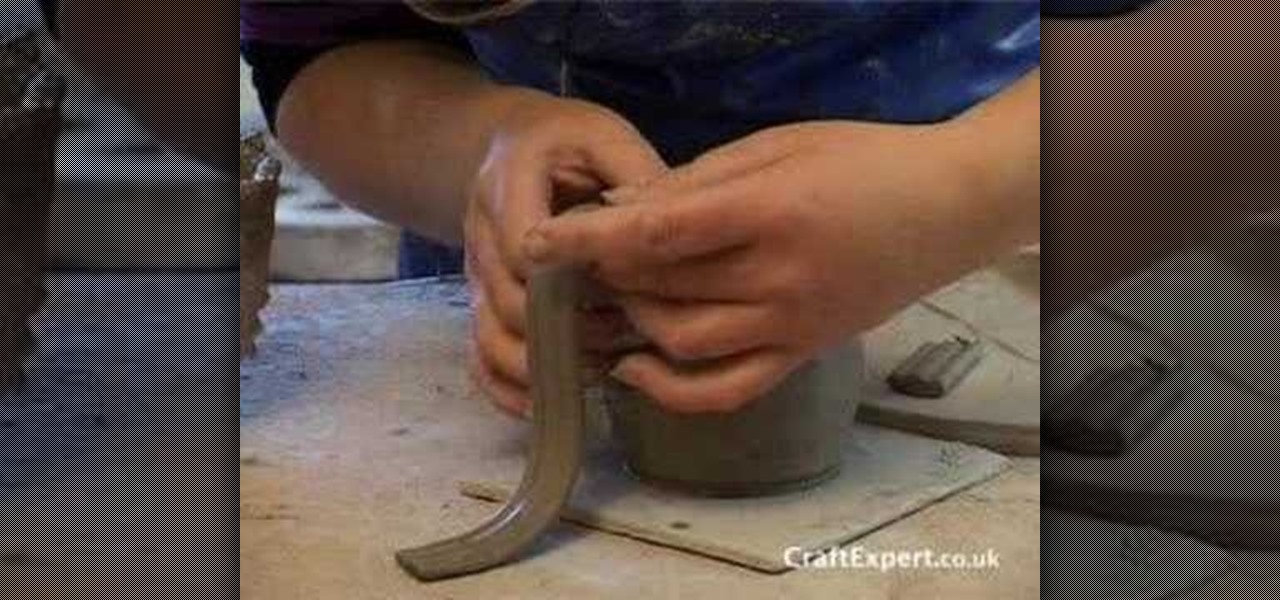
Simon Leach teaches us how to put handles on your ceramics in this tutorial. The key thing is to never let the handle fall as you are adding it to a cup, always keep it supported. Look at the handle as you are placing it on and think about proportion and size. If it's sticking out too far it's going to get knocked off. You need to have an elliptical shaped handle when you are shaping them so they can be gripped properly. Don't score the bottom part when you are joining the handle to the botto...
In this video, we learn how to make a ceramic slab plate. First, roll out the ceramic. After this, place the clay on butcher or newspaper and smooth it out with a plastic card. Repeat this on the other side. Next, use a paper template to help cut your design or use a circular object. Cut slits to help remove the surrounding clay. Use the excess clay to build support pieces then curve the edges of the plate up and place the support pieces underneath. Use a piece of leather to smooth the edges....
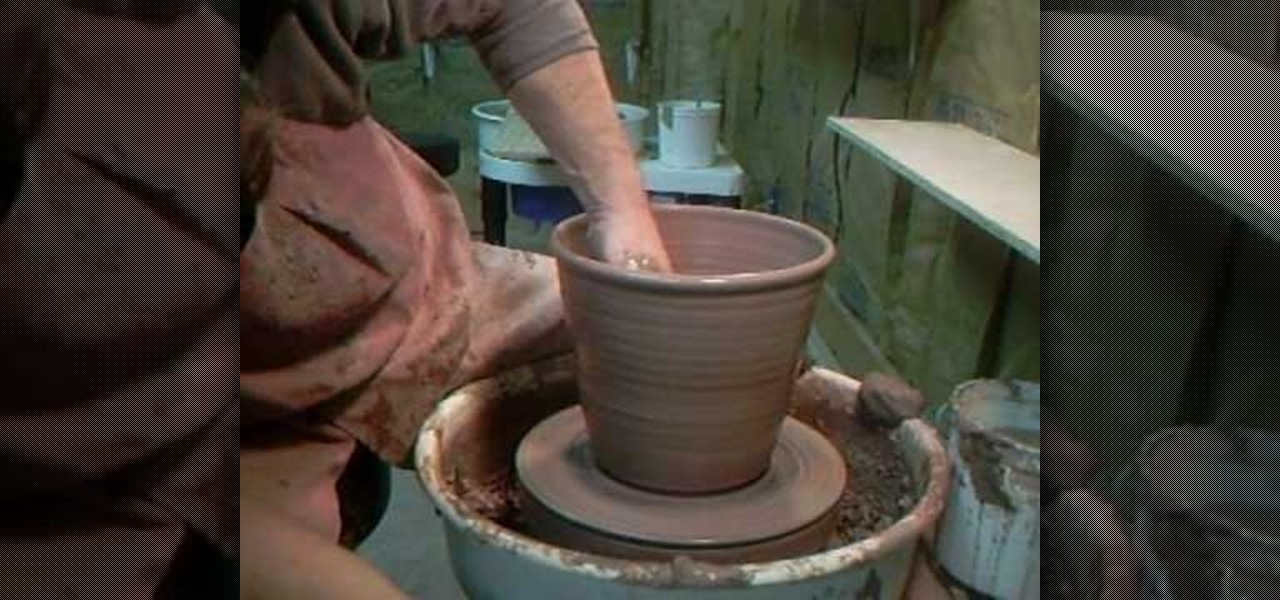
Simon Leach has taught us a lot about ceramics and pottery in his many videos. In this concise one he demonstrates for all you at-home potters out there how to make a 3 kilogram (6 pound 10 ounce) flowerpot on the wheel. As you can see at the end of the video, that is a pretty large pot. If you can throw this, you are well on your way to being an advanced ceramics enthusiast.
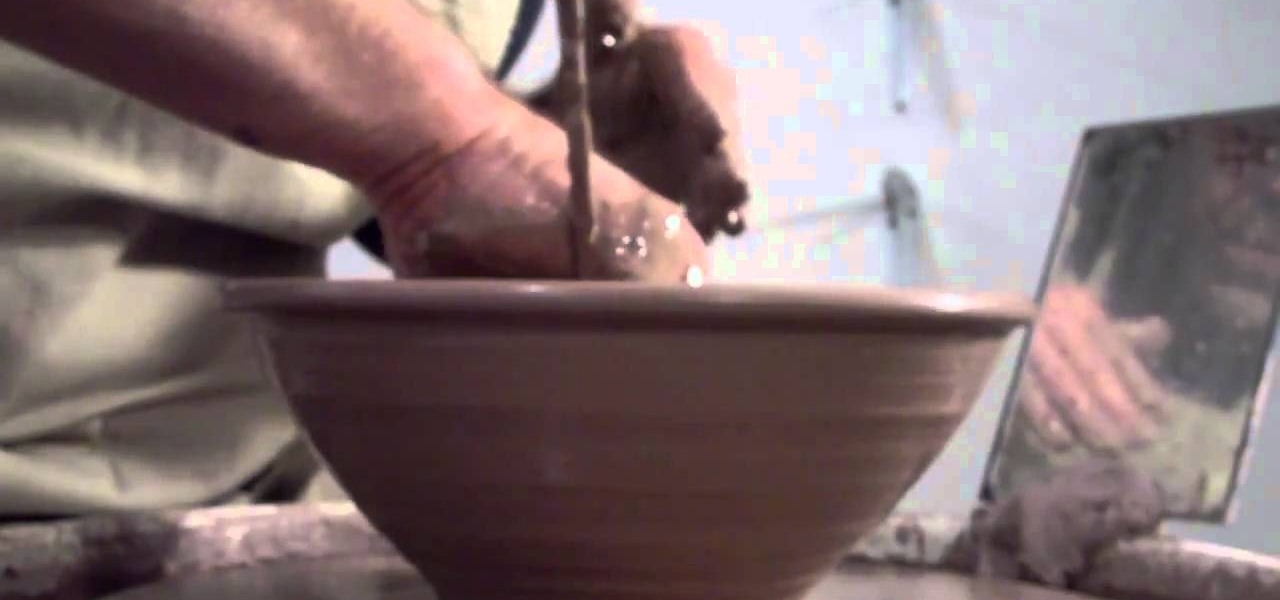
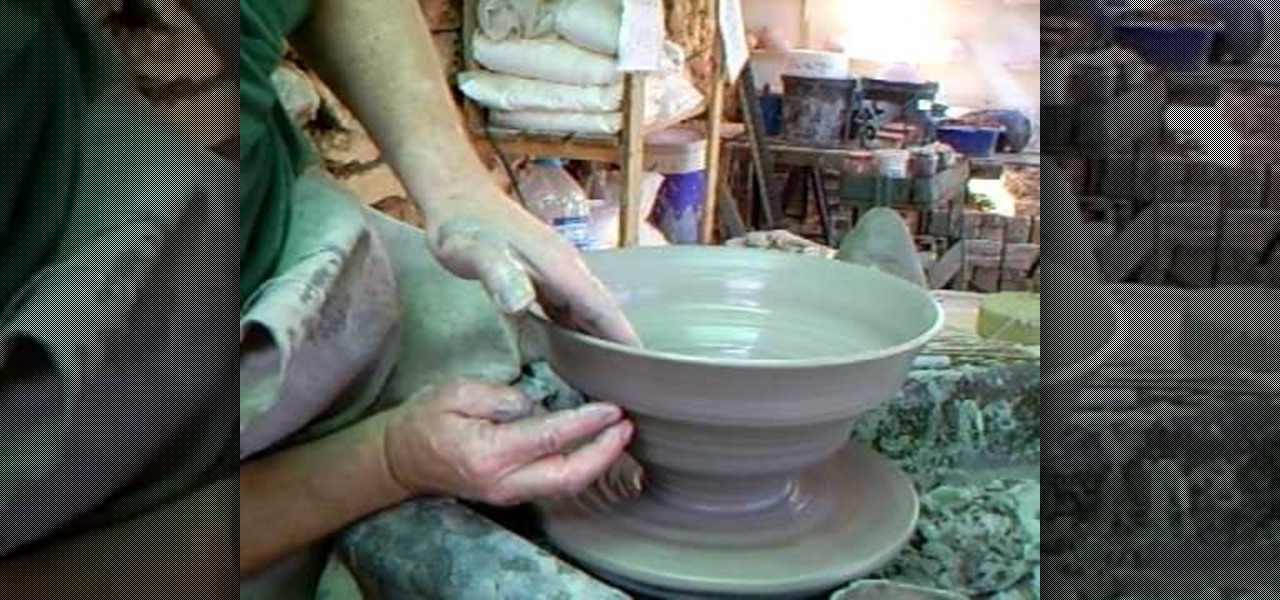
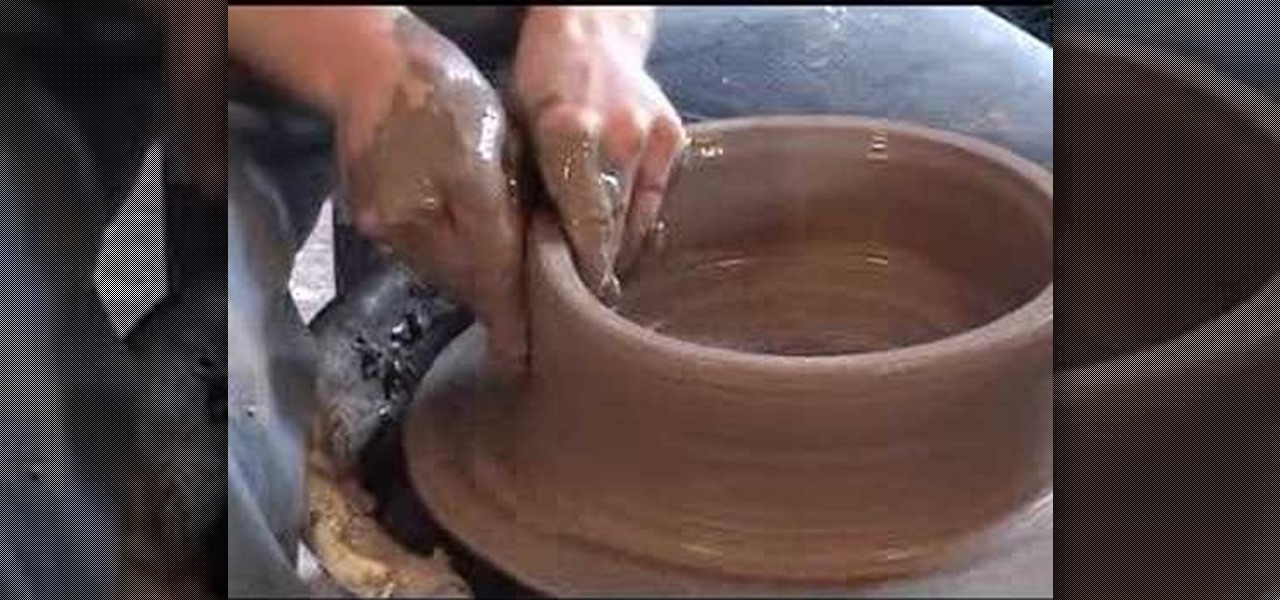
Watch this instructional ceramics video to learn how to throw a wide bowl with Simon Leach. As a preliminary step, one should throw a flat piece of clay onto the pad to assure easy lifting off of the bat. Centering is quite difficult with a larger piece of clay. Leach's visual guide allows one to view the delicate steps required to throw a wide ceramic bowl without letting it collapse.
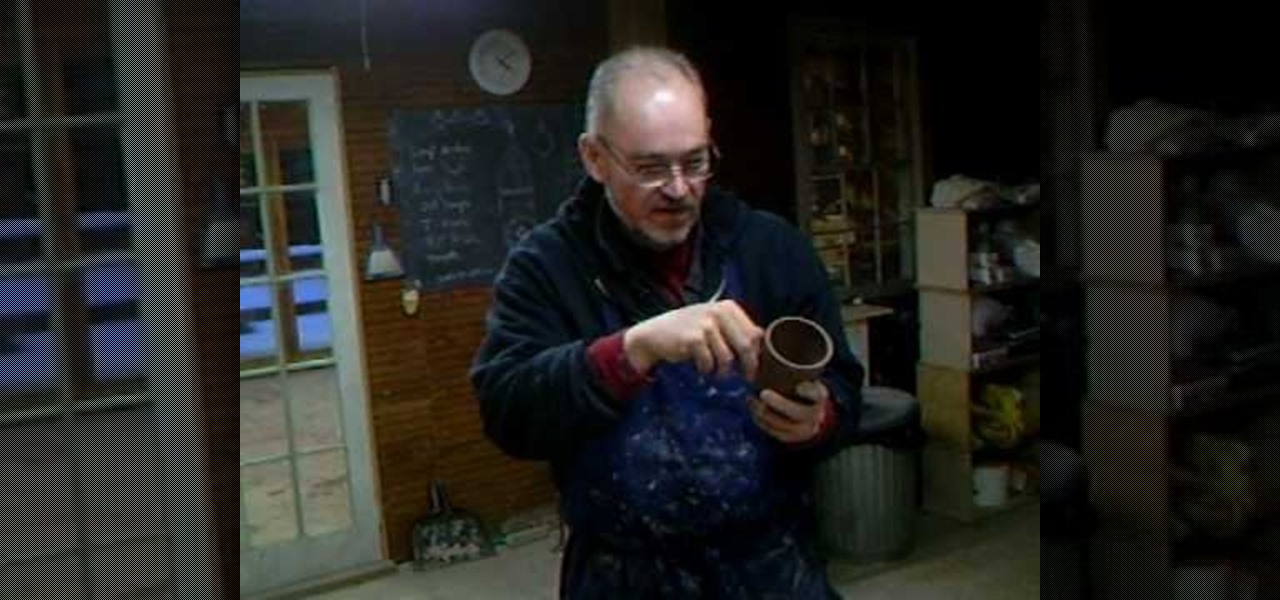
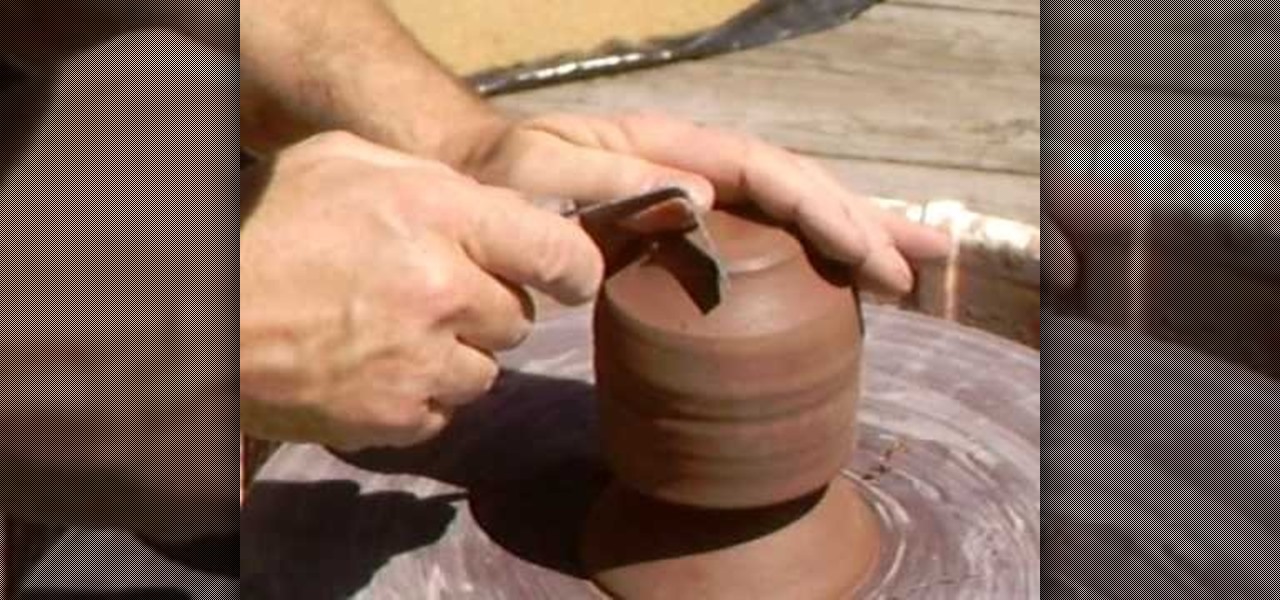
English pottery instructor Simon Leach has stepped out onto his lovely deck to teach us how to trim our ceramic pots on the wheel. His example piece is small cup or pot that begins the video as plain as vanilla and ends it as a wonderfully detailed piece after only 10 minutes or so of work.
A perfect idea for a gift this holiday season! Throw a mixing bowl or ceramic serving dish on a pottery wheel. Make sure you use a non toxic glaze, with no lead in it, if you're using it to store or serve food!
Printer toner has enough iron oxide in it to allow ceramic artists to transfer the images onto unfired clay. Then, when you fire the clay, the image will be transfered onto the piece, without having to deal with extra painting or glazing.
Starting with just a lump of clay and some water on a potting wheel, you can end up with a lovely clay pot! This video shows you how to make a trivet, so you can safely rest hot dishes on your table or countertop.
If you are a homemade ceramics enthustiast, chances are at some point you've thrown a pot where the bottom has come out too thin. This video from Simon Leach teaches you how to throw a false bottom for just such a pot so that the precious time you've invested into th piece of pottery doesn't go to waste.
Using a potato peeler on ceramics is fast, simple and gives your piece a unique look. While your pot is still soft, take a potato peeler and "peel" your pot in small sections working around the pot. You don't want to press too light or too firm, it might take some practice. Keep your cuts random to add to the charm.
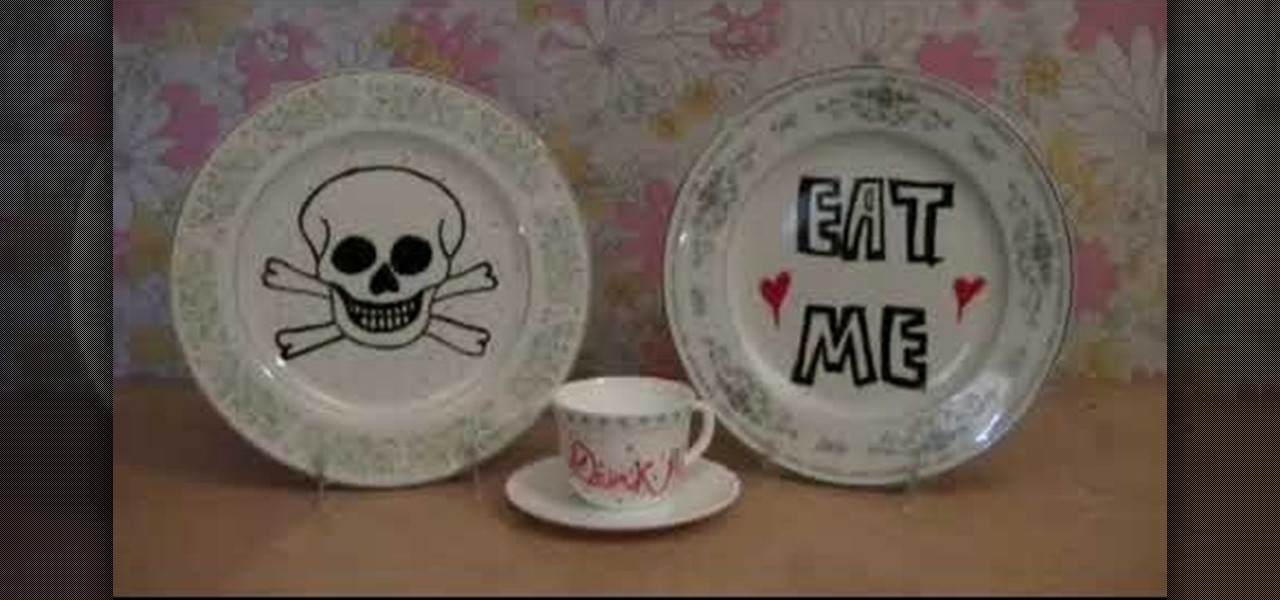
Raid the thrift stores and the hardware stores and turn something that's old and useless into invaluable works of art. Armed with markers and your own artistic skills you can change fussy old dinner plates into something worth eating on. Watch this video to learn more about how to make painted plates and tiles with ceramic paint pens. Give the gift of your genius, and spread the smiles around.
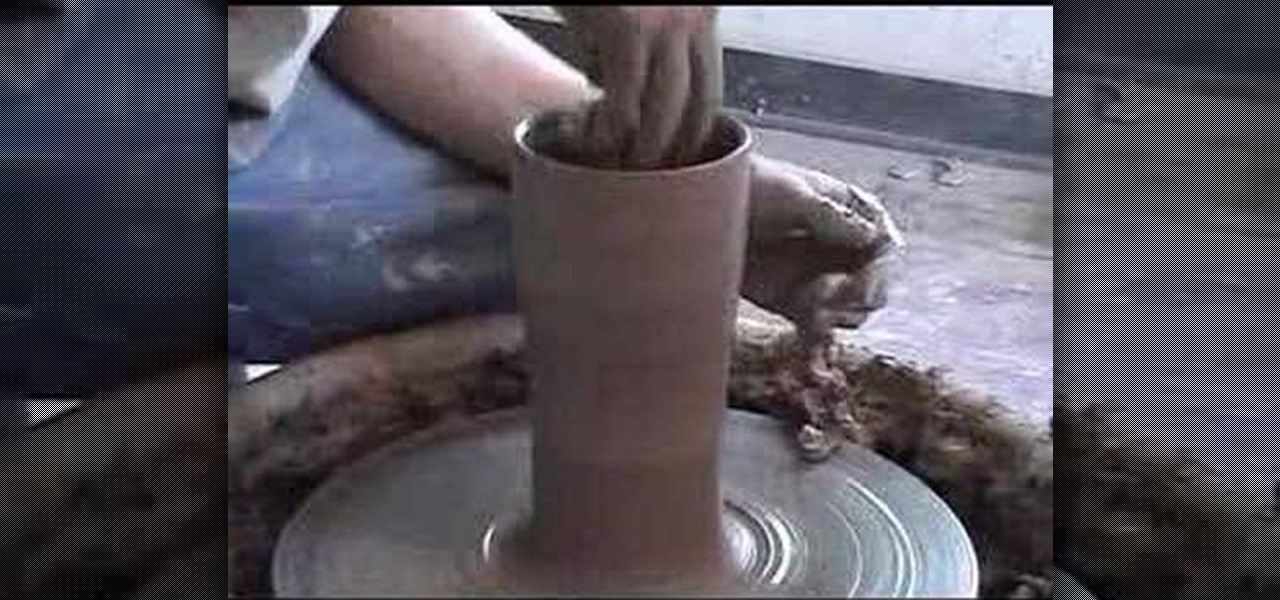
This instructional ceramics video teaches you how to throw a tall cylinder with clay. This video is designed to help the beginning through advanced ceramic student improve their throwing skills.
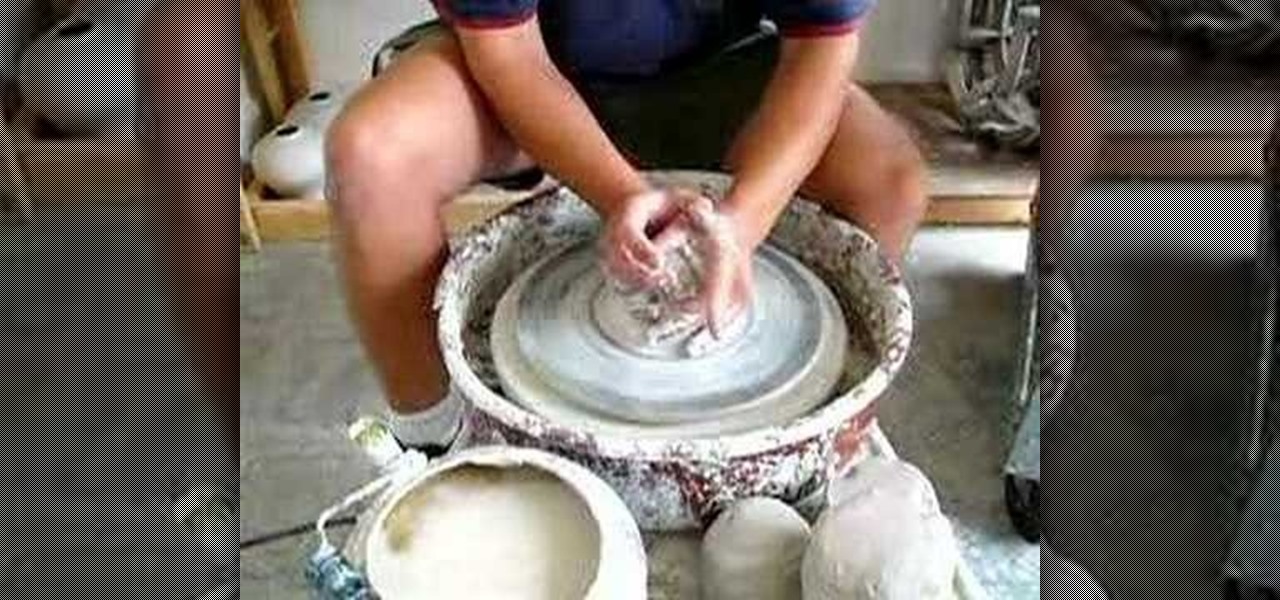
Perfect your ability to center on a Potter's wheel with these tips from Andy Ruble. There are several different ways to go about centering, but the general principle is to put equal pressure on the top and side of the ball of clay and clay has no choice but to go in the middle. This instructional ceramics video is designed to help the beginning through advanced ceramic student improve their throwing skills.
Watch this ceramics tutorial video to learn how to make smaller lidded vessels with your pottery wheel. Throw the lid first because it's easier to make the pot fit the lid than the other way around. The detailed instructions in this helpful how-to video will allow intermediate potters to make nice lidded vessels.
This is an informative short video about the art of Making Beads from ceramic clay. These ceramic beads are fragile and beautiful.
Check out this video to learn how to make a ceramic mug by throwing the body on a potter's wheel.
Try using a blowtorch to dry the outer portion of a ceramic pot. While the clay is still on the pottery wheel, cut light marks into the outer wall of the pot. Dry the outermost layer of wet clay with a blowtorch. When you continue to stretch and form the wet clay on the wheel, witness an interesting cracking effect.
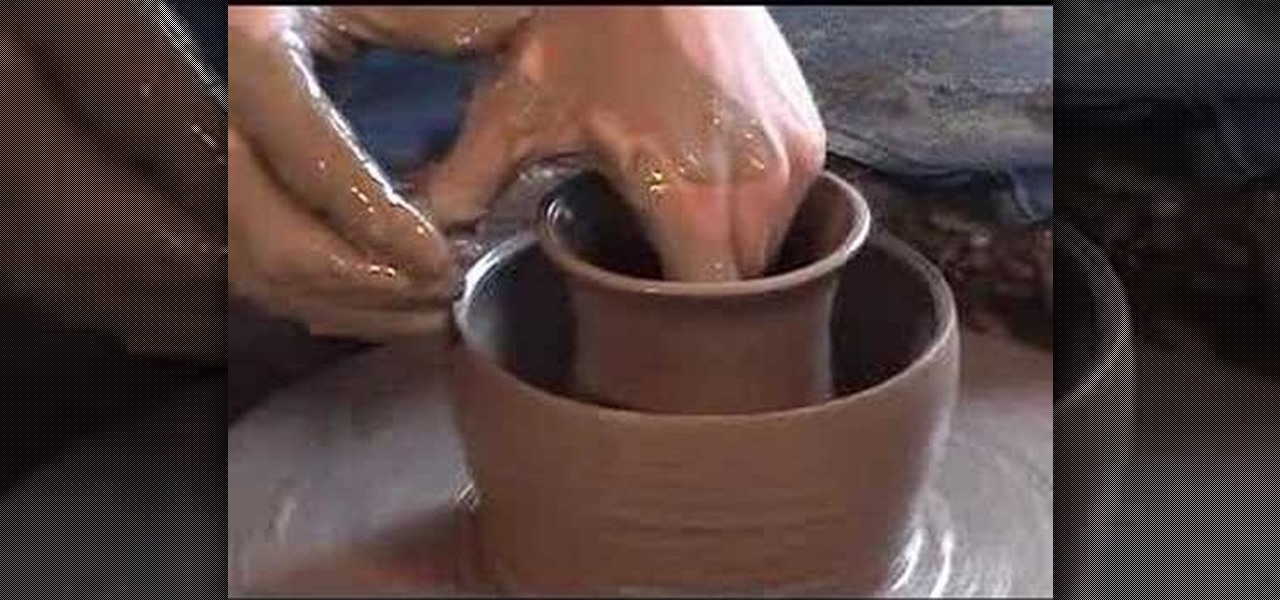
Follow this example to throw a double walled ceramic vase. This is a decorative motif in ceramics, and a tricky process to complete. After the pice dries a little, make sure to cut some holes in the top layer of clay, to prevent an explosion in the kiln. As shown, you can also carve decorative designs in the outer pot.
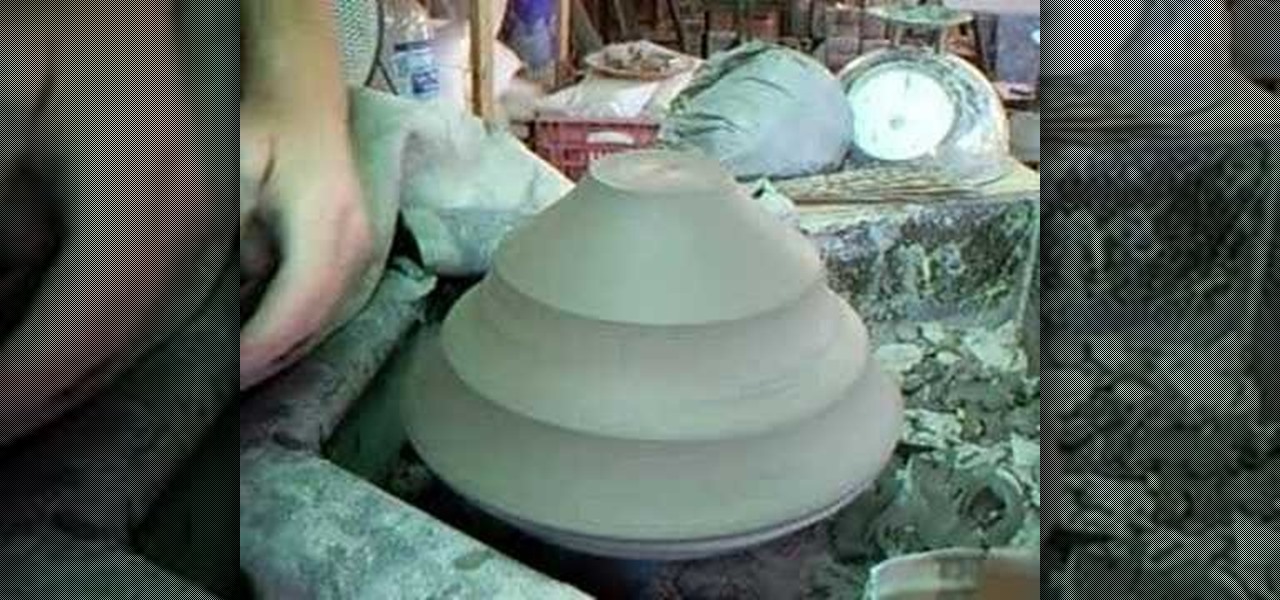
This instructional ceramics video will show you how to throw a large tiered bowl with expert, Simon Leach. Leach provides some of the delicate visuals needed to throw a large clay bowl. It is important to keep the clay evenly moist as you add the tiers. You may have to go back later to attempt to even out the balance of your tiered ceramic pot.
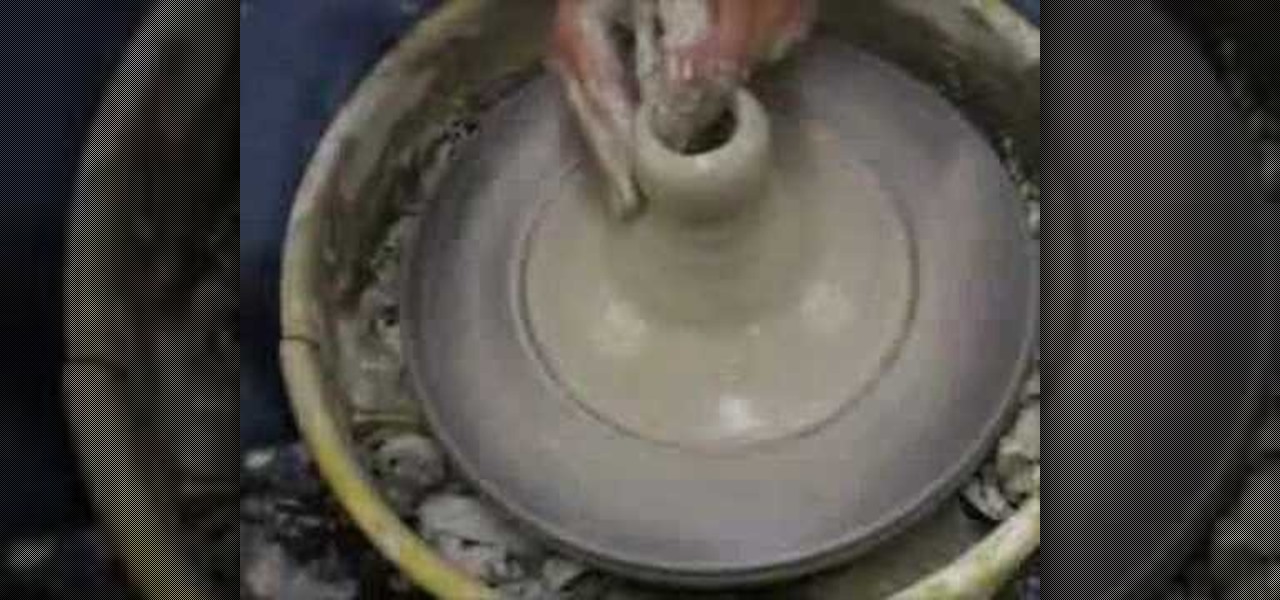
Check out this video to learn how to throw a ceramic plate on a potter's wheel.
Watch this instructional ceramics video to learn how to trim a large tiered bowl with Simon Leach. With a thin bowl, one needs to be careful when balancing the upside-down bowl on the bat. Leach trims each individual tier with a large trimming tool. The large and possibly wobbly ceramic bowl can become once again even and graceful with some adventurous trimming. As we can see from the trimming process, when throwing a tiered bowl, it helps to leave some extra bulk.
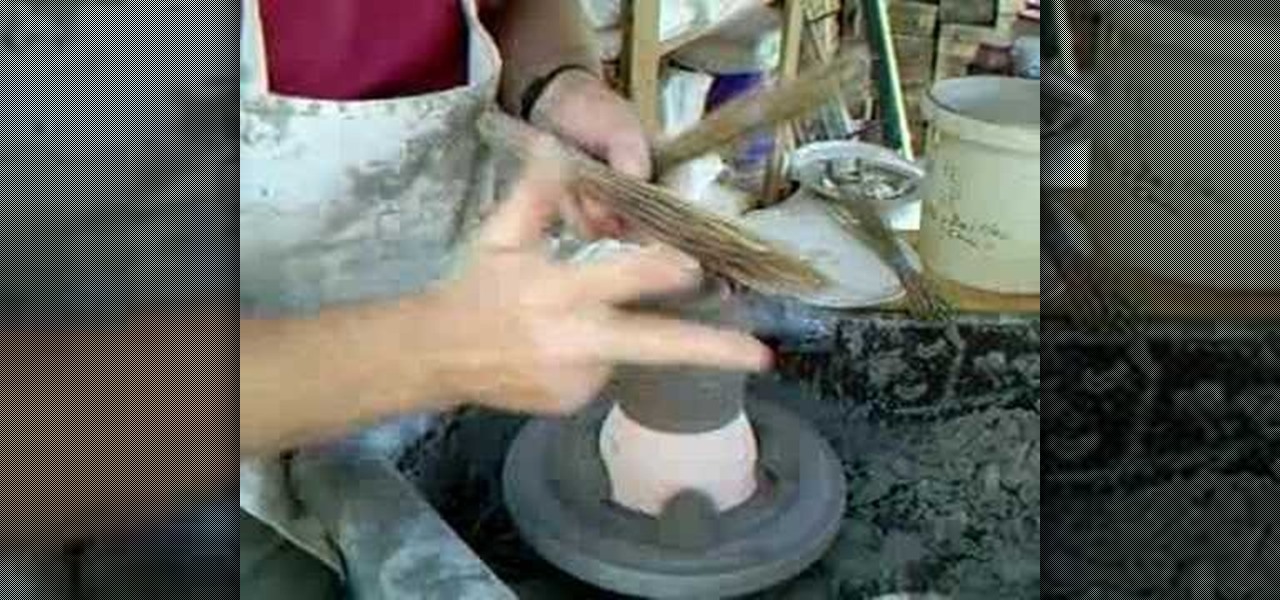
Watch this instructional video with ceramics expert Simon Leach to learn how to trim and glaze Hakeme tea bowls. Leach uses a groggy, toothy clay which contains high iron content. He then adds a white clay slip with Hakeme grass brushes, which provides a thin layer of natural white clay texture, using a scratching technique. The white slip should be applied when the clay is still quite soft. The striking effect of Hakeme ceramics becomes more apparent as the clay dries.
In this video we learn how to decorate a ceramic lamp base with Simon Leach. First, grab a small paint brush and then apply paint to it. Once you have this, start to paint your chosen design onto the pot. Painting a leaf or a plant will be the most appropriate for a large jar or lamp base. Use a brush that will move along the pot and create unique lines. Go all around the pot until your design is finished. Let this dry and then rinse your pot off when you are done. Let your personality shine ...
In this tutorial, Simon Leach teaches us how to double dip or glaze ceramic. This trick will save you a lot of time, just make sure you practice a lot. First, mix your glaze up in a large bucket and grab your pot that you want to glaze. Now, place your piece into the glaze and then flick the wrist to lift the piece up quickly. Don't let the glaze go over the base of the piece or it will become too messy. Now, dip the piece back in, getting some glaze on the inside and swishing the liquid arou...
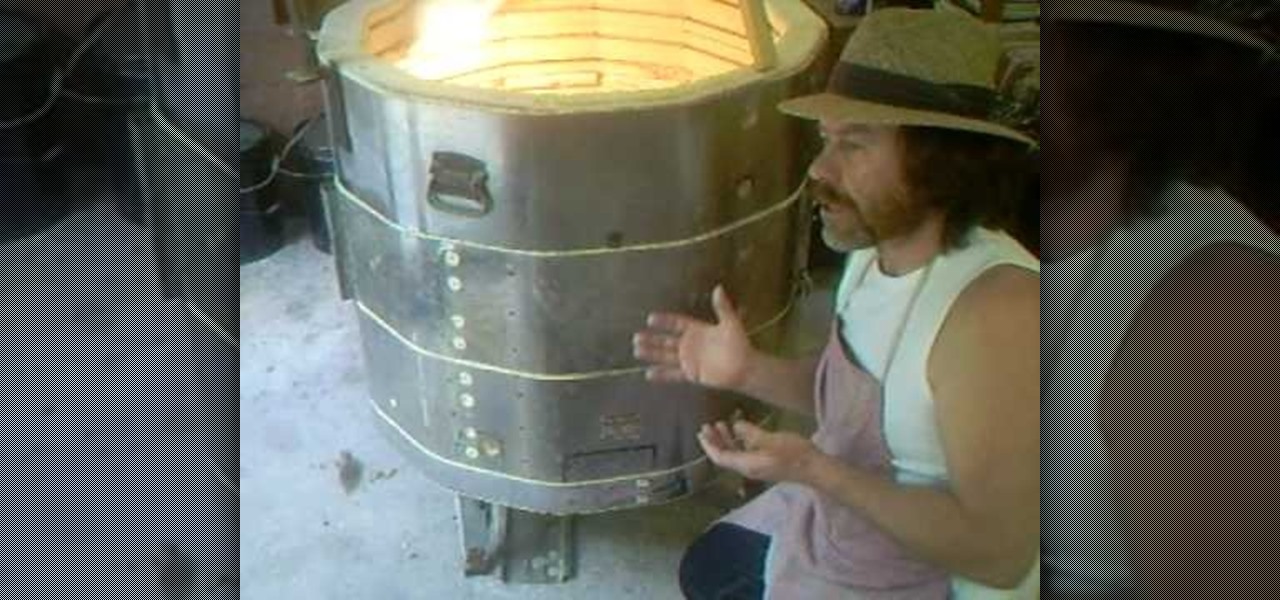
You may love your old electric kiln like a child, but it's time to get in touch with the times and update that sucker! Watch this ceramics tutorial by potter Simon Leach to learn how to turn your old electric kiln into a snazzy new propane gas kiln.
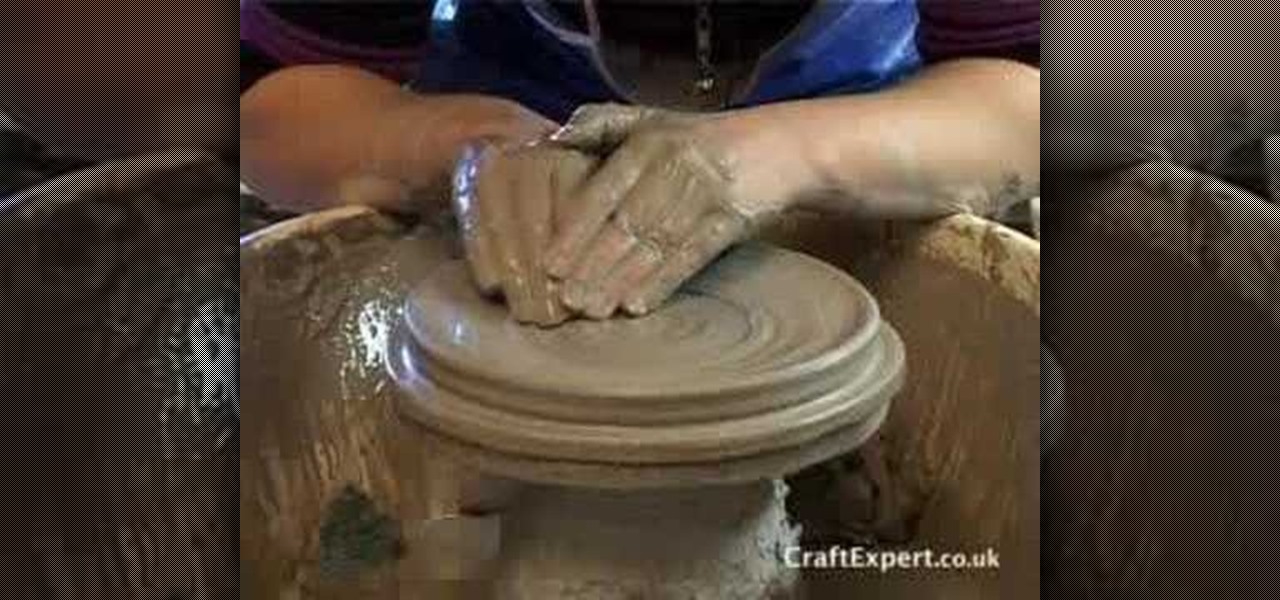
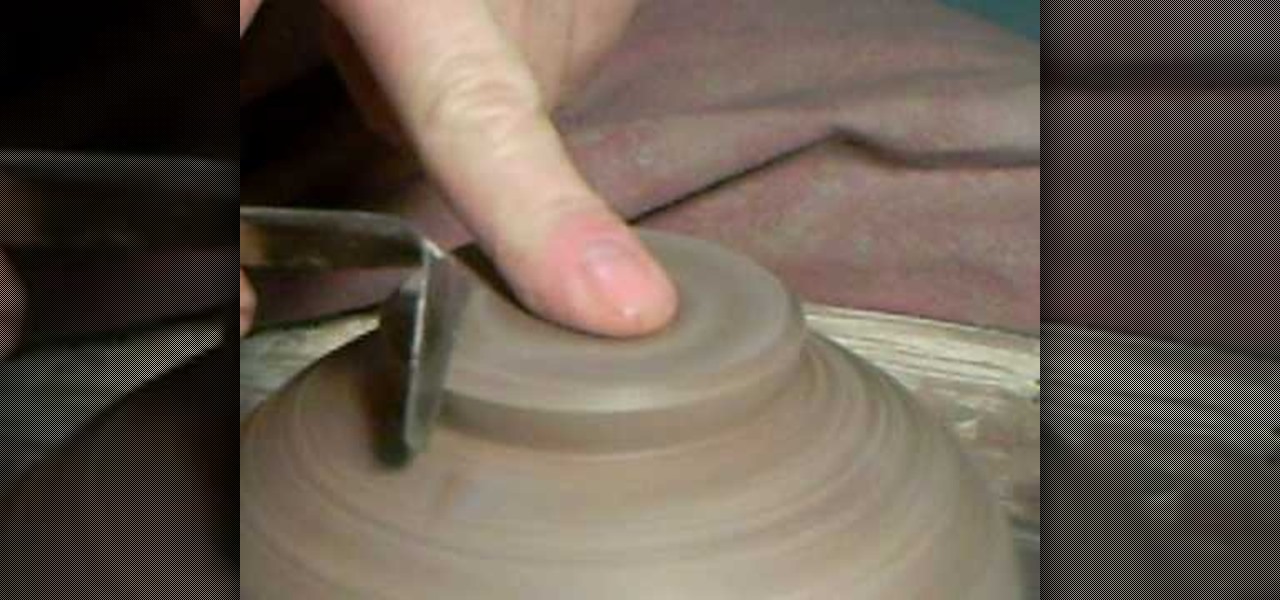
Simon Leach teaches you how to do ceramic trimming and sealing. You wet the top of the pot and place it on the wheel. You push down on the bottom, sealed side, when the wheel is spinning. You use the trim tool to cut into the base side. You do this at an angle and make sure you hold the trim tool like a stake knife, not like a pencil. You empty out the leg until you are pleased with it. You round off any sharp corners and you have to put the last piece, the seal. On the bottom you take a piec...
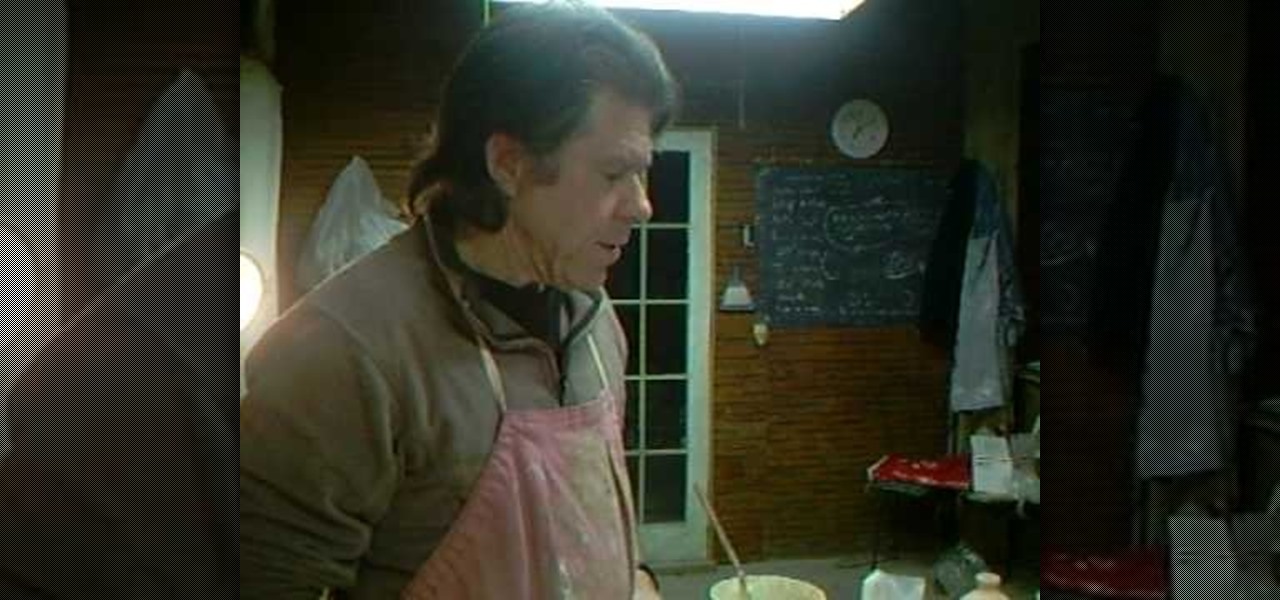
In this video, potter Simon Leach offers tips on how he decorates the ceramic pots that he has made. This video offers some great suggestions on decorating pottery that you have made, or have purchased unfinished. This video does not teach any specific decorating techniques, but focuses more on the process of a potter when contemplating decorating their creations. This video does cut off at the end, so do be sure to watch the continuation of Leach's tips in which he gets into more specific de...
Pottery glazing tools are a very important part of apply pottery glaze to any piece of ceramics. Learn all about glazing tools for pottery with tips from a ceramics expert in this free art lesson video.
Watch this instructional ceramics video to learn how to throw and shape with two ribs at the same time. Learn some basic tips of coning on a pottery wheel by squeezing slowly all the way up. It's another process in the wedging department that compresses the clay. Once you get the rhythm of the pottery wheel, give it a try and soon you'll be producing your own ceramics.
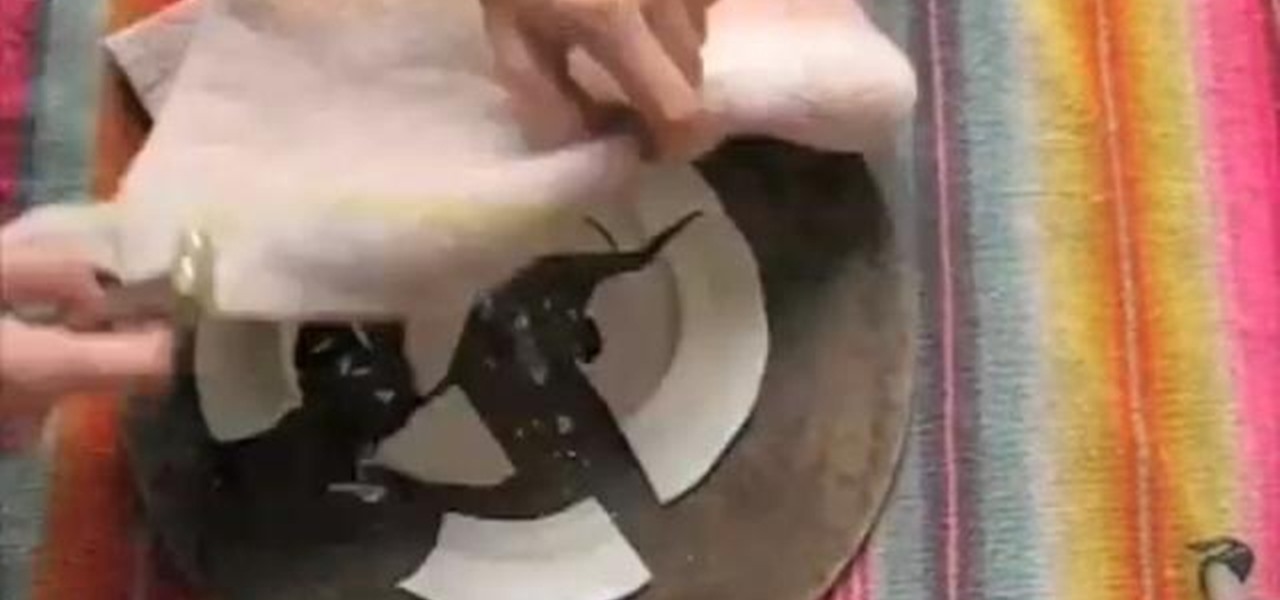
In this video, learn how to turn an old broken plate into a beautiful new, ceramic jar! This project will cost you next to nothing and only requires things you already have around your home. Check out this clip and create a very cool, fractured ceramic vase that can be used for many different things!
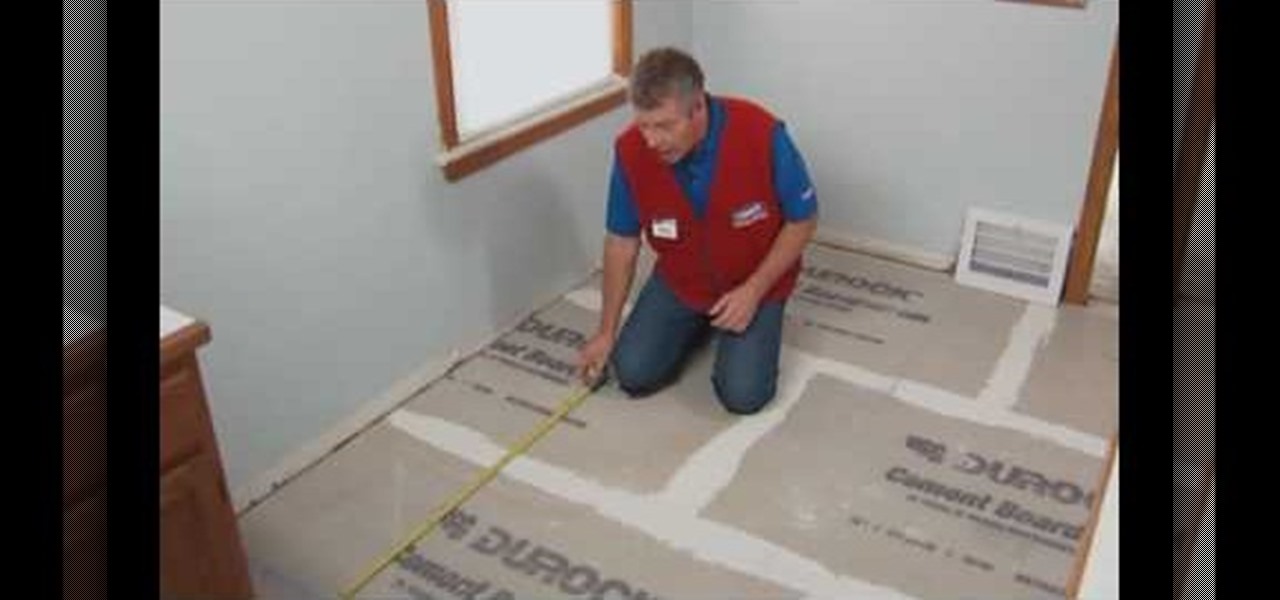
In this tutorial, we learn how to install a ceramic tile floor. Before installing, you need to prepare a solid base. First, you want to take off the trim, then calculate the area of the room. Prepare the floor by inspecting low or high spots. You will want to apply mortar, then set the backer boards into place. Screw these into place, then finish covering the floor with seam tape. Apply mortar over these then let dry. Now, you can start laying your tile onto the top of this! Once you are fini...