Want to optimize your computer for peak performance so you can avoid error messages and hiccups when using Pro Tools? This tutorial shows you how to go into your computer's system directly and set the power option to customize it for using Pro Tools.
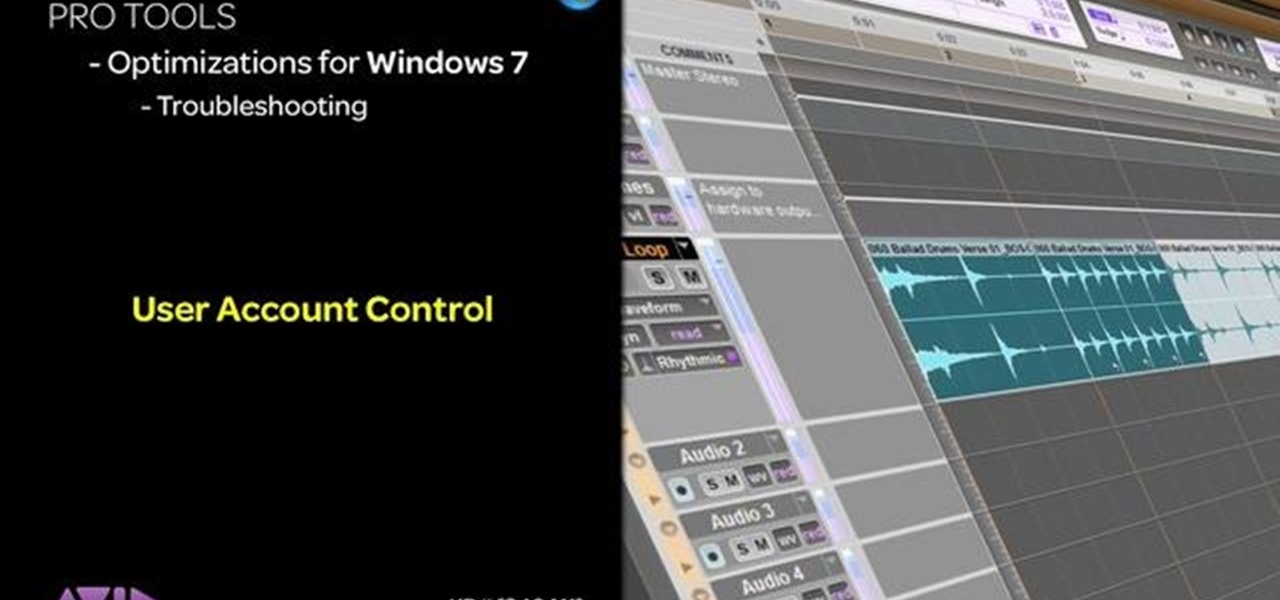
This tutorial shows you a very simple thing you can do to your computer in order to maximize Pro Tools' performance on your hard drive and cut down on the number of error messages you might receive - just by making a a few changes to user account controls.
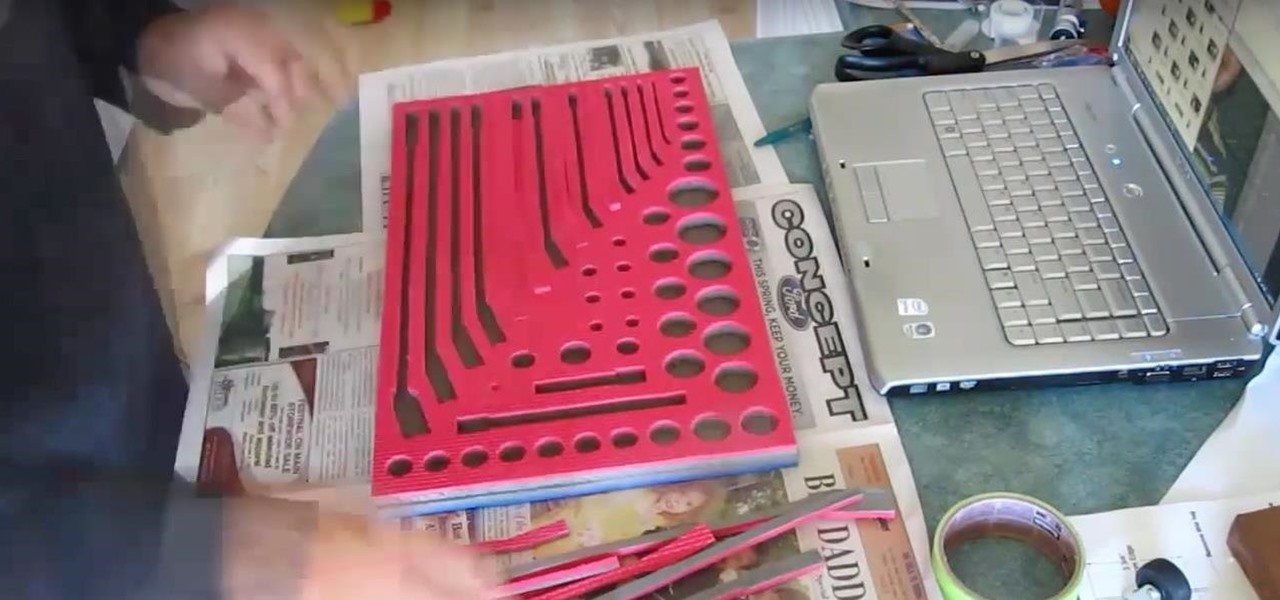
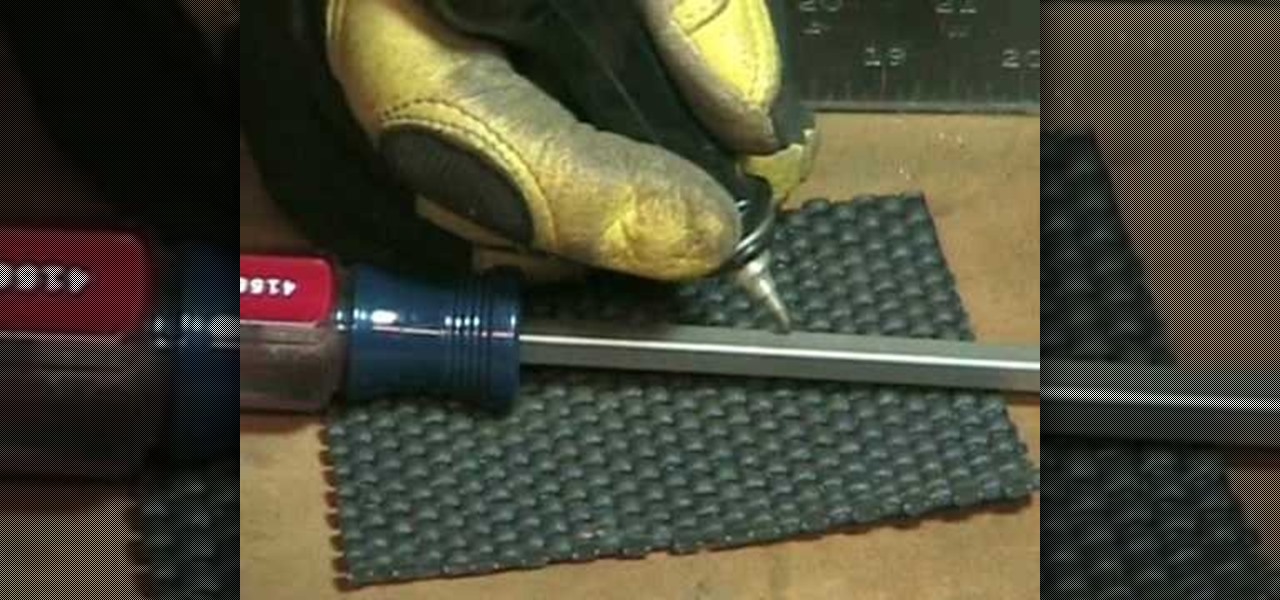
In this episode of Mechanical Mashups, Dave will show you how to keep your tools organized by cutting tool shaped spaces out of foam floor mats. Never let a wrench or hammer slip out of place again with this genius way of organizing your garage.
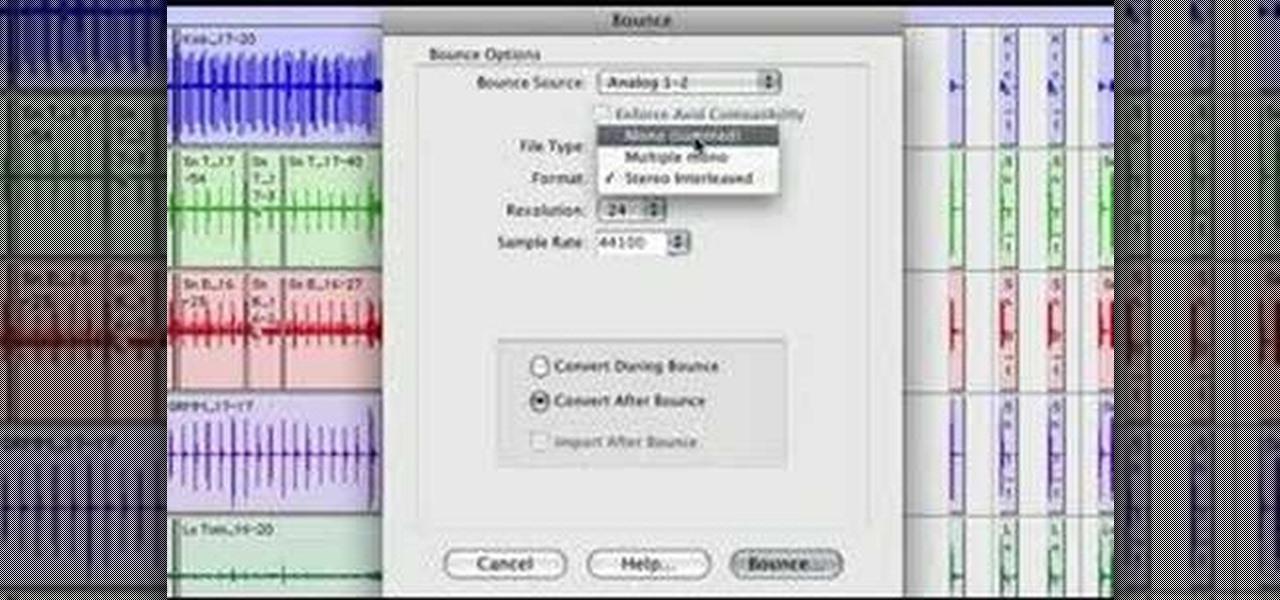
This audio editing software tutorial will show you how to bounce a project in Pro Tools LE. Connor Smith shows you how to select the region to bounce, choose which export options you'd like, and make the bounce from Pro Tools LE.

This audio editing software tutorial covers the basics of creating and using instrument tracks in Pro Tools LE. Watch as Connor Smith shows you how to use instrument tracks in Pro Tools.
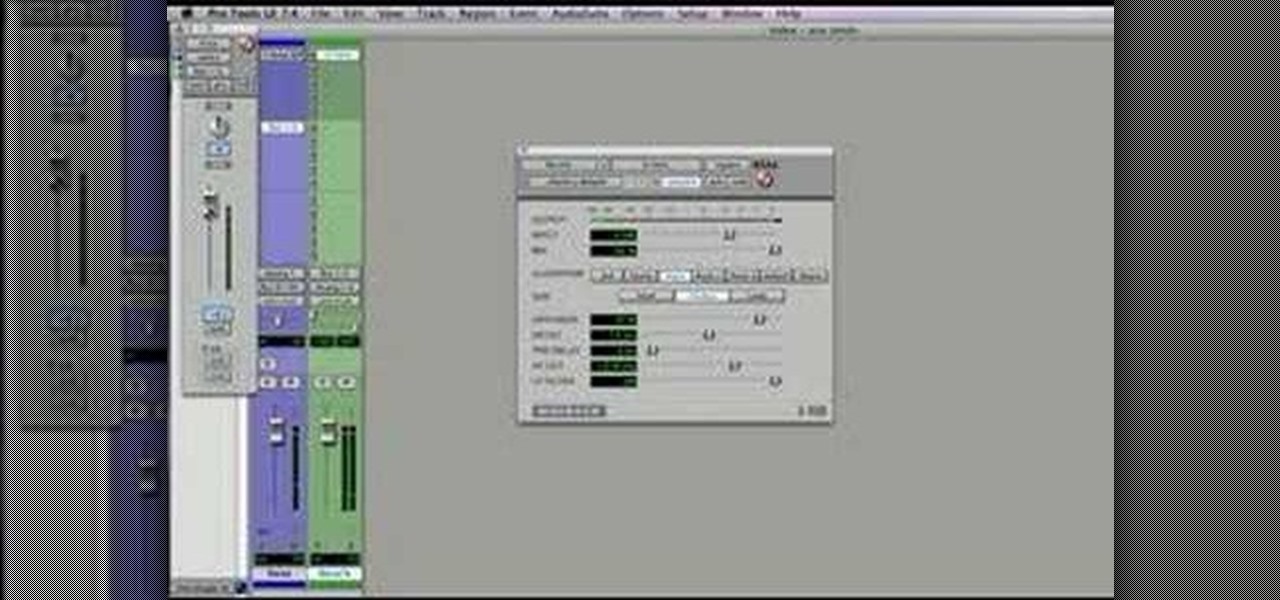
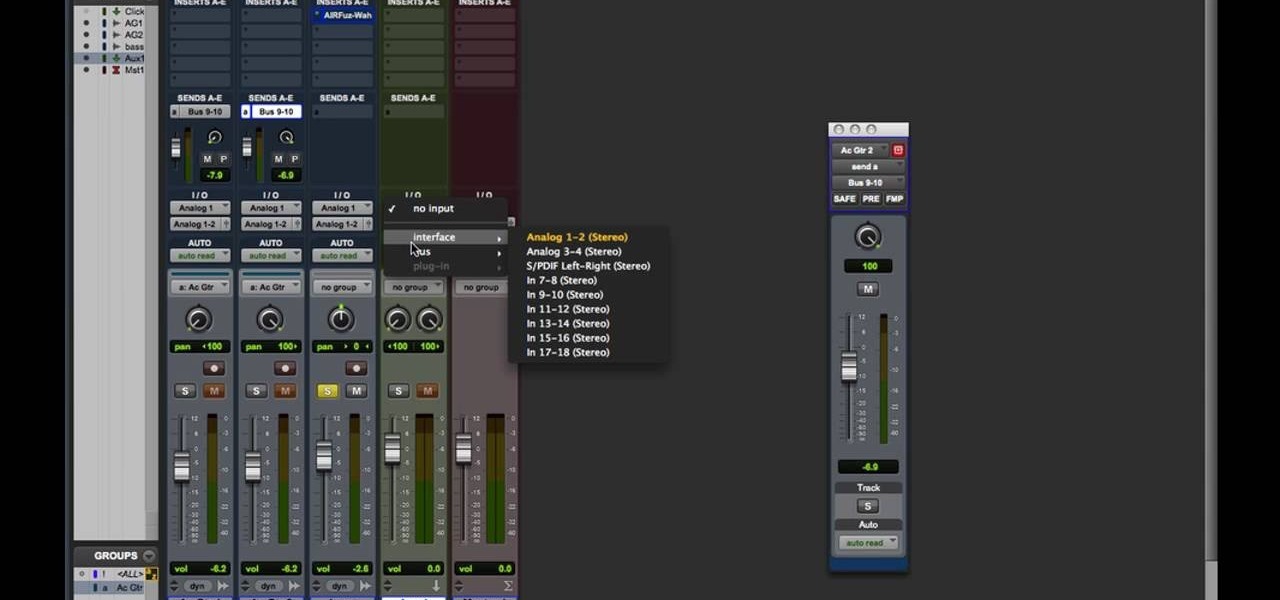
This audio editing software tutorial will quickly show you how to setup and use effects sends in Pro Tools LE. Connor Smith will show a reverb, then a delay then the aux sends in Pro Tools.

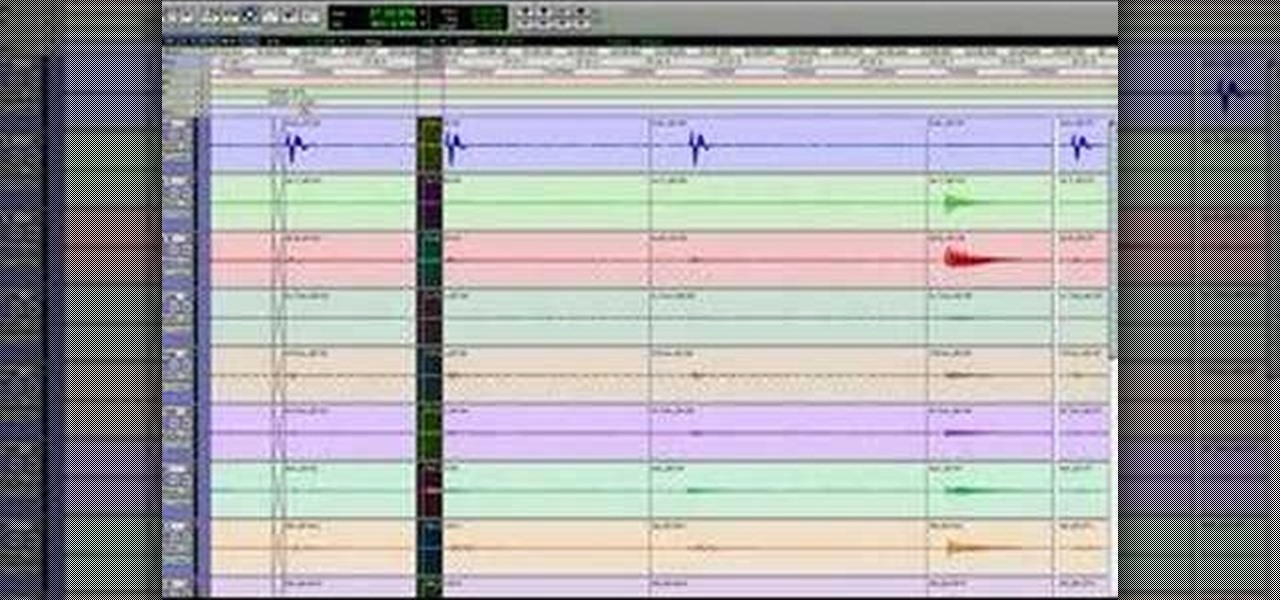
This is the first drum editing video in Pro Tools from thestudiofiles.com.
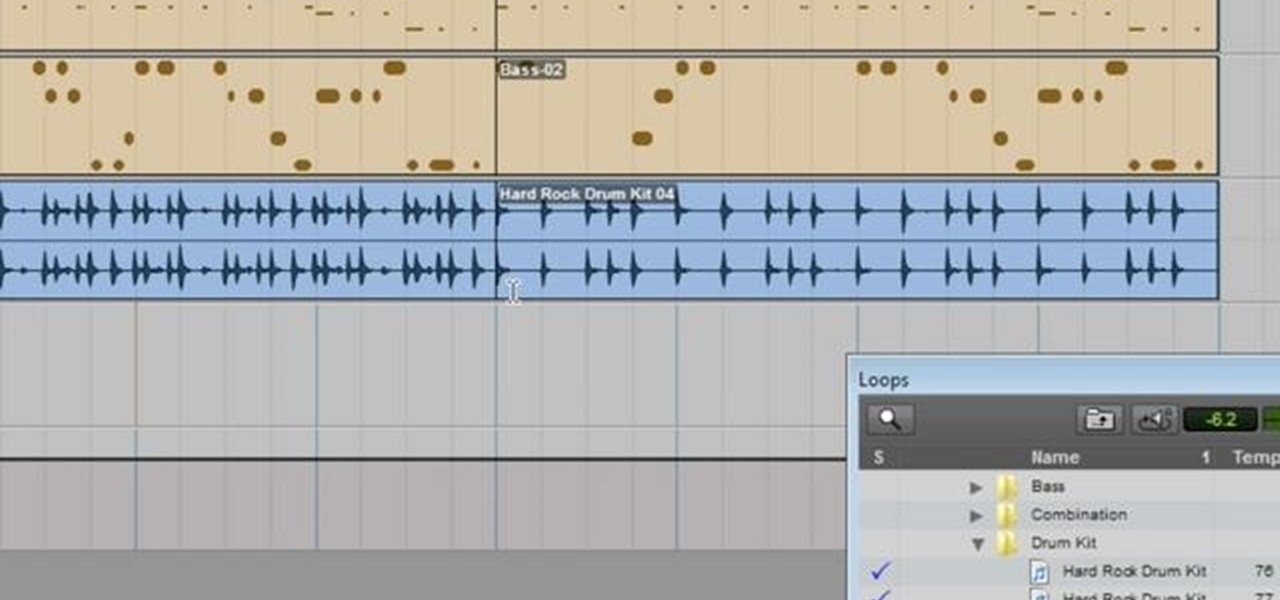
Pro Tools comes with an extensive library that you can use to add in your own loops to your session. This tutorial shows you how to find the loop library in Pro Tools SE and how to incorporate loops into your final session.
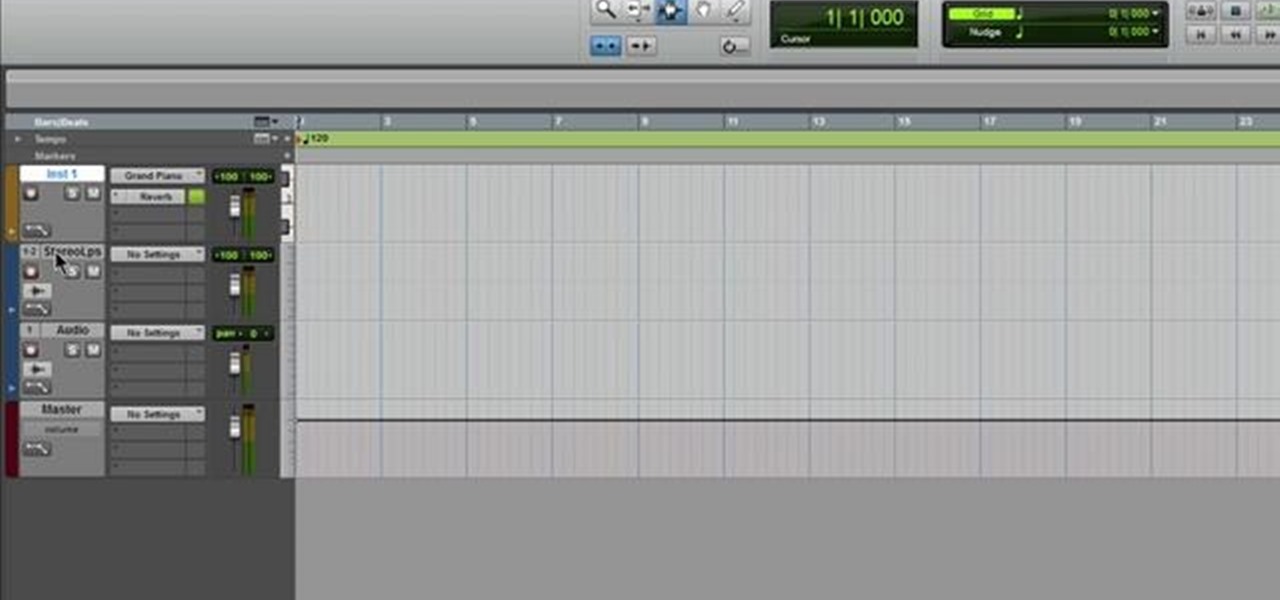
Add a instrumet (or MIDI) track to your project in Pro Tools! This tutorial shows you how you can take advantage of many of the various functions available to you in Pro Tools and incorporate instruments into your current music project.
You've just gotten your brand new copy of Pro Tools, and can't wait to install it on your Mac and get started with music editing! But what if the installation has problems? This video shows you some common problems when trying to install Pro Tools on a Mac, and how to fix them.
This video describes how to optimize a Microsoft Windows 7 PC for running Pro Tools 8. Whether you're new to Digidesign's Pro Tools 8 or simply looking to pick up a few new tips and tricks, you are certain to benefit from this free software video tutorial. For complete instructions, take a look.
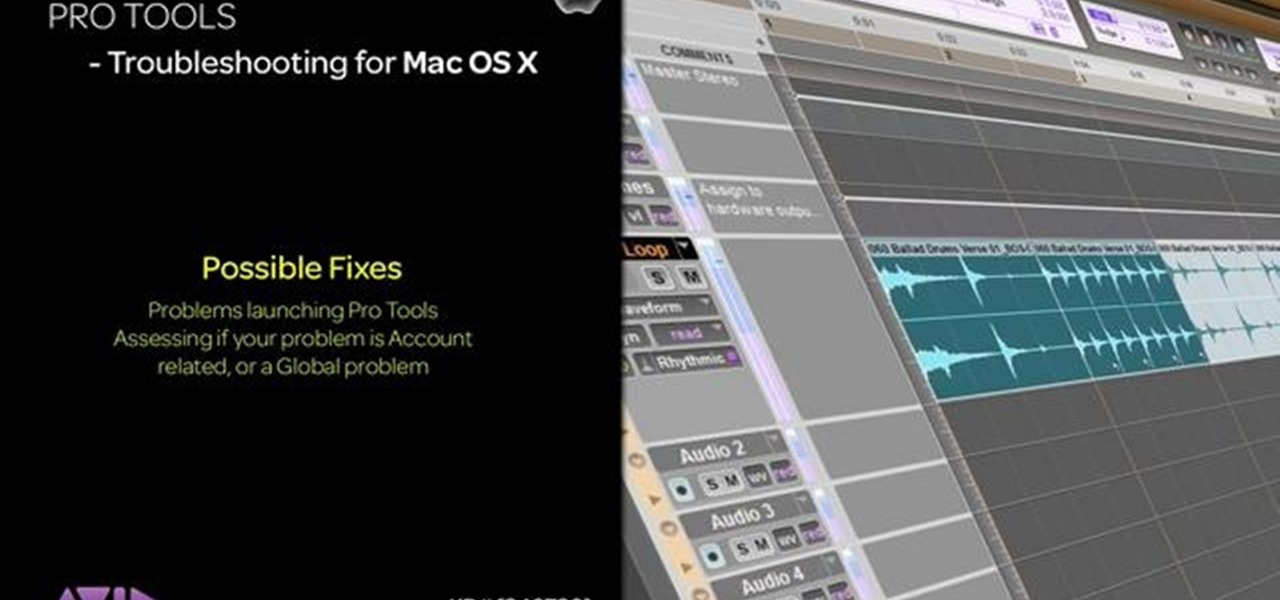
This video describes how to create a new user account on an Apple Mac OS X 10.6 (Snow Leopard) computer to tell whether your Pro Tools problem is user-specific or global. Whether you're new to Digidesign's Pro Tools 8 or simply looking to pick up a few new tips and tricks, you are certain to benefit from this free software video tutorial. For complete instructions, take a look.
This video describes how to trash your Pro Tools user preferences, restoring them to their factory default setting, on an Apple Mac OS X 10.6 (Snow Leopard) computer. Whether you're new to Digidesign's Pro Tools 8 or simply looking to pick up a few new tips and tricks, you are certain to benefit from this free software video tutorial. For complete instructions, take a look.
In this tutorial, we learn how to use an engraving tool. It doesn't matter how old your engraving tool is, just make sure it has different speeds on it to help control it while in use. Now, place a piece of aluminum down and adjust your power level to the lowest level. Push down on the aluminum and write the word you want to so you can see how the pressure effects the aluminum. Now, set the tool at the highest setting and push down on a sledge hammer to see the pressure you need to push to ge...
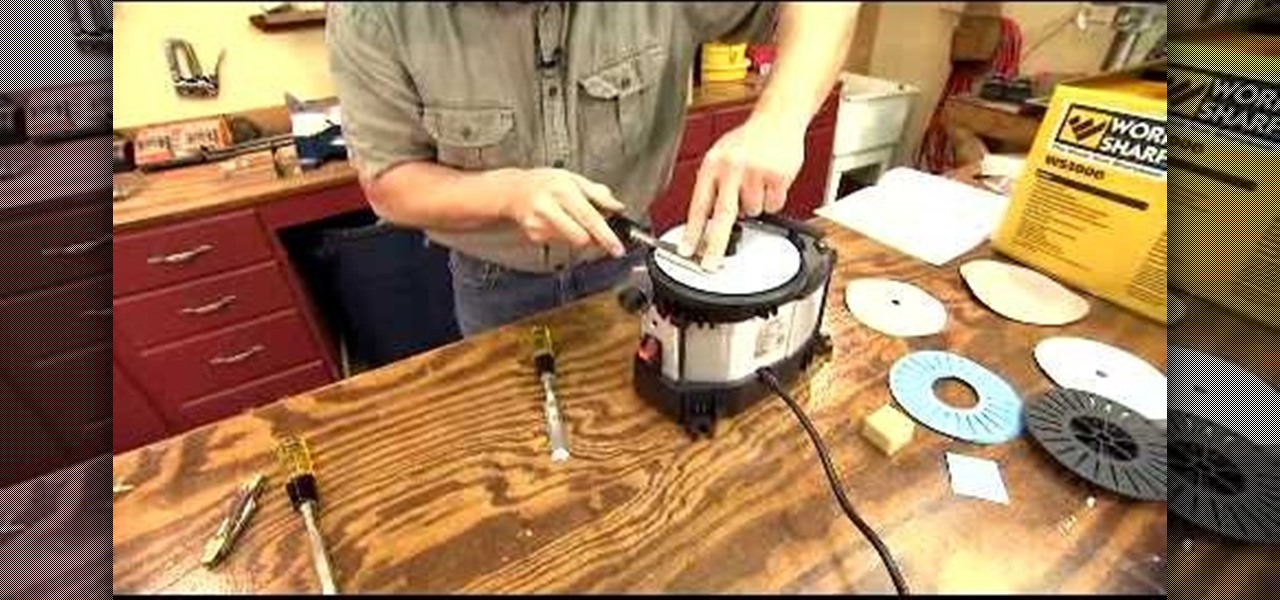
Keeping tools in tip-top shape is important for making sure they will work properly when needed. There are many tools that can complete the job, but in this tutorial, you'll be finding out how to use a work sharp motorized sharpener. It's perfect for sharpening chisels and other tools. So check it out, be careful, and good luck!
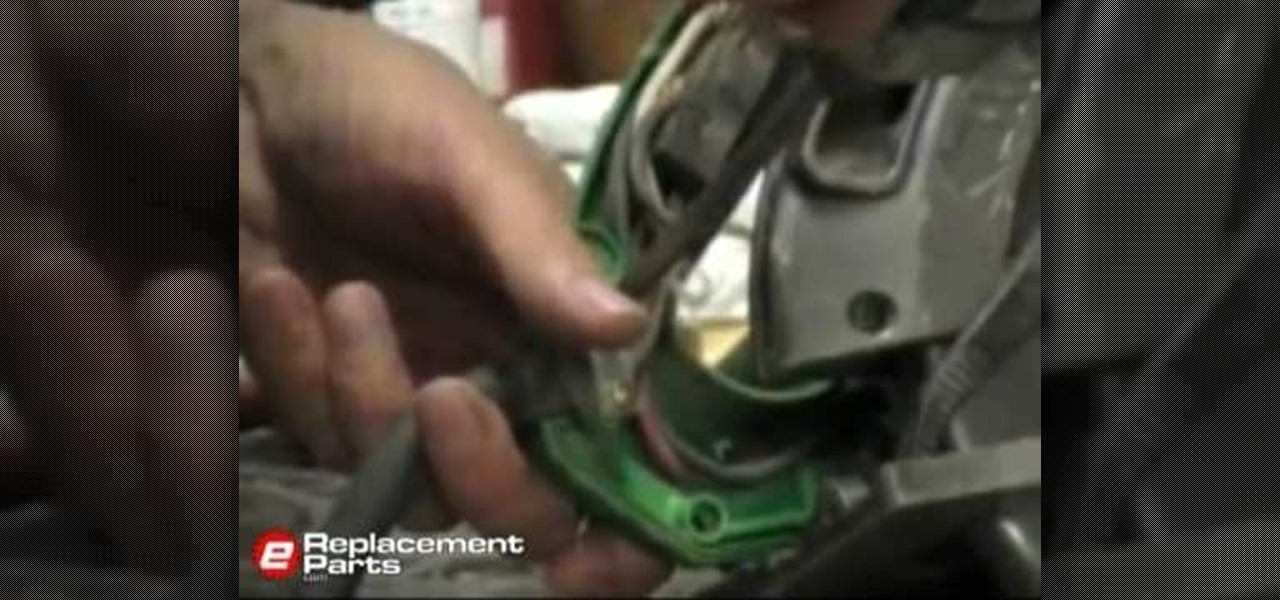
Have an old power tool that works perfectly fine except for the fact that the power cord is shot or maybe you just bought a brand new power tool and accidentally cut off the cord? You're in luck because there is a way to replace that damaged cord. You'll need to take the part off that encases the cord on your power tool, in there you will find the switch the cord is connected to and connect your new cord to it.
Pro Tools 8 enables you to add all kinds of effects to all of the audio you are recording and working on. Music producer and musician David Franz has taken on the role of educator to share the knowledge that can only come from his years of experience to demonstrate some of the many things you do in audio editing. In this video, David Franz shows you how you can add effects while recording with Pro Tools 8.
Most jobs get easier when you use the right tools, including gardening. This video will show you how to assemble a gardening tool set.
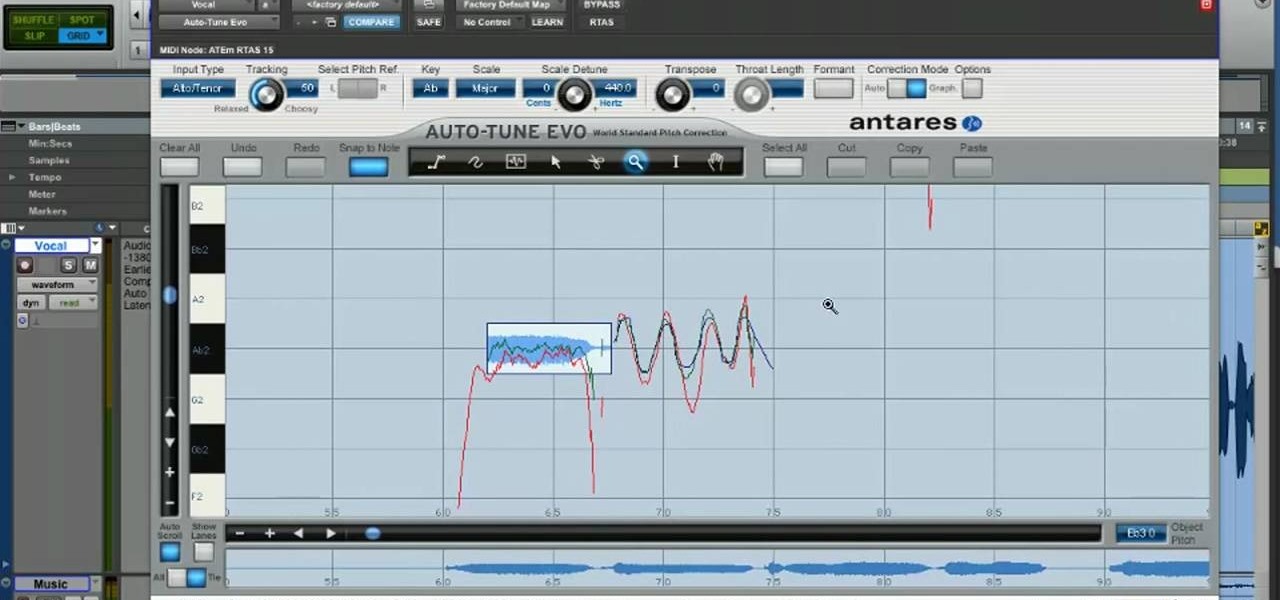
Targeting Notes and Creating Harmonies Using MIDI -- Jeff Dykhouse shows us how to use MIDI to tell Auto-Tune which notes to tune. In addition, you can use this technique to create harmonies. Antares Auto-Tune is the fastest, easiest, and highest quality tool for pitch correction. Use this in conjunction with DigiDesign's Pro Tools for awesome sounds.
Tools can last for years if you take care of them. But don't worry; if your favorite shovel has gotten a tad rusty, it's a snap to make tools shiny as new.
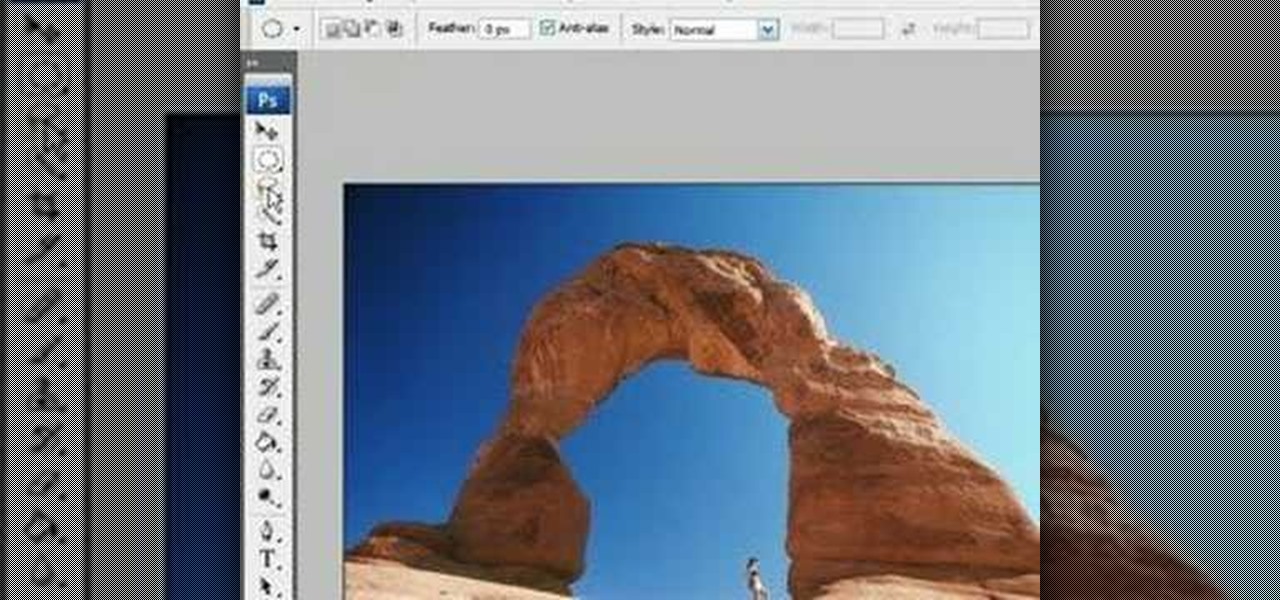
Adobe Photoshop is the industry and personal standard for editing photos on a computer. If you have a digital camera, or ever want to have a digital camera, you need to know how to use it. This video series will show you everything you need to know about using Photoshop's many tools and options to do just about anything you want to a photo.
In this video, Luke Van Dyck discussed power tools in the home, and some tips to using them more effectively, efficiently, and safely. When doing home renovations, it's important that you're familiar and comfortable with the tools you're working with, especially the power tools, specifically blades and drill bits. Whether you're using corded drills, cordless drills, table saws, or hand saws… you need sharp bits and blades for tool longevity. Find out some cool tips.
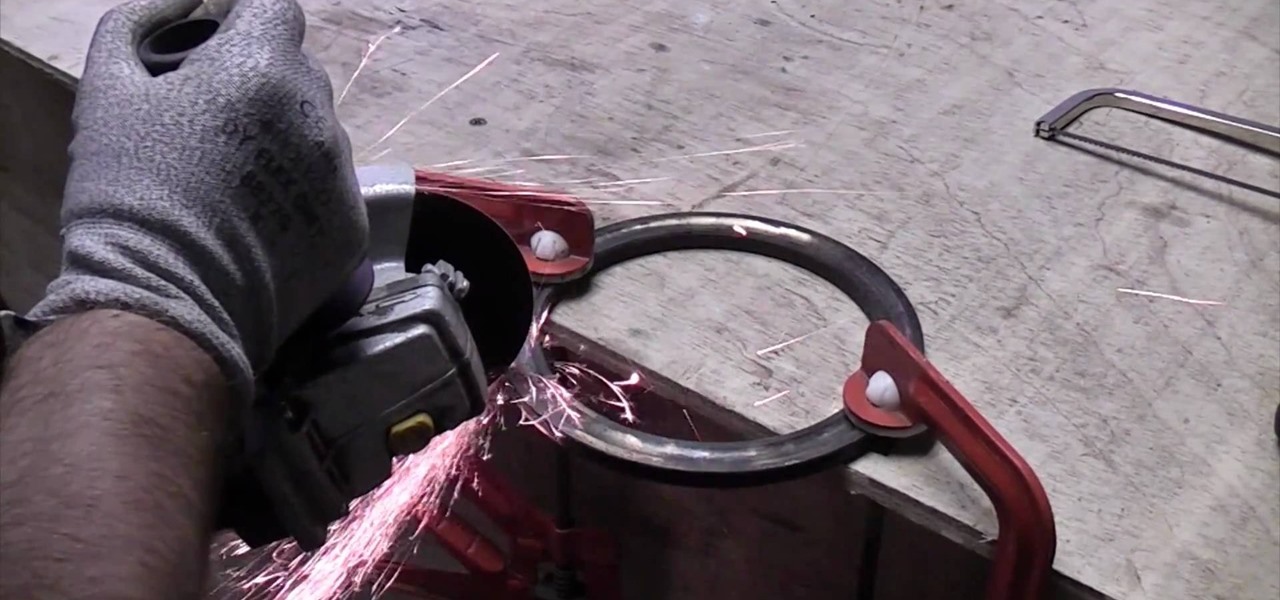
Hardened steel is a very useful material, but working with it is tough because it is nearly impossible to cut with simple tools. What you really need is an angle grinder, and this video will show you how to use one of the powerful power tools to cut a hardened steel ring.
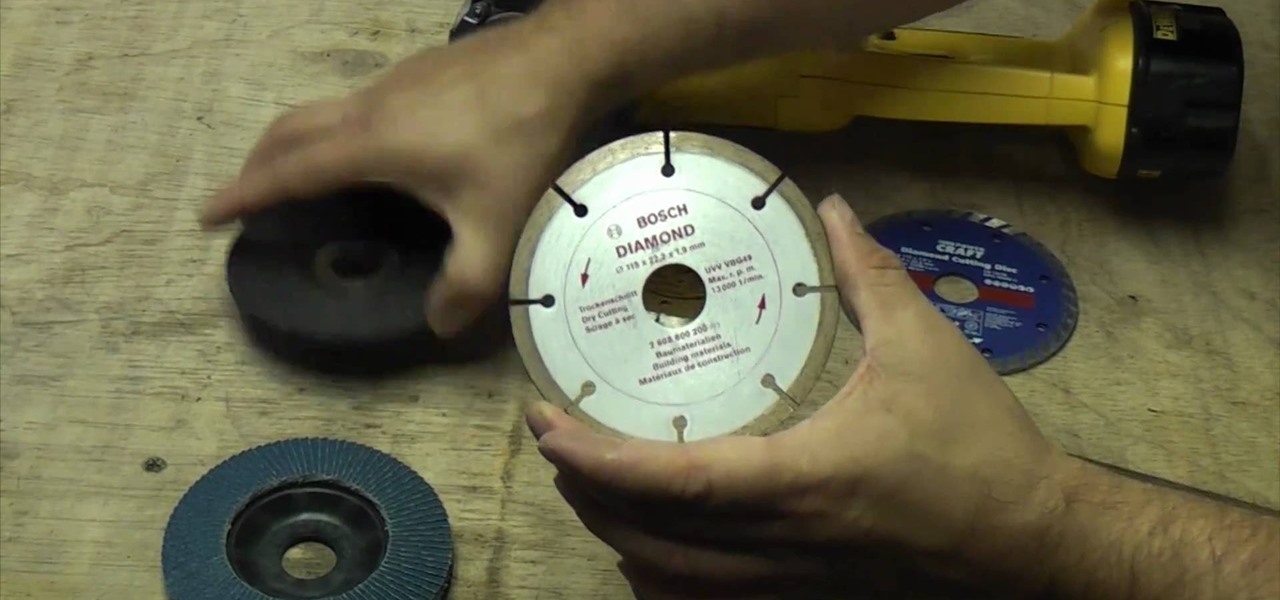
Angle grinders (or cut-off tools) are great for all sorts of major construction and repair projects. One of the reasons for this is that you can put all types of discs on them for different jobs. This video tell you all about the different types of discs and which ones you should use for different kinds of jobs.
Angle grinders are very powerful and useful tools, but like many such power tools they are extremely dangerous if you don't know how to use them. This video goes over a variety of must-know safety precautions that you should take before using an angle grinder to grind for your own construction projects. It covers proper eyewear, fire protection, and setting up the device for use.
Tim Carter demonstrates how a pop rivet tool works to connect two pieces of thin metal. Some projects, such as working on your aluminum gutters, will require you to connect two pieces of thin metal. An effective method is the use of a pop rivet gun. Most pop rivet tools come with an assortment of pop rivets and some 1/8" drill bits.
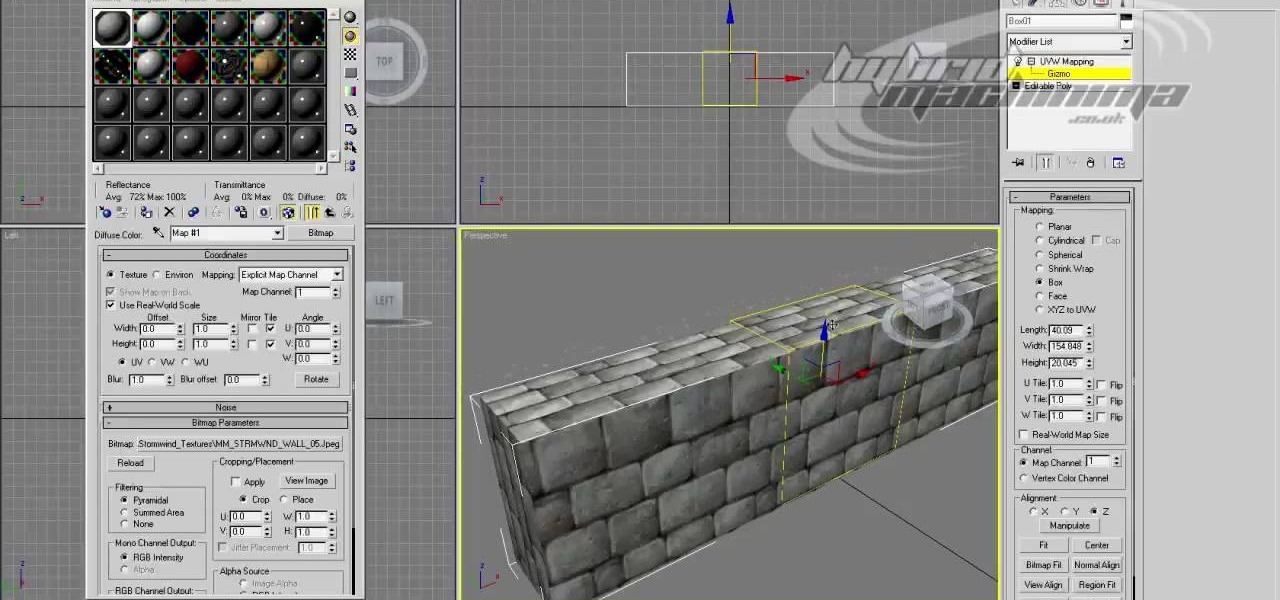
If you are modeling a 3D game in 3D Studio MAX, you are going to need to know how to correctly model the destruction of many of your beautiful 3D models. This video is focuses largely on that. It will show you how to use the procutter tool and booleans in 3DS MAX to break up a wall without making it unrecognizable, and also how to use the fracture reactor constraint to simulate an object making impact on the wall. Your poor wall will never know what hit it.
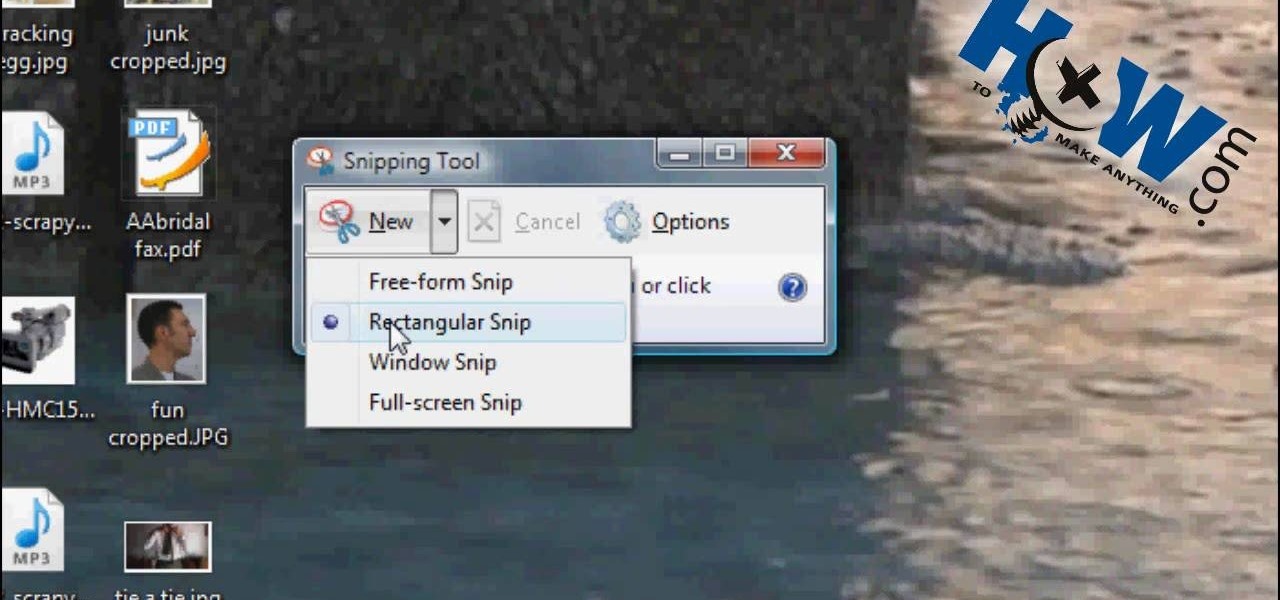
Taking screenshots in Windows isn't as easy as taking screengrabs in Mac OS X, but Microsoft sure is trying to resolve this issue. Their idea -- Snipping Tool. The Snipping Tool is available for both Windows Vista and Windows 7 operating systems.
Learn how to remove braces with Photoshop. First find a photo with some visible teeth; you don’t want a picture with no visible teeth because you would need to redraw an entire set of teeth. Now select the first layer and duplicate it (command control J). Grab the patch tool from the toolbar and set it to "source". Zoom in on the teeth and make sure you are working on the new layer. Select around one part of the braces and drag it to a skin area. Now grab the clone tool and begin cloning the ...
Working with vectors isn't easy, and working with vectors means using paths. Adobe Illustrator is a vector graphics application, therefore virtually everything in Illustrator is created using paths. The Pen Tool is the king of paths, you can create any kind of path using the pen tool, you just need to know how to use it! Watch this Illustrator video tutorial to learn how to use the pen tool and trace the outline of an object as well.
How to Make Anything demonstrates how to use Window Vista's snipping tool to make a screen capture. With previous operating systems, you'd have to install a third party application to make a screen capture. To find the snipping tool in Windows Vista, go to the start menu and type "snipping tool" into your search box. The snipping tool box will appear. Click on the options tab. In the next screen, tick display icon in the quick launch toolbar to enable the snipping tool in the toolbar. Click o...
Sharpened woodturning tools make creating wood projects simple and easy. Learn how to sharpen and use woodturning tools from a woodturning expert in this free crafts video series.
Make sure your tools are easy to find with this how to video. Keep tape, glue, fittings and drip irrigation parts in one handy container. Finding your tools will be a breeze with this organized box.
Extend the life of your gardening tools using these simple cleaning techniques. This is most important when you're putting tools away for winter.
Keep your gardening tools in shape in the off-season by following these tips on tool cleaning and maintenance.
In this video tutorial, we learn how to use the Antares Auto-Tune Evo pitch-correction plug-in in Graphical Mode when running Pro Tools 8. Whether you're new to Digidesign's popular DAW (digital audio workstation) or simply new to Auto-Tune, you're sure to be well served by this video guide.
The Bridge tool in modo 202 is a phenomenal modeling tool for any workflow. This video will get you a quick ramp up to the full power of the Bridge tool in modo. The bridge tool allows seamless stitching between discontinuous areas of a mesh. See how to use it for any type of 3D modeling within modo.
In the following lessons you will learn some essential tools and techniques for working with muscles in Houdini. In the first lesson, you will learn how to rig up a simple muscle arm using Houdini's Muscle tool. The Muscle tool uses meta-balls to capture your character's skin with realistic muscle/skin interaction.
In this Software video tutorial you will learn how to have fun with the’ liquefy’ tool in Photoshop. The video is by Yanik Chauvin. Open Photoshop, select a picture that you want to have fun with, go to ‘filter’ and click open the ‘liquefy’ tool. This video is looking at 3 tools under liquefy. They are Forward Wrap Tool, Pucker Tool and Bloat Tool. These tools can be modified by the brush options on the right hand side. The Pucker Tool reduces the size of a feature on the image. The Bloat Too...
Take a look at this instructional video and learn how to use the move tool in Google SketchUp. The move tool is actually several tools combined into one. The move tool functions as an auto fold and an array tool as well. This tutorial covers how move is an auto-selecting tool, how to pre-select objects for more control, moving objects with precision, and some common problems.