

News: Why Steampunks Shouldn't Buy iPhones
This may seem like an odd subject, because what do Steampunks and iPhones even have to do with each other? Actually, more than you might think!

This may seem like an odd subject, because what do Steampunks and iPhones even have to do with each other? Actually, more than you might think!
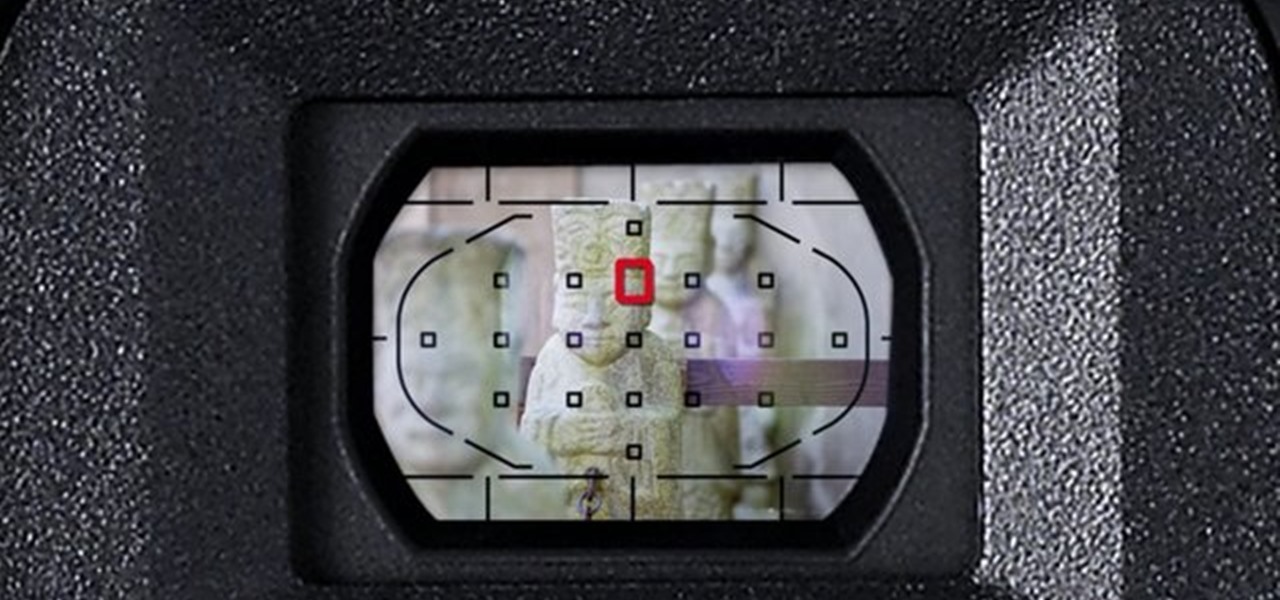
There's a new LCD viewfinder on the Canon EOS 7D, and in this video, you get to see all about it. See how you can change your viewfinder options on this digital SLR camera with ease. You can display almost any information you want.
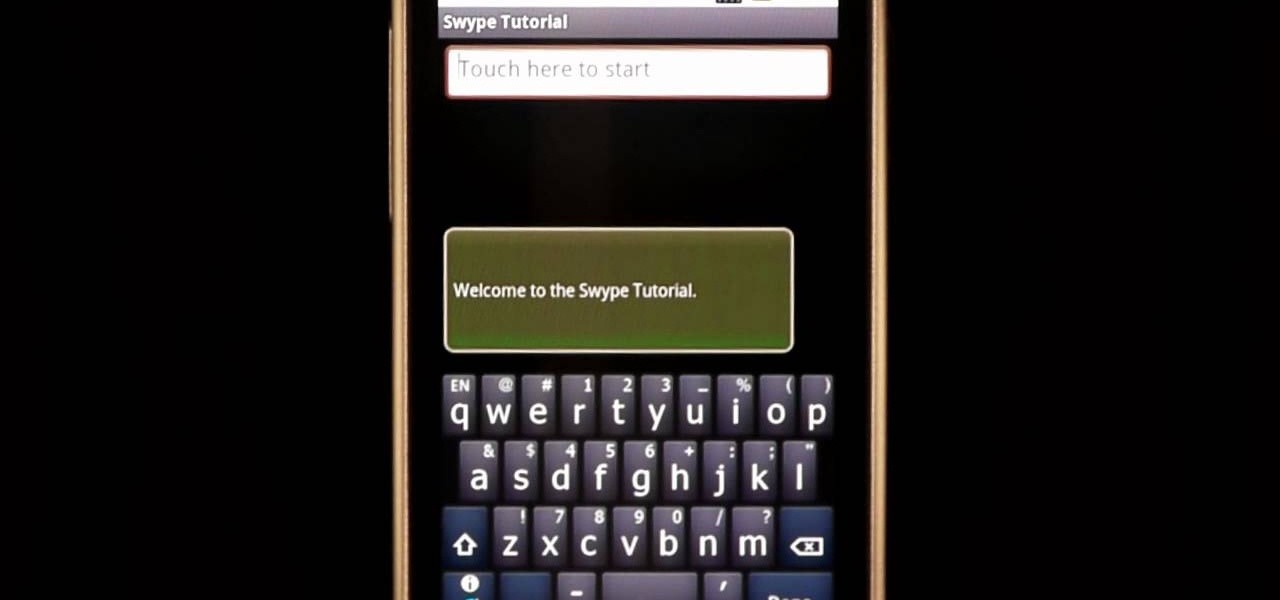
In this clip, learn how to use the Swype Key while texting with Swype on your cell phone. The Swype key is where all of your options are like dictionaries, tips and tricks, help menus and everything else you may need.
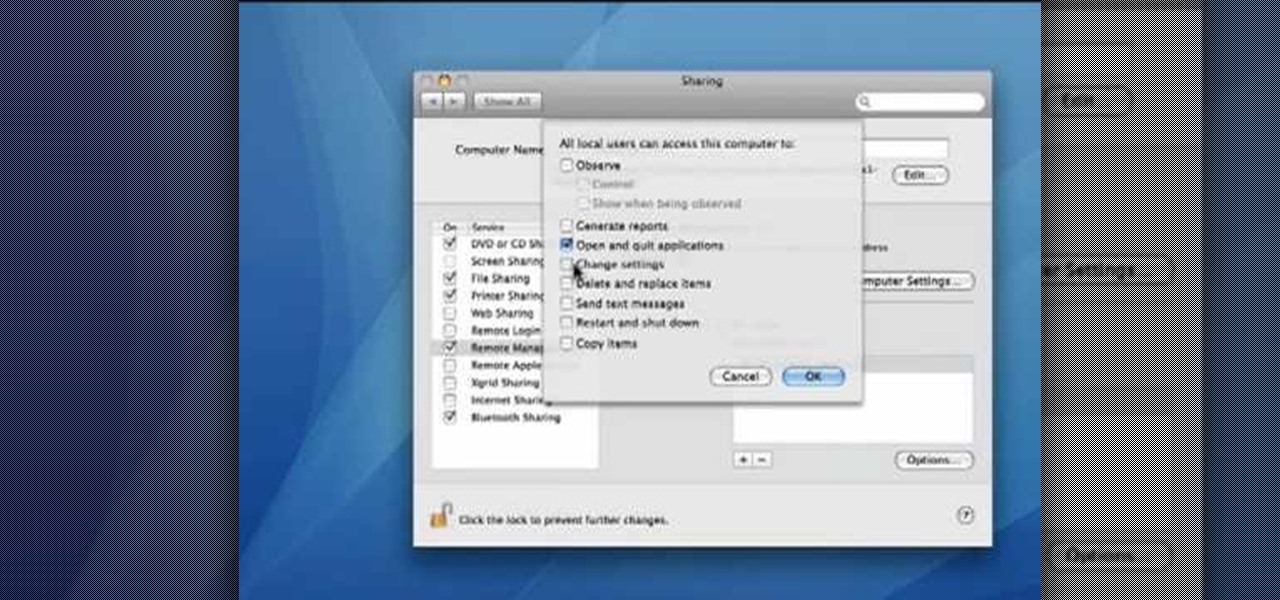
This video demonstrates how to set your Mac up to accept VNC connections.First we open up the "system preferences". Double click on Sharing and then go down to remote management and check this. We can see some options . Check the options Open and quit the application, Change settings, Delete and replace items, Send text messages, Restart and shutdown and Copy items. Then select "OK". Over here we can see "allow access for" and check "only these users". Remote management is now On. We can mana...

In this video the instructor shows how to user printer options in Microsoft Word 2007. To do this go to the Microsoft button and click it. Form the drop down menu select the print option. Now you are presented with the three options of Print, Quick Print and Print Preview. Print is used to directly send documents to the printer by selecting the necessary settings. Quick Print is used to quickly send the documents to the printer using the default settings. Print preview is a useful way of seei...
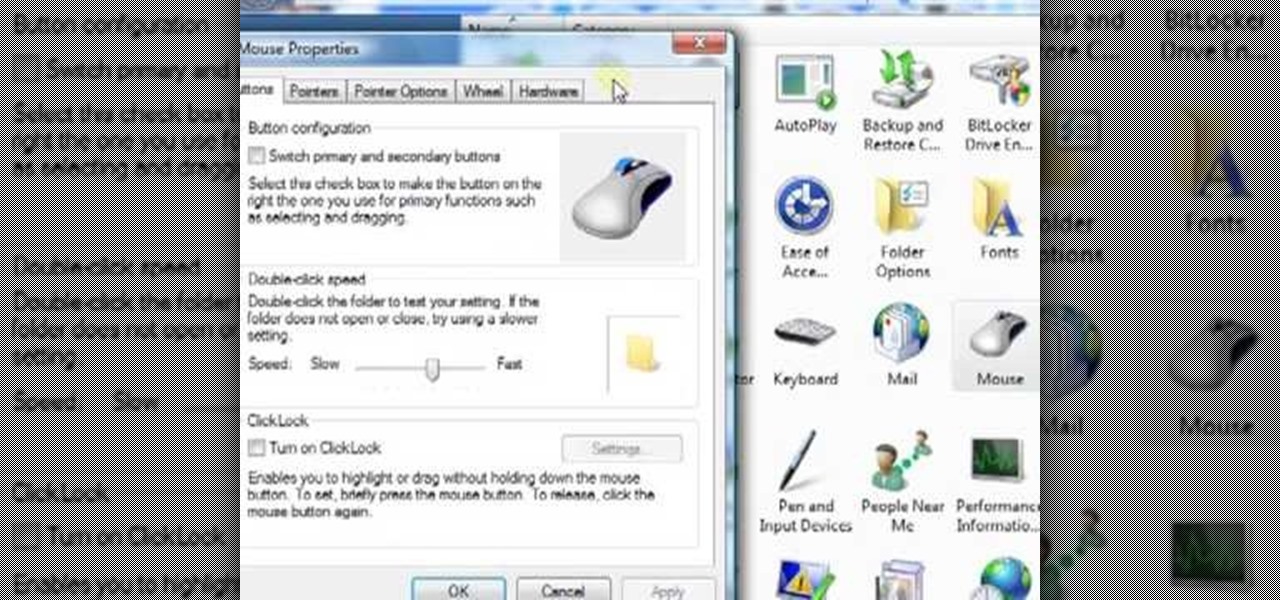
Clearinfo.com helps us how to change the keyboard and mouse settings in windows operating system. The video actually shows us the tutorial in windows vista but this can be applied also in windows xp. First go to Start button then click on control panel and on the Control panel Home view, select Hardware and Sound where you will get the mouse and keyboard setting options. Under the Classic view there will be keyboard and mouse option. Under the Keyboard options, it will show various settings a...

You want the best quality photos you can get, and the Canon EOS 7D digital SLR camera makes perfecting your pictures easy. There is a range of technologies to enhance image quality. This video shows you the many options you can use.
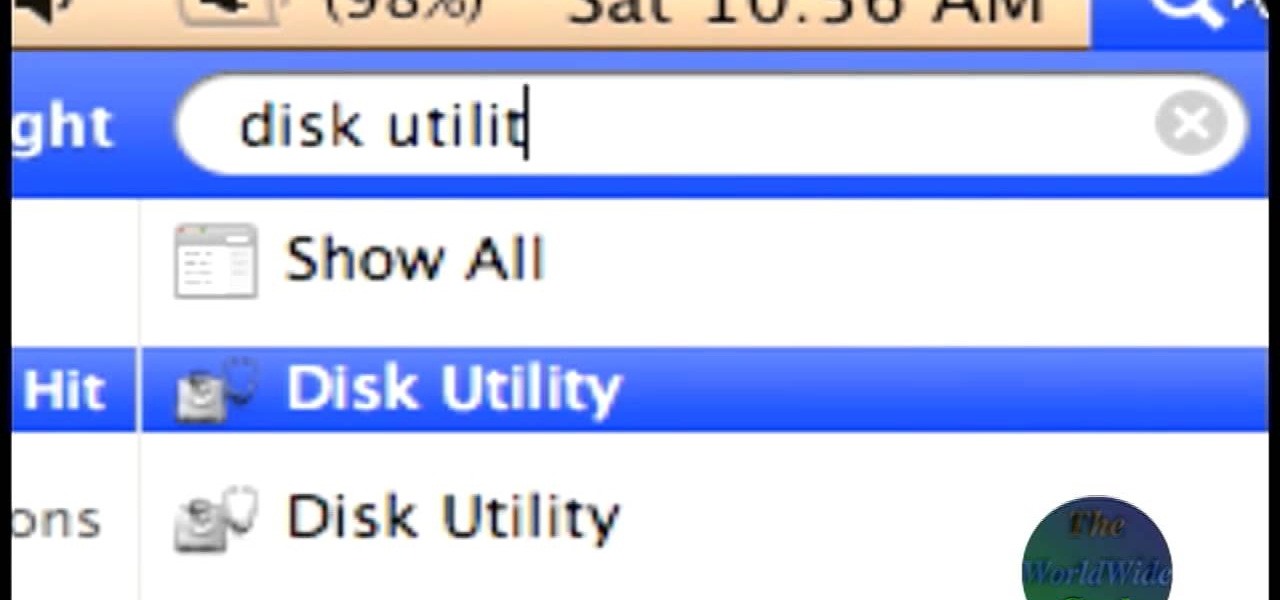
The World Wide Geek demonstrates how to format an external hard drive for Mac OS X. External hard drives are usually formatted for windows. To change the format, you will need to use the disk utility option. Access the disk utility by going to finder and clicking on applications. Next, click on the utilities folder. Then, click on the disk utility option to open it. You can also search for disk utility in spotlight. Select your external hard drive in the options to the left of the disk utilit...

Your Epson driver controls your printer to your computer. You can change options to more suite your work. This video will demonstrate how to use the Epson priter driver.
This how-to video is about how to use the Ribbon and Backstage view in Microsoft Office Excel 2010.
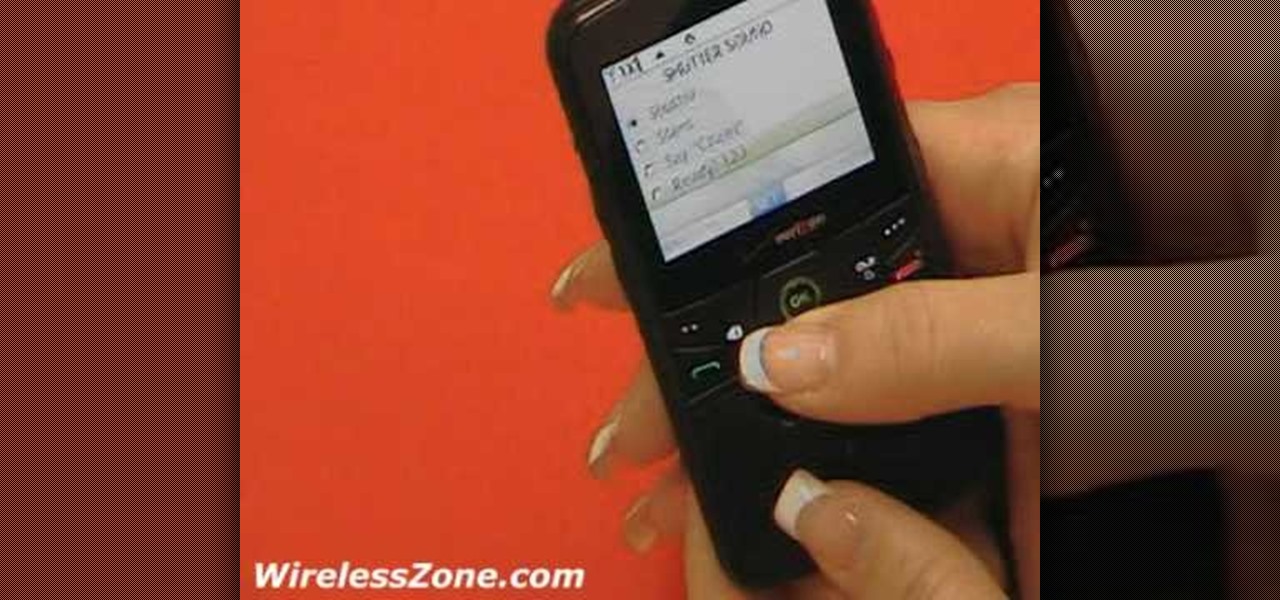
In this tutorial, we learn how to use the Verizon Wireless Razzle TXT8030 camera. This is 1.3 megapixels and has a self-portrait option on it as well. To access the camera, press the camera key on the side of the phone. Now, you will be able to view the gallery, take a picture, or see your options. The options will change the color effects, self timer, and other options for each of your pictures. Once you have chosen all of your options, face the camera at the subject, then press the middle "...
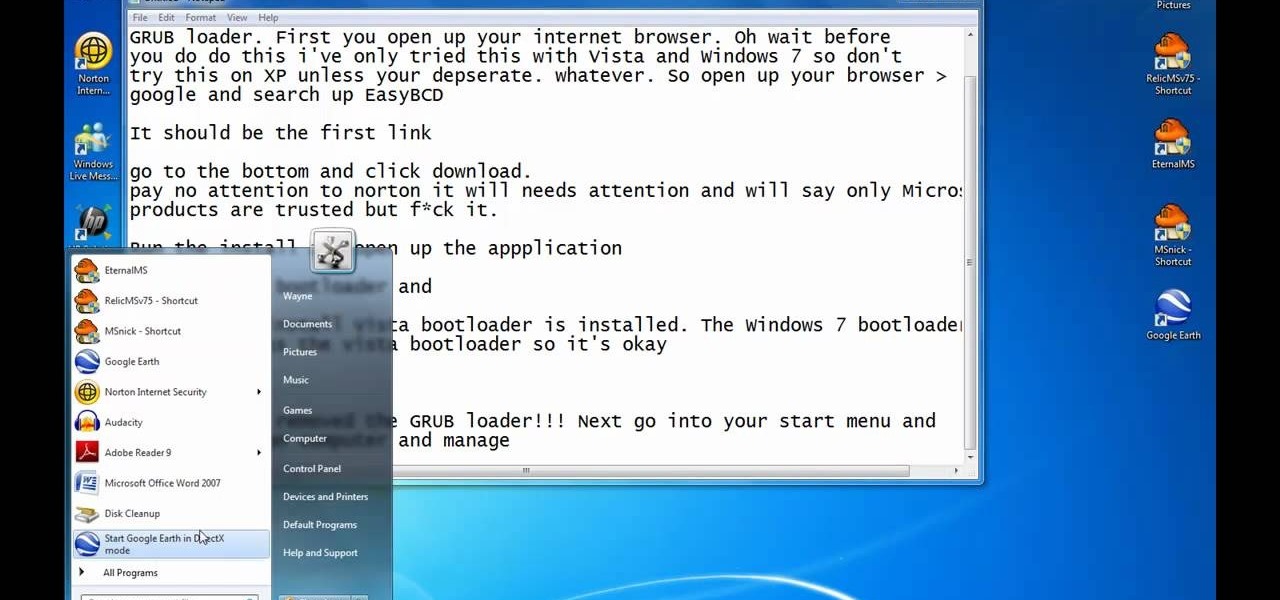
This video illustrates the method of Removing Ubuntu Linux installation and the GRUB Loader. The process is composed of the following steps -Step 1Insert the Ubuntu Linux Live CD. Boot from CD and select the install option.Step 2Click on install button and wait until the next screen appears. Now , you would be presented with two options that would enable to either "Uninstall Ubuntu" or "Install it again".Step 3Choose the Uninstall option and check the Remove GRUB loader option. Also check the...
Begin with starting the program Picasa. If the program has been opened, choose an image for editing. Double click on one of the images and it will open. On the left of the screen there is an editing toolbar. The next option after this is to Crop the picture. Click "Crop Picture". Then choose the format you want the picture to be cropped to. Then hit Enter.The next option is "I'm Feeling Lucky". With this option you can give the picture the best color possible.Following with Redeye Repair. Cho...
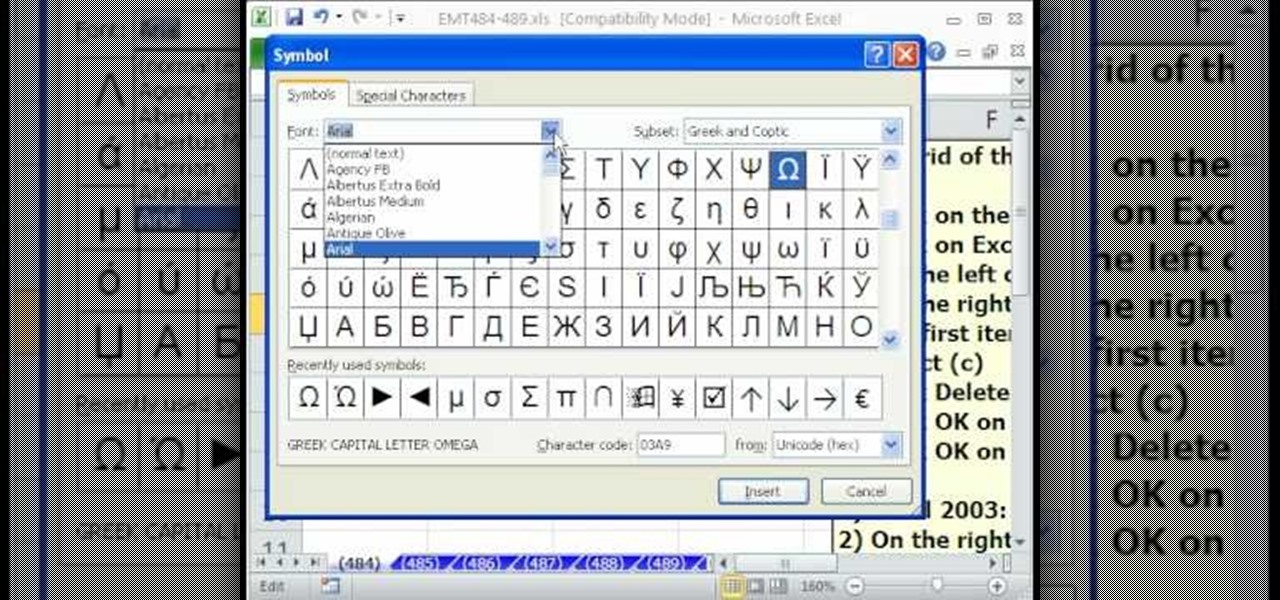
In this Excel magic trick video the instructor shows how to stop automatic copyright symbol ©. While using Microsoft Excel when you type the letter c in between a pair of curved braces Excel automatically turns it into the copy symbol © even if we did not intend to use it. Now to get rid of this feature go to the file menu and then to the options menu. In the options window that pops up go to the proofing sub menu and there is a button for auto correct options. Go into it and it shows the lis...

These days, you can FaceTime with family and friends whether you're at home connected to Wi-Fi or on-the-go with mobile data. You may have noticed, however, that your iPhone will sometimes drop Wi-Fi and rely on cellular instead — whether you're placing or receiving a FaceTime call. While that's not an expected result, there is a workaround to get your FaceTime calls back on track.
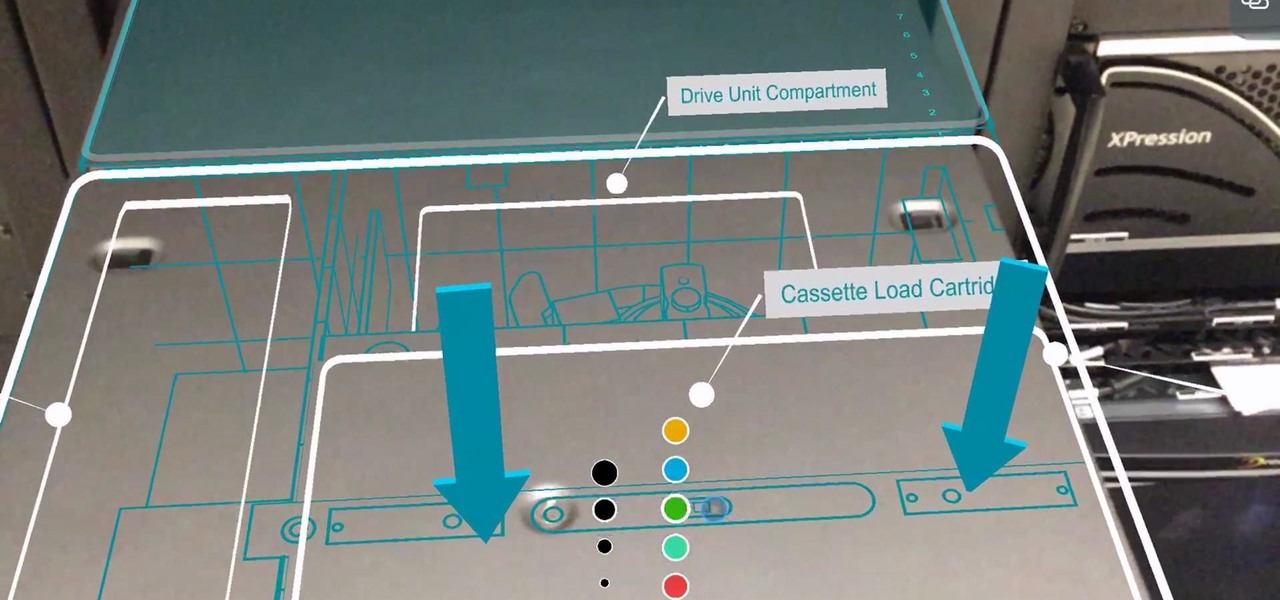
Enterprise augmented reality software maker Scope AR is bringing the powers of its two productivity apps together like the Wonder Twins into the form of a single app.
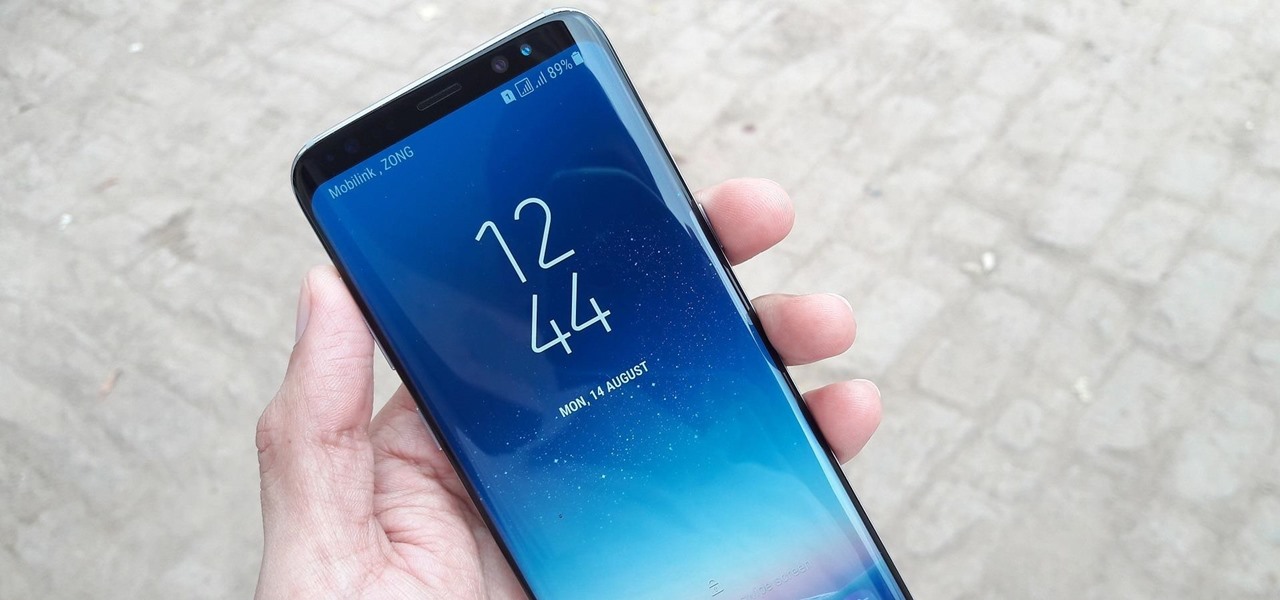
Sure, you just got your Galaxy S8. But now, Samsung came out with their latest and greatest device — the Galaxy S9. While the S8 is still a great device, it's possible that the Galaxy S9 completely outclasses it, almost forcing you to pick it up. It is worth it though? That's a harder question to answer than you may think.

Have you recently tried to type the words "it" or "is" on your iPhone only to have the Apple keyboard attempt to autocorrect them to "I.T." or "I.S.?" If so, you're not alone.
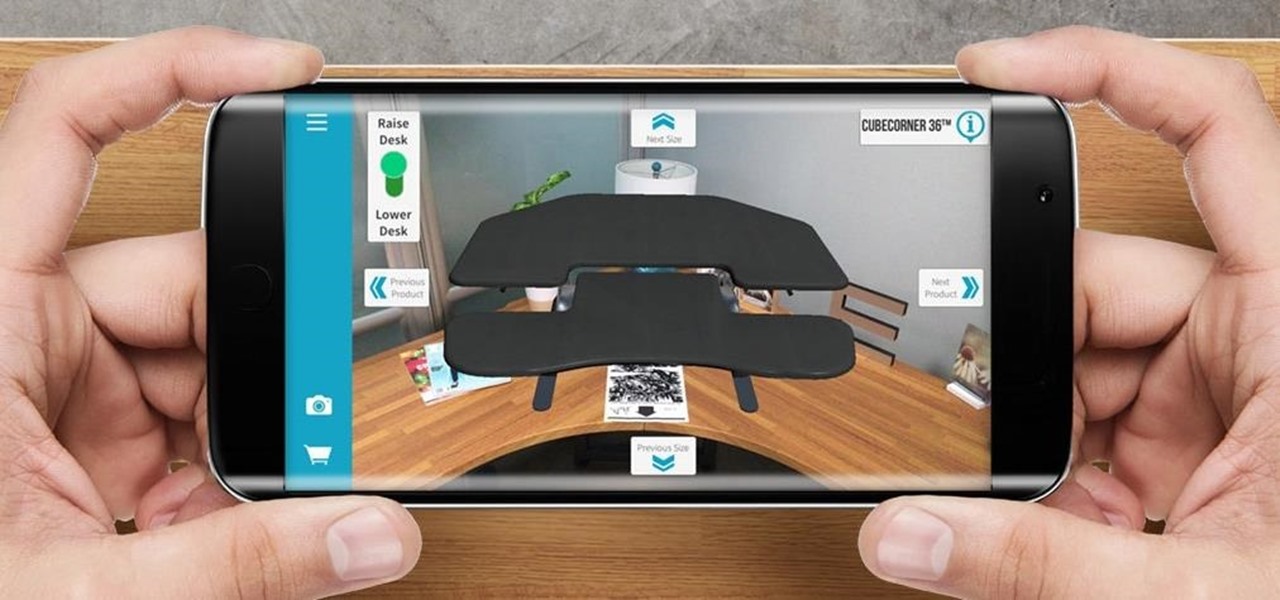
The standing desk movement has gained momentum over the past few years as research has pointed to the detrimental health effects of sitting at a desk all day.
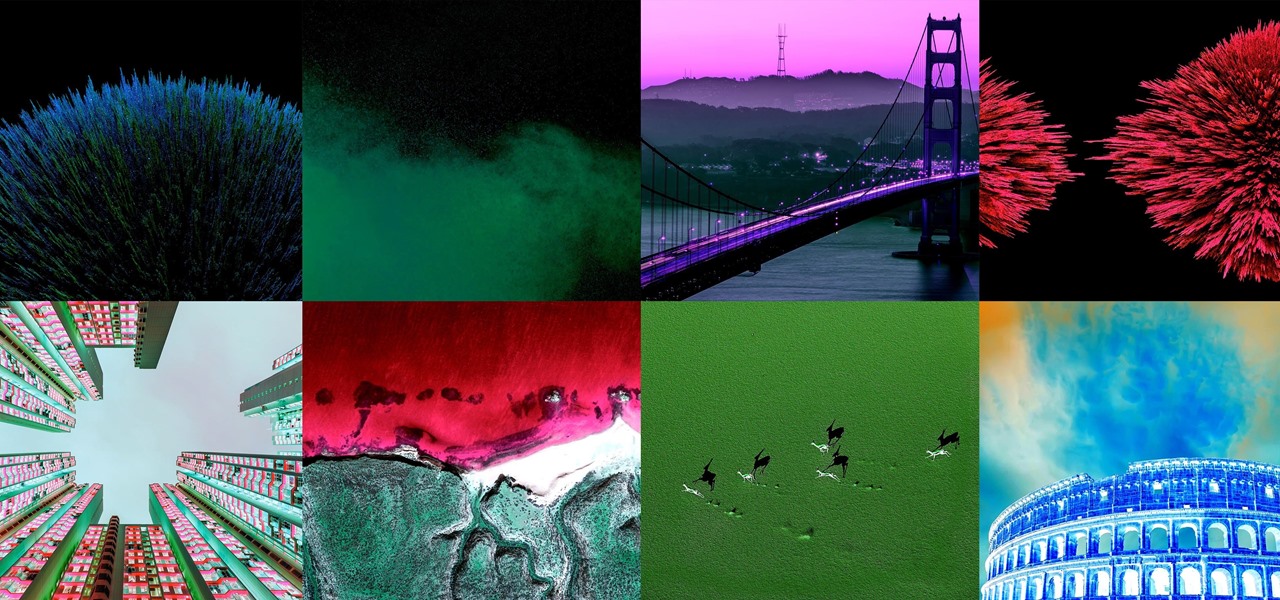
The beauty of Android is that nearly everything can be customized. But sometimes, we get so caught up in tweaking functionality and other minutiae that one of the most important interfaces gets neglected—the home screen wallpaper.
If you thought iOS 7 was a drastic change from previous iterations, iOS 8 will certainly continue to rock the boat. From a revamped Control Center to enhanced "Continuity" to ephemeral messaging, Apple's newest mobile operating system will have many of you relearning the "basics."
Android's stock appearance is easy on the eyes, but after a while, it's outright boring to look at. Unlike other tablets from some manufacturers, the Nexus 7 runs stock Android and is free from any special UI tweaks or customizations. Sure, you can download themes for a third-party launcher, but themes are launcher specific. They will not work for launchers they weren't designed for.

I read a ton of articles online and I am always looking for a way to make the experience a little better. Reading long articles can be tiresome, and if an article has multiple pages, I will most likely skip it. With the ability to endlessly scroll, no site should have multiple pages. It's just a sneaky way to get more page views, IMHO.
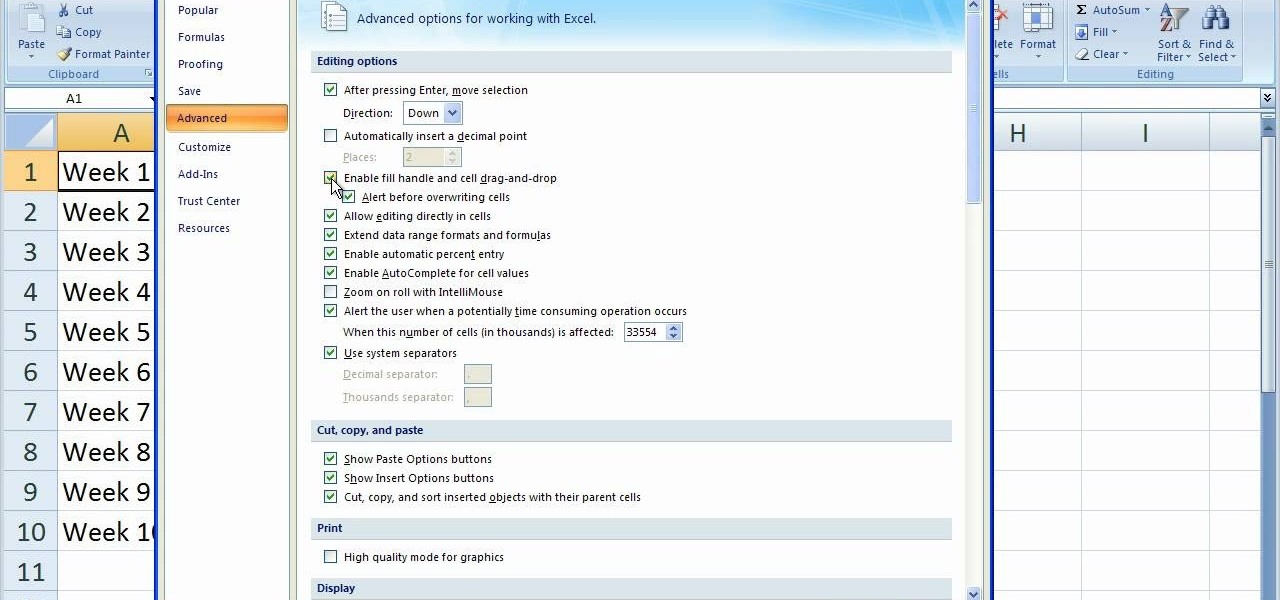
In this video tutorial, viewers learn how to disable the quick fill handle and drag and drop option in Microsoft Excel. This task is very easy, simple and fast to do. Begin by clicking on the Office button and click on Excel Options at the bottom. Then click on the Advanced tab and deselect "Enable fill handle and cell drag and drop" option under Editing Options. Finish by clicking on OK. This video will benefit those viewers who use Microsoft Excel for their work, and would like to learn how...
Go to the Menu and click the Start button. Now select Control Panel. In the Control Panel, you can see the Option Programs. Now you can see Uninstall Programs in small letters below the Programs option. Click on Uninstall Programs. Here you can see the list of programs installed, when they were installed, what is the size of the program, and which version of program is installed. To uninstall a program, simply click on the program you wish to uninstall. Some options get displayed above the ta...
This is a fantastic video, which guides us how to adjust auto play setting in our laptops. It shows systematic moving snapshot demonstration of the auto settings procedure of Windows 7. The speaker tells us to go to the start menu and then click on the control panel. Inside the Control Panel click on the Hardware and sound menu, which will open a new window, and then click on the Auto Play option? The window that opens now gives us several options to choose when we insert different types of d...

In this video the instructor shows how to format tables in Microsoft Word 2007. To know how to format tables in Word, you will first have to know how to create them. This video assumes that you already know how to create tables. When you click inside a table in Word, a new tab label, Table Tools, appears above the Design tab in the tool bar. In the Design tab there are a lot of options available that can change the look of your table with just a click. To the extreme left there are three chec...

In order to secure a PDF with a password when opened in Adobe Acrobat 9 Pro, press the secure button and go into password security settings. Here you can change on what versions of this software the file will run on, the next option asks which portion of the document is to be encrypted when a password is placed. Further below here is where you actually choose the password, this ensures that only people who know the password will be able to see the contents of the document. Below this is the d...
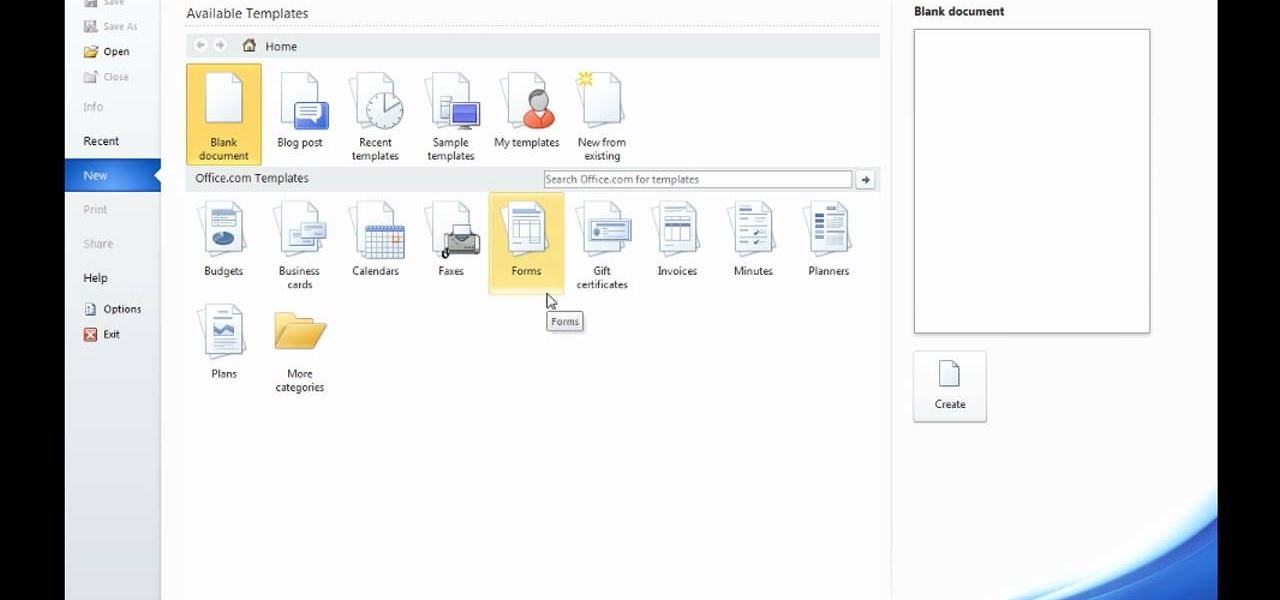
Microsoft Word 2010 prevails with new advancements. New options such as Backstage view allows the user to work efficiently and utilize new abilities when managing documents. It succeeds with new abilities that will allow the user to complete tasks quicker than before. Working with the newly enhanced ribbon allows the user to navigate with an easy, more personal customized environment. Now with more options and commands at your fingertips, it is evidently shown that Microsoft is gifting users ...
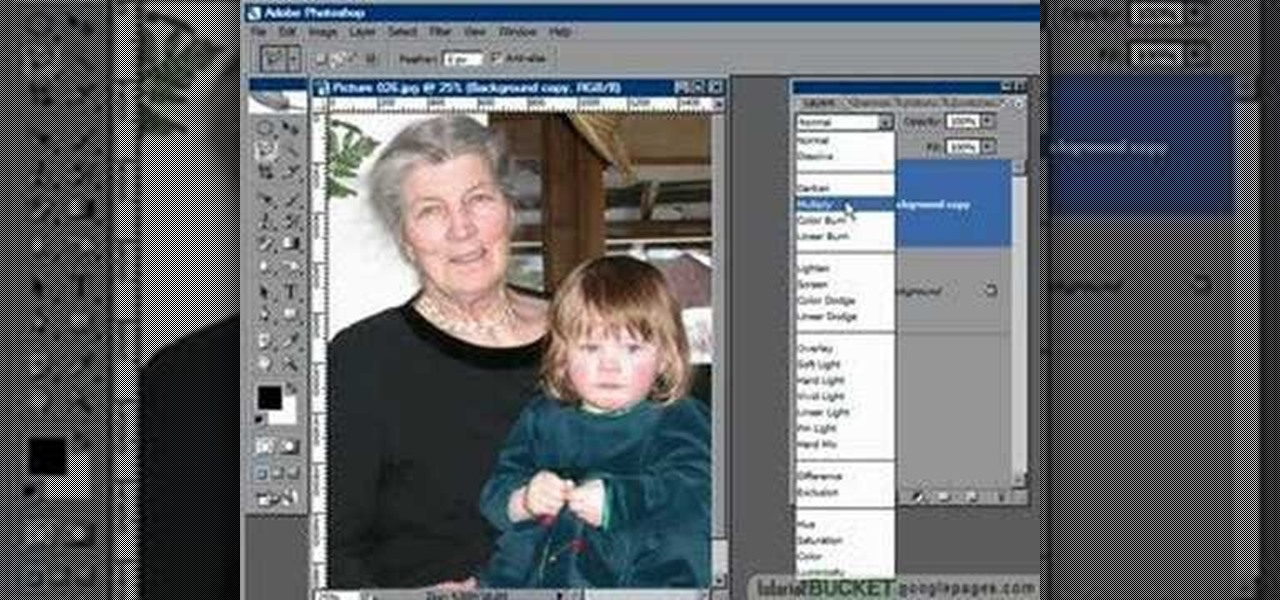
This how-to video is about how to darken an over exposed image in Photoshop.
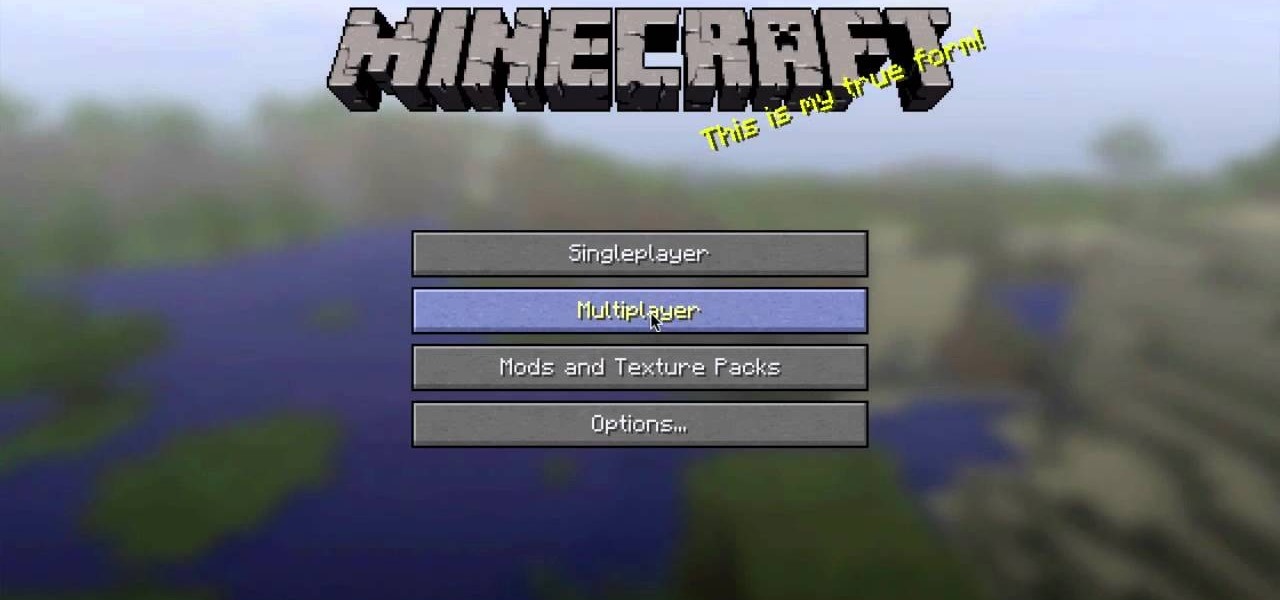
Having a hard time finding those endermen and creepers in the deep, dark caves of your Minecraft world? This guide will help you adjust the brightness settings in the Minecraft 1.8 pre-release and help you access the different world options.
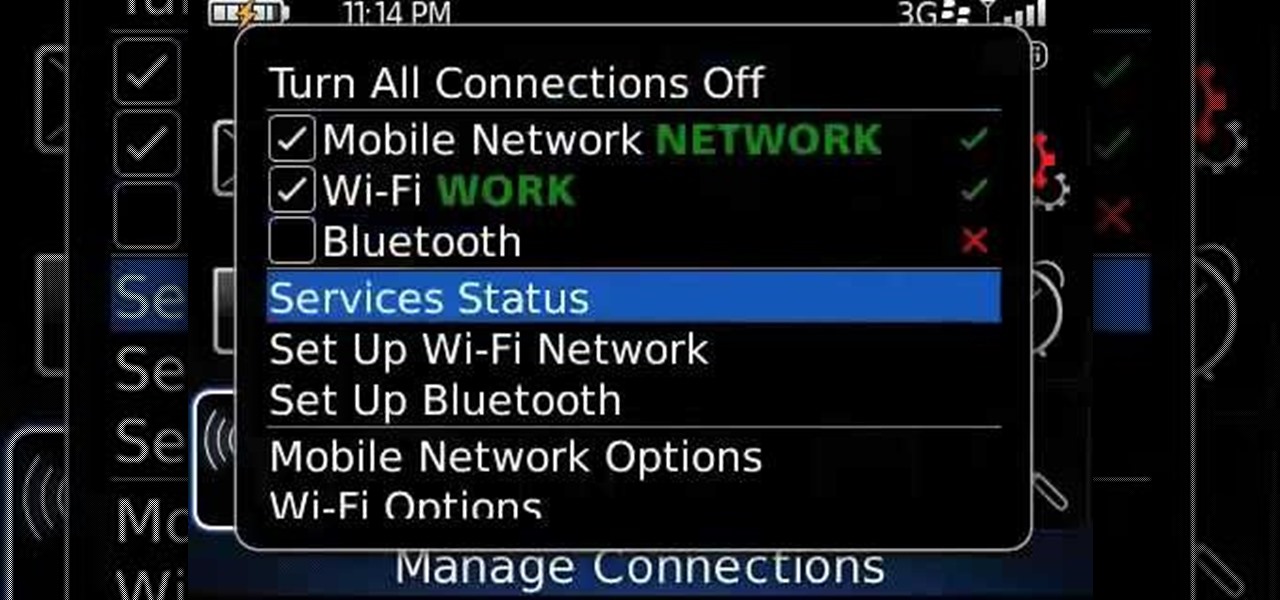
Learn how to manage your network connections through the Mobile Network Options pane on a BlackBerry phone. This clip will show you how it's done. Whether you're the proud owner of a BlackBerry smartphone or are merely considering picking one up, you're sure to be well served by this video guide. For detailed information, including step-by-step instructions, take a look.

There are a couple of options available to you when it comes to navigation on your new HTC EVO 4G. In this clip, you will learn how to use the two most popular options: Sprint Navigation and Google Navigation. These apps are similar but each have their own pros and cons, so check out this clip before you choose so you can make an informed decision.
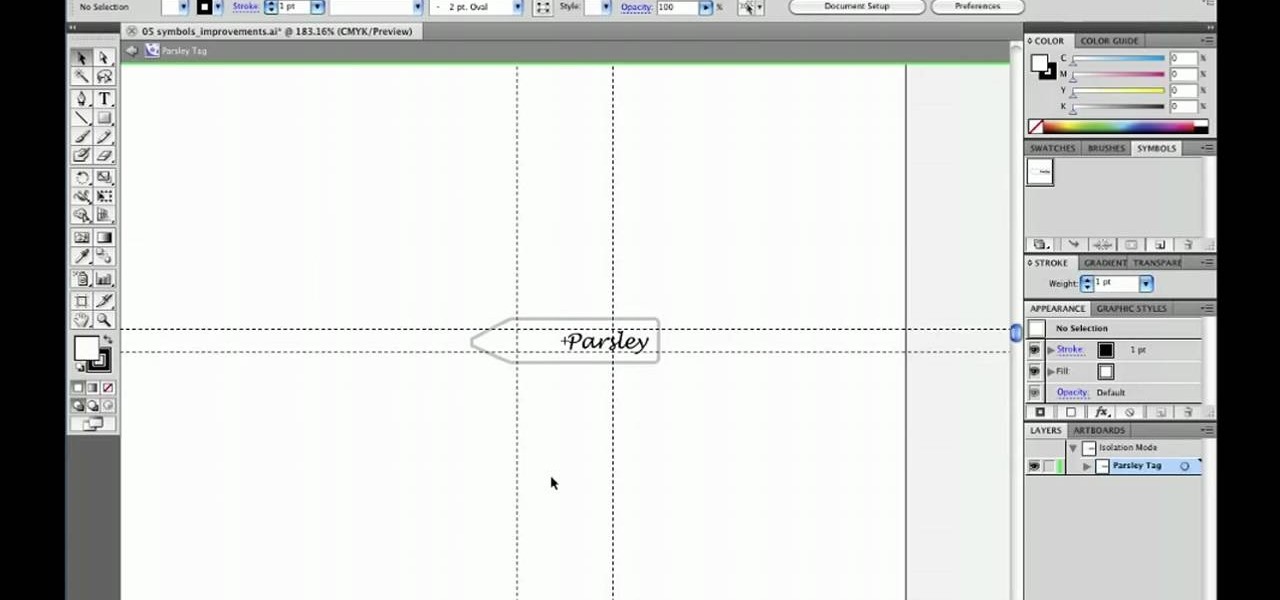
Whether you're new to Adobe's Creative Suite or a seasoned graphic design professional after a general overview of Adobe Illustrator CS5's most vital new features, you're sure to be well served by this from the folks at Lynda, which presents a detailed, step-by-step overview of how to use Illustrator's 9-slice scaling options.

The video is about making a ISO file or a disc.To enable this you must have ISO installed on your system.The video begins by opening the Image burn setup wizard file.Once you have opened it , keep clicking next until you are finished with the installation. Then you have to insert a blank CD into the drive. Once you have done that a window will pop open displaying options for the CD.Click on the mode option in the window and select ec mode and then click on the first option displayed which is ...
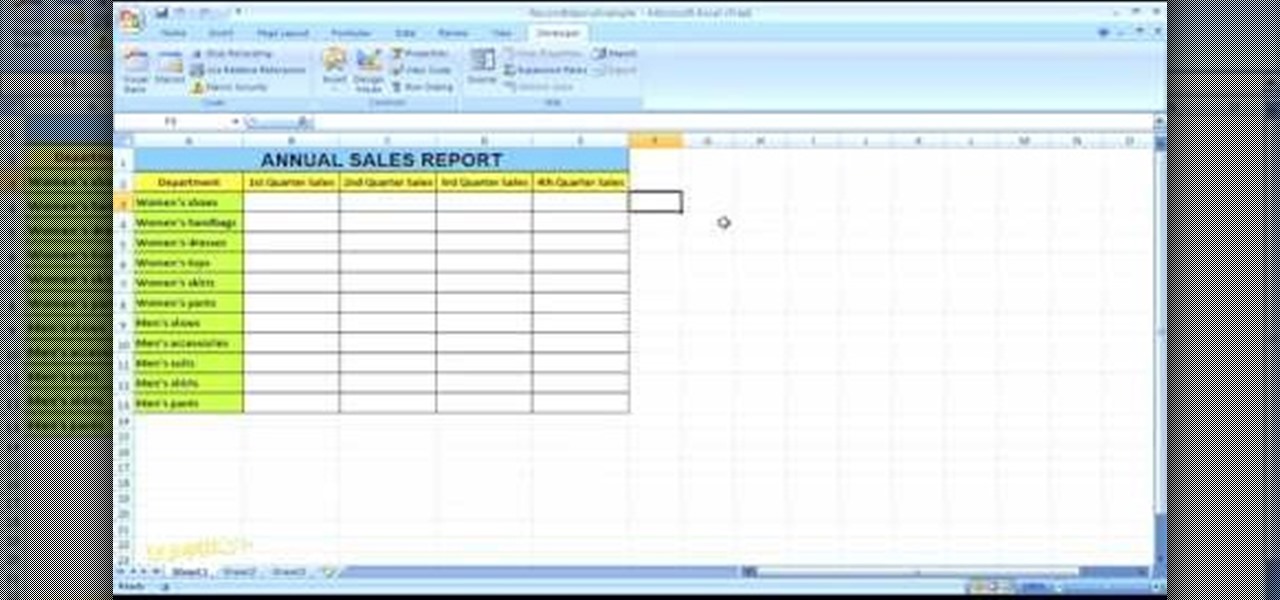
In this Microsoft Excel 2007 for Dummies video the instructor shows how to record a Macro. Macros let you create a shortcut to perform a sequence of commands all at once. For example you can create a macro to quickly build a sales report template that you frequently use. When ever you run that macro the Word will automatically build the template for you based on the recorded commands. To write macros you need to have the developer tab enabled. To enable it click on the office button and at th...
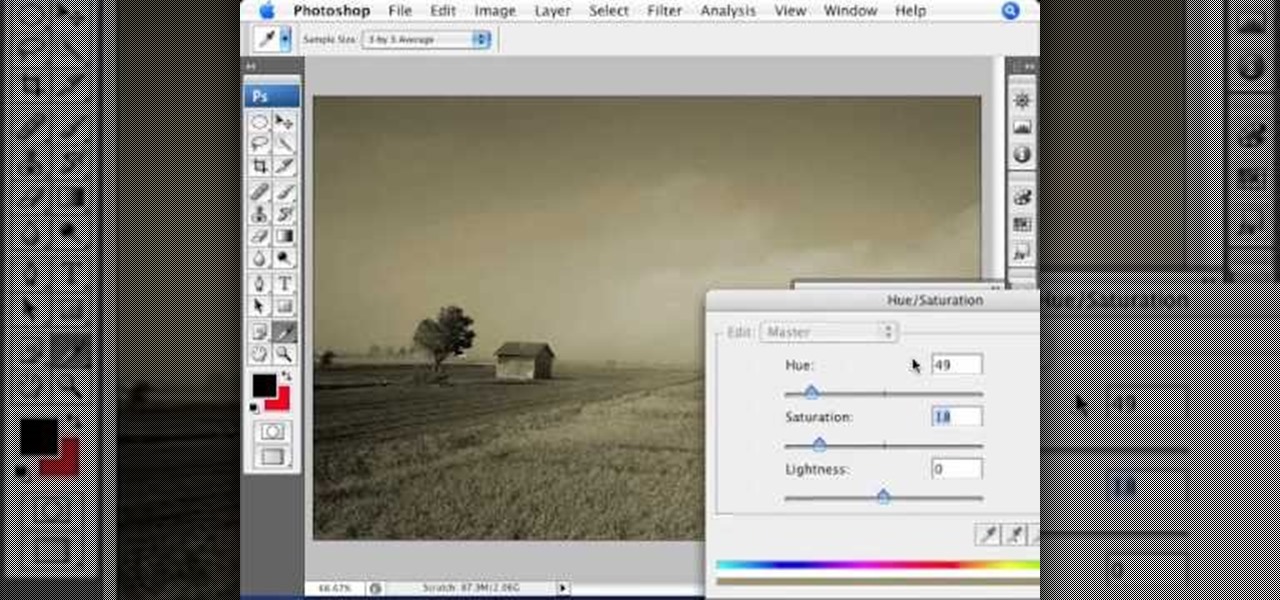
This how-to video is about how to add a color tint to photos in Photoshop.
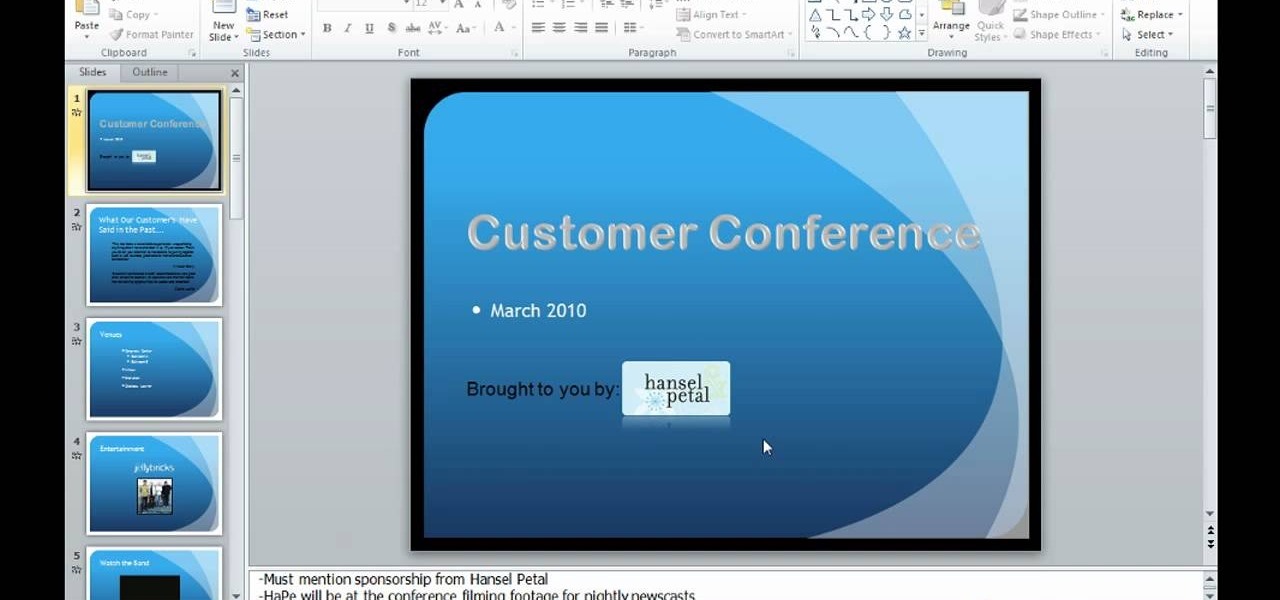
This video is describing how to preview the pasted items such as from another PowerPoint or any other articles. These are all features available in the "Microsoft Office Power Point 2010". We will take the "conference1" presentation in that the first slide and we would like to add some text from another "Document" from another application like "Microsoft Word". So, we click and drop the mouse to select that and click the Copy button on the top of the word file or we can copy by the keyboard i...

Removing the cookies from Firefox and Internet Explorer is explained in this how-to video. First let's see how to delete cookies from Firefox browser, just follow the following steps:

In the new Photoshop CS4, there are some minor improvements to the Photomerge function, including the new collage option. Jay Kinghorn goes over the different ways of bringing your images into photomerge, the layout options, and some quick tips for creating better quality panoramas in Photoshop CS4. The following how-to video walks you through the entire process.