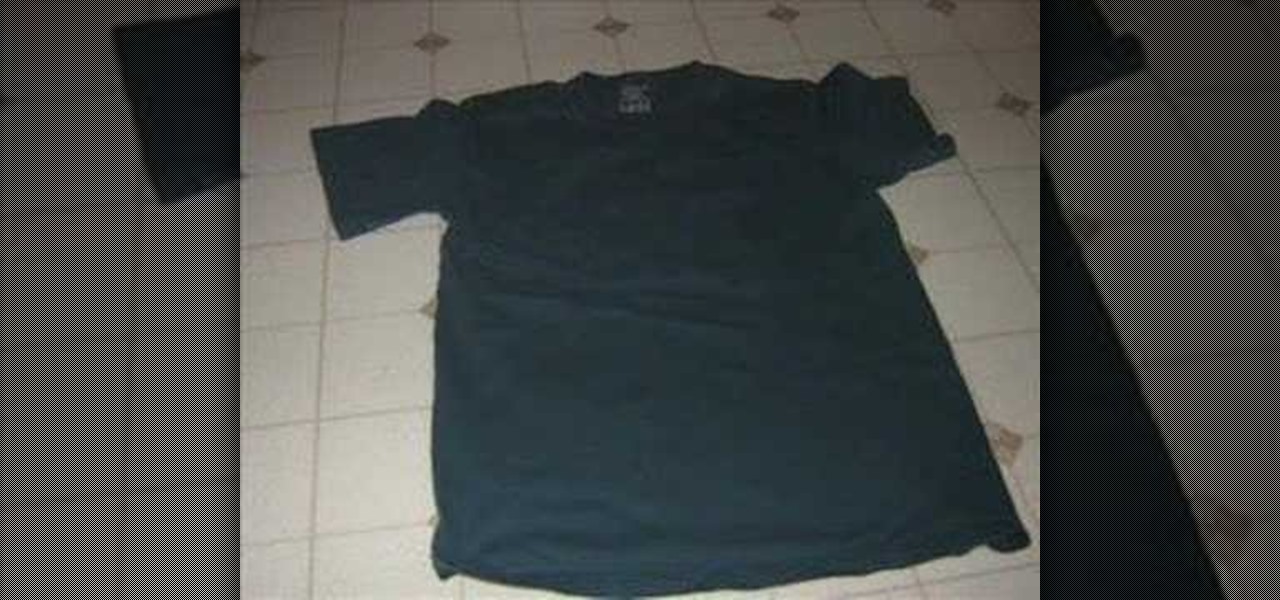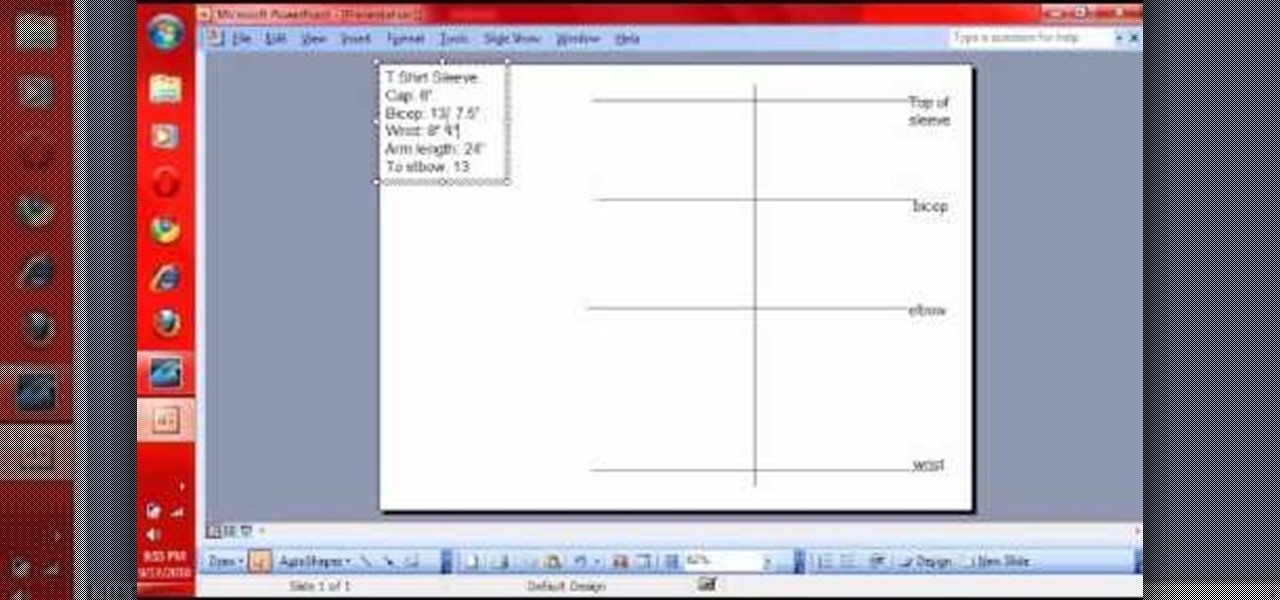
Ever wondered how to make a tee shirt? With a little cloth, some thread, a sewing machine and some direction, it's as easy as baking a cake. If you want to start designing your own cool T-shirts with your favorite fabrics, watch and learn!
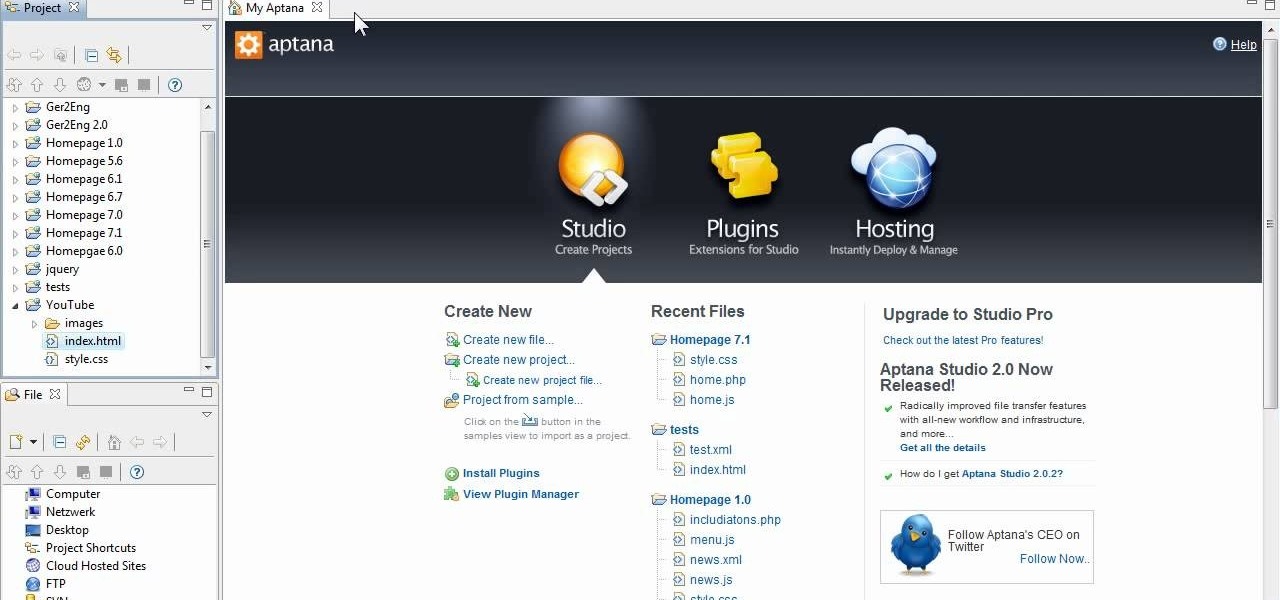
Interested in learning how to code and create a modern website from scratch? Let this eight-part video tutorial series be your guide. It's easy and this series presents a complete, step-by-step overview of the process. For more information, including detailed instructions, and to get started creating and coding your own website groups, take a look.
If you've downloaded Autodesk Inventor and are kind of confused how everything is supposed to work, you're in luck! In this great video series you will learn all the steps how to do some of the basic functions of Inventor, including: Extruding the bass, shelling the brick, adding nubs and more!
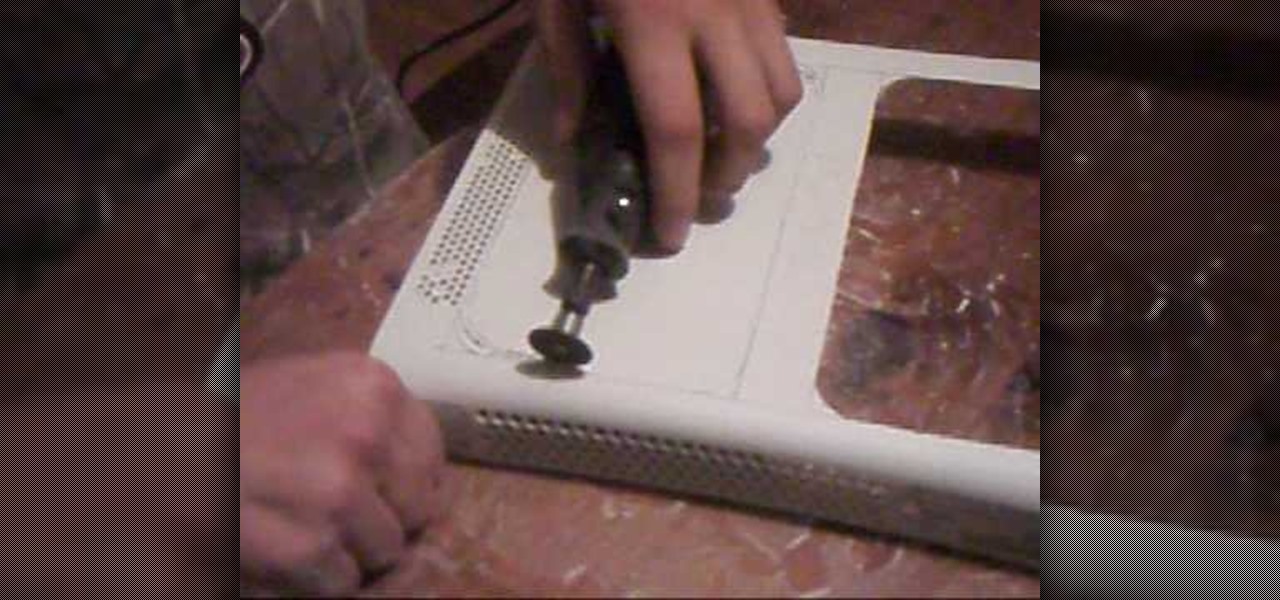
If you are a serious XBox 360 owner, you probably use it all the time. Why not customize it a little and really make it your own? This video will show you how to cut custom designs into the case of your XBox 360 and fill it in with plexiglass, leaving you with a very cool-looking custom XBox 360.

In this video tutorial, viewers learn how to make their own rub-on. This allows users to transfer any designs onto card stock. Users will need to first print the design onto a sheet of acetate. Simply place the acetate paper over the card stock. Then use any kind of tool and simply rub it over the design on the acetate. The transferred design will be lighter in color than the original. Make sure that you if you want to use letters or numbers, print it backwards. This video will benefit those ...
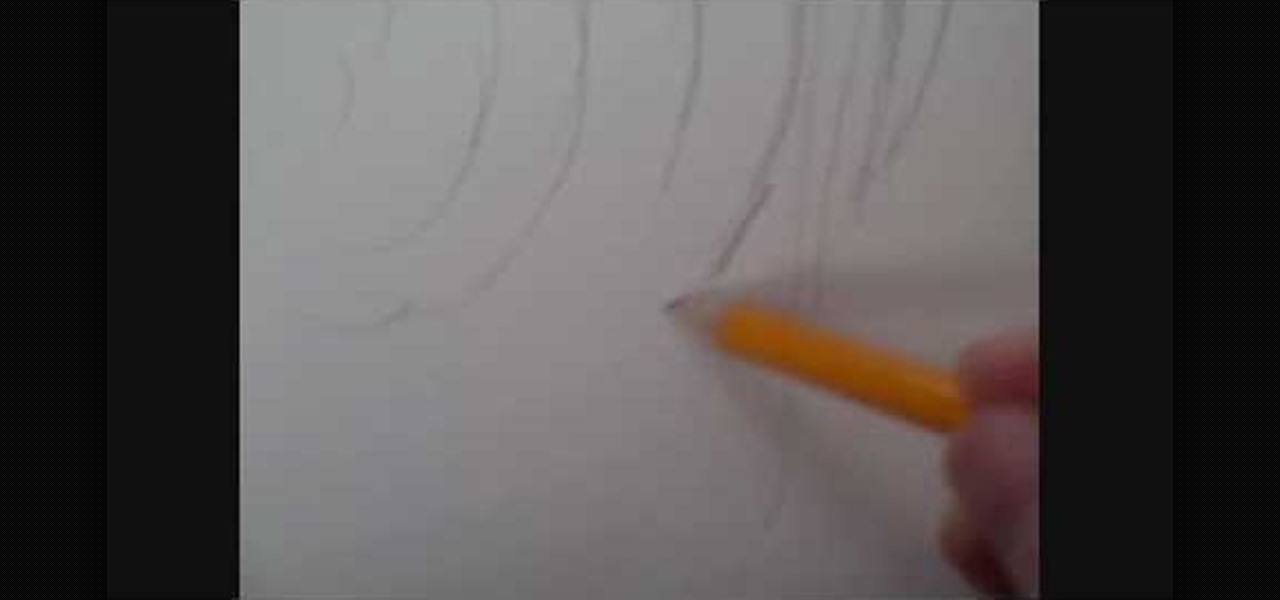
Designing a tattoo sleeve is a challenging and important task for any tattoo artist or recipient, as they are huge, expensive, nearly impossible to hide and, like all tattoos, with you forever. This four-part video demonstrates the sketching and inking of a sleeve design with a a biomechanical theme. It is unmeasured and would need to be refined and drawn again before it could go on a body, but is a good place to start.

In this how-to video, you will learn how to design and create four of your own Lego light sabers. All you need is six different pieces as seen in the video for the first design. Now connect them vertically, one at a time. All you need is six different pieces as seen in the video for the second design. Now connect them vertically, one at a time. All you need is seven different pieces as seen in the video for the third design. Now connect them vertically, one at a time. For the last design, you...
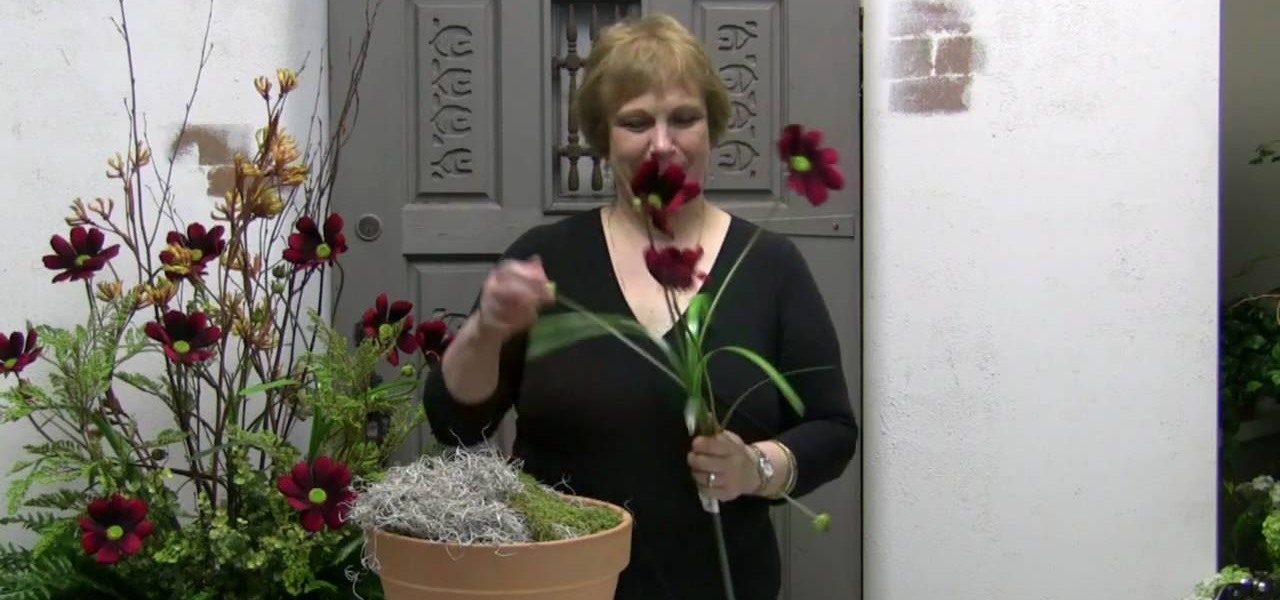
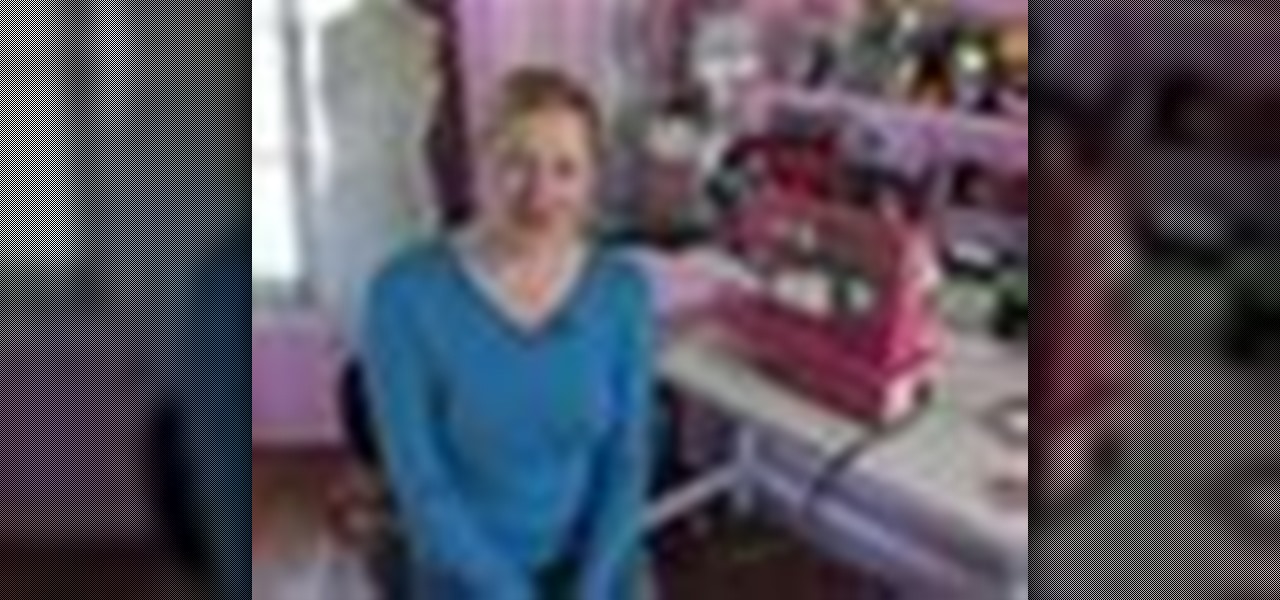
The art of floral arrangement is a fun and valuable skill. Dana Plazyk of Flowers by Design lends useful tips and tricks on making simple flower arrangements.
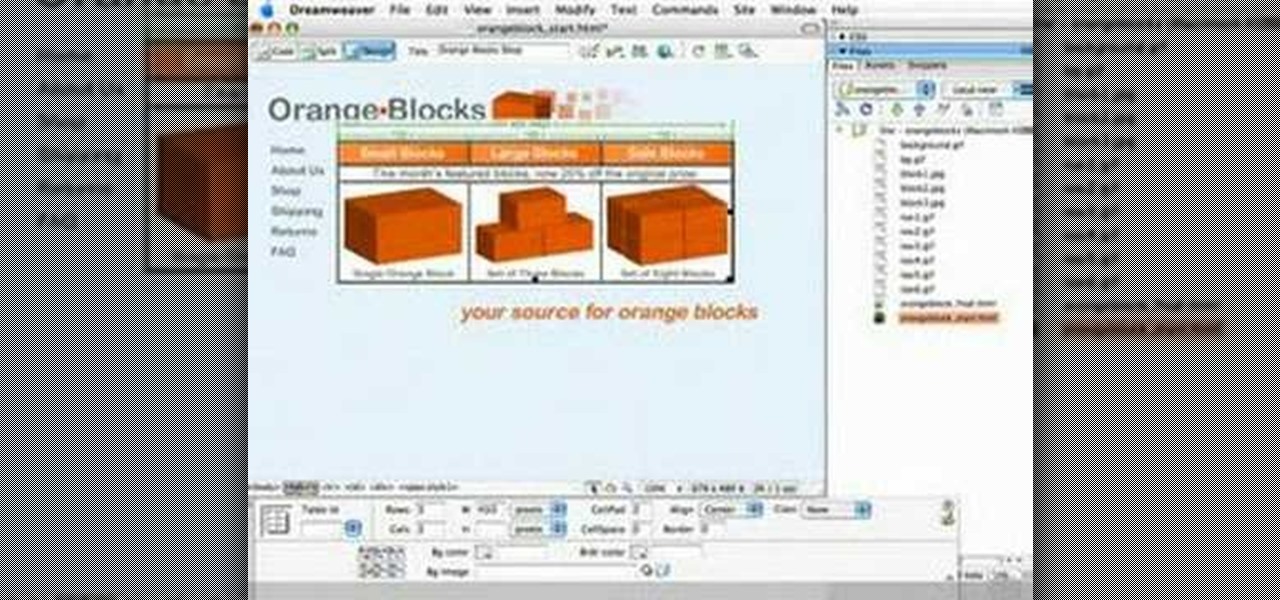
Check out this tutorial video from Sessions Online Schools of Art & Design's "Dreamweaver I" course. This is part of Sessions' Web Design certificate programs.
Check out this video on color theory: analyzing color. It is important to understand color relationships and harmonies when designing everything from brand advertising, websites, video games, fine art, clothing and interior decoration. Tutorial video from Sessions Online Schools of Art & Design's "Color Theory" course. Part of Sessions' Graphic, Web, Digital Arts, Marketing, and Multimedia Arts Design certificate programs.
This software tutorial shows you just how easy it is to design a great looking logo in Adobe Illustrator. As with any other software package, it's all about getting to know the interface; and then from there it's all about developing your design skills. As with most others, I started out designing logos in Photoshop because that's the only program that was available to me. But Illustrator offers one advantage when it comes to designing logos, and that's one of being 100% vector. You want a lo...
Design capes and capelet collars with fashion illustration. Learn how to draw capes and capelet collars in this free fashion video from a professional designer.
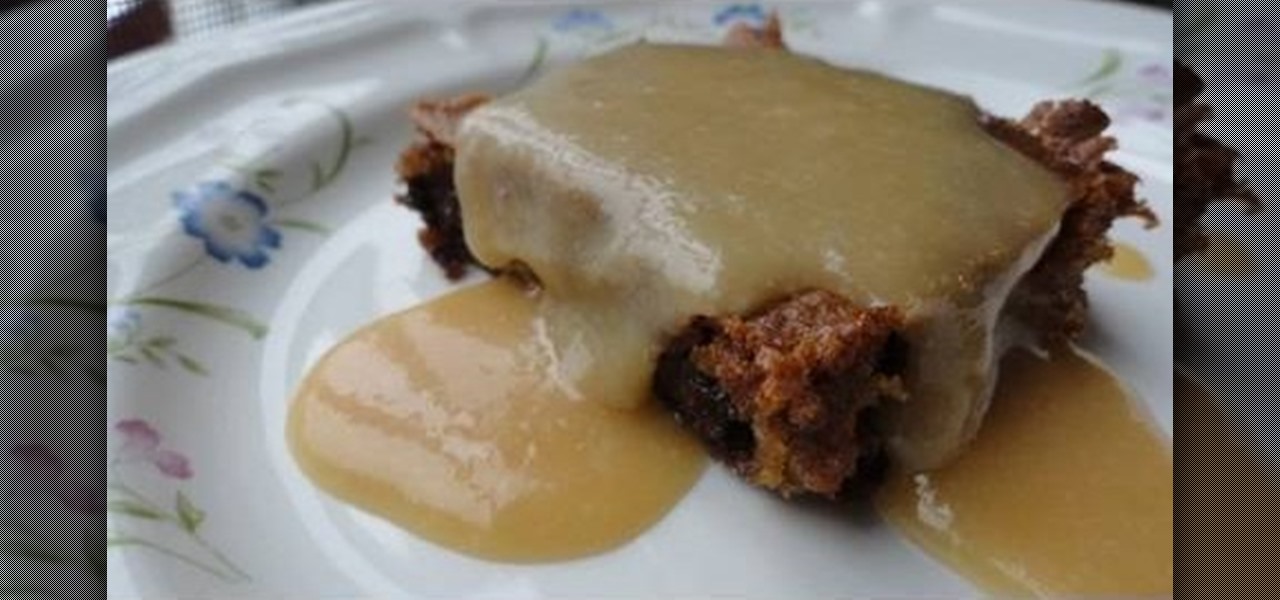
Despite what their name implies, brownies don't have to be, well, brown. Substituting white chocolate for milk chocolate, this recipe for blonde brownies topped with maple syrup sauce is too decadent to pass up.
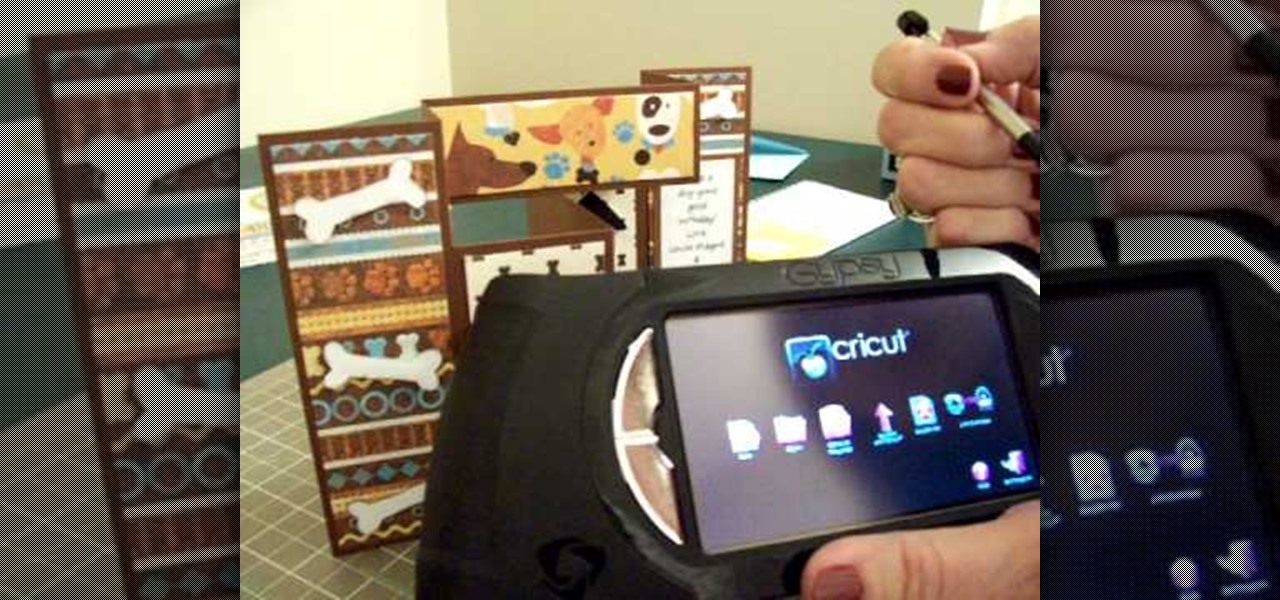
The queen of cute cards CardCrazy09, shows viewers how to make an adorable tri-fold card using products from Die Cuts with a View (Pet Stacks) and products from the Cricut personal die cutting machine and the Gypsy portable design studio. CardCrazy09 demonstrates how she used two cartridges from the Cricut in her design, the Doodle Charms and Paper Pups cartridges. She also shows how using the Gypsy Portable Design Studio allows card making gurus to size their designs to scale. CardCrazy09 sp...
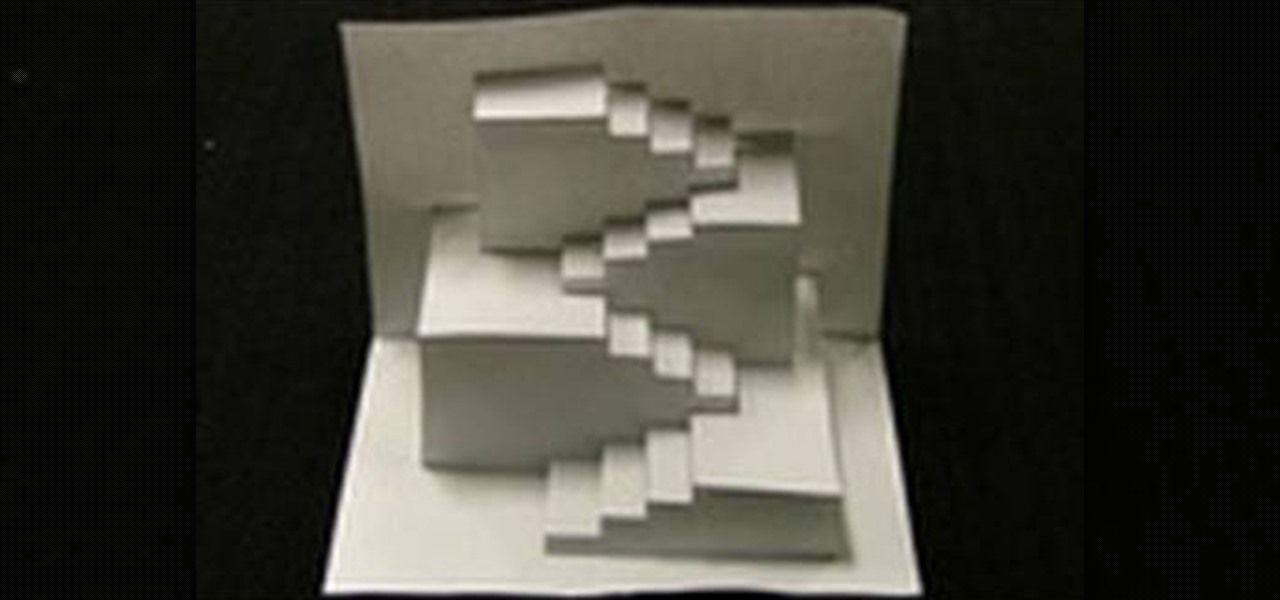
This video shows us how to create an amazing 3D design using a single sheet of paper. You will need: cutter printed template of the 3D design. Procedure: Download the template using this link. Print the template. Cut all the solid lines on the template. Fold all the broken lines on the template as shown. Arrange the paper in such a way that it looks like the 3D design shown on the video. Follow these steps and you will have your very own amazing 3D paper design!
Get that extra oomph in your hair by teasing it! Teasing your hair will allow you to poof it up a little bit for styling purposes.
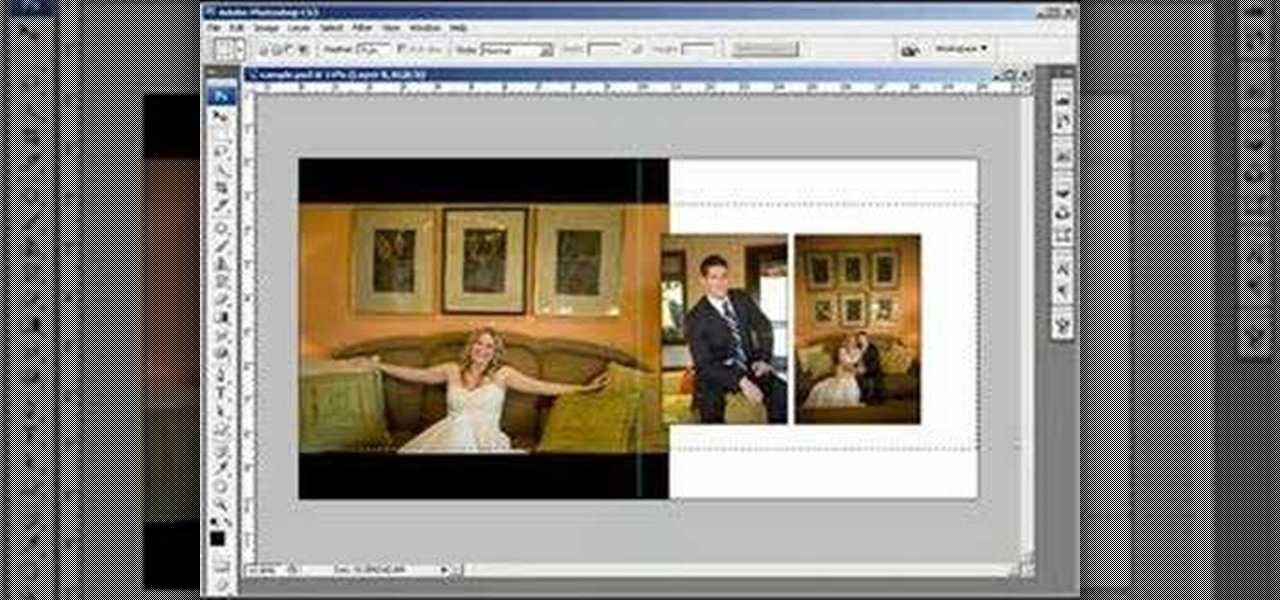
This two part Photoshop CS3 tutorial shows you how to design a flush mount two page spread. Great for anyone wanting to create a photo album, or design project. Also great for professional photographs or graphic designers that need to create two page layouts for catalogs etc. Learn how to design a two page flush mount album design with basic background design elements in Photoshop CS3.
Take a lesson in architecture from renowned architect Doug Patt by watching this video tutorial. If you want to learn about drawing and designing, without going to school, Doug's just the teacher. Watch to see how to design and draw like an architect.
Watch this step by step fashion design tutorial on how to bleach shirt designs. Print out a design onto durable paper and cut out the individual pieces. Iron the shapes in place atop the t-shirt. Place a protective lining on the inside of the shirt. Fill an empty spray bottle with bleach and spray your design lightly from about two feet away. The areas where you placed paper shapes and letters will not soak up the bleach.
If you're trying to do nail art yourself, learn tips for making nail art designs and patterns with this free video series from a professional nail artist.
How to sew a bound buttonhole, including making your own patterns and designs; get professional tips and advice on methods and techniques for sewing your own bedroom accessories in this free instructional video.
Stylish hats are big in contemporary fashion circles, and illustrating hats can keep fashion designers busy. Learn to draw hats from a designer in this free fashion illustration video.
Bra and lingerie top fashion designs represent a lucrative arena for many clothing designers. Draw a variety of lingerie top fashion designs with tips from a fashion expert in this free fashion design video series.
Designing panties and lingerie takes a talented fashion designer who knows sexy, comfort and materials well. Learn to design panties and lingerie bottoms from a designer in this free fashion design video series.
Designing bathing suits is a great way to be creative and have fun with fashion design. Learn how to draw two piece bathing suit designs with tips from a fashion expert in this free fashion design video series.
Skirts are an essential part of any women's wardrobe or high fashion show. Learn how to draw fashion skirt designs with tips from a fashion expert in this free fashion design video series.
Draw designs for different styles of eyeglasses. Learn about frame designs for eyeglasses in this free fashion video from a graduate student.
Sunglasses add flair to fashion designs, giving croquis the right attitude or feel. Learn to design sunglasses for fashion croquis from a designer in this free fashion illustration video series.
Want to be a fashion illustrator like your favorite clothing designers? Learn to draw fashion sketches in this free video on fashion design and illustration.
With the reveal of Magic Leap's developer documentation last week, many questions have been answered—and several new ones have been raised as well. But since the Magic Leap One (ML1) isn't simply called the "Leap One," these are questions that the company probably has no interest (at least for now) in answering. Understandably, Magic Leap wants to keep some of the "magic" under wraps.
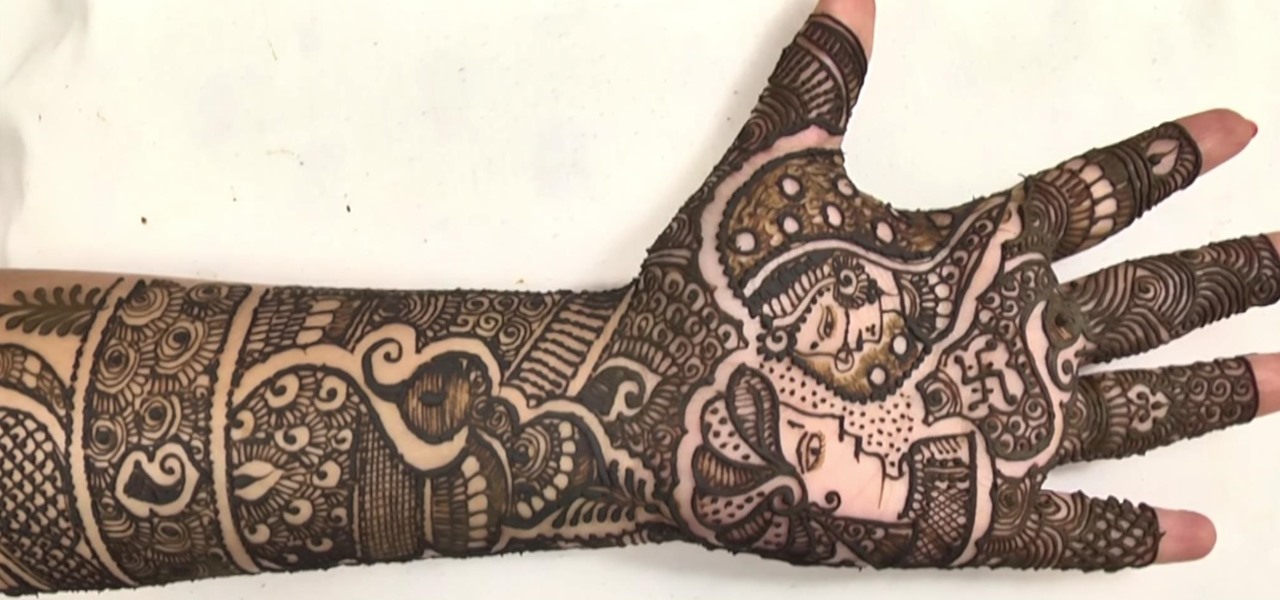
Intricate designs are very common in mehendi for the dulhan, because it's her special day and she would most definitely want to amaze everyone around her.
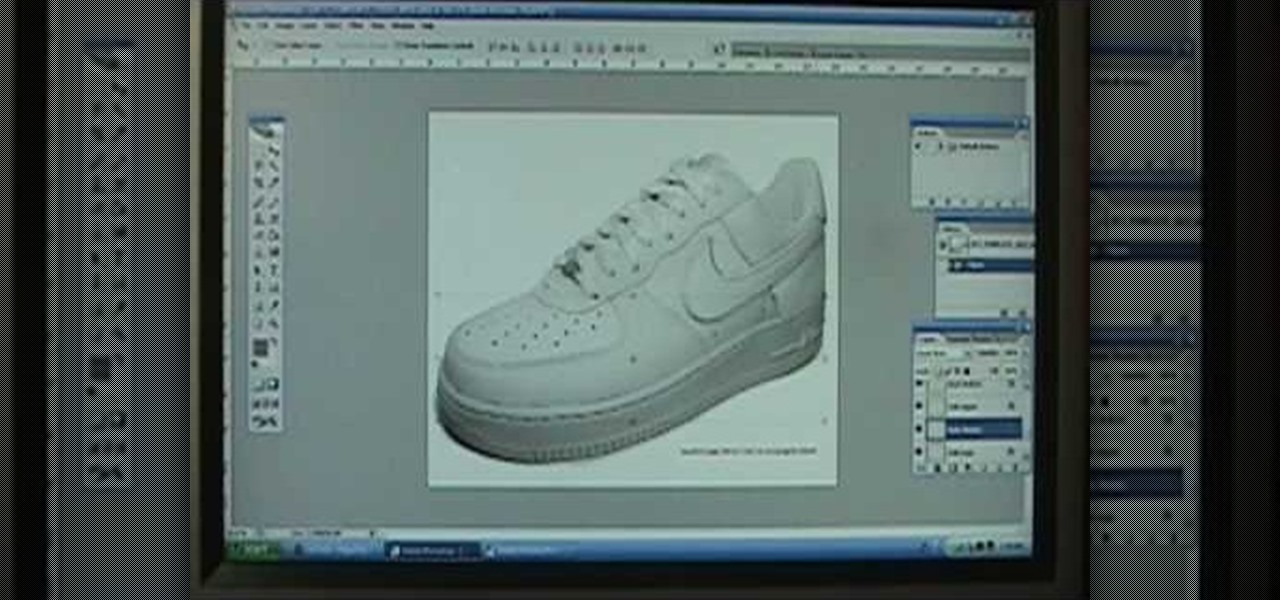
Custom leather sneakers like Dunks and Air Force Ones are becoming popular canvases for painters lately, who transform the white slab-sides of the kicks into awesome artworks. This video will show you how to design a custom shoe in Photoshop, working out the kinks before you put paint to shoe and wind up ruining a $120 dollars pair because you painted something you didn't want on it.
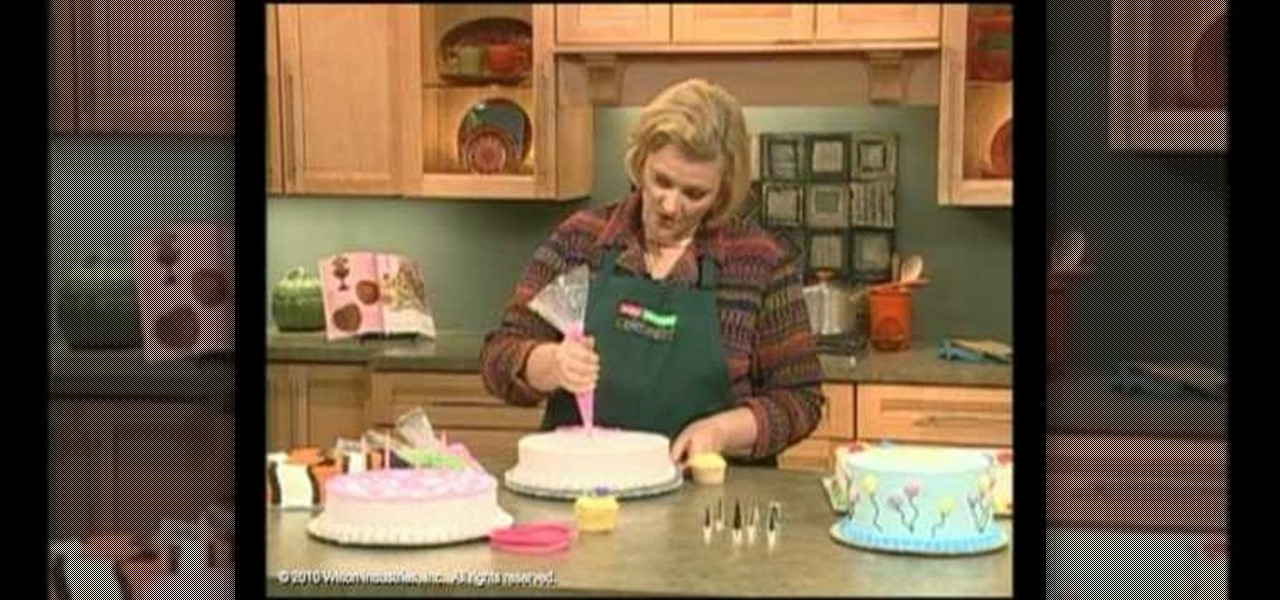
In this tutorial, Nancy goes over the star tip. The star tip is the most popular tip used for cake and cookie decorating. This tip is fantastic for beginners and can look like stars, flowers and also be used to fill in colors for other designs. Follow along with Nancy for fabulous tips and design ideas.
Whether you're new to Adobe Photoshop or a seasoned graphic artist after a general overview of CS5's most vital new features, you're sure to be well served by this official video tutorial from the folks at Adobe TV. In it, you'll learn how make fast work of common design and production tasks like image re-touching with magical content aware fill in Photoshop Extended, creating complex shapes with Shape Builder tool in Illustrator, and intuitive object-selection features in InDesign and more.
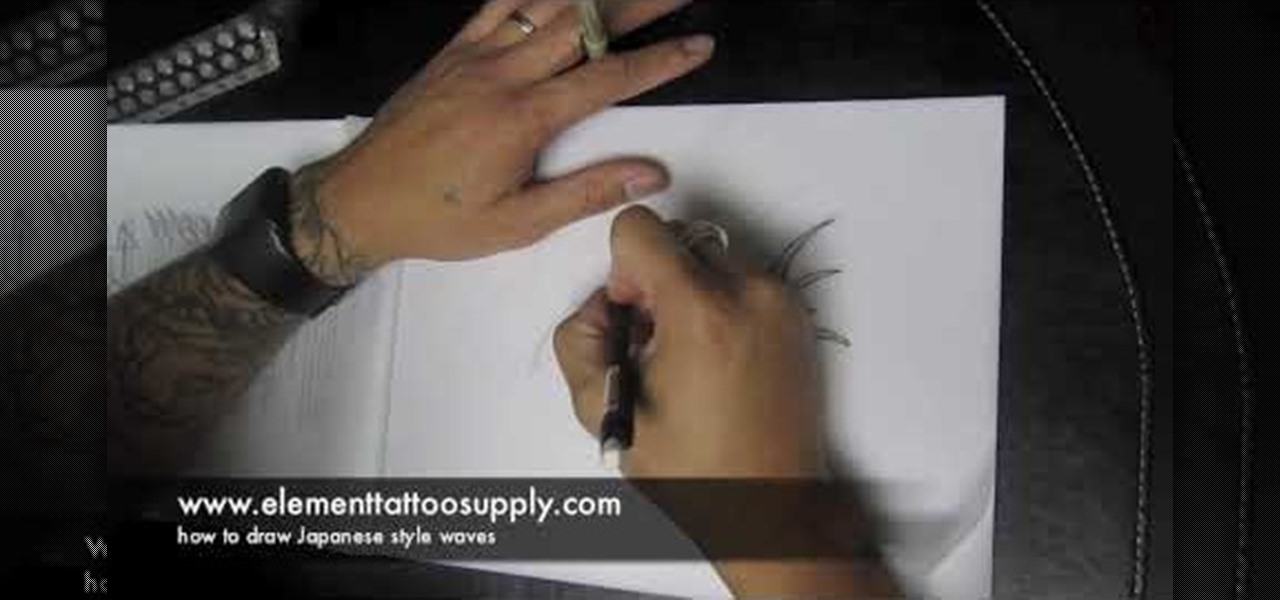
In this video tutorial, viewers learn how to draw Japanese waves for a tattoo. In this video, viewers observe different ideas and elements for wave designs. Viewers learn different techniques. To draw a design for a tattoo, viewers should sketch out their image and experiment different designs. The materials used in the video include: tracing paper, pencil and a Micron 08 pen. This video will benefit those viewers who enjoy sketching images, art and would like to learn how to design tattoos.
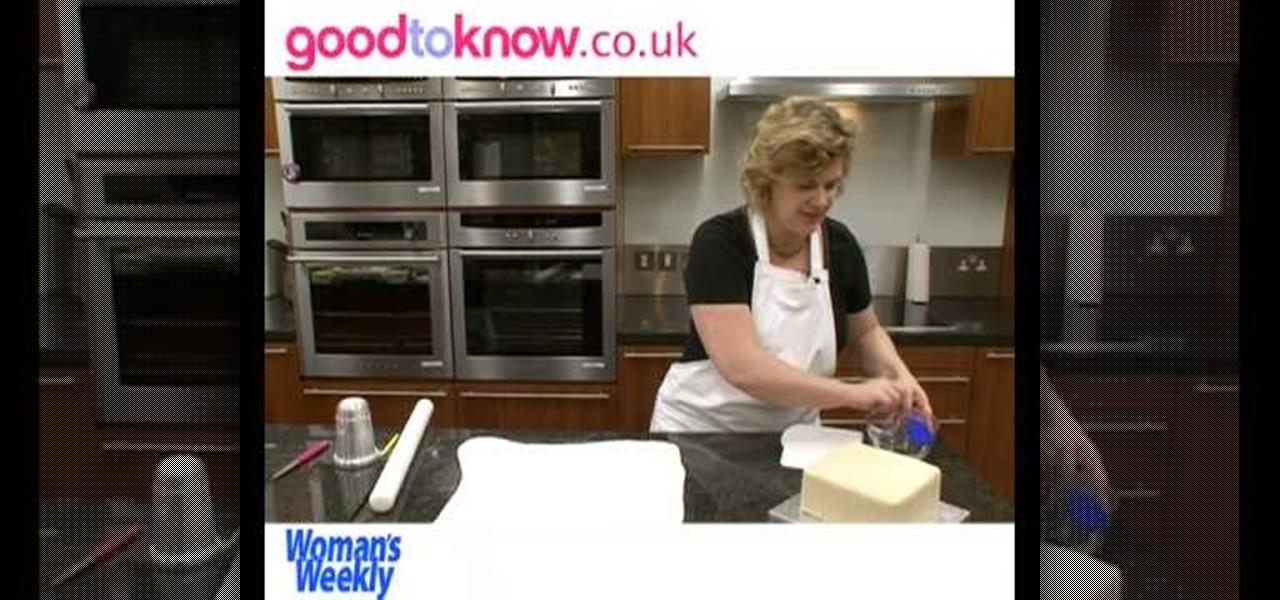
Learn how to make a beautiful & easy star-designed Christmas cake in two-part cake decorating tutorial with Women's Weekly cookery editor, Sue McMahon. You will need a square fruit cake, apricot glaze or jam, marzipan, white & blue sugarpaste or frosting, and non-toxic edible cake glue. Impress your Christmas guests with this exceptional looking cake next holiday season.
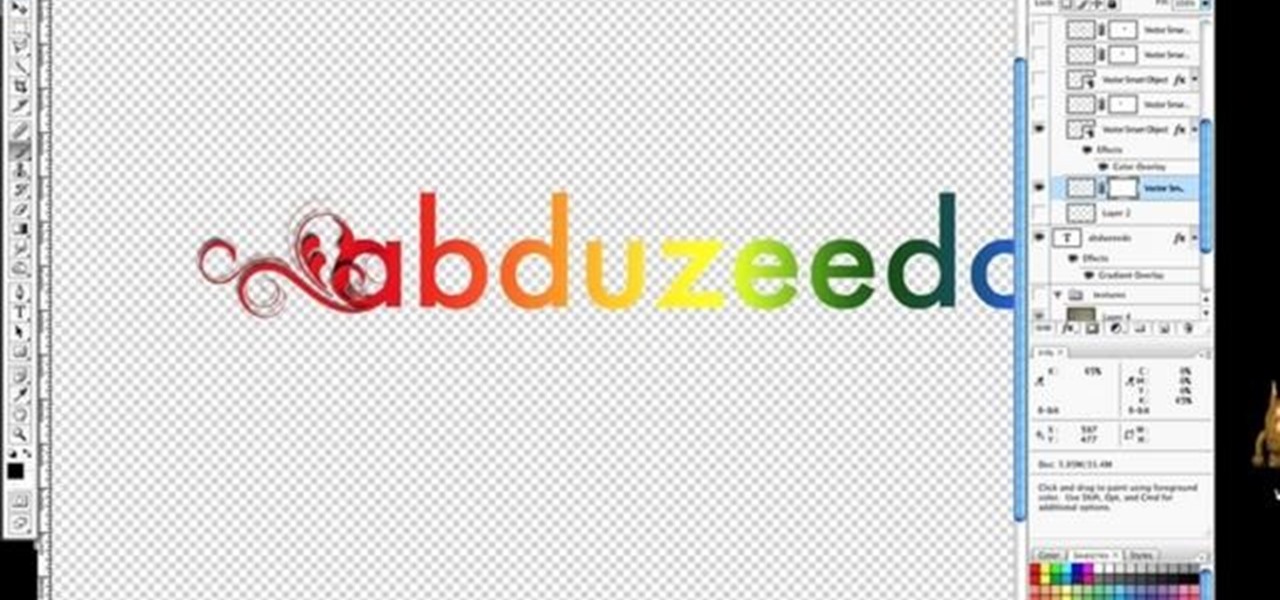
There is an awesome typography design from Ginger Monkey Design called Compassion. What is really great about that design was how they mixed some "frilly bits" with the typeface to create an outstanding piece of work. This Photoshop tutorial will attempt to create a similar typography from scratch. If you like or need fancy artistically frilly looking text, check out this video and learn how to make your own.
If you've already watched our videos on basics of Unity3D, the awesome free 3D game design engine, and want something more meaty to dig into, watch this video series for a guide to making C4KE, a charming little 4-player action / strategy romp designed by the creator of this video for a game design contest.
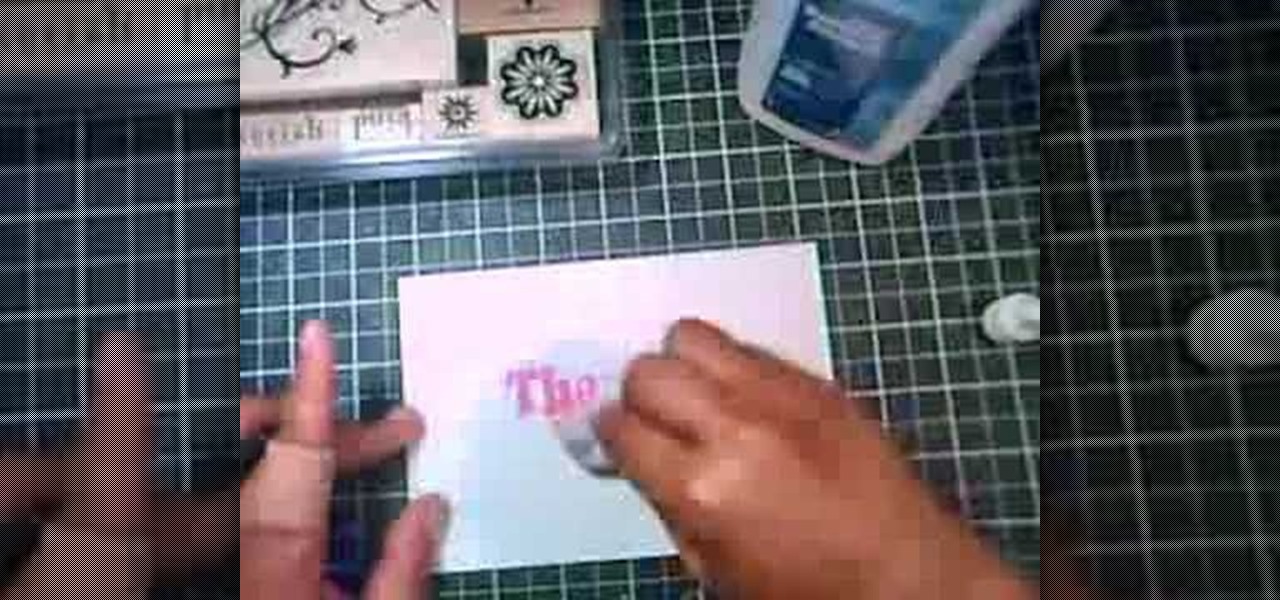
In this tutorial, we learn how to create a marble effect for paper design. You will need: rubbing alcohol, ink, stamps, and a cotton ball to get this effect. To start, you will Need to first dip the cotton ball in some rubbing alcohol and then add it to the ink. Dab this onto the paper all over. From here, you will color your stamps with dye ink and stamp it over the paper where you made the marbled effect. When finished, you will have a cute image over the marble design and then you can add ...
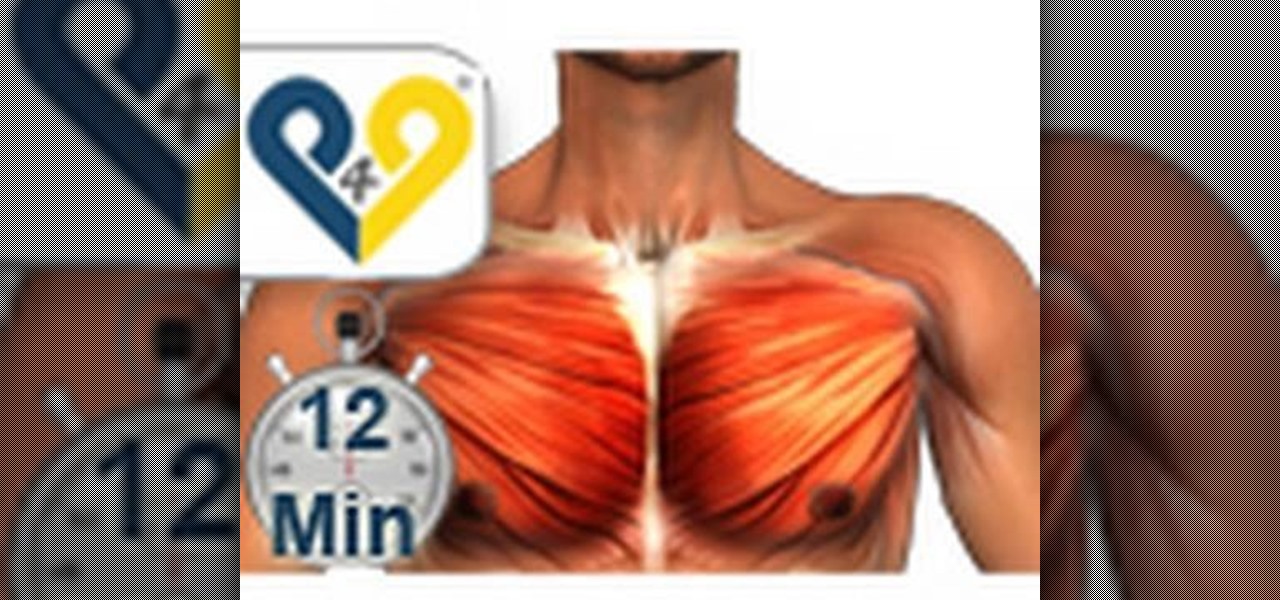
This "chest workout home edition " was designed to provide an easy and fun professional workout for everyone. These exercises are designed to tone main pectoral muscles (upper, major and minor pectoral muscles) and you can workout wherever you want: at home, in the park, on the beach or at the gym.