In this video tutorial, viewers learn how to wax a snowboard. The materials required for waxing are: wax (cold, warm, or all temp), an iron, scraper (plastic or metal) and a hard bristled brush (or rough side of a sponge). Begin by laying the board with the base facing up. Turn the iron on and melt the wax. Move the wax around to evenly distribute it on the base. Then use the iron to spread the wax in a thin layer. Allow the wax to cool for 30 minute and remove the layer with your scraper. Bu...
This video shows you how to prepare a few different kinds of vegetables and fruits to cook with. The first thing that this video shows you how to do is peel a tomato. This video shows you a very simple way to do this using only a knife, a pot of boiling water, and a pot of water full of ice. The second thing this video shows you how to do is cook vegetables like broccoli without them browning and losing all of their nutrients. All you need to do this is a pot of boiling water, some salt, and ...
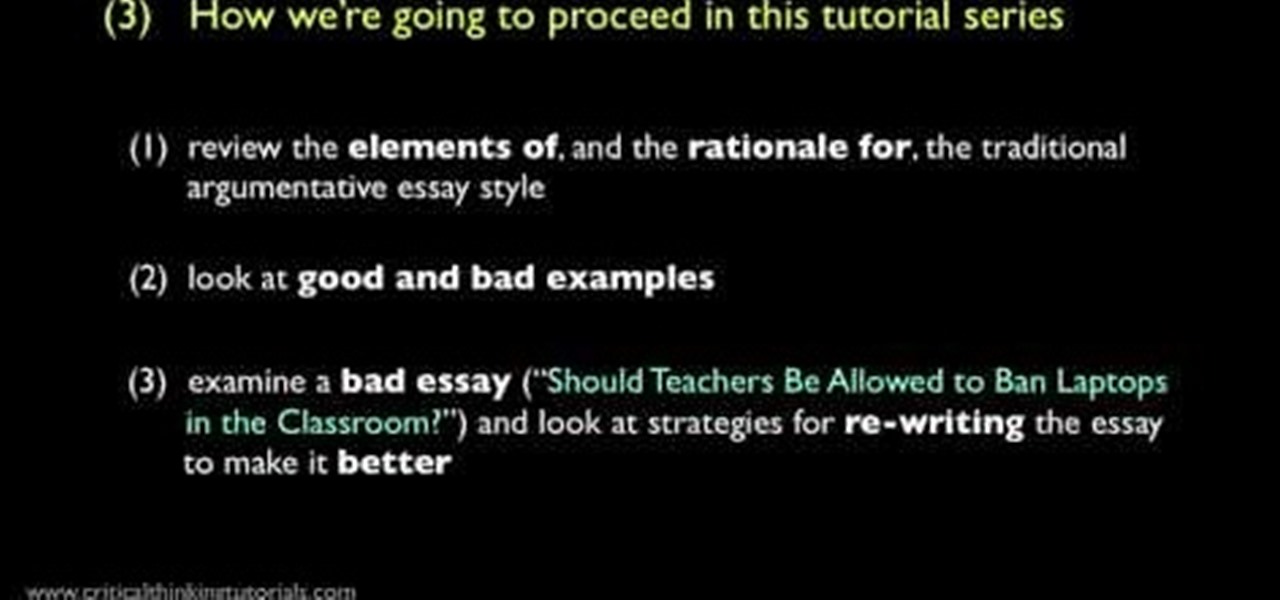
In this video, we learn how to write a good argumentative essay introduction. This is a persuasive essay that is just an argument. What makes this an essay is that it has an introductory section, main body, and concluding section. Many high schools and universities will require you to write an argumentative essay. You will first need to understand the process of writing the paper and then look at good and bad examples so you can get ideas of how the paper should look. Remember that you should...

Vivian shows us how to use the watercolor salt technique in this video. This is great if you want to make underwater paintings and have a coral effect on them. The salt will cause the painting to look more rough and you can see the salt on the paper and how it absorbed the color. To start, you will wet your cold pressed paper on both sides. Then, add your paint to your brush and continue to paint. Don't apply the paint too dark if you are going to work on it later. When finished, let this dry...
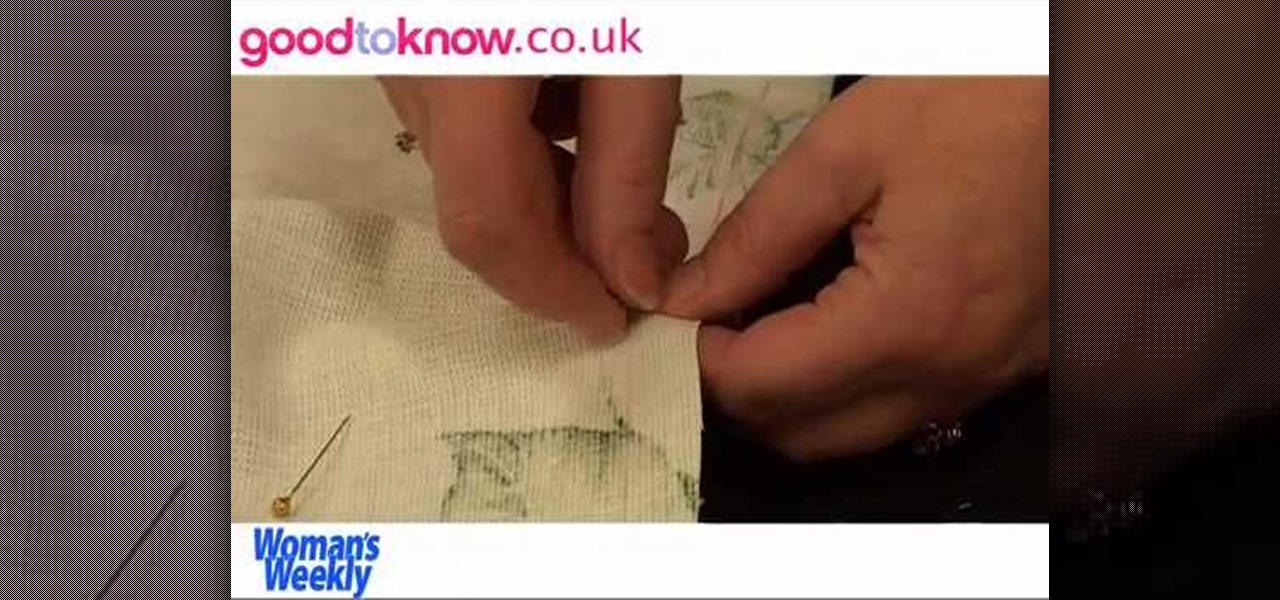
With a little practice a cushion cover can be made at home easily. The materials/equipments required are as follows: fabric of your choice (having appropriate dimensions) to make the cover, scissors, measuring tape and ruler, needles, threads, sewing machine and an iron.
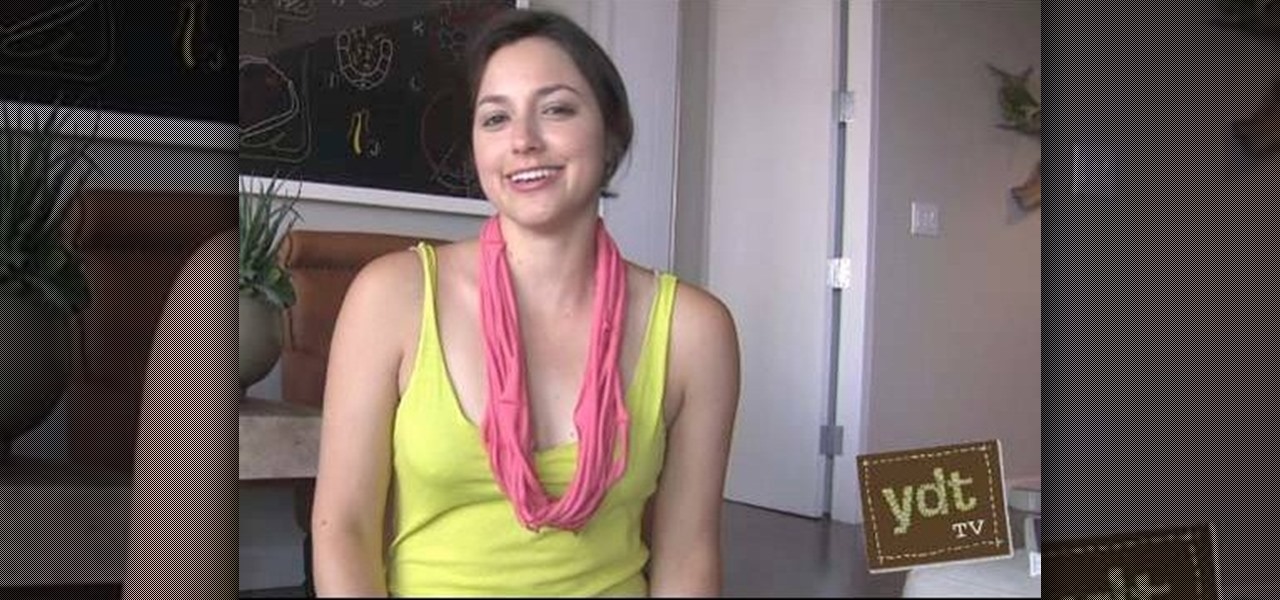
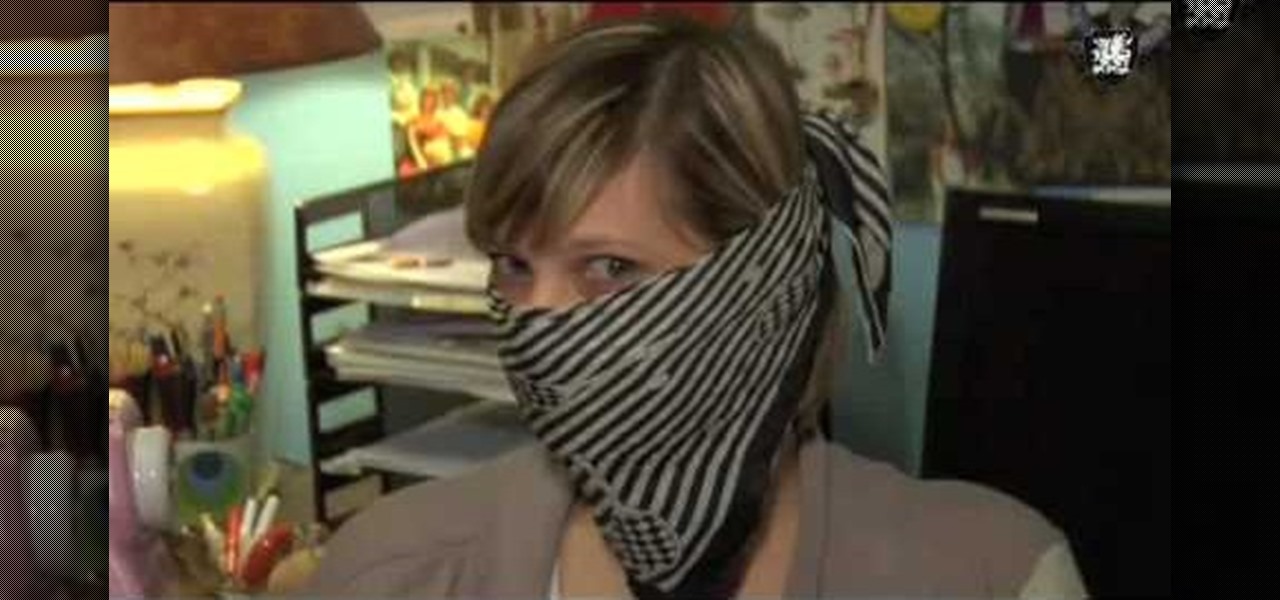
Statement pieces are all the rage this fall, with big, chunky necklaces and vibrant floral neck wraps taking center stage as clothes take a backseat. If you want to get in on this trend without looking a bit too haute couture (AKA too like a clown) for school or work, check out this DIY tutorial for making a pretty layered necklace using an old t-shirt.

In order to etch a drinking glass, you will need the following: a dremel or a glass engraver, a glass, and a template.
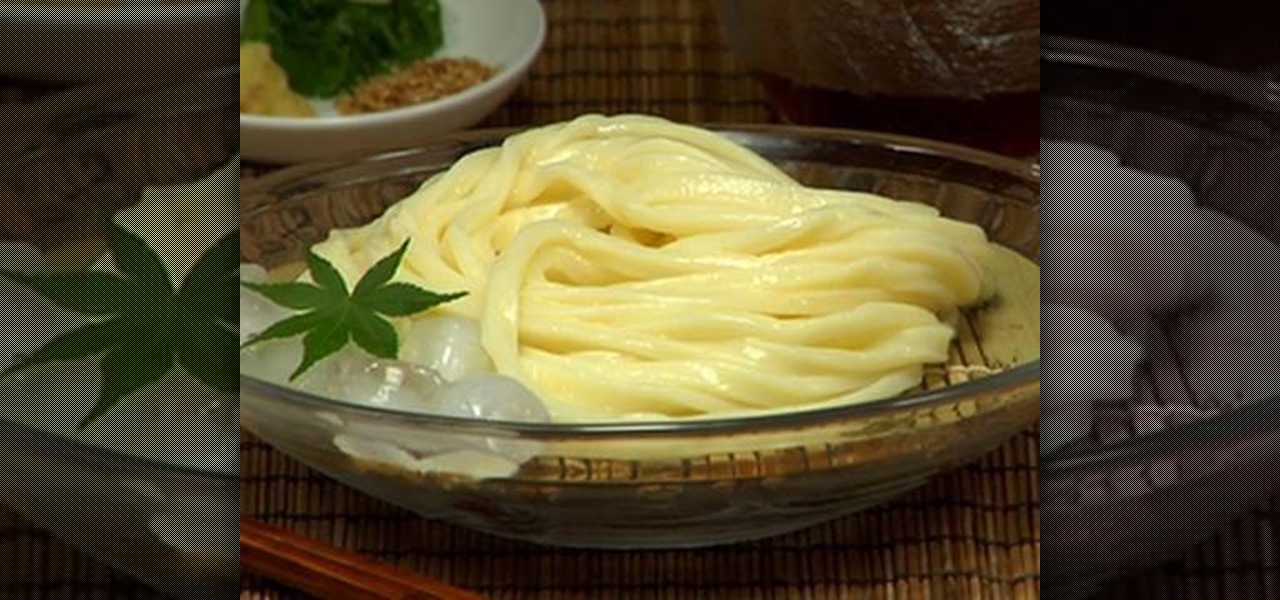
In this tutorial, learn how to make a classic Asian dish, Teuchi Udon. These tasty noodles make the perfect side dish or dinner and go great with many other Asian speciaties.
Not every camper is looking to totally "rough it" while they are in the woods. In this clip, learn how to make a comfy, folding camping seat out of cheap supplies for less than five bucks! This foam pad is far better than the ones you buy at those expensive camping stores and because you made it yourself, you know it will work. The best part? If you lose it or it gets ruined out there in the wilderness, it was so cheap and easy to make that you can just create another one!
In this video we learn how to use Smart Art graphics including creation of Hierarchal charts, flow charts, modify, adding gradients, style, and colors, in Word 2007. The first step is to click on the Smart Art icon in Microsoft Word 2007. Next, you can scroll through the Smart Art object choices. In this example we first want to click on the Text Cycle icon. Once we do that click on OK and the rough drawing will be placed on your document. After that click on design and you can format the gra...
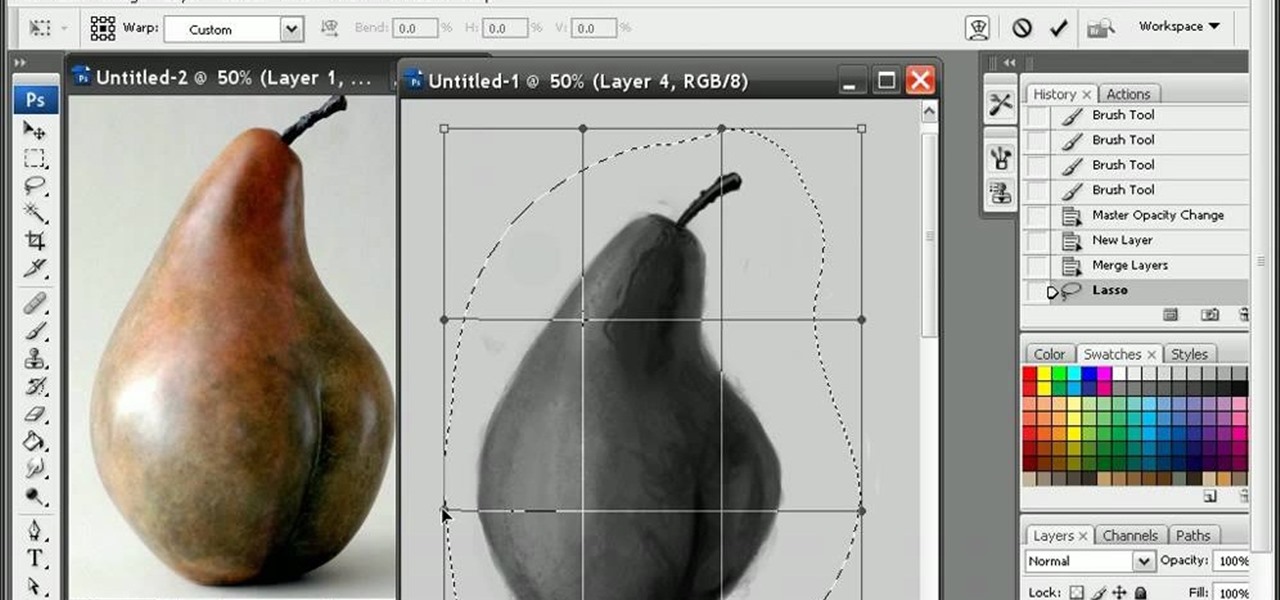
If you are looking to improve your Photoshop skills by learning how to digital paint in it, this video shows you how to do it. To do this, open a new Photoshop canvas and select your brush to paint with. In this example the author shows how to paint a pear for demonstration purposes. You start by drawing a rough sketch, just using your paint brush and reference an image of a pear that you find in this tutorial. Now do the dark textured work on the non lighting side as shown in the video. Now ...
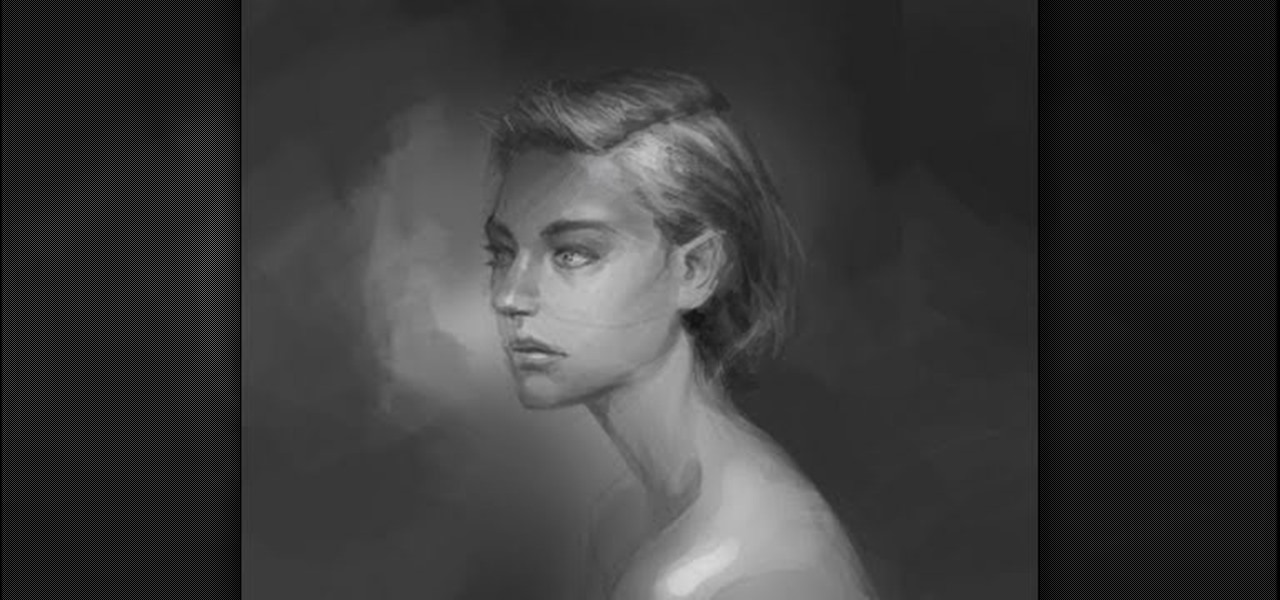
Learn how to sketch a realistic 3/4 profile of a female head and face. Begin by drawing a simple circle. Add a few more construction lines which outline the general shape of the drawing. The rough features of the face come next. Now you are ready for more artistic touches, such as shadows underneath the nose and lower lip. Experiment with different brushes and intensity of color until you like the result. Learn to play with lines and shadows to create a sketch of a female head.
Impress others with your artistic skills by learning to paint a gypsy dancer on the computer. Construct a rough sketch line drawing of a girl dancing. Use a soft brush to airbrush some colors in. Use as few colors as possible. Don't worry about the value yet. This will be a basic map of what colors you want to use. Start adding darker colors in. Use a highlighter to add lighter colors. Use the soft edge brush to blend and a hard edge brush to define forms. Experiment to your liking. With this...
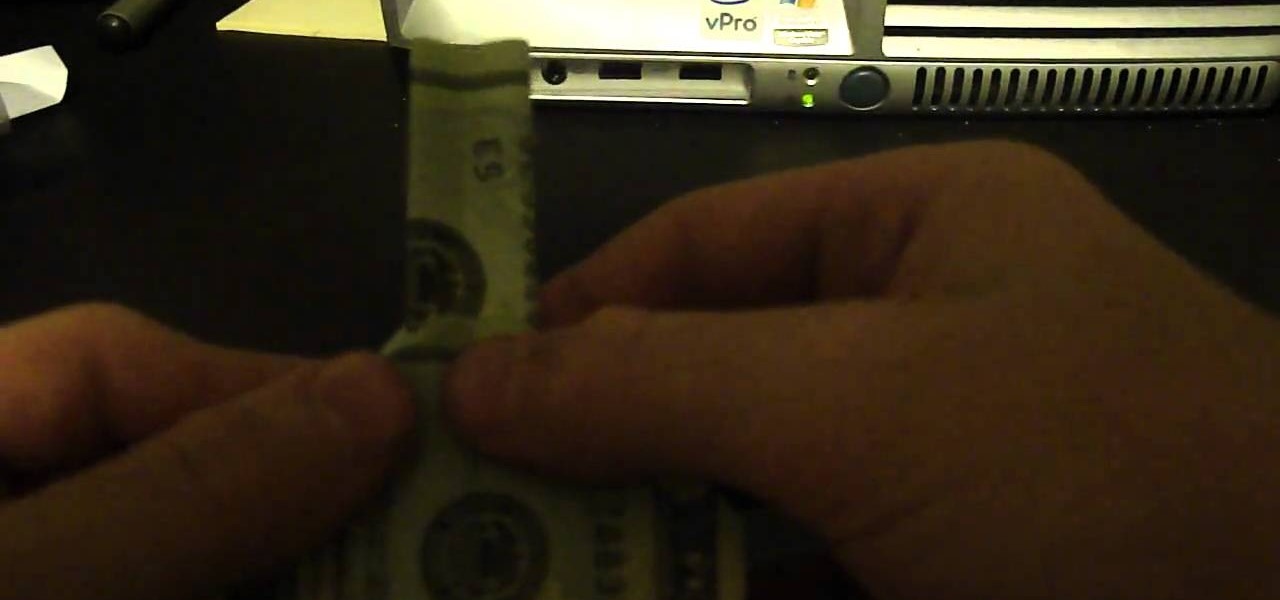
This is a great bar trick you can use to amuse your friends with! Or, you can be the cool aunt or uncle at the family reunion. All you need is a dollar bill (larger denominations will obviously also work). Then just follow a few steps outlined in this video to fold the bill into the rough shape a guitar. It might take a little bit of practice, but you can memorize all the steps in just half an hour or so.
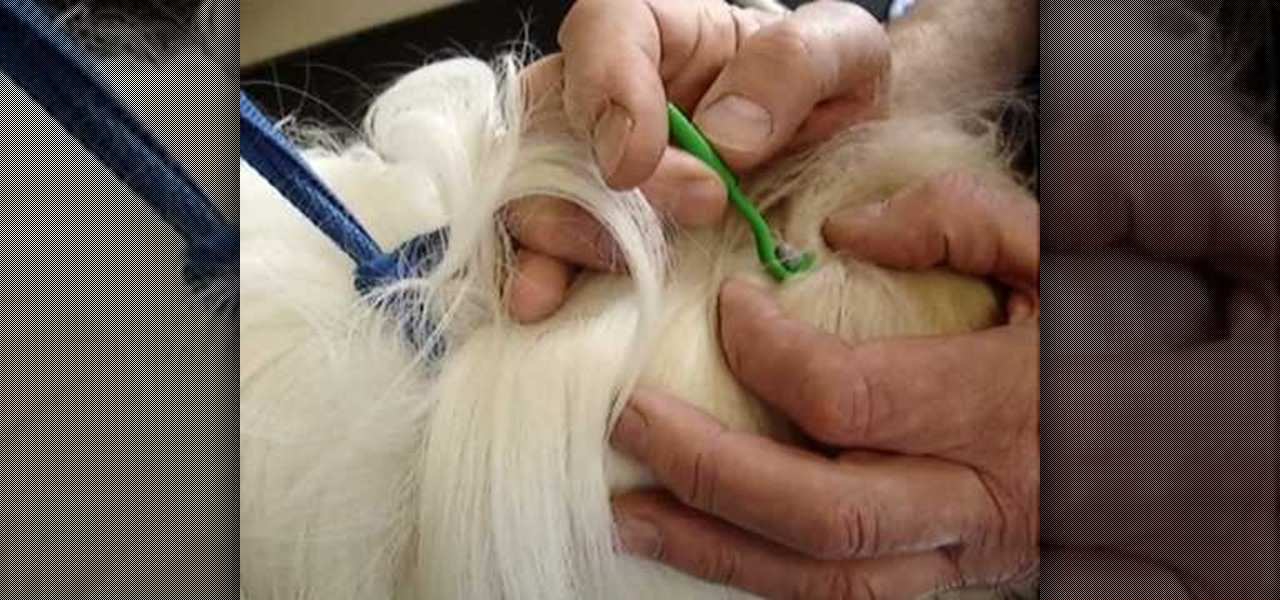
In this video, we learn how to remove a tick from a dog. First, brush the hair away from the tick so you have a good view of it. After this, take the removal tool and place it underneath the tick. Slide it all the way underneath the tick and then gently pull while twisting. This will remove the tick from the dog without leaving the rough parts on the inside of them. When you are finished removing the tick from the skin, make sure you kill it and give your pet a flea and tick collar. Do this f...
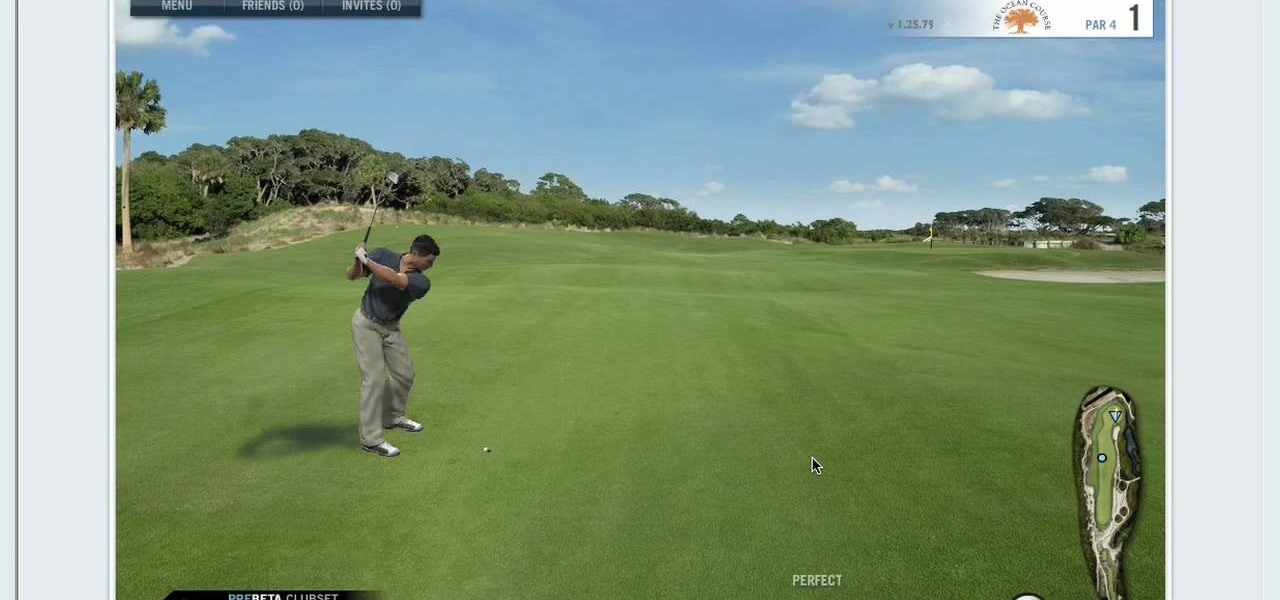
In this video, we learn how to read your lie in World Golf Tour. To get the most accurate shot, it's important to read your lie before you swing. This tells you exactly how your ball is hitting the surface before you hit it. Take notice when hitting in the rough or sand. If it's buried, the ball will not travel as far as it would from the fairway. Your best option is to choose an 8 or 9 iron to move the ball from the sand to the fairway. Have fun when you are playing and use your best opinion.
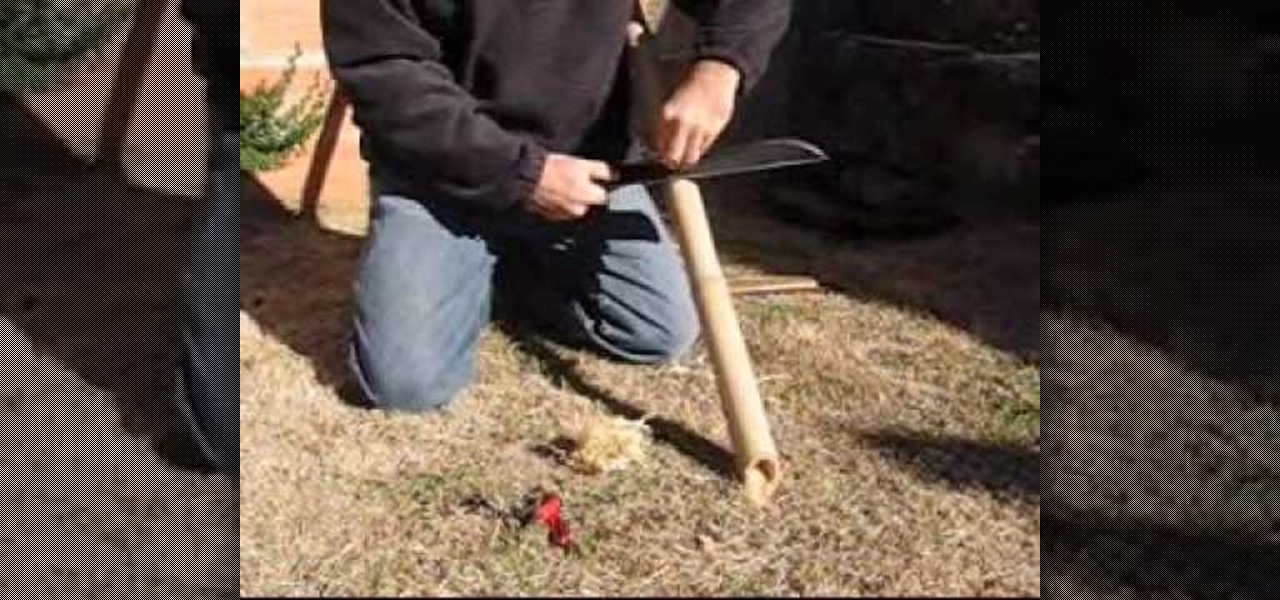
In this video, we learn how to modify your machete for the bush. First, you can sharpen your blade on a piece of wood. You will produce wood shavings that will produce fire as well. Push down on the sides of the knife as well as base and on the tip and middle. Make sure you slightly sharpen the back as well so you can use it to open up coconuts. Once you do this, you will have five useful edges on your machete that you can use for many different purposes while you are out traveling. You can a...
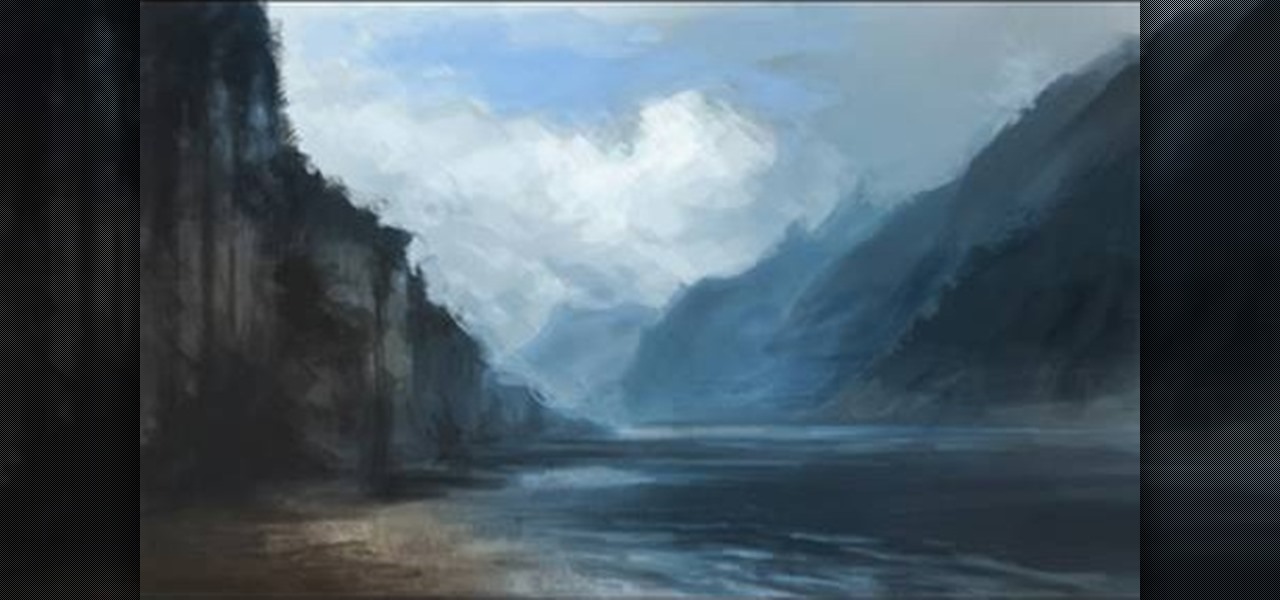
Want to draw a quick scene in Photoshop that contains mountains, clouds and water. Just watch this video.
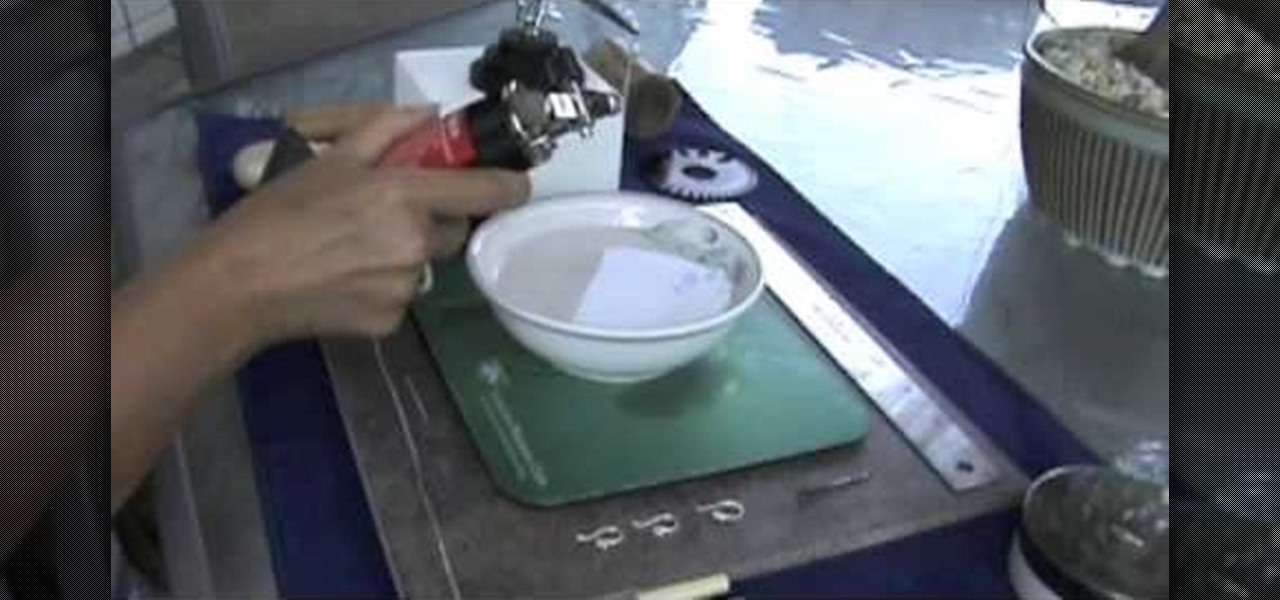
Make fine silver ball earring wires
In this tutorial, we learn how to create a sea nymph makeup look. Start by applying purple shadow the eyelids, then apply a darker purple color over the top of it. Now, on top of this, blend a black to the eyelid colors, then line the top and bottom of the eyes. Draw a rough outline on your face next where you are going to apply the sequins. Start to color in your face where the sequin face mask is going to be, and color it blue and bright yellow, or whatever matches your mask. When finished,...
In order to make a hook for an earring, you will need the following: round nose pliers, a wire cutter, a nail file or sand paper, an ink pen, 20-22 gauge wire. With your round nose pliers, make little hook, in the end of the wire. Bend it, until it makes a little loop.
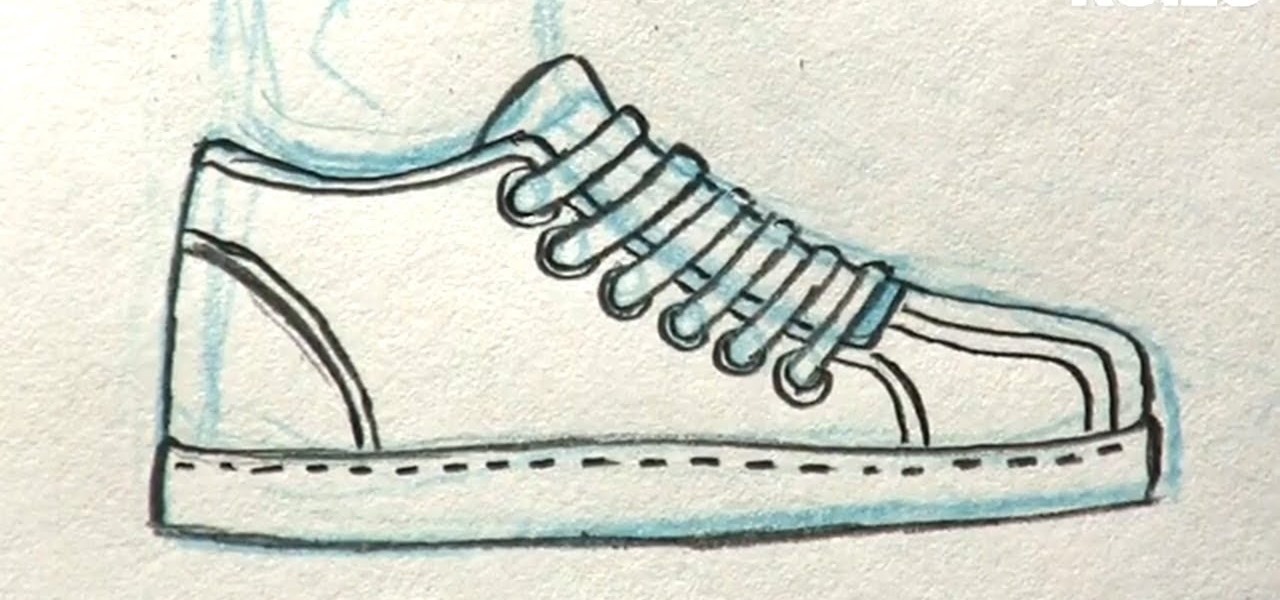
In this tutorial, we learn how to draw manga shoes. First, you want to sketch the basic shape of the foot. On top of this, you will draw a rough shoe shape with a different colored pencil. Next, draw in the details of where the laces are going to go, and where the lip of the shoe will be. Also draw in the soles and any other details you feel you need. Switch over to a black pencil to draw in darker details and add in shading throughout the drawing. When you are done, sign your name by your dr...
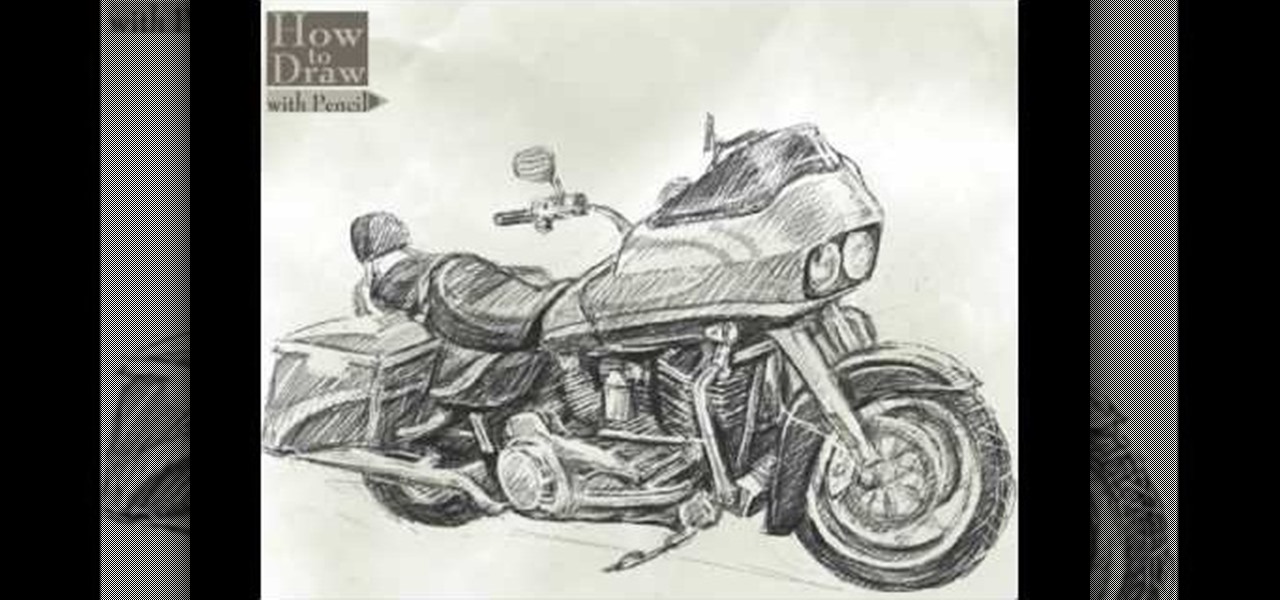
In this video, we learn how to draw a Harley Davidson Road Glide. Start off by drawing the body of the motorcycle as a rough outline. After this, start to fill in the different areas by making large sections of the bike 3-D. Draw in the wheels and the back of the bike, as well as the handle bars, mirrors, and lights. Draw the seat and back seat in, then start to add in further details. Apply shadowing to the car, making some parts darker than others. When you are finished with the drawing, co...
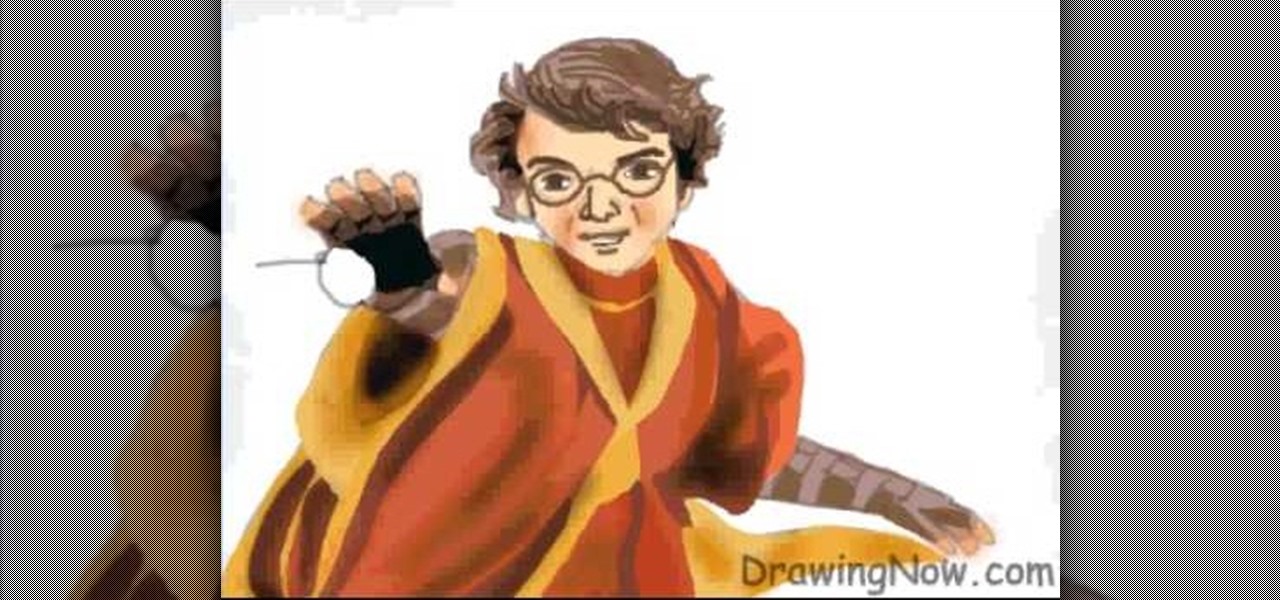
In this tutorial, we learn how to draw Harry Potter. Start out by drawing Harry's face, adding in all the details, such as: his hair, eyes, glasses, nose, and mouth. After this, start to draw his upper body wearing his Quidditch robes, and draw his arms. One arm should be reaching in the air for the ball and the other should be to his side to balance him out. After this, start to add colors to the picture. Add in his skin color, then add in his brown hair and gold and red for his sports robes...
In this tutorial, we learn how to draw azure kite. Start off by drawing the face, then draw on the hat and the upper body. Next, you will want to outline the rough draft that you first made and start to add in details. Color in the hair and the hat, as well as the skin and the outfit. Add in wrinkles and buttons on the clothing as well. Add in the eyes to the face and include the nose, mouth and ears. Place the tattoo on the side of the face, then add in shading on the entire body. When done,...
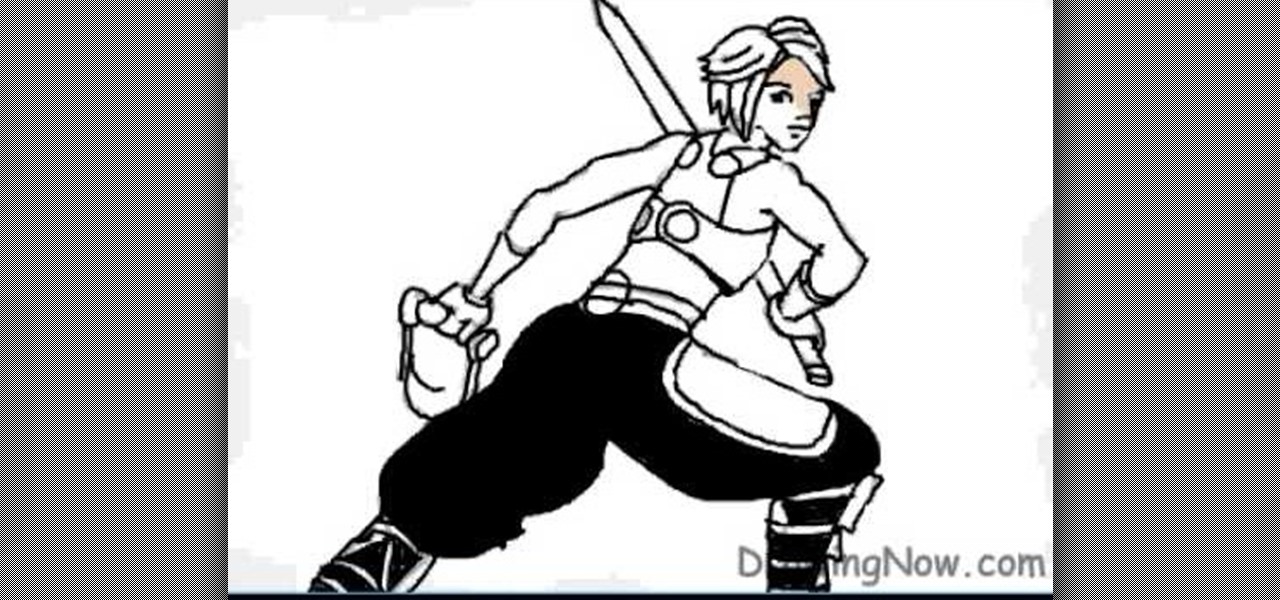
In this video, we learn how to draw a Final Fantasy character. Start out by drawing a rough outline of the entire body, starting with the head then doing the rest of the body and ending with the hands and arms. After this, draw over the initial markings with a black paint brush. Draw in eyes and hair, then start to draw in the details of the body armor and clothing. Make sure to draw on pants and make a sword that the character is holding. After this, fill in the painting with different color...
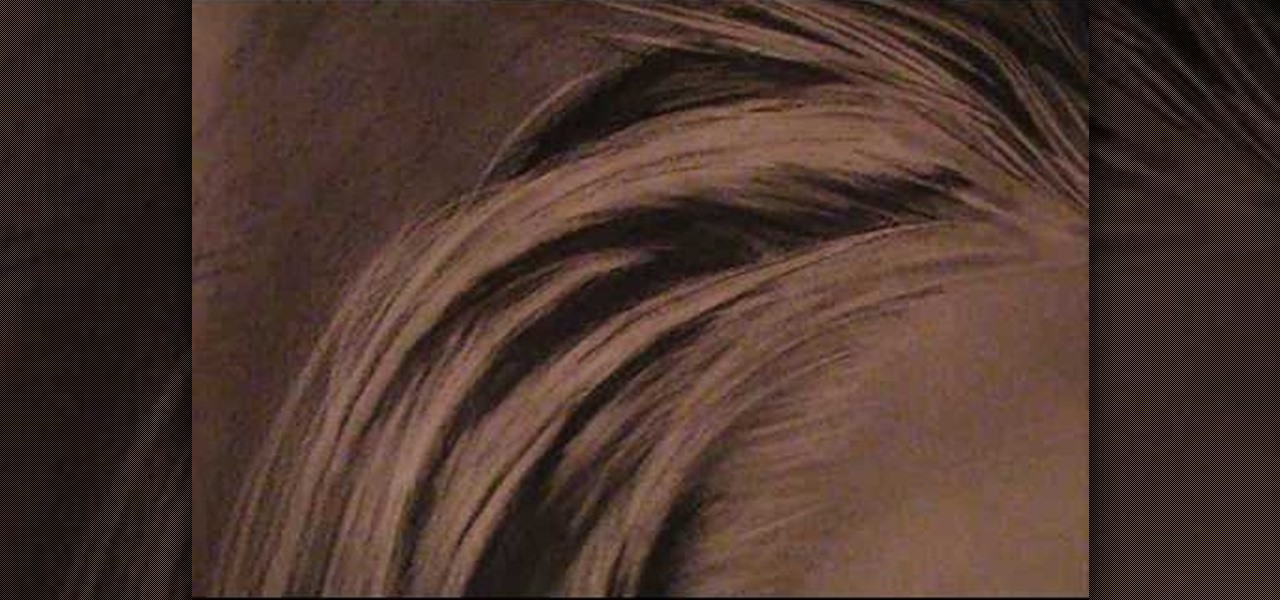
In this tutorial, we learn how to draw realistic hair. Start out with a rough outline and look where the hair is clustered together. Draw the clustered area first. Then, cross hatch over the entire surface of the area and blend in. Add hair to the forehead area, then use a darker pencil to form the shape of the hair. After you do the clusters, start to draw the hair that is separated from the rest. Keep looking at the picture you are drawing, then use an eraser to change the drawing to match ...
In this tutorial, we learn how to draw a sports logo. You will need: paper and a writing utensil to do this. Do a rough draft of the logo with a light pencil before beginning. When finished, draw a basic helmet shape with a Sharpie marker. Trace around the lines that you made and make sure to draw the face guard when you are finished with the helmet outline. Next, add on a grille to the mask and then add more detail to the helmet as it would look in real life. When you are finished, add color...
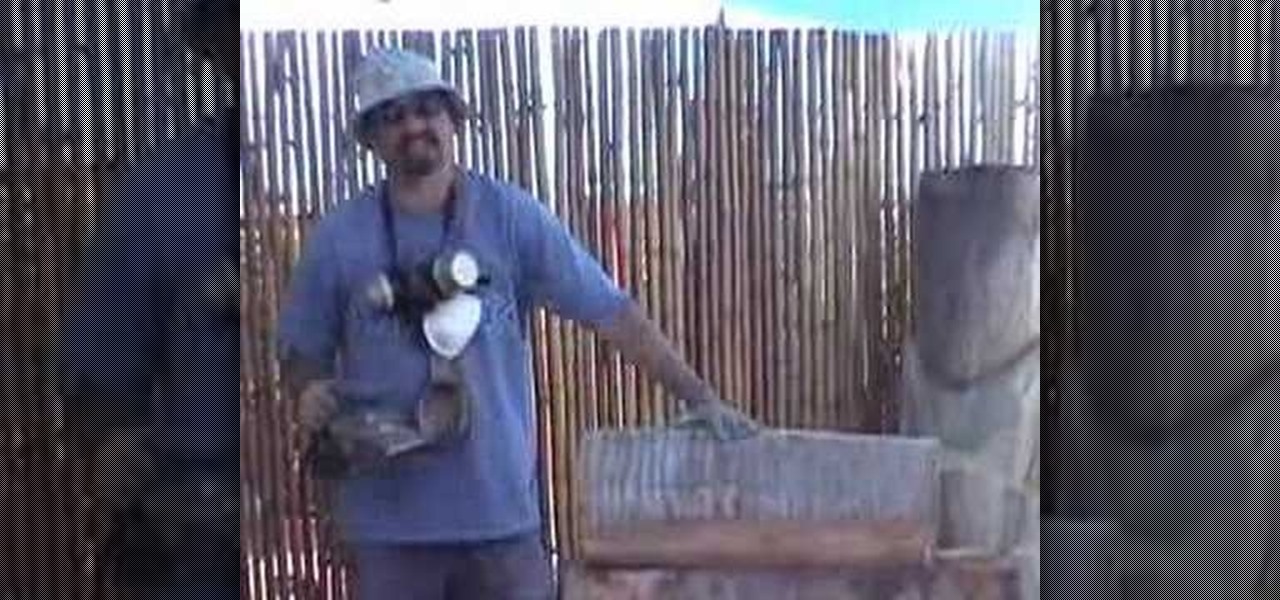
In order to prepare a log for Tiki Carving, you will need the following items: a hardhat or a helmet, a respirator, a log, a planer, and a blade.
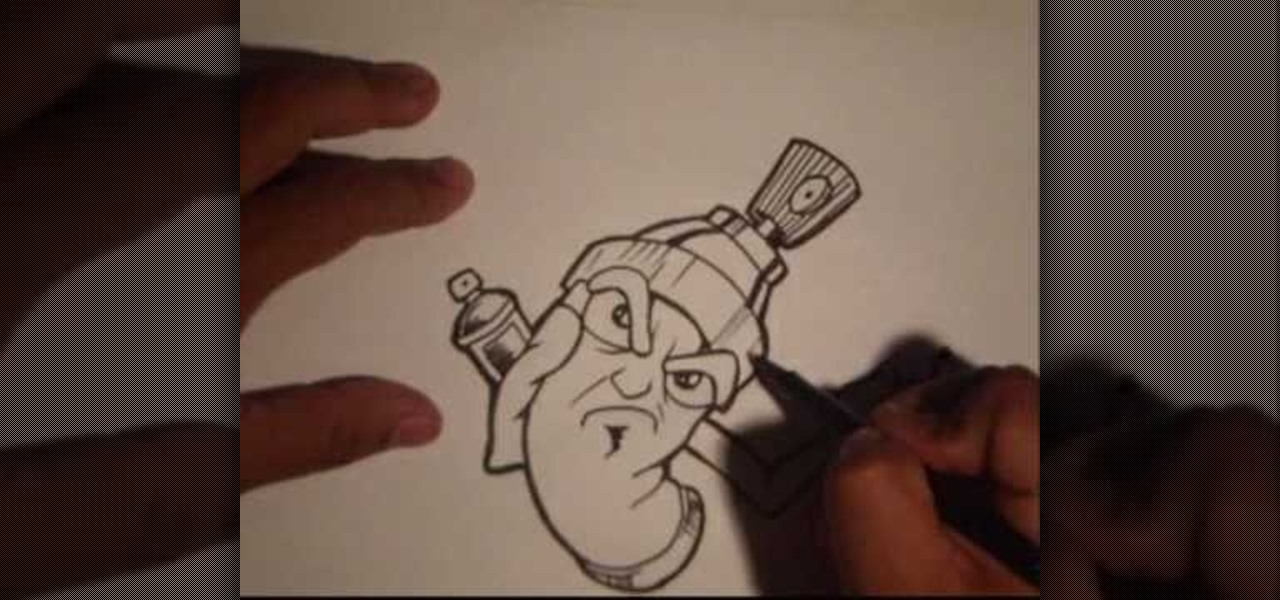
Spray cans are to graffiti artists what paintbrushes and paint are to artists. As a graffiti artist a spraycan is efficient because it allows you to quickly slather on a tag and then run away before the Po Po come, and also offer a sleek, rough finish.
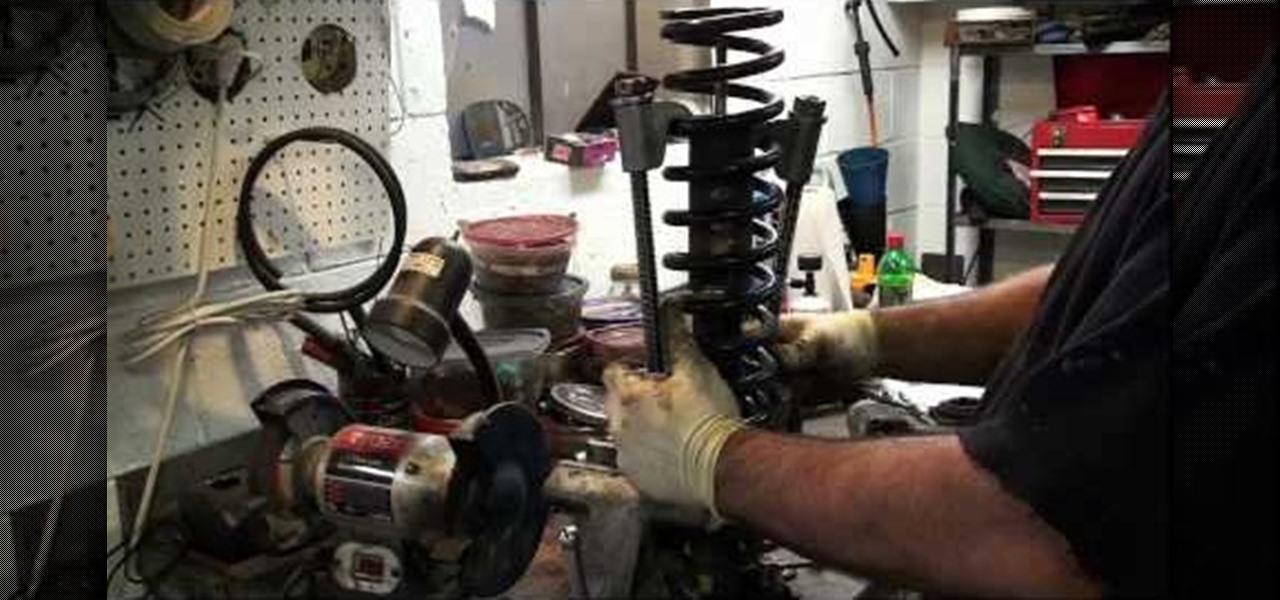
There are so many important pieces that make up an entire car, struts can be seen as one of them. What struts do is that they help soften movement when a car s driven on an uneven road or rough surface.It's important to replace struts when they may be leaking oil or they don't help soften movement.
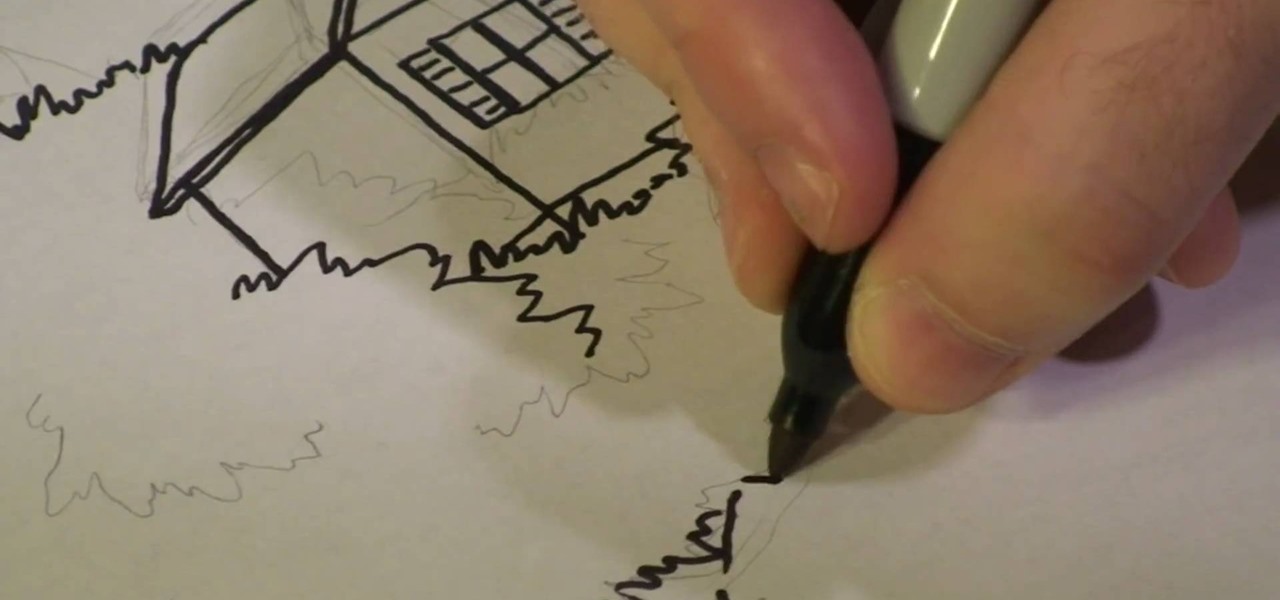
This video by Michael Weisner will show viewers how to draw a tree house using a white piece of drawing paper and a writing utensil. In order to save time, the drawing had been roughly outlined in pencil. A rough outline of the desired picture may help before you begin your drawing, otherwise, you may proceed without it. First, you should begin by drawing the base of the tree, which is a simple trunk with roots. Make sure to leave some space along the trunk in the form of missing pieces along...
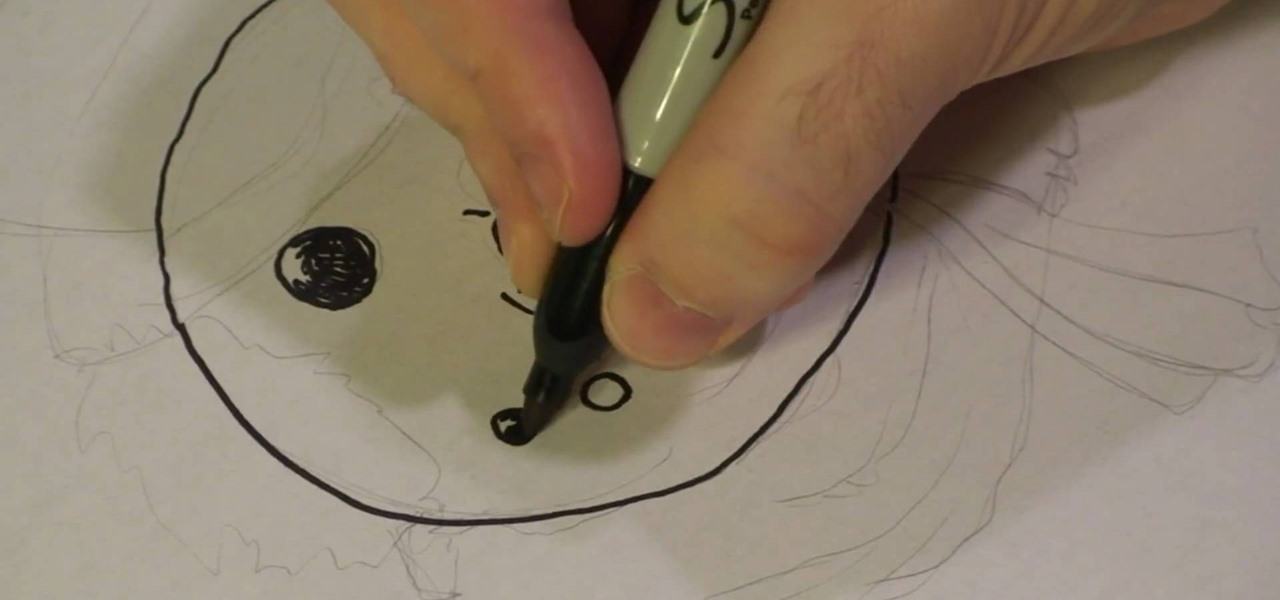
Michael Weisner shows aspiring artists how to draw a snowman's face on a piece of paper using any writing utensil. In order to save time, Michael has drawn a rough outline sketch in pencil to give an idea of what the finished product should look like. However, it is not necessary to do this and by following the directions, one should be able to sufficiently draw a the snowman. First, begin by drawing a circle for the head and then two large circles for the coal eyes, adding detail to show tha...
This video demonstrates how to draw a Rottweiler dog using a piece of paper and any writing utensil. The creator of this video has already sketched the rough outline of the dog using a pencil in order to give them a general idea of the final product. First, you should start by drawing the outline of the dog, adding the brows and ears. The ears should be very floppy, as are the ears of most dogs. Next, draw the eyes of the dog, making them somewhat squinty in order to make it appear like he is...
During this rough economic period, more and more people are looking for better ways to save on money, but still look good in the process. One of the best ways of doing that is by making your own jewelry. Much of the materials can be bought at stores like Target and Wal-Mart and are easy to put together. So in this tutorial, you'll find out how to make beautiful looking pearl cluster earrings. Good luck and enjoy!
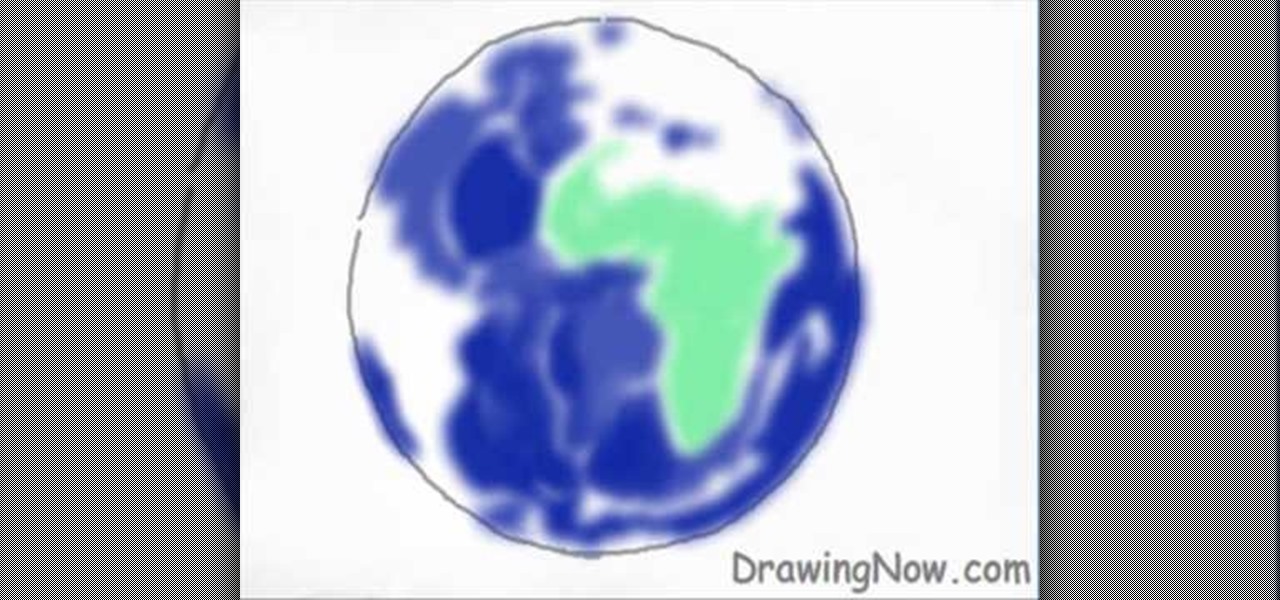
This video shows how to draw a picture of the Earth. First draw a rough circle in black. Add blue sea areas inside the circle but leave a white space in the shape of Africa and a white space for Europe above it. On the left leave a white space for a part of America. Fill all the land areas in green. Draw an outline in turquoise round all the land areas. Add some lighter blue smudges on the sea and some yellow on the land. Add a few small brown touches at the poles and on some of the land area...
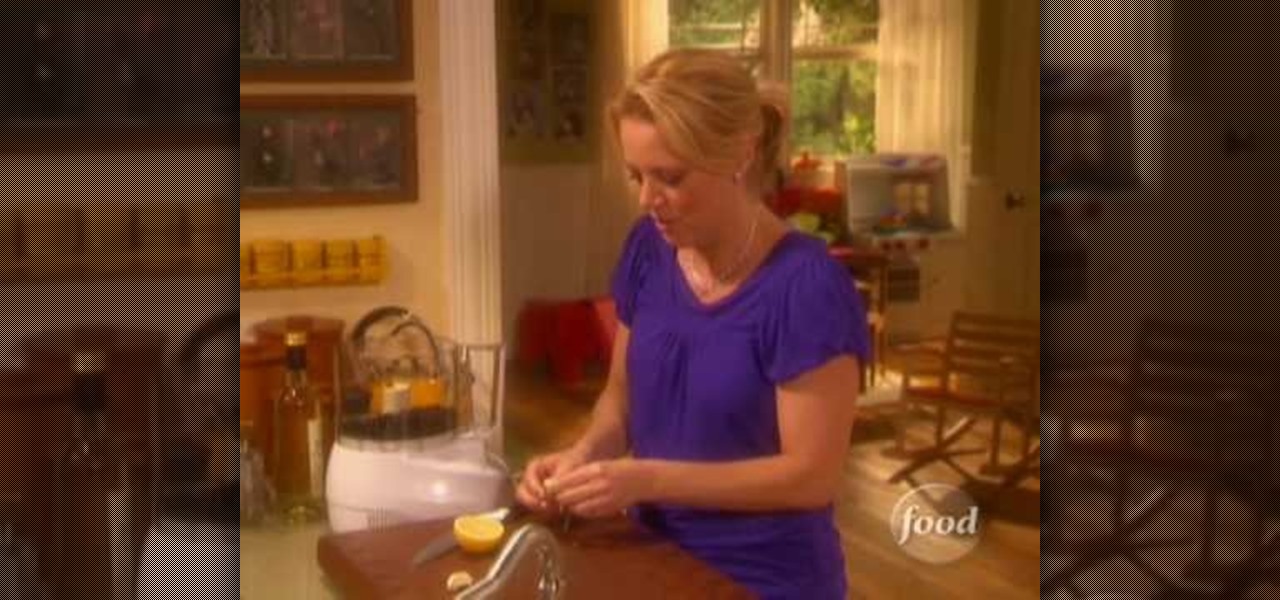
This video describes how to make an easy-to-prepare black bean hummus. One cup of black beans is first added to a food processor. Next, a lemon is cut in half and the juice of half of the lemon is squeezed into the food processor. Some white winer vinegar is then added to the food processor as well. One clove of garlic is then crushed and peeled before being given a rough chop and being added to the food processor. Salt and black pepper are next ground into the food processor. The final ingre...
You will use an old work glove to make the string. First cut the seems of the glove to the finger tips with scissors. Cut out the palm part of the clove. Remove the elastic off of the back with a knife. remove the hem with your scissors. Next, start cutting at the edge up around the shape of the glove. Keep going round until it starts turning into one long piece. Go back around the leather and trim up the rough edges and corners. He ends up with about seven foot of string. It's a cheep free w...
This video shows you how to remove acrylic nails using a nail tip. It takes a long time to soak the nails in acetone to remove them, and this method is quicker. To do it, slide one of the corners under any part of the tip. Force it in and slide it over across the nail and you will be able to see the acrylic nail lift up. Gently work on it to pull the nail off. It might hurt a little bit. The nail will look kind of rough, so you'll have to file it, and use some nail strengthener. Nail technici...
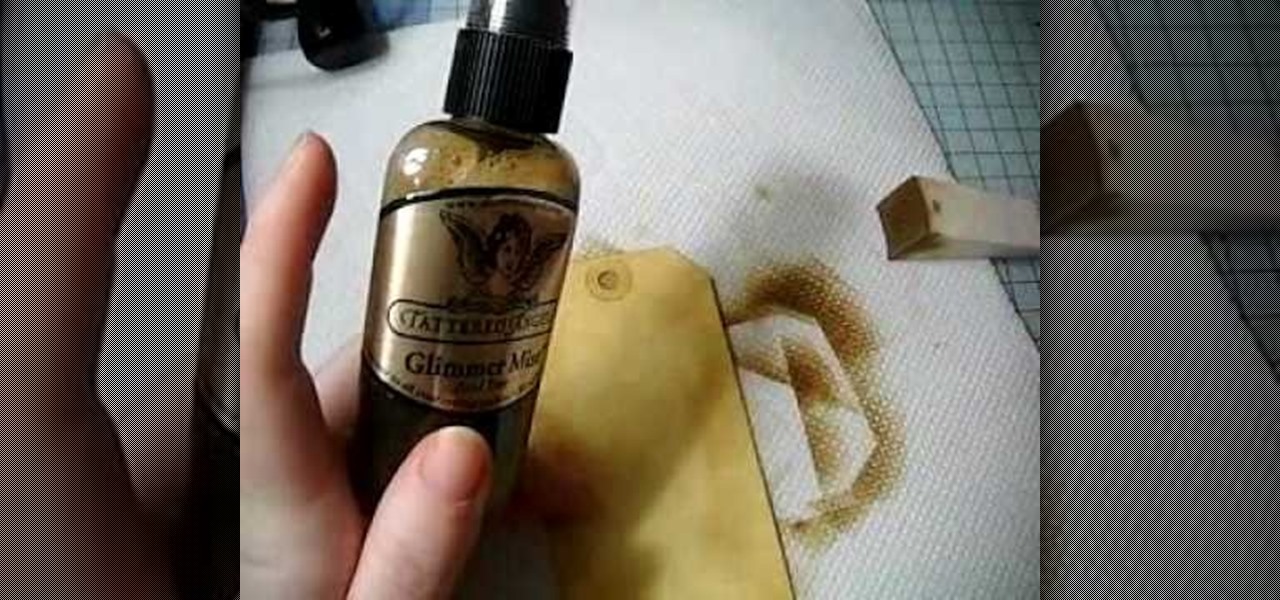
In this Arts & Crafts video tutorial you will learn how to make a distressed scarpbook tag. Take two tags, one red color and one yellow color and strip the threads off. Take a light color ‘Distress’ ink on a sponge and dab one side of the yellow tag with it to give it a light rough look. Now take little darker brown ink on another sponge and dab the edges of the tag with it. Then place the tag in a box and spray Glimmer mist on the tag. Dry the tag with a dryer. Now dab some more brown in...