In this video, we learn how to play "Walk this Way" by Aerosmith on electric guitar. Start out using the E blue scale with your first finger on the fifth fret of the E string. Using half steps, go to 5,6,7 and 7 on the A string. From here, hammer onto the seventh, then continue to do this process to finish the intro. After this you will do the boogie verse, which will be a C power chord, then place your pinkie on the 12th fret on the a string. Continue to play the notes throughout the song, a...

In this tutorial, we learn how to do a complete forearm workout. First, grab a small weight in each hand and start to lift your forearms up into the air. Control your movement when you go both up and down, to help work your arms out better. Next, lift up gently with the weights, relaxing your body and letting the muscles do the work. Don't lift with your back or use momentum, use only your muscles to lift. Continue to do this for several reps. After this, grab a dumbbell and start to lift it ...
In this video, we learn how to crochet a left hand radiant butterfly. First, attach the slipknot to the crochet hook and chain four. Next, work four chain four loops. Slip stitch through the center of the chain four, then chain four again. Continue to do this until you finish one side of the butterfly wing. Next, continue on to create the next butterfly wing by chaining seven, then cut off the additional string after you knot it off. Now, use a pipe cleaner to shape it into the shape of the b...
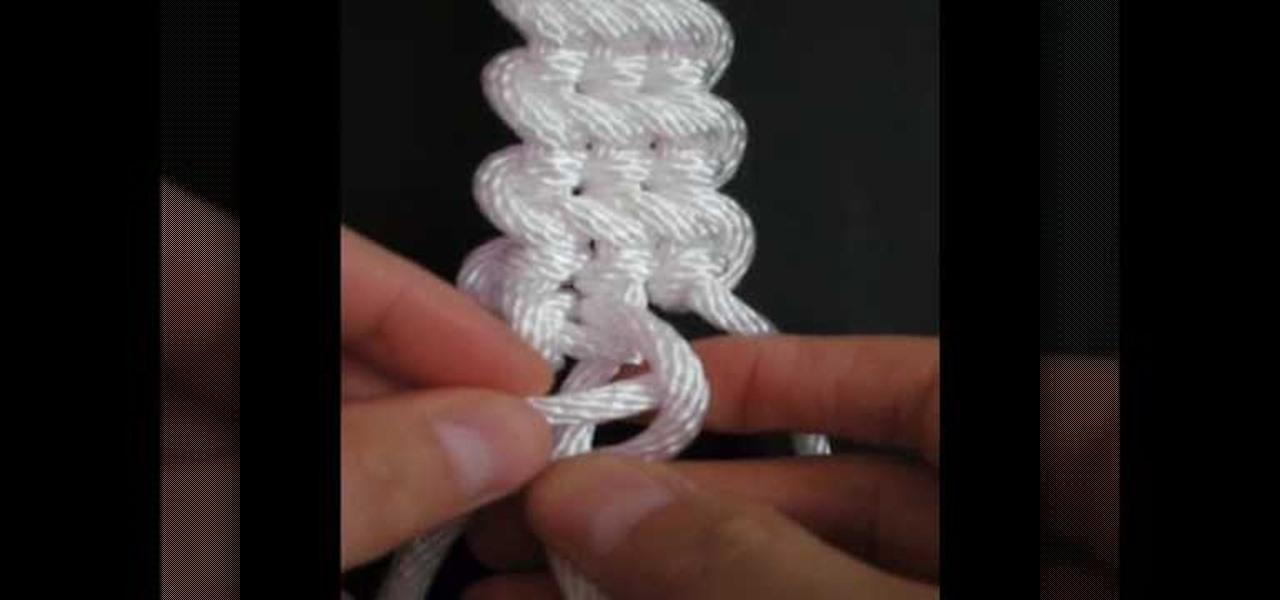
In this video, we learn how to make the guitar bar decorative knot. First, set up the bard then cow hitch two strips of rope side by side. Next, measure each bar to 12 inches long and make sure you have 12 feet of rope. After this, build the frets of the bar, and while you are doing this you will flip the bar over and start to half hitch. Continue to do this, tying all of the ropes together into the knot. Next, turn the knot over and continue on the other side. When you are near the end of yo...
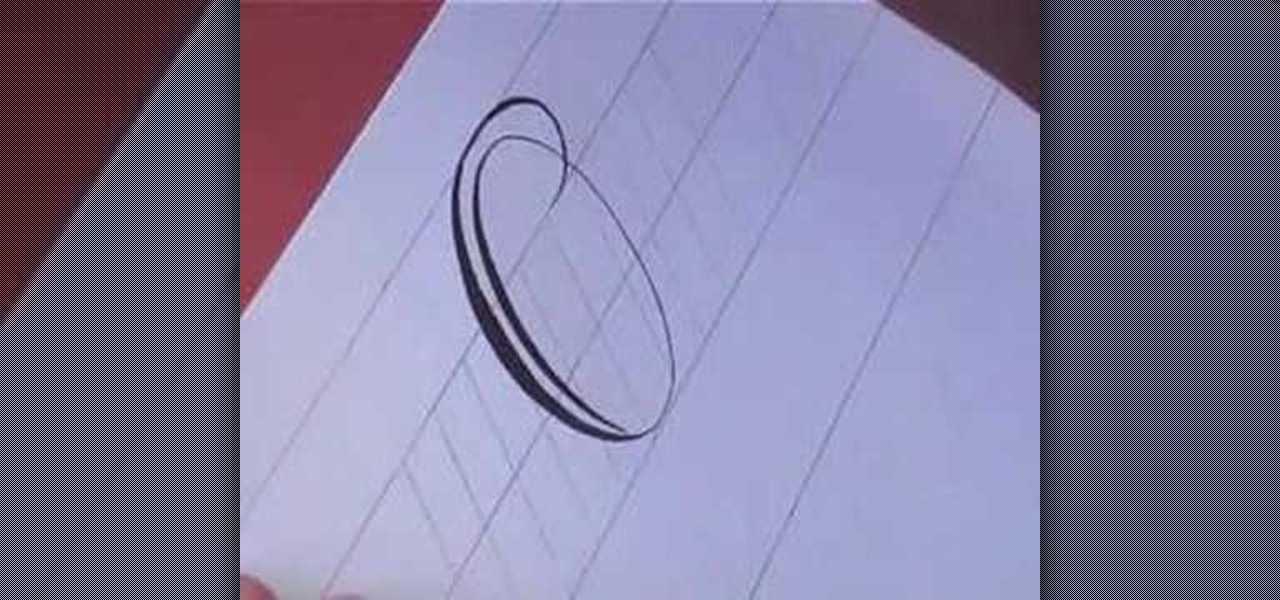
In this Fine Art video tutorial you will learn how to write the letter Q in calligraphy copperplate. Hamid Reza Ebrahimi shows you how to this using a Brause & Co No 86 nib, Persian traditional black calligraphy ink, Brause marbled penholder and Persian leather pasteboard and Steinbach pasteboard. To write the capital "Q", dip the nib in to the ink, then starting at the 2nd horizontal line, write upwards touching the top line. Then continue writing downwards till you touch the 4th line and no...
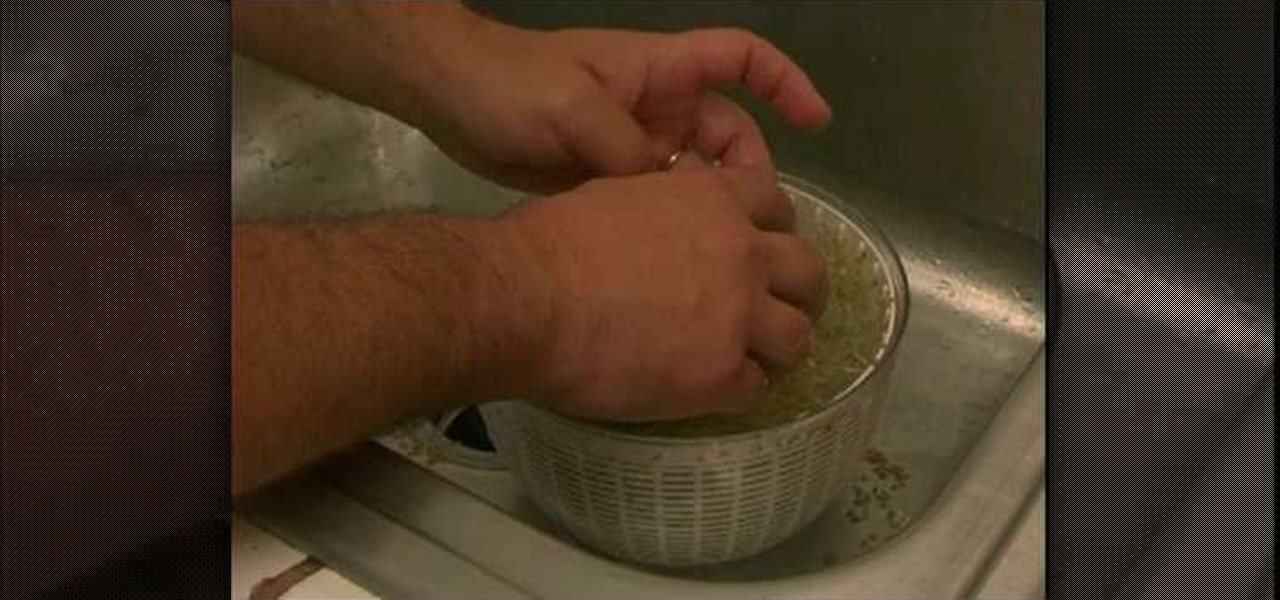
In order to de-hull leafy bean sprouts, you will need a salad spinner. The type of salad spinner you use will make a big difference. Separate the sprouts. Work your way through the sprouts. Separate them as much as you can.

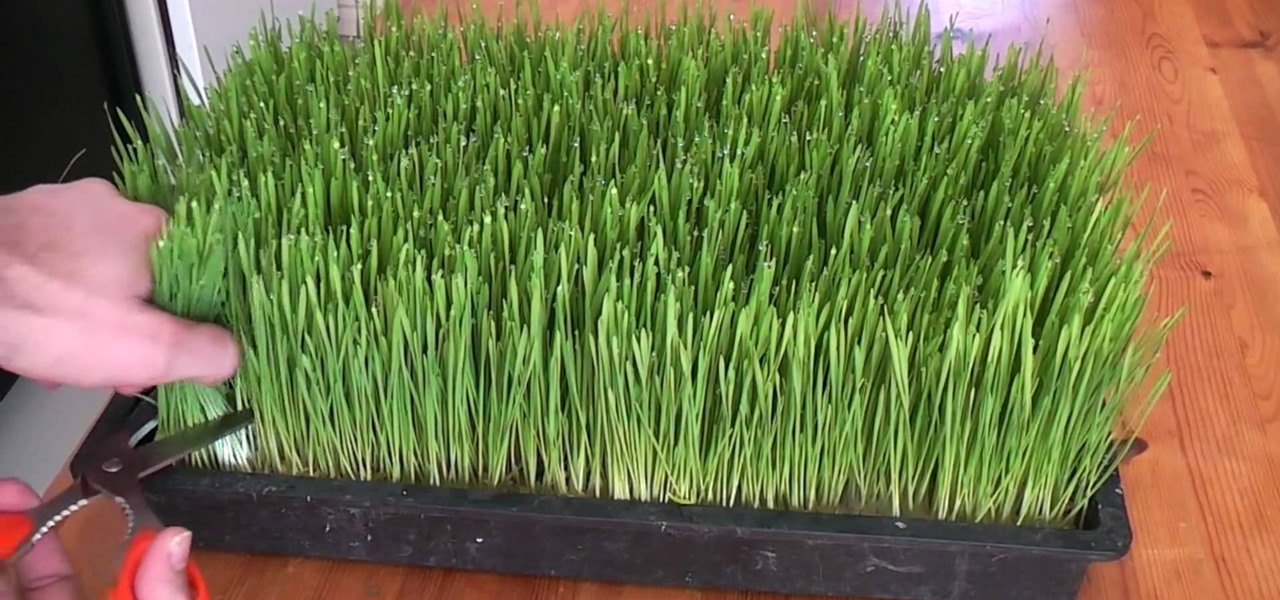
Incorporating wheatgrass into your diet can be beneficial to your overall health in many ways. This video teaches you how to grow wheatgrass in your home to supply yourself with a constant batch to include in your diet. First, add about a cup of wheatgrass seed to a jar of water. Drain the water out and continue to rinse the seeds several more times. Leave the jar of seeds to sit for about a day and half to allow the seeds to sprout. Then evenly spread the sprouted wheatgrass on a layer of we...
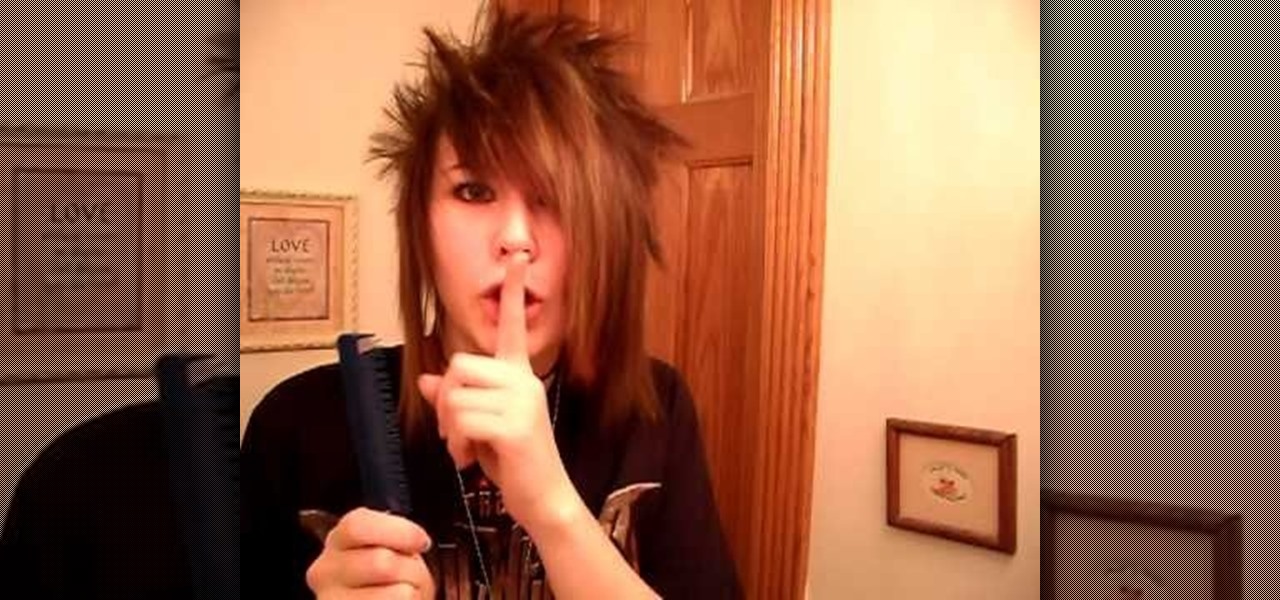
If you are a girl and you want to make spiked emo or scene hair you should first start by putting root lifter into the back of your hair, or where you plan on making your hair big. Make sure your hair is extremely dry before you straighten it. Put a little hair spray in your hair. Now, grab a section of your hair, tease it a little, put hair spray in it and continue to tease it. Continue to do this wherever you want you hair to be spikey and big. This should be in the back of your hair and ar...
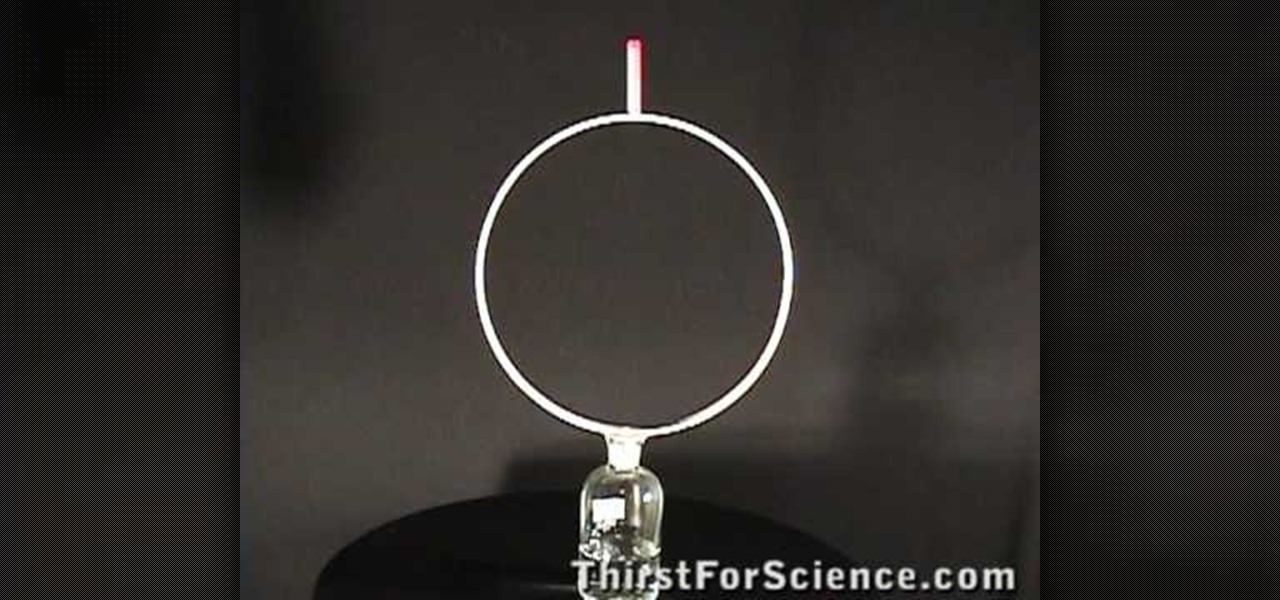
Newtons proposed the concept of inertia. According to him an object at rest tends to stay at test and an object in motion tends to continue in motions unless acted up on by an external force. This is the principle of inertia. The tendency of the body to continue to stay as it was is called its inertia. You can demonstrate this principle with a simple experiment. As shown in the video when the hoop is pulled out the pen cap falls in to the bottle. Here the hoop is acted upon but the cap is not...
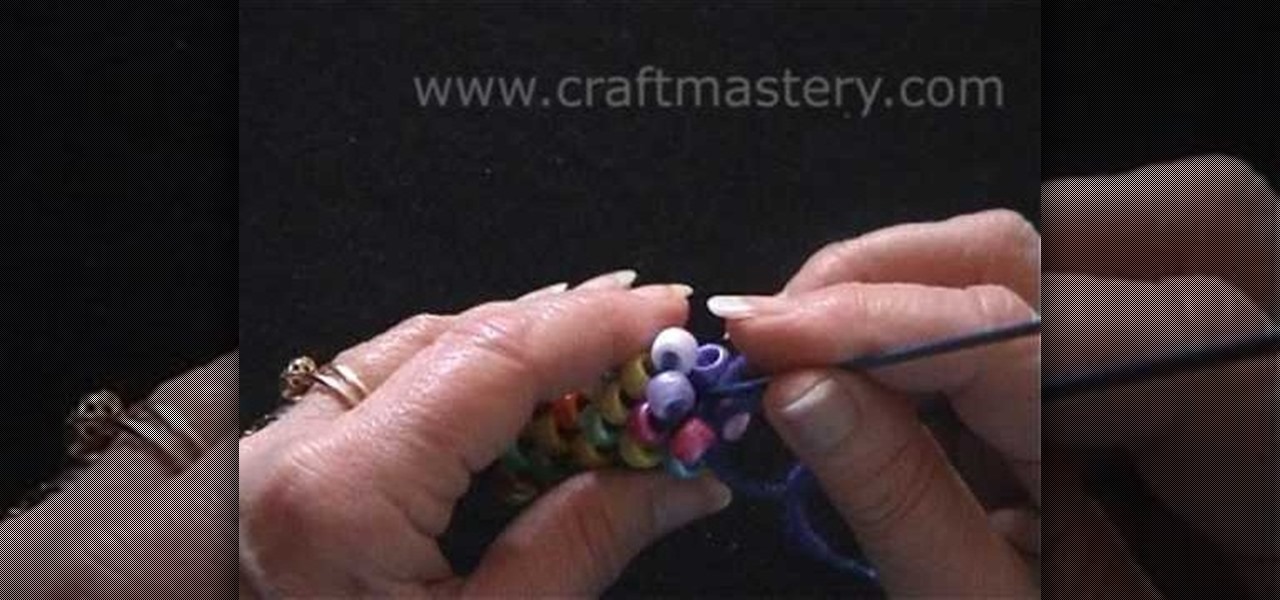
For anyone interested in learning a new jewelry technique, this video tutorial shows how to crochet a bead rope necklace. You can use large pony beads like the video tutorial, or use much smaller beads. The pony beads are suggested for beginners so that you can see what you are doing. To begin, thread all of the beads you will use onto your yarn. You can alternate colors or place them onto the string at random. Both techniques will yield two different effects. Begin with six chains slip stitc...
Juggling is the key to all free styling tricks. Juggling helps the players feel for the ball and his ability to strike the ball on the volley. To juggle use the top of the foot down toward the toes to strike the middle of the ball so that it goes straight up in the air. After practicing this type of juggling continue juggling with one foot, keeping the ball moving straight up in the air about 10 inches. The player should continue practicing juggling with one foot until he can juggle the ball ...
In this tutorial, we learn how to draw the 8 bit Super Mario. First, use a ruler to make a rectangle on the bottom of the paper, then color it red. Make another one under that, larger than the first. Then, continue to make rectangles under each one, making the shape of Mario's face with just rectangles. Color in the rectangles with a tan color, red color, and burgundy color. Continue all the way down the page until you have created the character's entire body. When finished, color in the rect...
In this video, we learn how to do interval training to run faster. When you do interval training, you will learn how to train your body to go to its maximum, giving you more energy and resistance to running faster. Interval training is simply doing a set time of maximum endurance exercises followed by several seconds of resting. You will continue this process for around 5 minutes and you're finished. As you continue doing this, you will build up your endurance and be able to run faster while ...
In this tutorial, we learn how to understand the basics of reading sheet music. What you will first see are the basic clefs. One is for the right hand and one is for the left. In the middle is the middle c and on the far right is the c above the right hand. The notes continue in each direction but they follow an exact pattern. In the beginning, memorize only the middle "C", where it is on the piano. After this, you will learn the upper and lower "C". Continue to practice with reading the musi...
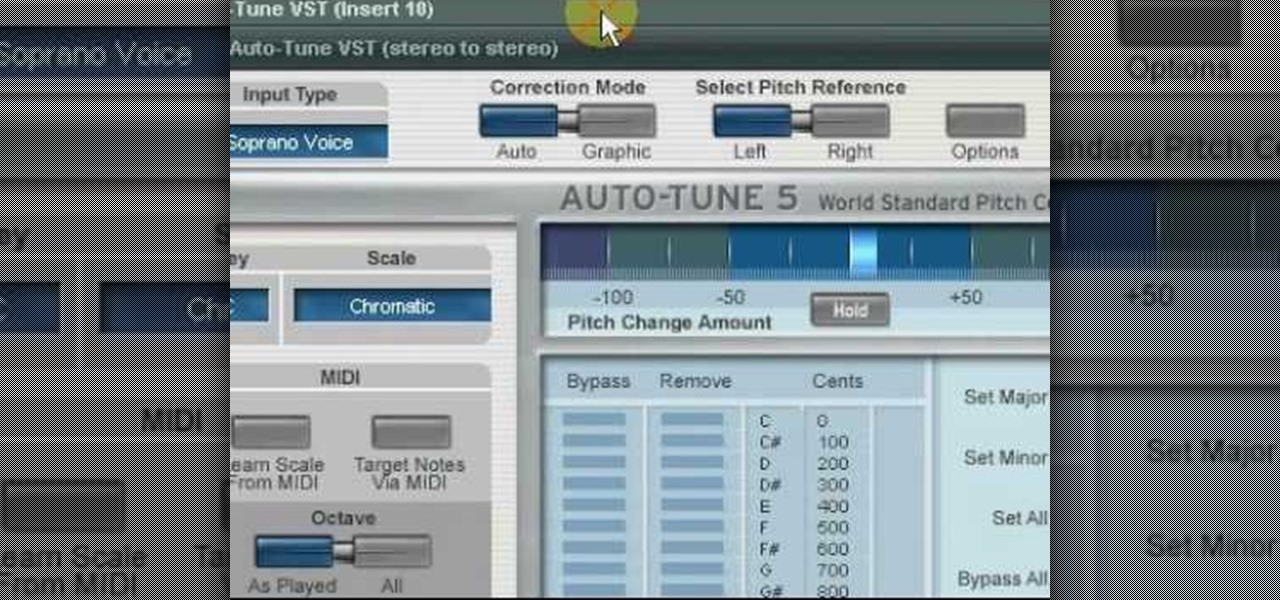
In this tutorial, we learn how to use vocal effects and Auto-Tune in Fruity Loops. First, load on your audio and then set it to a channel FX. Add in the effects that you want and then drag them into the right hand side column for the different effects. From here, you can use the mixer to add in different beats and tunes. Then, you can add reeverb to the audio and then change the settings for it how you would like it. Continue to edit the different effects as you continue to scroll through the...
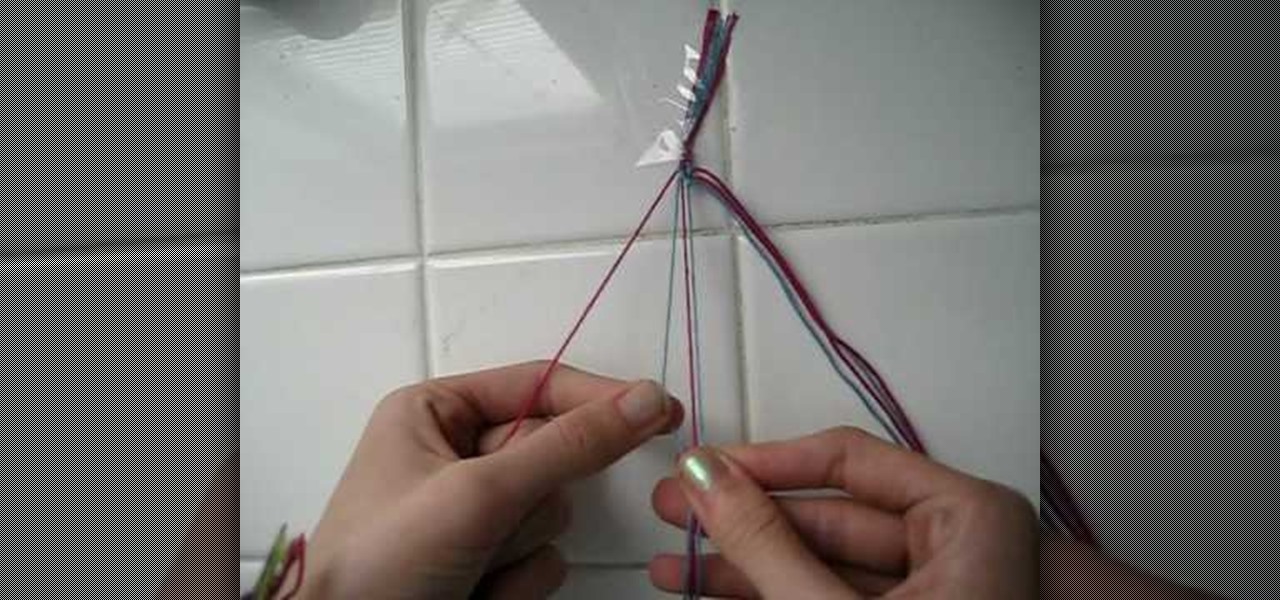
In this video we learn how to make a friendship bracelet with vertical hearts. First, tape your strings to a wall, they should be two colors with four of each. Arrange them so they are alternating colors until you reach the other side. After this, grab the first string and set it aside. Then, take the next two and tie them in a knot at the top. Tie the third string with the fourth at the top as well. Continue to do this until you reach the seventh string. Continue to tie the strings until you...
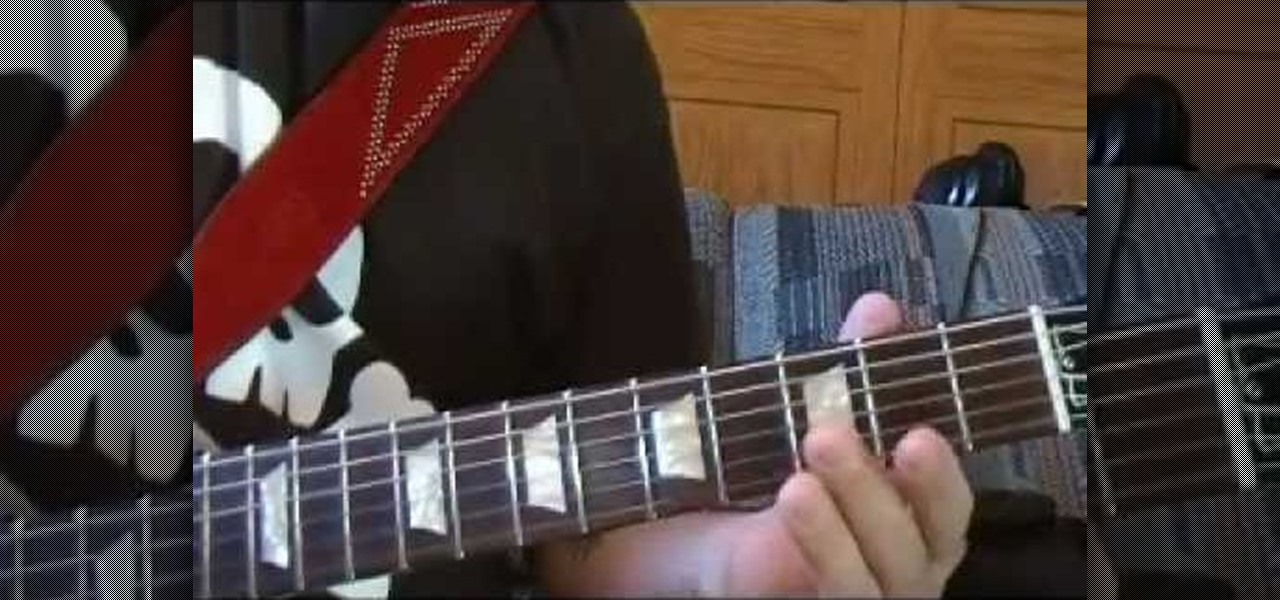
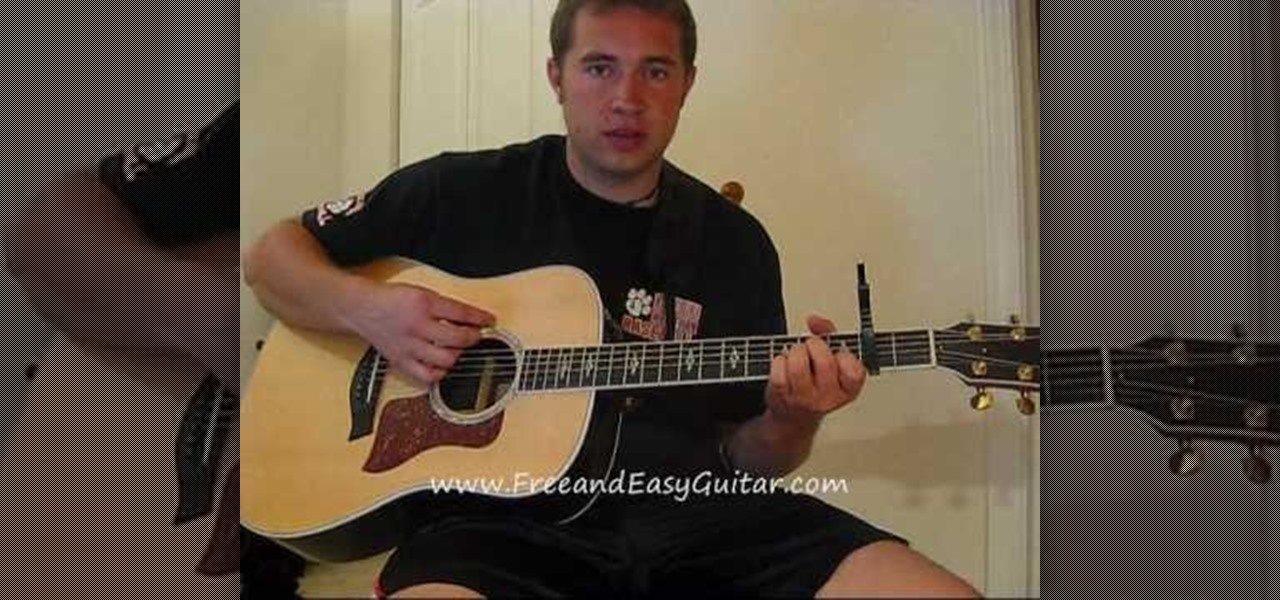
In this tutorial, we learn how to play "Rock n' Roll" by Led Zeppelin on electric guitar. First, you will start out by learning the different chords of the song. These include: E, B, G, D, A, and E; although they will be played higher and lower throughout the song. As you continue to play, learn where the breaks of the song are at and where they change to higher and lower. Once you get through the first part of the song, continue to play until you reach the chorus and the last few verses of t...
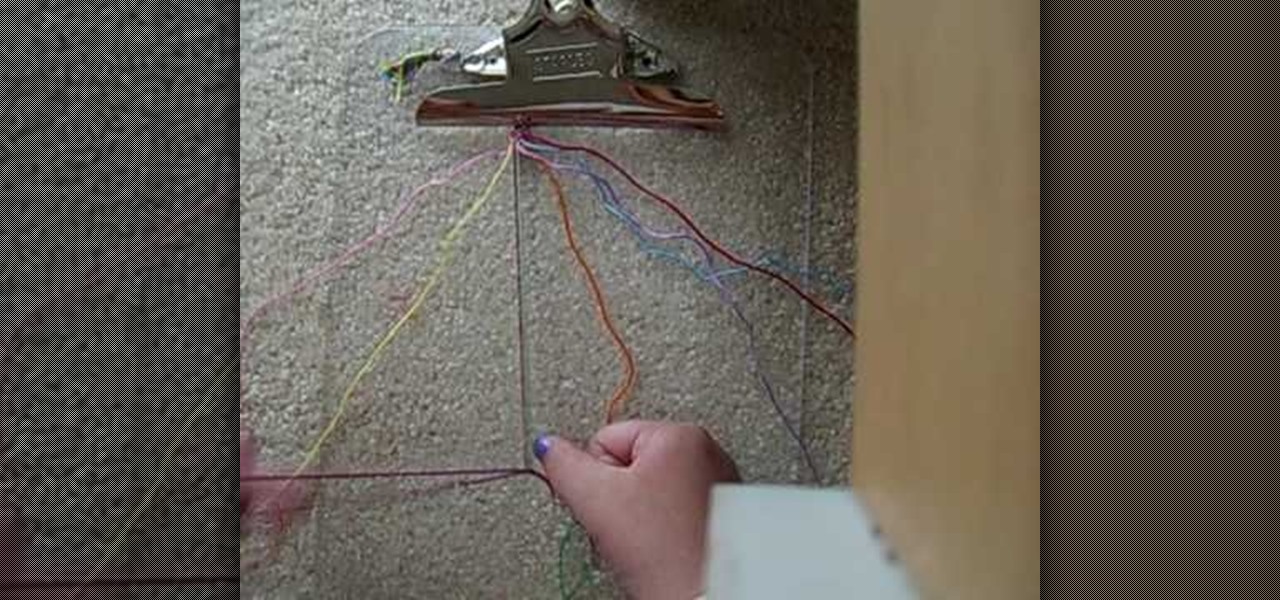
In this tutorial, we learn how to make friendship bracelets: the rag rug. First, grab eight different colors and arrange them all spaced out. Clip them to a clipboard at the top, then take your first strand and make a knot around your second strand twice. From here, you will take your third strand and tie it around your fourth strand. Continue to do this until you reach the rest of the colors that you have twice. Next, take the seventh and sixth strand and make a backwards knot. Then, do the ...
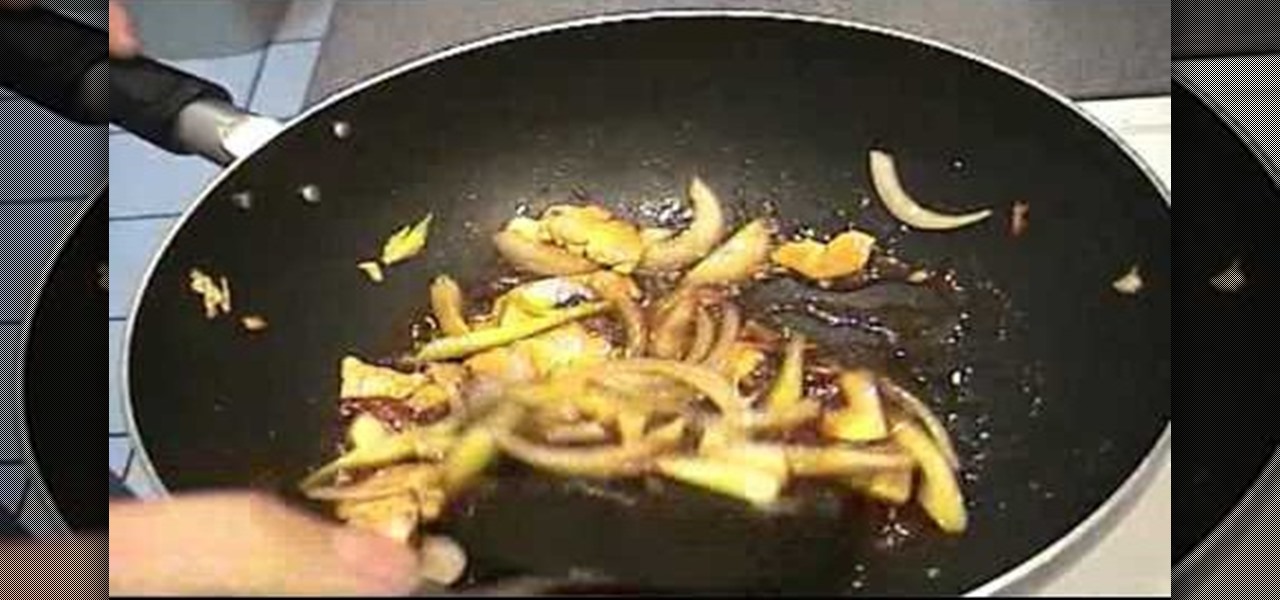
In this tutorial, we learn how to make Thai chicken lo mein. First, add in 1/4 c chicken stock, 2 tsp sugar, 1 tbsp oyster sauce, 2 tbsp soy sauce, 1 tsp corn starch to a bowl. Mix this together, then set aside. Heat up a skillet and add in cooking oil with chopped garlic. SautŽ the garlic until fragrant, then add in your chicken and cook for several minutes until finished. After this, add in your vegetable and continue to sautŽ. Now, add in the sauce and stir wit in the dish waiting for it t...
In this video, we learn how to make friendship bracelets: The Wrap. First, clip your strings to a clip board at the top. Then, separate them into three colors, two strings for each color. Then, wrap the other colors around one color until you reach the end, then push it up to the top and continue to do this. Once you reach down the top of the bracelet, switch the colors and start to wrap the other color doing the same process. Then, switch to the last color and continue to do this until you a...
In this tutorial, we learn how to play the intro from "The Winner Takes It All" by ABBA. You will want to start out by playing the intro to this ABBA song. Once you have done the intro to the song, you will continue onto the first verse of the song. Make sure to pay attention to the keys and use the right and left hand while playing. Continue on to play the rest of the verses and the chorus of the song. Finish off with the last verse, then go back over the song adding in the lyrics and perfec...
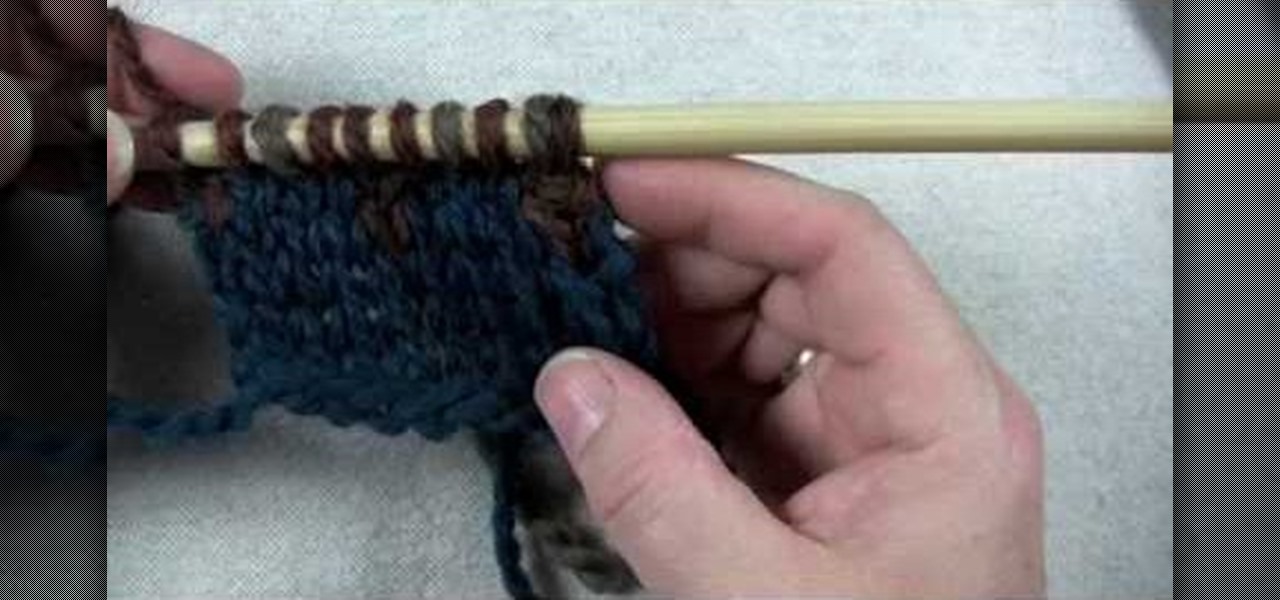
In this video, we learn how to perform a cable cast-on. Start this with a slip knot, then grab your working yarn and create your first stitch. After this, go between the two stitches with your other needle, then tighten the last stitch that you just made. Now, go in between the last two stitches and tighten up the yarn again. Continue to do this by making different stitches and as you go down you will have a cable cast-on. As you finish, you will have a longer and longer row, so tie off when ...
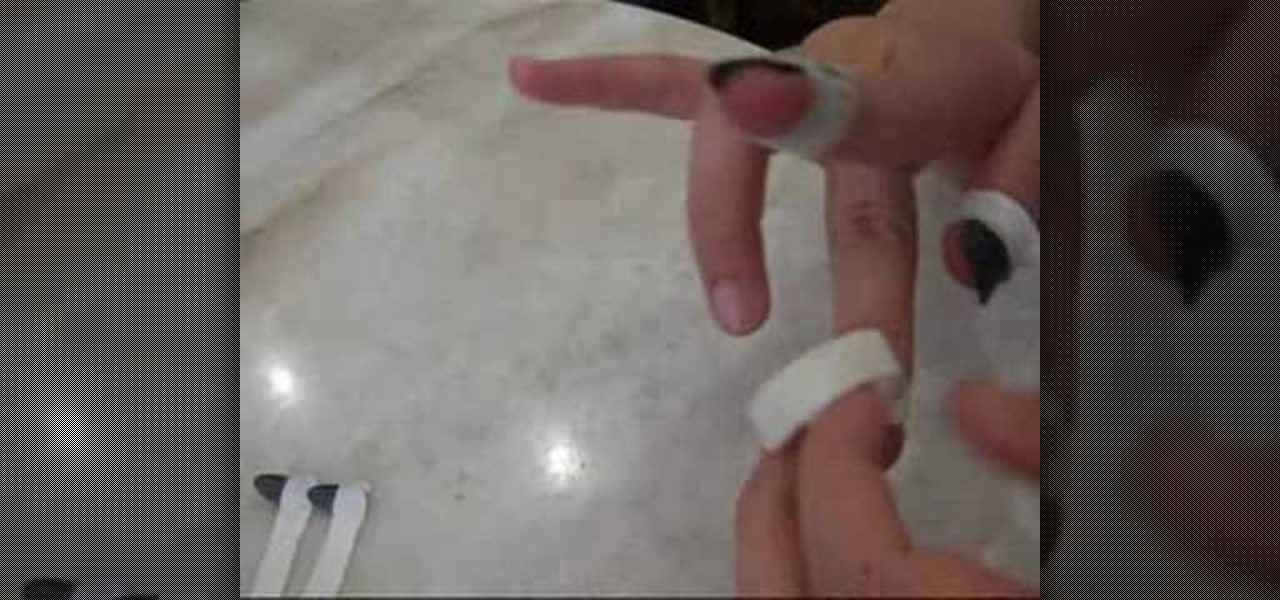
In this tutorial, we learn how to wear pipa nails on your fingers to play a pipa. First, place the nail on your natural nail with the bases matching up. After this, wrap the tape around your finger until it reaches the end. Then, press down on the tape to secure the nail. After you do this, continue to repeat the process for all of your nails. It should be easiest to start with the thumb nail and continue on down to the pinkie nail. do this for the opposite hand when finished with one, then y...
In this video, we learn how to play "The Master Plan" by Oasis on guitar. First, play the A minor at 9 with G sharp and with G. Continue to play the A minor at 9 with F and D, then you will have the introduction to the song finished. Continue to break the song down into different sections, playing out each part until you have the chords memorized. You may need to take more time with others in the middle of the chorus because the finger placement becomes tricky. Once you have this mastered, mo...
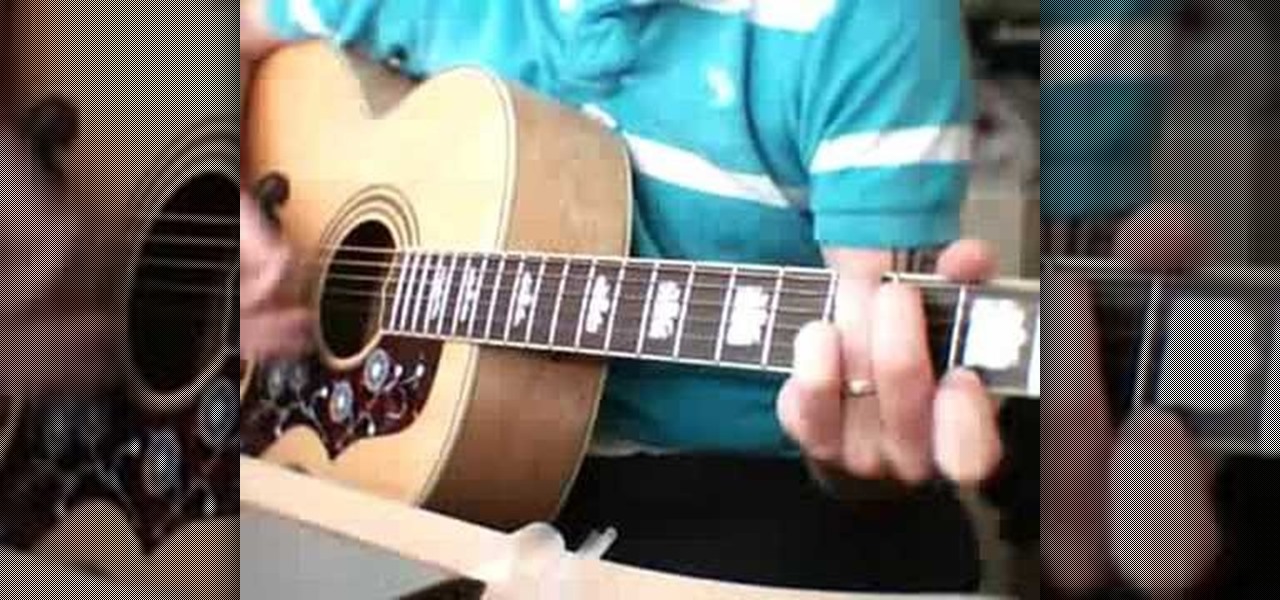
In this tutorial, we learn how to play "Halo" by Beyoncé on acoustic guitar. This is a simple song to play, because it uses the same chords throughout the entire thing. Start out with a G Am Em C twice, then continue to do this three more times. Then, do a G and C, then again with an Am and Em. You want the song to raise up then lower down as you continue to play. There will be stops in the song where the lyrics stop and so does the music, just learn these along with the rest of the song and ...
In this video, we learn how to play "Half the World Away" by Oasis on acoustic guitar. Start with a C, then CF, then move your middle finger to the fourth string. After this, you will repeat this and your intro will be finished. Now, verse one will start with C again, then F, then C, CB, A minor, D7, then back to CF. This will finish up verse one, then start the chorus in A minor, then C, and B7. Continue going back to A minor, then CF, D7 suspended, and G. Once you have the chorus, you can c...
In this video, we learn how to make a beaded 7 petal faerie flower pendant. First, string 14 beads on an 18 inch piece of string. Next, create a circle in the beads, then tie it off. After this, add three blue beads to your first pico stitch, then go through two more beads after this. Continue to do this all the way around the bracelet until you reach the other side. After this, go through the first pico stitch and add one red bead, followed by blue and red beads to make petals. Continue this...
In this video, we learn how to play "History" by The Verve on guitar. Start with the intro twice, which is E, A, D, G, B, and e. Once you have played the intro, start out with playing the first verse. It starts with G, then moves to D, A, E, then Asus 2, Em, C, and D. Play the intro over and add in the first verse, adding in the lyrics to the first line. After this, continue on the play the rest of the versus, and also add in the chorus. As you continue, add in more lyrics and perfect the son...
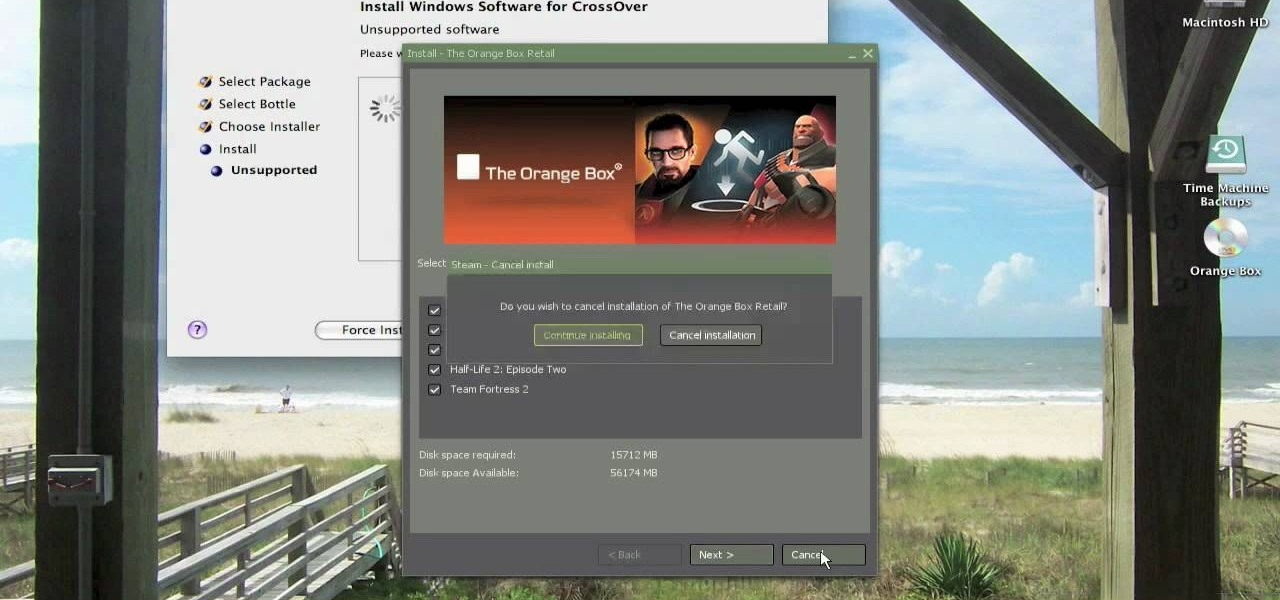
In order to install steam games on a Mac without Windows, you'll to download the Crossover application. After you have the Crossover software, place the CD in your hard drive. Click on "Install Unsupported Software, after you highlight it in the list. Click "continue". Rename the bottle. Click on create. Click continue. Follow the install wizard through, accepting the terms and clicking "next". Register your product ID, if you haven't already done so.
In this tutorial, we learn how to do a front walkover. Before you do this, you should be able to do a handstand. Start off by placing your right foot in front of you, then pushing off and raising your other leg up into the air. Your feet should be apart in the air, then you will do a headstand for a few seconds. On your way down, your hands should follow to continue to do this movement, walking out in front of you. Make sure you have goo back flexibility to do this, or else you won't be able ...
In this tutorial, we learn how to draw Shadow the Hedgehog. Start off by drawing the head and then add in the spiked hair. After this, draw in the details of the eyes and continue down to the arms and the rest of the body. Draw in the feet and a gun in the character's hand. Now, use a pen to start drawing the outline over the pencil marks that you just made. Continue on to draw in details on the picture that make it look more realistic. After this, color in the picture with colored pens and u...
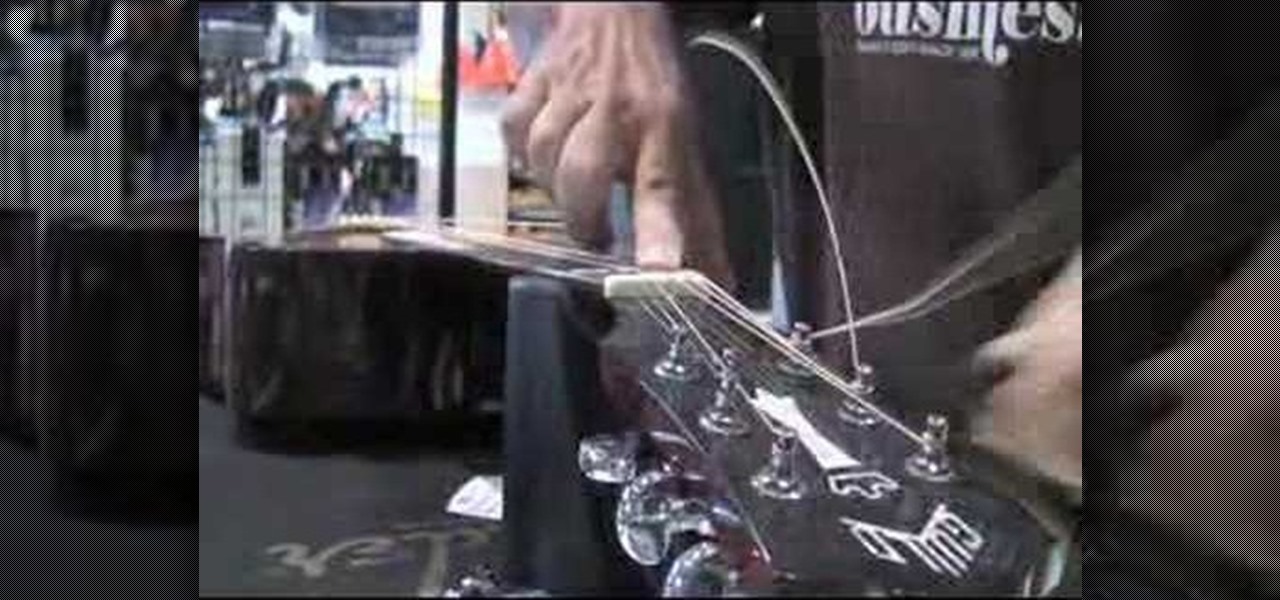
Chris Rego teaches us how to change acoustic guitar strings in this tutorial. First, you will want to loosen up the strings and then remove them from the place they are at. After this, you will want to replace the strings and then wrap it three times around the post. Use the winder and insert it inside the key while you are replacing the new string inside. After this, continue to tighten the string depending on what you want the sound to come out as. Continue to do this for all of the strings...
In this tutorial, we learn how to use a stranded color work pattern. Start with a basic pattern to help you learn how to do this. Use a chart to help you keep track of where you are and what you have done. Use a sticky not over the rows so you don't get ahead of yourself. Start off with the color that is first, then continue on to do the other colors that are on that row. When finished with this, remove the sticky note and continue onto the other colors that the chart shows. On the first stit...
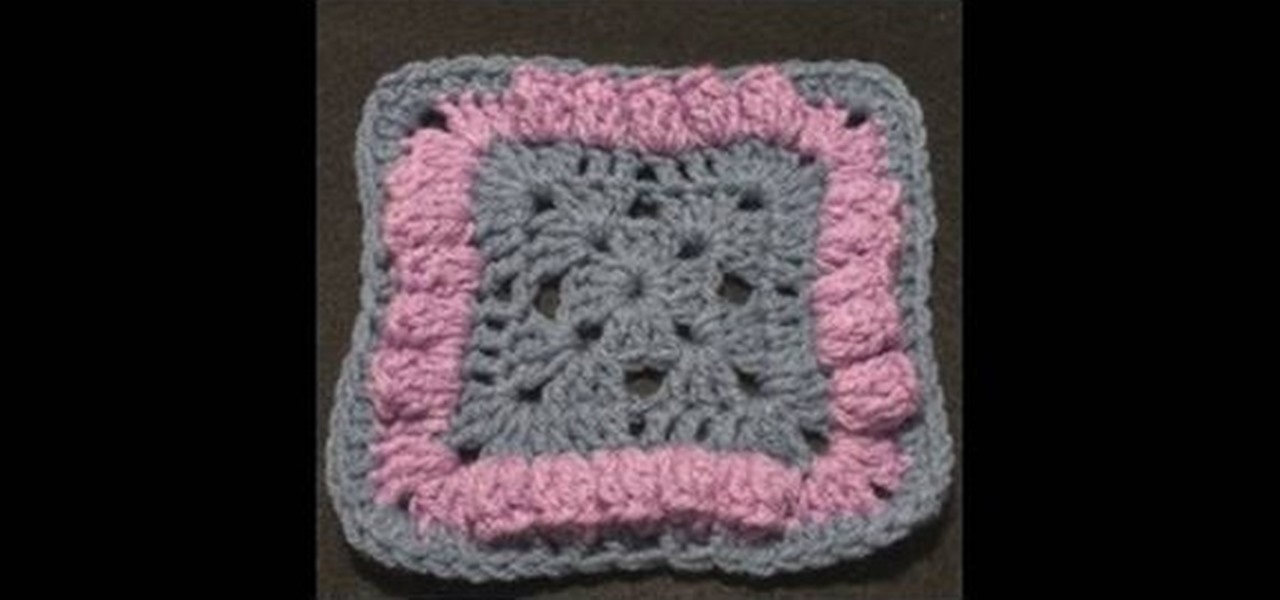
In this tutorial, we learn how to crochet a Bellevue granny square. Start by adding the slipknot to the crochet hook. Work a chain of four and join with the beginning chain. The first two rounds are going to be a traditional granny square. Chain, pull up, then work three double crochets. Continue doing this for all of them. Chain two, then work three more double crochets. Work the last three double crochets and you will have the base of the granny square complete. Continue doing this, but end...
In this tutorial, we learn how to do interval cardio training. Start off on the treadmill going at a pace that is easy for you. Increase the intensity of the treadmill every two minutes. After two more minutes go back to normal. Continue doing this raising your intensity each time you start a new two minutes. You can increase it by doing a higher speed, higher incline, or anything else. When you feel like you can't do anymore, log what speed or intensity you were at. Continue to do this exerc...
In this tutorial, we learn how to do a cabled pleat. First, do three stitches onto the cable need and hold them in front. Then, slide the needles together and start knitting on each needle with the separate needle. Continue to do this until you are done. You will then put four stitches on the cable needle and then hold them parallel again. You will continue doing this process until you have reached the end of your row. This may take you a few times to accomplish, but practice can help. If the...
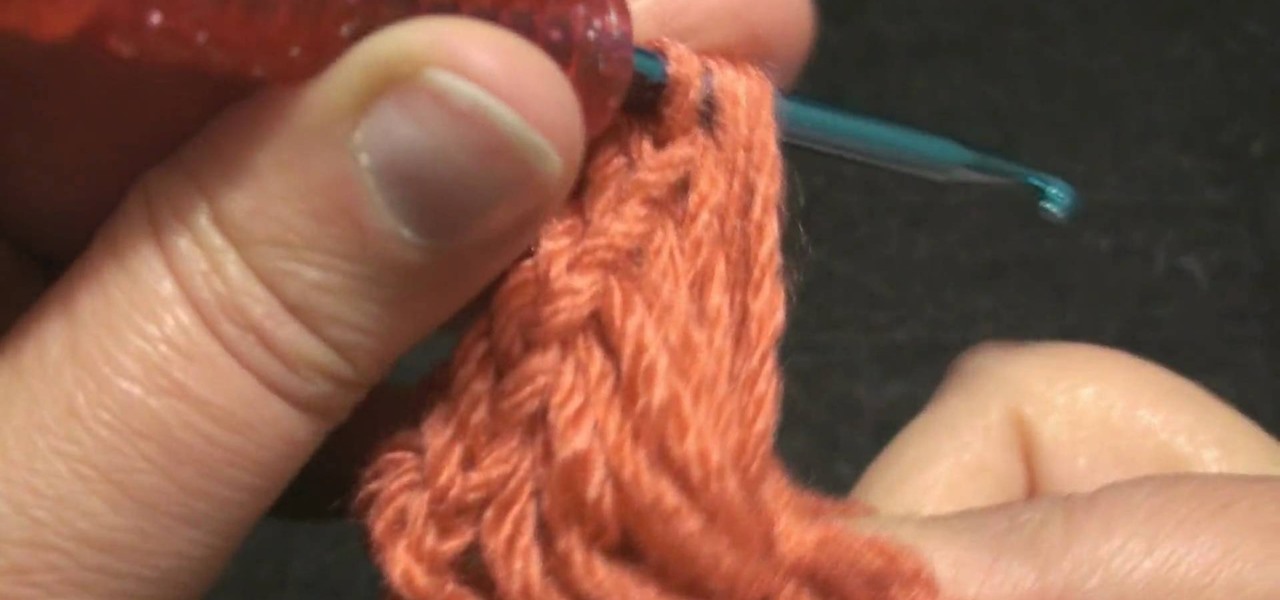
In this tutorial, we learn how to take out knitted stitches. First, pull your yarn tight and insert your two crochet needles. Take the left needle and go into the stitch, then pull it out with the right needle. Continue to do this for each stitch, until you have removed each one you don't want. Although you may think you won't need to do this, it's very important to learn just in case you make a mistake while creating something. make sure to work slowly, so you don't end up removing more stit...
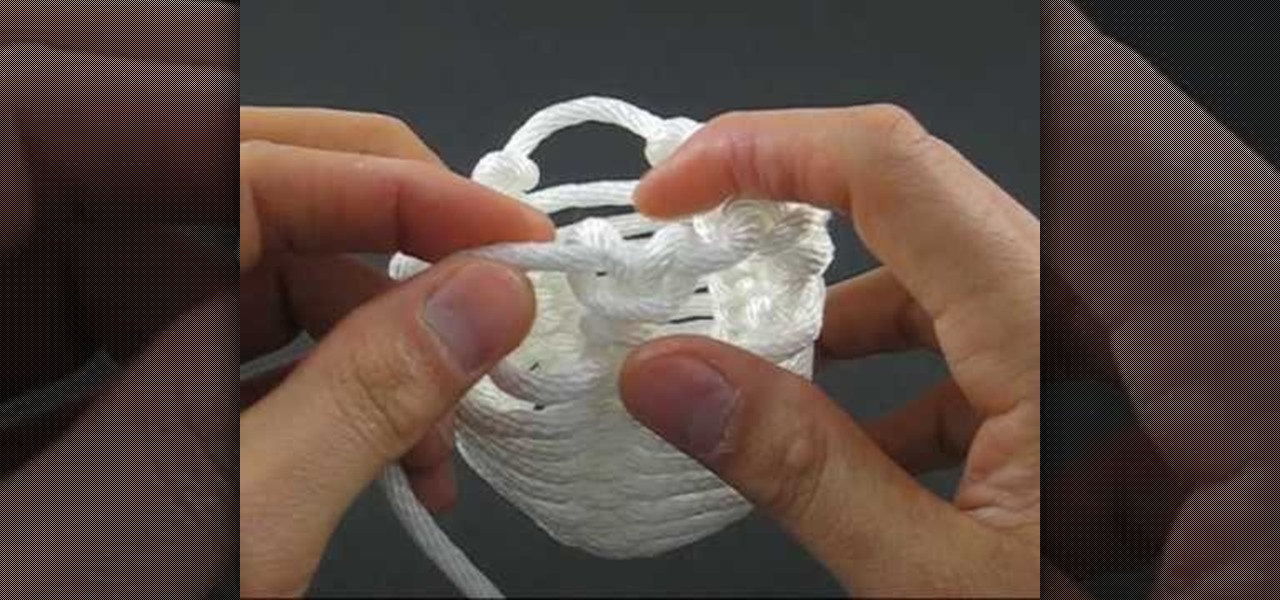
In this video, we learn how to tie a honey rope basket knot. To do this, you will need a 10ft of nylon rope. Start off by tying a counter-clockwise slipknot at one end of the rope. After this, pull the loop of the slipknot out four inches. Then, tie a second slip knot clockwise next to the first slipknot. Draw the loop length of the second so it's equal to the first. Next, continue to create slipknots next to each other until you've done five. No, hook your working end into the first loop and...
In this tutorial, we learn how to make beeswax candles. To make this, you will need thread for a wick and a small bucket of beeswax that is melted on a hot surface. To start, cut the wick thread into even strings, you will only need two of them. Next, place the strings into the wax and dip them in until they are coated. When finished, let the strings dry and continue this will several other strings to make even more candles. Continue dipping the strings and letting them dry so you collect mor...
This video demonstrates how to draw a detailed half face portrait of a person by drawing the eye and hair. Begin by drawing the outline of the eye, adding detail such as the inner fold of the eye where the tear ducts are as well as creases above the eye. Draw the pupil of the eye, adding highlights to the center. Then, continue by drawing highlights and further shading details to the rest of the eye, including eyelashes and then the eyebrow. Continue by drawing the outline of the face near th...