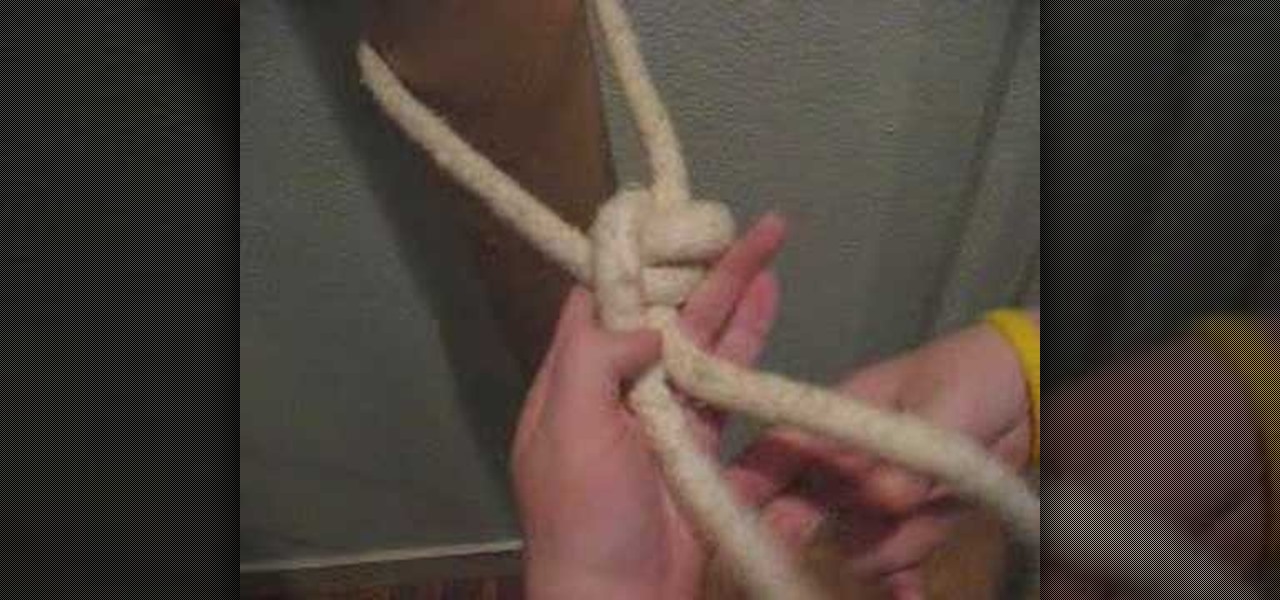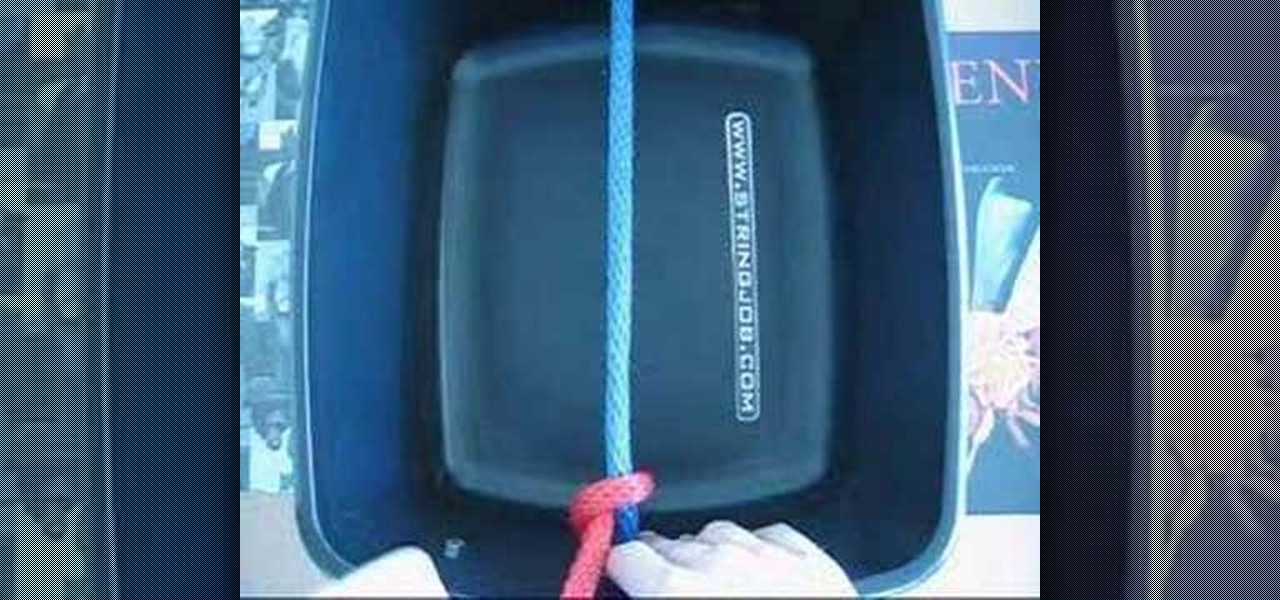
Take a look at this instructional video and learn how to tie a double half hitch while stringing your tennis racket. Keep in mind that this knot should only used to finish off mains or crosses. Because of this, tension should not be pulled directly to it.
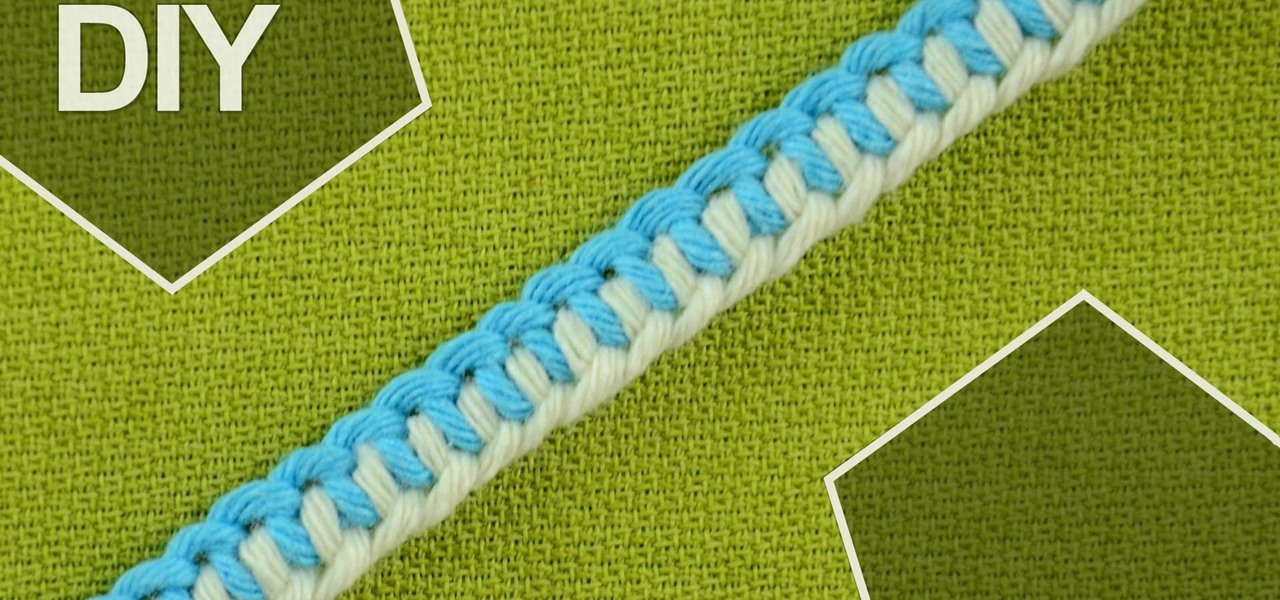
in this Zipper bracelet is used Half Hitch knot or oldest name - Basket Stitch. They can be used as part of plant hangers, or to make belts, bracelets, and other items. This is very easy to make (: can be used as a friendship bracelet and good for beginners :)
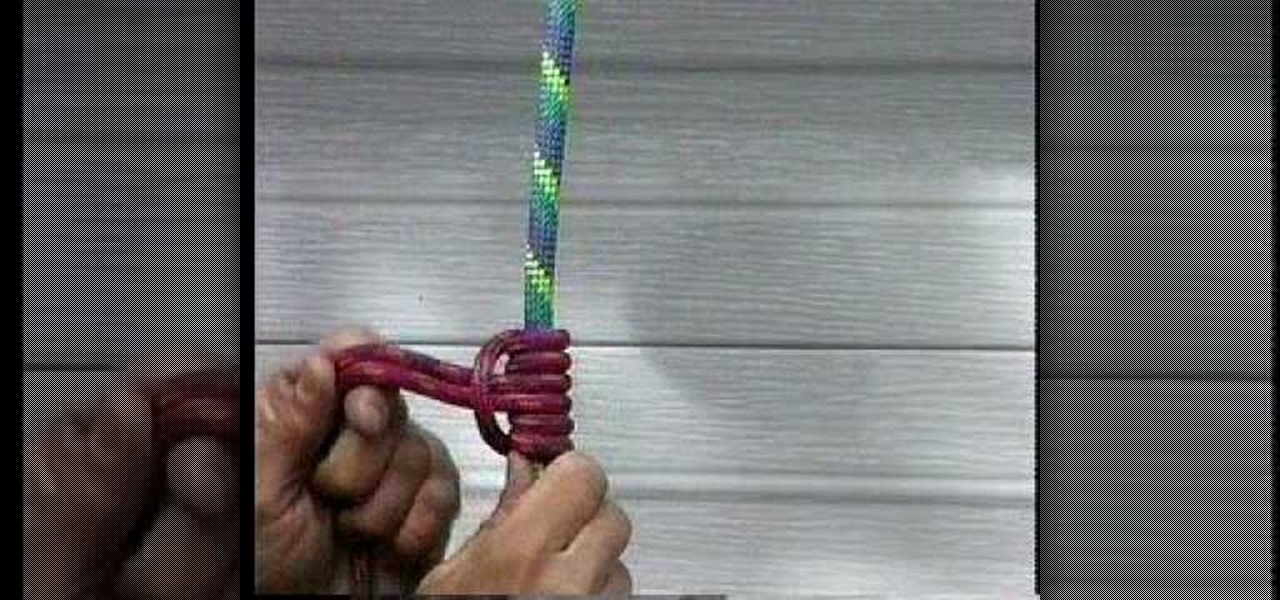
This is a must know knot for any climber. Used for everything from self belay to crevasse rescue. Try this hitch out. It is real easy but believe me you can be really hooped if you don't know it. On the other hand this will get you out of a bind when nothing else will. Common knot for mountaineers who travel light in the big hills. Used to ascend a rope or self rescue out of a crevasse.
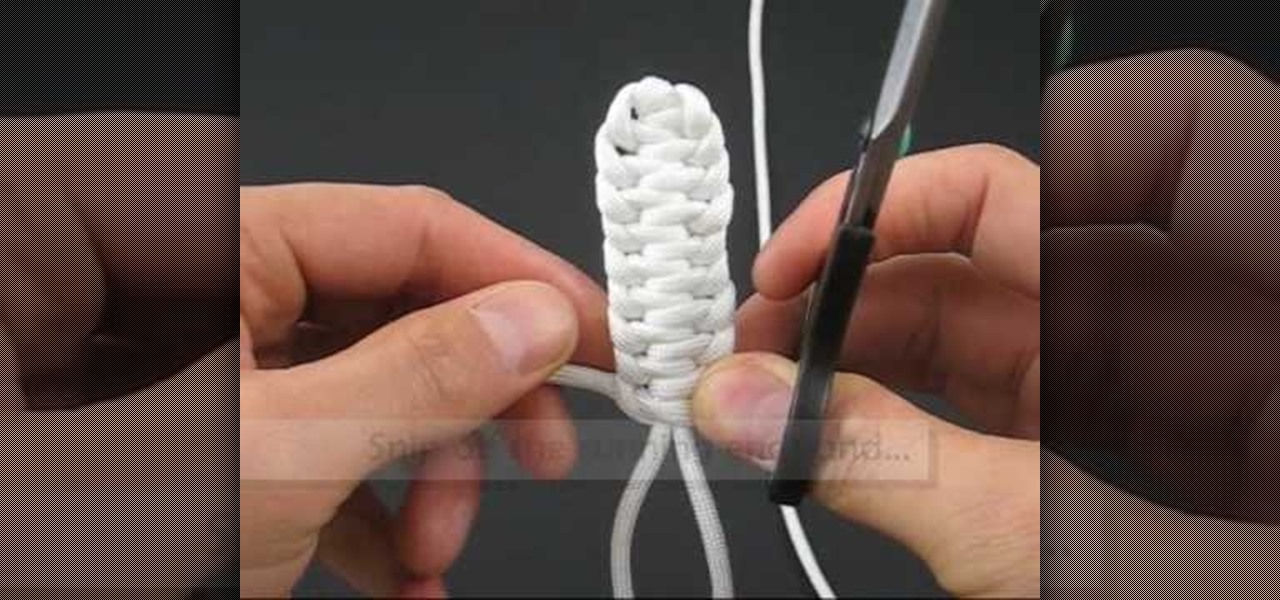
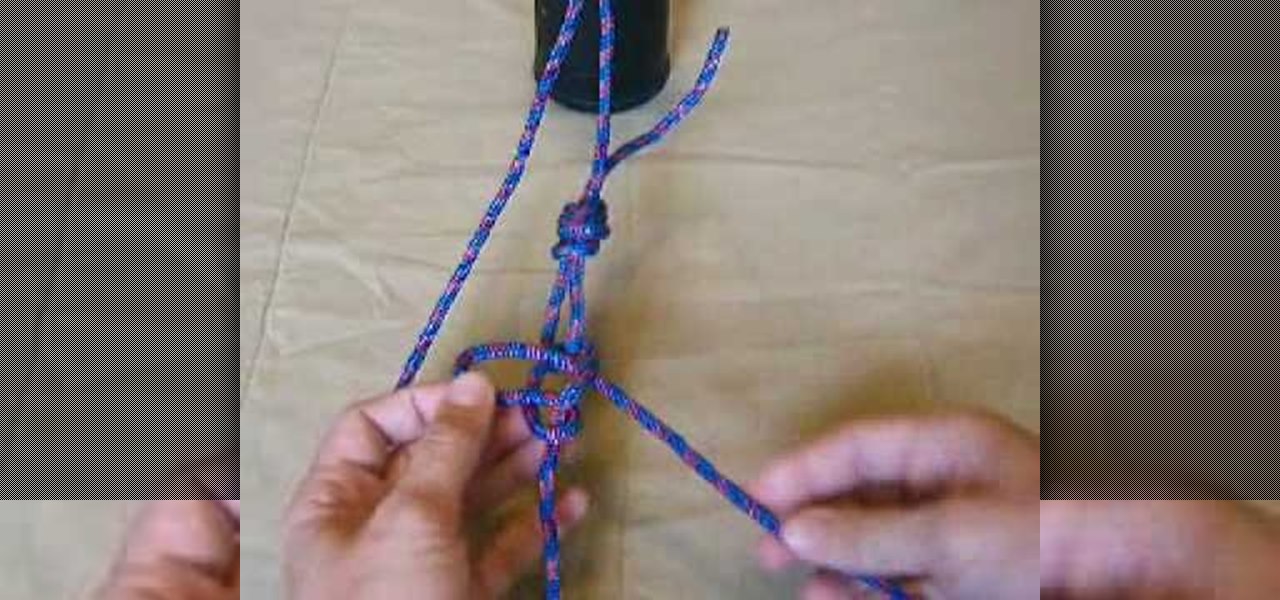
This video describes the technique used to tie a single Genoese bar knot. The presenter shows what the completed knot looks like, and then shows the technique used to tie the knot. The process for tying this knot is similar to braiding as the ends of the string are looped around and through the previous section. Each segment must be pulled very tight or the knot will fail to reach the correct shape. The hitches continue until the desired length of the knot is reached at which point the excess...
The trucker's hitch is a good, strong knot with many uses. It's ideal for securing a load in a vehicle, and was used that way dating back to the days of wagons hauled by horses. In this video the folks at ITS Tactical teach you how to tie a trucker's hitch, quick and easy.
A taut line hitch knot is used in sailing to attach a line to a pole. Tie a taut line hitch knot to attach a line to a pole.

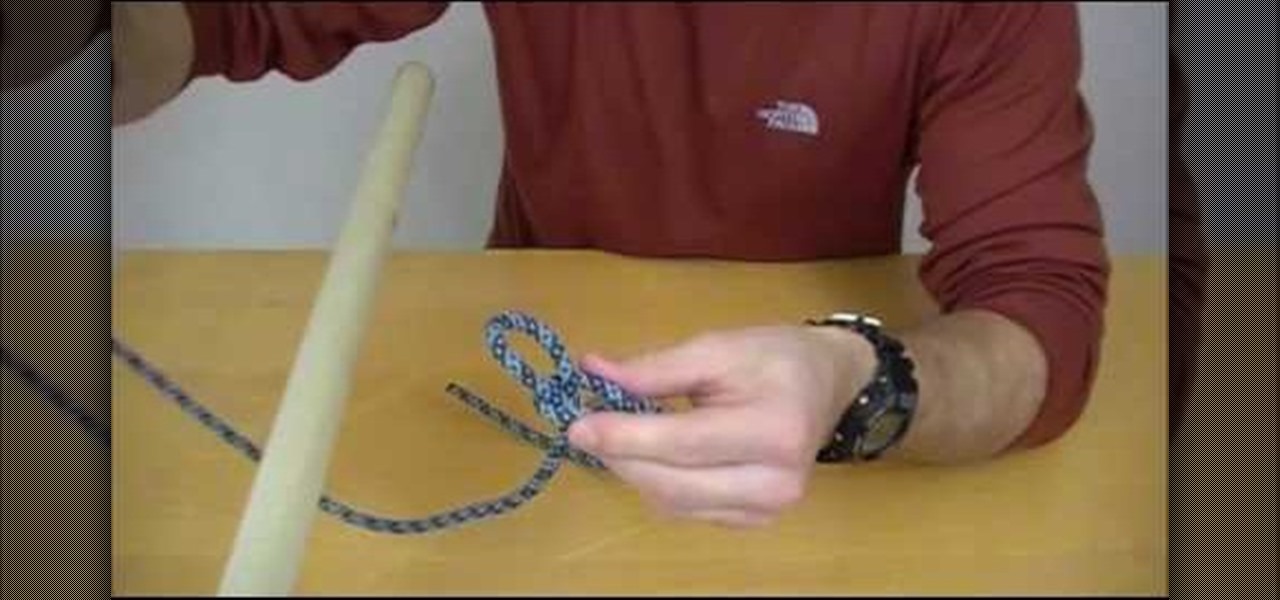
Learn how to tie the Boy Scouts trucker's hitch knot. The Trucker's Hitch (Lorry Knot in the UK and parts of Canada) allows the scout (or sailor or whatever) to easily tighten a rope, yet easily untie the knot. Its most common use is for tying loads (thus the trucker moniker) such as a canoe to a cartop, a tarp to trailer or any application where a very tight rope is needed. It provides the advantages of a block and tackle, without the heavy hardware.
The knots demonstrated in this how-to video are a good way to hang a hammock, because it makes it so easy to adjust your hanging height. The whipping knot around the tree will not slip if tied correctly. Make sure to tie the second half hitch or the knot may slip and come loose. As with all knots, use your own discretion and be safe. Watch this video survival training tutorial and learn how to tie some sturdy knots useful for hammock-hanging.
Learn how to tie this Boy Scouts knot. The tautline knot builds a loop that will easily get bigger - by sliding the knot up the rope toward the free end. But, when pressure is applied to the loop, it will not get smaller. Its most common use in Boy Scouts is on the ropes that attach a tent to tent stakes in the ground. The loose end is attached to the tent. The loop goes around the stake and the knot slides by hand to tighten or loosen the rope. But the tautline hitch knot will not slide by i...
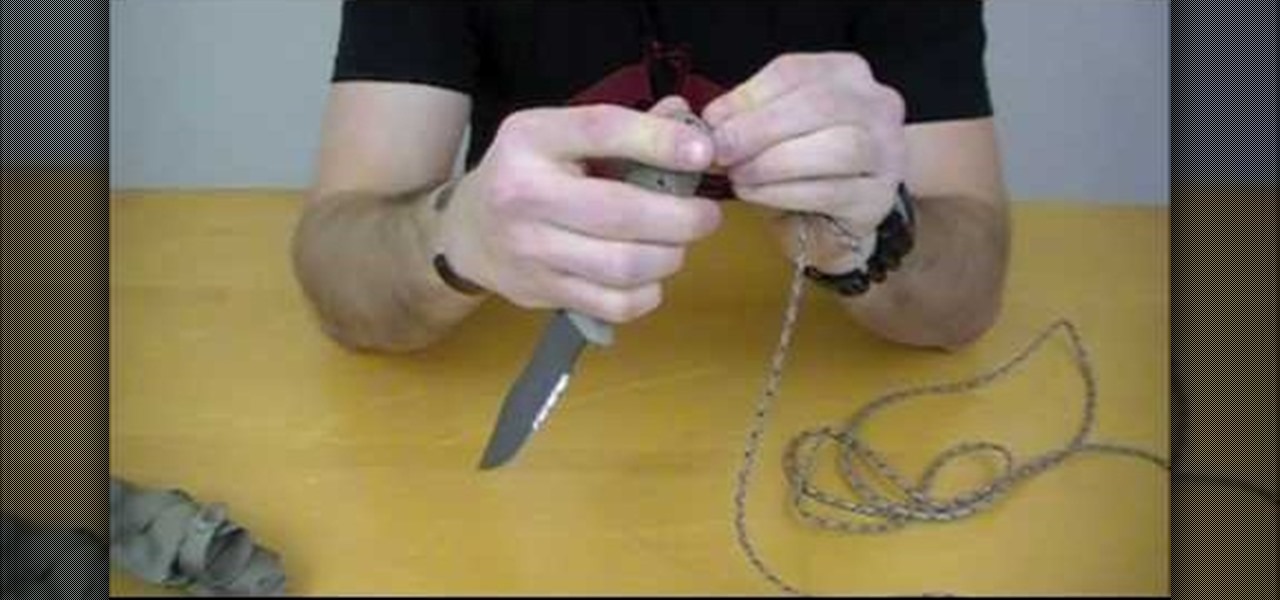
In this video, we learn how to tie a Knute hitch. The purpose for this is to make an easy dummy cord on something with a hold for it. To start, tie a simple overhand knot in one end and then make a bite in the knot. With this bite, insert this into the hole in your item. Once it's through, take the end with the knot and put it through the loop. Then, pull the end of the string until it's tight over the item with the hole. Then you can use this as a handle so you don't lose your item!
A cleat hitch is used to attach a line to a horn cleat. It is often used to secure a boat to a docking platform. Apply a cleat hitch knot.
You see this one in old westerns all the time when the gunslinger hitches his horse outside the saloon. It's sort of the cowboy equivalent of parallel parking.
Learn how to tie a Spider Hitch. The Spider Hitch is one of the easiest ways to form a loop or a double in a line. It is far easier than the bimini twist and the plaiting a double but it is not as strong. In monofilament it will retain around 80 percent of the lines original breaking strenght and much less with braides lines. The knot is popular for beeing quick and handy. Tie a Spider Hitch knot.
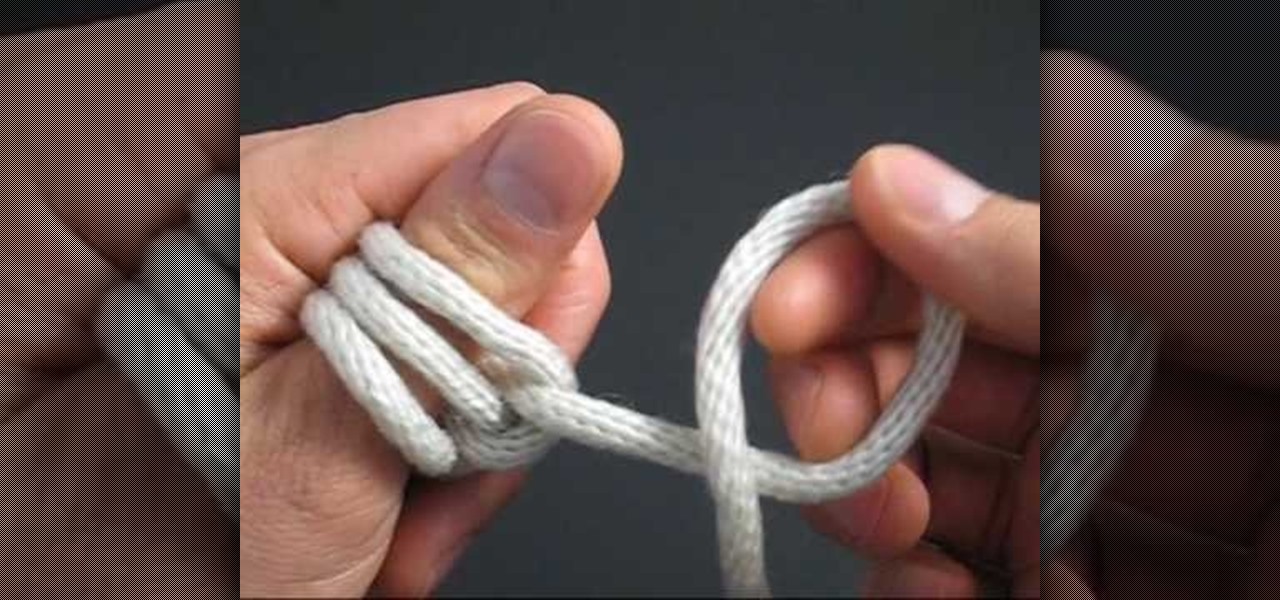
A bloody knuckle knot is the result of a row of half hitches fused with a blood knot--this video teaches you how to tie one. Make two loops with your rope then loop them over your thumb. Take the tail of the rope and keep making loops and adding them to the others on your thumb, to produce a row of loops. When you have five loops, slide them off your thumb, take the end of the rope and pass it through the loops. Pull out the slack but do not tighten, then take the other tail and pass it throu...
This is a step by step video tutorial on how to make this beautiful hemp choker necklace with macrame knots such as alternating square knots, alternating half hitches, braids, and cowrie shells. Enjoy!!
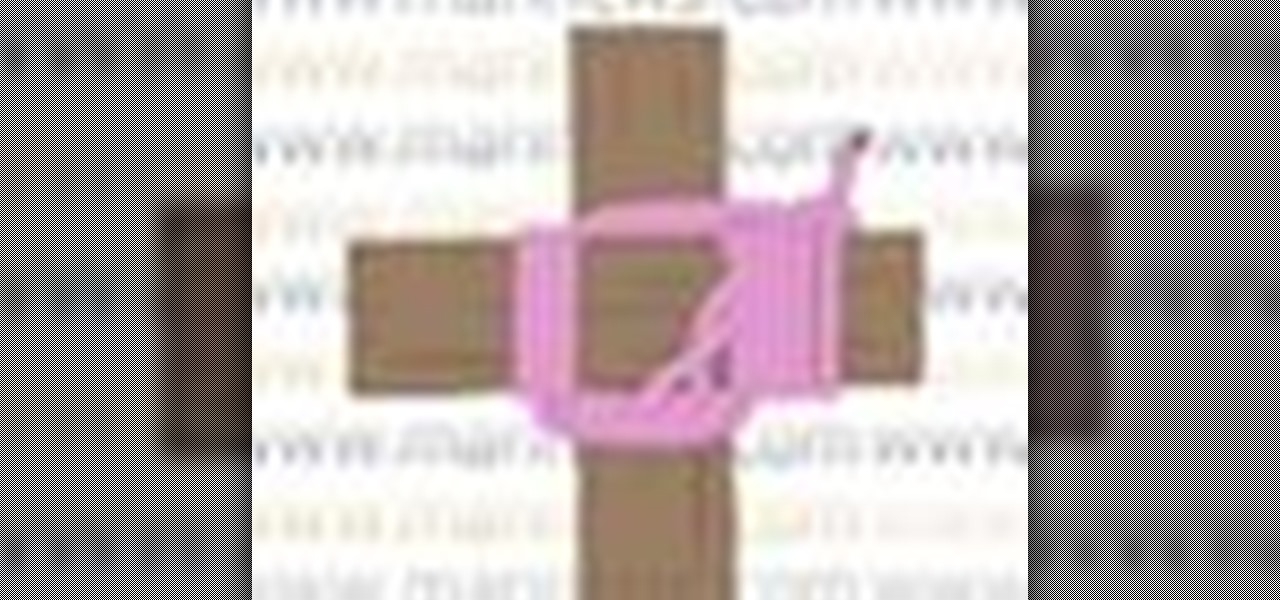
Learn how to tie a knot, but not just any old knot... a square lashing knot. You'll never have any troubles again tying nautical square lashing knots, thanks to this Marinews knot tie animated tutorial. You can learn by simply watching the knot tying animation at a moderate speed, or if need be, click on "learn by steps" to get step-by-step rope knot instructions for square lashing knots. How to make a knot is not the hard part, choosing the right fishing knots or rope knot is.
The Prusik knot is a great versatile outdoor knot, boating knot, or paddling knot, and is used widely throughout each. Mountain climbing is a big user of this knot. You can use this knot to secure a loop to a tight line. Also great for hitching boats.
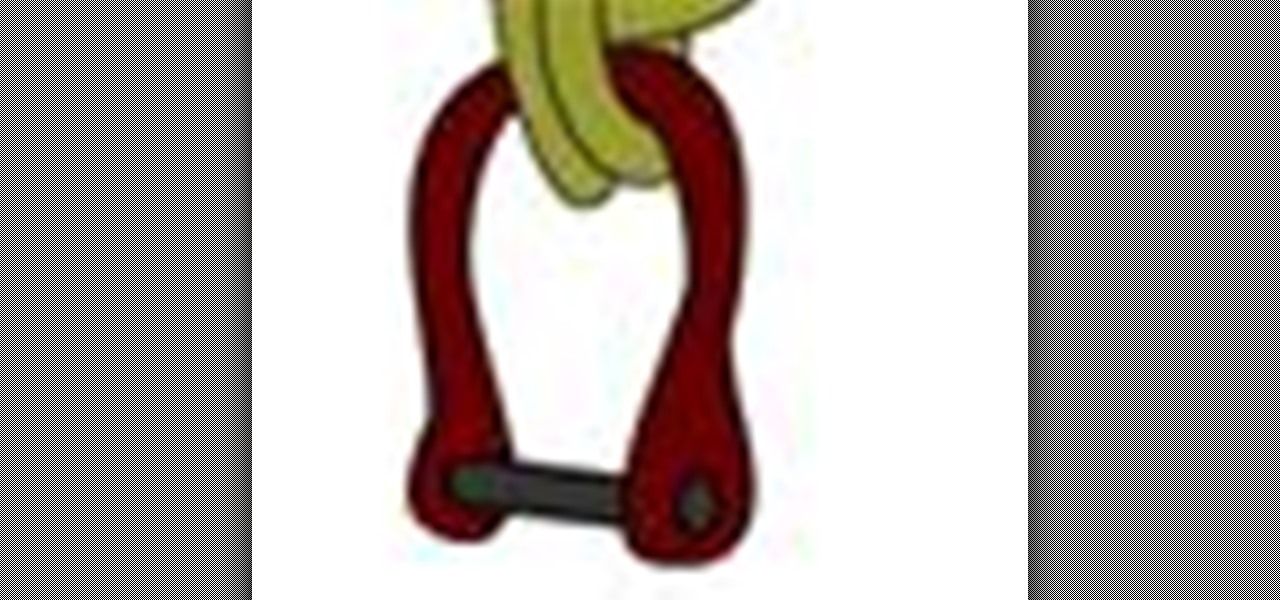
The Anchor Bend is the boating knot generally used to fasten a line to an anchor. The free end should be secured with seizing to the standing line for a permanent, secure knot. One side of a Double Fisherman’s also makes a good backup knot to this and any knot. Make two turns around the shackle, leaving turns open. Talk a half turn around the standing line and feed the free end through the turns and pull tight. Now tie a half hitch around the standing part and pull tight. Seize the free end o...
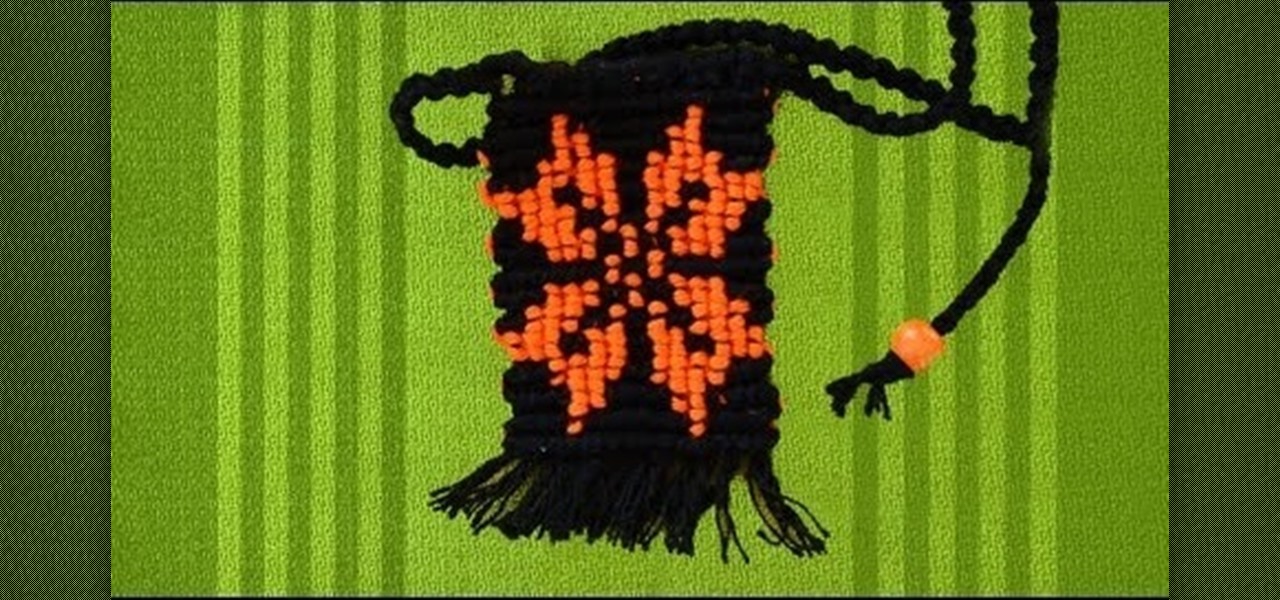
Cavandoli Macrame (also called Tapestry Knotting) is an intricate form of knotting used to create geometric patterns. The Cavandoli style is done mainly in a single knot, the double half-hitch knot. Reverse half hitches are sometimes used to maintain balance when working left and right halves of a balanced piece.
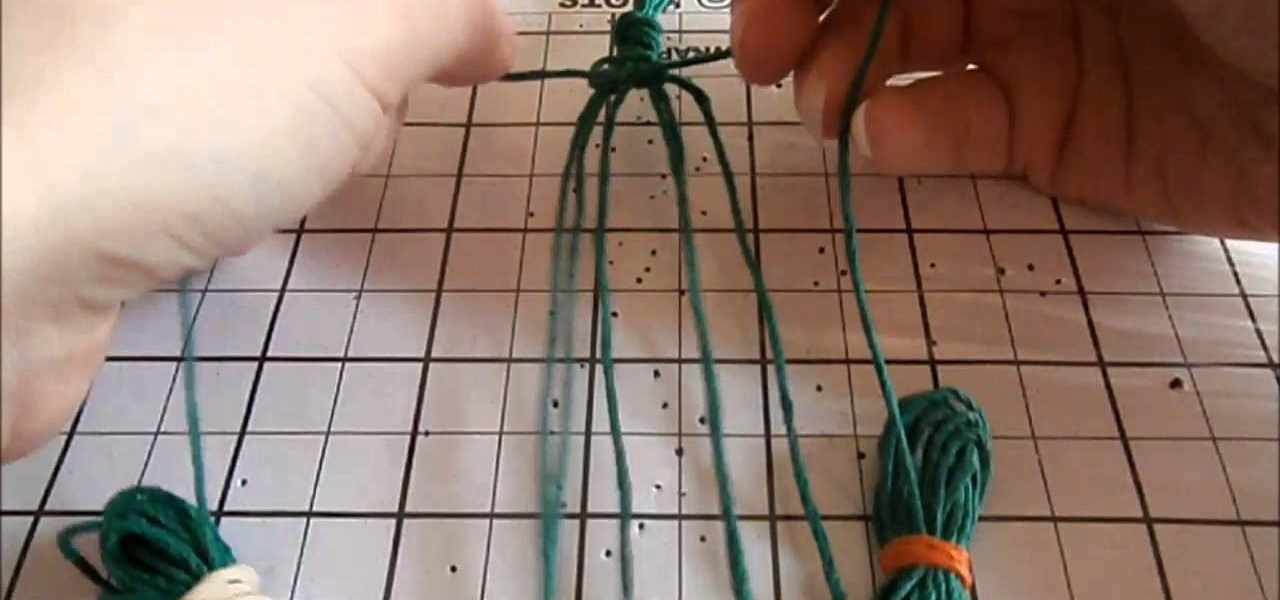
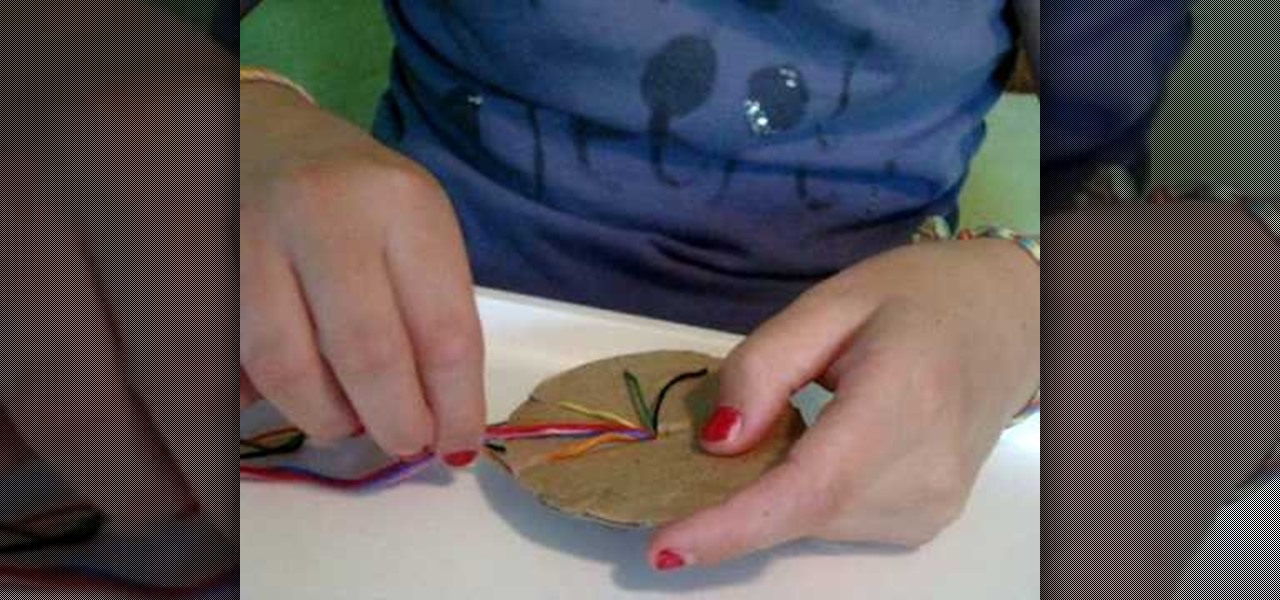
A little girl from Live Love Embroidery explains, in this video, how to make a circle woven friendship bracelet. The process involves seven strands of embroidery thread tied at the end with a simple half-hitch knot. The knot is fed through a small hole in the center of a circle of cardboard. The strings are then individually latched through seven of eight notches located at the end of the cardboard. After that, rotating in a circle pattern around the cardboard, the strings are exchanged aroun...
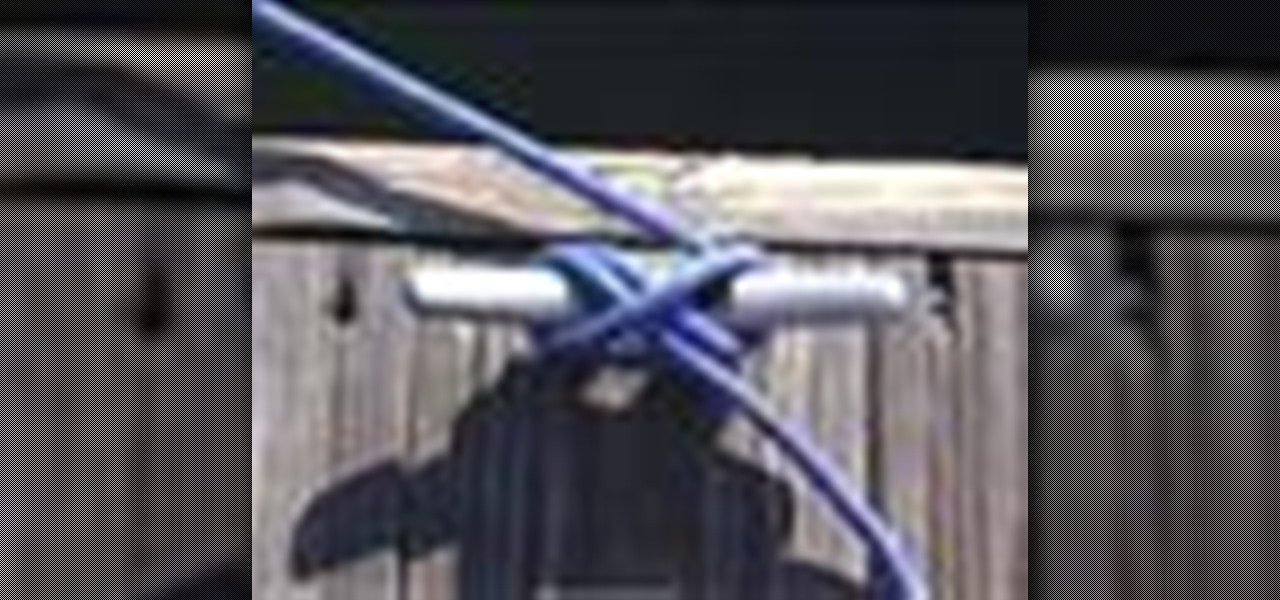
A taut line, also know as two half-hitches with an extra turn, is used to tighten a line like a clothes line or tent line. You may want to watch the video on how to tie a half-hitch before trying this knot. Tie a taut line.
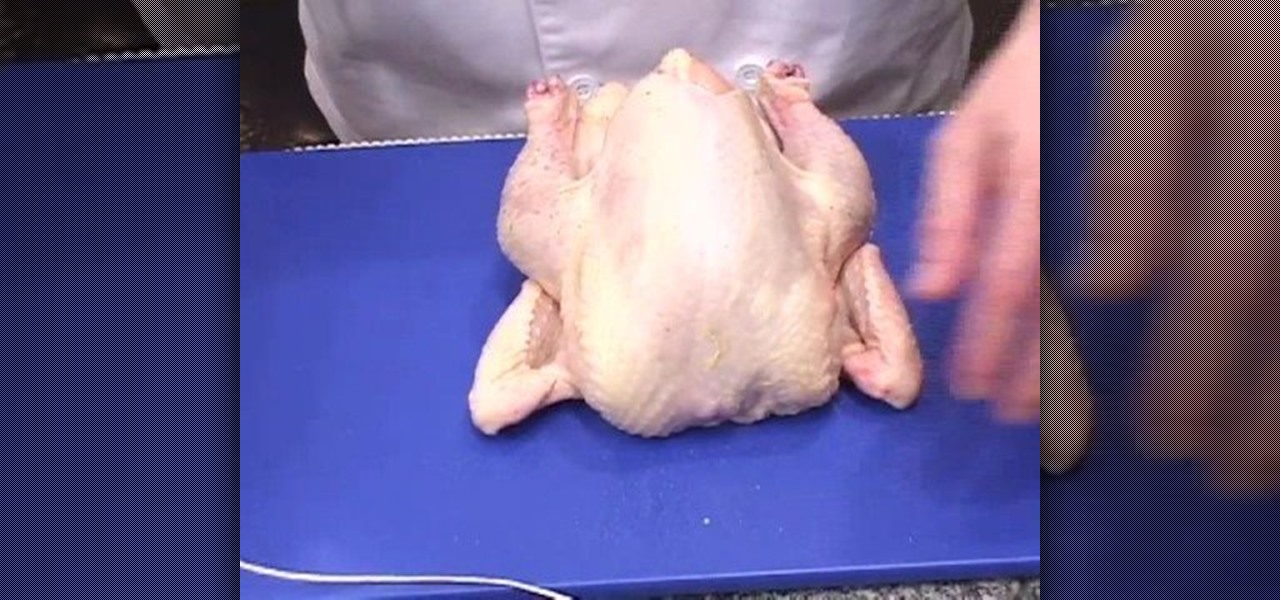
First of all keep the chicken under the running water and then pad it dry. Then you have to remove the neck, inner portions and the fat from the abdominal cavity. Now season the inside of the chicken with salt and pepper by standing it up inside the bowl. You can now add the desired spices. In this case you can use garlic cloves and lemon pieces. Now close the abdomen cavity and lay the chicken on the cutting board. Wedge the wing tips under the wings. Close the neck cavity by wrapping the sk...
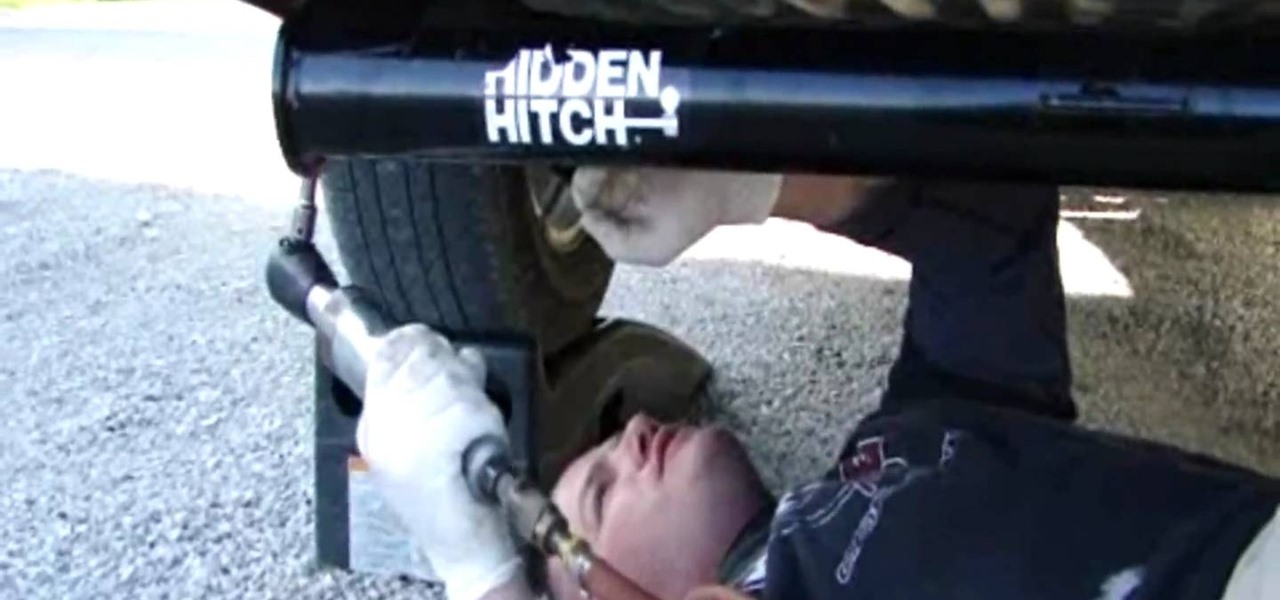
An expert installer shows how to complete the installation of a Hidden Hitch trailer hitch on a GMC Savana van. He explains the straight forward bolt on hitch installation and offers tips on how to achieve proper alignment.
An expert installer shows how to complete the installation of a Hidden Hitch trailer hitch on the 2008 Mazda CX-9. Video shows helpful tips on how to position the trailer hitch and make the installation quick and easy.
Tim Anderson shows us how to make a hammock in a minute from a sheet or any big piece of cloth. He teaches us how to tie the over hand knot (which is also known as a half hitch knot) and we learn how to tie a lark head knot. When completed, it sure looks comfy. Make an instant hammock.
Just because you have a hybrid, that doesn't mean you have to sacrifice the functionality and convenience that a trailer hitch offers. This video shows just how simple it is to add a hitch to your hybrid suv so that you can continue to tow trailers, use a bike rack, cargo carrier, or any of the other hundreds of hitch mounted accessories available today.
A trailer hitch is important for towing items like boats. Learn how to install a trailer hitch from a certified mechanic in this free automotive series.
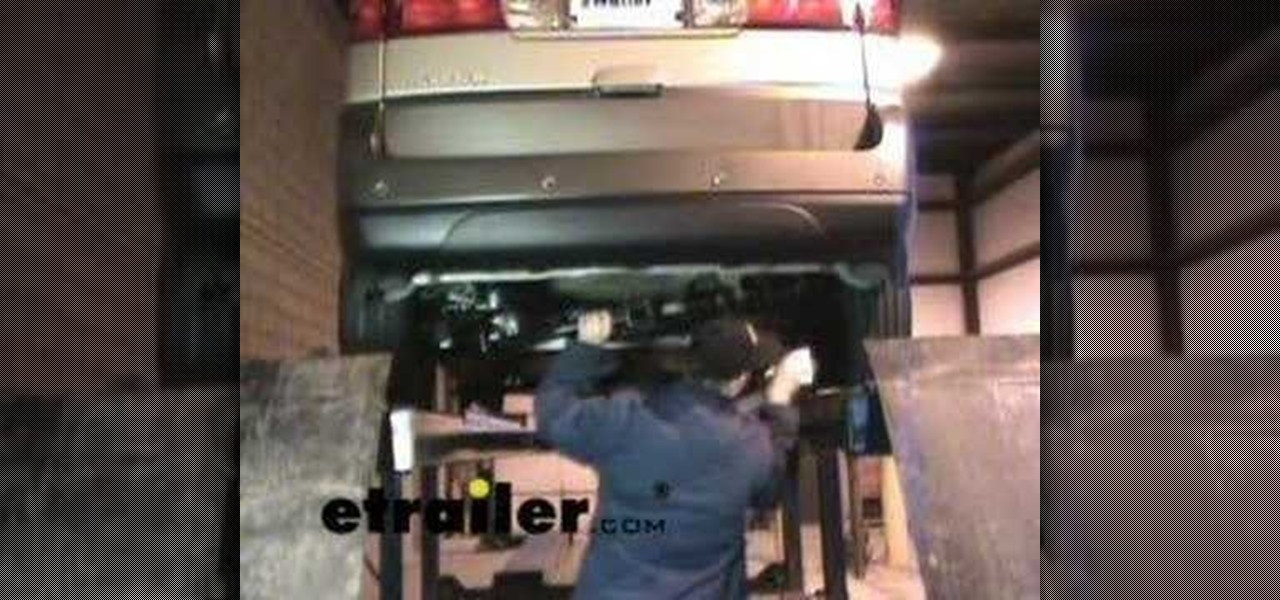
If you're looking to go out on the road and bring along your boat or trailer, having a hitch is needed. But what if your vehicle doesn't have one or you wish you could have it, but not show? Well this tutorial may be what you need. In this two part video tutorial, you'll be finding out how to install a hidden hitch on a 2005 Toyota Sienna. It may seem easy to do, but it can take a good number of hours to complete. So good luck and enjoy!
Tie a taut line hitch with the concluding hitch reversed. Just watch to see what I'm talking about. It's slow and easy to follow.
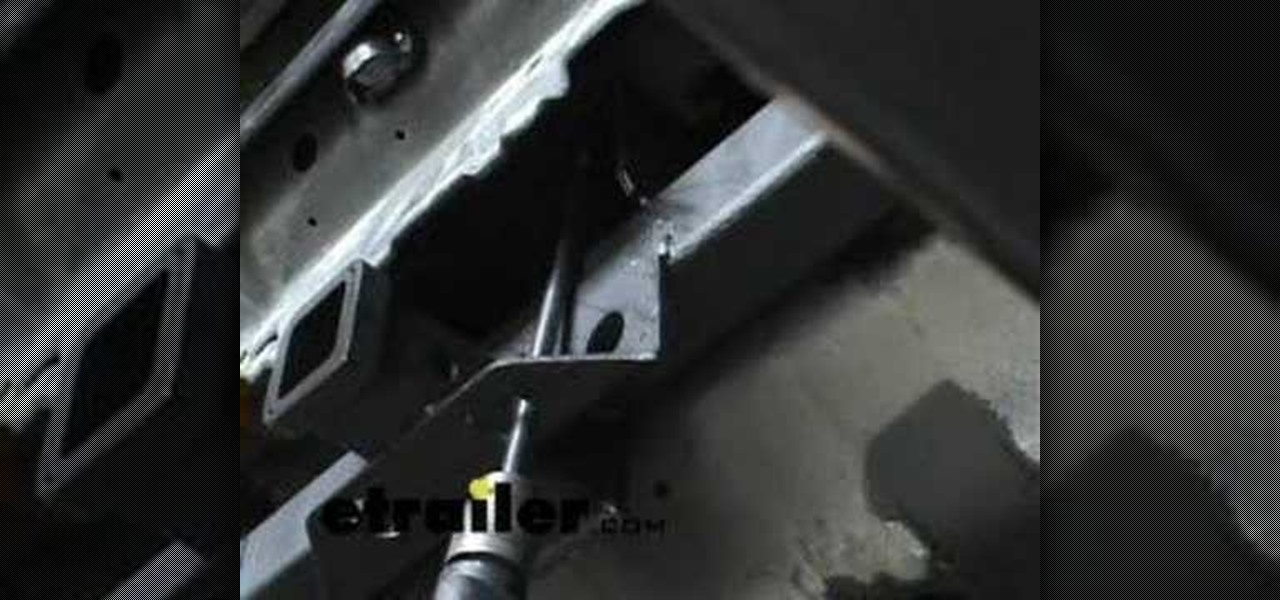
The first thing we need to do is lower the spare tire so we have a little extra working room. What we need to do next is install the bolts in the frame, then install the hitch and finish up. This video shows you all these steps in installing a Valley trailer hitch on a Buick Rendezvous.
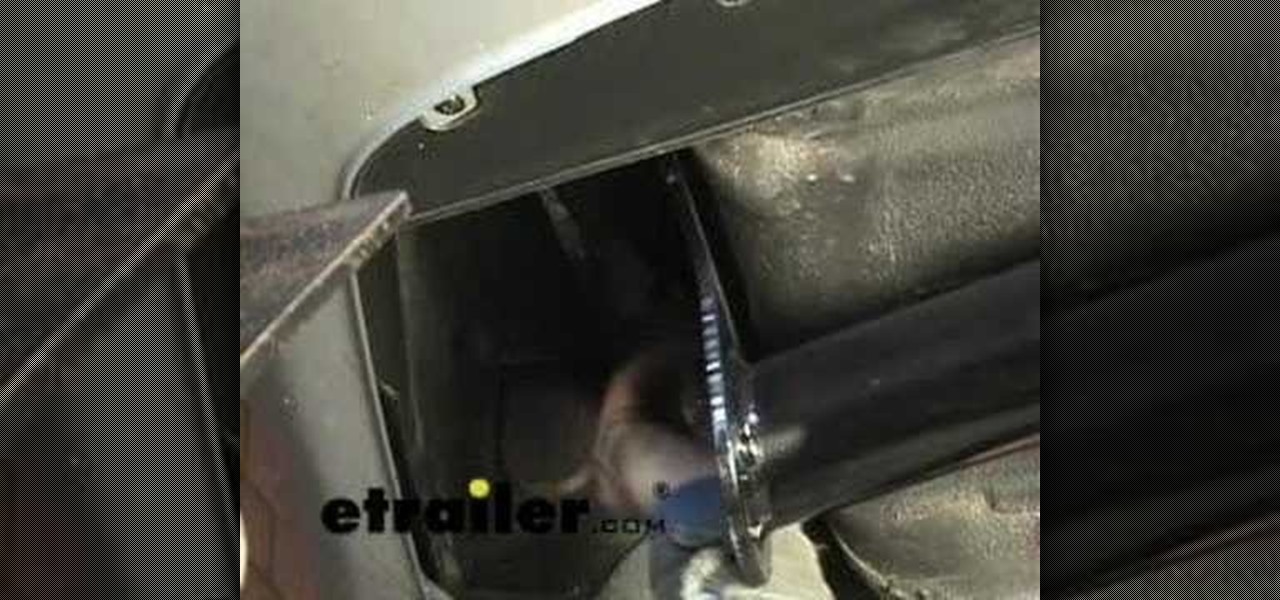
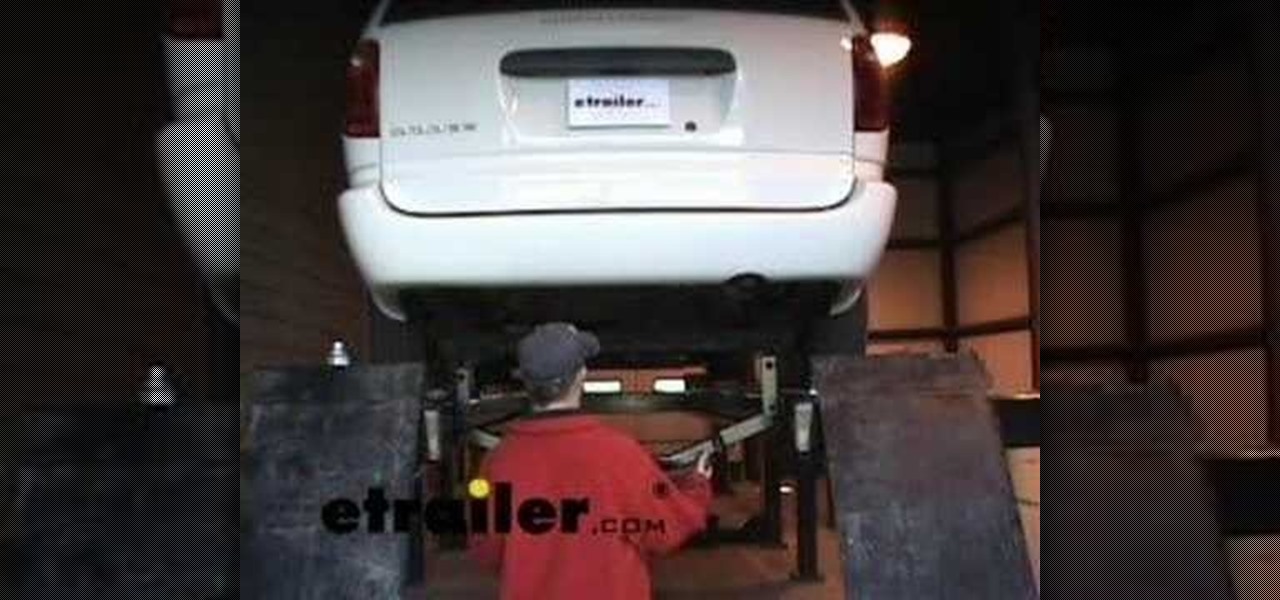
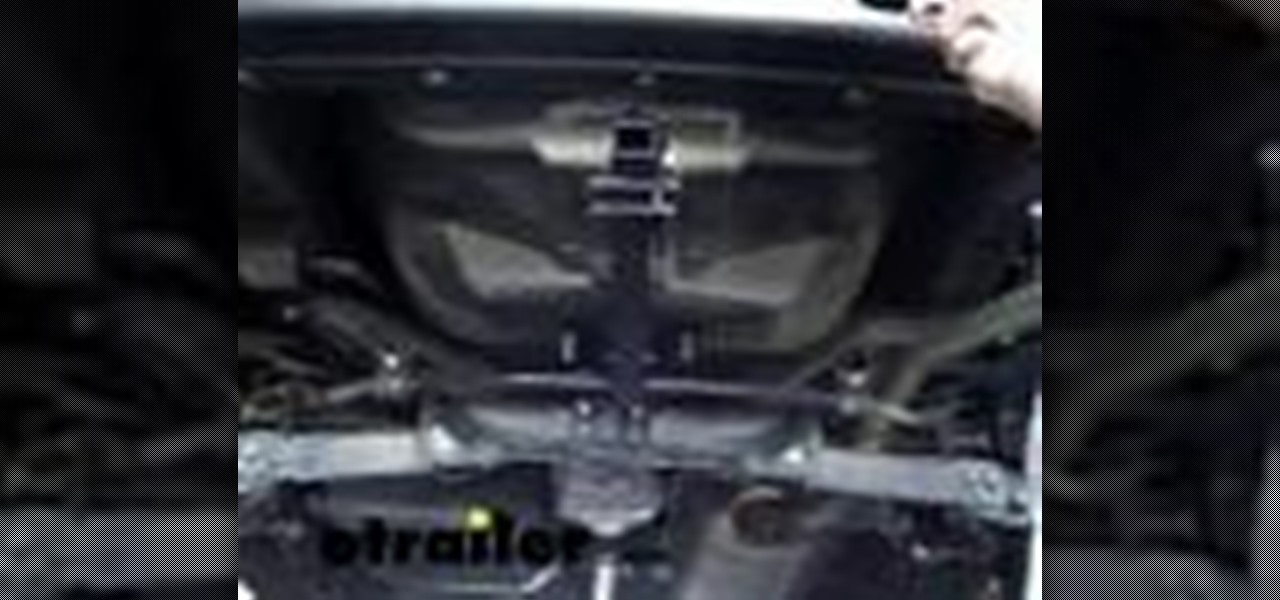
Learn how to install a trailer hitch on a Dodge Grand Caravan. This hitch uses all the original hardware on the vehicle so no extra drilling is required, but don't loose those bolts!
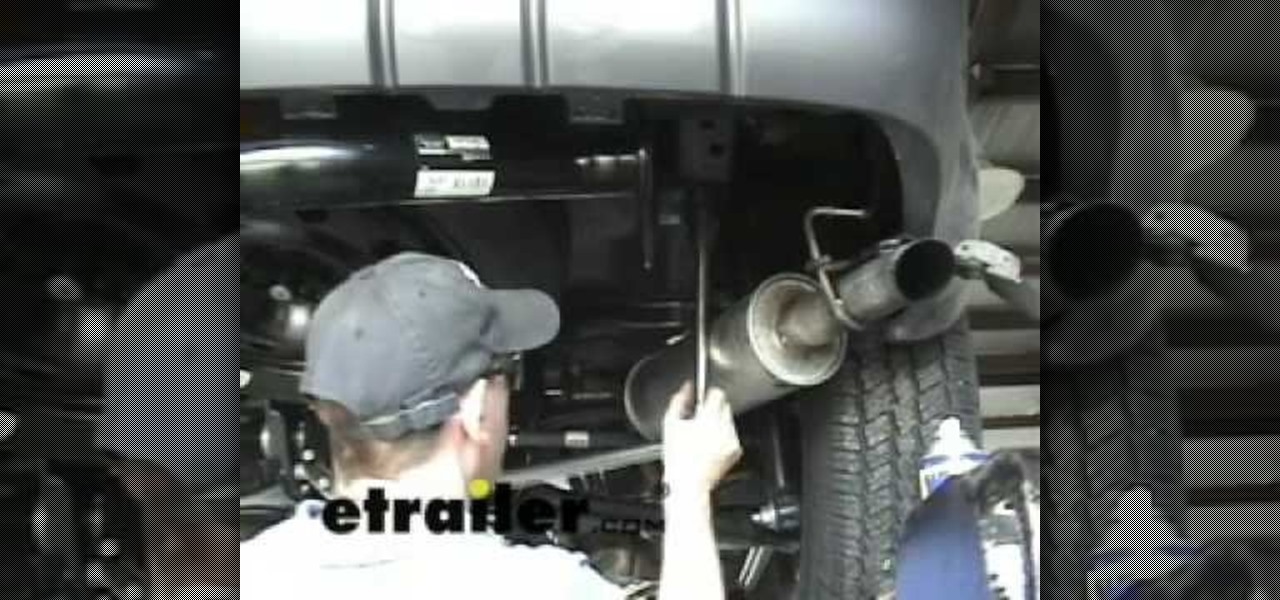
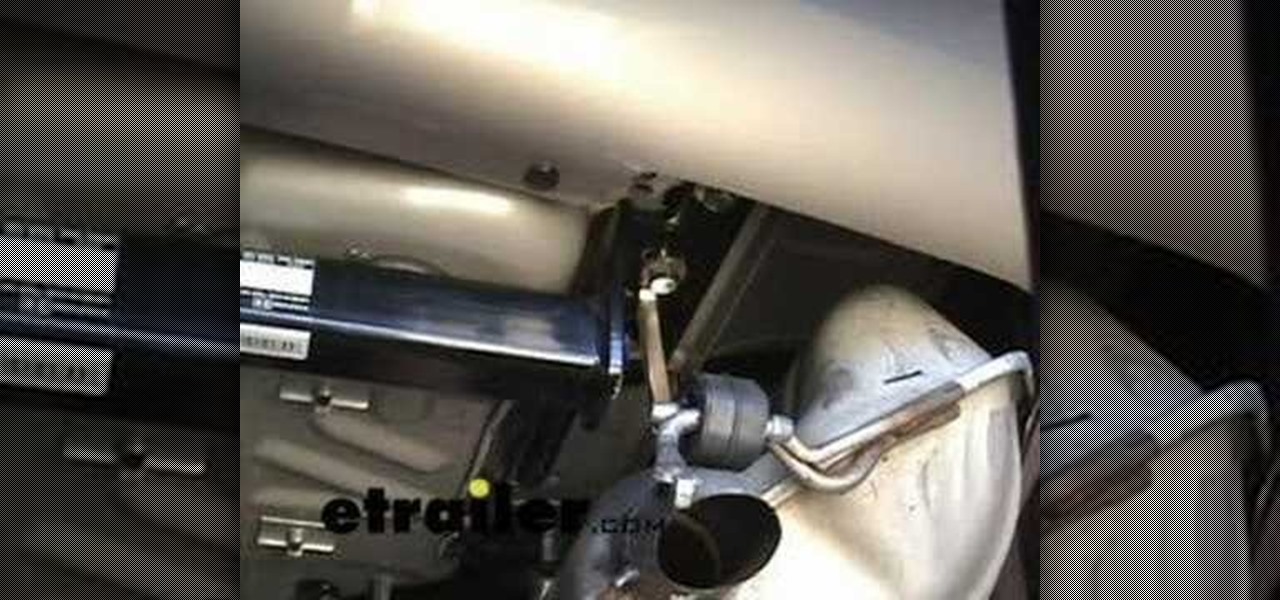
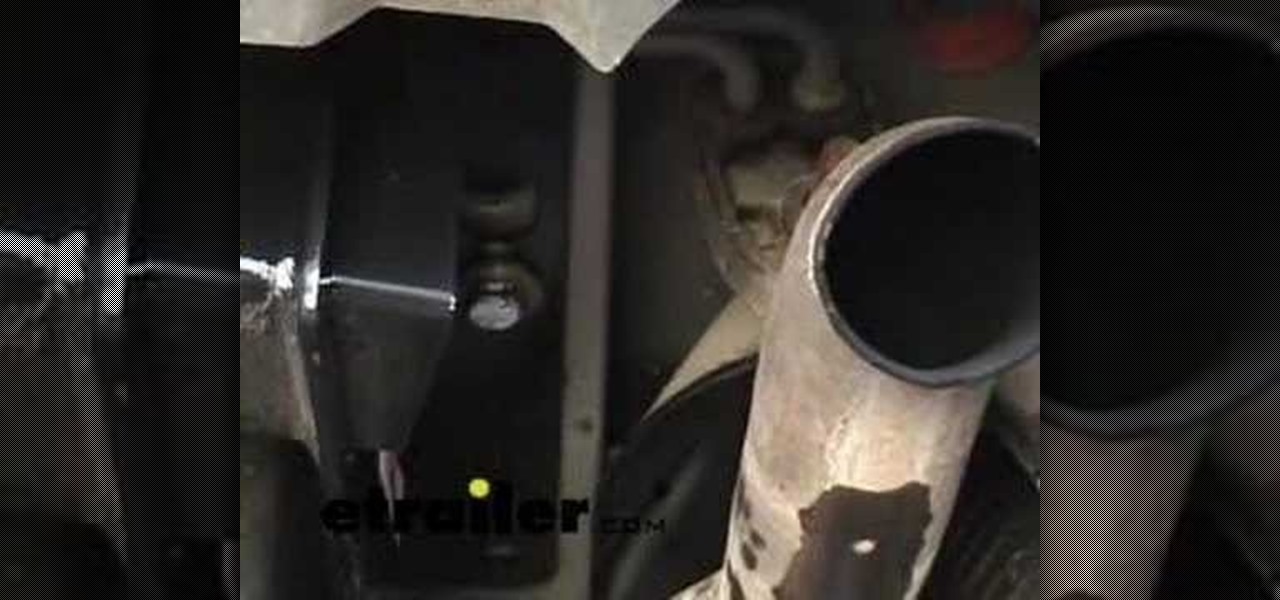
This video shows you how to install a trailer hitch on a Hyundai Entourage. Video details the steps needed to lower exhaust, drill hole, and bolt trailer hitch into place.
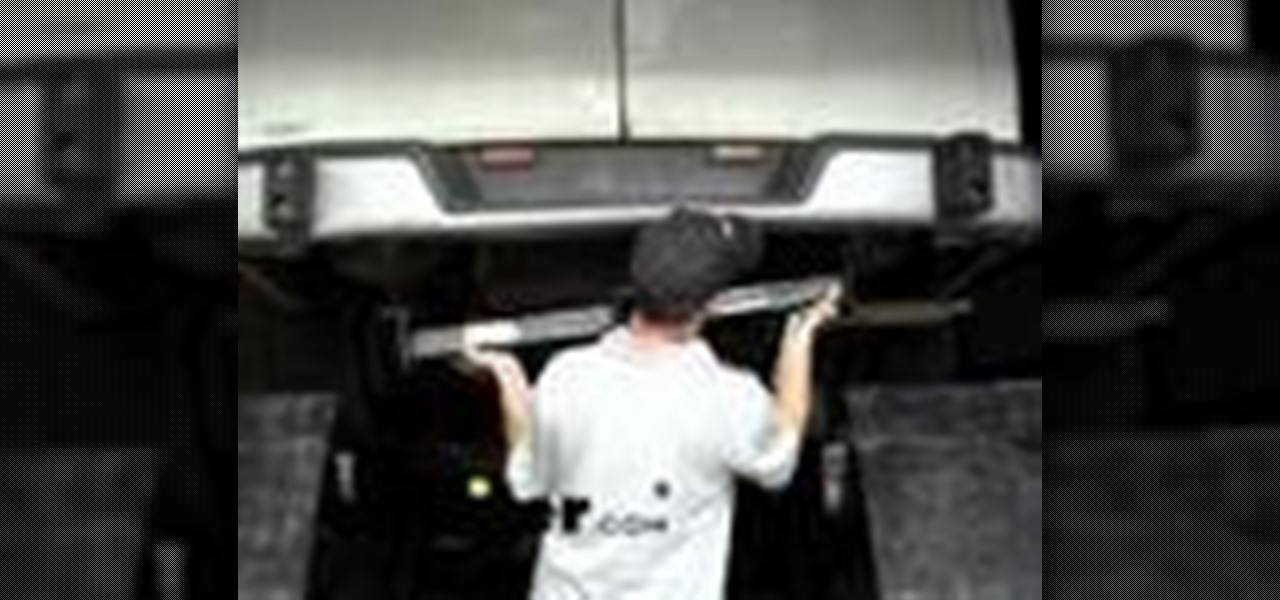
This video shows you how to install a trailer hitch on a Nissan Xterra. First step involved is opening the tailgate and lowering the spare tire, then the hitch can be installed on the frame.
See how to install a trailer hitch on an Isuzu Rodeo. The Hitch mounts to the side of the bumper brackets and will have a cross member that bolts on between the two brackets. They will mount on the side here and then a bracket will go across. First we'll install the brackets and then worry about the cross member.
A professional installer shows you how to install a trailer hitch on a Dodge Caravan. Video details the steps needed to bolt trailer hitch into place and check for clearance.
An expert installer shows you how to install a trailer hitch on a Chrysler 300. Video details the steps needed to lower exhaust, drill hole, and bolt trailer hitch into place.
An expert installer shows how to complete the installation of a trailer hitch on a Honda Odyssey. Video shows helpful tips on how to position the trailer hitch and make the installation quick and easy.
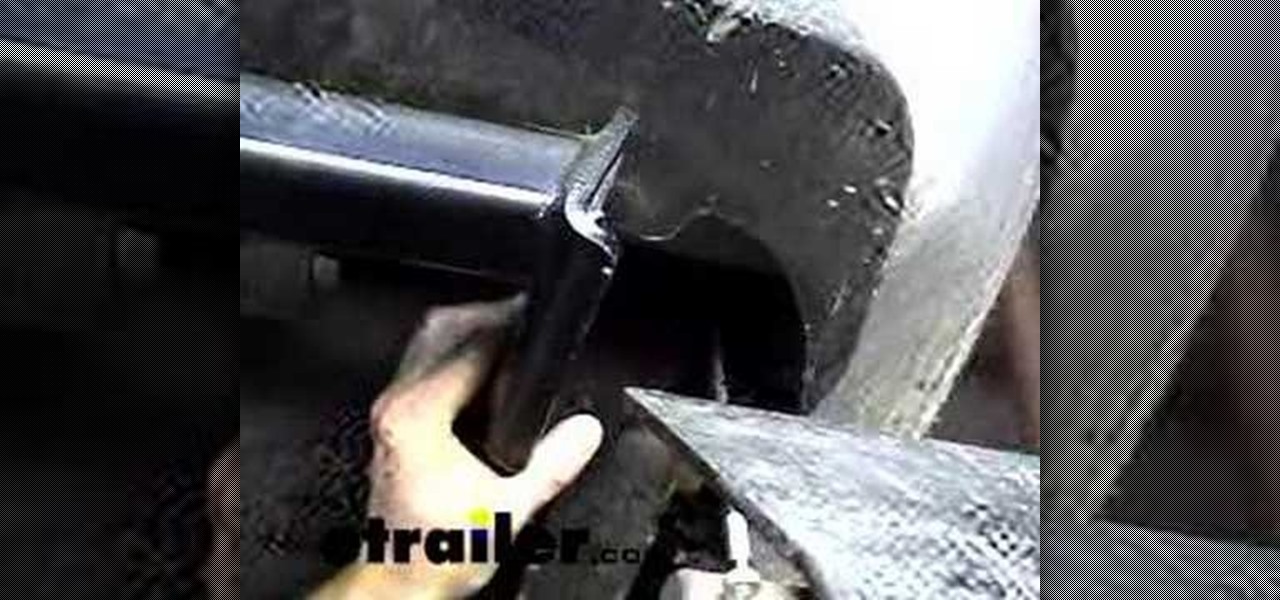
This video covers some great tips on how to make your trailer hitch installation go smoothly. It will explain how to clean out the bolt holes, make sure the hitch is aligned properly, and how to get a stubborn hole to line up.
An installer details the steps needed to remove the spare tire and install a trailer hitch on the Honda Element. This install of a Draw-tite hitch requires some minor drilling of the spare tire pan.
An installer shows the steps needed to install a Valley trailer hitch on the Town and Country. Details removing bolts and getting the hitch into place on the vehicle.