
How To: Throw a ceramic casserole dish
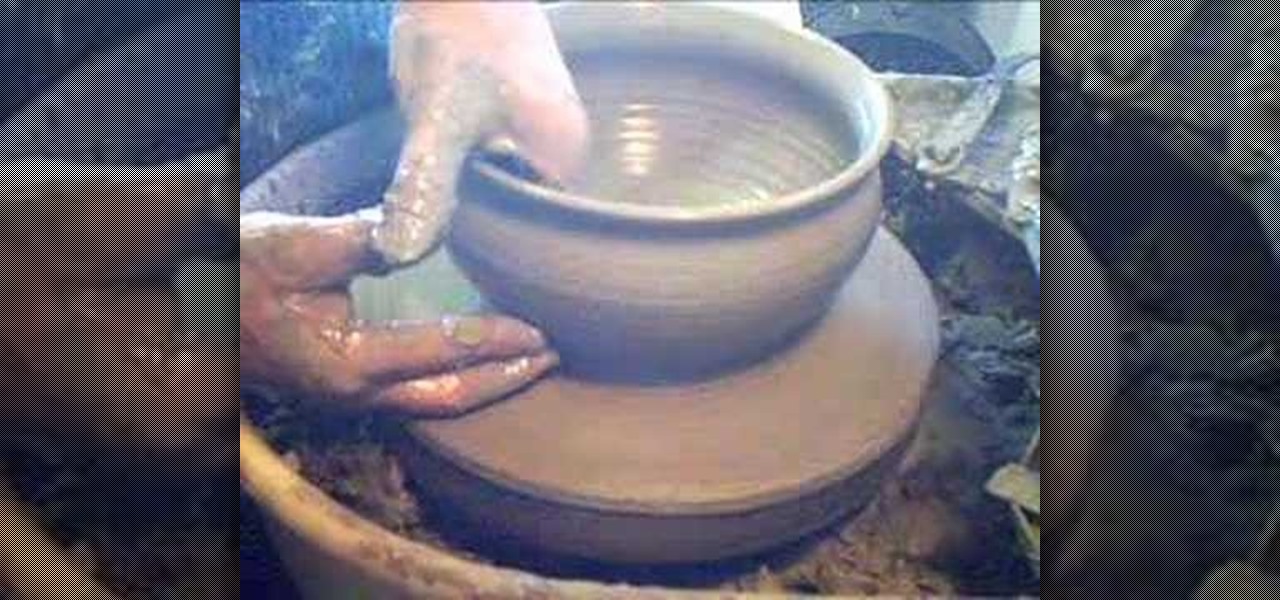
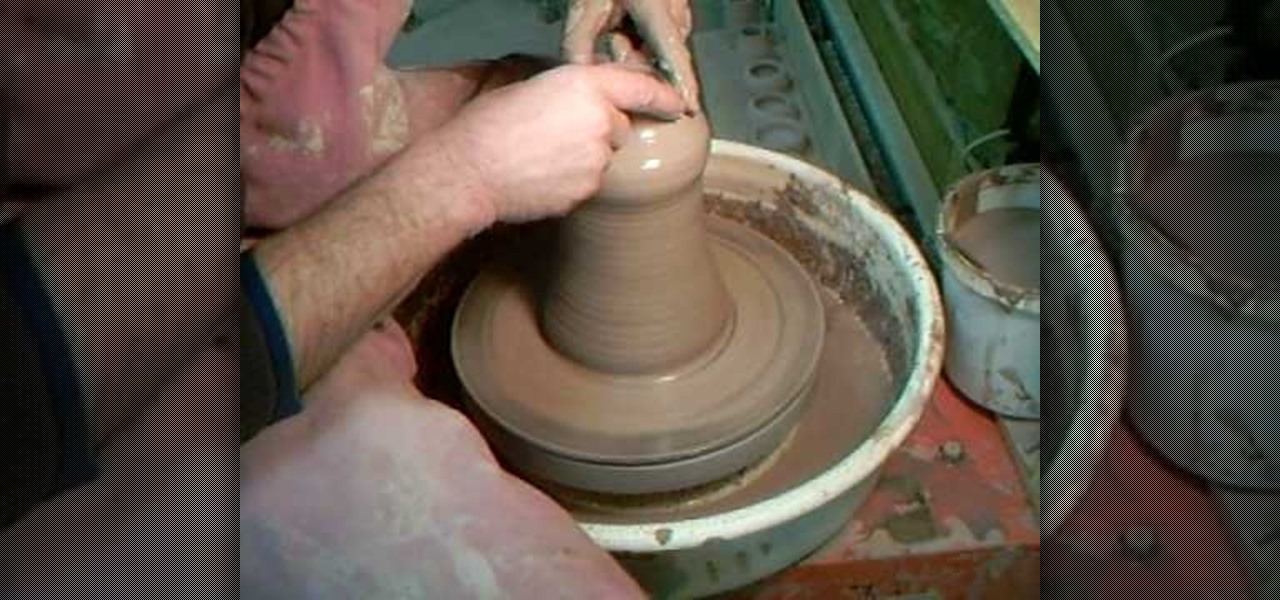
Simon Leach demonstrates on the pottery wheel how to throw a casserole dish, and a casserole lid, in this series of videos.

Simon Leach demonstrates on the pottery wheel how to throw a casserole dish, and a casserole lid, in this series of videos.

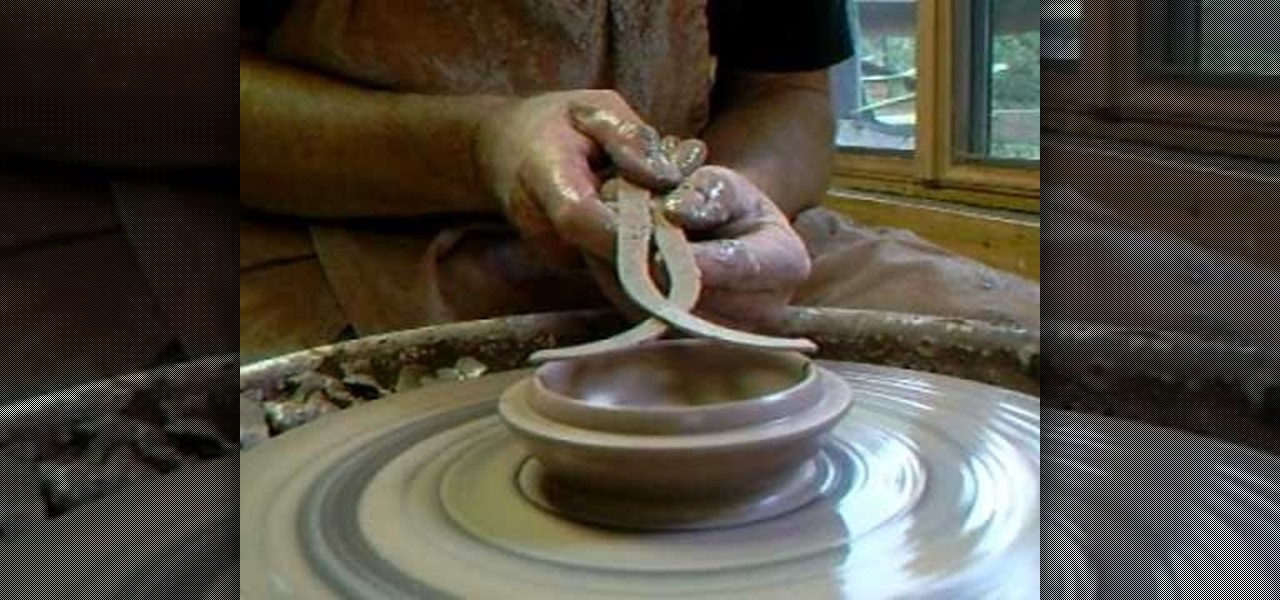
Simon Leach demonstrates how to pull a handle out of clay for a jug. He shows various techniques.

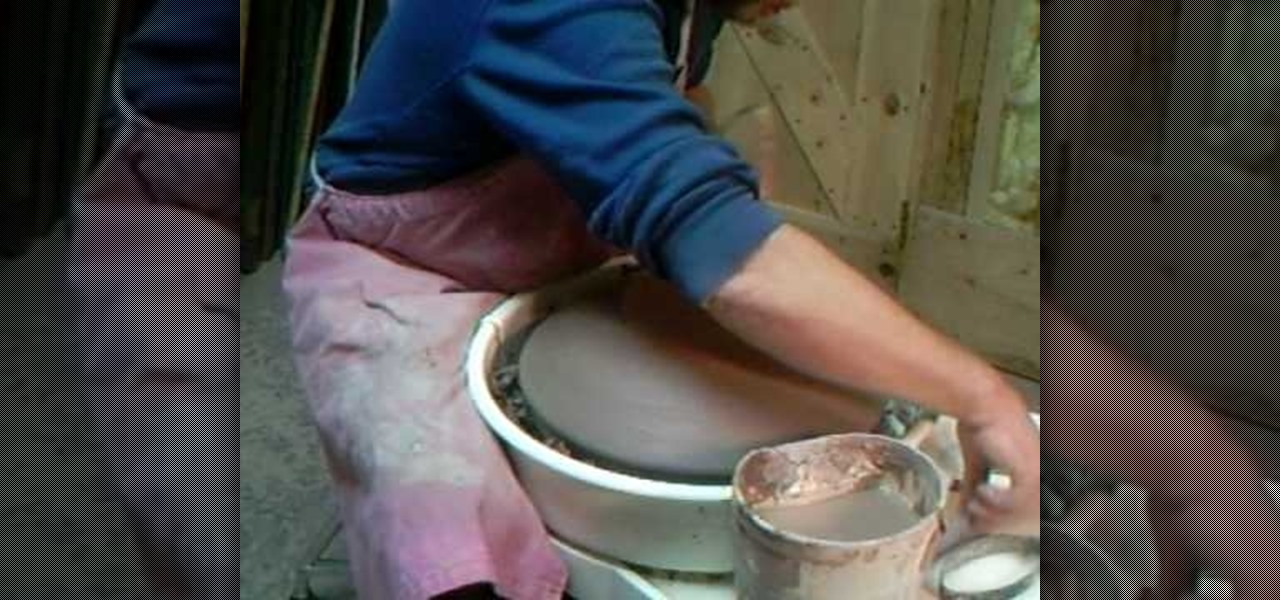
Watch this instructional ceramics video to learn how to trim a tall pot on the pottery wheel. First, wet the rim of the pot and stick the pot upside-down to the bat. make sure that the pot of centered on the wheel. It's good to turn the turn the wheel slowly when trimming, to peel away the excess base material and make a nice foot ring.

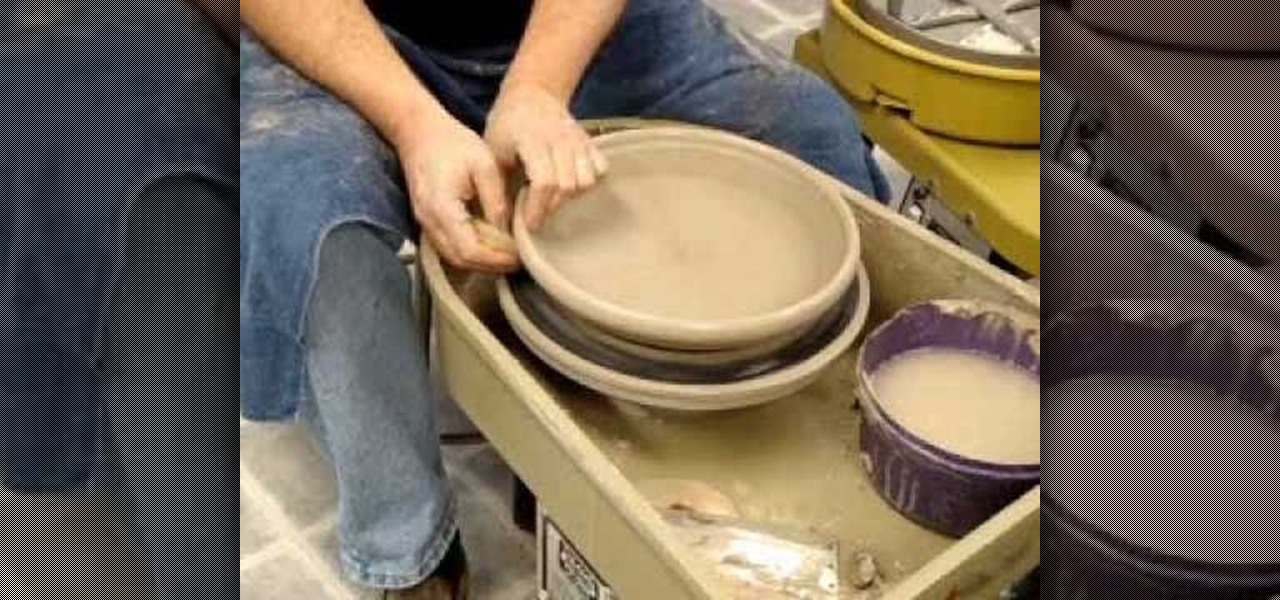
Watch this instructional ceramics video to learn how to throw a quick plate. Simply center your clay and create a wide disc before beginning the hole. Pull the lip of the plate out with a sponge. It is important to compress the rim. The most difficult step is to pay attention to the of the lip to widen the edge into a plate without breaking the clay or making it look like a bowl.
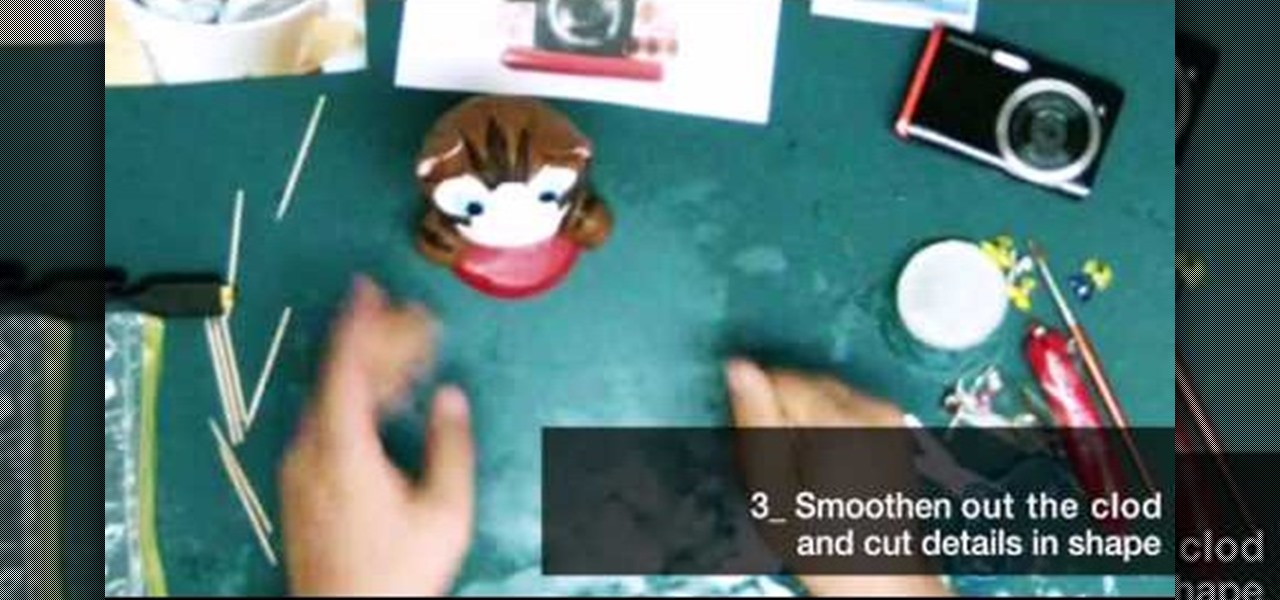
Want a cool way to display your digital camera? It just takes a little clay and some time to make something really worthwhile, like this clay kitty cradle.

This is a great craft project that you can use to make cute and festive Christmas ornaments out of polymer clay. You will also need cookie cutters, sanding paper, rubber stamps, a wavy blade, a straight blade, some makeup powders and acrylic paints.

Think you're done with your ceramics project because you've thrown your vase and fired it in a kiln? Think again. While you've done great so far, firing a pot is only half the battle. In order to make a piece of pottery truly spectacular and professional looking, it's vital to add a coat or two of glaze.
We're not going to lie to you: Creating pottery is a long, arduous, and intense process. But After you throw your charger, come back to reshape offset parts, fire the charger, and then glaze it, you have yourself a homemade work of art you will treasure for a lifetime. In other words, all the hard work you put into pottery is worth it!

Master potter Simon Leach is so good at what he does because he follows his own advice: practice, practice, practice! In this tutorial by Simon Leach, you'll watch Leach as he throws and sculpts a very pretty textured tea bowl. Using his fingers to help mold the tall form, Leach skillfully applies a lower rim and then adds a criss cross pattern by slapping a textured mold onto the pot's side.
There are lots of techniques you can use to throw a pot and to sculpt and mold it, but when you get a big order for a batch of pots, the best technique you can use is the technique that will produce the largest quantity in the least amount of time.
Are you looking to make your pottery projects more quickly and with less stress? Then this is the perfect tutorial for you. Lakeside Pottery shows you step by step how to flatten and shape a flat form pottery piece using a chattering technique.
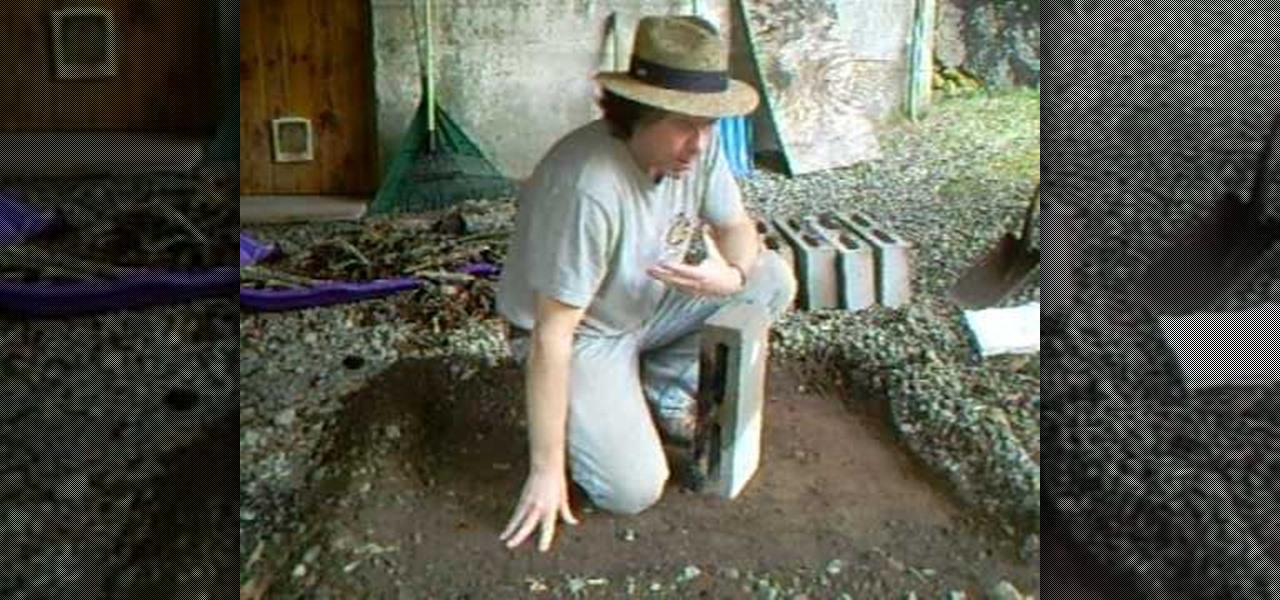
In this 2 part how-to video, Simon Leach, who normally shows you how to make pottery, instead shows you something else. In this tutorial, Leach shows you how to make and build a small propane downdraft kiln. Follow along with Simon Leach, and you too could be building your own kiln in your backyard.
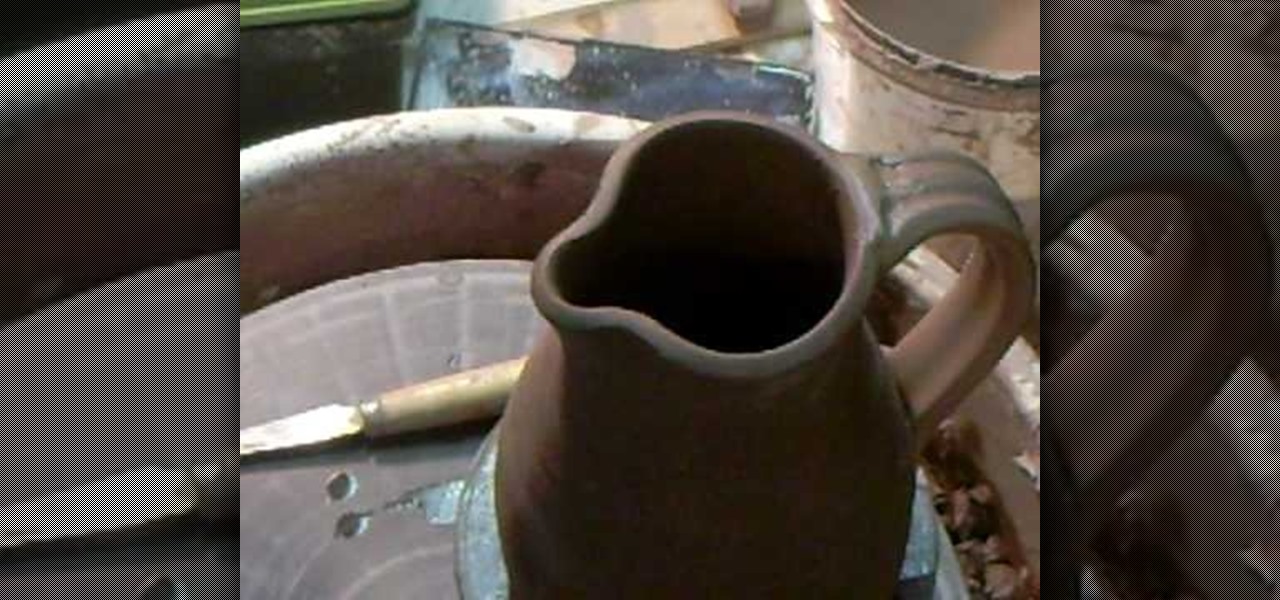
Once you've mastered the difficult task of shaping and sculpting a clay pitcher into perfection, you must learn how to handle the pitcher once you leave it to dry. For the most part, the actual pouring lip must be kept damp as they dry.
So you've got your clay thrown on your kiln and you're molding and sculpting away with those busy fingers. The charger you envisioned making in your mind is finally taking shape...sort of. While the general flat plate shape is appearing, there's a noticeable lack of contours and it looks rather flat.
When your clay is too tough and not malleable beneath your fingertips, you've got trouble. Pottery, after all, requires smoothe and flexible clay that can be molded into any shape you desire.
God knows we have enough mass produced plates and dinnerware sets out there, some high quality and others like the McDonald's version of plates - cheap costing and cheap looking.
Learn how to sculpt colored pencils out of polymer clay with this free video art lesson. While this tutorial is best suited for those with some familiarity of polymer clay sculpture, novice sculpters should be able to follow along given a little effort. For specifics, including step-by-step instructions, and to get started making your own polymer-clar colored pencils, watch this sculpture tutorial.
Learn how to make a clay birdhouse on the pottery wheel in this free ceramics video series. Part 1 of 14 - How to Make a clay birdhouse.
Clay pottery is a fun and creative art form that can be done with slabs of clay and not only on a spinning wheel. This free video clip series will show you several tips on how to construct a clay queso warmer and open a world of design ideas for you.

Watch this ceramics tutorial video to learn how to use some more advanced glazing techniques to make the inside different than the outside. The detailed instructions in this helpful how-to video are best for intermediate to advanced potters who want to glaze both the inside and the outside of their pottery.
Watch this ceramics tutorial video to learn how to throw a large soup bowl using 2.5 pounds of clay and a pottery wheel. The detailed instructions in this helpful how-to video will allow intermediate potters to easily make large soup bowls.
A mortar and pestle is a pair of tools that has been used since antiquity for grinding spices. This tutorial shows you how to turn some raw clay into a ceramic mortar and pestle on a pottery wheel. Make sure to glaze it using non-toxic glaze!
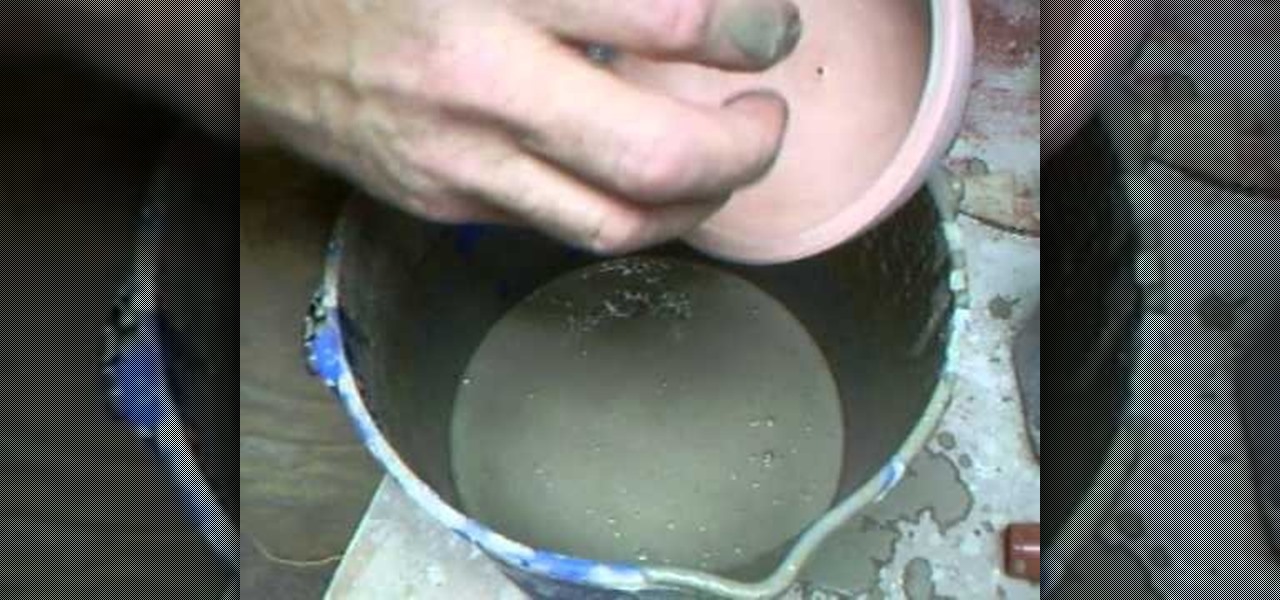
In this tutorial, we learn how to make simple pot stands. Start with your clay on the table and use water and your hands to start to shape it. Press down on the ball until it forms into a low bowl shape. Then, start to add more clay and water to the sides of the pot so that it's thicker on the edges. After this, place the pot stand onto a ceramic drying area, then you will be able to glaze it and fire it. Clean off your spinning table after you are finished, then enjoy your pot and pot stand!
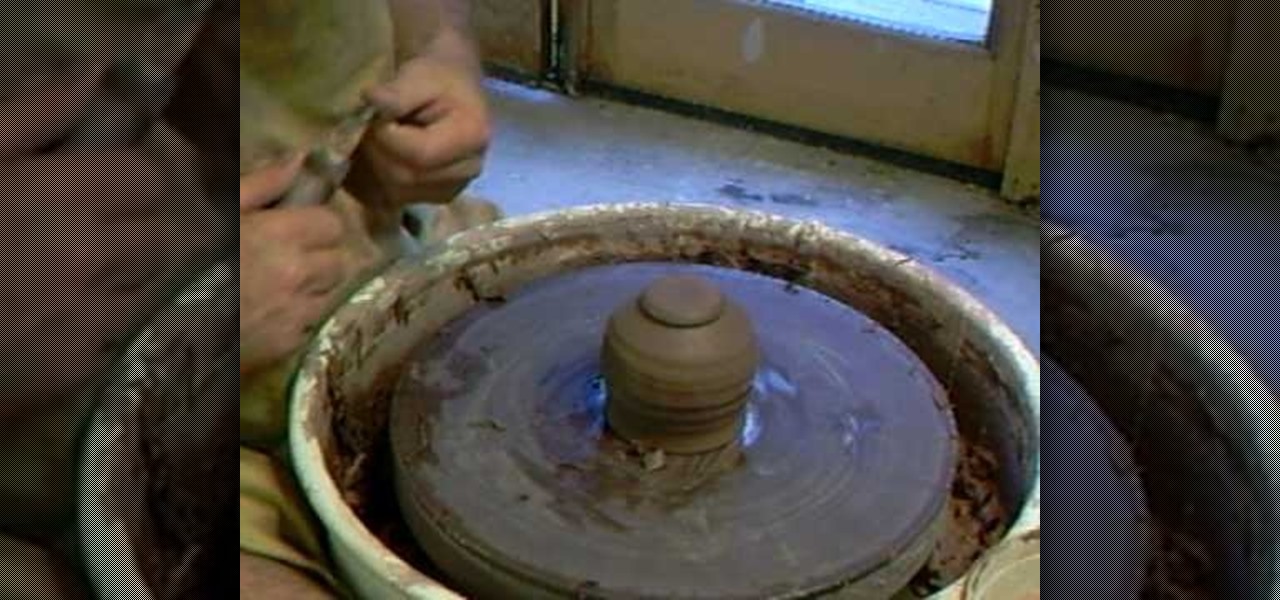
In this tutorial, Simon Leach teaches us how to make lidded boxes. First, grab your pot and dip the top of it into water to get it wet and soft. Now, grab a small amount of clay and set it on your spinning table. After this, get your hands wet and start to craft a lid out of the clay. Make an inner base as you are spinning the clay by carefully placing your finger on the side of the top. When finished spinning, place the top down and see if it's the correct size for the pot, then glaze and fi...
You're probably wondering why in the world you would throw an aluminum can into an oven to bake, but differently shaped aluminum cans are actually a polymer clay hobbyist's best friend when it comes to shaping clay and making the shape stay.
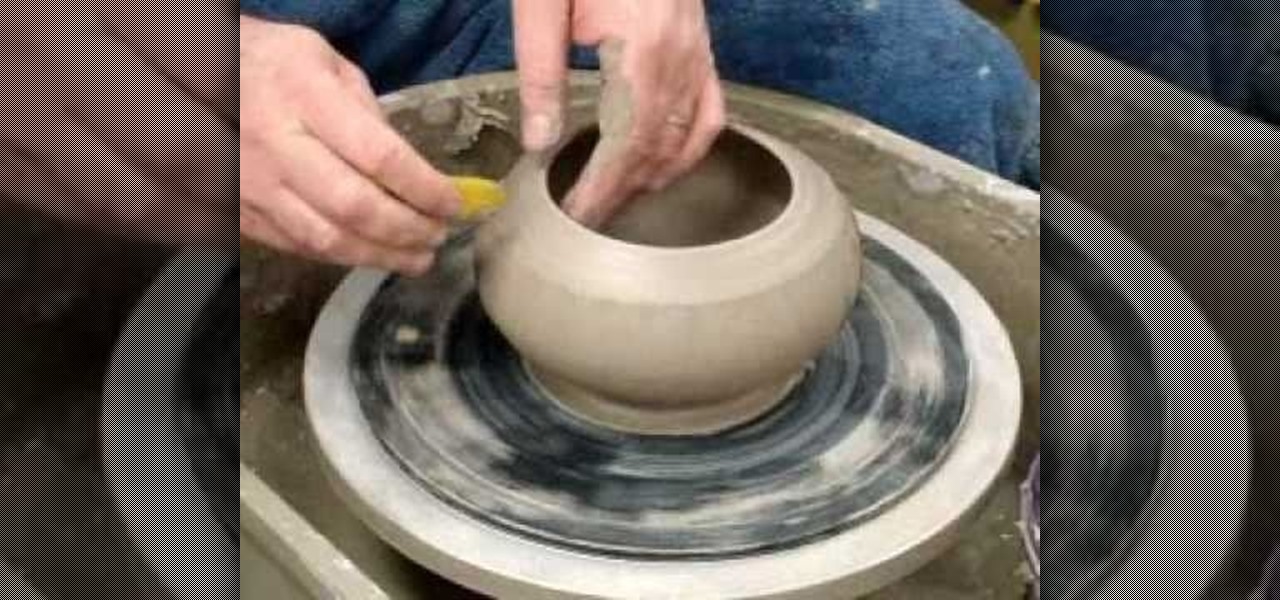
Even the best potters don't always get a perfectly finished vase, pot, or jar immediately after throwing. In fact, it's actually quite common for a potter to go back over his work and trim off or reshape the uneven parts to achieve a balanced finish. This is precisely what master potter Simon Leach does in this pottery video.
A Shino glaze is an umbrella term for a category of pottery glazes that range in color from milky white to orange and even charcoal gray. Chino glazes add a very pretty luster to pottery pieces and are made using a carbon trap, or trapping carbon in the glaze during kiln firing.
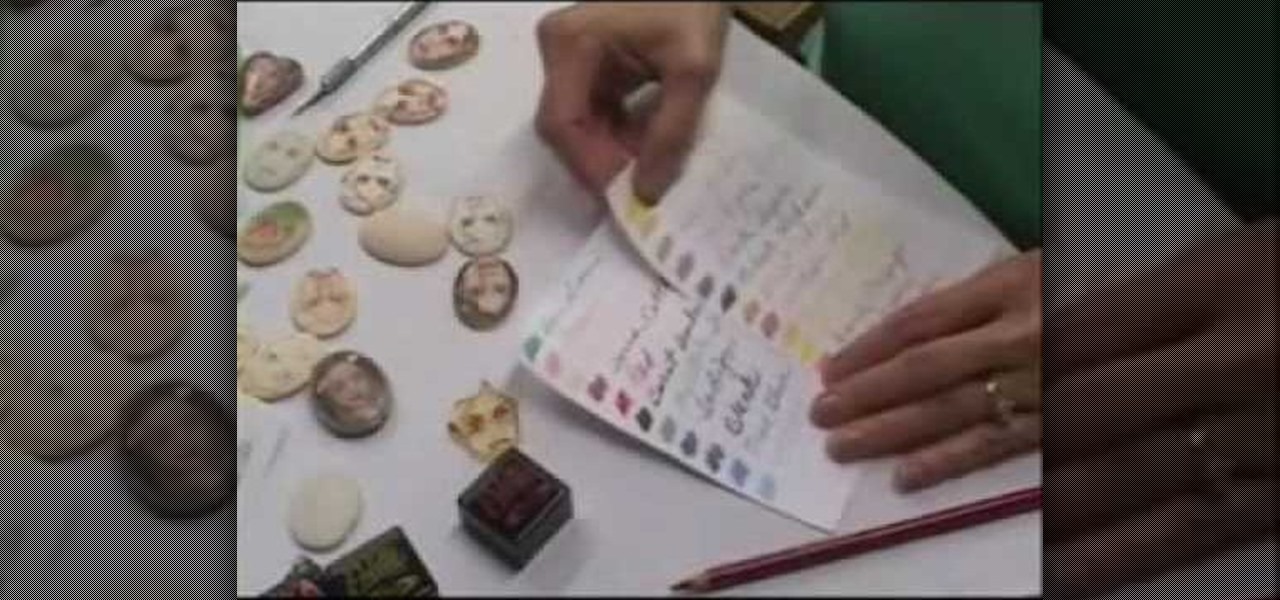
Learn how to create portrait cameos out of polymer clay with this free video art lesson. While this tutorial is best suited for those with some familiarity of polymer clay sculpture, novice sculpters should be able to follow along given a little effort. For specifics, including step-by-step instructions, and to get started crafting your own polymer clay portrait cameos, watch this sculpture tutorial.
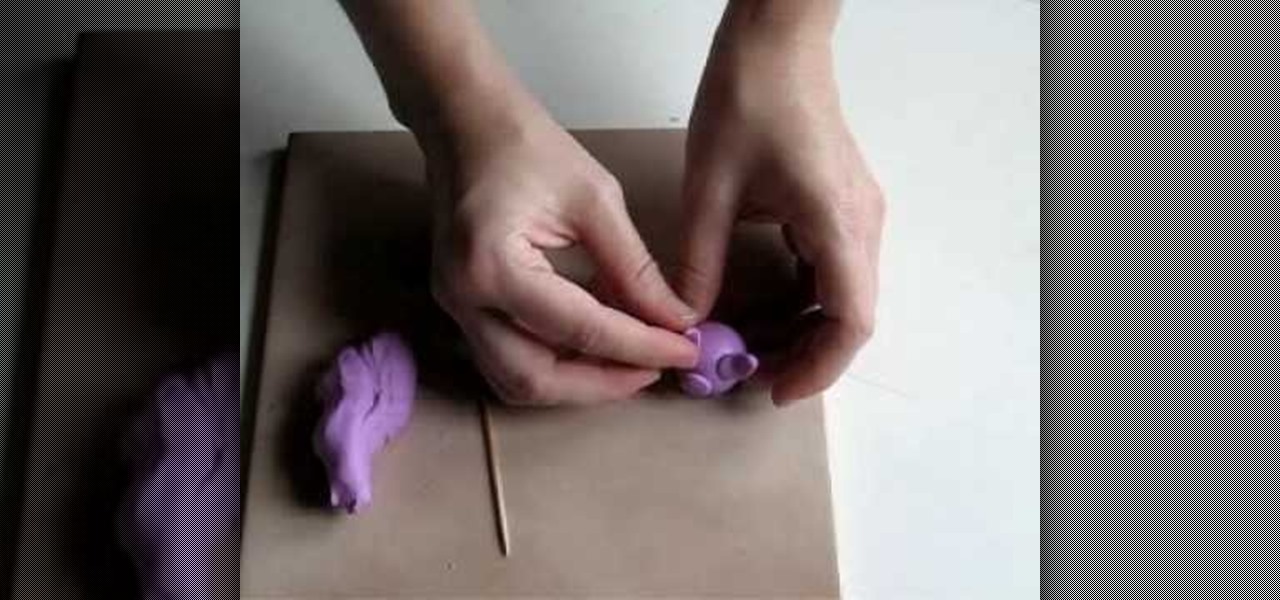
Learn how to sculpt a pig out of polymer clay with this free video art lesson. While this tutorial is best suited for those with some familiarity of polymer clay sculpture, novice sculpters should be able to follow along given a little effort. For specifics, including step-by-step instructions, and to get started making your own polymer clay piggies, watch this sculpture tutorial.
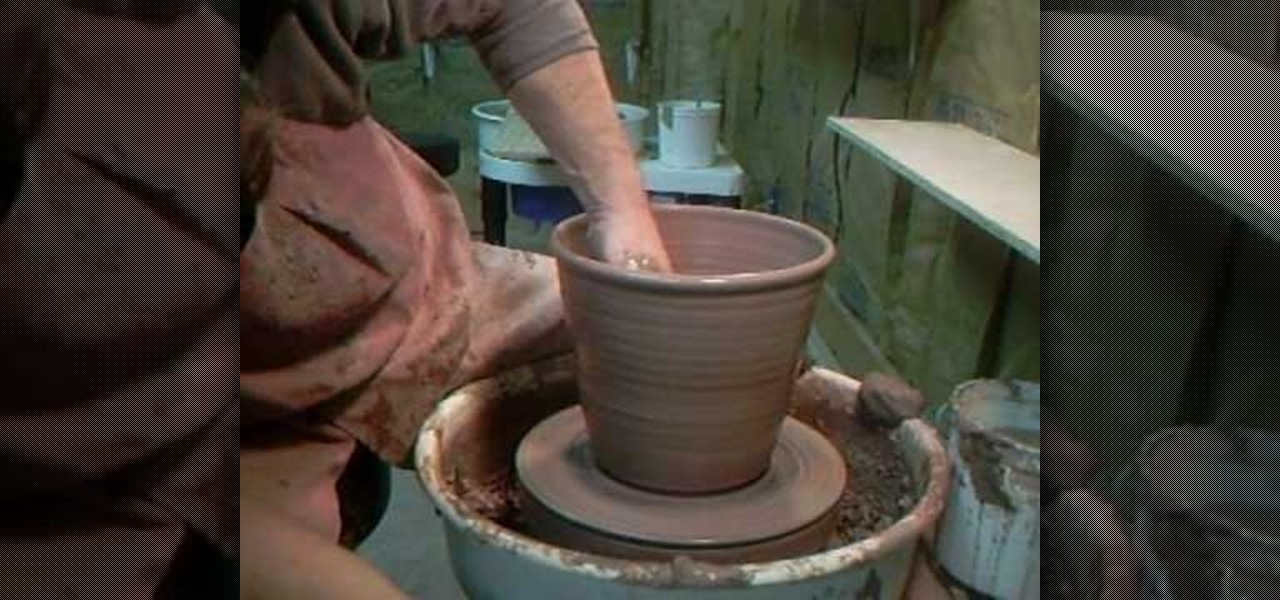
Simon Leach has taught us a lot about ceramics and pottery in his many videos. In this concise one he demonstrates for all you at-home potters out there how to make a 3 kilogram (6 pound 10 ounce) flowerpot on the wheel. As you can see at the end of the video, that is a pretty large pot. If you can throw this, you are well on your way to being an advanced ceramics enthusiast.
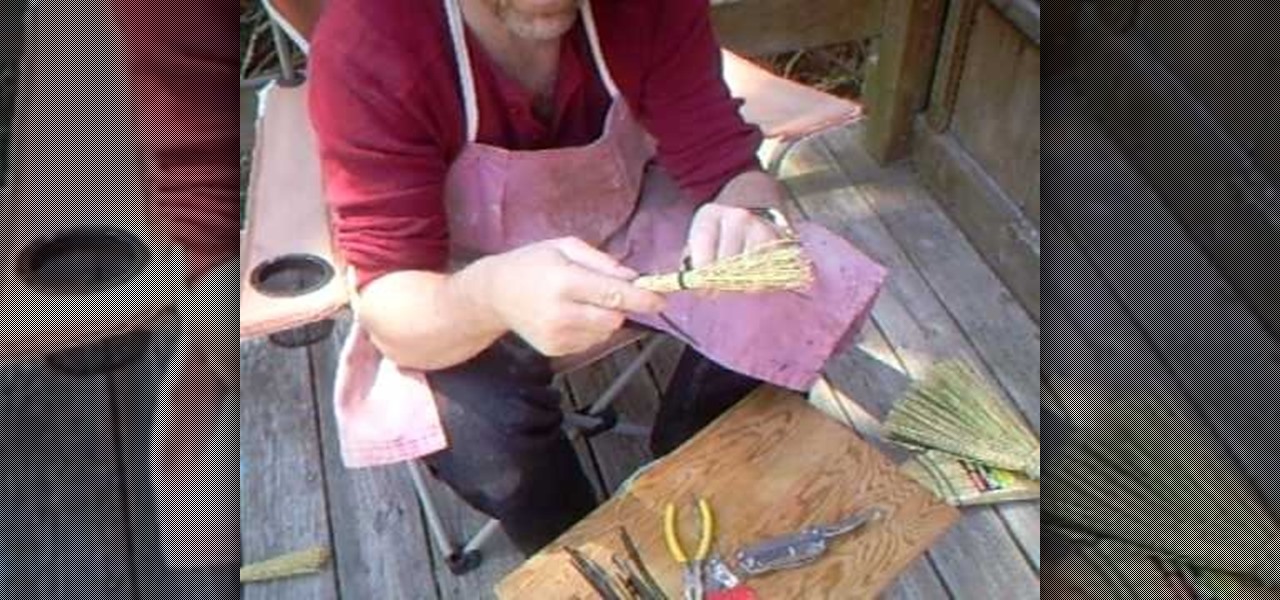
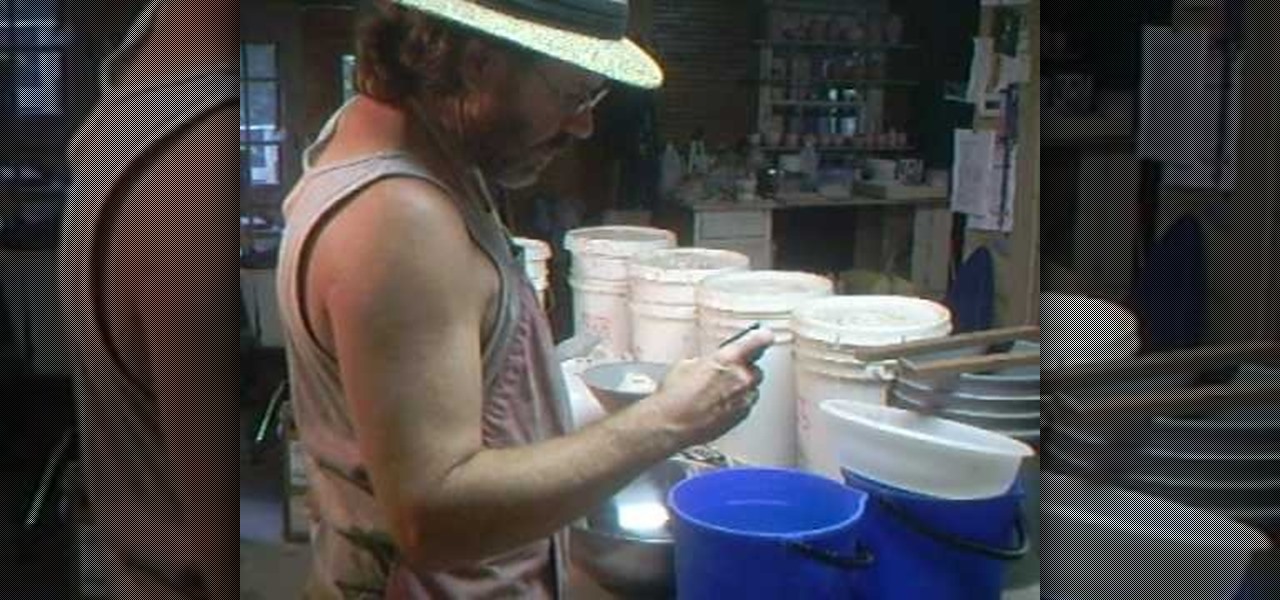
In this video, Simon Leach steps away from his wheel for a few minutes to teach potters everywhere how to make a "hakeme" brush at home out of basic items. This brush can then be used to slip decorate your pottery and other ceramics.

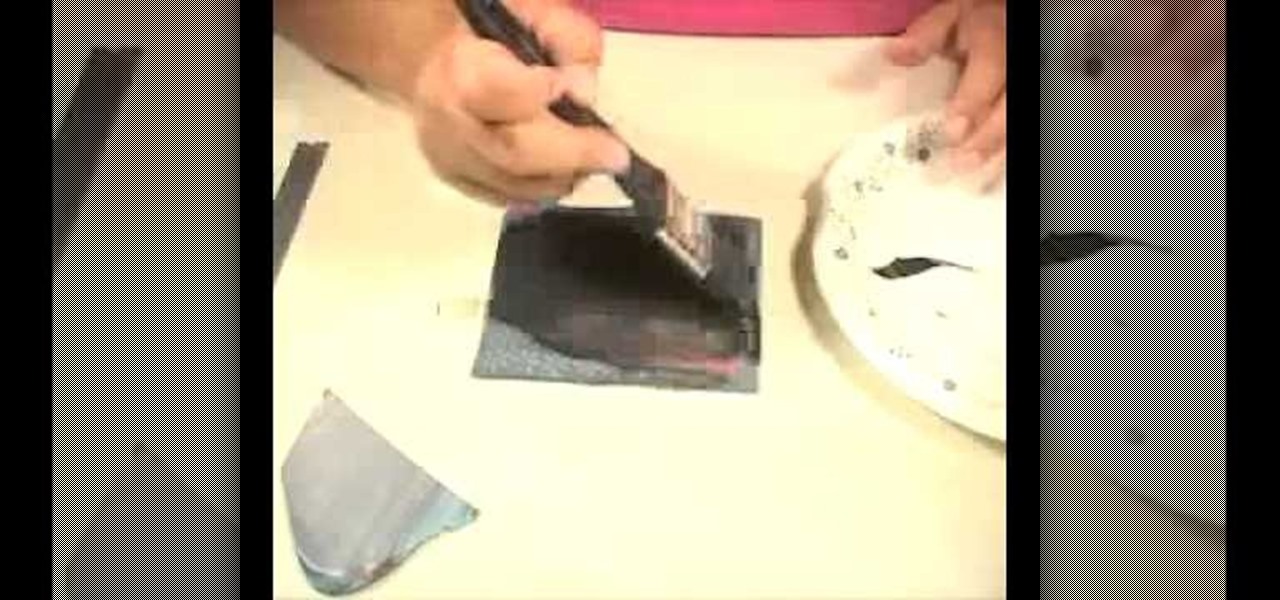
A terra cotta slip can add flair and durability to any pot that you've made at home, and also allow you to make up for inconsistencies in the composition of your clay. This video from Simon Leach shows you how to apply just such a terra cotta slip to a clay pot, an important technique to improve you pottery and ceramics skills.

Simon Leach is an online pottery instruction legend, and in this three-part video, he instructs us in a procedure somewhat outside his normal area of expertise by creating a homemade plaster bat, which is basically a flat plaster block used for drying wet clay. For the hardcore at-home ceramics whiz this could be a very fun and rewarding project. Just make sure you are comfortable working with both plaster and clay!
You all the know the scene from Ghost? Where Patrick Swayze and Demi Moore are sitting and they are trying to make something using the machine? It's one of the most iconic scenes out there. Anyways, this video isn't about ghosts, or either of those actors, but rather that machine and what it can do. This tutorial will show you how to throw a lamp base easily. Enjoy!
Garden of Imagination teaches viewers how to make cute and adorable mini polymer clay pancakes for a dollhouse or decoration. First start out with a wooden square to put the finished product on. Next, start out with light brown clay and roll it out on a clay setting number 4 on the pasta machine. Next, use a circle cutter to cute the shape of pancake. Next, texture the pancake so it look doughy and make sure the edges are not too straight. Make three of these pancakes and place them on the wo...
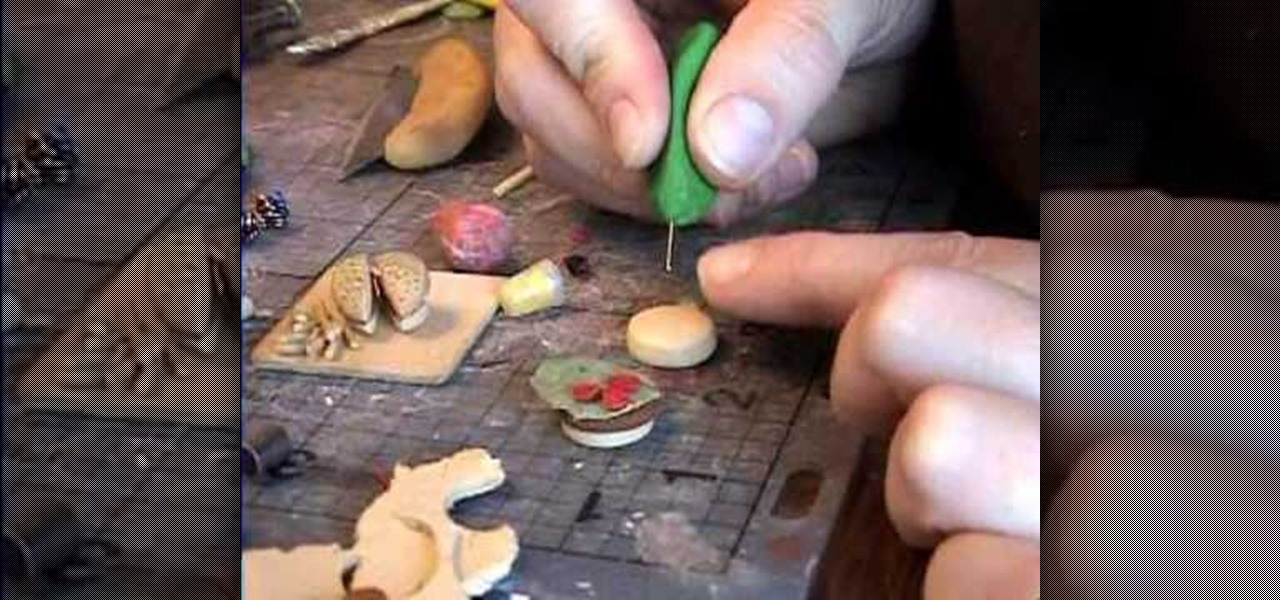
Using multiple layers of clay, garden of imagination shows how to make a hamburger and fries out of polymer clay. This decorative item would then be placed into a miniature dollhouse being displayed as a food item. She rolls a peppercorn on brown clay to give it the texture of meat. She mixes together green and whit clay for lettuce, and uses another piece of clay to ruffle the edges of the lettuce. She uses small round cuts of clay for tomatoes. Using an embroidery needle with a clay handle ...
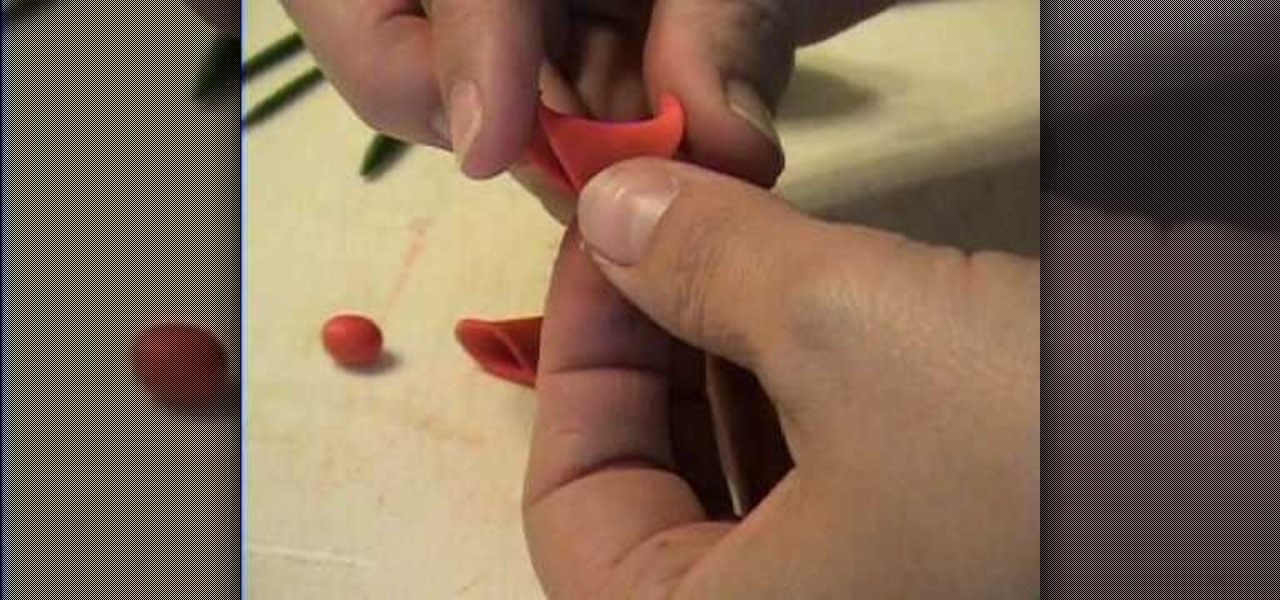
Take the clay, roll it out to make a pretty thin sheet. Take the square cutter and cut out two pieces from the clay sheet. Meet opposite corners of each square to form a triangular form but squishing only in the middle. Bend slightly outwards the unsquished corners of each triangle for decorative purposes. Place the triangles facing each other with the squished corner overlapping, pressing and joining them in one single piece. Take another little piece of clay and make a small ball with it. P...
Watch this video to create realistic hot cross buns for your dollhouse! Start off with some white clay, and glass marble beads. Take your clay and make a nice little ball and pour in some of the marble beads. Squish the clay together so all the little "raisin" beads get mixed in. Roll it through the pasta machine on setting number one. Next take your square cutter and press it down on the clay. You then have your first hot cross bun. Use different colored chalks to color the bun. Then bake yo...
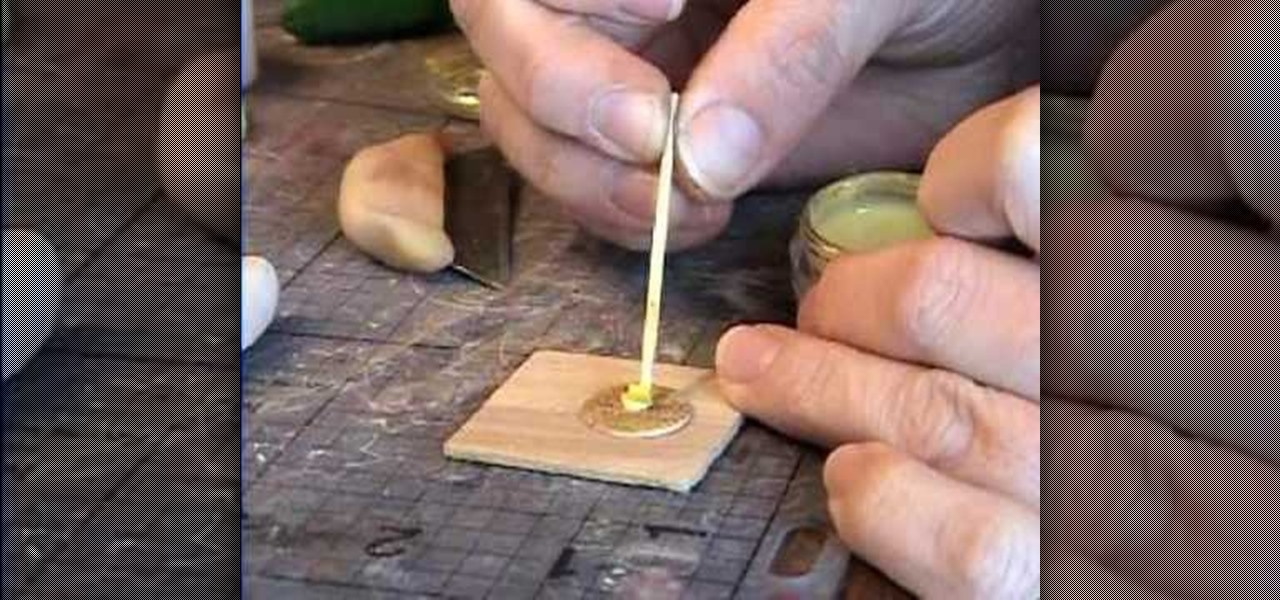
Garden of Imagination teaches viewers how to make various drinks, such as beer, milk, lemonade, and coffee, for their miniature dollhouse. First, you need to go to the crafts store and get a pack of 5 piece filigree tubes (you can pick whatever color you'd like). Take a tiny piece of clay and stick it into the filigree tube. Smooth out the clay inside with a paintbrush to make a tiny cup. First, to make a mug of coffee you need triple thick clear glaze black chalk. Mix the two together and ta...

This video, by Garden of Imagination, shows you how to make a polymer clay pizza. To begin with, have a small piece of wood to act as a tray for your pizza. Take off-white clay for the crust and warm it up between your hands. Roll it out on your pasta machine on the number one setting. Using a circle cutter, push down on the clay to create a circle. Use an object that is a bit smaller of a circle to create the inside area of the pizza by pushing down. While doing that, blunt the edges of the ...