You share your innermost feelings with it on a daily basis. Why, then, settle for something drab, prefab and impersonal? With this handy how-to, you'll learn how make a custom fabric-covered hardbound journal.
Watch this video tutorial on how to make a note card holder that holds four note cards and four envelopes. You will need a large piece of cardstock to complete this box. Use double stick tape to hold the joints together. You can decorate the outside with store bought cut outs or use recycled scraps of paper and ribbon.
This is a video tutorial on how to make a box with a scalloped lid. You will need a large piece of cardstock to craft this box. Use double stick tape to hold the joints of the box together. You might need a stenciling tool to make accurate cuts. You can use store bought or use recycled scraps of paper ad ribbon to decorate the outside of the box.
Watch this video tutorial on how to make a card organizer. You will need one large pice of cardstock to make this paper box. Use double stick tape to hold the joints together. When finished, you will enjoy having this homemade box to keep your hand crafted greeting cards.
Make a triangle tri-fold card, demonstrated in this video using CTMH products. You'll need fancy cardstock and a paper cutter. Follow along with the step by step instructions and adapt them to make a card just the way you want the card to look. Watch this video card-making tutorial and learn how to craft a triangular tri-fold greeting card.

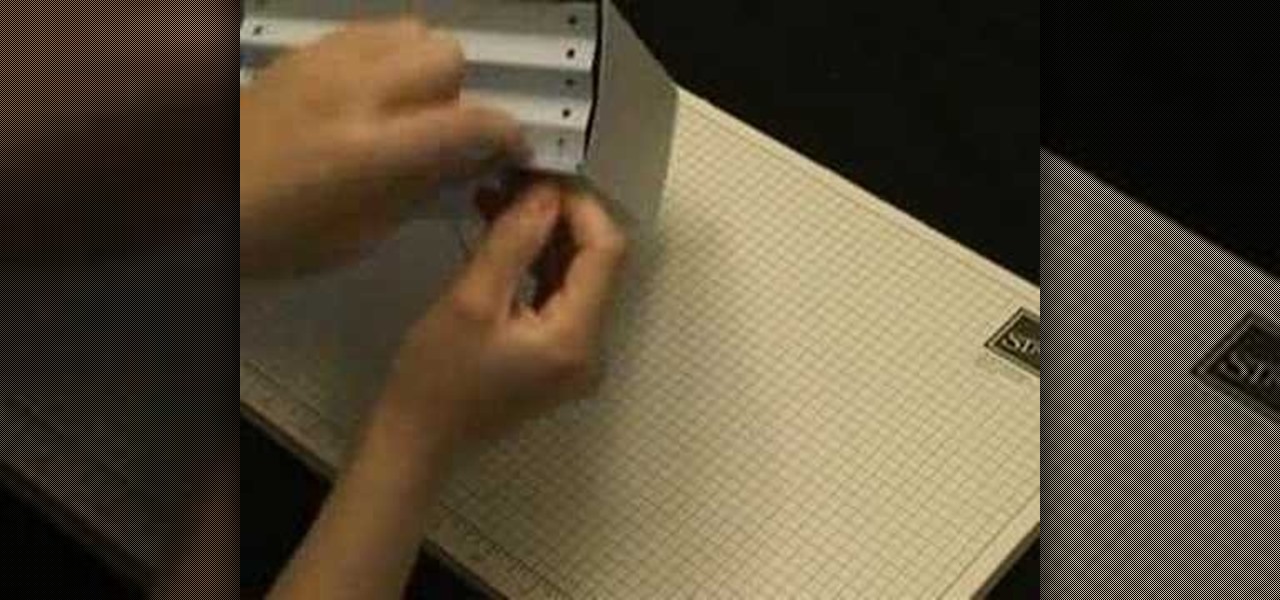
This is a video tutorial to show how to create embossed backgrounds with embossing folders, some cardstock paper, and ink. Learn how to use the Cuttlebug embosser with innovative functions. This video also gives instructions on how to clean off the ink from the Cuttlebug embossing folders.

Glossy cardstock and an acetate sheet protector are great material to use for doing a fossilized stone technique on paper. This effect makes an unusual finish you'll find yourself using over and over in greeting cards. Watch this video card making tutorial and learn how to create a fossilized stone technique on glossy cardstock, and how to make an all occasion greeting card using the stone finish paper.
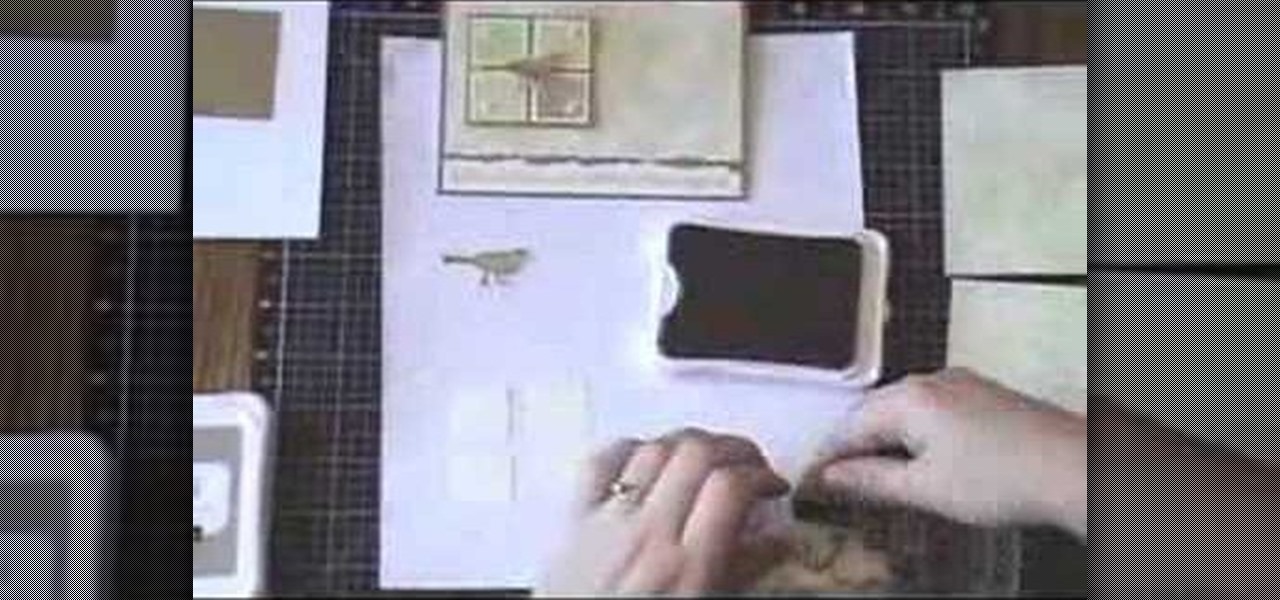
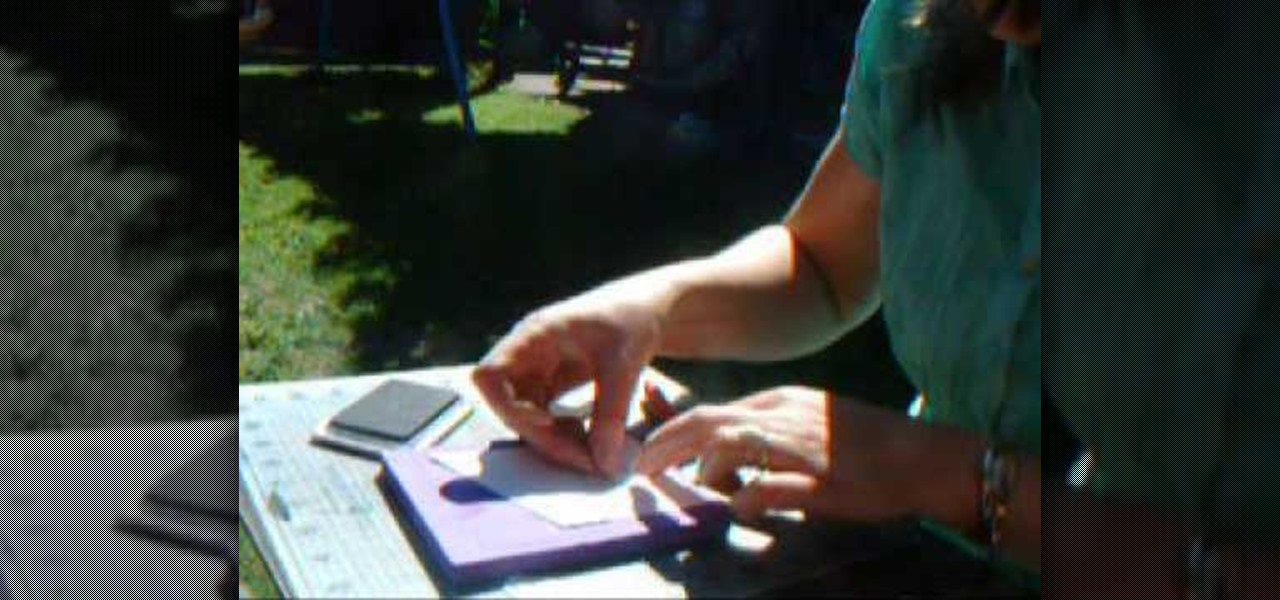
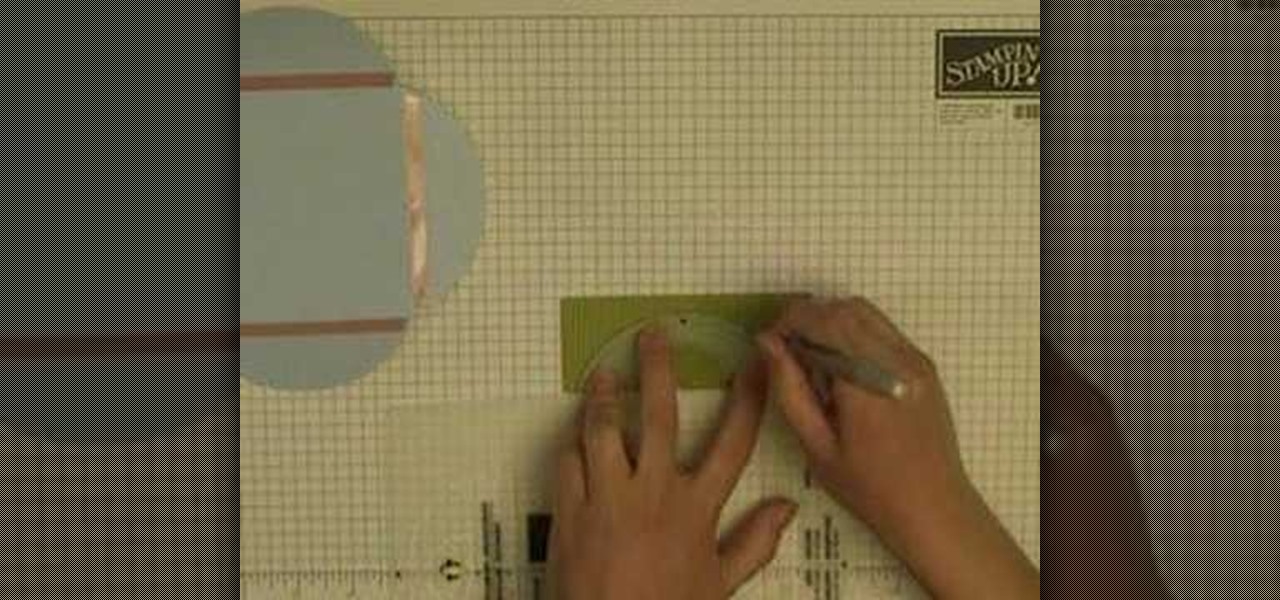
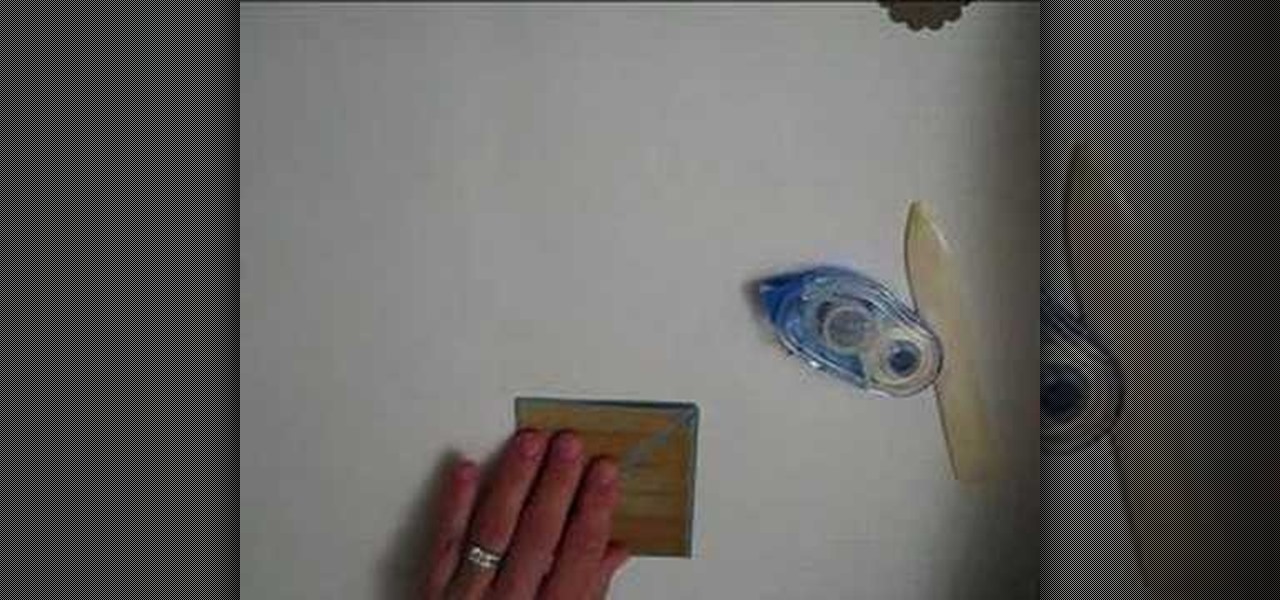
Come learn how to create an embossed cardstock to match your patterned paper like many of the new ones on the market today. All you need is a piece of cardstock, a metal charm and a popsicle stick.
Because who wants to mess with all those wires, programming and power sources? You can make your own origami robot out of paper or cardboard! Though it probably won't do as much as a real robot would, it's nevertheless a fun project to do! All you need are a few sheets of paper (you can also used cardstock or a thin cardboard, depending on how sturdy you want your robot to be). Then just follow the steps in this tutorial!
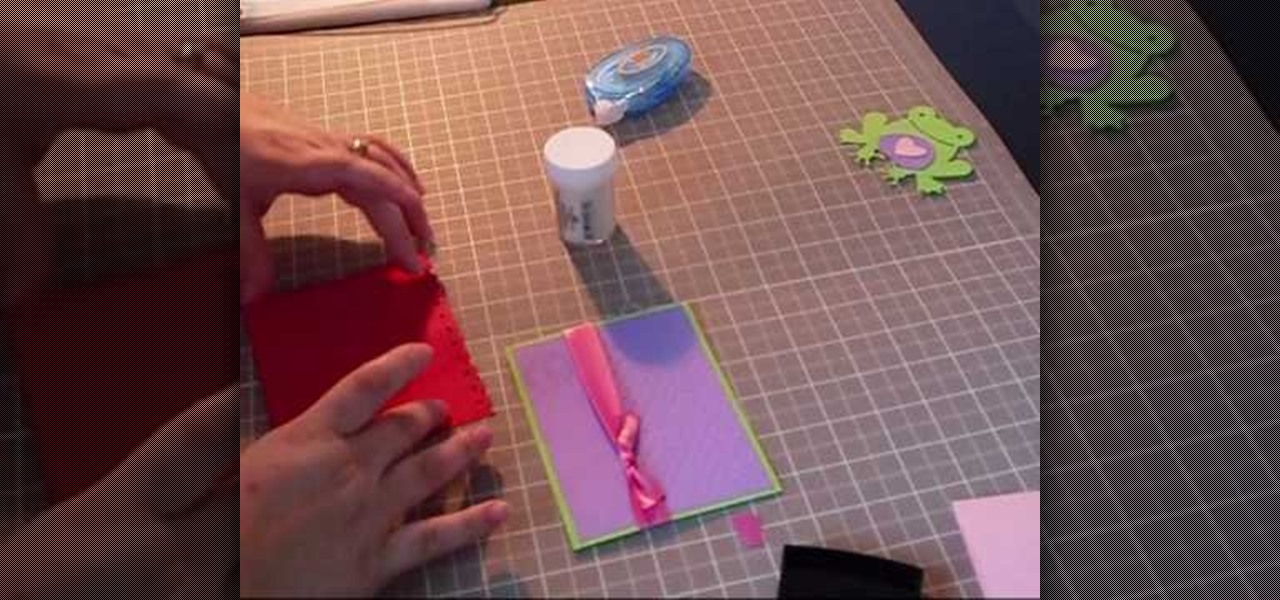
This adorable "smile frog" greeting card is a wonderful craft because it can be given out to loved ones year round. The cardstock frog has googly eyes and a teeny pink heart inside his stomach.
In this tutorial, we learn how to make a slit flower frame card. First, gather all your cardstock together in the colors that you would like. Then, take the first one and cut a circle window in it using a blade and a template. Then, punch slits on the outer frame of the window. From here, shade the petals and pull them out from the card to stick out. Then, place a rubber stamp with hearts on the other place of card stock. Then, turn the flower frame over and apply foam tape to the back. From ...
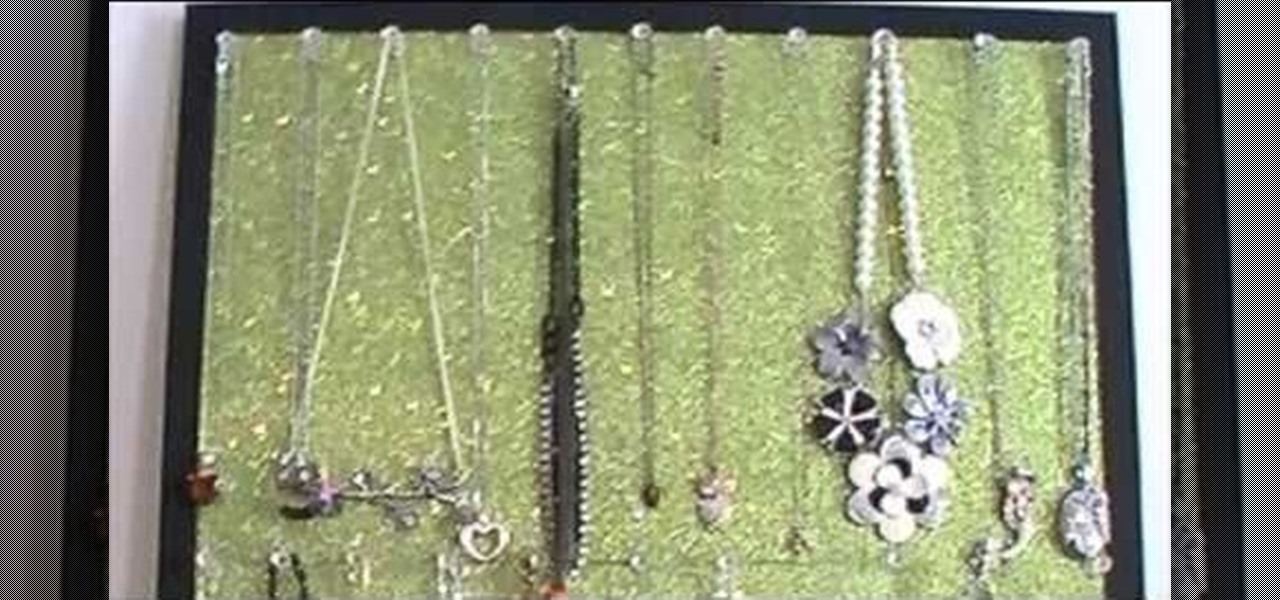
If you're anything like us, then it takes you forever and a day to find that perfect earring and necklace you want to go out, not because it's hard to decide which one, but because everything's so tangled up together you can't make out one necklace from another.
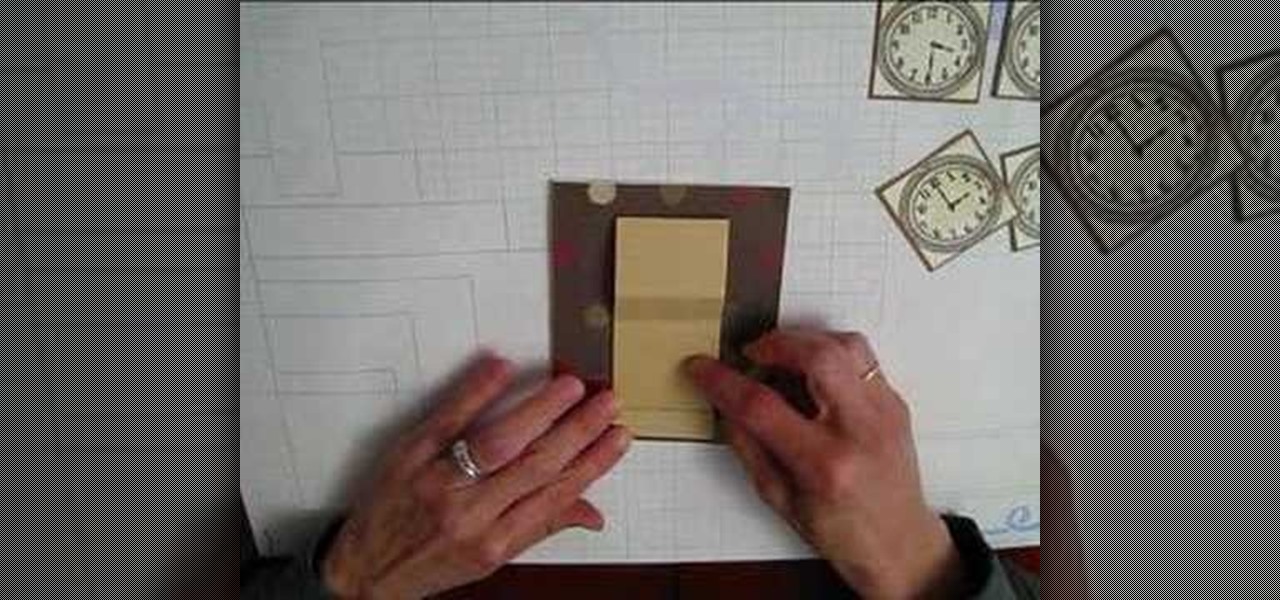
This video tutorial is in the Arts & Crafts category which will show you how to make a flip square album. Take a 12 x 12 inches square cardstock and make a score line at 3 inches on all 4 sides of the paper. Now cut along the score line at the top and bottom of the paper up to the 3 inch line. Next you fold along all the score lines inwards and you have all the flaps ready. Then mark along the edge of the center part of the sheet and punch two holes for tying the album as shown in the video. ...
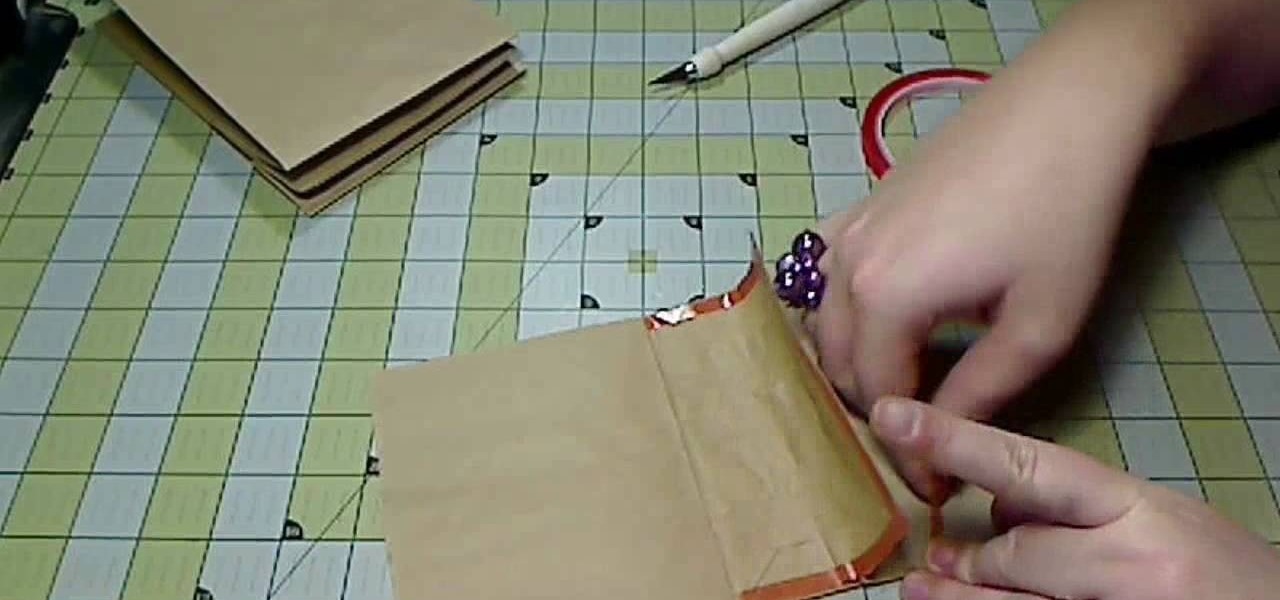
Brown paper bags aren't only for storing your PB&J sandwich for lunch. In fact, in the craft world they're heralded and used frequently because they're cheap and give projects a whimsical homespun feel. Just take this kraft paper bag album, for instance.
In this Arts & Crafts video tutorial you will learn how to make a vertical Easter greeting card. Take a 6x6 yellow card and fold it in half. Using the Valentrio Fiskars corner punch, you can punch one corner. Cut a 2 1/2” wide metallic cardstock, a 1” wide paper strip, stamp a picture or a design and punch it with Fiskars punch. Punch the 1” wide strip with the Fiskars border punch and glue both the pieces above and below the metallic card stock. Glue the metallic card stock and the pic...
In order to make an accordian- fold style greeting card, you will need a piece of card stock, glue or adhesive, scissors, markers, and stencils/stamps. Cut the cardstock in a diagonal. Fold the card into 3rds, lengthwise. Cut a 5 x 3 ¼” panel at an angle. Use Masking Magic and stamp the excess card stock. Cut out your stamp designs. Color in your designs with Sharpie brand permanent marker pens. Glue the 5 x 3 ¼” cut piece to the card, or you could use 2 sided tape. If you have addition...
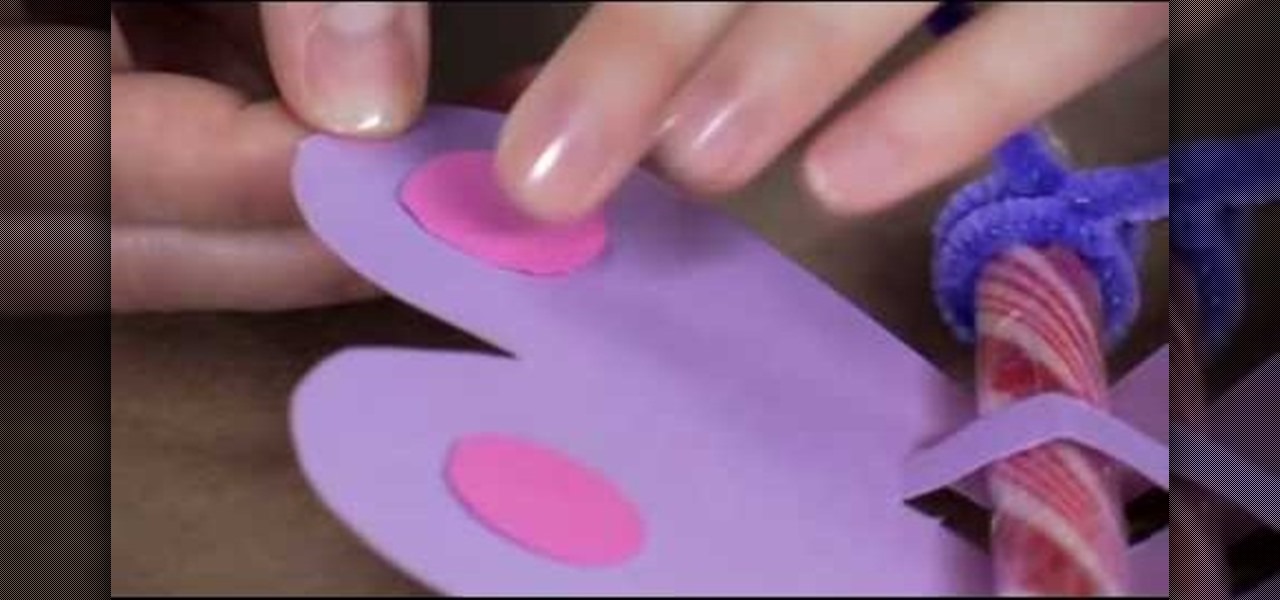
To make a butterfly Valentine card, you need scissors, coloured pencils or candy stick and pipe cleaners. The first task to do, is go to Family Fun and print the butterfly template, which you can find on the site. Print your template into coloured cardstock. You can find cardstocks in the scrab-booking section of your craftstore. Cut out your butterfly from the template. Cut along the dotted line to create a slot for your pen or candy stick. Next we rap the pipe cleaner on the top of the cand...
For anyone looking to dress up a card, learn how to make a paper pumpkin using punches in this video tutorial. Take a white piece of paper and distress it with Memory Mist (with the pale ale color). Use a box to distress the paper, while avoiding getting the mist all over your work space. To actually make the pumpkin use a store-bought punch (either round or oval). Make the punches with orange cardstock. For each pumpkin, you will need either three ovals or circles. Using a chalk ink to distr...
In this video tutorial, viewers will learn how to color with SU pastels and SU markers with Aquapainter and water. With a cotton swab, rub the pastel directly on the image. In this video, it is demonstrated on a glossy cardstock. Continue to add different pastel colors with your cotton swab. The colors will be subtle. Blow off excess chalk as needed while coloring. With an Aquapainter filled with water, pick up color from the markers and shade your image. This video will benefit those viewers...
In this video tutorial, viewers learn how to shade and color the background of an image. This video explains all the materials required to shade and color the background of an image. The materials required are: a stamped image, a spoon dauber and an ink pad. Start by inking the sponge dauber and rub the edge of the cardstock. Continue to color the edge. Add more ink if you want the color to be darker. Color the background with the sponge dauber. Add link to the sponge dauber. Dab and rub the ...
The template for this heart-shaped window card can be found at [www.stampininspirations.blogspot.com stampininspirations.blogspot.com]. You will need the template and cardstock and the other usual materials needed to make a card. You can re-size the template to about 5 1/2 inches across by about 5 1/2 inches high. Cut out the heart and remove the center heart as well. Take an 8 1/2 by 11 inch piece of red card stock and fold it in half, then trace the inside and outside of the heart-shaped te...
Joann of "Paper Crafting" shows you how to create a CD mini album. What it is, is actually a pop up photo album that you create using a CD case. The materials needed are 1) a CD case. 2) various decorations to put on the outside/inside depending on your taste. 3) cardstock type paper that can be folded around 8 times: on each "fold" you will put a photo- preferably the album will have a theme. Then you fold it up and put it in the Cd Case and embellish the front however you like.
You've organized your materials and chosen your book. Now it's time to get down to brass tacks. . . and tapes, stamps, stickers, cardstocks, markers... Watch this how to video to learn how to make your own scrapbook.
This is two part instructional videos demonstrates how to make a stationery box. This box holds standard size cards, 3x3 cards, gift tags, and more. You need to start with a 12" by 12" sqaure of cardstock. Use double stick tape for the key joints. You can decorate your box with store bought cutouts or use recycled paper and ribbons. Good luck!
This video shows how to make a swing or flip card. These are called swing or flip cards because when you open them the middle swings out to show the message. To make the card, you need a piece of cardstock that measures five inches by seven inches. Stamp or emboss the card while it is still whole. Then make two score marks on the long side of your card at two and three fourth inches and four and one fourth inches. Next, measure one and one half inches from each side, toward the middle, markin...
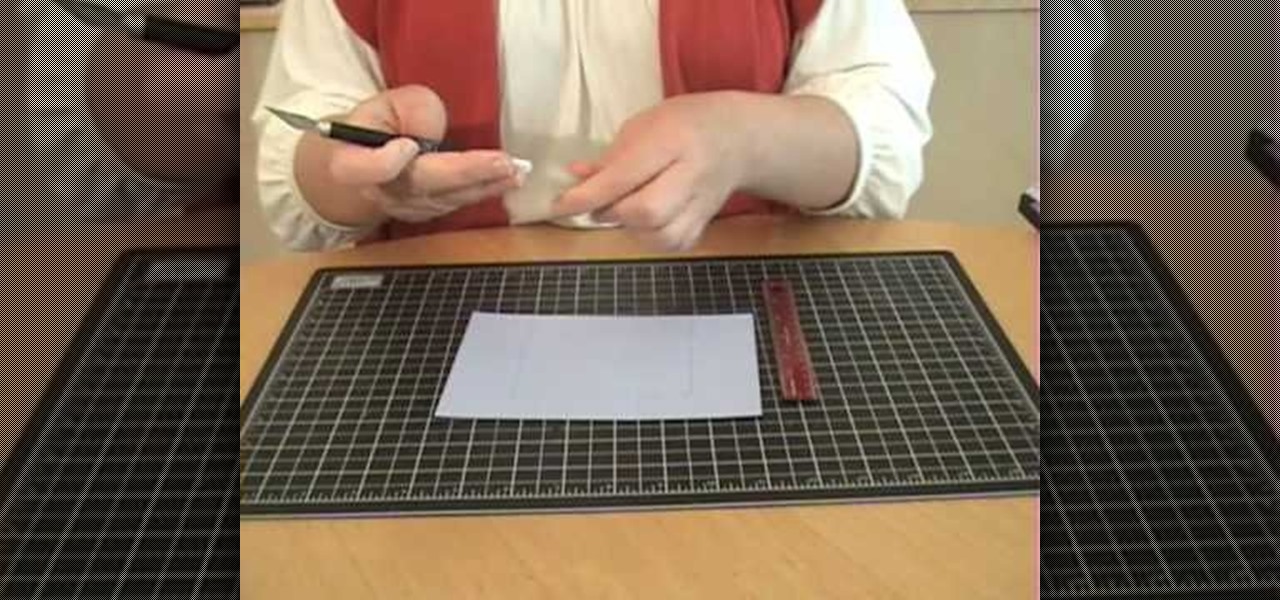
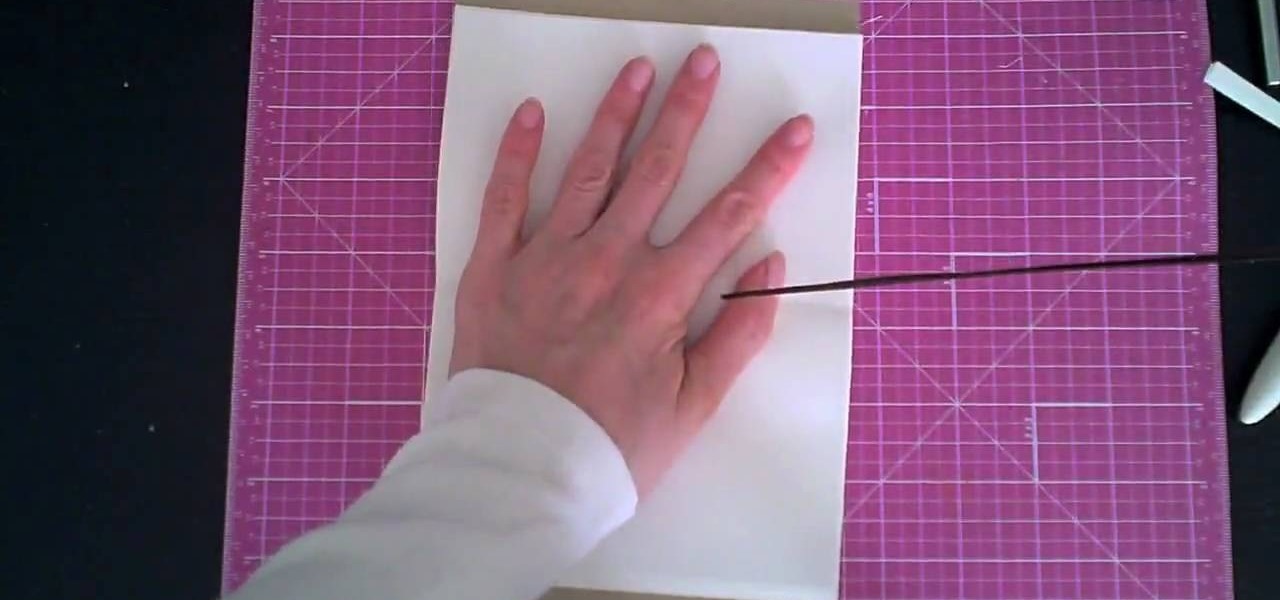
By watching this video, you will learn how to create your own art journal. Begin by cutting pieces of heavy weight cardstock 5" by 8". After you have cut all your sheets, fold them in half. If you want a defined crease, you can use a bone folder. Next, poke small holes in the crease of each sheet. Start at the center and then poke one every inch above and below the center hole. Then using a regular running stitch, sew through each hole of a single sheet. Once you reach the bottom hole, bring ...
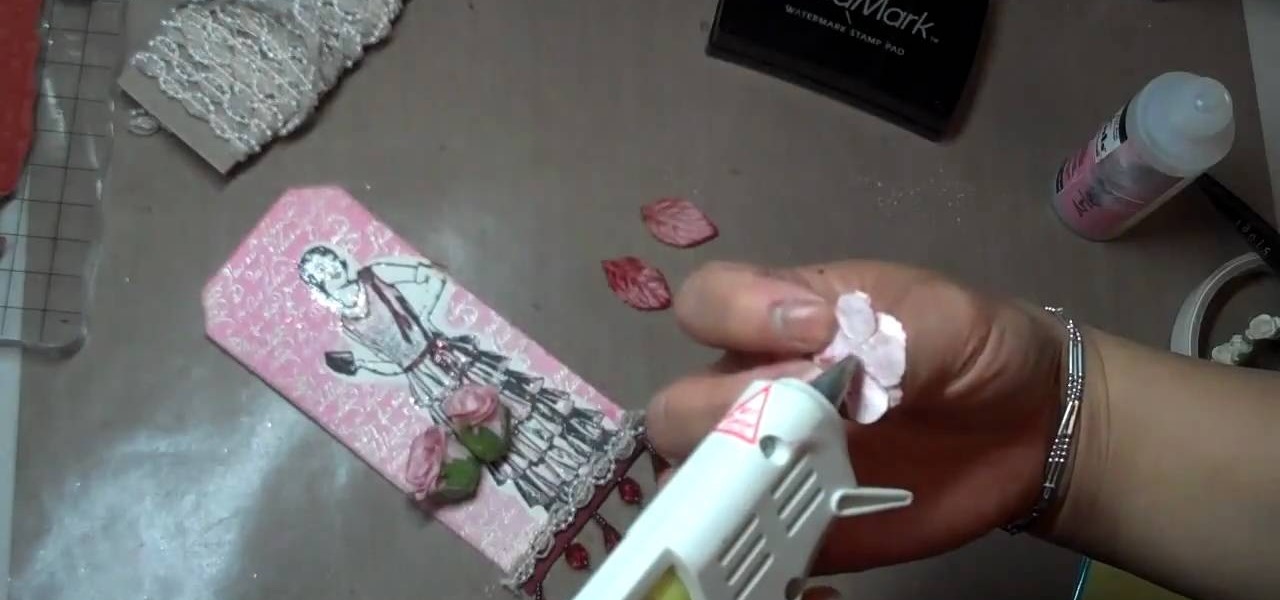
Mybutterflykisses12 shows viewers how to make a vintage lady tag! First, You will need a stampof a vintage lady and some cardstock. Dab your stamp with black ink and stamp it onto card stock that is shaped like a tag. Next, you can stamp on vanilla script above the figure. Next, apply clear embossing powder to the tag and then heat this with a heating gun so it can set. Next, place an opaque stamped image of the same woman over the original on the tag. Cover the stamped image before you apply...
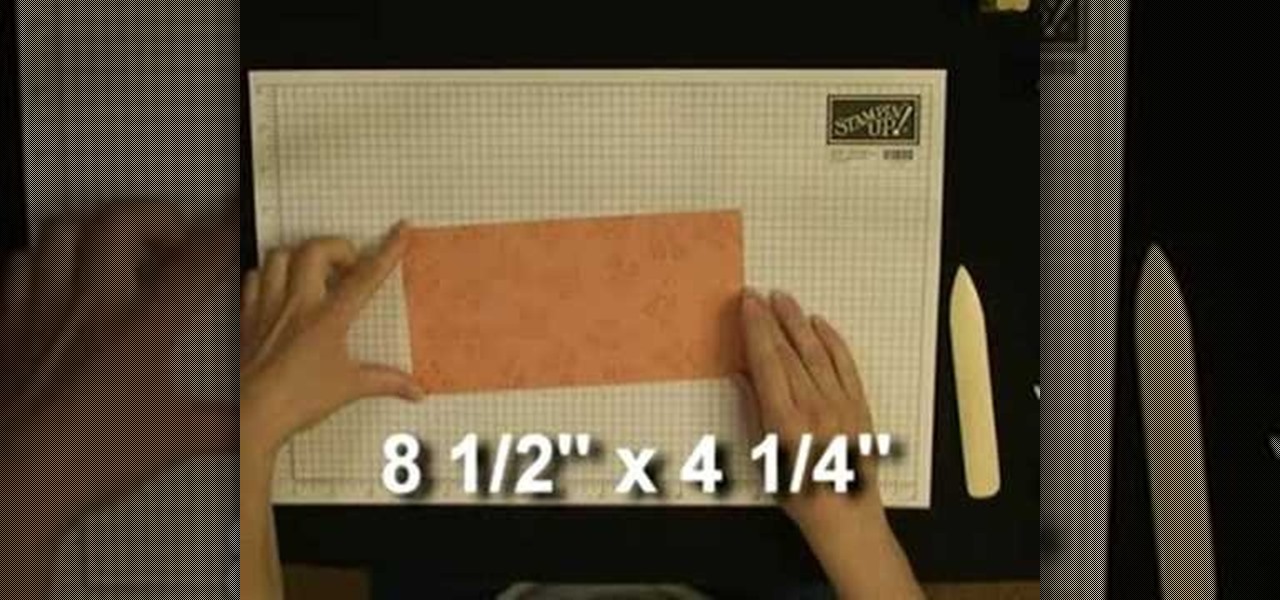
This video demonstrates how to make a notebook with ribbon binding. Take a stalk of plain white paper and it would be 5 1/2" long and 8" wide. Fold it in half. Trim off the excess with a ruler. Then align the edges of the white paper. Put this in a cardstock which is 8 1/2" wide and 5 1/2" long. Cover rapid around the white paper stalk to make sure that it the spine is bounded. Take the grid ruler and center it and mark the center and also 1" from the center at each side to the left and right...
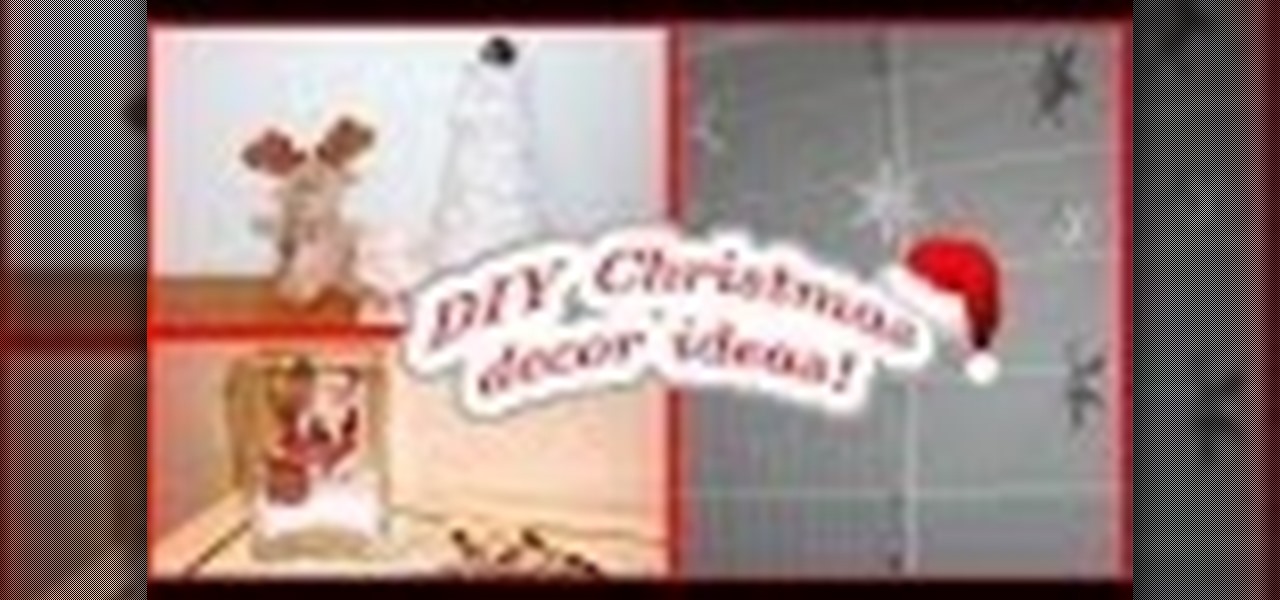
Video: . Today I bring you my first Christmas themed video!Here there are some DIY ideas to decorate your room for the holiday season. They are really easy and affordable so I hope you like them!
Patti Behan shows us how to make this beautiful giraffe prints to create an amazing card. You will need:
This gorgeous card is so easy to make and here I show you how, using some fabulous floral papers, however you could use any on hand, this card is a showstopper. Step 1: Items Used
This demonstration show how to make this card that looks like it could be quite time consuming and complicated but after watching this you will see how easy it is. Step 1: Items Used
Show someone you care about them by spending a little extra time on their Christmas card... and in the process, save some money. In this tutorial, learn how to make a pop-up three-dimensional Christmas card for your loved one.
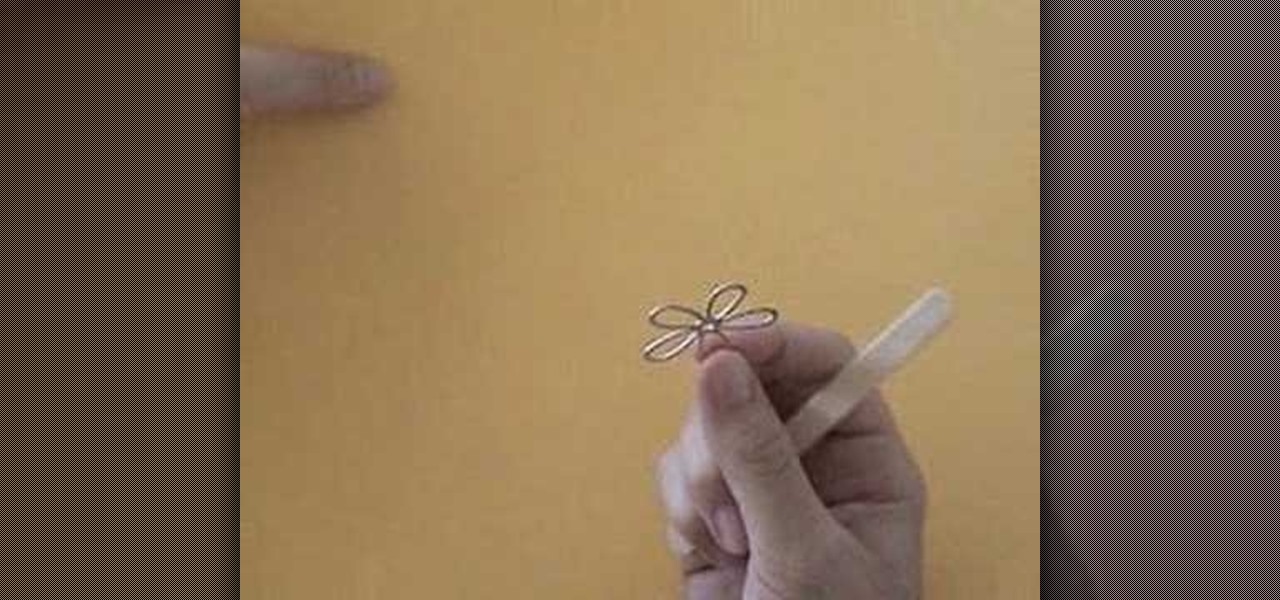
Most origami shapes are three dimensional. But what if you want to fold a shape to glue onto a Christmas or Valentine's Day card?
Create a waterfall card using CTMH products for Father's Day. You will need a blank card, designer cardstock, a scoring tool, and a paper cutter. Watch this video card-making tutorial and learn how to craft a waterfall greeting card.
This handy tutorial video will teach you how to make a wallet out of paper using: (1 sheet if cardstock, 2 sheets if printer paper), scissors, tape, and something to write with.
In this cardmaking tutorial I make a glorious card from the DCWV Hello Darling cardstock stack. It is a easy to make card but it looks so impressive, ideal for anyone that likes a little bit of fussy cutting and decoupage, all from the stack.. Step 1: Now Watch the Tutorial
This card tutorial make a very modern style of card that is out of the ordinary for me.. However this is an easy and quick card, ideal for Valentines Day or a Love card or even a Wedding Card Step 1: Items Used
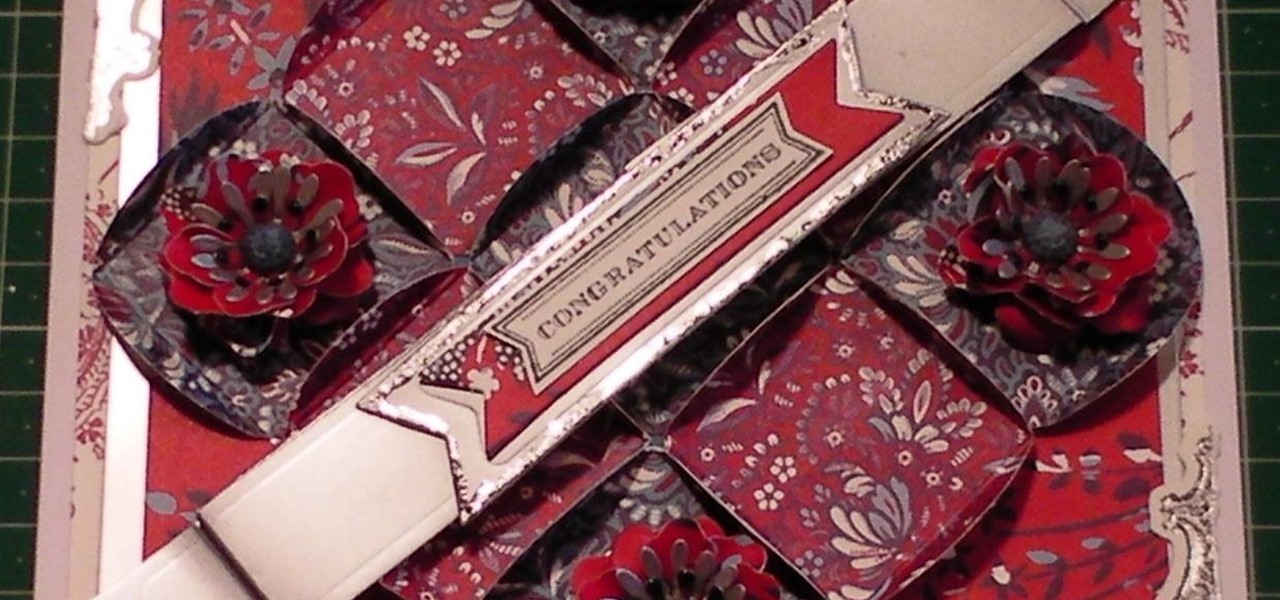
In this cardmaking demonstration I make a very unusual but beautiful card using a paper technique from the Anna Griffin Paper Tricks 2 Kit and with papers from the Anna Griffin Madison Paper kit. The card is 3D is style and very easy to make even though it looks complicated, when you see the steps to make it, I am sure you will agree its easy.. Step 1: Items Used
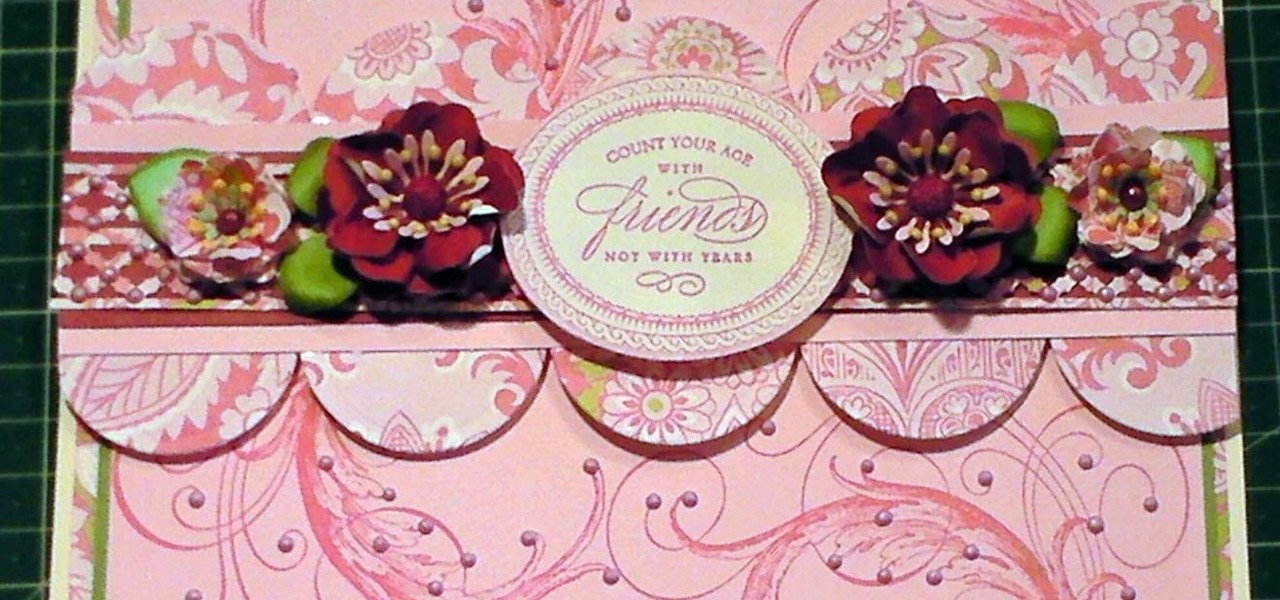
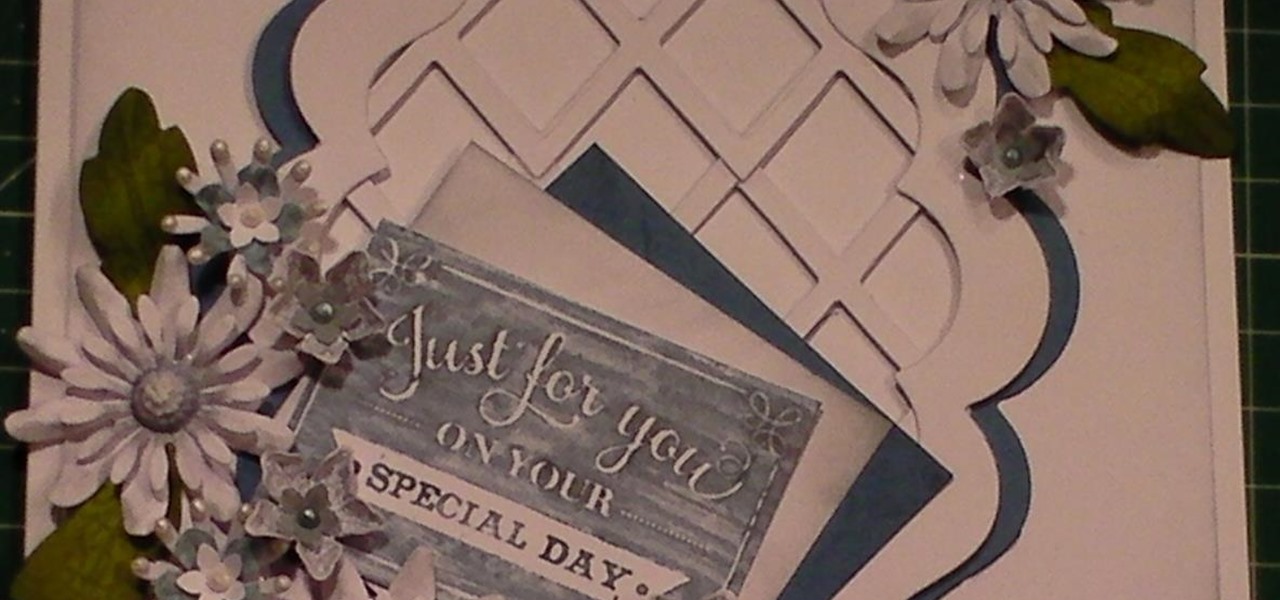
This card tutorial shows you how to make a floral lattice card that is based on a previous lattice card that was made with Poinsettias. This demonstration shows you how to use lattice die cuts with frames and making it a gorgeous floral delight. Step 1: Items Used