
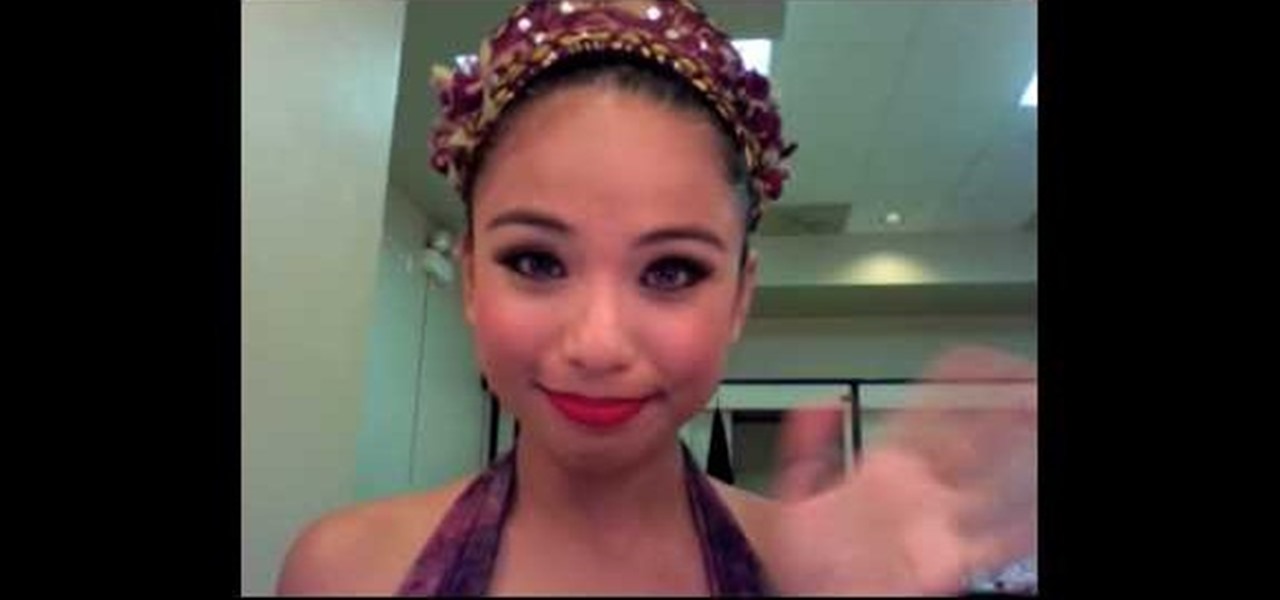
How To: Do an 88 Palette purple posey makeup look
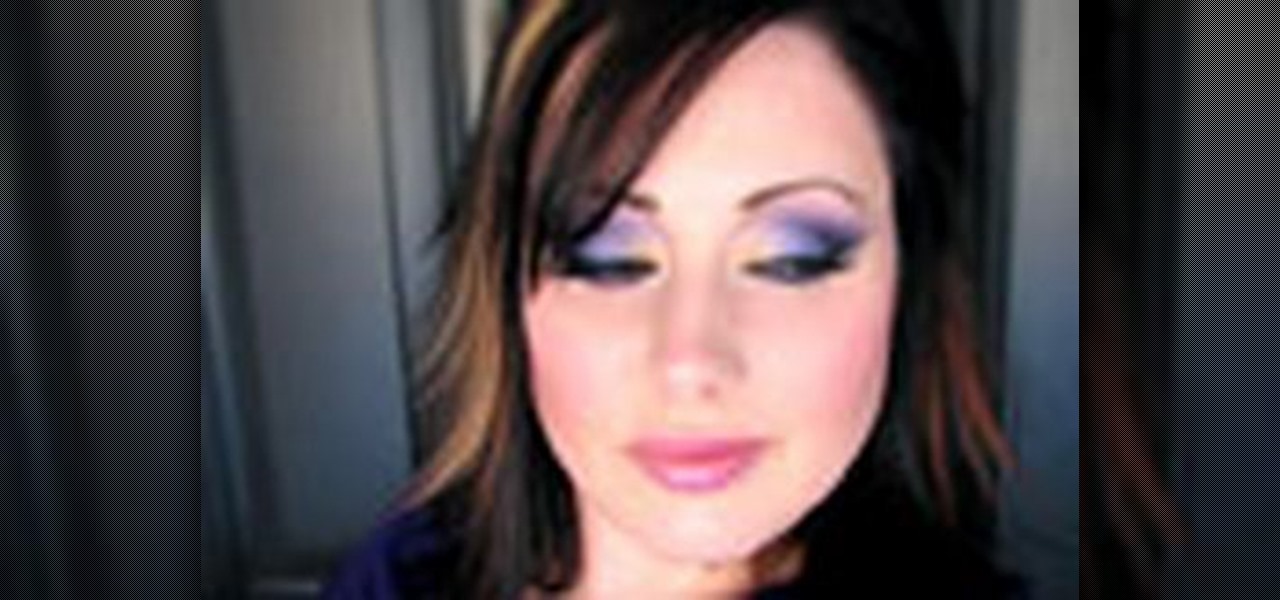
This beauty video demonstrates how to do an 88 Palette purple posey makeup look .

This beauty video demonstrates how to do an 88 Palette purple posey makeup look .
Yep Kitty Litter, but DON'T FREAK OUT! Read or watch the video before you make any assumptions. This mask is perfect for oily, dirty, large pores skin! If you need to detoxify your skin, this is the best mask to use, and you can make it right at home! Use this once every 2 weeks. You should deep cleanse your face once every 2 weeks to remove impurities. Unscented Kitty Litter is made out of Clay, Bentonite clay to be excat. Bentonite is clay that is is rich in minerals and it comes from volca...
Acne sucks - or, more correctly, acne oozes. Which is why it's so important to take care of your skin with oil-reducing, calming products. Most anti-acne medications you can buy are severely drying and irritating, meaning they can cause the adverse effect of making your skin compensate by producing even more oil.
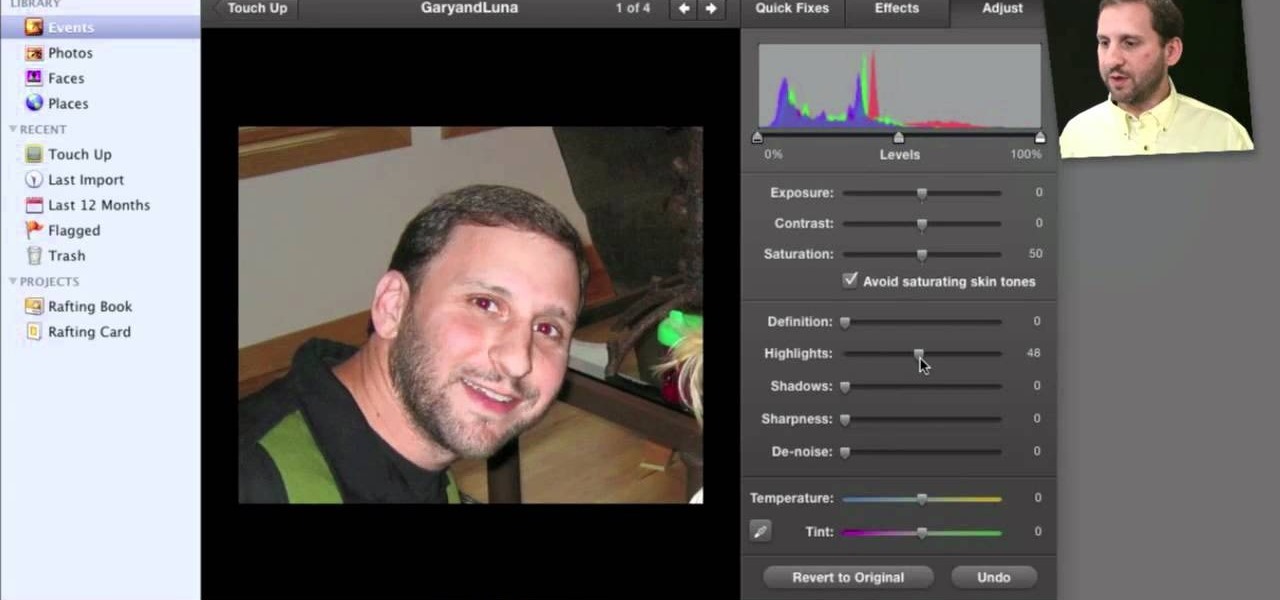
It's pretty rare someone takes a perfect photo without the need for retouching after the fact. So, open up your iPhoto 11 and learn how to make that photo the beautiful picture you intended to take.
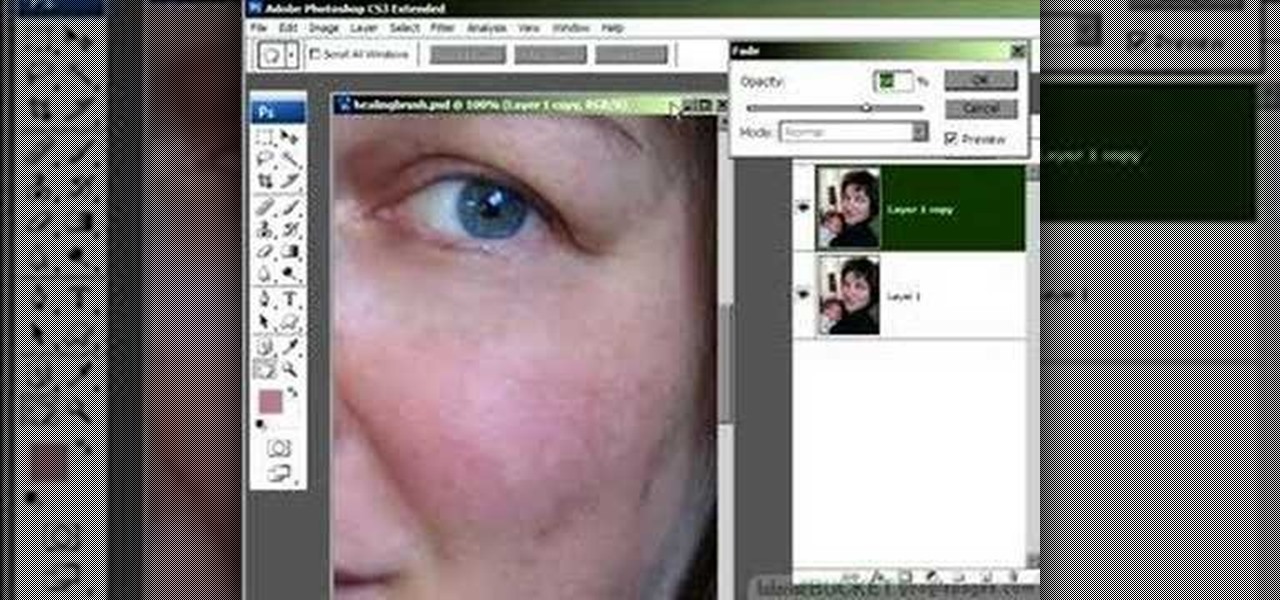
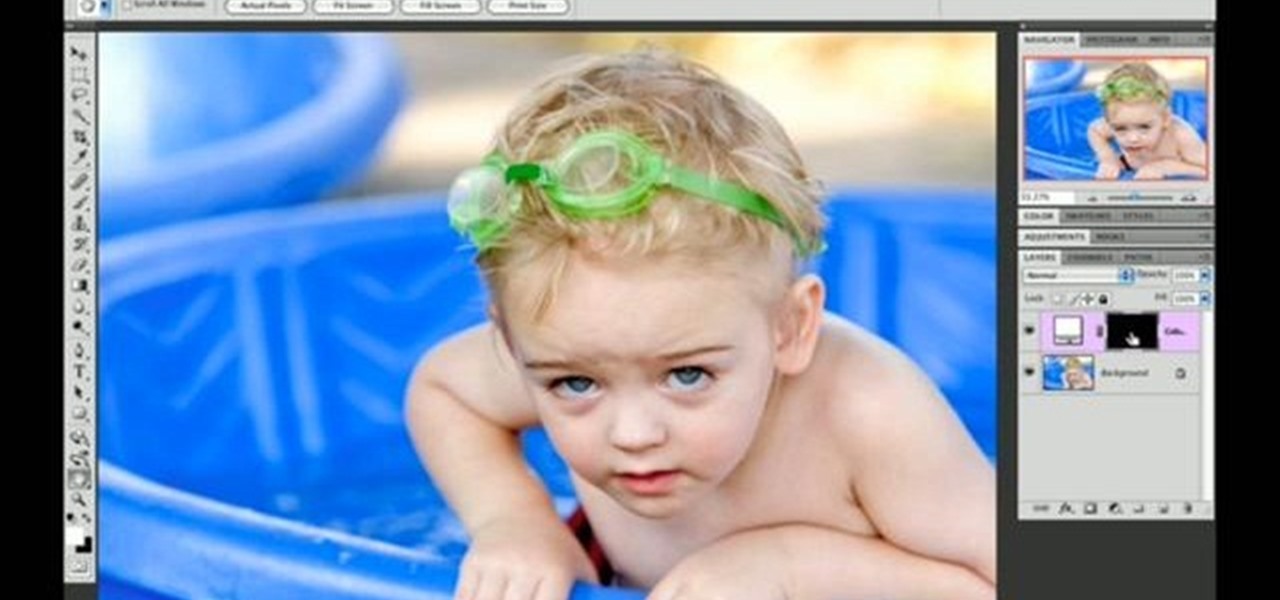
Do you love to edit your photos in Photoshop? Watch this quick video that contains some really neat tips on how to use the healing brushes and patch tools in Photoshop. The spot healing brush makes it easy to brush away blemishes or other marks on the skin. It's good for small spots, not larger areas. You can use the patch tool for larger jobs. These two tools combined will give you a pretty impressive end look. It can remove tattoos, wrinkles, acne and so much more!
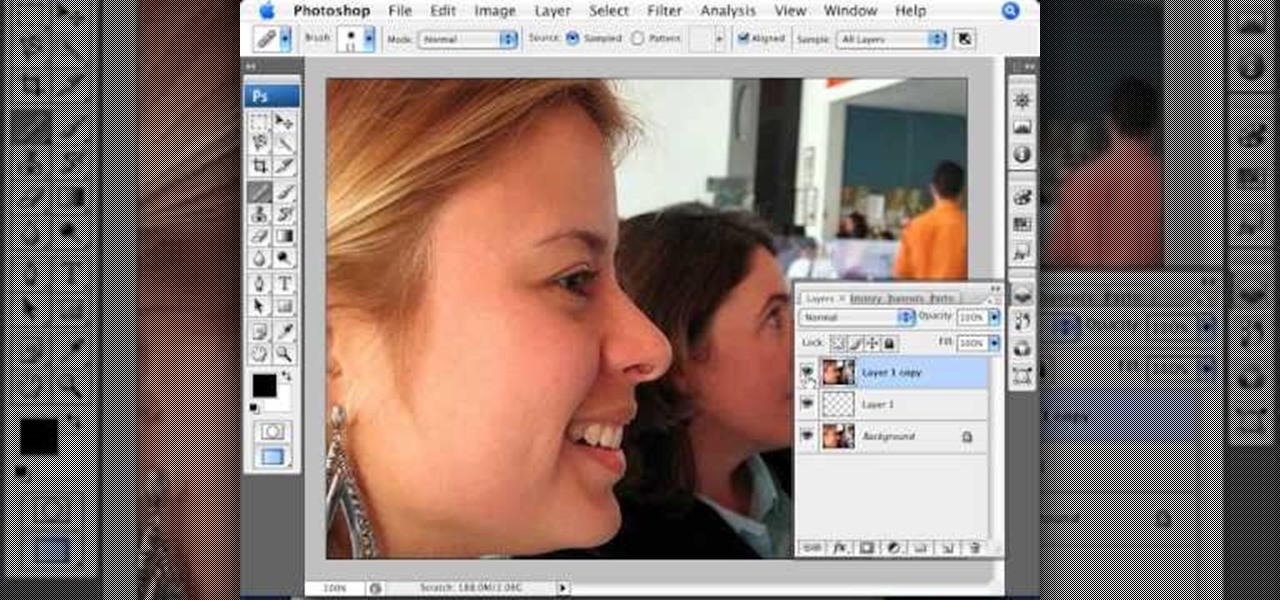
This video explains how we can have a smooth skin in the pictures using Photoshop tools. The healing brush tool is used to delete all blemishes, red spots or black marks from the skin in the photo. While doing this it is important to select smaller portions and then go ahead instead of selecting bigger portions of the skin. Later the median filter is used so that the smoothing is just optimum. This actually helps in getting the right image specially for close up photos.

This beauty video demonstrates how to create a bright, summer makeup look.
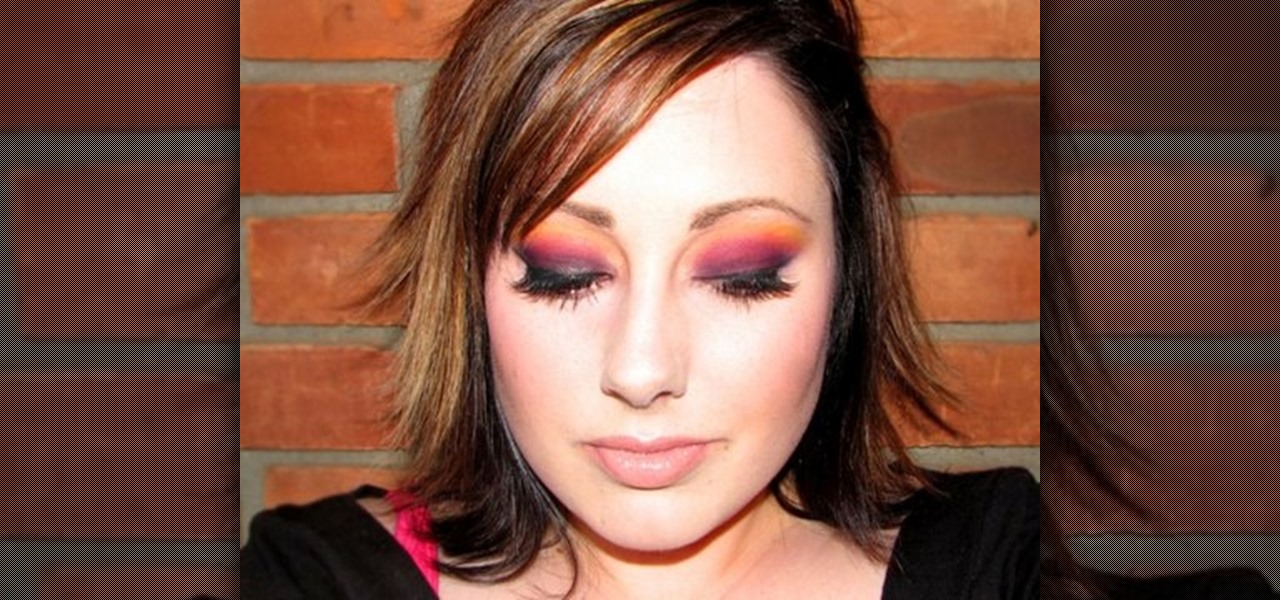
This beauty video demonstrates how to create art inspired makeup.
This beauty video demonstrates how to create a daily makeup face routine.
We all like to get our beauty rituals done professionally, especially those which, if not completed correctly, lead to painful aftereffects like blemishes, bleeding, and swelling.

Remove blemishes, repair damage and otherwise alter your digital images using Adobe Photoshop's patch and clone tools. Whether your new to Photoshop or just new to retouching your digital photographs, you're sure to find something of value in this free lesson. For detailed, step-by-step instructions, and to get started touching up your own photos, watch this handy how-to.

Bert delves deeper into re-touching with Photoshop and shows us how to create two moody scenes from different images. You can do more with retouching than just fixing blemishes, as shown in this Photoshop tutorial.
If you want to retouch or add digital make up using Photoshop you should first erase and cover up any blemishes you see on the surface of the skin. This can be bruises, blemishes, or even acne marks and bumps. Do this anywhere you feel necessary such as the face or on the body. Using the lighten tool, you can also lighten the eye color as well as the whites of the eyes. Next, you can also adjust the texture and color of the lips. You can also shift the color saturation of the picture to add r...
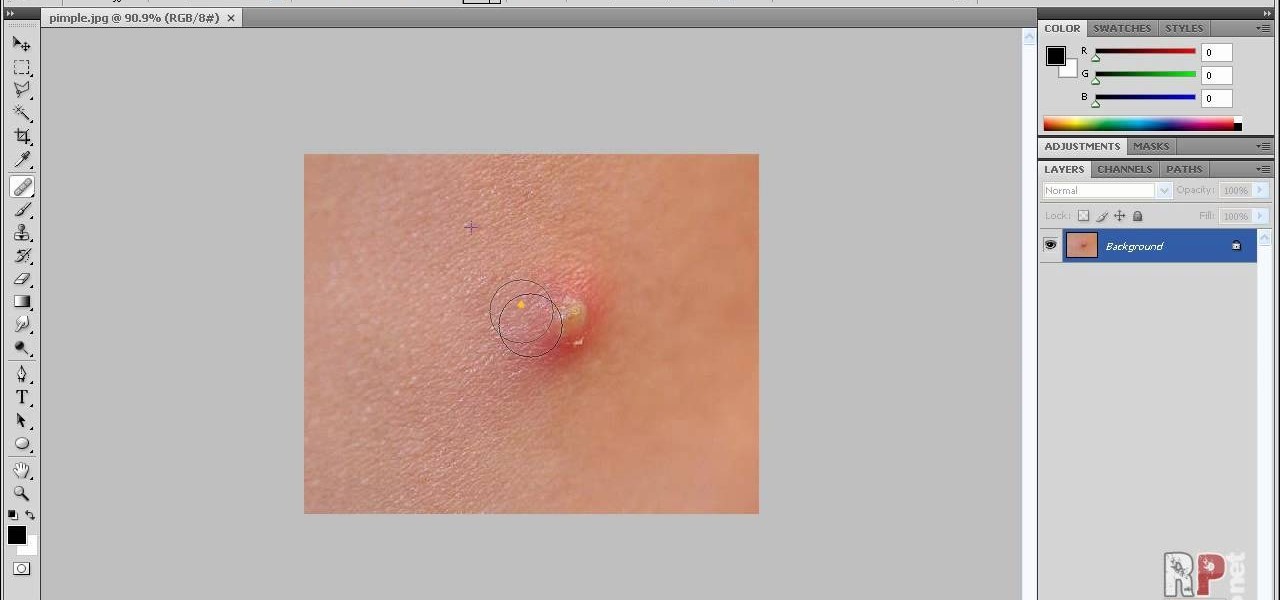
Your photos should show how you as you normally look and not, notably, as you looked that particular day when you had that huge pimple. Learn how to remove pimples and other blemishes when working in Adobe Photoshop CS4. Whether you're new to Adobe's popular graphic editing program or a seasoned design professional looking to better acquaint yourself with the new features and functions of this particular iteration of the application, you're sure to benefit from this free software tutorial. Fo...
Spritzing (or rubbing, or tapping) foundation onto your face is by far the most important and unavoidable step in putting on makeup, because without a clear, even base, nothing will look good on your face.

Learn how to remove noise, abberations and blemishes from your digital video when using Apple's Motion 3. Learn how with this free video software guide. Whether you're new to the Apple's popular motion graphics editor/compositing application or simply wish to get better acquainted with the program, you're sure to find value in this tutorial. For more information, including step-by-step instructions, take a look.
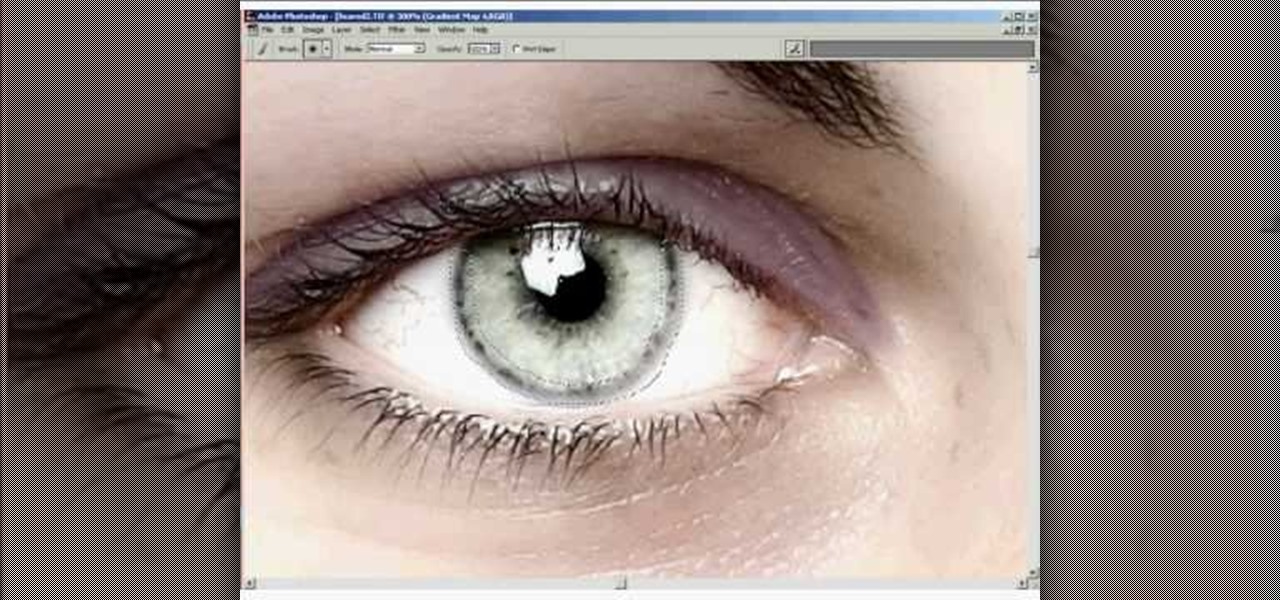
Sometimes taking the perfect photos can be difficult to achieve.There are so many things that can go wrong, it's great to have a software program like Photoshop in your computer. With it, you're not only able to lighten skin color and get rid of unwanted blemishes, but you can also add some color to a pair of dull lifeless eyes. Find out how to to brighten eyes using Photoshop. Enjoy!

This episode of TUTCAST shows you how to get rid of blemishes in your photos using Photoshop. For this demonstration the patch tool in Photoshop is used to clean the blemish. Use the elliptical marquee tool to select the area including the blemish as shown and then feather the selection using the selection modify feather command. Use the patch tool to patch the area with the blemish and use the clone stamp tool to clean up the unevenness as demonstrated.

Don't pick the blemishes on your face, at least until you've seen this how-to video. You shouldn't pop zits because of the high risk of scarring, but you'll probably do it anyway. Watch this video skin care tutorial and learn how to pop a pimple the safest way possible.

This photo retouching Photoshop tutorial is not cleaning up blemishes, but modifying the overall look of a photo. Bert's example in this episode takes a snow covered window eave and adds some children and their reflections to the inside along with falling snow on the outside. Change a photo to any scene or look you need with this Photoshop tutorial.

How to use the healing brush in Adobe Photoshop to touch up photos and remove scars and blemishes.
In this first of a two-part video tutorial on the Clone Stamp tool in Photoshop. Learn to use the "Alt" key to sample. Beside removing blemishes, you will learn that you could use Clone Stamp tool to create objects in your image.
In order to create the Snow White look for Halloween, you will need the following: Disney eyes, powder, foundation, concealer, sunscreen, a black wig, a blue jay, eye shadow, eyebrow pencil, an apple, a red bow, lipstick, lip gloss, blush, white eyeliner pencil, and liquid liner.
Before applying any make-up start by thoroughly cleansing the face and moisturizing after cleansing. Start with a good concealer to cover up and blemishes or dark spots. Apply liquid foundation with a stipple brush to ensure all over coverage of the entire face. Now using another brush apply your face powder, you can try MAC skin finish in your own personal skin shade. For the eyes, start with a white shadow and apply all over both lids. Now, take a medium-brown color shadow and apply to the ...

In this video, we learn how to remove acne spots with Photoshop. First, open up the picture and zoom in on the acne you want to remove. Now, unlock the layer by right clicking and unlocking it. Next, use the clone stamp tool while pressing alt to clear the skin where the blemishes are at. Click constantly on the acne until all of it is done. You want to click as many times as possible to get the best effect in removing this. When you are finished with this, duplicate the layer, then change th...
Acne sucks, and don't we know it. Our prom would have been ten times better had we not developed that continent-sized cystic blemish right at the tip of our nose (no concealor invented as of yet can cover up that monster), and the only thing more horrendous than going on first dates is going on first dates with a face full of stress pimples.
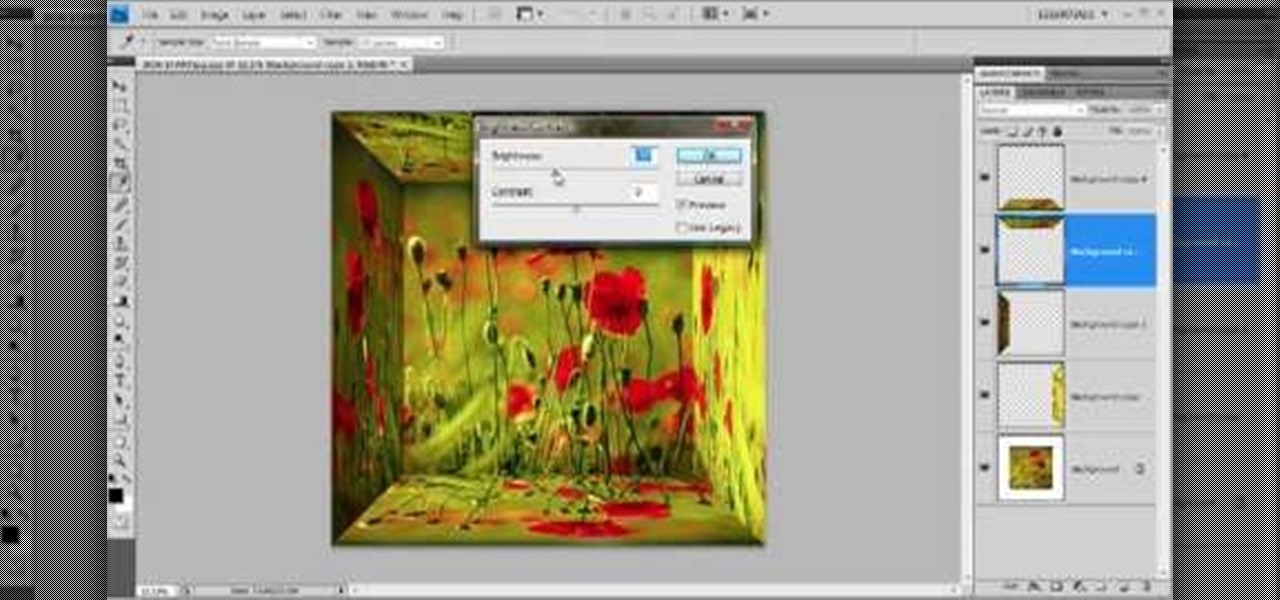
Since the introduction of Photoshop, people have embraced the many different elements that it has to offer. Not only can you take away blemishes and body fat in a matter of seconds, but you can also add other things that you could only achieve by using simple camera tricks. In this tutorial, you'll find out how to make a mirror box effect using the software. It's easy to do and really cool to look at. Enjoy!

You will get the best images possible if you learn to maintain your camera and keep the lens clean. In this tutorial, learn how to clean the lens of an SLR camera like a professional. With a clean lens you will be able to take crystal clear photos and avoid any blur or unwanted blemishes. So, follow this step by step and keep your camera in top shape. You will save yourself tons of editing time if you just keep a tidy lens.
In this video tutorial, viewers learn how to eliminate facial imperfections using Adobe Photoshop. Begin by opening the image in the program. Then select the patch tool. Now draw a circle around the imperfection and then move it to an area of the skin that has no blemished. Continue doing this for all the imperfections. This process can be done to eliminate pimples, moles, blemishes, scars and wrinkles. This video will benefit those viewers who enjoy editing images to enhance them and would l...

Hayley P. shows her viewers how to apply makeup with a foundation brush to reduce the appearance of dark circles around the eyes. If you follow her instructions, you will reduce the appearance of dark circles and you will look more awake.
The author of this video takes us through the process of smoothing the skin in Photoshop. The video helps you to conceal blemishes in your photos. It is an easy way to soften and smooth someone’s skin in a photo without blurring out any important image details. One would definitely look few years younger after this editing. Though the sound quality for the video was somewhat less, the explanation was so clear that one could understand the entire process very easily.

Follow along with this video to learn how home remedies for acne scars may help get rid of them naturally and safely.
With this video you can learn the few simple steps it takes to give yourself a beautiful look, no matter how little time you have.
Watch this video tutorial to learn how to make your own all-natural face masks. Tired of spending a lot of money on facial products that don’t even work? Try on some masks made from items you already own—they’re all natural and good enough to eat!
Airbrush away freckles and blemishes on your favorite photos! Learn how to remove skin imperfections using the photo retouching software Photoshop in this free software tutorial.
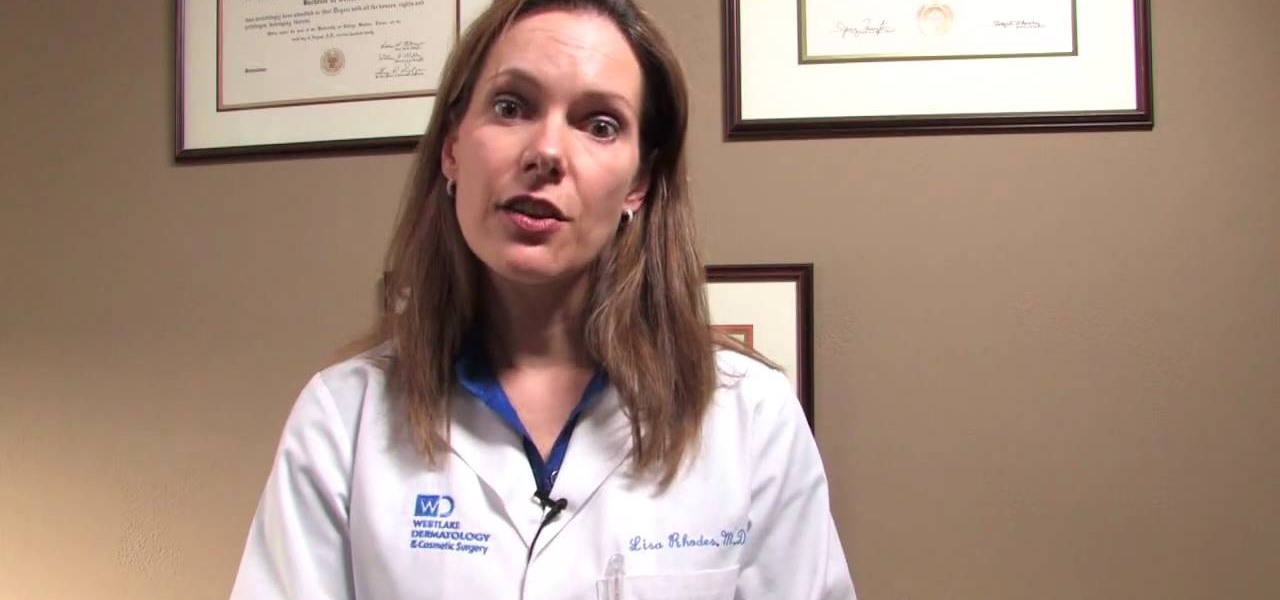
Using aspirin to treat acne is an age old remedy for skin blemishes. Learn more about treating acne from a dermatologist in this skin care video.

Stretch marks are the bane of a woman's existence. Whether you went through a recent weight gain from eating a few too many ho hos or are recovering from post-pregnancy weight, stretch marks tend to pop up because your skin is stretching beyond that which its fibers can stay stable.
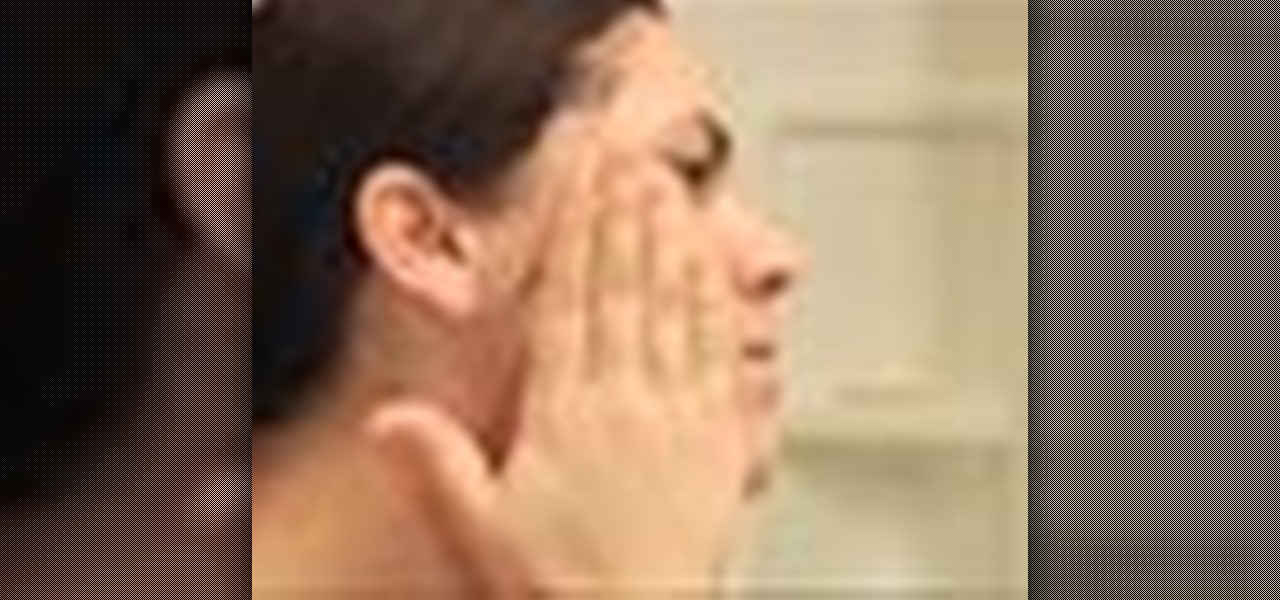
This video will show you how to apply Dermify 3-in-1 acne treatment. Follow these steps to apply the Dermify facial cleanser, deep cleansing mask and spa treatment. Wet your face with water and massage a thin layer of Dermify onto your skin. Let it sit for 60 seconds and rinse off. To apply the cleansing mask, dampen your skin and apply a pea-sized amount of the mask to your face. Let the mask dry for 20 minutes. Thoroughly rinse your face to remove the mask. Apply the Dermify Spot Treatment ...

With these instructions, getting a plum wine makeup look is quick and easy. 1. Begin with a clean face and apply a mixture of moisturizer and foundation all over your face for a smooth base.
Switching your favorite facial cleanser isn't an easy choice. Since everyone's skin type can range from dry, to oily, to some complicated combination of both... well, let's just say that the conventional wisdom is to stick to what you know works.