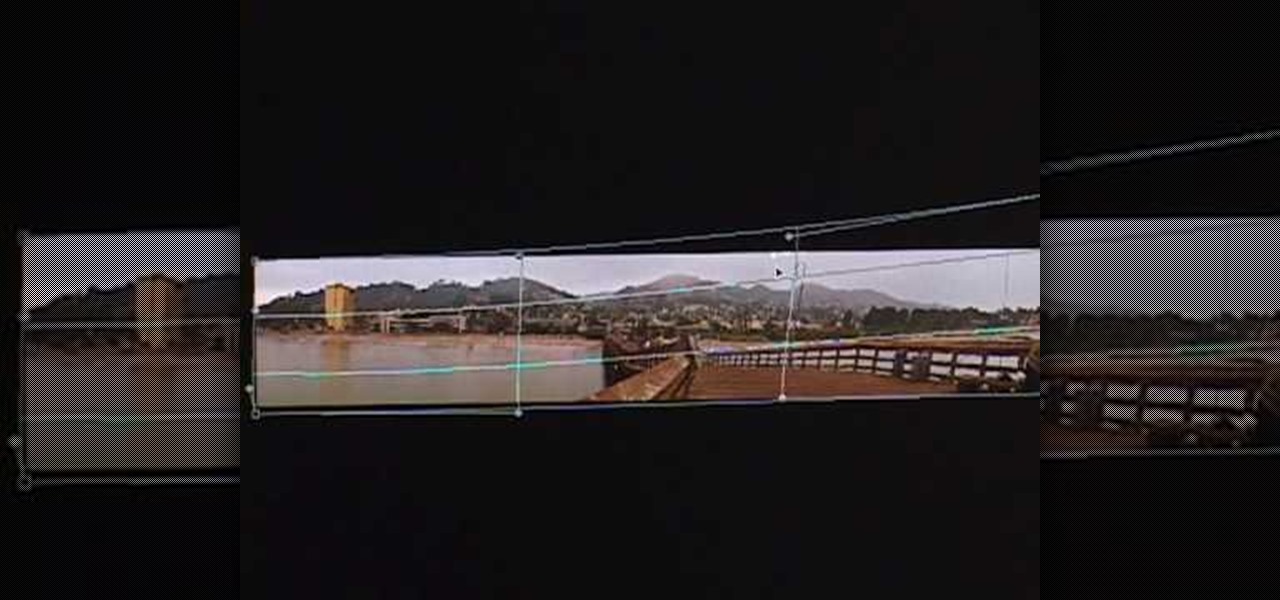
This video in the Software category will show you how to create simple panoramic images in Photoshop. This video uses only five images for this effect. Select the five images and put them in a folder. Go to File -> Automate -> Photomerge. On the Photomerge page select ‘Folder’ and browse. Find and ‘choose’ the folder you created. Under the layout panel on left hand side of the page, select ‘cylindrical ‘option and click OK. Now the panoramic image will appear that will have some blank areas. ...
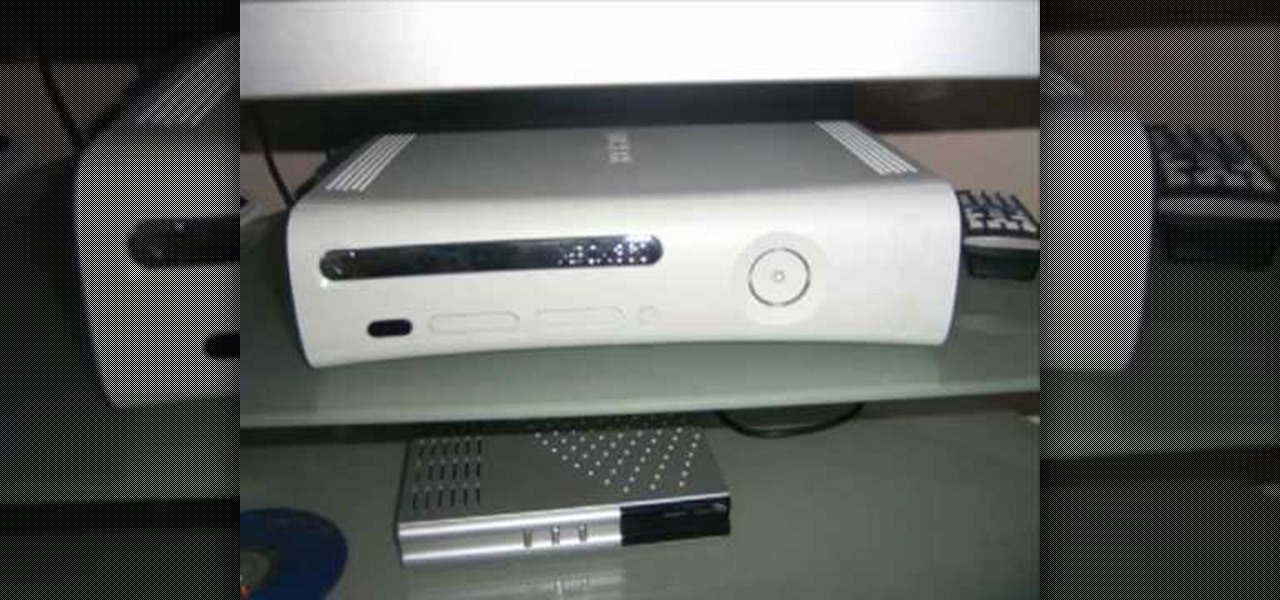
This video shows you how to set up XBox Live using a laptop and Ethernet cable. The materials you will need are an Ethernet cable, an Xbox 360, and a laptop or desktop computer. First, you will need to connect your computer to your wireless network. Next, you must connect your computer to your Xbox 360 using your Ethernet cable. Power up your computer, go to the start menu and select network. In the window that appears, select the Network and Sharing Center located below the address bar. A ne...
Managing your web browsing History in the web browser Firefox is easy. First, open Firefox, then select History tab on the top menu bar of the browser. You select to view your browsing history in several different ways. You can choose to view all past browsing history or you can choose to just view one of the last seven days. You can also chose to view it as a side bar or a separate window. To clear your web browsing History, you can chose to delete just one page of the browsing history or yo...
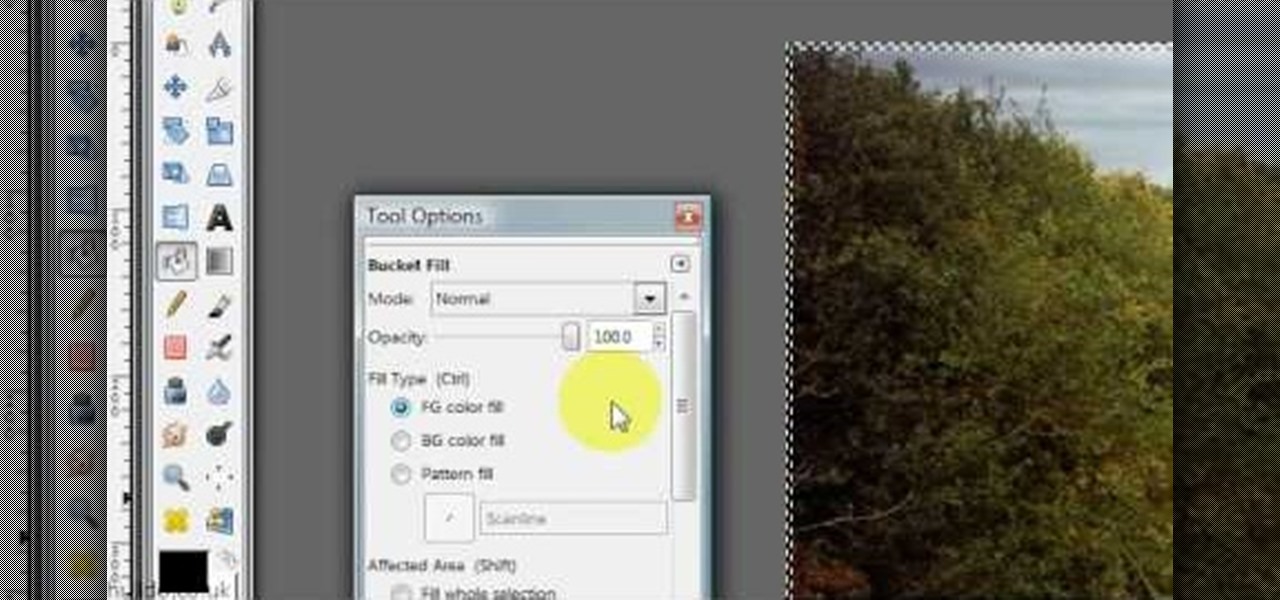
Hulldo teaches you how to give your images a widescreen border using GIMP. Open up a picture and the click new layer. Next go to select - border and make it 3 pixels. Go to tool options and use black for foreground fill. Select none and create a new layer. Go to view and make sure snap to canvas edges is ticked. Go to rectangle select tool and go to its menu. Then select 640x30 pixels. Fill that layer with black and select none. Duplicate this layer. You place this one on the bottom and you a...
Learn how to backup Windows Vista to an external hard drive! 1. Click on start. Go to All Programs, select Accessories, then select System Tools. Open "Back-Up Status and Configuration". 2. Click on "Set up automatic file back-up". Be sure the top radio button is selected. Select your external hard drive. 3. Click next. Select all folders that you want to back-up. Click next again. Set your schedule (how often, what day, time). 4. Click on "Save settings and start back up". Windows will final...

Using this tutorial, you will learn how to make a comic book style cloud in Adobe Illustrator. 1. First, select the ellipsis tool and draw a few shapes. 2. After drawing some shapes, select them and go to window and choose pathfinder. 3. Click to merge the shapes together. 4. Next, go to the layers window. Choose layer 3 and highlight the compound shape. Then select duplicate compound shape. After create one more duplicate. 5. Hide the first duplicate layer and choose the third one. Change th...

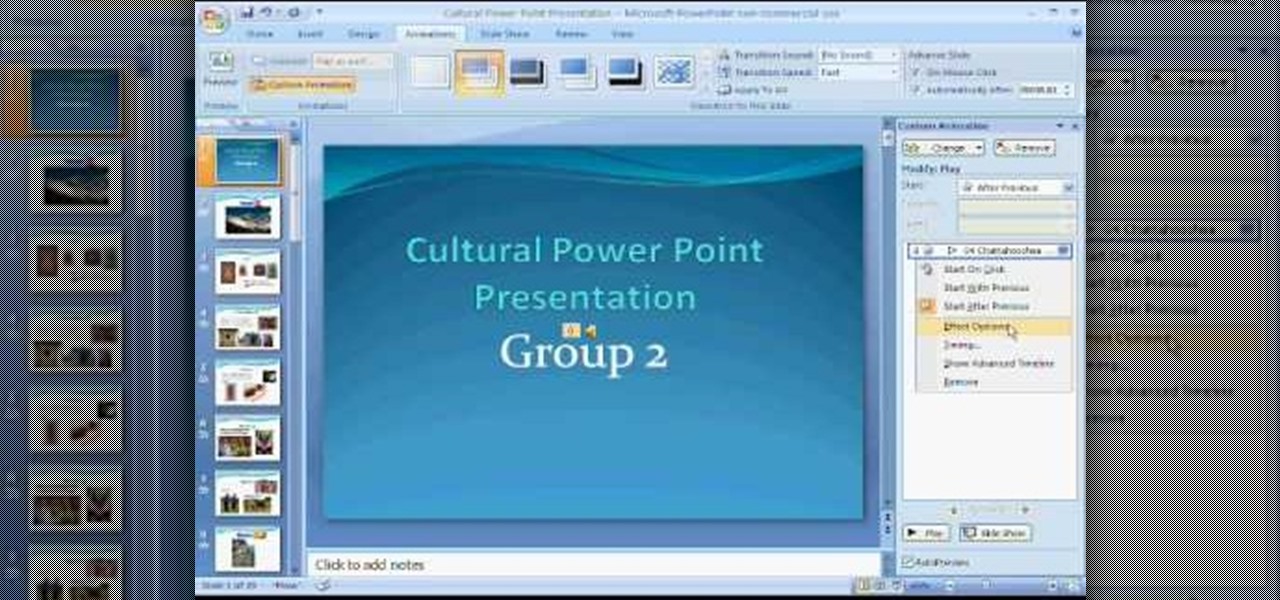
This video helps us how to add continuous music to your PowerPoint presentation. To add continuous music to your PowerPoint presentation, click "Insert" in the Main toolbar. Place arrow key on the Sound icon and wait for options to appear. Select "Sound from File". Locate for and select the sound file. Select "Automatically" button once a window appears. Select "Animation" and then "Custom Animation". A window appears on the right side of the screen. Select "Effect" options and choose the num...
Learn how to create a cell phone icon in Photoshop with this video tutorial. Draw a rectangle of radius 30 pixels by holding shift key. Right click on the toolbar and select Stroke button. It will open Layer Style dialog box. Set stroke color and set size to 2 pixels. Select Stop Color set little light red color and click on OK. Now, check on Inner Color option change size to 4 and Capacity value to about 60%. Now select Ellipse tool which will draw a ellipse and cover half of rectangle. Sele...
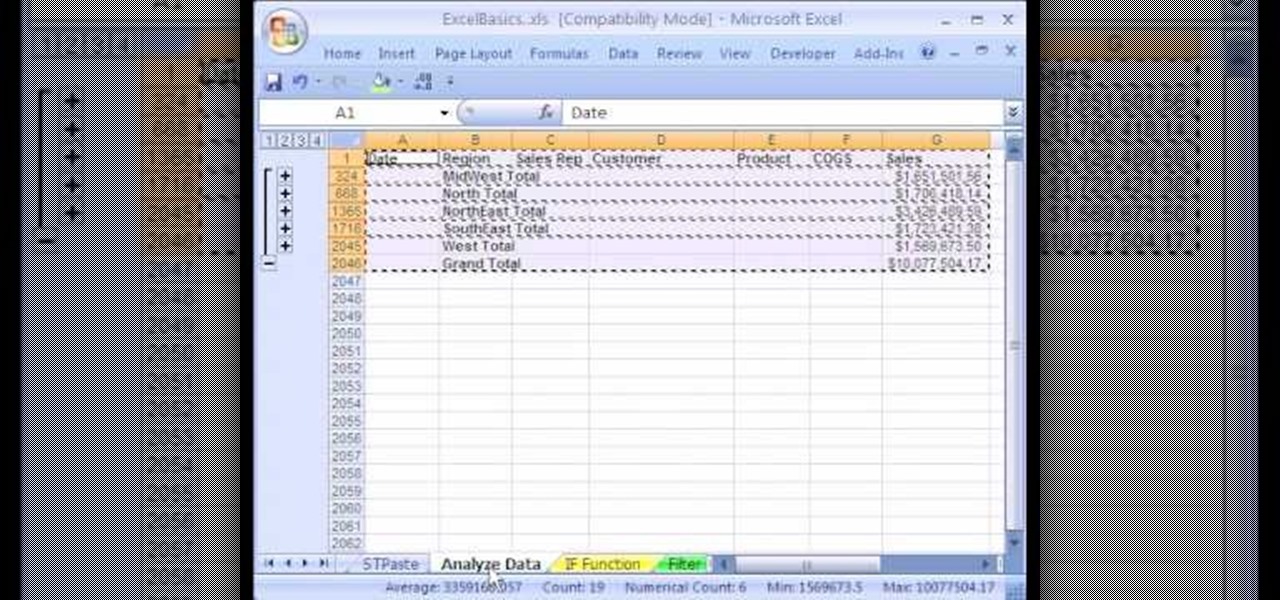
1. The following instruction describes how to generate sub totals in Microsoft Excel Sheet. 2. Take Region as a Primary column and Sales Rep as a Secondary Column. 3. First method to sort: Select a cell in Region and goto Data select A to Z. 4. Second method to sort: Select a cell in Region and Right click and select Sort A to Z 5. Then click a cell in Region and select Data->OutLine->SubTotal 6. In the SubTotal Window select 1.Each Change in: Region 2.Use function:Sum 3.Add subTotal to:Sales...
Xara Xtreme makes it easy to learn how to extract part of photo. First in the main page we have to select window and photo_extract in Xara. Now you will have a picture in the screen.
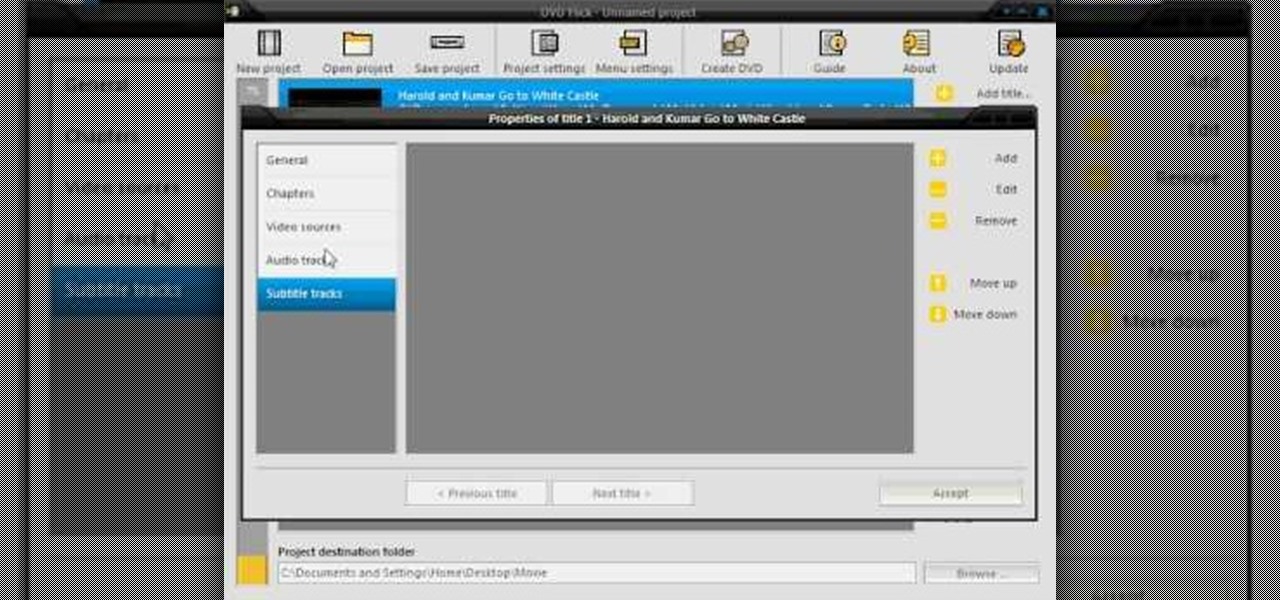
Burn downloaded movies onto a DVD. Open your browser, go to the Google website and type axxo torrents in the search bar. Then select the homepage of axxo torrents, and download the favorite video in to your computer. Then open the DVD flick, you select burn a DVD. In that you select the files to be burned on to a DVD, and then click ok. Then the general settings appear on screen, about the name of video. Then also select how to burn and writing speed, and check the box of verify the data on w...
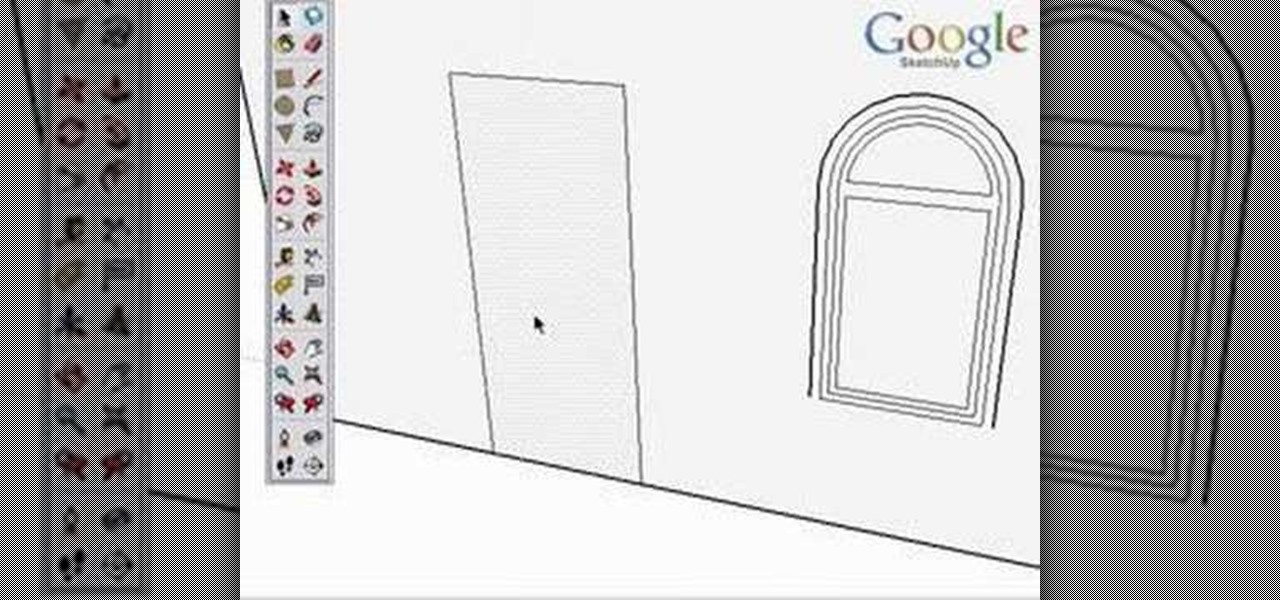
Take a look at this instructional video and learn how to use the offset tool in Google SketchUp. To click on any surface to offset its edges, in or out. The tool auto selects any surface if no particular surface is selected. You can select a number of different surfaces or an individual surface. This tutorial covers offsetting surfaces versus edges, inferring, and some speedy tips.
This video includes instructions on how to get your PlayStation Portable (PSP) onto the BGSU wireless network.
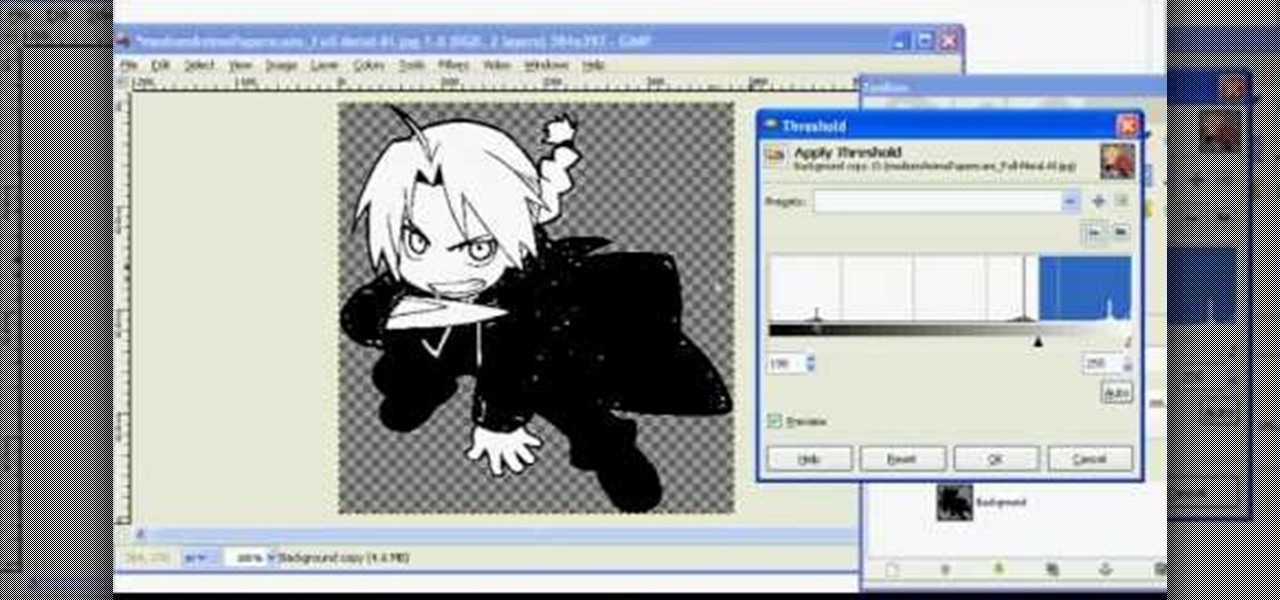
In this tutorial, we learn how to make 2-layer stencils in GIMP. First, cut out the background before you begin. Now, right click on your main layer and then select "add alpha layer". After this, select the magic wand tool and delete all the white areas on the outside of the picture. Now duplicate the layer, then hide the top layer and select the bottom layer. Now, go back to threshold and move it all the way to the right to get an outline of the image. From here, go back up to the top layer ...
To do that, first select the pen tool, choose yellow stroke color and draw the path as showing in the video then deselect and choose pen tool again, pink color in stroke and draw the path again. Now you need to select the blend tool and click on both paths. Now go to object, blend and choose blend options. Now select the specified steps, put the value of 25 there and click on ok. Now open the blend in layer window and select the paths. Now set color to white
In this video tutorial, viewers learn how to use the noise removal tool in Camtasia Studio. Begin by uploading the audio track into the time line. Then select and highlight the region that contains the noise. Now click on Edit and select Audio Enhancements. Under Background noise removal, users are able to select to automatically or manually remove the noise. Once selected, simply click on the Remove Noise button. Users also have the option to adjust the sensitivity. This video will benefit t...
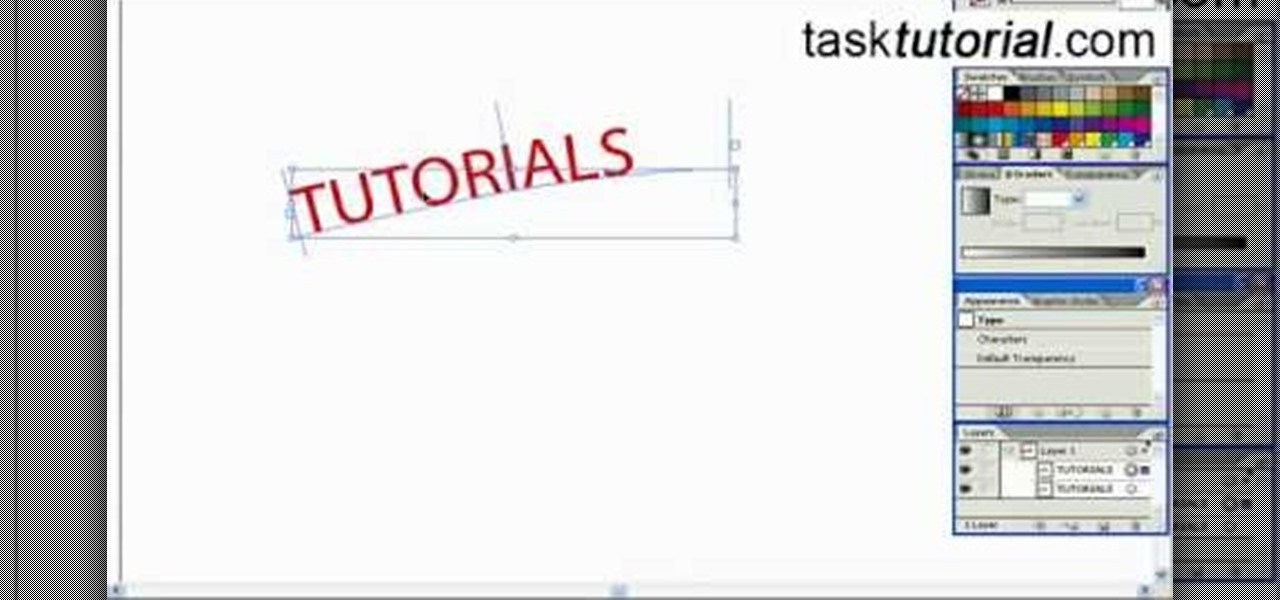
In this tutorial, we learn how to create a cool blend text effect in Illustrator. First, open up Illustrator and draw a path, then change the color to black. After this, click on the line and type in your desired text. Increase the font size to 36 points, then select the red color. After this, copy your path and select the duplicate button. Now, move the duplicated path and change the background color to yellow. Now, scale the path and resize, then place on to of the red path. When finished, ...
In this video tutorial, viewers learn how to align and group objects, and use gridlines. Begin by clicking the Insert tab and select a shape from Shapes. To align the object, go to the Format tab and select the Align menu. From there, users are able to align the selected object in any direction. In the Align menu, users are also able to add gridlines by selecting View Gridlines. To configure the grid-line options, click on gridlines Settings. This video will benefit those viewers who use Micr...
Sometimes you can't decide what to take… a picture or a video. But on any of the new Android enabled mobile devices, it's easy to toggle back and forth between photos and video on your camera. Once inside the multimedia section, the icons direct you to either picture or video options. Best Buy has answers. The Best Buy Mobile team explains how simple it is to capture photos or videos on an Android cell phone.
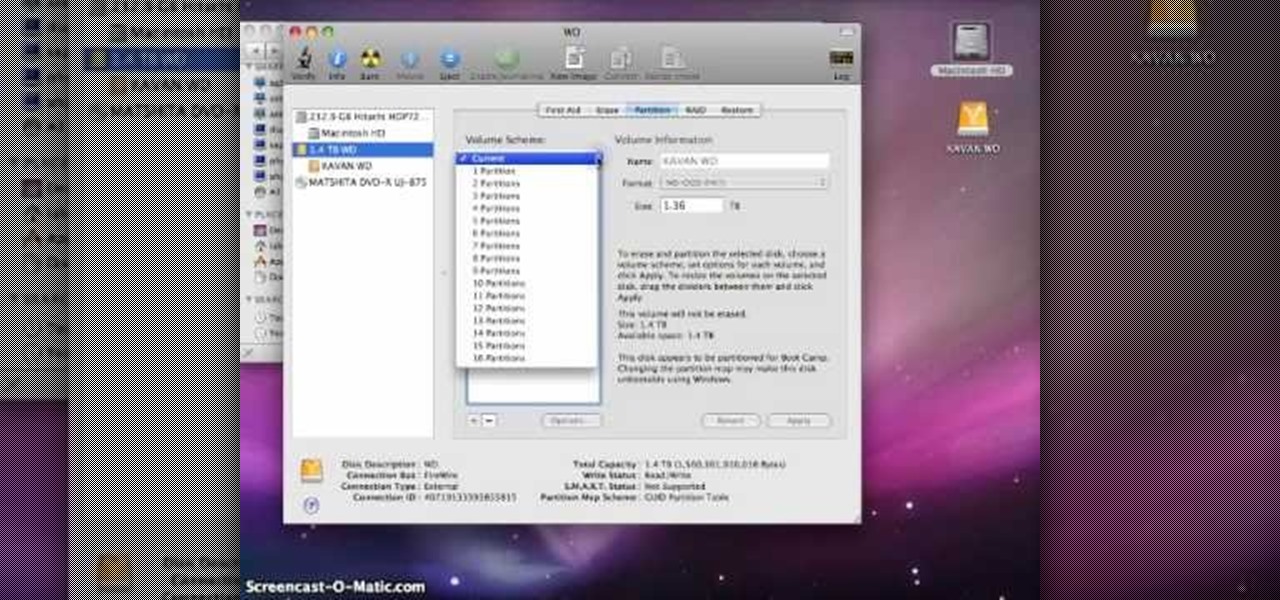
In this video tutorial, viewers learn how to partition an external hard drive on a Mac computer. Begin by open Macintosh HD. Scroll down the list on the left and click on Applications. Double-click on Utilities and select Disk Utility. Under Volume Schemes, select 2 Partitions. Select the name of the partition and choose the format that you want for the drive. Select the second partition and do the same. Now click on Apply and click on Partition. This video will benefit those viewers who use ...
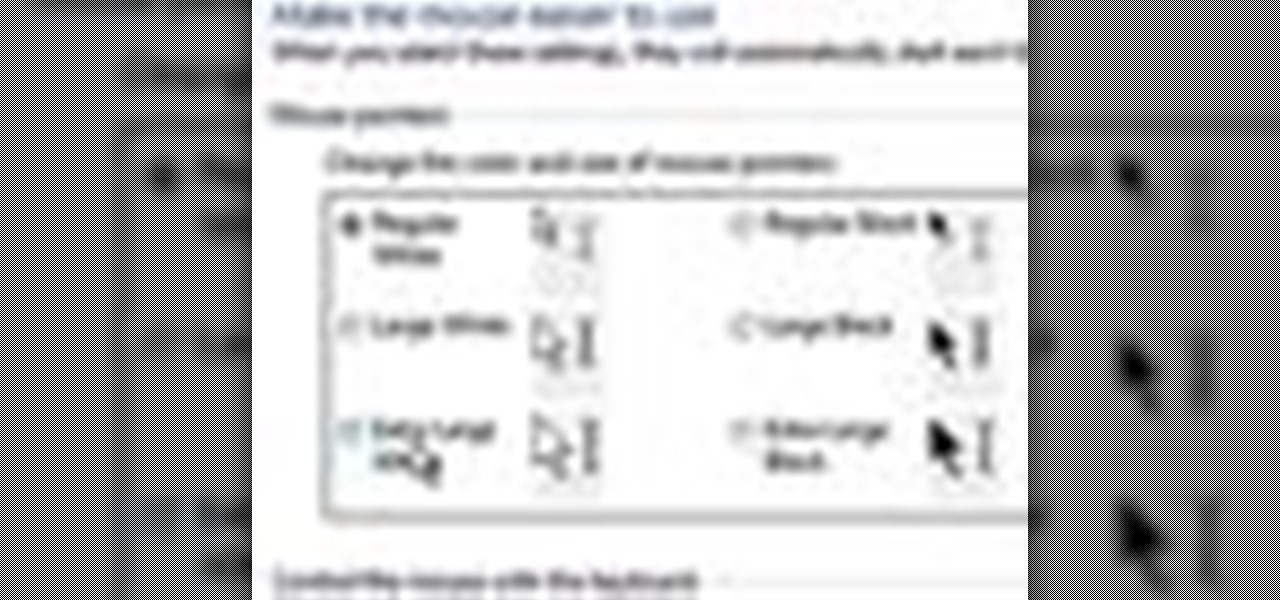
Windows 7 uses several options to make it easier to change and locate the cursor on the screen. 1) To access these options select “Start” then click on “Control panel“from the menu.
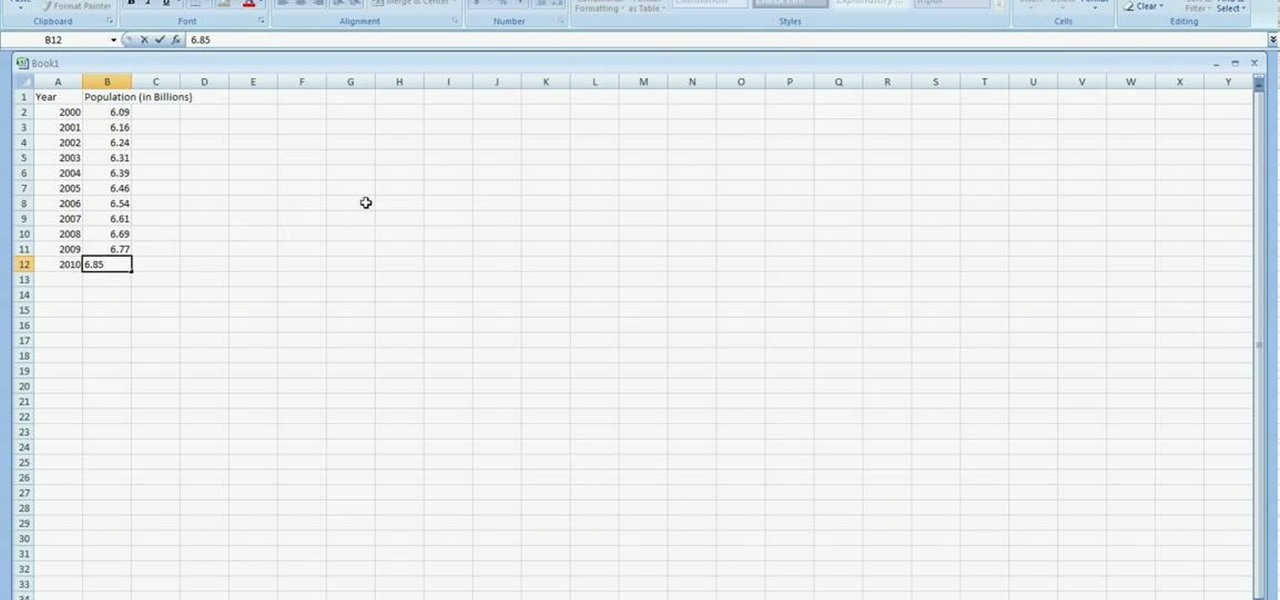
In excel a left click is made on box A1 and the X title is typed in as year. In A2 the year 2001 is typed and in A3 the year 2002. Both A2 and 3 boxes are highlighted and the bottom right hand corner is used to drag the work into a copied sequence down to A12. In B1 "population in billions" is typed. From the web site the data is copied and typed in as it appeared and the numbers are rounded off. A click is made on the "insert" tab and line is selected from the menu which appears. The upper l...
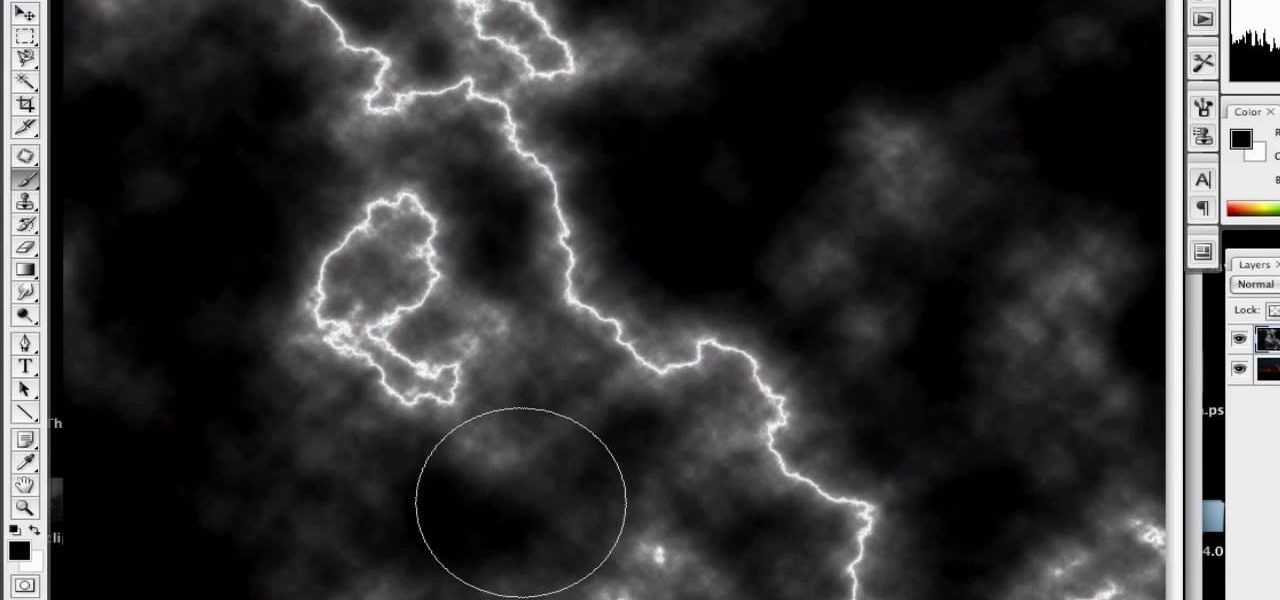
First of all open an image which shows many different lights in a night background. Now make a new layer now set the color of background to black by first and the foreground color set to white. Click the background for the bottom of the left bar and then pressing 'd'’. Next select the 'gradient' tool. Make sure to select the style from the foreground to background. Select the 'mode' to 'normal' and ‘opacity’ to '100%'. Now drag the top right hand corner to the bottom of the left hand corner. ...
This video in the Software category will show you how to remove pimples and wrinkles in Photoshop. Yanik from Yanik’s photo school presents this video. Select the photo you want to work on. First you duplicate the layer by ctrl+J or select from the dropdown menu. You start off with removing those pimples that you want to remove completely. Select the spot healing or the regular healing brush. Yanik prefers the regular healing brush. Also choose a small brush size. To select a source point, ho...
This video takes us through a process of speeding up our internet connection using OpenDNS.com. Open the webpage and go to solutions and click on the icon open the DNS page and it lists computer or router, she selects computer and list of operating system is listed, she selects vista. She goes to start and selects control panel, click on view network status and connection, in that select view status and then click on properties and on the networking page, go to internet protocol version 4 and...
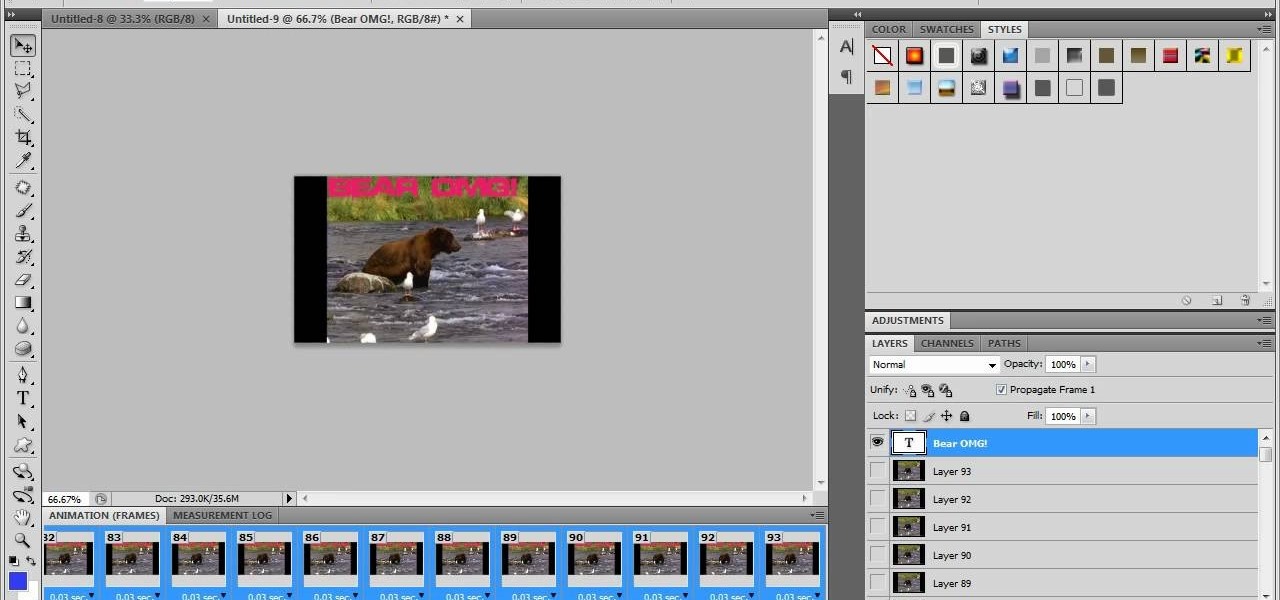
Learn how to make an animated GIF from a video clip using Adobe Photoshop CS4. You'll need to use an external editing program (like Sony Vegas) to create a small clip from your larger video beforehand. From Photoshop, go to "File" and select "Import" and then "Video Frames to Layers" from the pop-up menu and select your video clip. Choose "From Beginning to End" when prompted about range to import. The duration of the video clip will now be displayed in frames. By default, each frame is set t...
This video is from HelpVids and describes how to change the axis titles on charts in Microsoft Word 2007. To access the chart tools, select the chart and the tools will appear above the ribbon. There are many different design options that you can preview on the screen to make your final selection. To change the chart title, click on the Chart Title button which is located on the Layout ribbon. You can then select where you would like the title to appear. Once you select the location you can t...
Tasktutorial teaches you how to create a sound on/off button using Flash. Name the first layer Actionscript. Go to frame 1, then window - actions. Add stop(); Go to frame 2, then window - actions. Add stopallsounds(); Create a new layer and select the text tool. Write off on. Change the color to black. Select the text and hit CTRL + B to break apart the letters. Select off, hit F8 and select convert to button. Name it off. Do the same for on, but name it on. Double click to open the off butto...
This video will walk you through the process of creating your very own icon to use for your email by using Adobe Photoshop. Photoshop is a great tool to use for a variety of purposes and in this instance can make the perfect icon in just minutes.
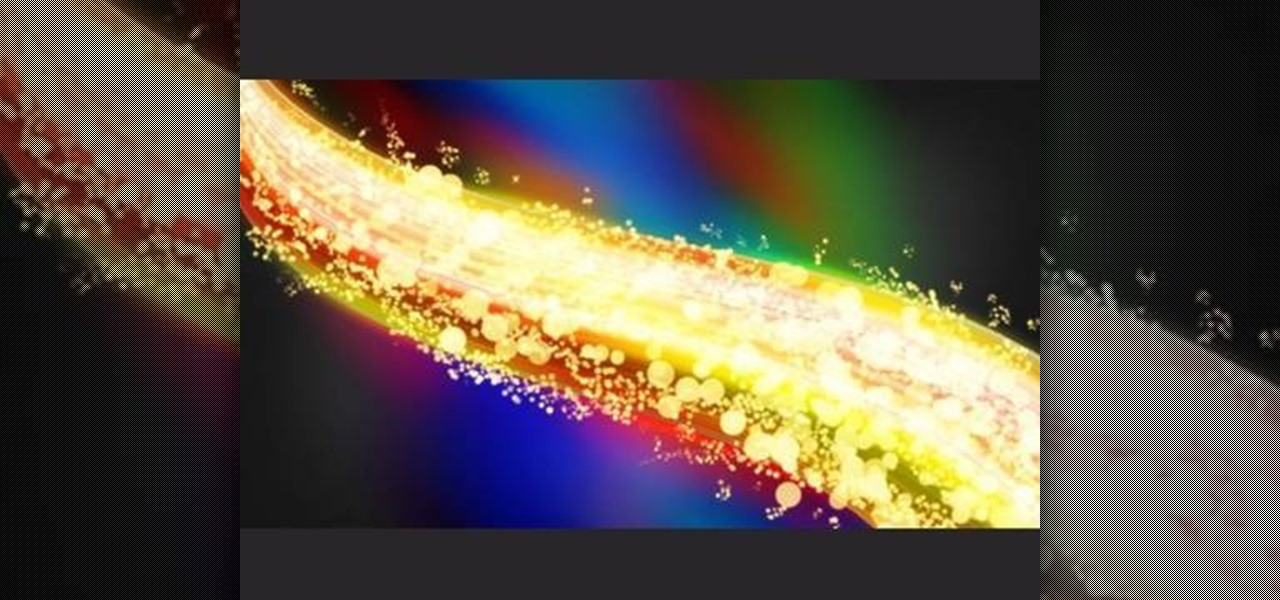
This video will help you learn how to create an Explosive rainbow color swath in Photoshop. First open a new file, keep the width 845, height 475, RGB color mode and white background.
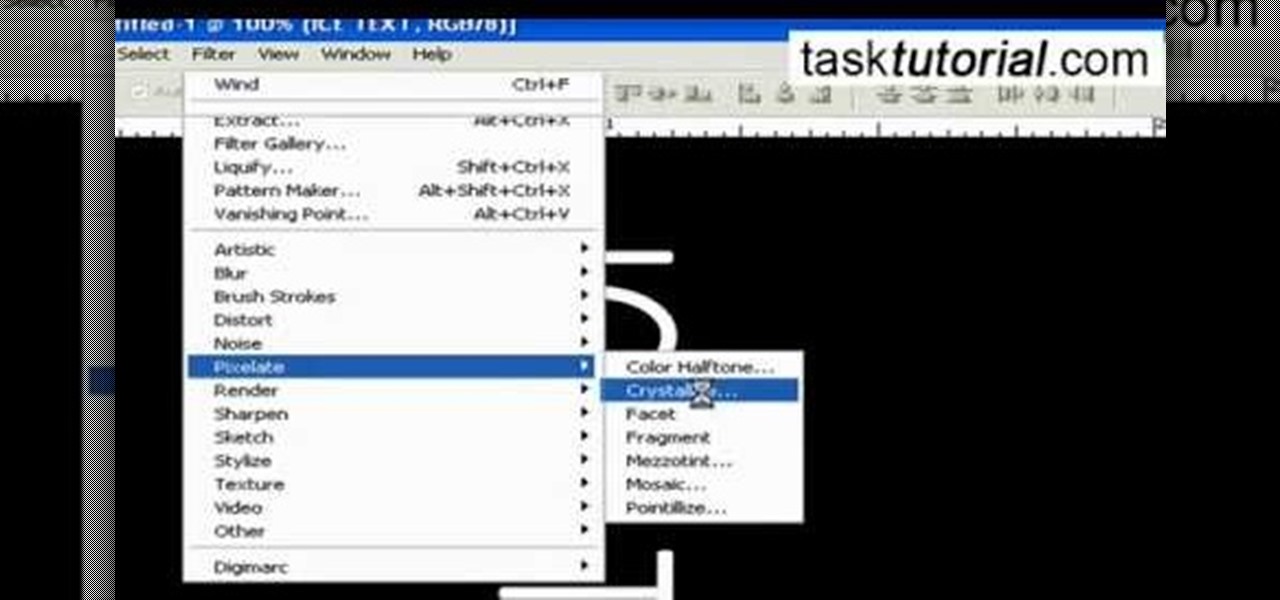
It is a tutorial that how to make an ice text effect on Photoshop. First create a new layer select paint bucket tool switch black color and paint the layer now create an other layer, choose type tool then switch the white color and create a text "ice text" after go to layer pallet merge the layers after that again create another layer select paint bucket tool and select black color now select ice text layer then go to image menu rotate canvas click clock wise then go to filter choose crystall...
Wait, a query within a query? This function is possible within the framework of MySQL. Learn how to correctly implement a subquery or sub select in your next database project and avoid a couple perils that will make your program unstable.
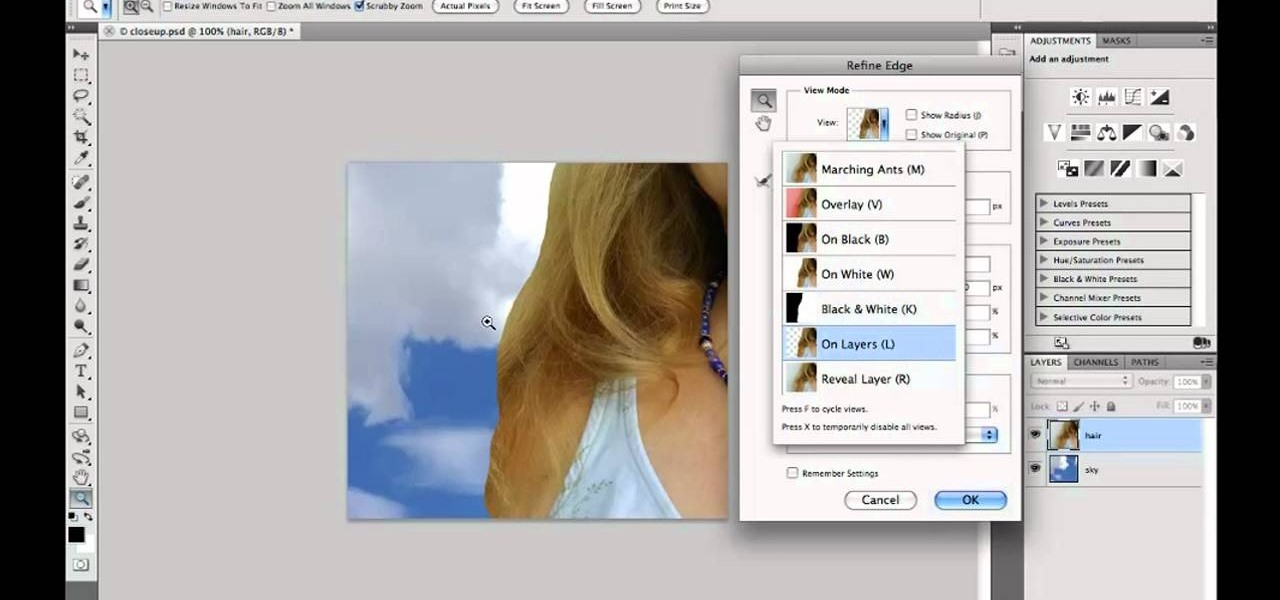
Want to know how to make clean hair selections when working in Adobe Photoshop CS5? It's easy. And this clip will show you precisely how it's done. Whether you're new to Adobe's popular raster graphics editor or a seasoned designer looking to better acquaint yourself with the new features and functions of the latest iteration of the application, you're sure to benefit from this free software tutorial. For more information, watch this video guide.
This video tutorial is in the Computers & Programming category where you will learn how to use caret browsing. Caret browsing is a method of selecting text on any web page. You can activate caret browsing by pressing the f7 button on your computer. It is available in Internet Explorer and Firefox browsers. Normally, for selecting text on a web page, you highlight the text by clicking and dragging the cursor and then you can copy and paste it in to a text editor. While doing this, if there are...
In this video tutorial, viewers learn how to save and swap icons on a Mac OS X computer. Begin by selecting the application that you want to get the icon from, and copy it. Then open preview, go to the File menu and click on "Create new clipboard". Users are also able to apply the icons on other applications or drives. After you have copied the desired icon, select the application with the icon that you want to replace, press the Command and I buttons, select the icon and paste the copied ico...
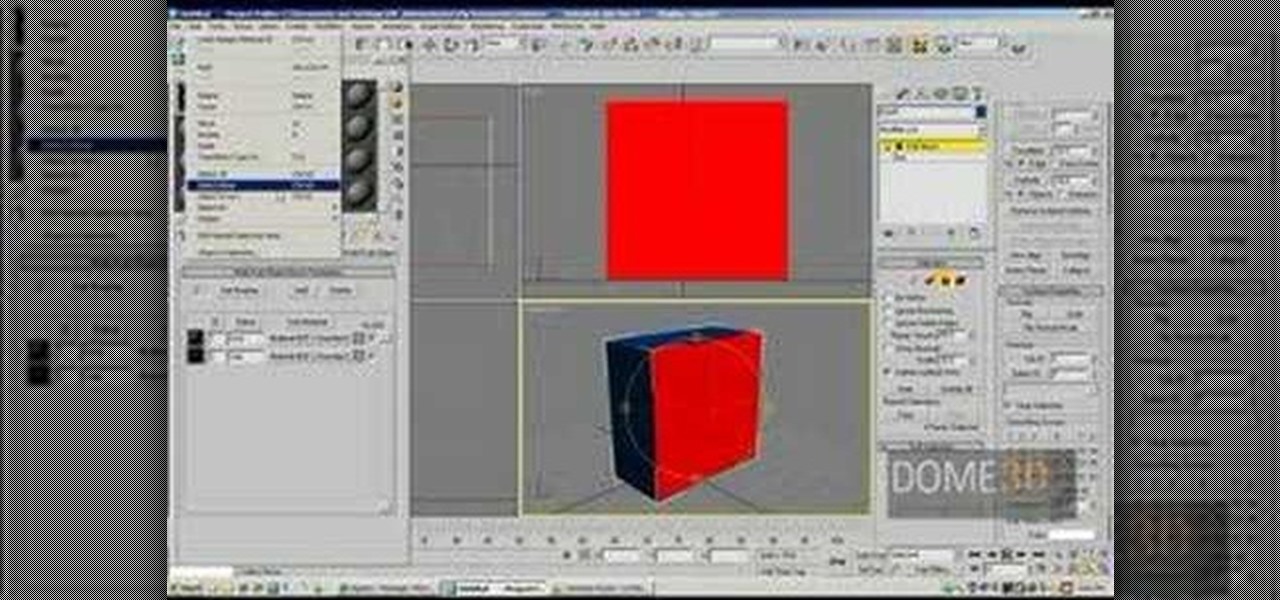
This video tutorial is in the Software category which will show you how to map multi-sub objects in 3D Studio Max. What this means is you can apply two textures to a single 3D object. First you select the 3D object, say a box and go to editor > standard > multi sub-object > OK. Now change the number of materials from 10 to 2 and follow through the next steps to select the two textures. Then go to modify panel > edit mash. Select polygons, and apply the texture to the front of the box, move ar...
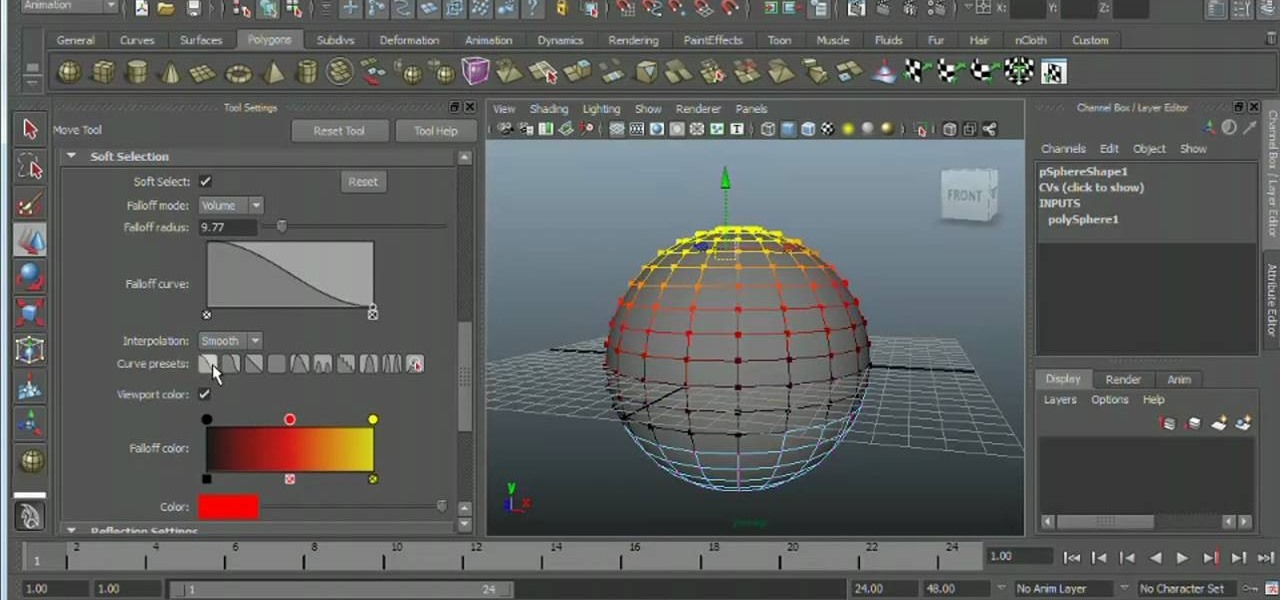
Want to know how to do proportional modeling when working in Maya 2011? This clip will you how to do just that using the program's Soft Select tool. Whether you're new to Autodesk's popular modeling software or a seasoned 3D artist just looking to better acquaint yourself with the Maya 2011 workflow, you're sure to be well served by this video tutorial. For specifics, watch this free video guide.
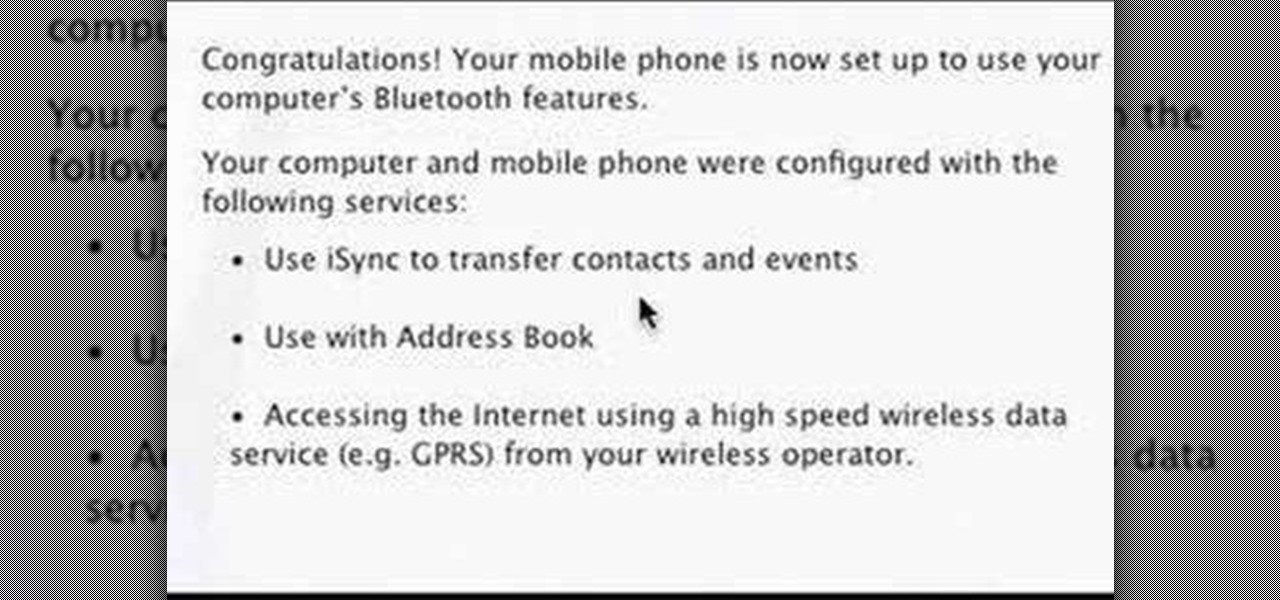
In this video you will learn how to setup a Bluetooth mobile phone in OS X. To do this go at system preferences select Bluetooth click on Discoverable, Open Bluetooth Setup Assistance and Show Bluetooth Status in the menu. Then click Sharing and mark all the options. Now go at devices, select set up new device, mark mobile phone, click continue, wait until the device will find your mobile device, click continue and you will get a pass key. Enter that passkey. A window will pop-up where you ca...
In this video, Sierra Snowboard gives us some tips on how to select the snowboard that's right for you. Each board comes in a number of different sizes, and most boards come with a size chart specific for that board. These charts can be vague, but are good starting points for selecting your size. One thing to consider is your bossy type. The weight of the rider is the primary factor in selecting the size of a snowboard. You'll notice that the height of a rider is not listed on a size chart. I...
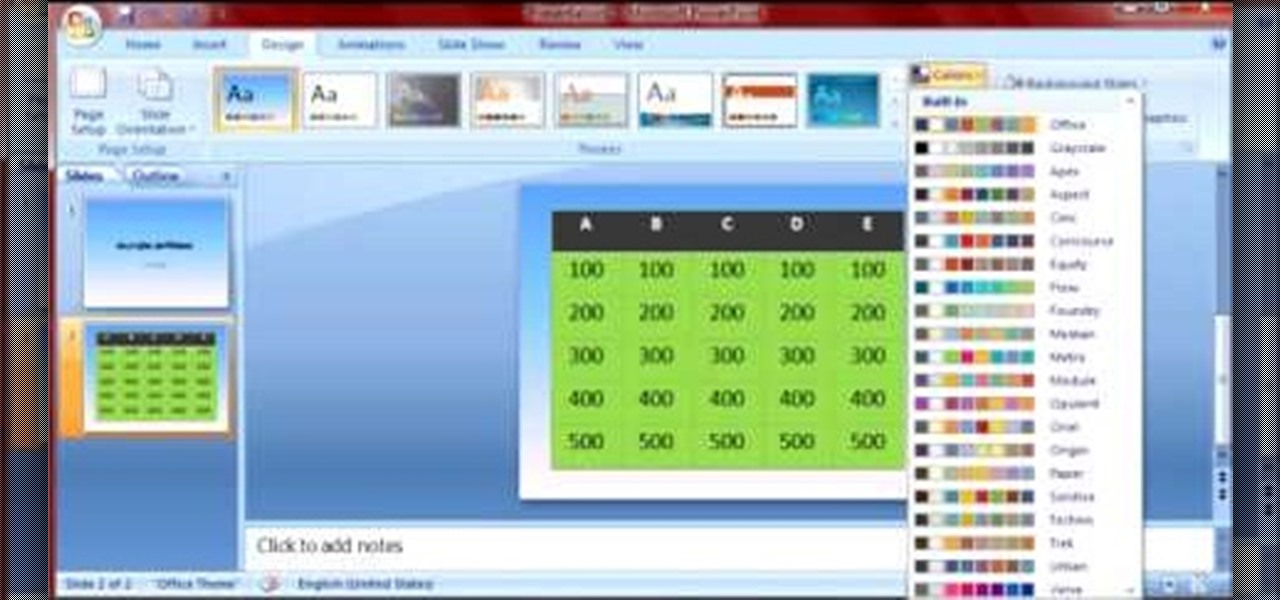
Microsoft PowerPoint is a powerful software to make presentations. It can also be used to make a Jeopardy board. To do this open a new PowerPoint presentation. Start with a title layout. Now add a gradient to its background. To do it right click on it and select the fill option from the menu. Select the color of you choice and fill the background. Now add the title in the layout with suitable fonts. Now add a new slide and insert a 5 X 6 table to it. Format the table with colors of your choic...