A common problem on bumper covers is that the tabs that attach the bumper to the car get broken. This is critical, as this is what secures and aligns the bumper cover. Many times, a broken tab is all that is wrong with the bumper cover. With the cost of these plastic parts $200 to $700, the replacement cost can break the bank.

Kristen Stewart is a well known tomboy who really doesn't care whether she's wearing Chanel or Target when she's out and about. But the sister knows how to glam it up big time on the red carpet and for photo shoots, where she brings out her hidden sultry, feminine side.
Scrabble isn't just for playing Scrabble anymore— there's a whole world of uses for the game and its pieces. One particular use is in jewelry— those Scrabble letter tiles are the perfect size for creating DIY pendants!
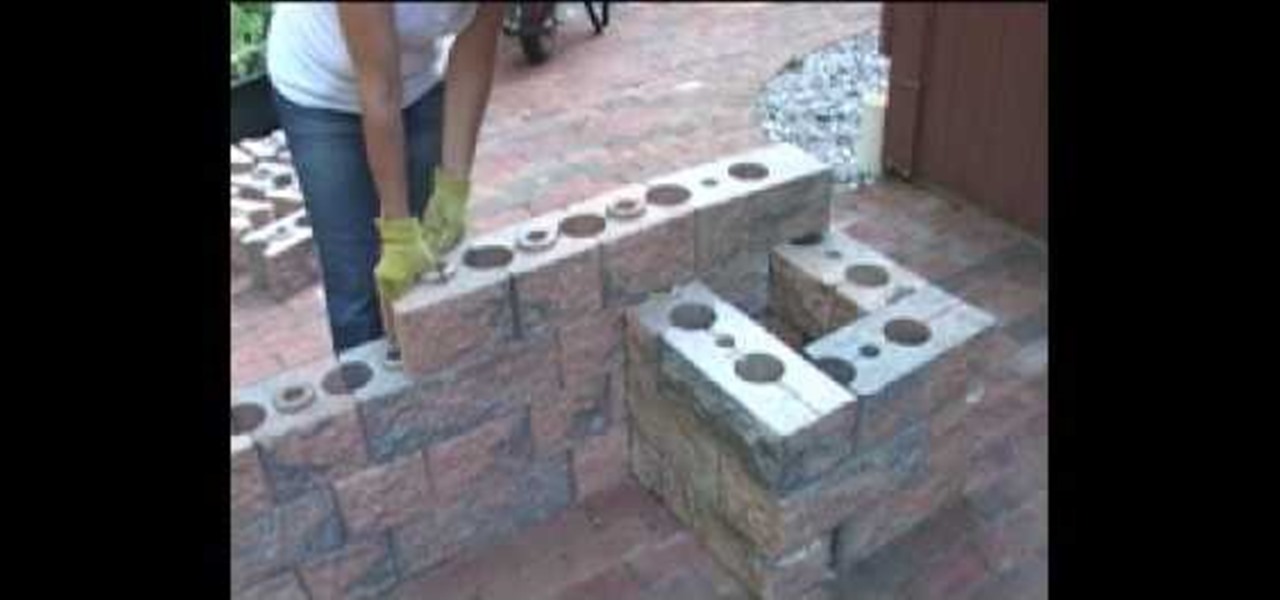
This is a video tutorial describing how to build an outdoor couch for your porch. First measure out where you want to put your outdoor couch onto your porch. Then start building the first post. You should use concrete block to build this post. Then build out from the post the back wall of the couch with more concrete blocks. Then build the other post. Then stack the second course onto the first course. Then add the third course to the top of the second course. If you want then you can add a f...
Traditional makeup is too boring for special occasions, so why not try something a little more fun to ring in the new year? This how-to video goes through the intensive process of applying a vibrantly colorful and ornate harlequin mask, using just makeup. The cosmetic products used to create this look are N.Y.C Yellow Concealer, Clinique Super Powder Double Face Make Up # 10 Matte Medium, N.Y.C Black Pencil Eye Liner, Graftobian Crème Foundation Yellow, Graftobian Crème Foundation #89092 Augu...
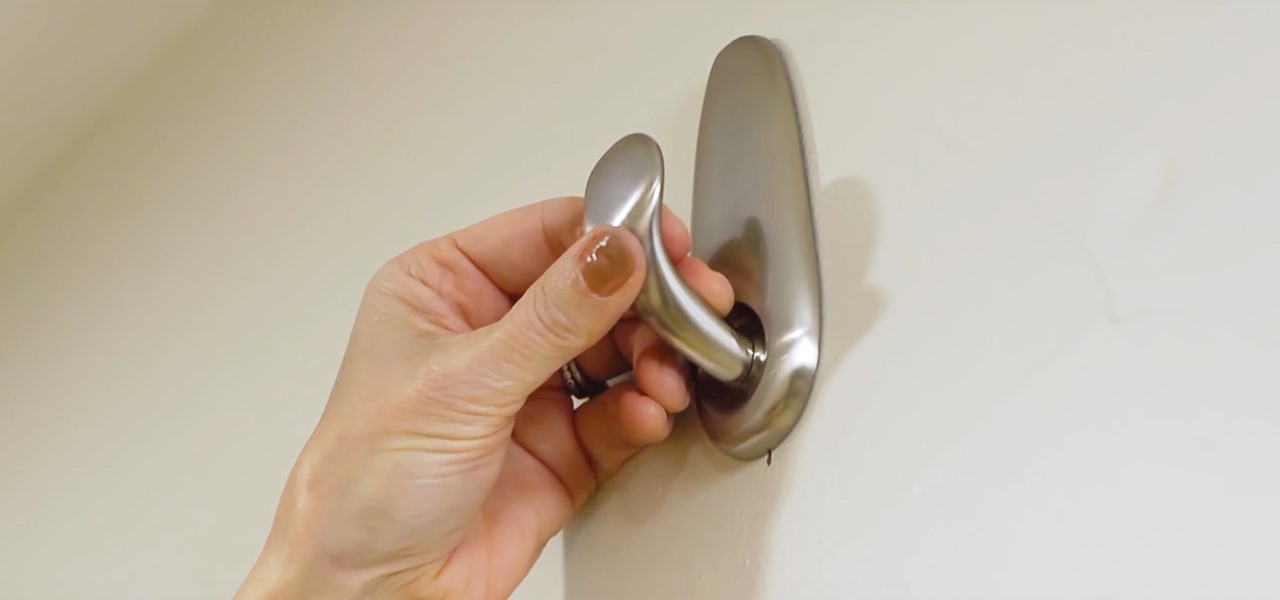
For anyone who lives in a space that may frown upon making holes in the walls, or for anyone who may not want to take on such a task, there's a simple alternative to hanging curtains or drapes. And the answer is brilliantly simple.

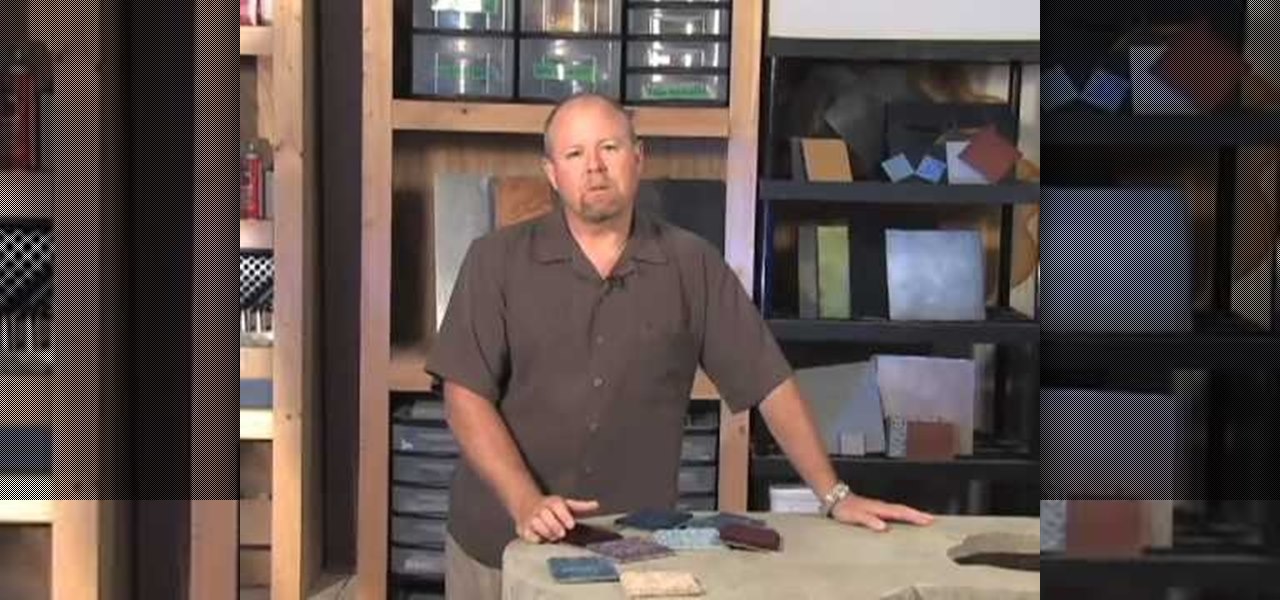
To tile with large format and natural stone tiles onto walls you must first make sure the walls are flat, clean, dry, and free of any dust, dirt, oil, grease, and any other loose material. Ensure that surfaces are suitable and prepared as advised. Then use the Dunlop Universal Bonding Agent where you will be applying the tile. For gypsum plaster and gypsum plasterboard, apply two coats of Dunlop Universal Bonding Agent, diluted with one part bonding agent, two parts water. Then allow primer t...
This video shows the method to use glue-in bails and caps and Morano glass bead to make a simple Christmas tree ornament. Apply adhesive to the post on the glue-in cap. Apply enough adhesive so that the cap makes good contact with the Morano bead and does not ooze out from the sides. Insert the cap into the Morano glass bead and put it upright until adhesive sets on the bead. Put adhesive to the post on the bail. Put it into the bead and leave the adhesive to set. Put the ribbon through the b...
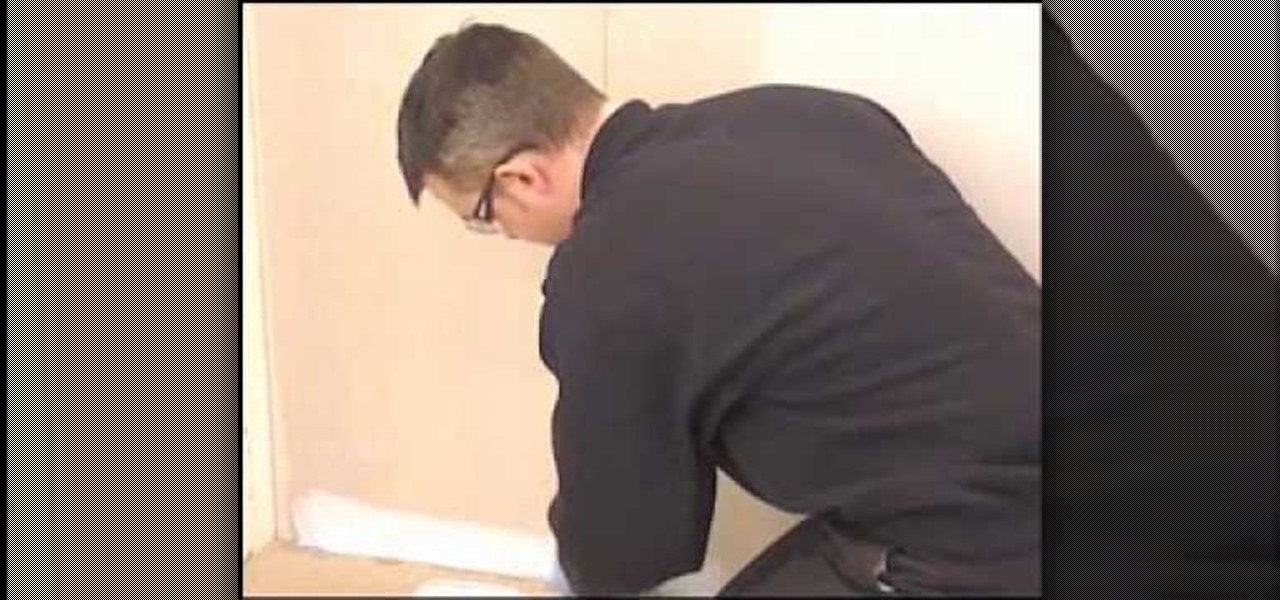
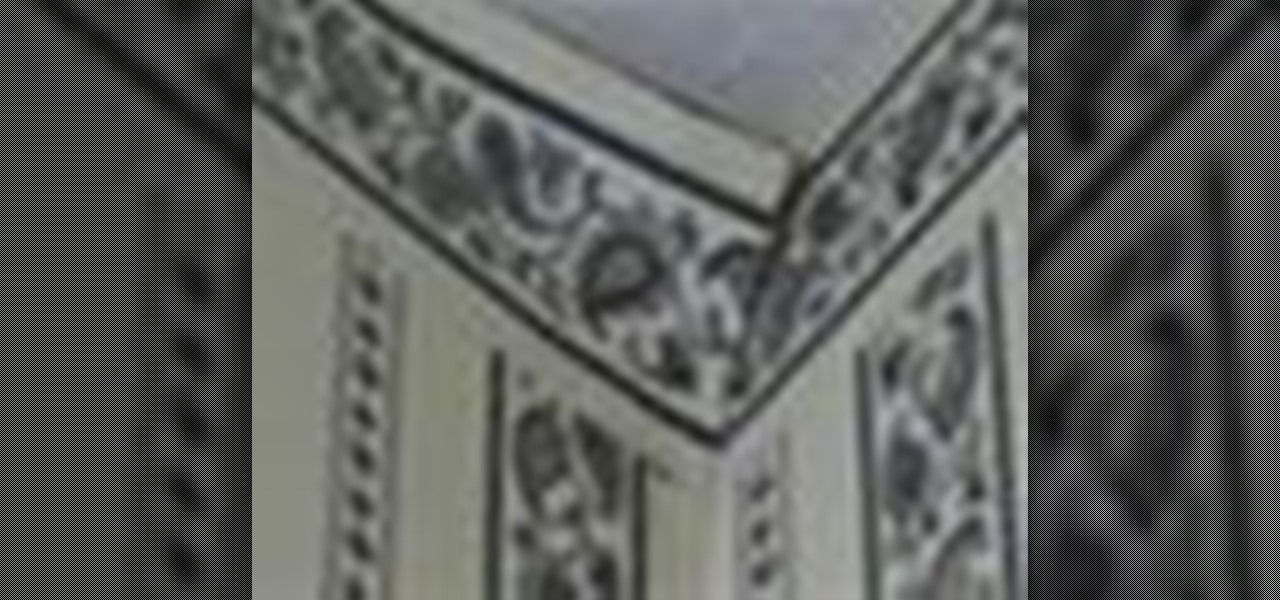
Some people hate wallpaper, but some people love it inside their homes. Those that do will eventually have to deal with wallpaper that will lose it's attachment. It will eventually bubble and curl. Curling wallpaper seams ruin the decorative effect of wallpaper. Eliminate the ugly signs of aging wallpaper with these steps.
In order to make a photo album with a paper bag, you will need the following: a bone folder, paper bags, decorative paper, hole punch, matte board, adhesive, and paper fasteners.
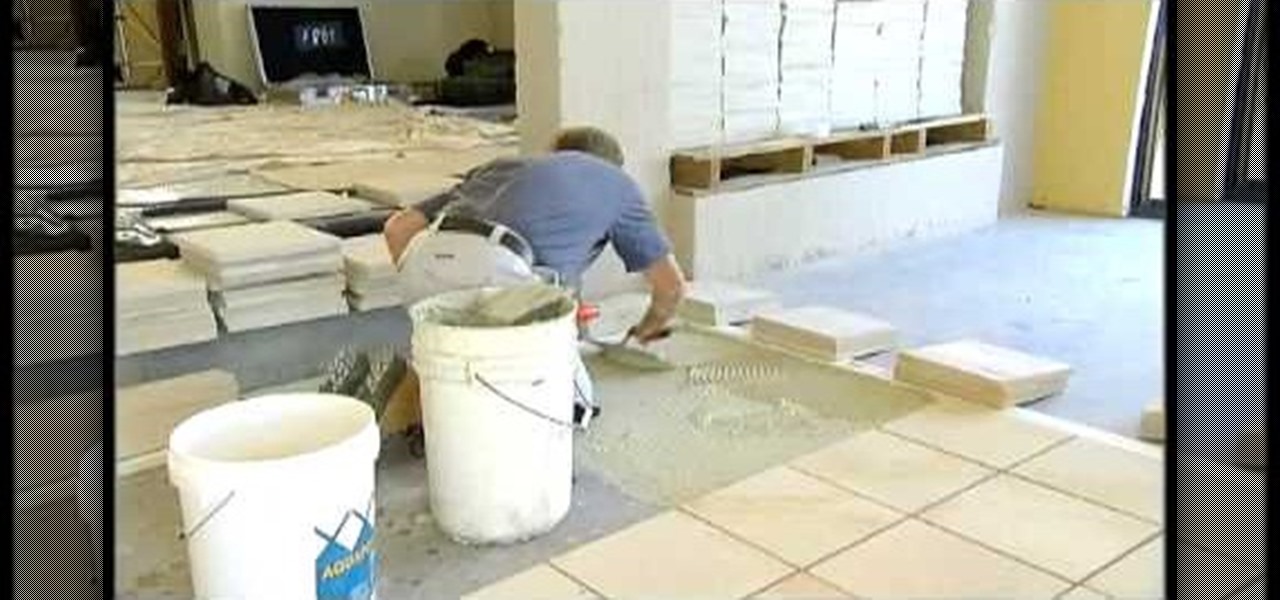
This video will describe the process of installing ceramic tile. The pro tilers suggest that you start with a very small area to put down the tile adhesive. Do not cover the entire area with adhesive and then start laying tile. Starting out one or two rows at a time will suffice. They stress there is no reason to rush a tiling job. You can certainly lay tile too fast, but if you only put down limited adhesive there is no way you can lay tile too slow. The lesson in this video is to take it sl...
In this video, we learn how to install tile in your home using SimpleMat. SimpleMat is a double sided adhesive mat that is designed to set tile on an existing counter top. Adding tile is a very easy way to add value to your home or give it a quick face lift. To apply, first remove the back of the adhesive, then apply it to the surface. Next, you will remove the protective tile and you can start to lay down your tile to the adhesive. Press it down where you want them and adjust them if needed....
In order to make a Christmas pedestal/easel card, you will need the following: Cricut Storybook cartridge, ribbon, Beyond Birthdays, glue pen, glitter, and adhesive.
In order to make Matchbox Mini Chocolate Bar Holders with Cricut, you will need the following: Tag Bags Boxes & More cartridge, card stock, a bone folder, two sided tape, a cuddlebug, Stampin' Up stamps, ink pad, ribbon, a circle hole punch, and adhesive.
In order to make a pocket card out of an envelope, you will need the following: a used envelope, printed paper, adhesive, card stock, paper cutter, cuddle bug, an ink pad, stamps, markers, and crystals.
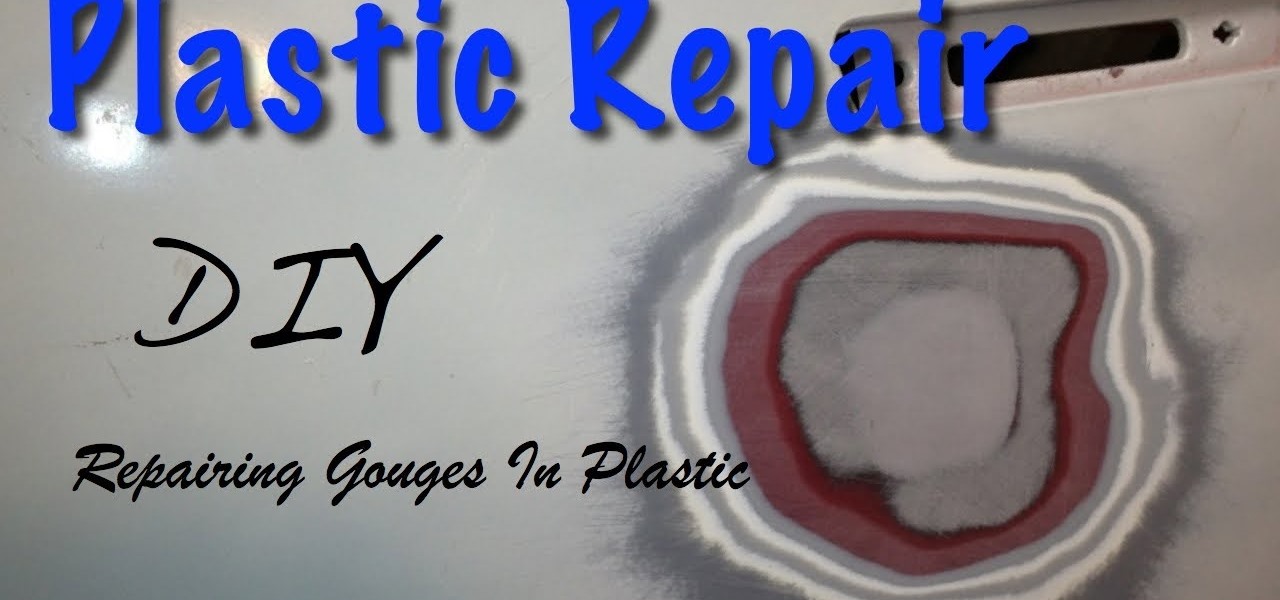
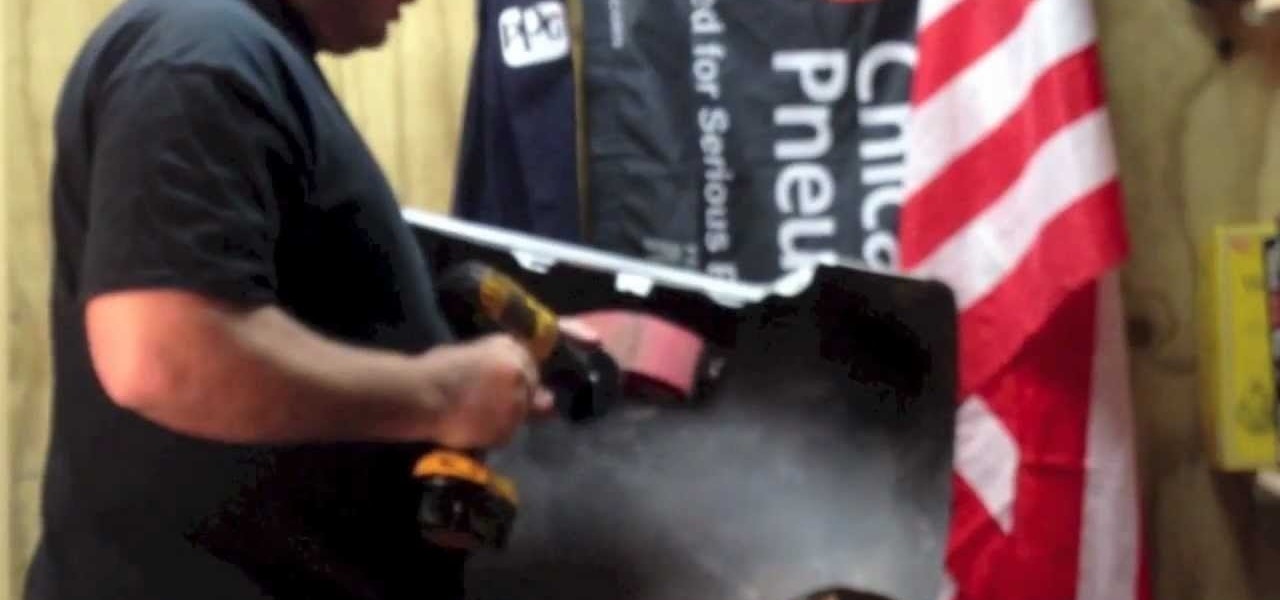
If you are wanting to learn how to perform small repairs to your car, then plastic repair is something you need to learn how to do. Cars are using more plastic now than ever before. With car required to increase fuel mileage, I don't see the use of plastic going away.
Each year, Apple seems to design its devices to be more difficult for owners to repair themselves. So when an iPhone breaks, a trip to the Genius Bar or an Apple Authorized Service Provider is most likely necessary. But if you have an iPhone X that needs a new battery, a leaked video just spilled the beans on how to replace the battery precisely as Apple would.
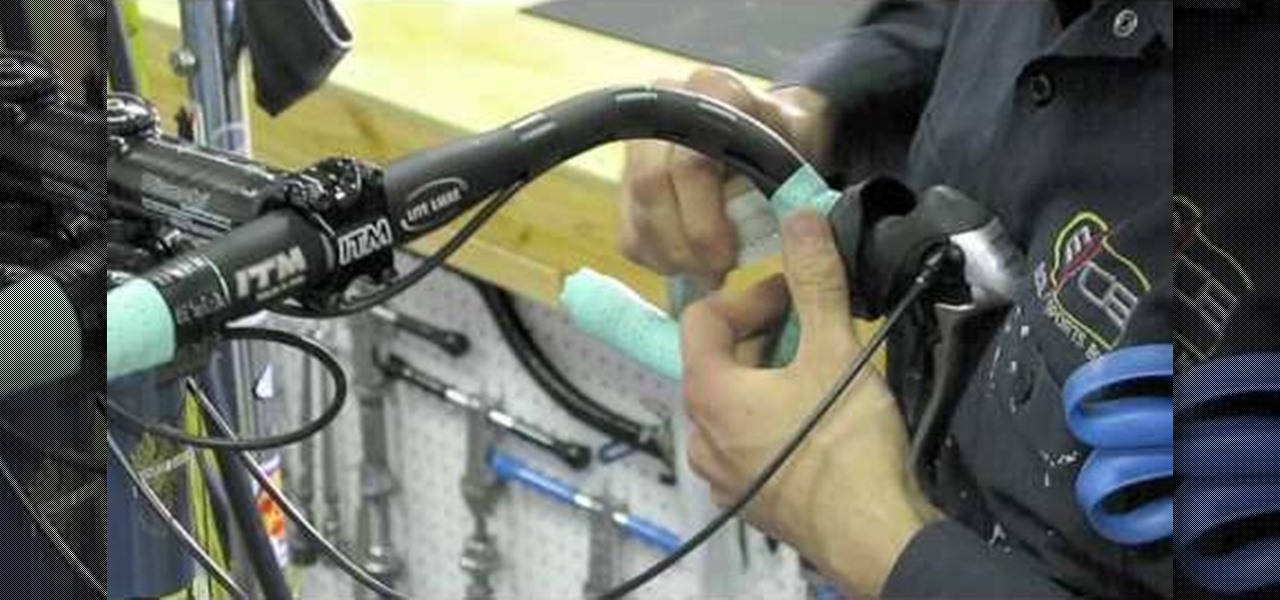
In this video we learn how to wrap handlebars. First, open up the tape and remove the adhesive. Place the tape on the bar and then tuck in one half as you work your way up the bar. The adhesive should be on the bars and there should be tension on them so they lay flat. Once you finish wrapping this, make sure they are tight and secure. Check your work to make sure you didn't leave any gaps and the curve is smooth. Don't pull too hard if you are working with cork tape, this will cause damage t...
In order to make hot cocoa holders with Stampin' Up, you'll need the following: a whisper white Stampin' Up envelope, scissors, a paper cutter, cocoa, a jumbo wheel, ink pad, adhesive, stamps, ribbon, pen, stapler, glitter, and card stock.
You will need the following materials: a Green Galore #101768, cut at 4 1/4" by 11' scored at 5 1/2", a piece of Whisper White #100730 cut at 2 1/2" by 1/4", Real Red #102482 cut at 2 3/4" by 1/2", a piece of Whisper White for the door to release the treats from the card, cut at 2" by 2/12", a strip of Real Red cut at 1" by 5 1/2" and a circle of Green Galore with a 1 3/8" circle punch #104401. First use the larger piece of white and the stamp set #120780. Use the clear block #118485 and Gree...
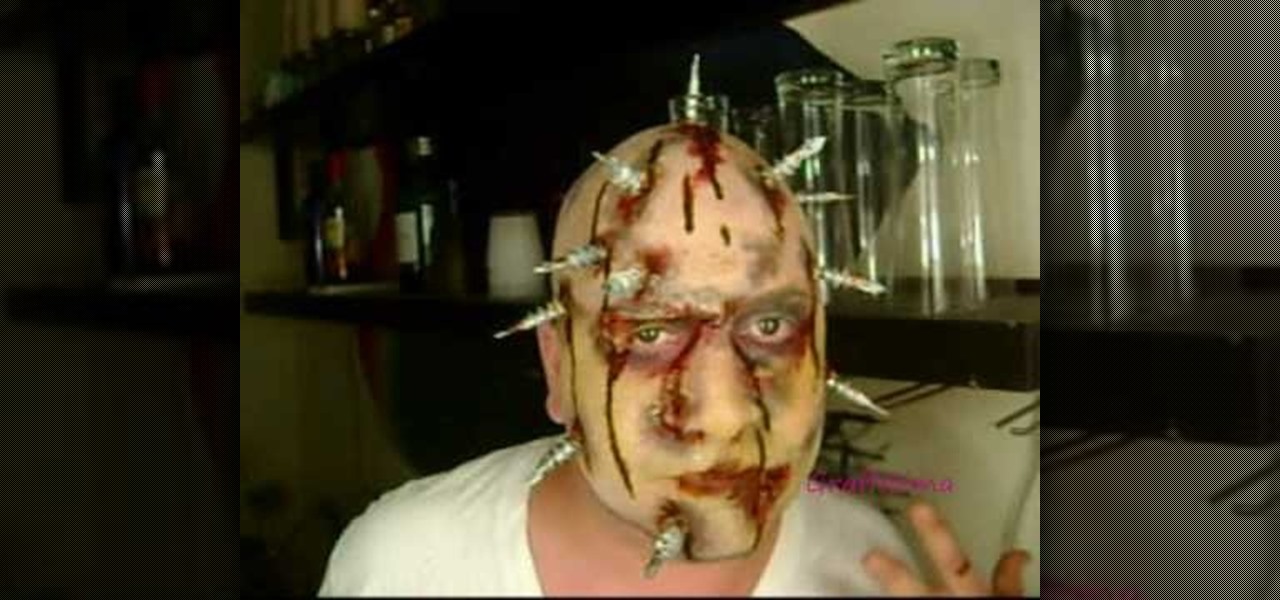
This fantastic Halloween special effect makeup tutorial teaches you how to create a bloody bolt look using mostly MAC products. The artists teaches you how to create texture and create a distressed look with the base and color makeup. He applies the adhesive and attached the scar effects and adds the "bolt props" with the adhesive. He uses a purple and yellow pigments to distress the skin further. He then takes fire red to create the blood. He also shows you how to make realistic blood with s...
Danny Lipford and Allen Lyle demonstrate how to turn an old door into a desk. First, remove the door hinges. Then, fill the biggest part of the voided hardware holes with wood and seal them with bonding adhesive. Don't leave too much excess bonding adhesive on the door or else you'll have to sand it off once it's dried. You may need at least two coats of bonding adhesive to get the surface level. Cut wood for the sides of the desk and then run them over a router. Sand down the door and the ne...
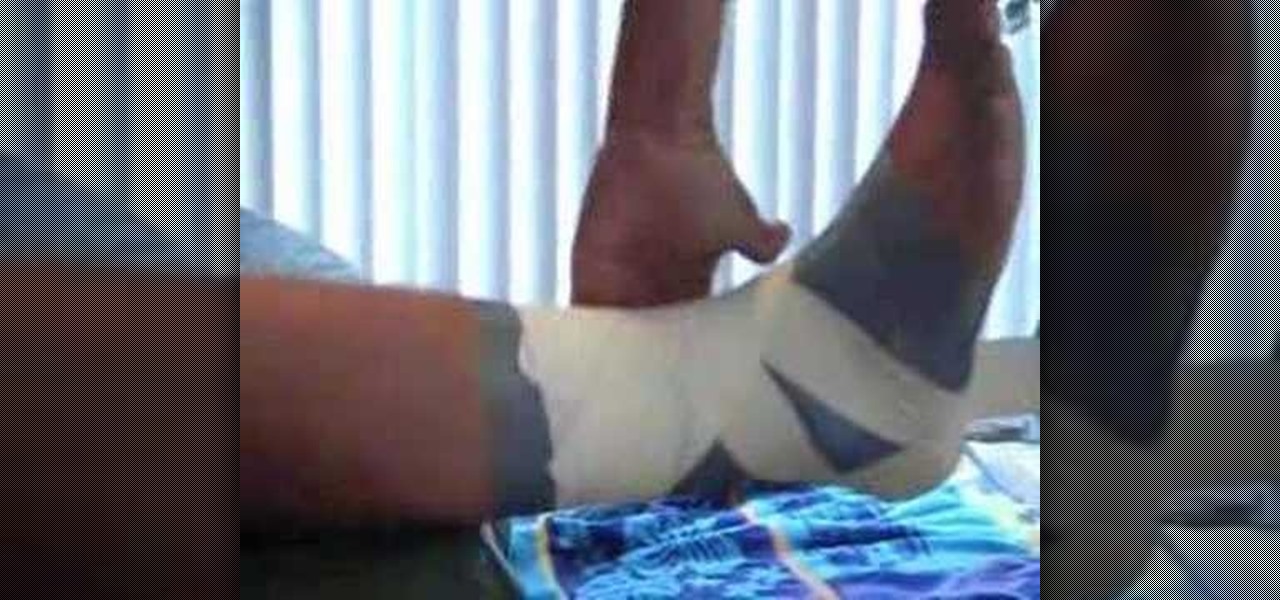
Use tough skin spray adhesive, under wrap or pre-wrap, athletic tape to wrap an ankle. Position ankle in 90 degrees of dorsal flexion. Spray the adhesive to insure tight taping. Heel and lace pads are placed over tendons. Pre-wrap is applied, the goal here is to apply anchors so adhesive from tough skin will adhere to tape. Three layers are applied working towards the calf. Apply heel lock tape from the calf towards the heel, applying tension as you cross the bend in the ankle. The correct lo...
In this how to video, you will learn how to make a mini milk carton bird house. You will need a mini milk carton dye for this. Use the template to fold the paper. There will be score lines to help you with the folding. Once this is done, fold in the paper and take a punch to create a hole in the paper. Punch another hole in the paper. Next, apply adhesive to the two sides. Once this is done, fold the paper up along the lines to create the basic shape of the bird house. Next, take the green pa...
This video demonstrates how to make your own Greeting Cards at home. You will need the following: water color paint in bottles with sponge tip applicators and spray, ruler, adhesive, solid color paper stocks, patterned paper, a rubber stamp, stamp cleaning products, a bone folder, and a trimmer.
Nuts and Bolts present how to lay a west Australian natural stone. When beginning the laying of any tile or stone, it is very important to make sure the first stone is perfectly straight. So, the first step is to measure from two walls and get the dead center of the room. They use a straight edge to make sure the tile is laid straight. Then, they cover the floor with a light adhesive to ensure the placement of the tile. He uses a saw with a guide to make sure all his cuts are straight. He lay...
This tutorial describes how to make a Hershey Kiss holder. This is a quick and easy project that you can make to use as little gifts in your kids' lunches, for co-workers, party favors, place-holders at holiday meals and more.
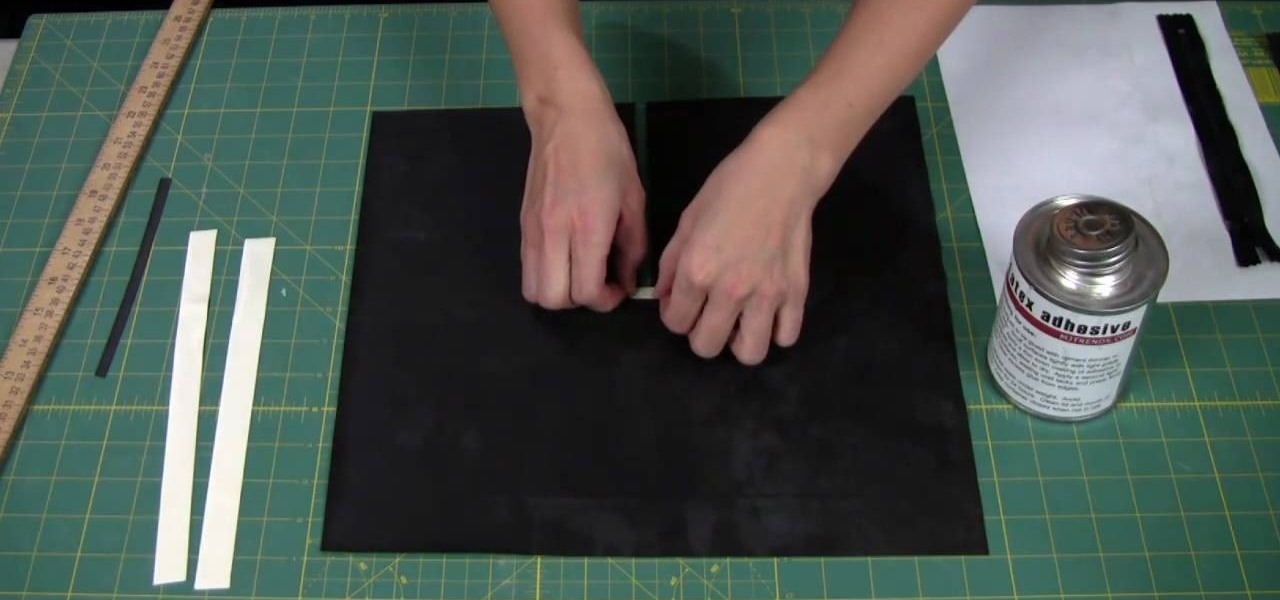
In this video, we learn how to add a zipper to a latex garment. First, apply glue to the zipper, using an ammonia based adhesive in one coat. Next, take a small paint brush from any store and apply a thin layer of adhesive to the zipper. The top will take about 45 minutes to dry, then turn it over and apply another layer of glue to the back. After this, cut two 1/2" strips of latex a little bit longer than the zippers. Also cut a 1/4" wide and 1" long piece of latex as well. Now, apply these ...
In order to make a scallop square card with Stampin' Up, you will need the following: a big shot, a large scallop square # 115950 Bigz Clear die, stamps, adhesive, design paper, mini glue dots, decorative ornaments, and card stock.
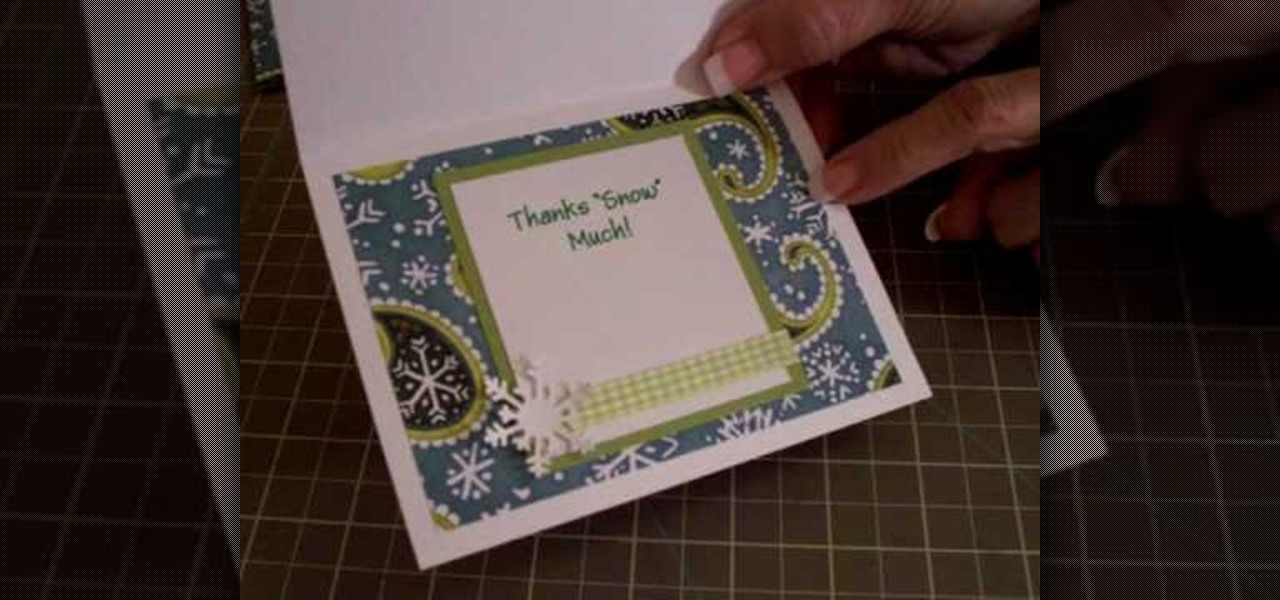
In order to make a thank you card for Christmas gifts, you will need the following: Winter Woodland cartridge, glimmer misty, pop dots, adhesive, gingham ribbon, and pattern paper.
In this tutorial, we learn how to make a paper flower using paper scraps. To make this, you will need: 3 pieces of small pink scrap paper, 1 piece of small green scrap paper, 1/16" brad, adhesive, hole punch, ink, and a sponge. First, you will draw one different size circle on the 3 sheets of pink paper. Next, draw leaves onto the green scrap paper. Now, start tearing the shapes out of the paper leaving no pencil showing. Crumple the paper up several times, then get your ink and put it on you...
In this tutorial, we learn how to make a scrapbook shaker box at home. You will need: square card stock shape, another square card stock shape with a hole in the middle, and a piece of acrylic. First, place the acrylic along the piece of card stock with a hole on it and glue them down together on all four sides. Next, attach a journal entry to the center of the other card stock square. Now, line adhesive to the acrylic piece on three sides and stick the card stock to the adhesive. You can now...
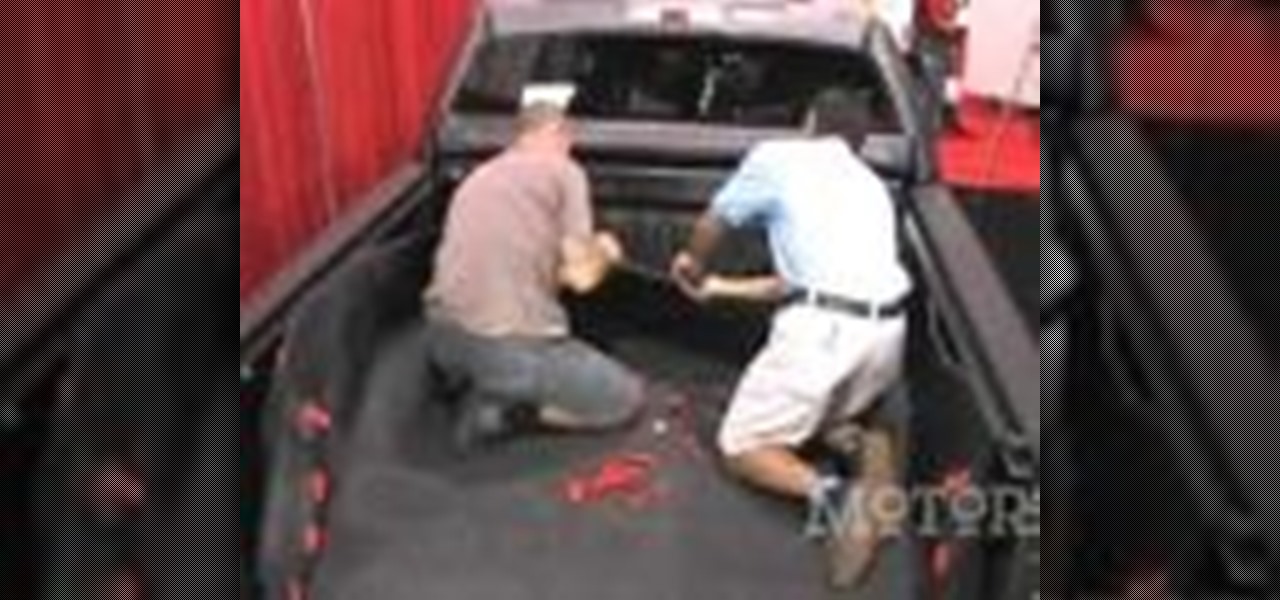
In order to install a BedRug pickup truck bedliner, you will need the following: a BedRug, Rubbing alcohol, and cloth rags.
Bob Harris of decorative concrete institute explains how you can remove your tiled or carpeted flooring for a concrete substitute. He suggests when your removing carpeting that it can be very heavy and advises you to hire someone who can lift and carry it out, or rent a dumpster for easy take away. He states that after the carpet is removed you'll need to remove the adhesive from the floor. You can do this by stripping or grinding, and at other times the use of harsh chemicals may be needed. ...
Terri Sproul shows how to use a really cool technique to make an embellishment for a card. You first need to find a roll of aluminum that is self adhesive. Work on the back of the aluminum, the side with the adhesive. Use a stamp to lay out your design on the back, by stamping the image on the back. Then you must trace the outside of the image. Use alcohol inks to add color to the aluminum. Then she cuts the image out with her scissors. Then she uses a glue dot to place the piece on a card sh...
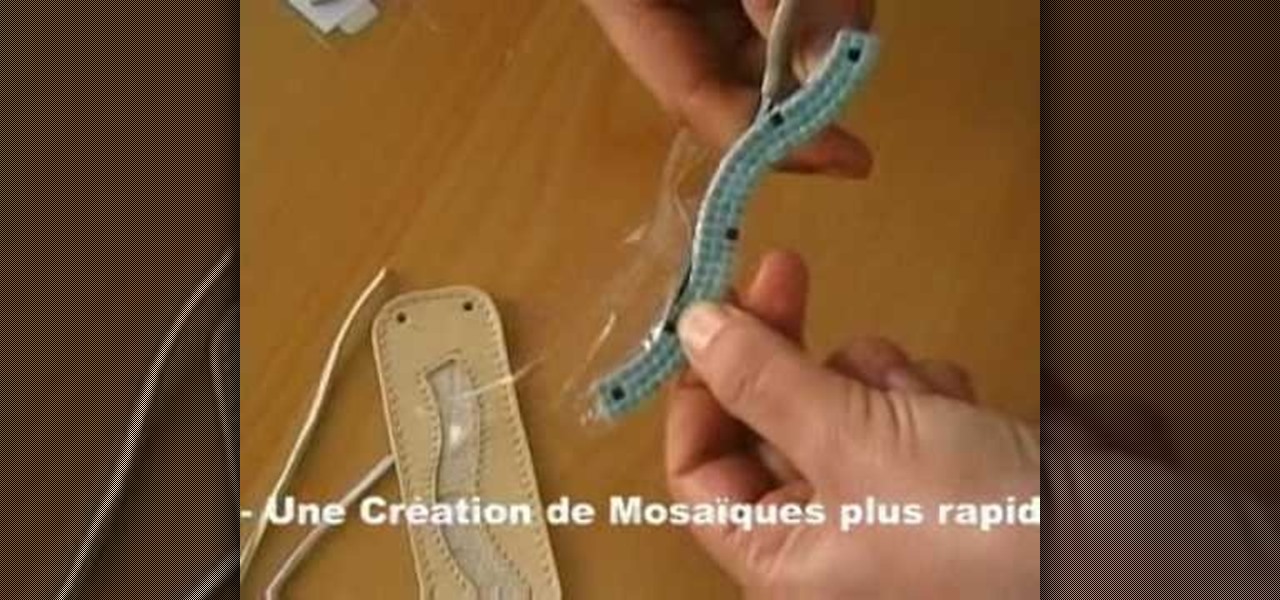
Alea Mosaic shows you how create a beautiful stone-inlaid jewelry bracelet. This video clearly and concisely lays out the steps. First, you affix a pattern underneath clear adhesive foil. Next, you peel the the cover off to expose the adhesive. You then place the stones according to the pattern, and fix a transparent foil on top. Once that is done, trim the plastic from around the stones. Then, you apply glue to the bracelet base, then place the stones inside.
Here is a short tutorial for those of who wanting to build miniature scenery using a structure of layered foam. The adhesive not mentioned in the video is PL 300 foam. However, you can use any type of adhesive as long as its foam friendly. This two part instructional video provides easy and satisfying method of building miniature landscapes fro train sets, architectural models, and dioramas.
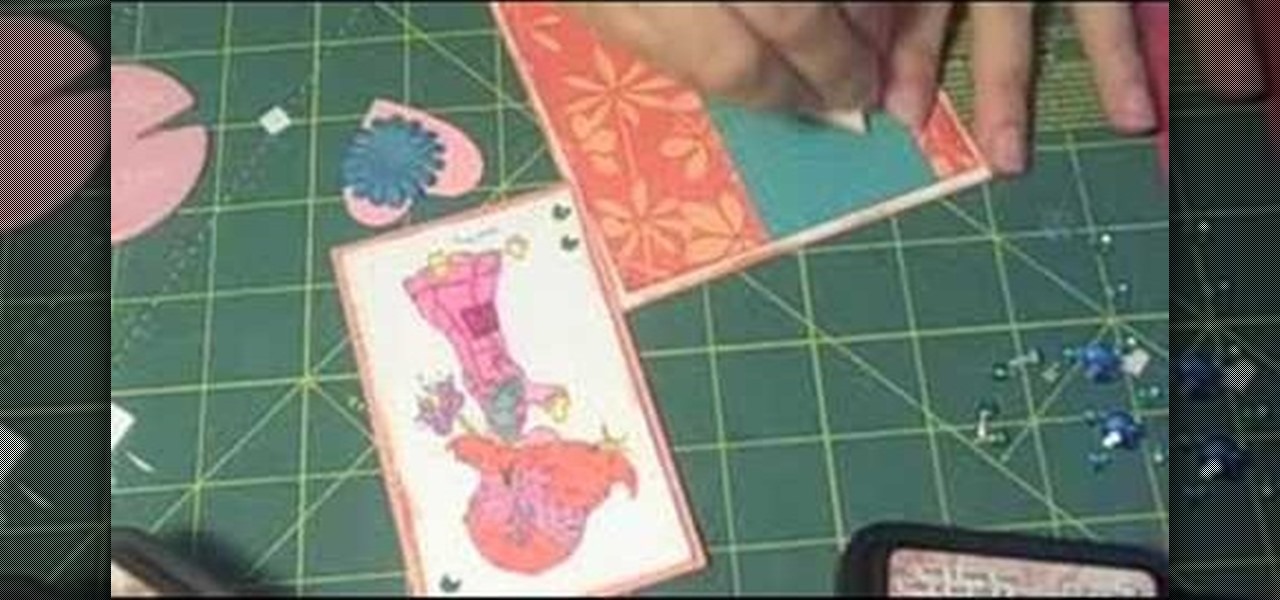
The card stock used is a celery card stock that is 2 by 7 and 3/4. You then fold the ends of the card 2 inches into the card on both sides. So now it should look like two 2 inch squares on the ends that are folded and then a rectangle in the middle. The designer paper used measures 3 and a 1/4 by 1 and 7/8 inches. To make the decoration on top you use the paper punch that punches a 1 and 1/4 inch circle in the paper and then you use the scallop punch around the area of that same punched out h...
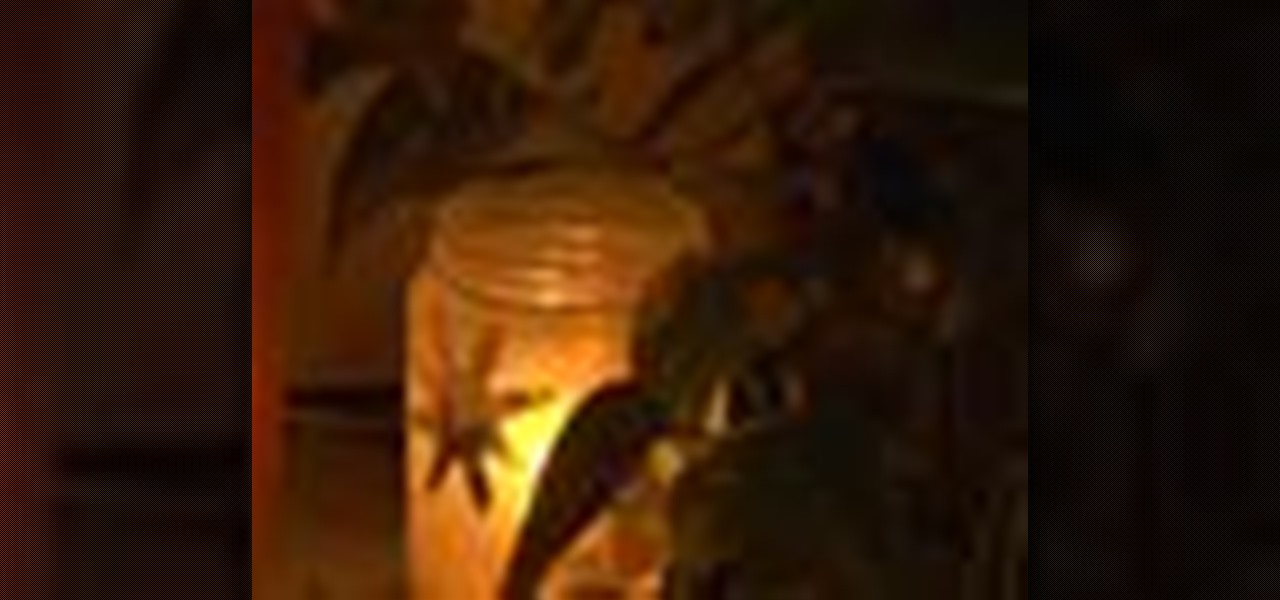
Why buy lanterns for your backyard when you can recycle empty jars into beautiful ones? This video will show you how to make lanterns out of old jars.
Check out this video tutorial on how to create a paper pop-up card. You'll be happy you learned this one... it's easy to make, there's a nice result, and you're children will love it! You only need thirteen pieces of colored paper, a marker, glue or double-sided adhesive tape.