
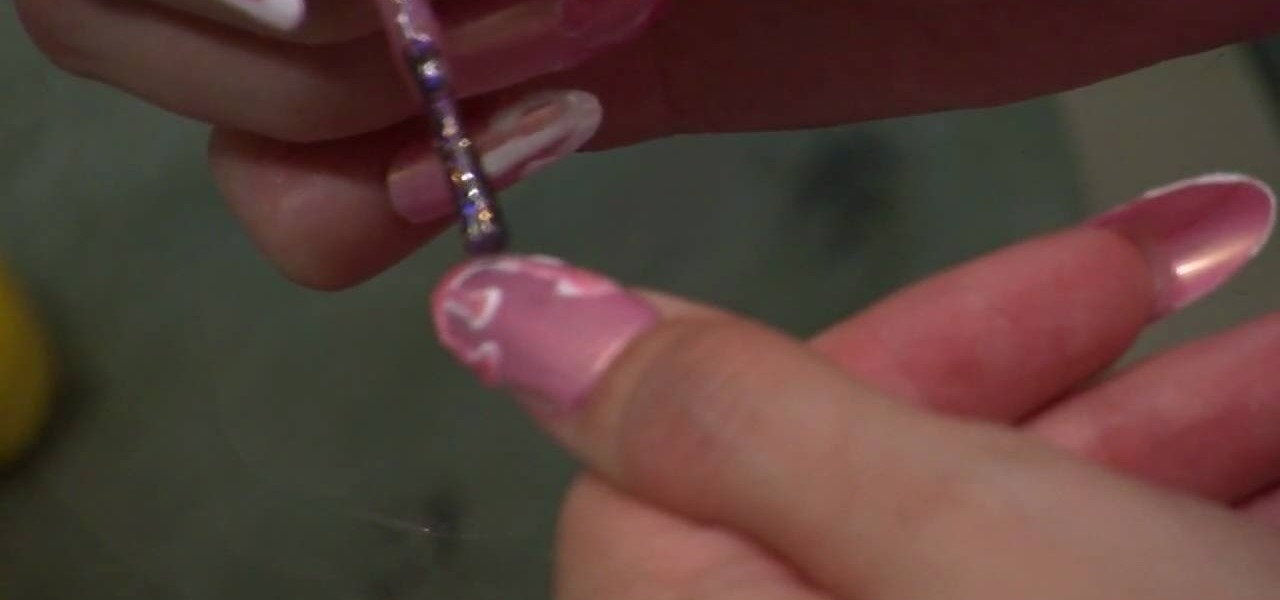
How To: Create a cute dripping ice cream nail look
It doesn't have to be summer and 100 degrees outside for you to enjoy a big scoop of ice cream! In fact, you can have ice cream anytime you want with these ice cream-inspired nails.

It doesn't have to be summer and 100 degrees outside for you to enjoy a big scoop of ice cream! In fact, you can have ice cream anytime you want with these ice cream-inspired nails.
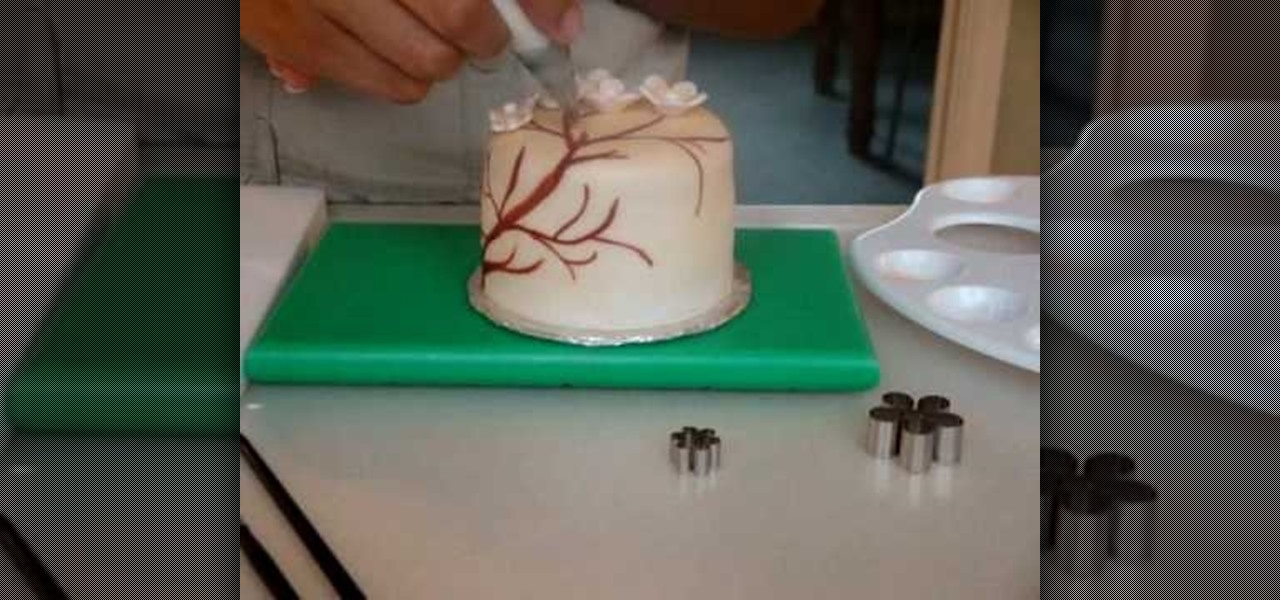
Painting on a cake may seem counterintuitive, since the paint that most of us are familiar with is acrylic or watercolor paint, both of which are way toxic. But the project in this video uses an entirely different type of paint: cake paint. Cake paint is edible and comes in a variety of finishes to aid bakers who want to make their cakes into artistic masterpieces.

This is a great tutorial on making wonderful little artsy butterflies with your own two hands! They're sparkling butterflies, which you make with fantasy film, a butterly image, permanent ink that dries on non-porous surfaces, craft iron, acrylic stamps, and a non-stick craft mat.
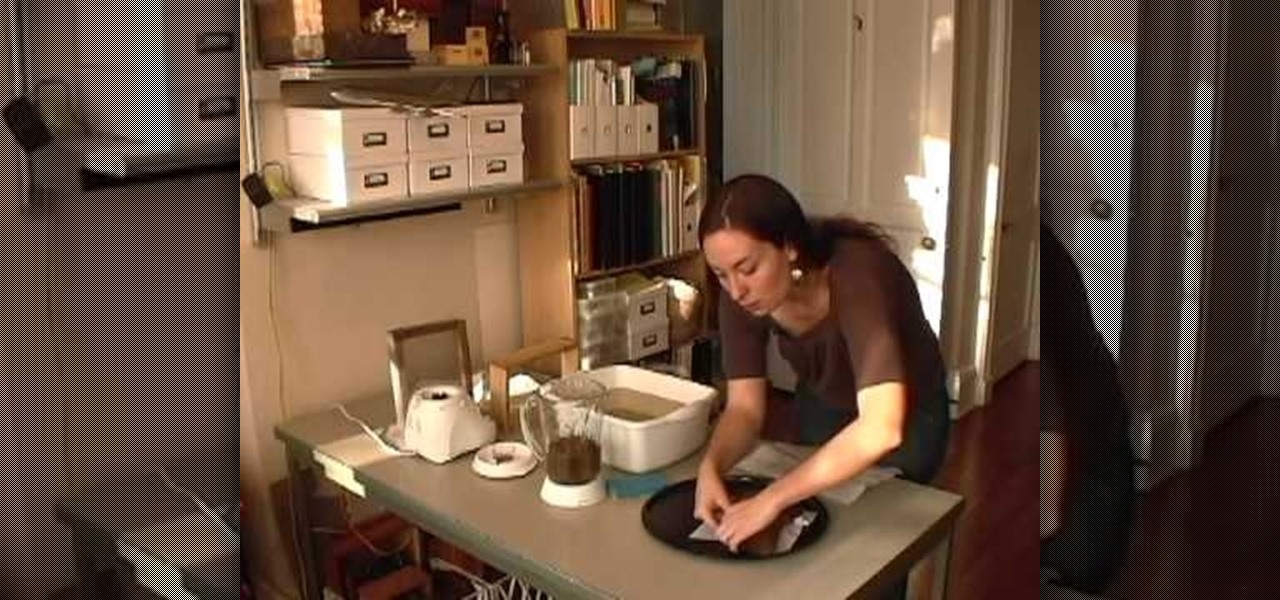
In this video, Liz Grotyohann demonstrates how to make decorative bowls from recycled paper. The materials required for the purpose a bowl shaped mold, a blender, a basin of water, a tray, a paper making tool, a sponge, some cloth and any kind of household waste paper like paper bags or junk mail. Liz prefers to use compressed packaging material and lines the bowls with old maps. She wets the map and covers the bowl with it. Pieces of brown paper are put in a blender with water and blended to...
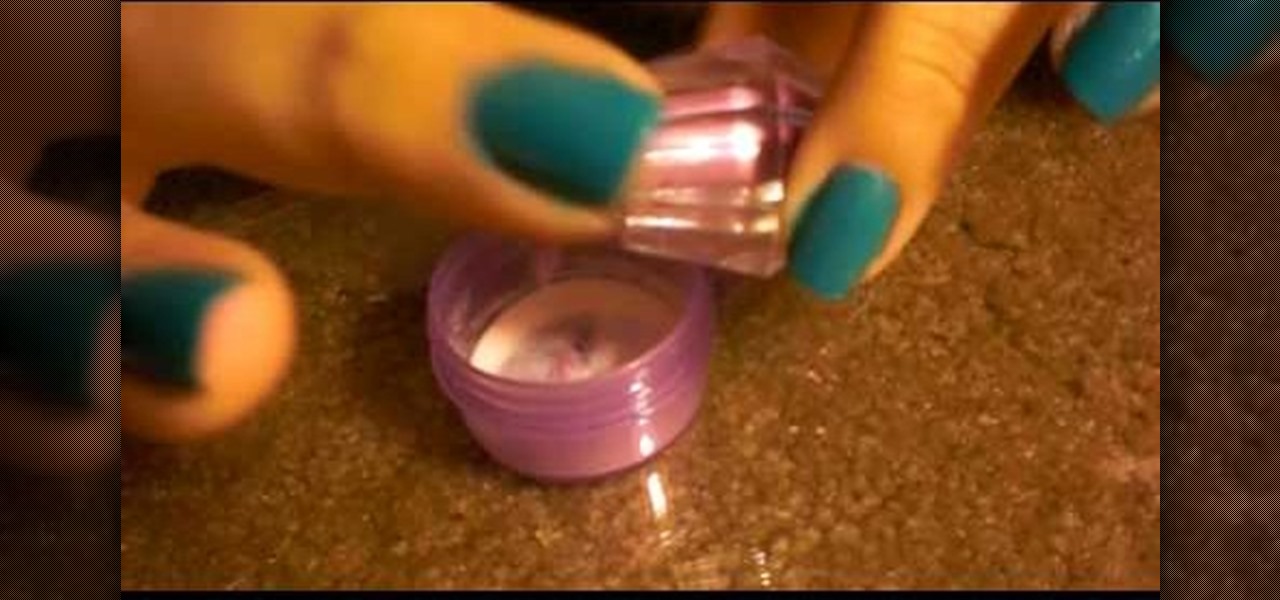
Alwaysnforever559 teaches viewers how they can make their own color acrylic for nails! First, you will need a container, a clear powder (Acrylic) and an eyeshadow color that you will like for your nails. Pour in the acrylic clear powder in the container and pour the same amount of your simmer or eyeshadow color into the container. Close this container and shake the ingredients to mix them up. Now, your powder should be a mix of the white and the eyeshadow color you put in. First, get your bru...
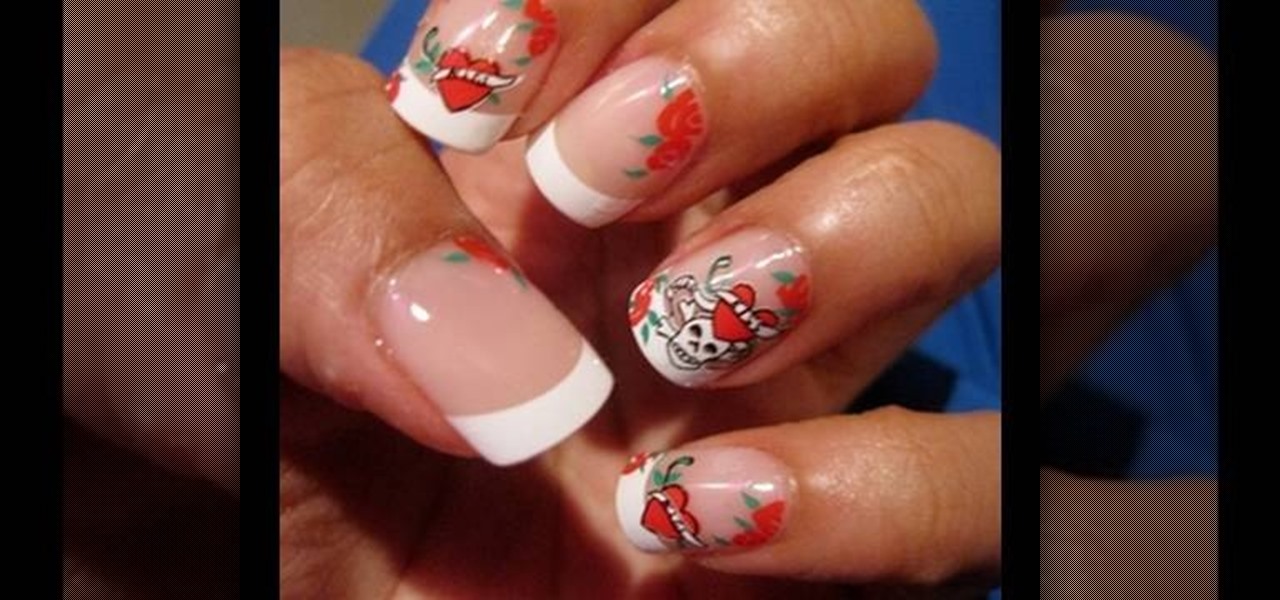
If you want to add interest to your nails, follow the steps in this video tutorial from Broadway Fashion Diva Nails. It shows you how to apply acrylic skulls, crossbones, and roses nails. The first step before application is to select nails that fit each of your fingers of one hand. Then, lay the nails out so that they are ready for application. Using pink gel glue, begin with your pinky finger. Utilize the tab to have control of the acrylic nail without actually holding the nail and getting ...

Begin by painting your full nails orange. Any orange will work for this design; just keep in mind that more than one coat of nail polish may be needed to get a bold and opaque shade. I did two coats of orange to get the coverage shown in the photograph.
This instructional video demonstrates how to paint, collage and stencil using a layering technique. Experiment with as many layers as you want. Make sure each layer is completely dry before beginning the next layer.

Find a good work area where you can sit down and be comfortable. A kitchen table works perfectly for this. Be sure to cover the surface of your table with a plastic garbage bags and a thick layer of newspaper to soak up spills and prevent damage to your table's surface. Get all your supplies ready at hand. You don't want to be hunting for them mid nail removal. Have them all spread out in front of you on the table. Using a pair of nail clippers, cut the acrylic nails down as short as possible...

Decorate a Cardboard Sun Mirror- Acrylic Painting Project- Art and Craft
In this tutorial, we learn how to make a scrapbook shaker box at home. You will need: square card stock shape, another square card stock shape with a hole in the middle, and a piece of acrylic. First, place the acrylic along the piece of card stock with a hole on it and glue them down together on all four sides. Next, attach a journal entry to the center of the other card stock square. Now, line adhesive to the acrylic piece on three sides and stick the card stock to the adhesive. You can now...
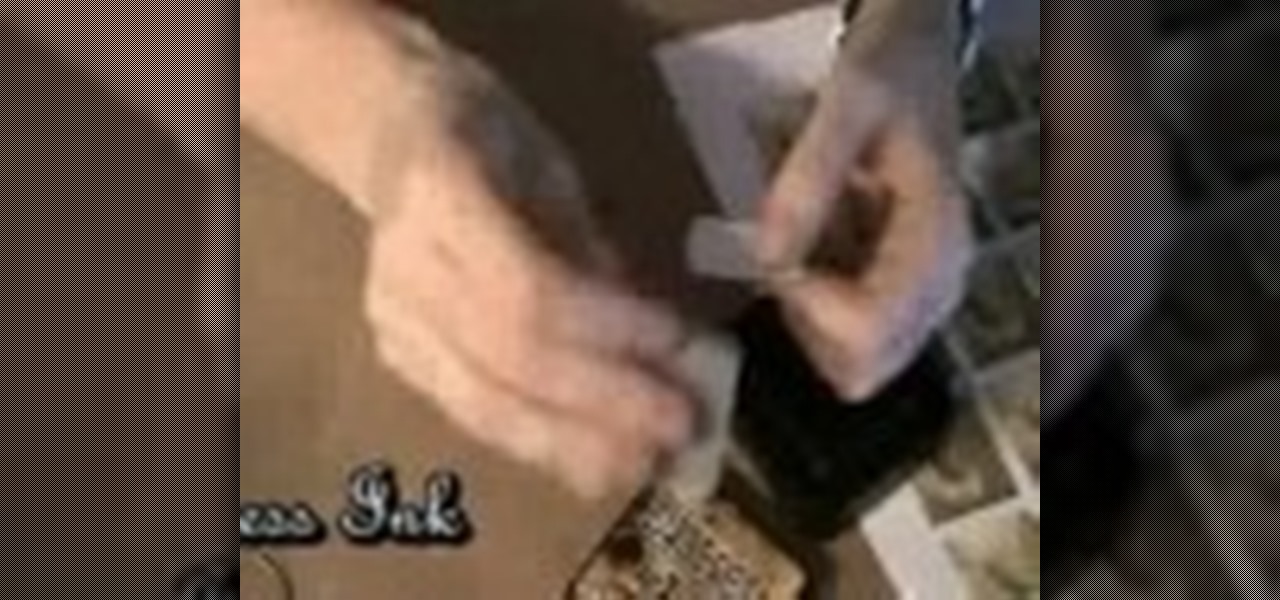
In this Arts & Crafts video tutorial you will learn how to use clear stamps & make a card. You will need acrylic stamps for this project. The products used in the video are from papertrayink.com. The stamps are clear and have a sticky back with which you can attach them to an acrylic base to make the stamp block. Then ink the stamp and stamp it on the paper. Since, it is clear, you can ass and align it properly on the paper. The other cool thing about acrylic stamps is that you can take more ...
Super cheap eyeballs without breaking the bank! While grapes are the safe standard to spook out trick or treaters, they don't look very realistic. For this project, you will need clear spray paint, white spray paint, black spray paint, blue acrylic paint, black acrylic paint, red acrylic paint, coat hanger or wire, tweezers, an artist's brush, a foam ear plug, a rag, sanding block or sanding paper, and bouncy balls. Watch this video prop-making tutorial and learn how to make cheap prop eyebal...
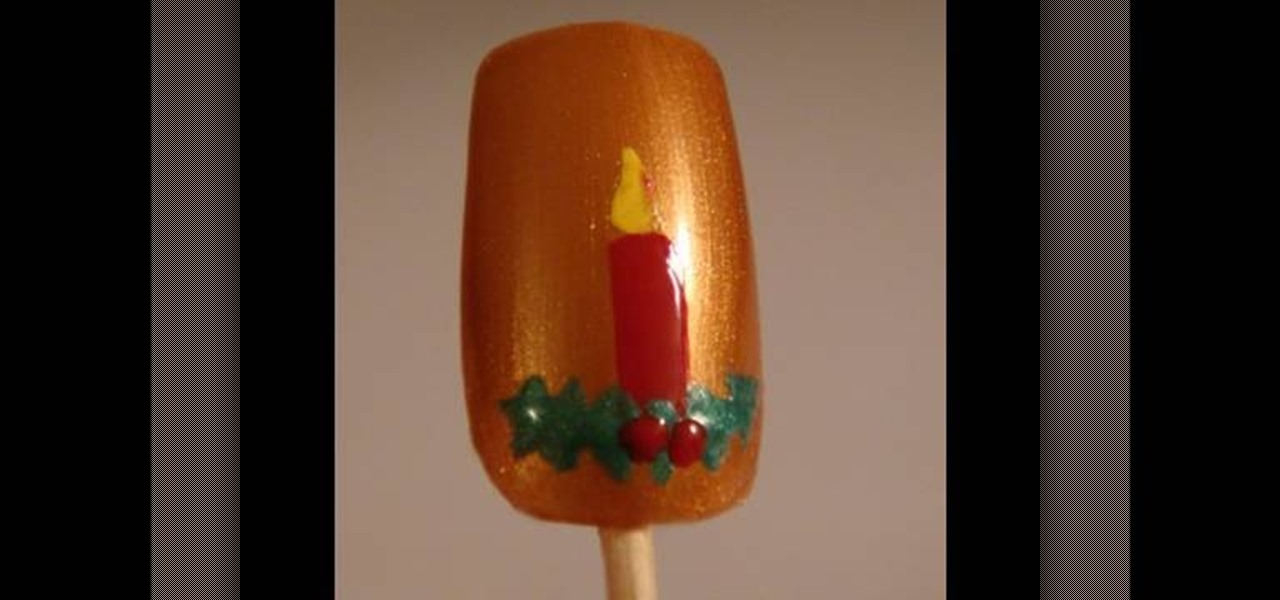
In this tutorial, we learn how to design Christmas holiday winter nails. First, purchase acrylic nails and paint them a burnt orange or copper color. Now, take a very small and pointed brush and dip it into red nail polish. Draw a candle onto the acrylic nail, then paint green around it to make holly and yellow above it to make a flame. Set this aside and let it dry, then continue to decorate the rest of your nails with either the same design or something else Christmas related. Apply to your...
If you like homemade light shows, this is one hell of a way to do it. AP Digital light shows you how you can hack a small fan into a special mirror used to create a poor man's PIC-based laser show. It's an experimental method of balancing a fan-mounted acrylic mirror for spirograph project.
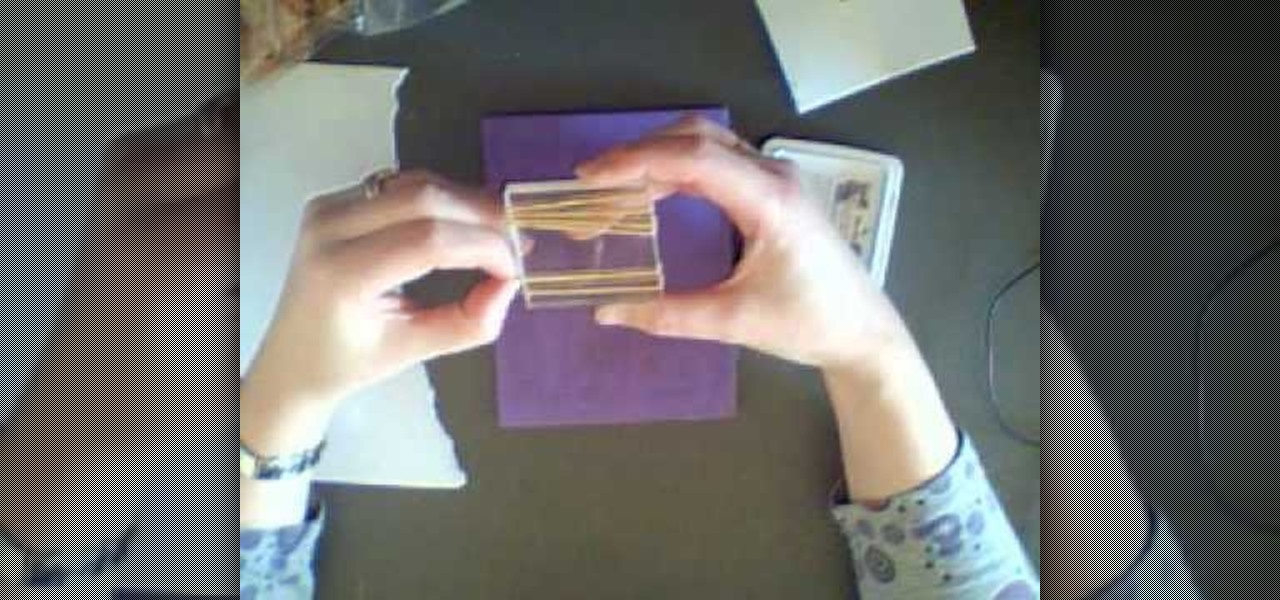
First of all you need an acrylic block, stamping pad, packet of rubber bands and a piece of paper. Open the rubber band packet and then you have to choose several rubber bands which are of same size. Now you have to get these rubber bands on your acrylic block. You can also use a wooden block or an old stamp instead of acrylic block. Now you have to sort out the rubber bands so that they are placed in order with a gap of around a quarter of an inch between each one. You also have to adjust th...

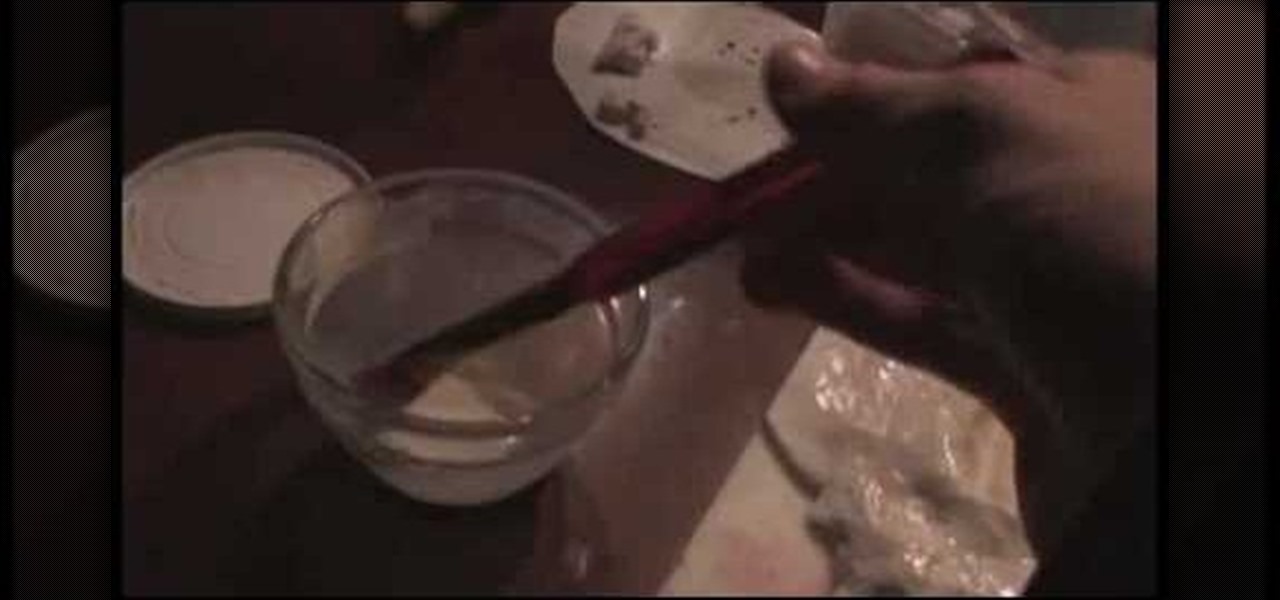
To fill a gouge on a table edge you start by using auto body filler. Auto body filler is a two part substance. The catalyst is red and the resin is grey. When they are properly mixed it will be a uniform pink color. To keep the substance from spilling out of the damaged area put a piece of tape on the side of the table. Take some filler and force it down into the cavity formed by the tape along the side of the table. Let it dry for 3-4 minutes. Take the tape off and use a knife to trim off th...

In this tutorial, we learn how to paint your nails with blue glitter and black nail polish. You will need: blue nail polish, clear nail polish, blue and black acrylic paint, chopped thin brush, glitter, dotting tool, and a small flat brush to do this. First, paint the tips with blue polish, then use the small brush to stick the glitter onto the nails, patting it on thick. Next, add a clear coat and let the nails dry completely. Now, put the chopped brush into black acrylic and make a swirl de...

This tutorial is about how to fix your nails after artificial nails have fallen off. When acrylic nails eventually come off they leave the nail uneven and soft. This video also explains what acrylic actually is and what happens to them when put under a UV lamp. The woman speaking is a nail technician and is able to give the viewer the tips and tools she will need to fix the nail problem. With the use of a nail file the nails will once again be one smooth even layer. When satisfied apply nail ...

This instructional video shows you how to be creative and paint your shoes. You will need acrylic paint, paint brushes of different sizes, waterproof permanent markers, and spray lacquer. You should create a base coat with white paint. Draw whichever designs you want with a permanent marker. Next color the design with the acrylic paint. Using one color so your paint doesn't dry out. Fill in the background with whichever color you chose. Then spray with a lacquer and you are finished.
Looking to spice up your kitchen? Watch as old, boring cabinets are transformed into new ones! Items you'll need are contact paper, acrylic paint, masking tape, scissors, plastic lids, stencils, and drop cloths.
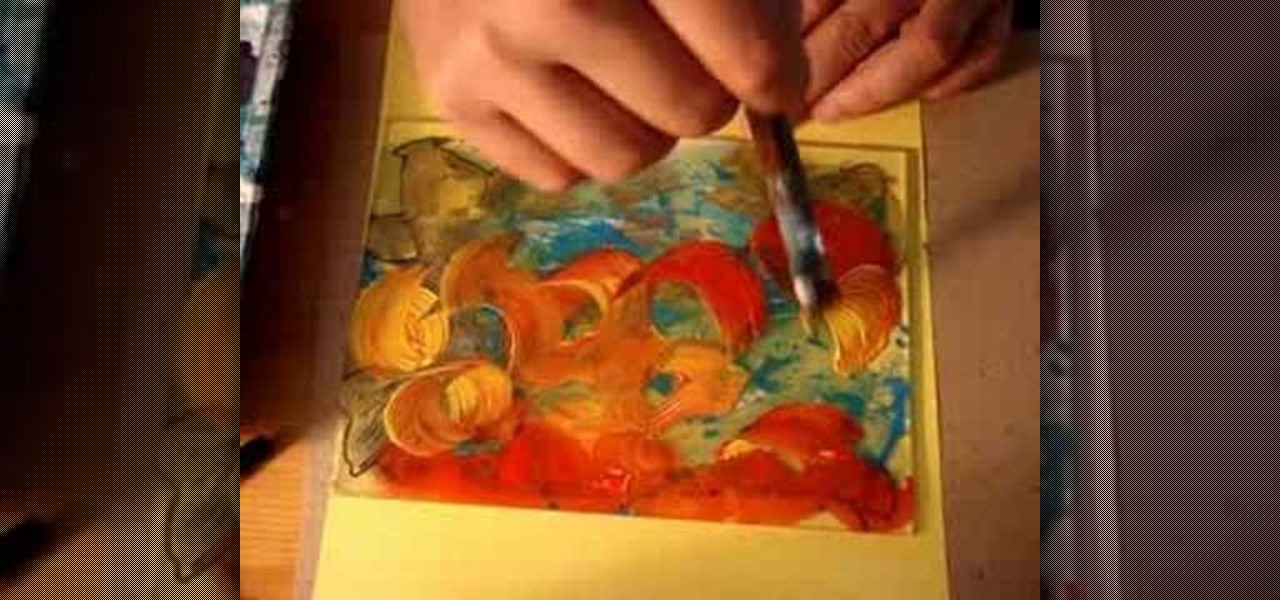
Curious about acrylic paints and how to apply them to your fantasy-inspired works of art? Get some tips from a professional! This tutorial hosted by Ed Beard, an internationally reknown fantasy artist known for his published works in Magic the Gathering and Tolkien takes us through a quick step by step approach to "block-in" techniques with acrylic paints. "The Evolution of a Dragon Painting" is a great how-to video for those of you aspiring to be painters!

Watch this video for instructions on making the Yukki Cross Artemis scythe from the anime / manga Vampire Knight.
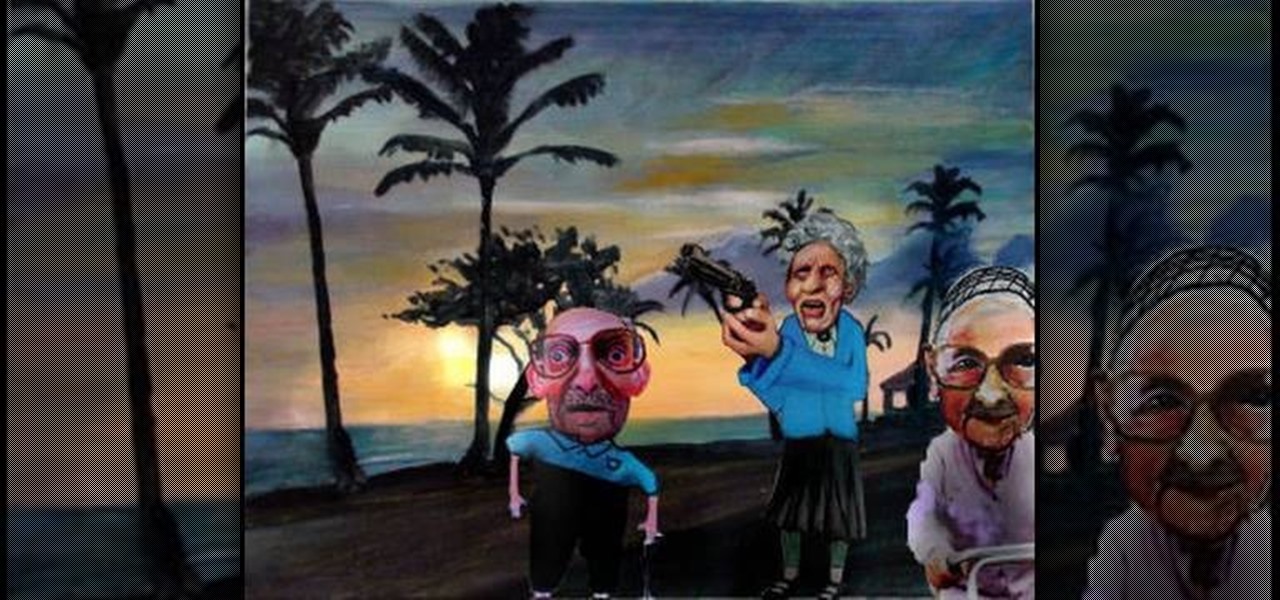
Merrill Kazanjian has this painting tutorial which shows the process of his Hawaiian landscape mixed media painting. Follow along with the video and try to learn some of the painting techniques Merrill uses. He uses acrylic paint and at the end, puts his own twist on a boring landscape painting by using PaintShop Pro to add some island inhabitants.
We're kickin' it olde school in this craftacular how-to video sampling from the Impatient Crafter crew. Join Margot as she shows you how to ink acrylic letters so they look like buried glass and make an adorable pendant from a vintage optical lens to boot.

Hmm... wondering what to do with a lazy Sunday afternoon? Why not build a volcano that can erupt? Have fun and make a mess, all in the name of science!
The cost of acrylic paint and corn syrup? Minimal. Freaking out your friends beyond all reason? Priceless.
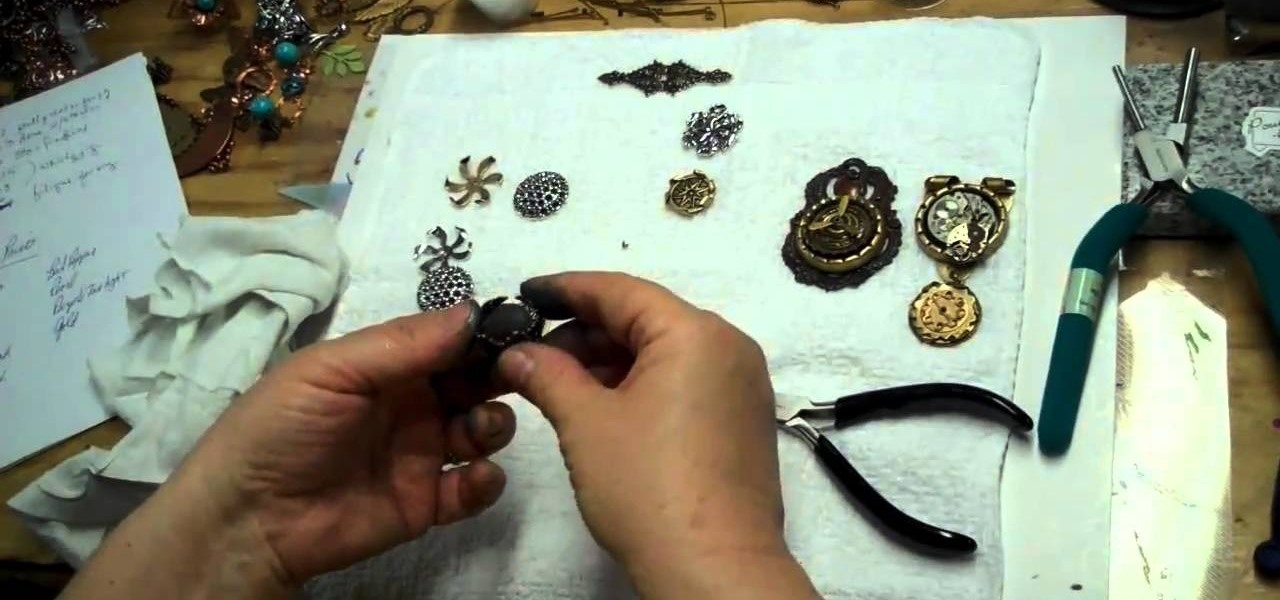
If you haven't heard of Steampunk, then you've obviously been living under a rock for the past couple of years. Steampunk style, which is an ironic style composed of designs that fuse anachronistic technology (proppellers, watch parts, etc.) with Victorian style.
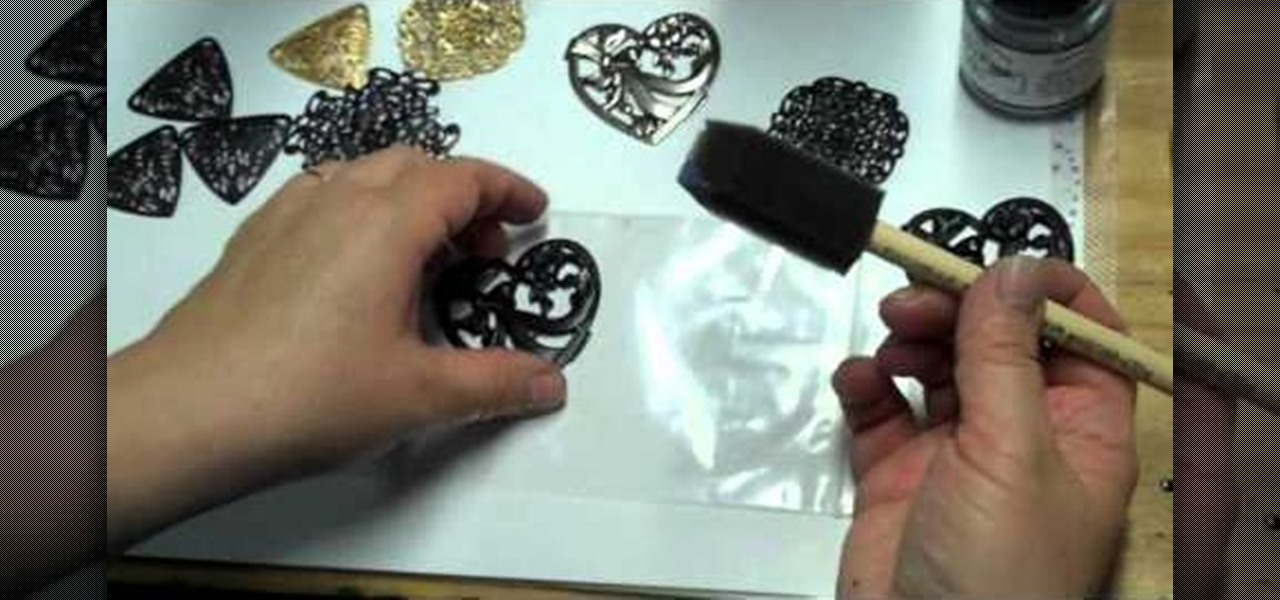
Gunmetal gray is one of the coolest, most biker-chic finishes out there when it comes to jewelry making. If you enjoy working with filigree pieces in your bracelets and necklaces, why not make them less granny fantastic and more urban chic by adding a nickel-free gunmetal finish?
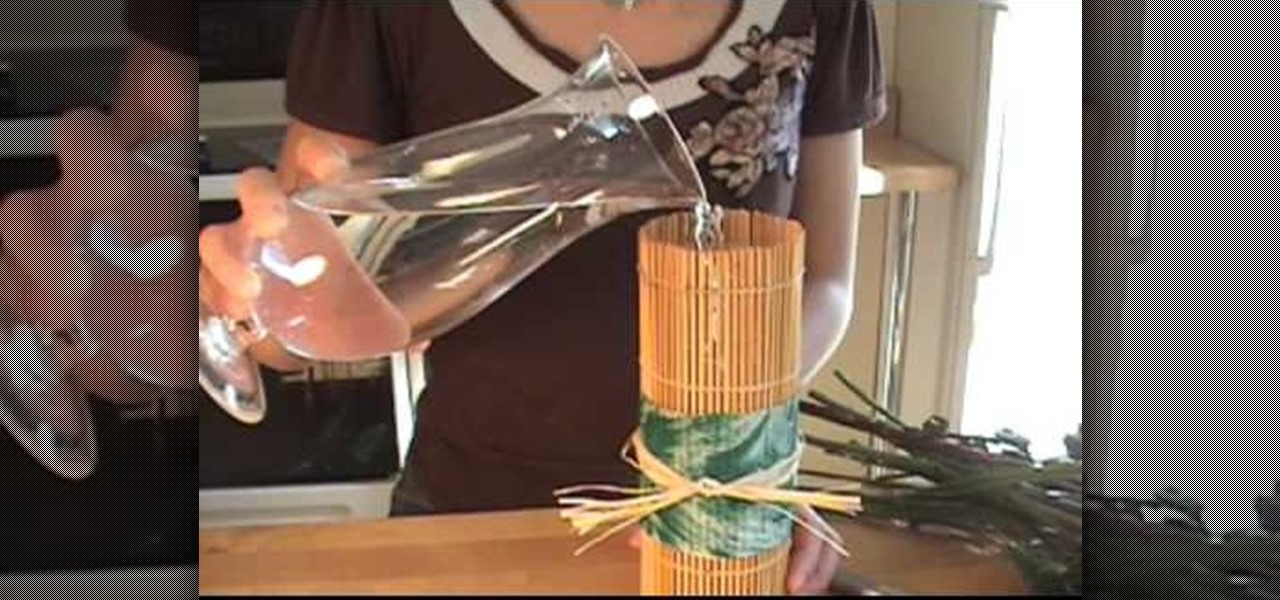
In this video tutorial, viewers learn how to make a Japanese-style sushi roller flower vase. This flower vase uses recycled items. The materials required to makes this vase are: a newspaper, scissors, raffia, sushi roller, acrylic paint, brush, tin foil, tape (or glue gun) and an empty bottle (300 ml). Cut the newspaper to about 3" x 12". Paint the newspaper to your preferred color. Cut the top part of the bottle. Roll the bottle in the sushi roller. Wrap the newspaper around it and tape it. ...
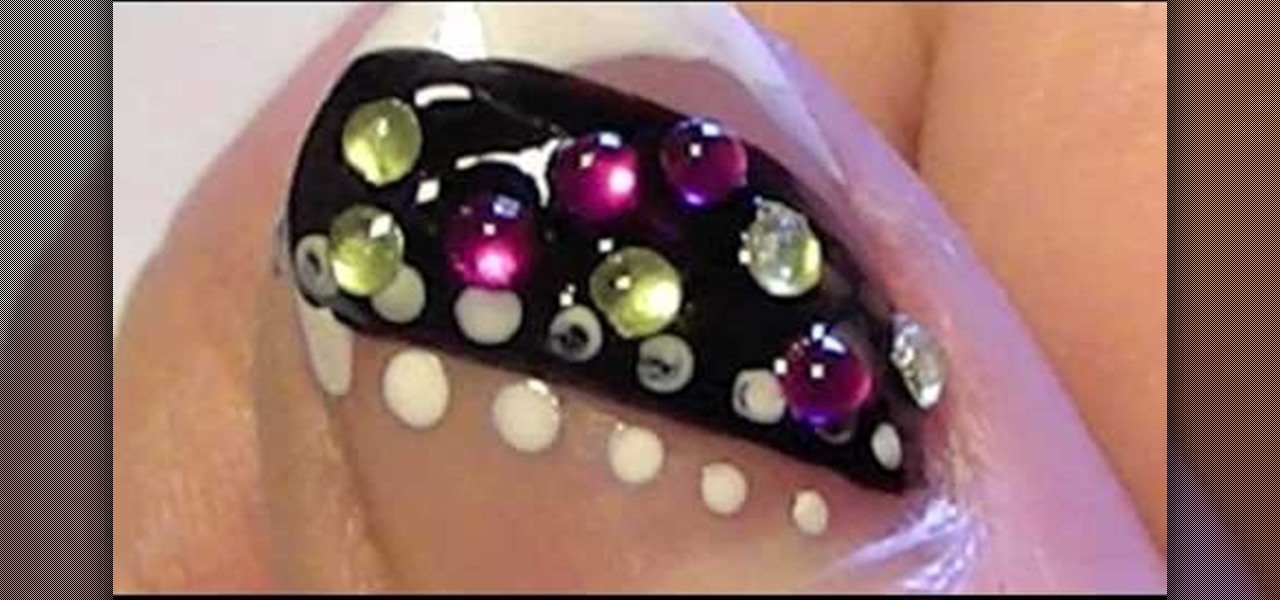
The rhinestone studded nails will be more attractive. To make your nails a perfect complement to any acrylic or polished nails use your wildest imagination to make it more attractive. The following steps will help to make beautiful, rocker rhinestone studded nails. The first step is to clean the nail surface where you want the stickers to be placed. The second step is to apply a base coat, and the third step is to apply nail polish color. The fourth step is to peel off the stickers carefully ...
By adding a little paint and a monogram to a gourd, you can create a unique and personalized gift! Aside from the gourd, you will need some acrylic paint in several colors and some rub on monograms or lettering stencils.

This is a lovely craft project you can do with kids - make a bunch of acorns that you can use as fall or winter decorations. You will need: small foam balls, mod podge, brown acrylic paint, glitter and brown yarn for the cap.
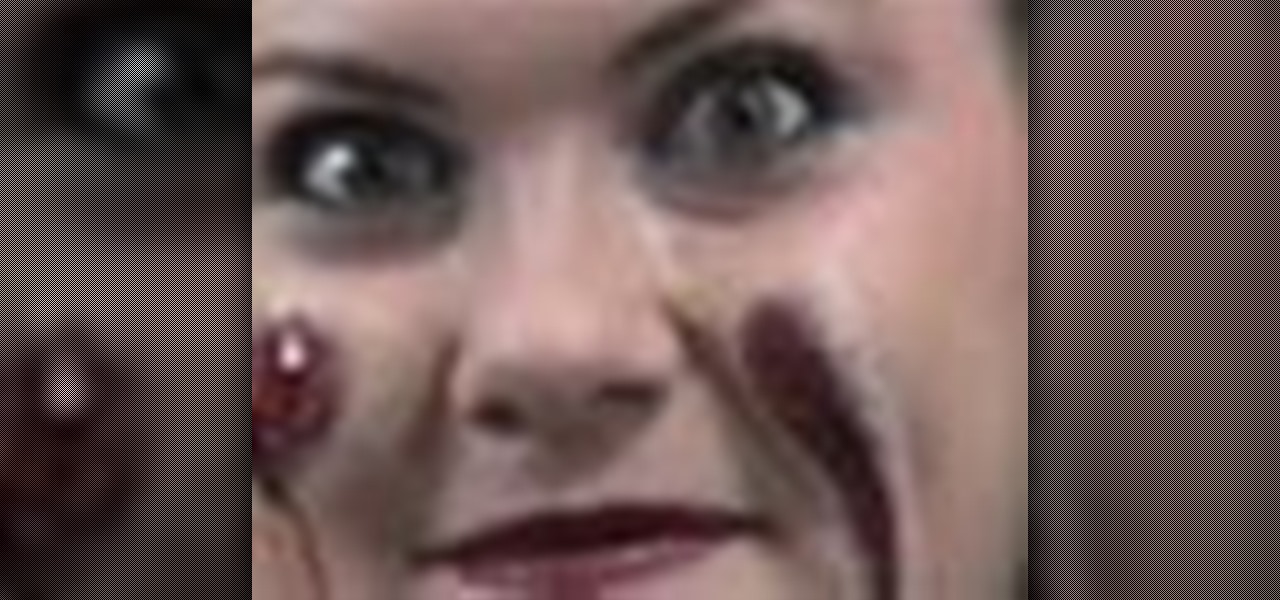
This video deals with special effects used in movies or theater. The first tutorial deals with making a chopped off finger effect inexpensively. Start with some modeling wax and roll it into an upper finger shape. Next, you cut it to the desired length and paint the inside of each finger section red. Now, paint the outside of the finger with skin tone make up. The next step is to take a toothpick and poke a hole in the finger. Paint the hole so that it doesn't look very noticeable. You're rea...
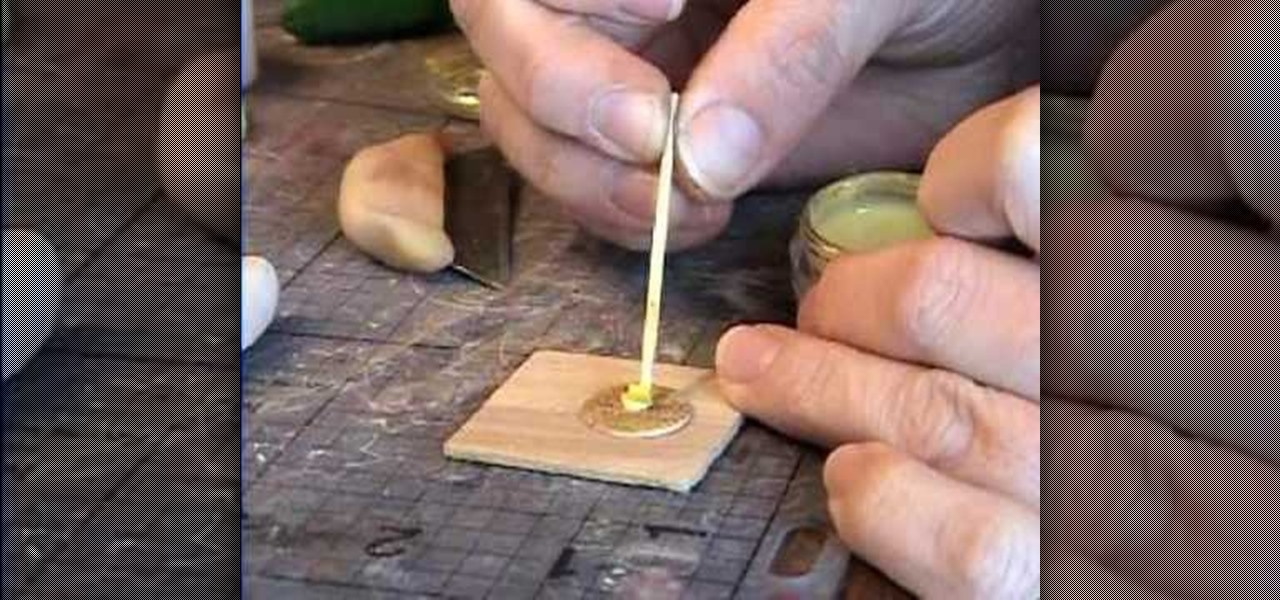
Garden of Imagination teaches viewers how to make cute and adorable mini polymer clay pancakes for a dollhouse or decoration. First start out with a wooden square to put the finished product on. Next, start out with light brown clay and roll it out on a clay setting number 4 on the pasta machine. Next, use a circle cutter to cute the shape of pancake. Next, texture the pancake so it look doughy and make sure the edges are not too straight. Make three of these pancakes and place them on the wo...
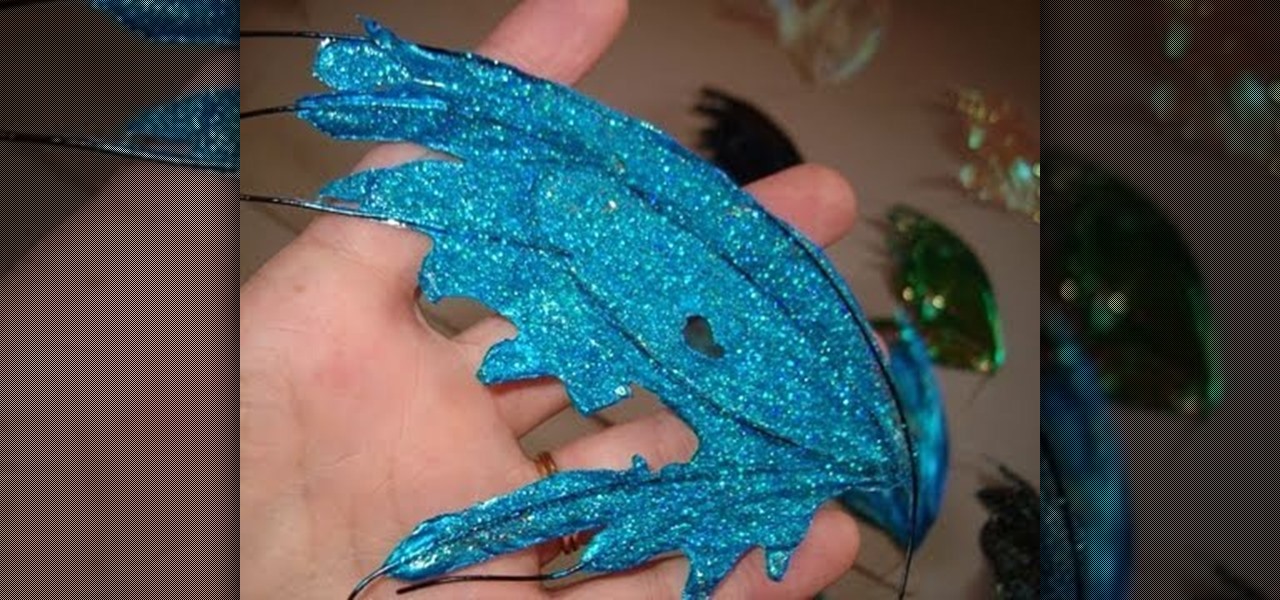
Feel like getting crafty? In this 8-part video tutorial, learn how to create the perfect pair of mini fairy wings, approximately 6 inches wide. Also included within these videos is how to make realistic-looking bat and dragon wings. To complete this project, you will need cellophane, plastic coated wire, acrylic paints, polyester glitter, and a glue gun. Add these wings to a doll or a wall craft for the perfect mystical embellishment!
Patti Behan shows us how to make this beautiful giraffe prints to create an amazing card. You will need:
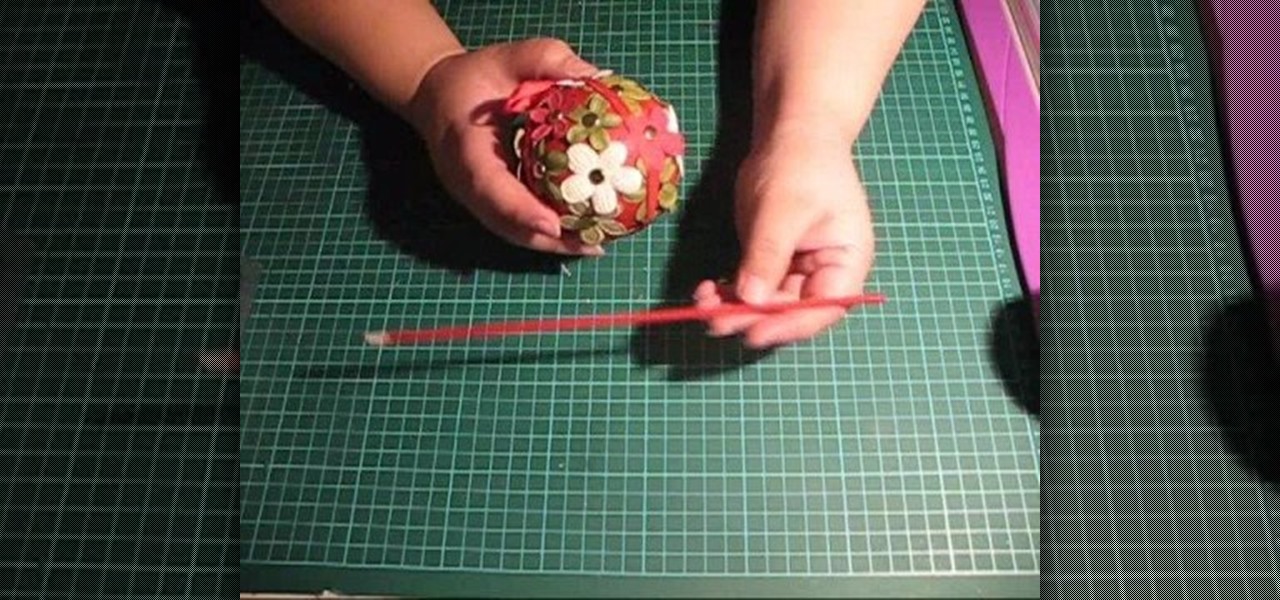
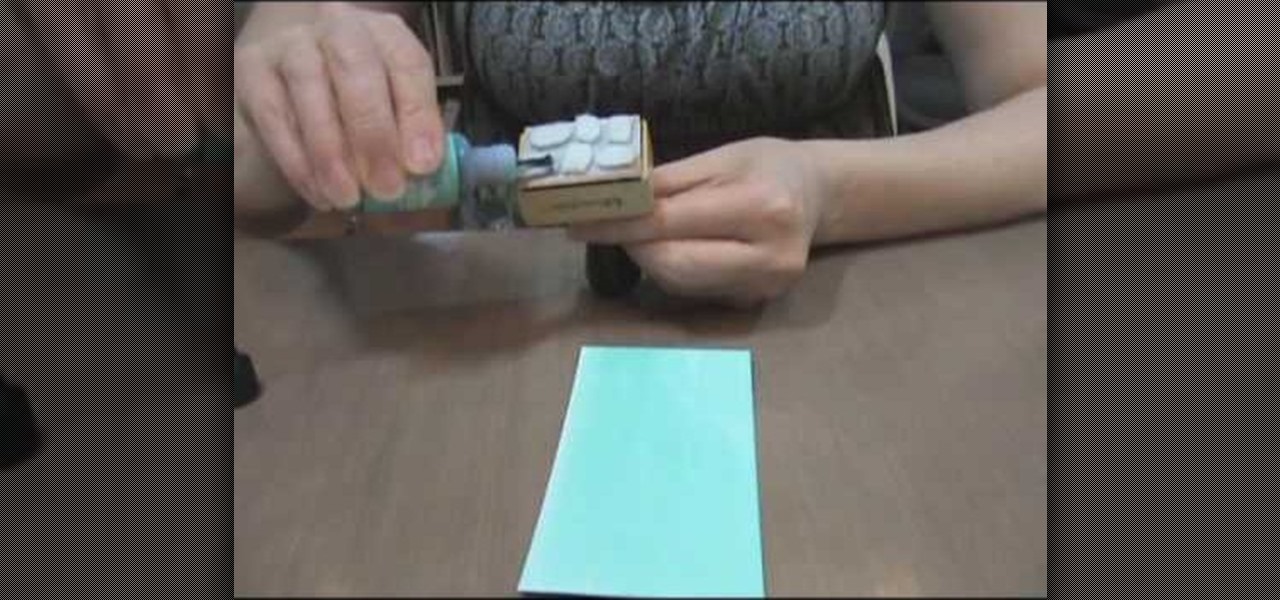
Today you will learn how to make two different Christmas ornaments that you can hang from your Christmas tree. You will need decorative stamps, decorative hole punch, rubber stamp ink pad, styrofoam bowls, fake flowers, acrylic paint, ribbon and clips for hanging. This is a fun project for the holidays that you can do with family and friends. Handmade Christmas ornaments are always better than store bought ornaments.
Check out this five-part video tutorial on how to apply paint wash weather effects on an RC airplane. If you like building engines and bodies for remote-controlled vehicles (airplanes), then this will definitely help you out, just by learning how to apply some black wash to weather the airplane RC motor. You will learn all of the tricks needed for weathering, like using acrylic paint and thinner.
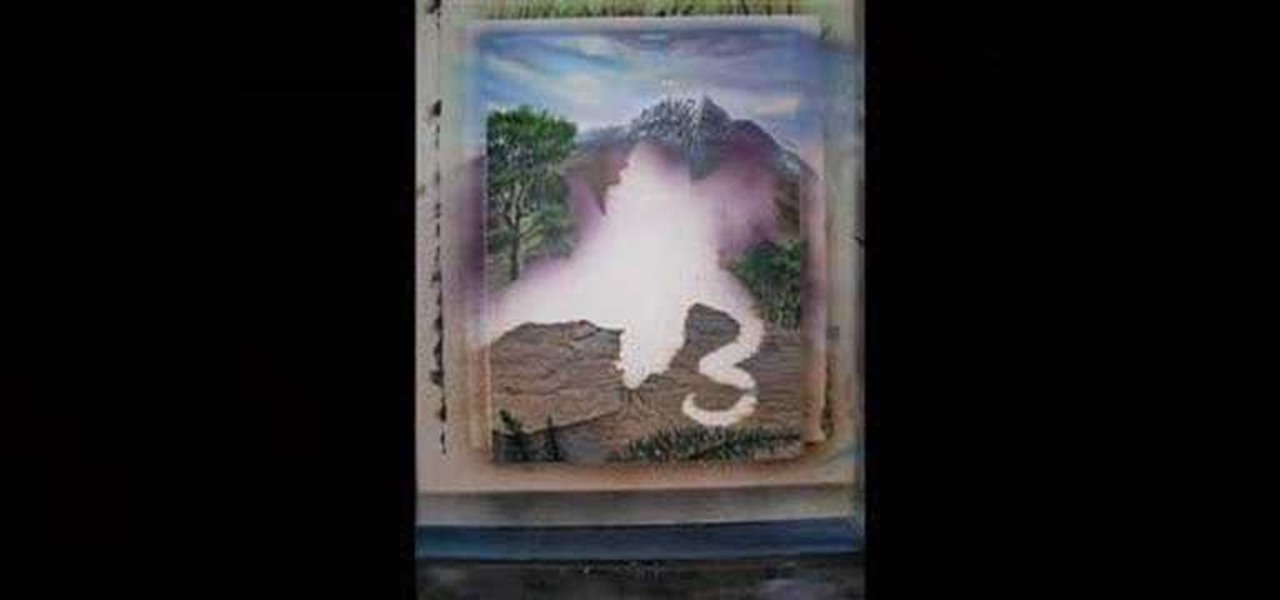
Watch this instructional painting video to begin painting on plexiglass. Create some cool effects using spray paint, paint thinner, acrylic paint. Make marks and unique textures using your finger, scratching tools and stencils.