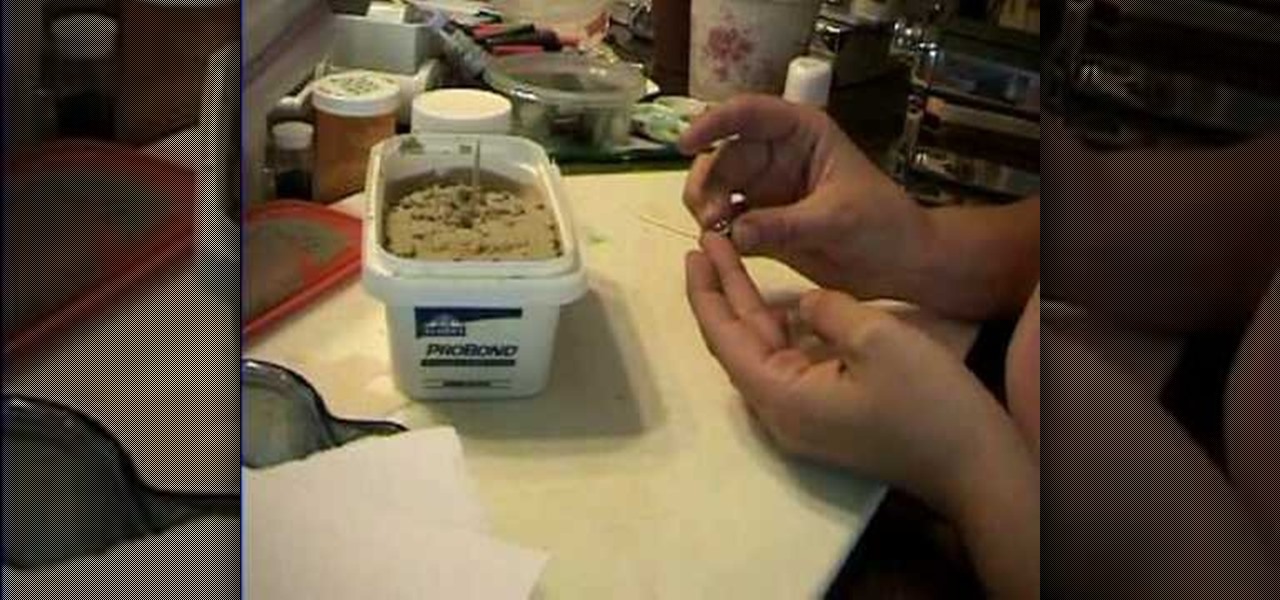
This short video explains how to create a mini milkshake for a doll. Using Elmer's Probond Stainable Wood Filler is preferable because it happens to already be the right color, although using this brand is not absolutely required-any wood filler would do. You can find this at a hardware store. If tiny cups are not at your disposal, don't worry! Our presenter shows us how to use a bead cap in the tiny cup's place. Fill the bead cap with the wood filler, and then using a tiny spoon that can be ...
Polymer clay is a favorite material for many crafters because it's so versatile. Those interested in creating miniatures - like small version of Domo Kun or tiny, hamster-sized apple pies - can easily mold the clay into any shape they wish, while jewelers enjoy polymer clay because you can experiment with different colors to produce all types of effects.
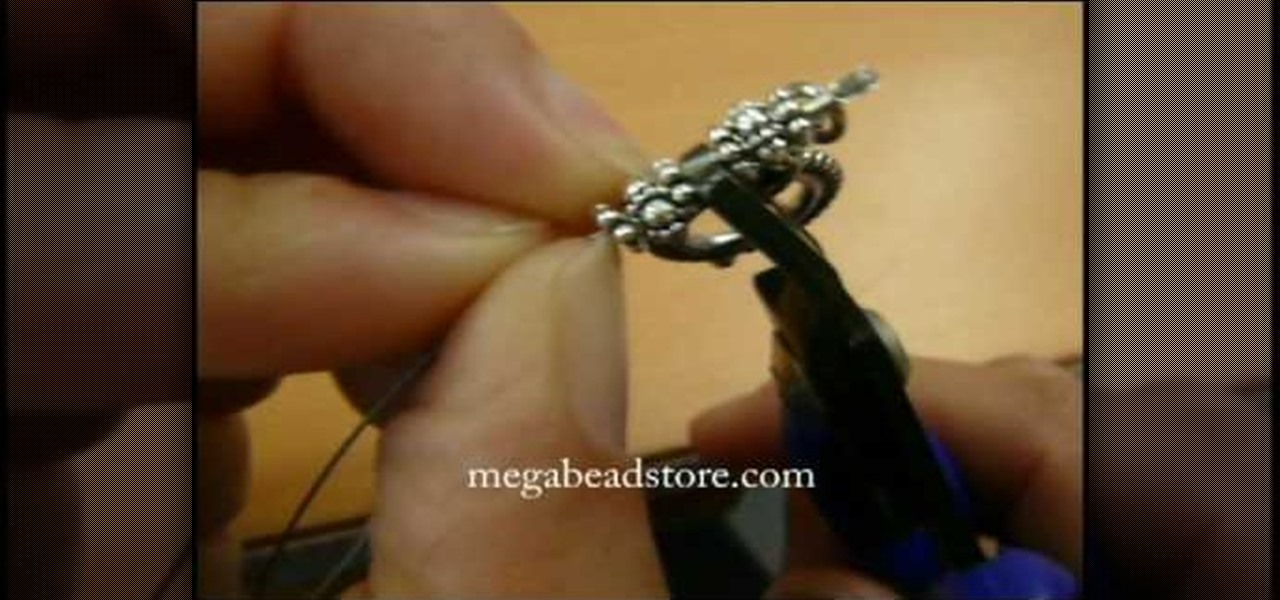
This video jewelry-making tutorial shows how to make a pair of ear hooks to create your own dangling earrings. This video lesson will guide you step by step on how to make your own earrings findings - a pair of ear hooks to dangle your beads on. You will need flat nose pliers, 2 eye pins, 2 tiny beads, and you're ready to follow along with the instructions in this video to make a pair of earring hooks.
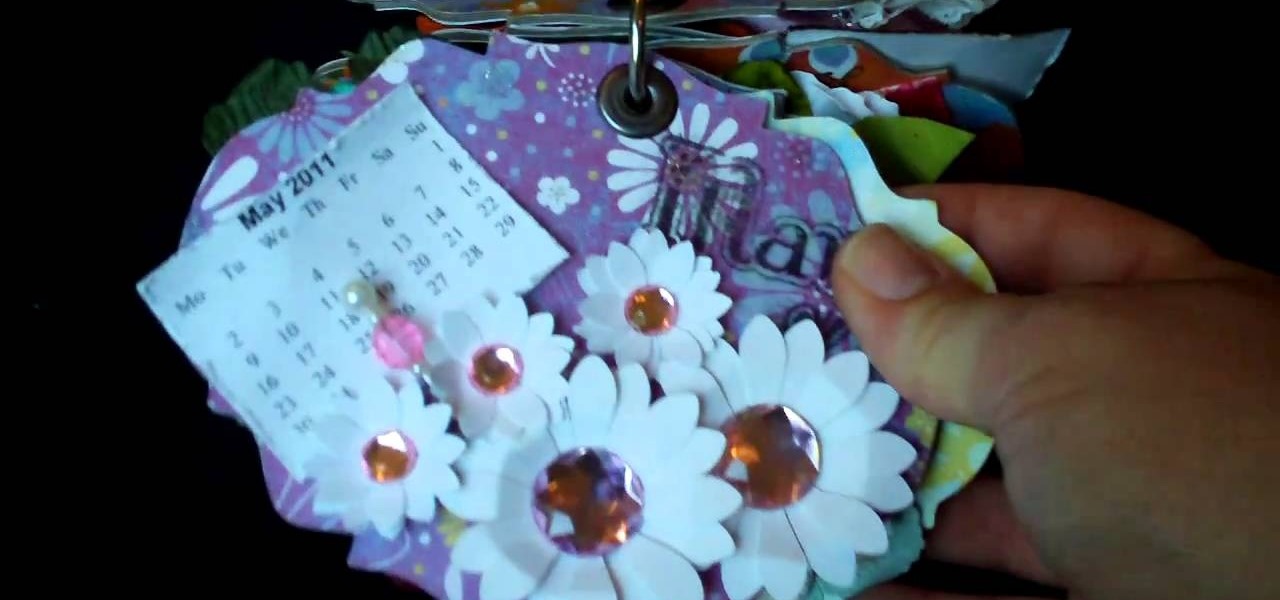
This is a lovely idea that allows you to celebrate the whole year on your Christmas tree! These cute handmade paper ornaments feature a tiny calendar surrounded by flowers, beads, accents and symbols of the season the month falls in.

In this how-to video, Tricia makes an entire scrapbook that is small enough to fit in the palm of your hand. She really packs a lot into this tiny album, from embossing techniques and bookbinding to finishing it up with some fun beads. You'll want to watch this video scrapbooking tutorial again and again to catch all of her tricks and tips.

This video jewelry-making tutorial shows how to make these origami crane earrings. You will need tiny origami paper, crimping beads, crystals, earring findings, and jewelry wire. Learn how to fold a crane using the traditional Japanese art of origami and craft it into earrings by watching this video jewelry-making tutorial.

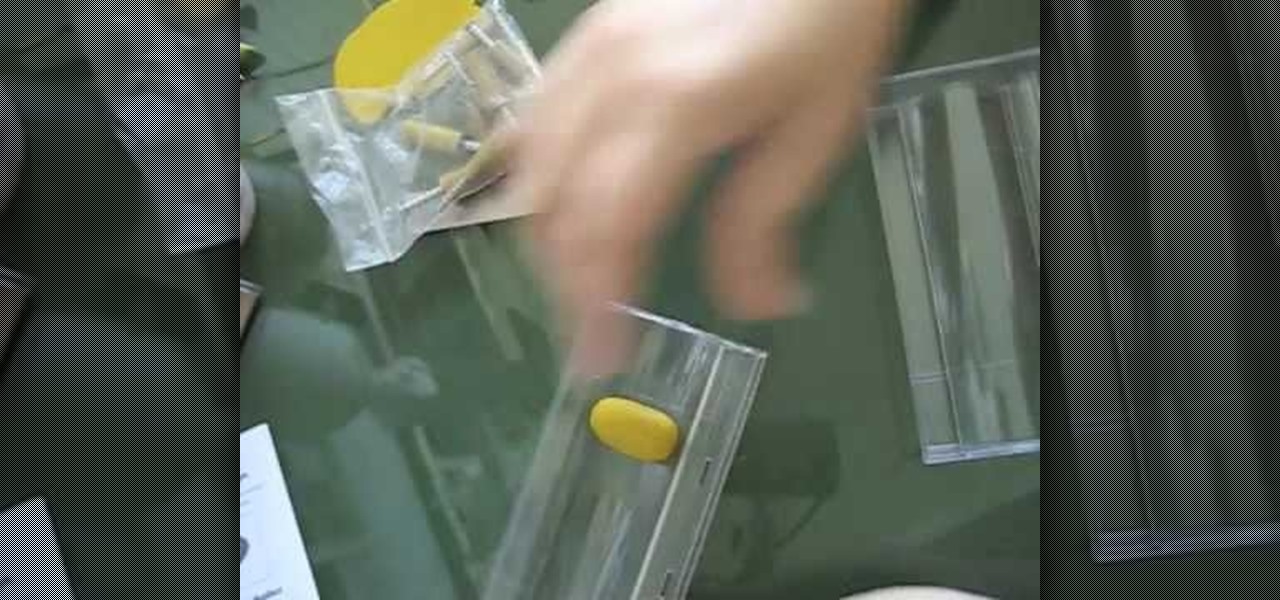
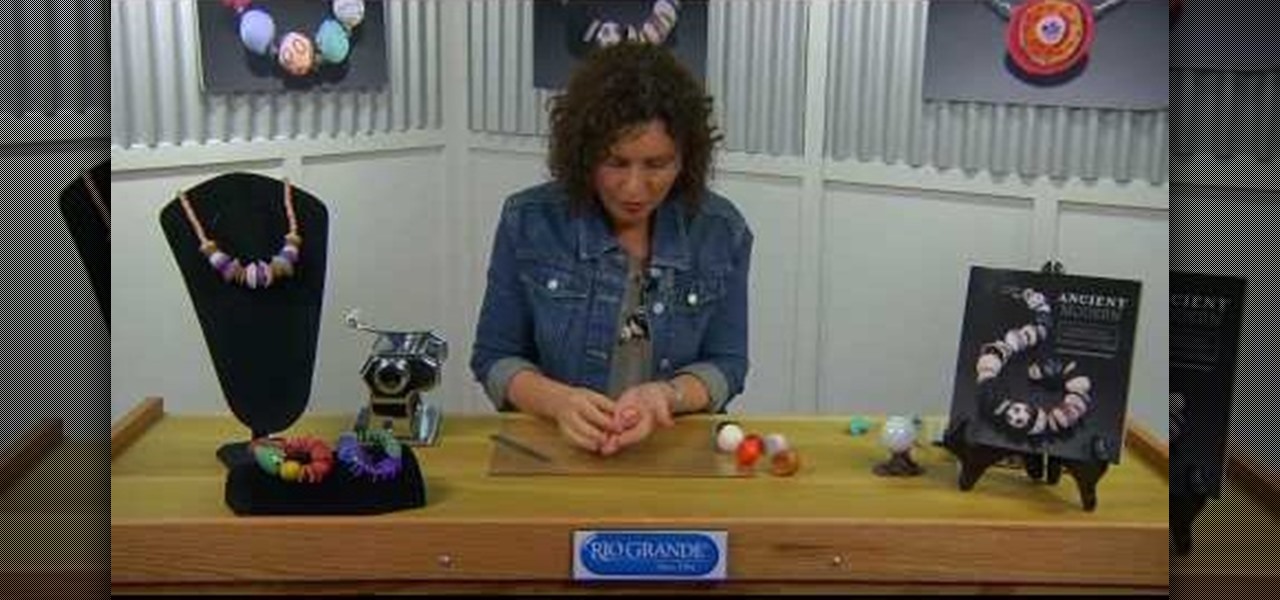
Our instructor will choose set 2, 6 and 8 to show you what the company offers. On the wrappers are pictures of the types of beads possible with each set. She will create from set 2 today, which makes oval beads. Inside of the packages, such as this package which holds set 2 are several items. First is the thin metal pins or rods that can go into the baking oven with the polymer clay molded around them. Next, two pieces for the mold, a bottom and top that fit together with grooves. There are a...
Garden of Imagination demonstrates how to make a miniature polymer clay cup cake. First, roll a ball of brown clay into a circle. Squish it a little on its side. Use a toothpick to create edges on the cupcake. Make the top more pointed. Flip the cupcake over so that it sits flat. Bake the base for a few minutes to make it hard so you don't lose your texture. Roll your clay icing color into a long, thin rope. Wrap the icing in a conical circle on top of the cupcake base. Next, use tiny glass s...
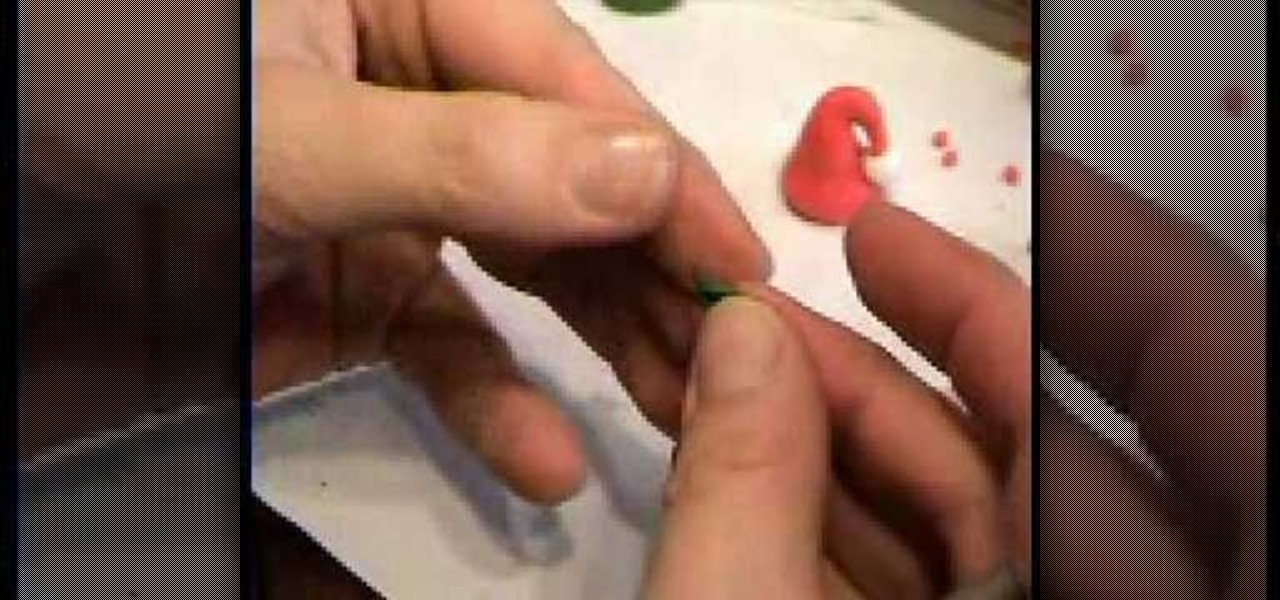
To make a Santa hat bead, begin with red clay and condition it by kneading it with your fingertips. Form the clay into a thick worm shape, with it being the thickest at one end then tapering off. Use your fingertip to make a shallow indentation on the thicker end, and remove any excess clay from the thinner end (total length should only be an inch or two). Curve the thin end over slightly to create a hook shape at the top of the hat. Take a small ball of white clay and make a small hole in it...
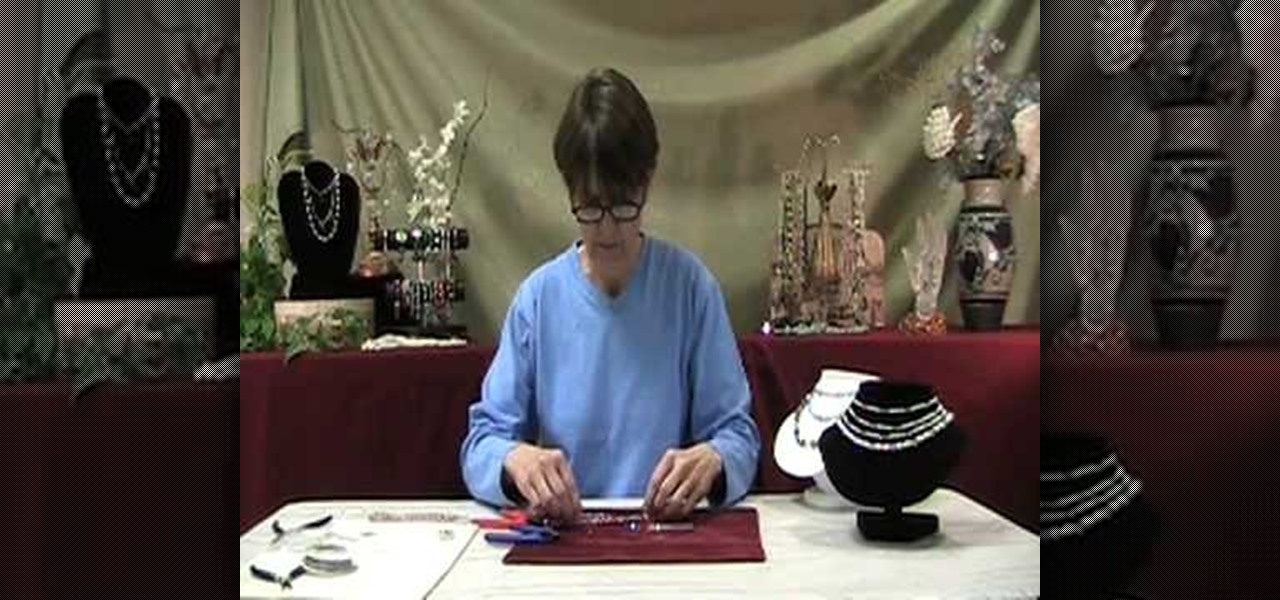
Catherine demonstrates how to create an eclectic, sunset-inspired necklace in this video. To create the necklace you must gather 40 yellow bugle beads, 18 orange chip beads, 3 mm red round beads, a barrel clasp, 2 crimp beads, 2 bead covers, about 20 inches of beading wire, clippers and pliers. The design is to start by threading a clap and a crimp bead onto the wire, leaving a 2 inch tail. Then thread on 15 yellow beads, remembering to cover the tail you left with the beads, 3 orange beads, ...
Consider this Beading 101. In this video, you'll learn the five basic beading terms used in many beading magazines and beading patterns. These terms refer to how you pass needles through your beeds (from the back or from the front), how you separate irregular beads out of your main beading inventory, rounds and rows (different ways of beading), waxing your thread, and thread tension.
If you're a beading novice, there's one very important thing to know before you venture into the pastime: No matter how many projects you complete, you will always have a lot more beads left over than you know what to do with.
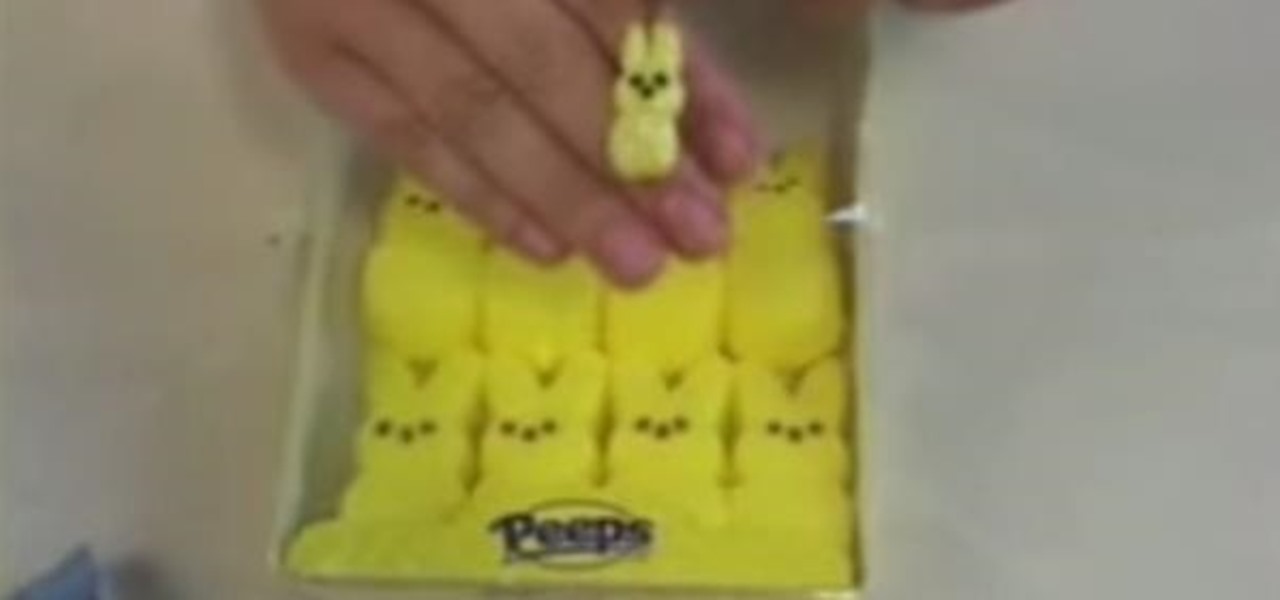
In this video from Polymer Clay Productions, we are shown how to make earrings out of polymer clay marshmallow Peeps. They use holographic yellow glitter for the sugar, polymer clay, and Sunny Side Up yellow coloring. Use a clay color and glitter color that match. Have some real Peeps handy for reference.
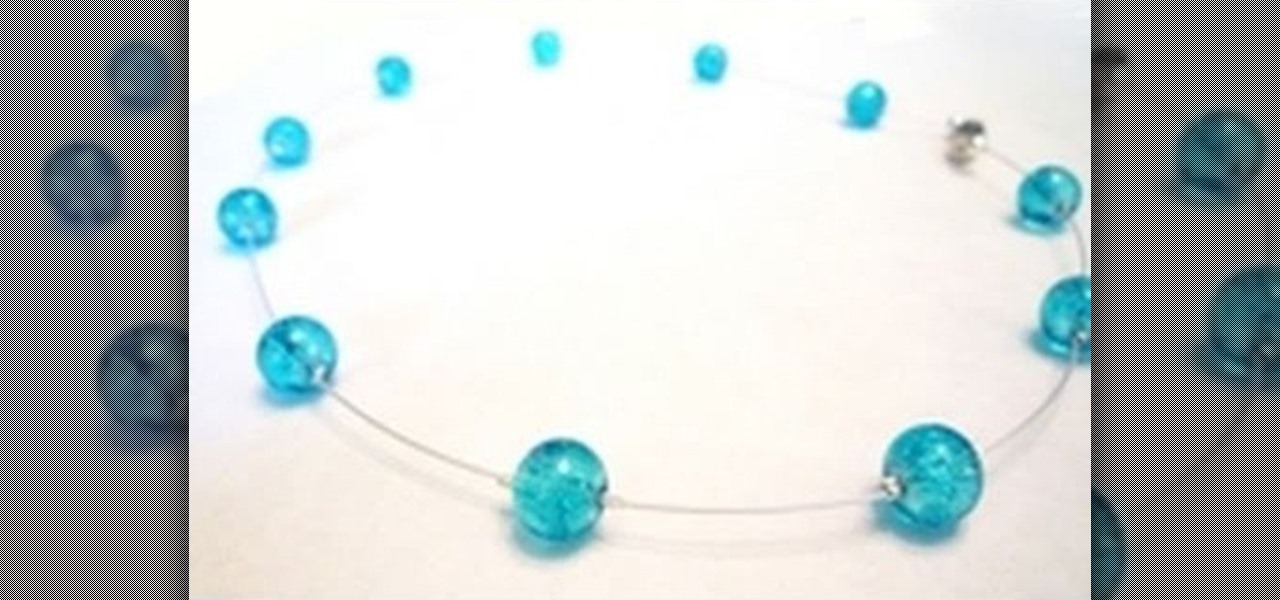
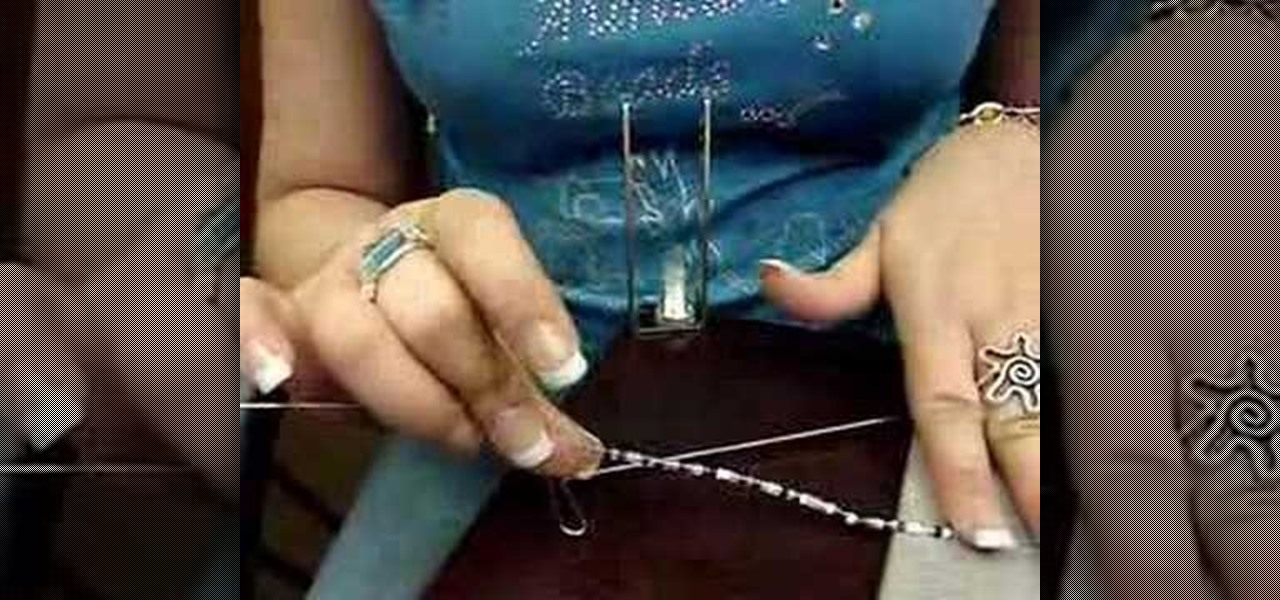
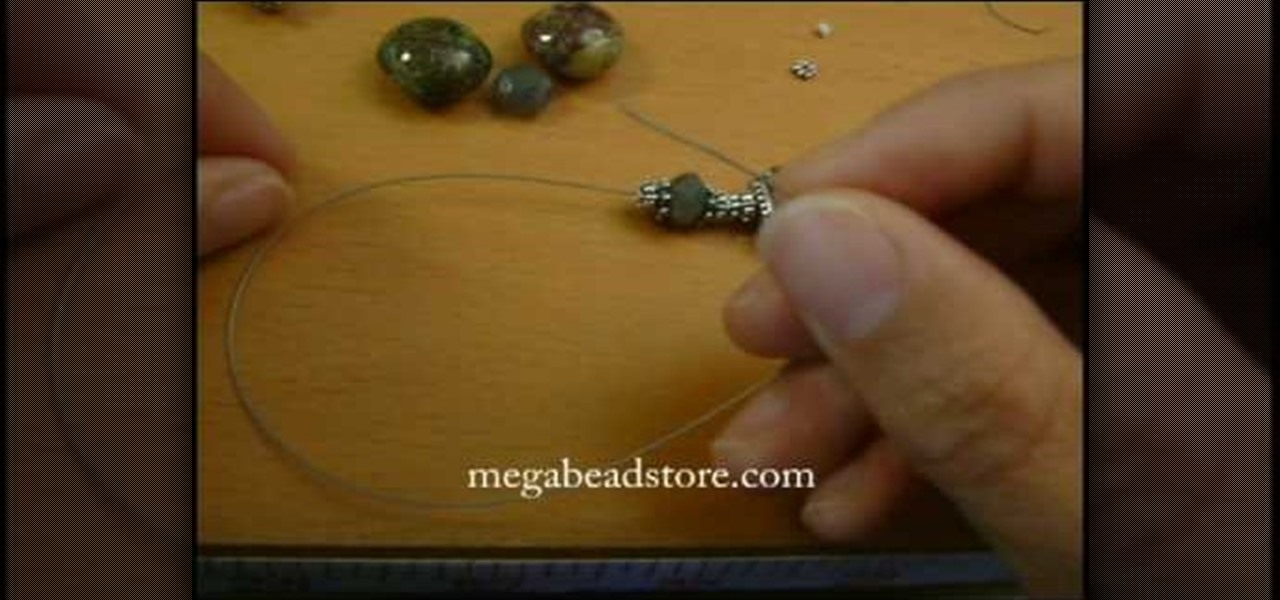
In this tutorial, we learn how to make a floating illusion style necklace. You will need: beading wire, crimping pliers, wire cutters, beads (your choice), crimp beads, crimp covers (3mm), and a clasp (barrel clasp). First, cut your beading wire to the length you want your necklace, add 3-4 extra inches. Next, space your beads out on a beading board evenly, 1 1/2" apart. Now string a crimp bead onto your wire and take the end of the wire and string it through the crimp bead on the opposite si...
Create interesting designs for your glass beads using a torch. Learn more about flame-treating your glass beads in this free bead making video from a professional bead making instructor.
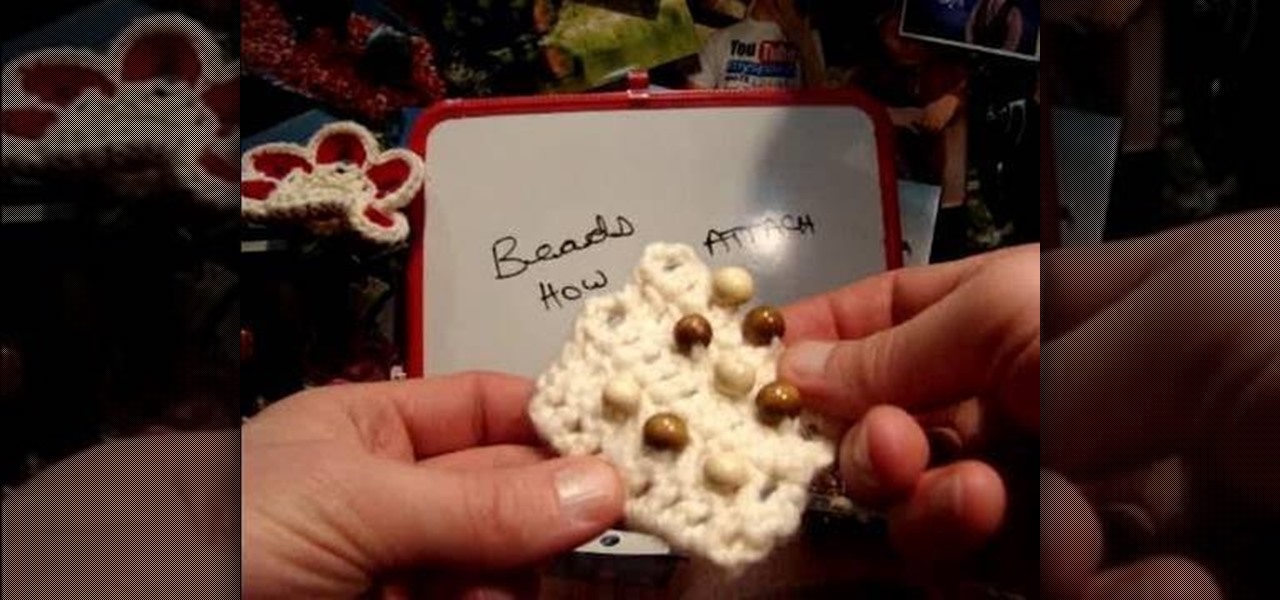
This how video will teach you how to attach beads when crocheting. Beads can be found on purses, doilies, scarves, and more. This will take you through a step by step on how to apply. Be careful now, applying the bead at the wrong part of doing a stitch will cause problems in the future. If not attached at the proper spot, the beads will loosen and flip flop around.
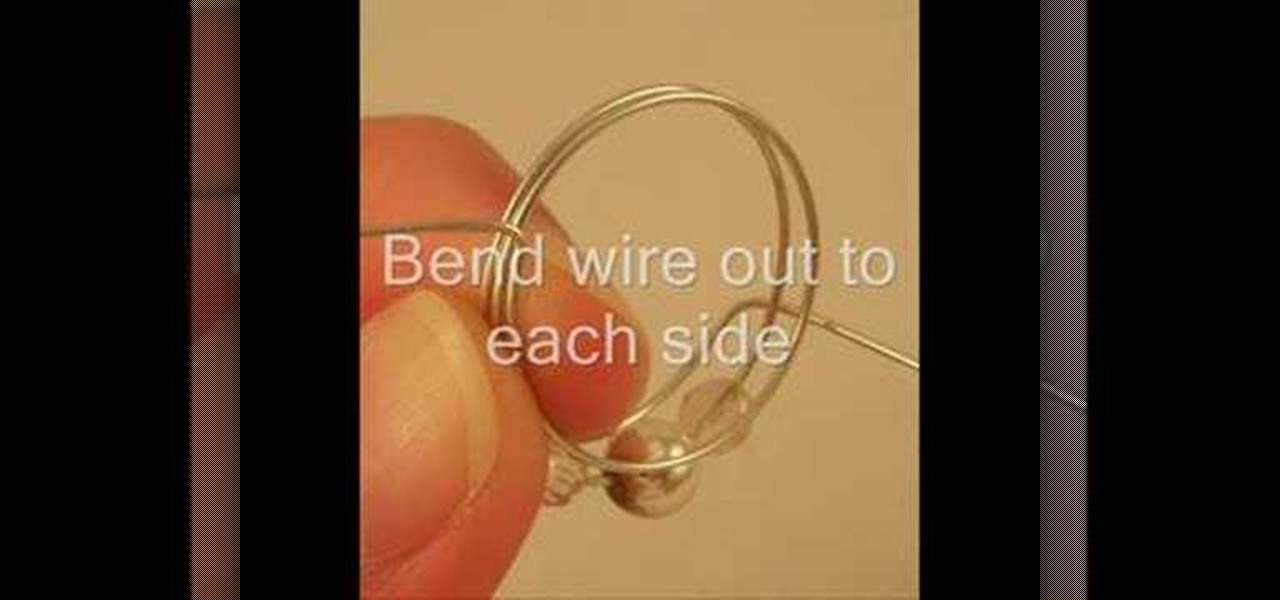
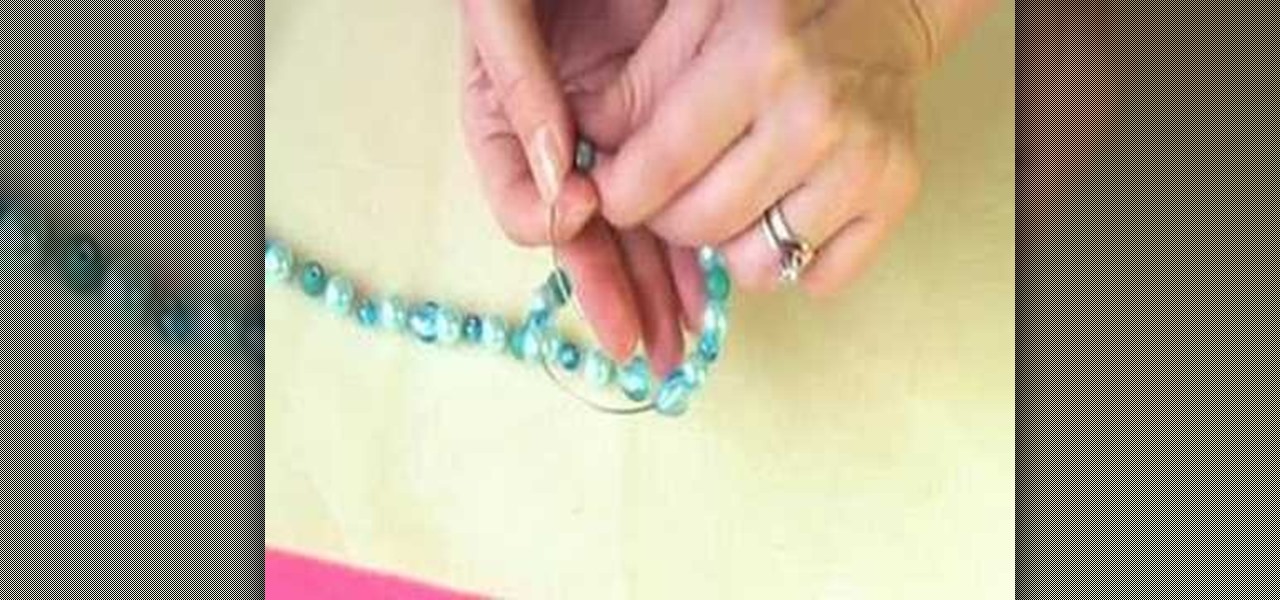
Create a simply beautiful beaded wire ring in minutes with this step by step guide. This delicate ring design will look simply lovely with any style of bead. Be creative. Learn how to craft this beaded wire ring by watching this video jewelry-making tutorial. Get beading!
Poison Ivy isn't the only woman who can get away with wearing vines in her hair. Rather than picking up a bunch of poison ivy vines and sticking them in your hair (which would be bad news for all), we recommend crafting the delicate beaded hair vine presented in this tutorial.
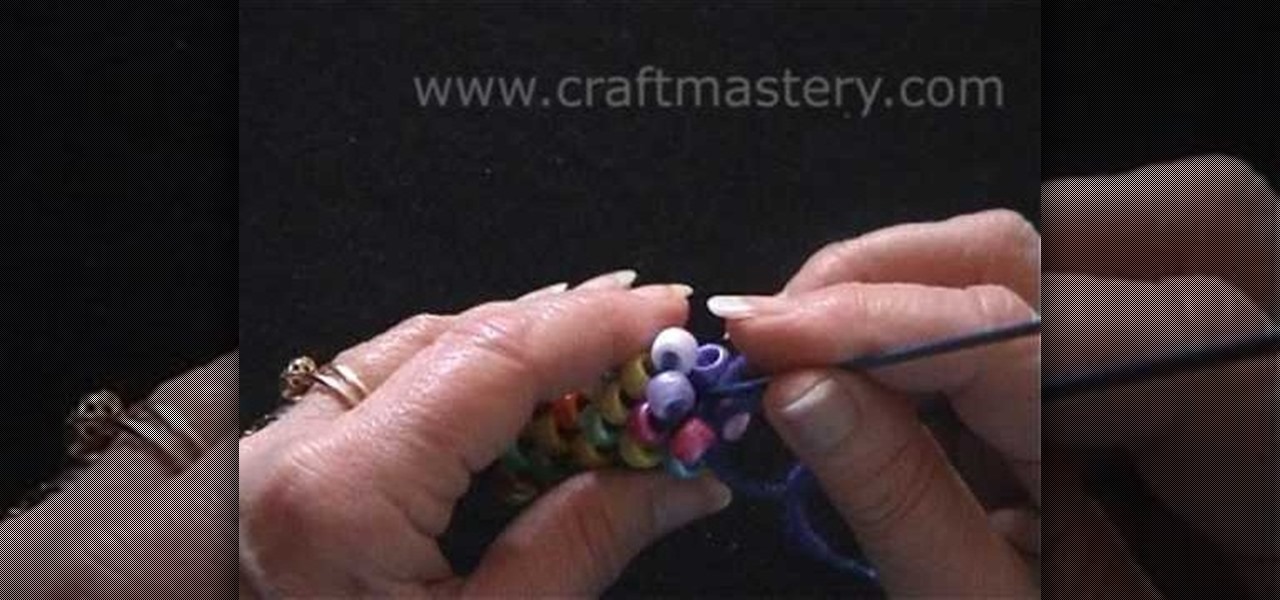
For anyone interested in learning a new jewelry technique, this video tutorial shows how to crochet a bead rope necklace. You can use large pony beads like the video tutorial, or use much smaller beads. The pony beads are suggested for beginners so that you can see what you are doing. To begin, thread all of the beads you will use onto your yarn. You can alternate colors or place them onto the string at random. Both techniques will yield two different effects. Begin with six chains slip stitc...
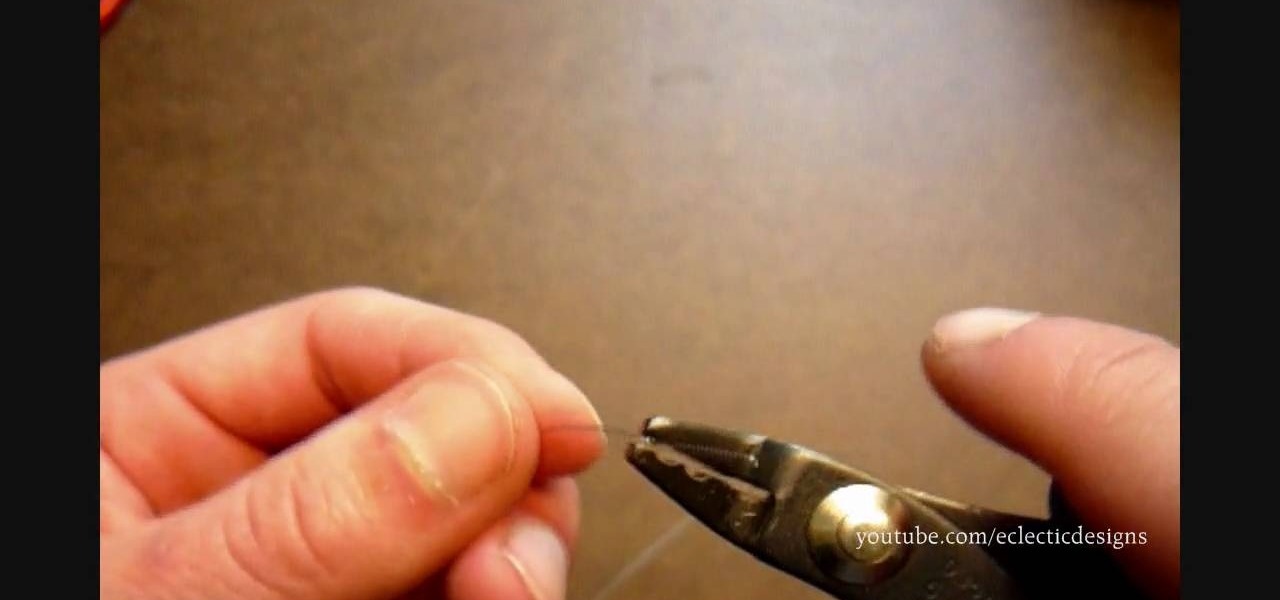
Attention jewelry makers! When making your own unique jewelry designs, one must learn how to secure the end crimp beads with crimping or chain-nose pliers. Crimp beads can be used for finishing off your strung jewelry or as "stoppers". In this tutorial, learn how to hone your jewelry-making skills!
The coiling gizmo is just that, a gizmo, that can transform wire and a few seed beads into a unique funky bead. This video will demonstrate how to make a beaded coiled bead and continuous coils.
Water beads are gorgeous, luminous beads with surfaces that look like waves on a pond, teeming with various hues of robin's egg blue, sea foam, white, and deep navy blue. Water beads can actually be made yourself from clear glass beads.
Love4Nails shows step by step tips for achieving this look. Begin by choosing a background color. On top of the base, apply white polish. Then apply a smile line on the top portion of the nail as you would when doing a French manicure. Then fill in the nail. If its not perfectly straight its ok because it will be covered. Next, apply glitter polish on the white area of the nail. With the white polish make three dot and use a dotting tool to extend them, creating flowers. With the original blu...
Those interested in learning how to make their own jewelry, can learn how to make a floating illusion necklace by following the steps in this video tutorial. You will need a beading board, beading wire, crimp beads, beads of your choice, a barrel clasp, wire cutters, and crimping/flat-nosed pliers. First measure out how much wire you will need. The tutorial is making a 16-inch necklace. Make sure to cut extra wire. For a 16-inch necklace, this means you should cut approximately 20 inches of w...
For anyone interested in learning how to make their own jewelry, try the simple steps in this arts and crafts tutorial to make a Bali bead and lampwork bracelet. To make the bracelet, you will need jewelry wire, a sterling silver toggle and clasp, crimp beads, Bali stone beads, lamp beads, silver bead snowflake caps, and silver spacers. The pattern calls for a snowflake cap, two natural stone beads, medium-size spacer, followed by a small spacer. This pattern of sandwiching a stone bead betwe...
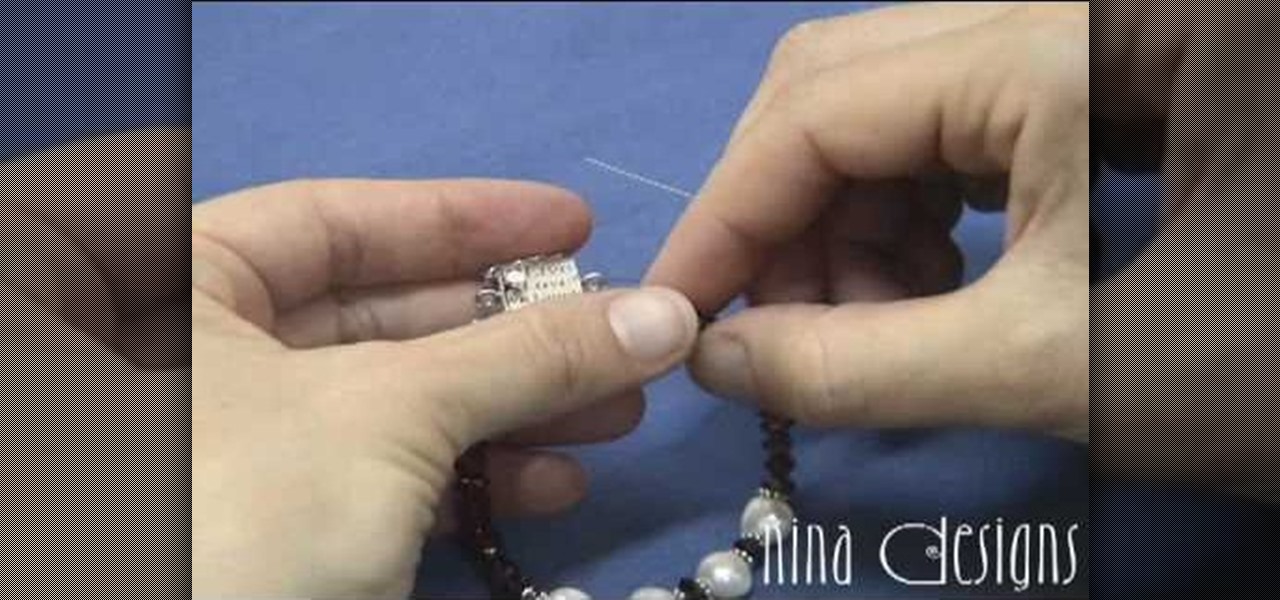
Learn how to finish a bracelet with crimps and covers to finish a bracelet start by putting a crimp bead over your beading wire and then add a clasp. After putting the clasp on the wire run the beading wire back through the crimp. Move the crimp bead up toward the clasp leaving a little room for play in between the clasp and crimp bead. Take your crimping pliers and put the crimp bead in the backspace of the pliers. Squeeze the pliers firmly to smash down the crimp bead. The crimping pliers w...
Make your own glass beads with this easy instructions. Learn how to make colored glass beads with rods and torches in this free jewelry making video series.
Making beaded bouquets of flowers requires tedious work and hundreds of beads. Make a detailed work of beaded art in this free beading video series.
Beaded jewelry is a fun craft and is easy to make. Learn how to make a variety of beaded jewelry, including bracelets and ID badge holders, in this free jewelry making video series.
Glass beads are both easy and essential items for jewelry making. Learn how to create these decorative beads to make beautiful jewelry in this free video series.
Make your own beaded window valance with this easy pattern. Learn how to use nylon string and beads to create unique valances for your home in this free craft project.
Complement your outfit with handcrafted beaded jewelry! Learn how to make beaded earrings and necklaces in this free crafting video series from professional jeweler.
In this series of video clips you’ll learn tips and techniques for making your own beaded jewelry. Expert Alan W. Rabon demonstrates the process of making a necklace step-by-step, offering advice on choosing the beads and other supplies like tools and wire you’ll need to get started.
In this tutorial, we learn how to make a daisy variation beaded ring. First, thread your needle with 1 yard of fire line. After this, string eight of the 4mm beads onto the thread. Tie these into a loop, then thread the 8mm bead down to the loop and run the needle through the fourth crystal and the 8mm will rest in the middle. Now, add on your petals by adding three seed beads and a 4mm bead, running it through the previous loop. Do this again on both sides and repeat the process. To finish, ...
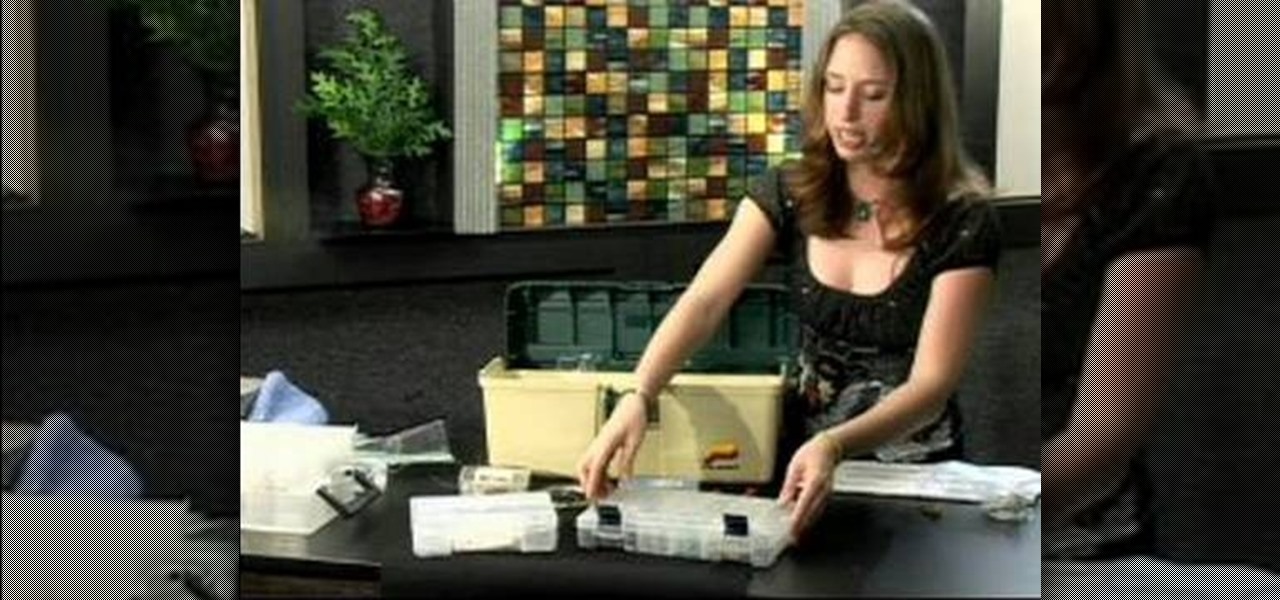
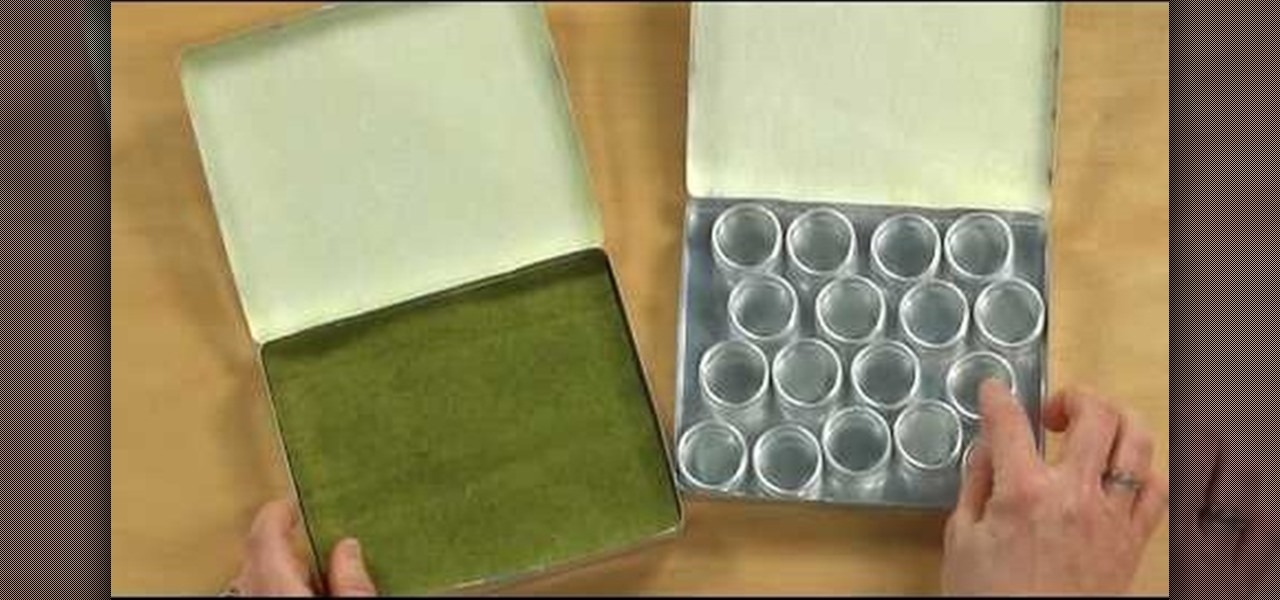
You know those long drives home in the car after you've spent a weekend at a cousin's house, or back from visiting Las Vegas? With more than a few hours at your disposal, what do you do to fill up the time? If you're an avid crafter and enjoy making jewelry, that you can turn those usually idle hours into productive crafting time by making this portable beading studio.
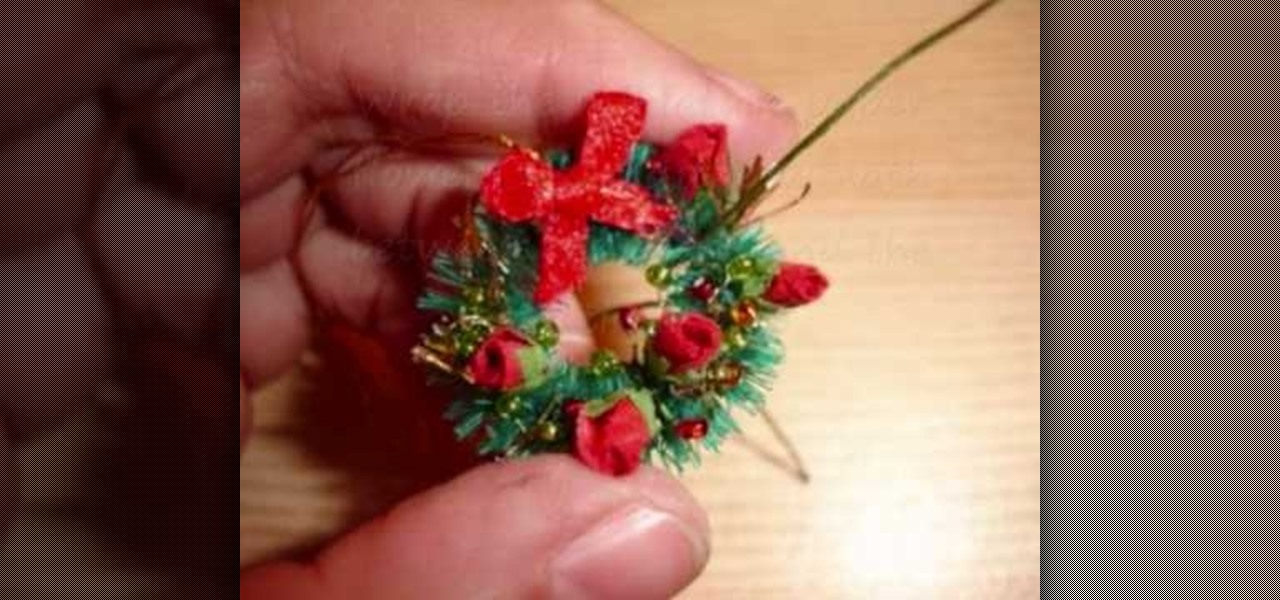
The equipment that you need is pliers, beads, beading wire, tinsel, some miniature flowers and a plain wreath. Twist a section of beads onto the wire, 5 beads make a nice grouping. Twist the 5 beads onto a single wire to make a bunch. Make enough bunches to cover the wreath. Fold a piece of tinsel between your fingers. Wrap the beading wire around the tinsel to hold it firm. Fluff the tinsel to give it some depth. Wrap the bead bunches and tinsel wraps around the wreath. Wrap the miniature pa...
This beaded candle decoration adds some extra embellishment and flair even to ordinary candles. To make the candle charm, you will need beads, a wire coil, and pliers. Learn how to craft this beaded candle decoration by watching this video beading tutorial.
In this tutorial, we learn how to make a interchangeable beaded watch band. First, cut your beading wire to appropriate length, then slide a crimp bead and lobster trigger clasp to one side of the wire. Then, bring the end of the wire back through the crimp bead creating a snug fit. Using the rear notch on your pliers, crimp the bead tightly. Then, add a crimp bead cover using the front notch on the pliers to close the bead tightly. Next, string your chosen beads, then repeat the first steps ...
In this video, we learn how to hide a crimp bead with a crimp bead cover. First, string your spacer followed by a crimp bead and another spacer. At the end, you will have the end piece with the wire protector next to it. Then, bring the piece of jewelry through the crimp bead twice, then through the spacer once more. Now the spacers and crimp beads will be pressed with the crimping tool tightly. Pull on the string to test it out, then slip in your crimp bead cover so it looks like another bea...
This video tutorial belongs to the Arts & Crafts category in which Maricela is going to show you how to apply a crimp bead cover. First take a crimp bead cover. Now slide it over the crimp bead through the open jaw. Next take your crimp forming tool and applying a slight pressure to close the crimp bead cover around the crimp bead. If too much pressure is not applied, the crimp bead cover will close evenly around the crimp bead and the effect will be that of a seamless round bead. And that's ...