This instructional video shows how to print your own t-shirt. The guys at Makezine.com & Etsy.com show you how to screen print on a t shirt. This is also called silk screening. This is another great weekend project by Make Magazine. Use any drawing you like, and make as many copies as you want (until the screen breaks that is). Watch this video tutorial and learn how to screen print your own t-shirts.
Corrine from ThreadBanger shows you how to screen print your own designs at home onto a t shirt.
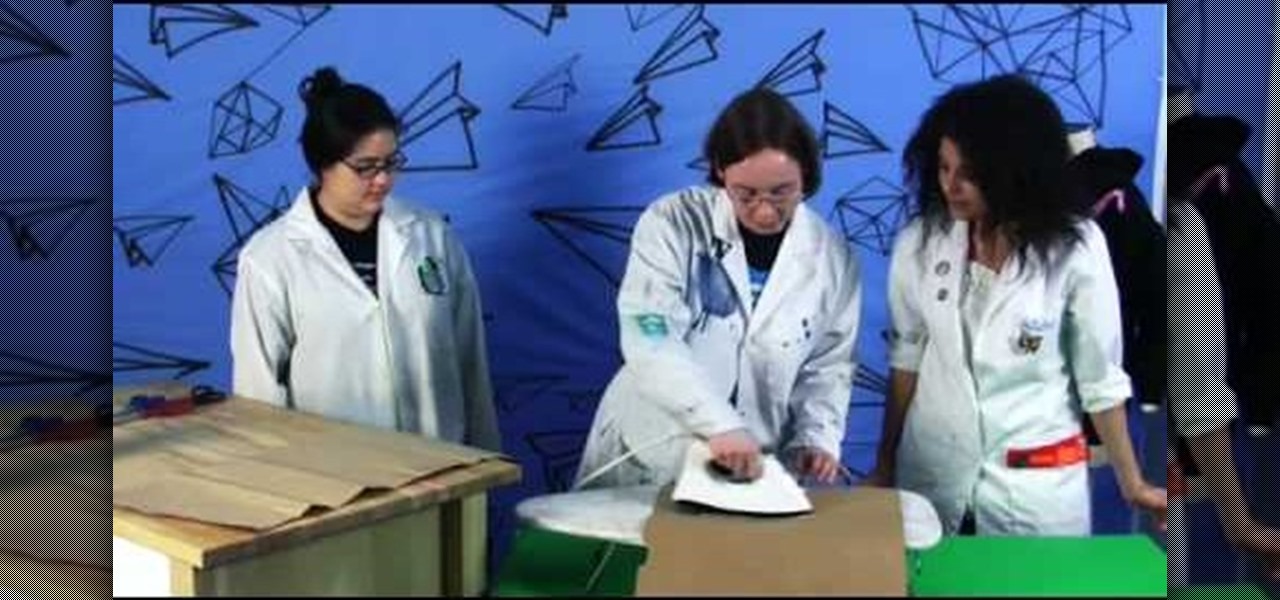
This week, Etsy How-Tuesday presents Kari aka ikyoto and Stella aka lookcloselypress of The {NewNew} York Team. Today we're going to learn how to screenprint our own snowflake gift wrap for the holidays. Kari and Stella remind us that recycling paper bags is a great source for materials for this kind of project.
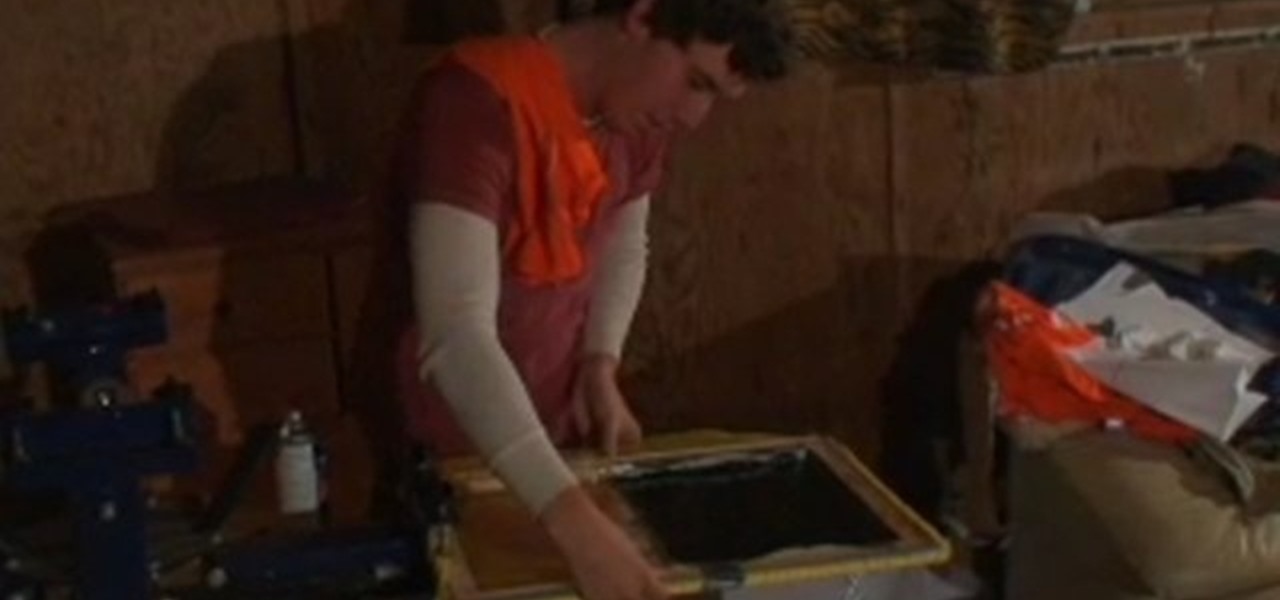
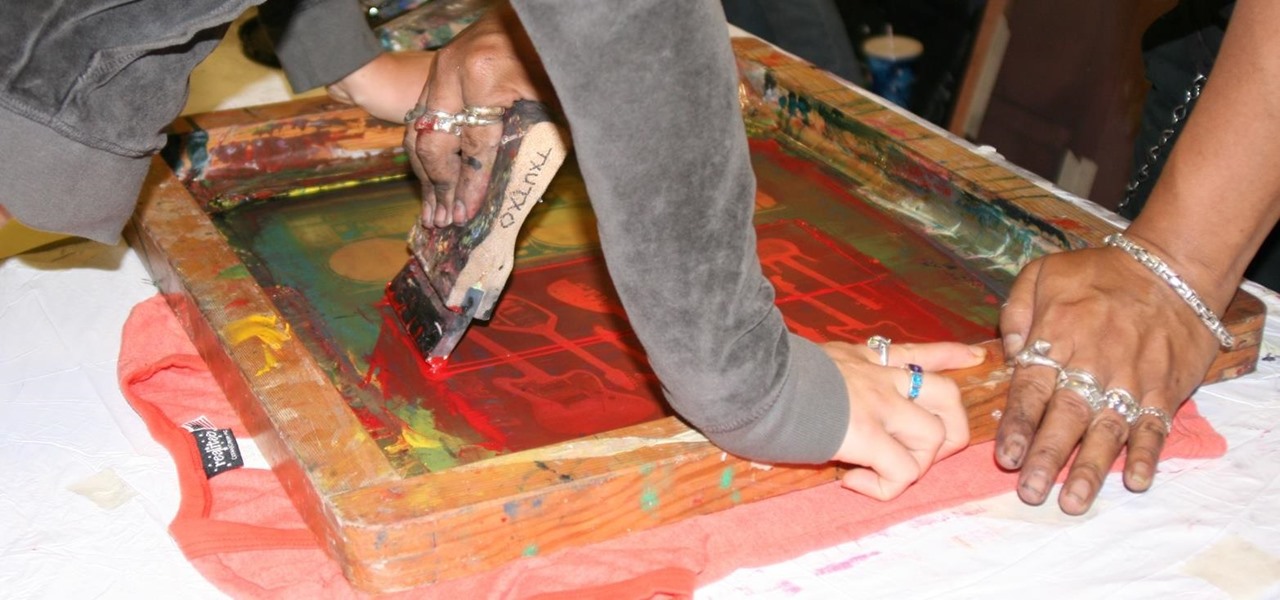
Ever wonder how screen printed t-shirts are made professionally? This awesome tutorial takes you through the process, starting with the design on the transparency screen, to printing, to the press bed, then to dry. Make sure to listen for advice on how to keep your ink on your t-shirt by heat setting the t-shirt after you're done screen printing.
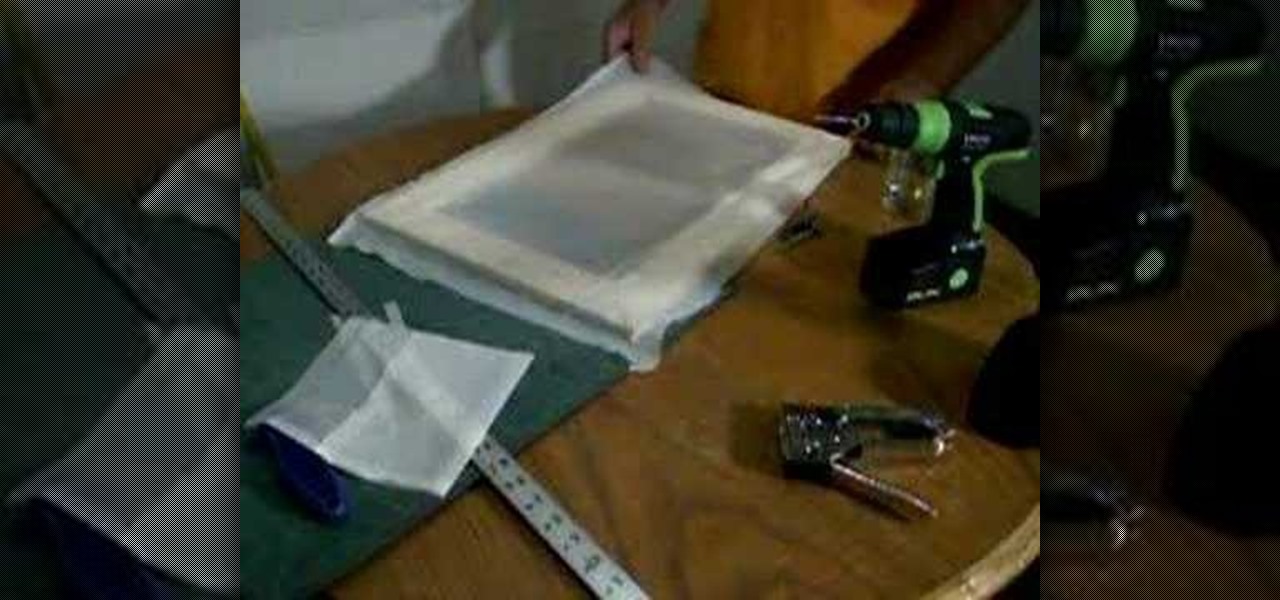
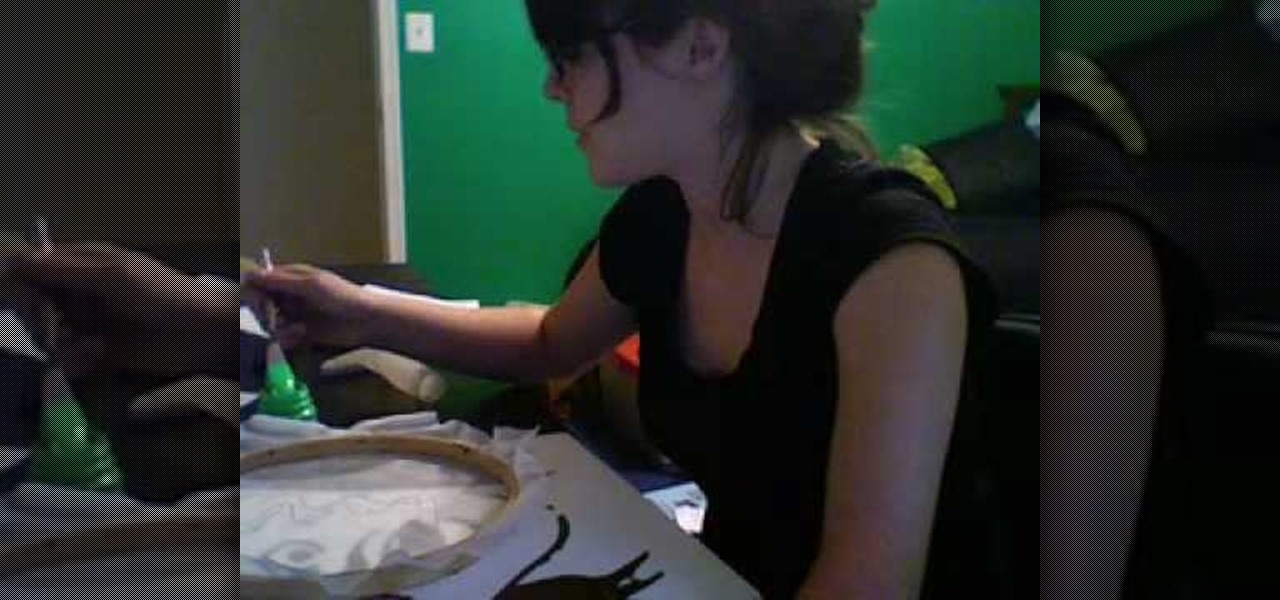
This great tutorial by BubzBeauty takes us through the step by step process of screen printing your own t-shirts. Materials you will need include Mod Podge glue to make a stencil of your tee design, fabric paint, thin permeable fabric (preferably Organza), a 12 inch embroidery hoop, and a sponge.

A tutorial on screen preparation for screen printing.

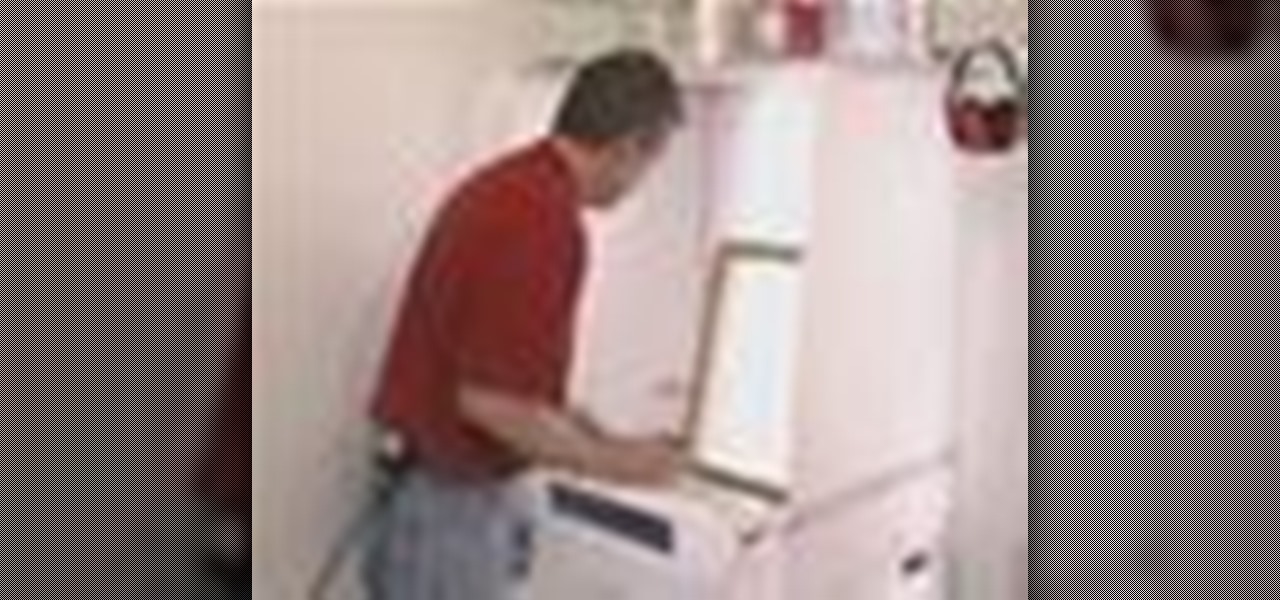
Start screenprinting your own T-shirts at home! If you have the screen printing equipment, then you have practically all the things you need except the knowhow. So check out this video tutorial to learn how to start screen printing at home with Etsy.
Screen printing is a great way to show your creative side while increasing your shirt collection. Learn how to silk screen images on your own from a printmaking expert in this free instructional video series.
Screen printed t-shirts cost you quite the chunk of change at most clothing stores. Whether it's to prove your street cred with a screen-printed Nike shirt or to wear a screen-printed tee promoting a major cause like the Susan G. Komen Cancer Foundation, you probably already have a few in your closet.
This video, which was made at Peopleprint Community Media in Rochdale, teaches how to easily silk screen print a t-shirt in only four minutes! First, design the artwork to be used for the print, then print it on acetate. Next find a clean screen. Put some emulsion in a coating trough and slowly and steadily coat the screen in emulsion. Then dry the emulsion in a dark room and expose the screen to light. Next wash the screen with water and the artwork should become visible. Mask the exposed ar...
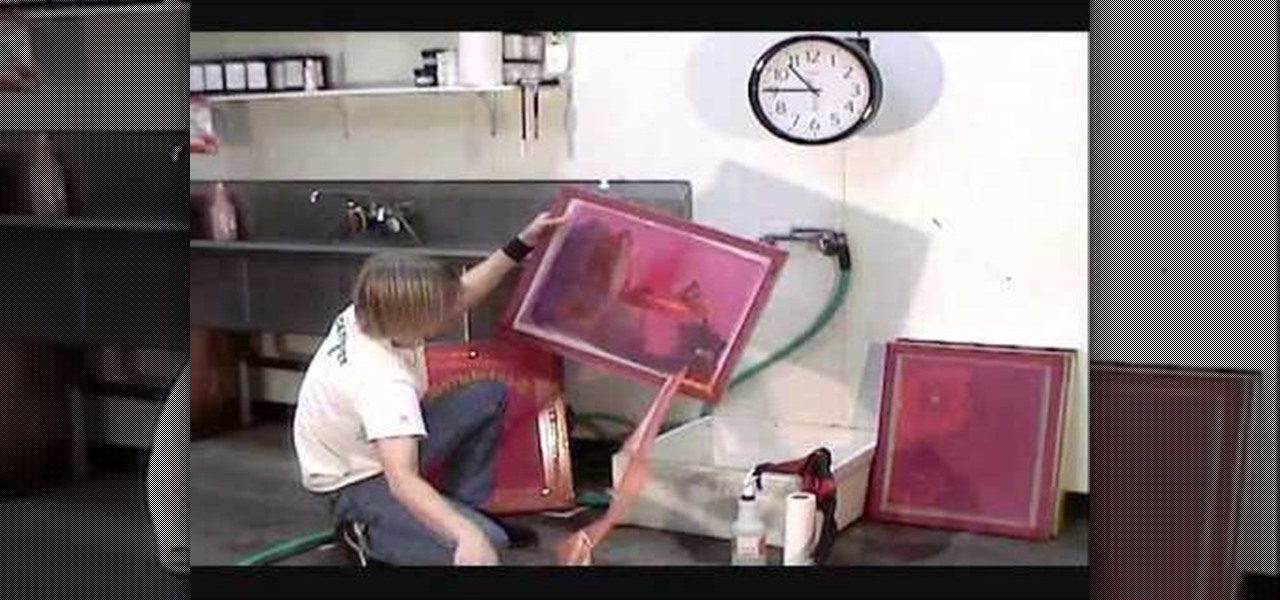
Check out this instructional printmaking video that demonstrates how to prepare a screen print. Even though they're brand new, they're contaminated by fingerprints, oil and greases that penetrate as mesh. So follow the simple step by step instructions in this printmaking tutorial to prepare your screen prints.
In this two-part tutorial, learn how to use a stencil on a shirt to create a screen printing effect. Although this does not show you how to do real screenprinting, by using a stencil you will create the look of a screenprinted shirt and be able to transfer your image. Materials you will need include: A blank t-shirt, a high contrast image, acetate, Scotch tape, a sponge, a Sharpie, Exacto knife, some acrylic paint, and glue adhesive. Get your favorite image on a t-shirt you can wear with help...
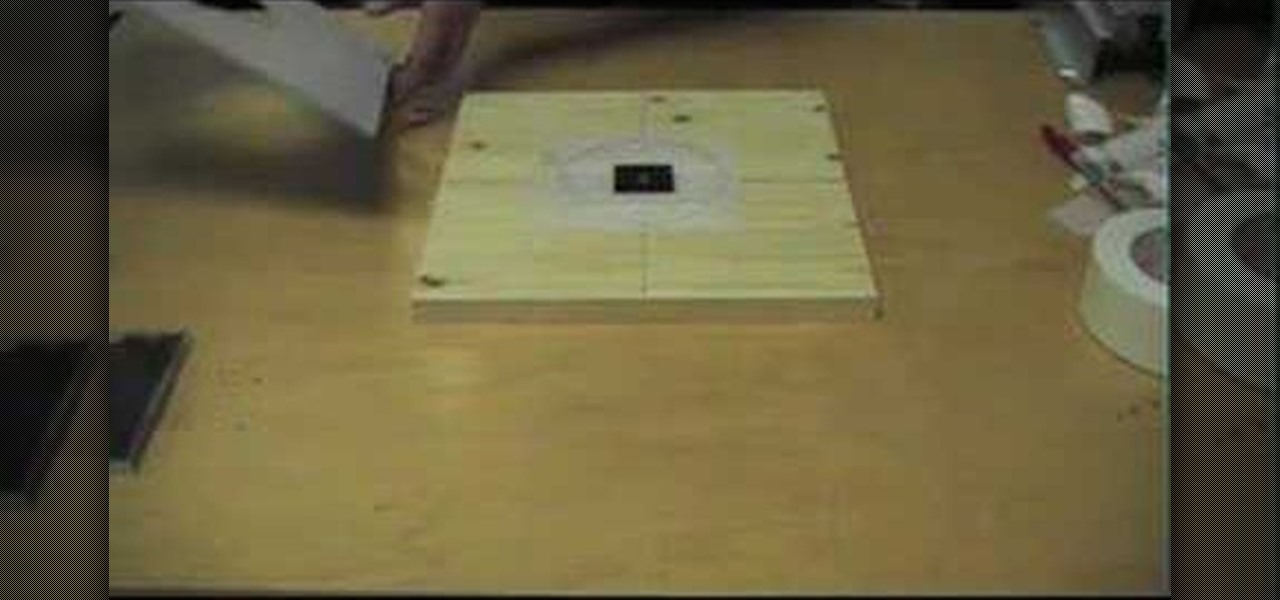
If you have ever screen printed, you most likely have been asked to print CDs. Here is a simple way to create a CD platen for under $15. This type of printing generally requires a vacuum frame, but not if you use the DIY CD Platen. It holds the CD in place extremely well and can be used to print more than one color. Print one color and let it dry completely before printing additional colors.
Using the DIY CD Platen and Nazdar 59000 Series Ink, you can print on CDs and DVDs with excellent registration and print quality. This is a simple demonstration on manually printing CDs with a 2 color design.
Check out this video to get a lesson in contact paper screen printing.
How to clean up your screen printing screen.
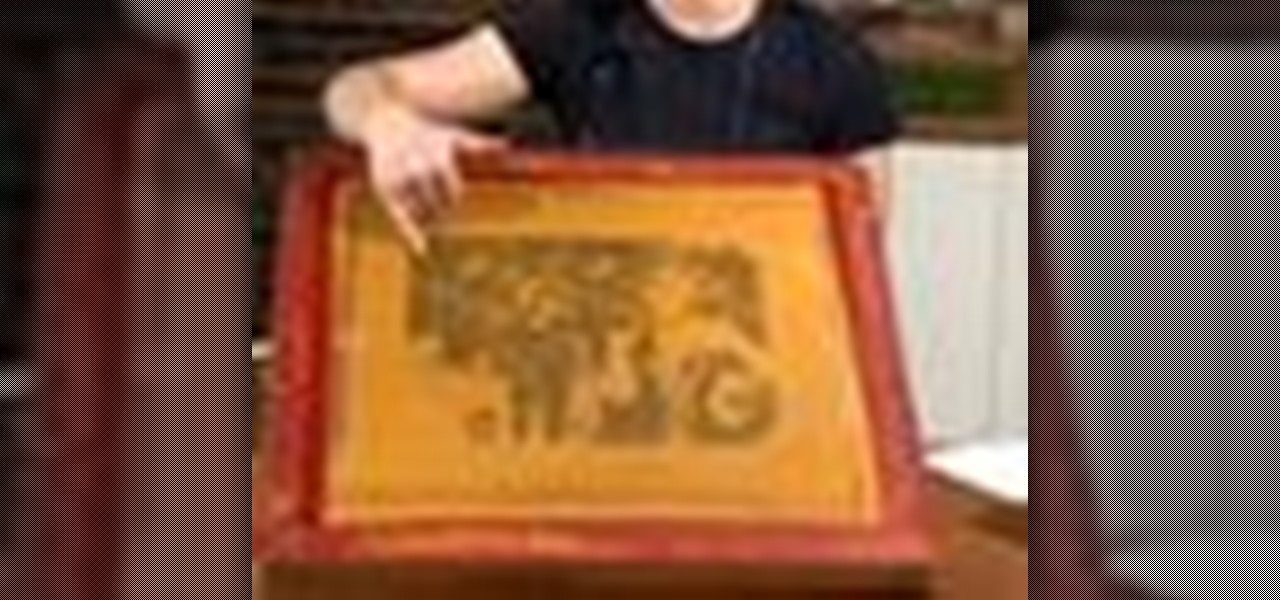
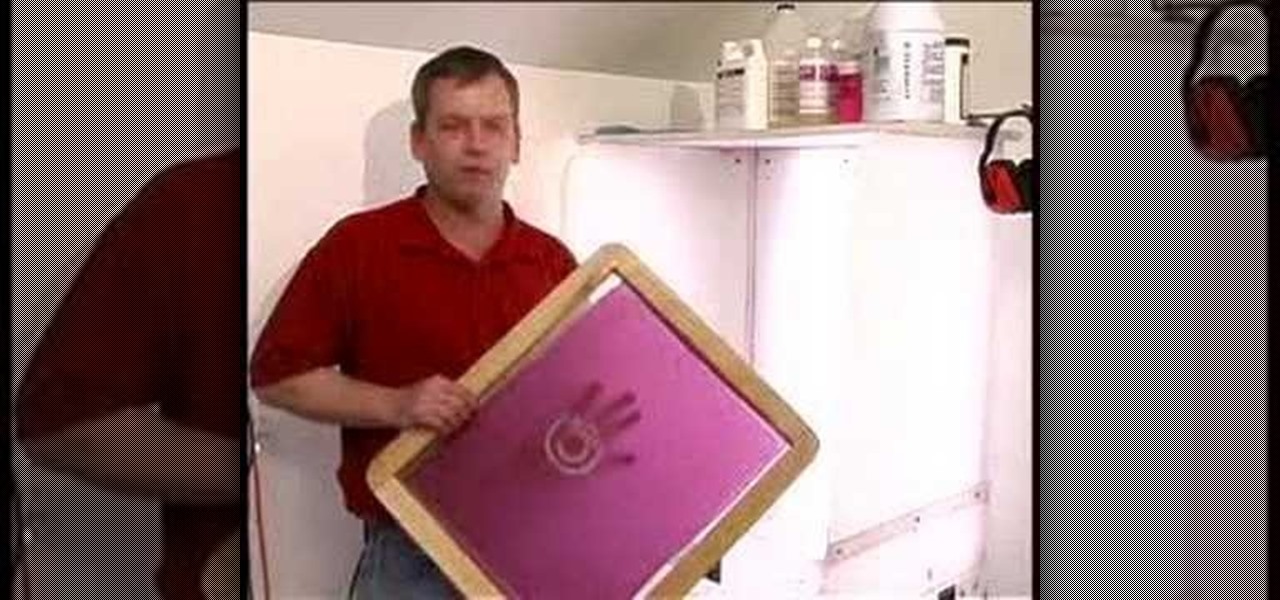
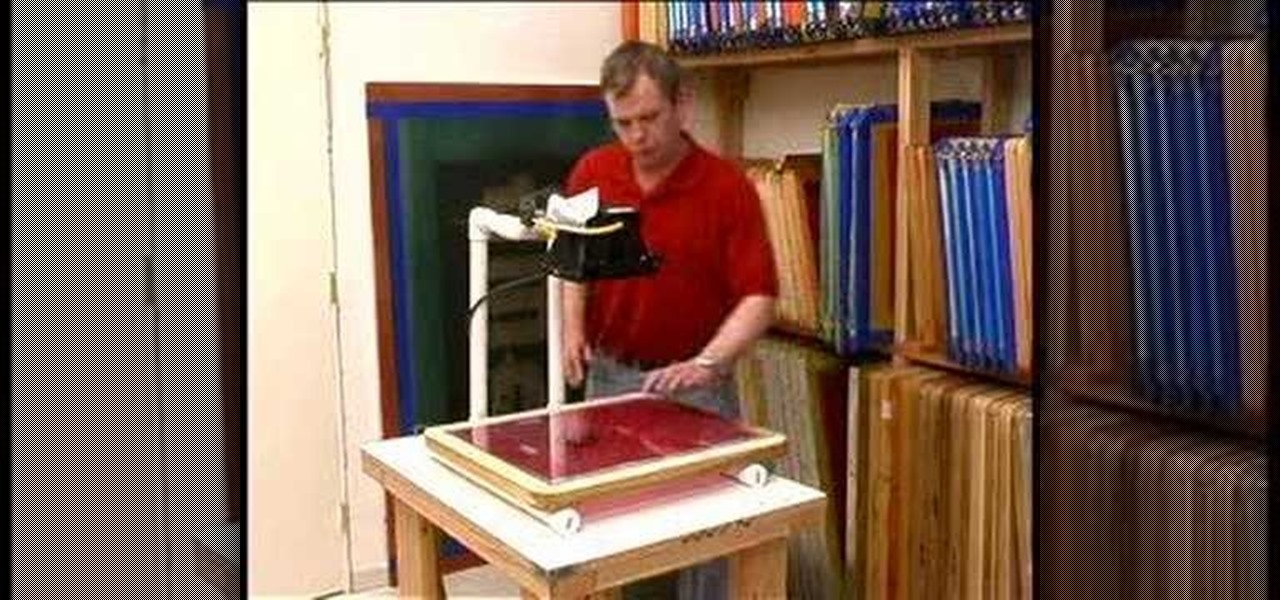
A tutorial on screen exposure (transferring your image to the screen) for screen printing.
Watch this instructional screen printing video to do an emulsion, burn an image, and screen print. These tips are helpful for beginners who want to screen print from a photographic image. If you are taking a screen printing class, this video will remind you of a few key steps and processes for screen printing on your own.
Feed the fashion designer in you and learn how to screen print your own t-shirts at home with these free fashion design videos.
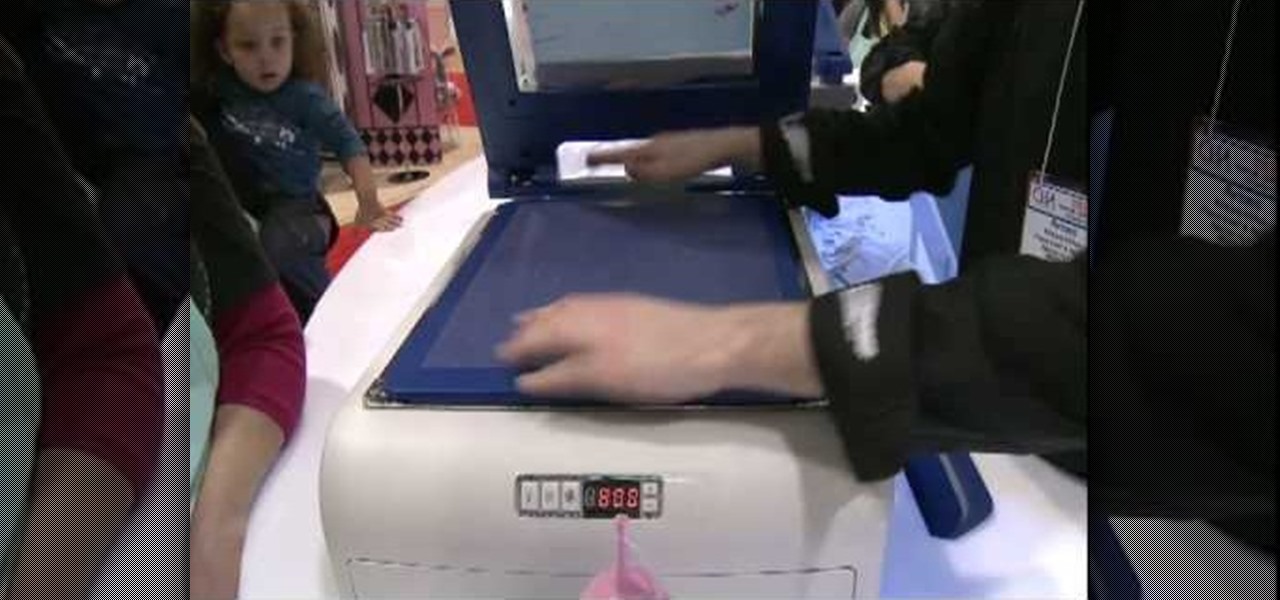
Margot Potter, otherwise known as The Impatient Crafter, provides a thorough examination and demonstration of the ProvoCraft YuDu home screen printing machine from start to finished product (in this case a screen printed tee-shirt). This video is effective both as an introduction to the product and what comes with your purchase as well as tips and tricks as to how to work with home screen printing. The 6+ minute video is entertaining as well as informative and keeps your attention in an irrev...
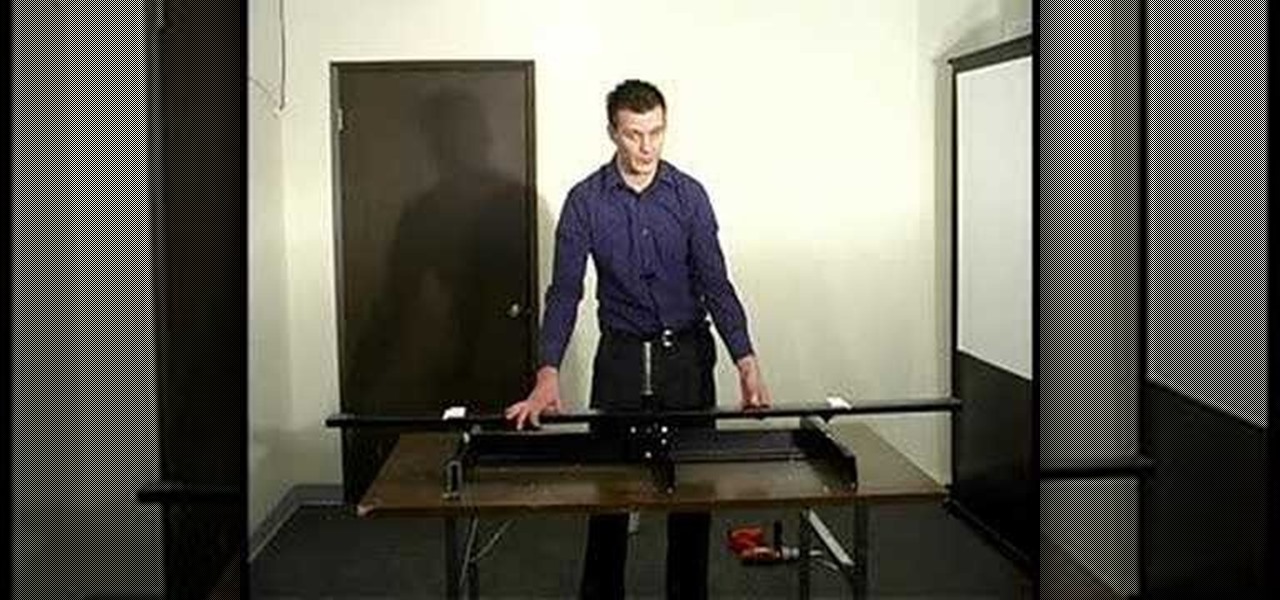
How to assemble and adjust a six color, two station table top screen printing press.
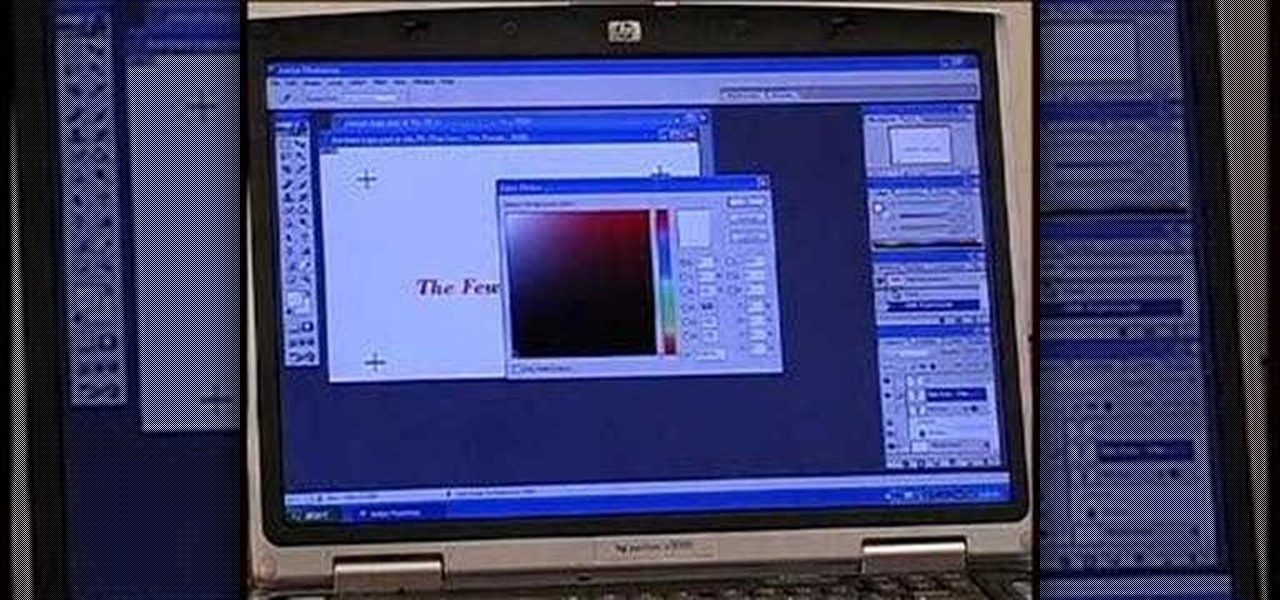
Learn how to layout and print your artwork for screenprinting. Adobe Photoshop is the program used in this demonstration.
Scared to start silkscreening because of the cost? Silkscreen print frames can actually be made at home, and can be used over and over again. Learn how to make a silk screen print frame at home by watching this video printmaking tutorial.
Screen printing only takes a few simple tools: a squeegee, the screen frame, ink, and the t-shirt. Make a silkscreen out of anything you like. Watch this video screenprinting tutorial and learn how to silkscreen a t-shirt at home.
CreativeXpress shares a video regarding the usage of the Yudu personal screen printer. Put the plastic foil over the design you want on your t-shirt and turn on the light on the printer. This will cause the design from the page to be transfered onto the foil. Then you simply place the shirt onto the foil and place a good amount of ink on top of the foil. Use the squeegee to spread the ink over the design and onto the shirt. Let it dry for a bit, then iron the shirt using a cloth or piece of p...
It's easy to screenprint. Draw a design, tape it to a t-shirt, and use regular household bleach to stain the fabric. Watch this video printmaking tutorial and learn how to design a t-shirt using simple supplies from around the house.
How to set up and adjust a 4 color table top press for screen printing.
How to take screen captures on a PC with the Print Screen key
Check out this instructional printmaking video that demonstrates how to clean up the screen after making a print. Now the ink used stays good forever (until heated), so go ahead and put it back in the ink container. Just scoop it up and squeegee it. It is a good idea to wear latex gloves. Follow the simple instructions outlined in this printmaking tutorial video to learn how to clean up after making a print screen.
This is silk screen production, the cheap and easy DIY way! In order to make this easy silkscreen for making cool T-shirt logos and designs, you'll need some acrylic paint, paintbrushes, cheap net curtain (patterned or plain), vinyl sign sheets, blackboard (or cork board), and some fabric paints to paint with. Also, you'll need a CraftROBO precision cutter. Soon, you'll have your very own screen-printed tee shirt, thanks to your very own homemade silkscreen.
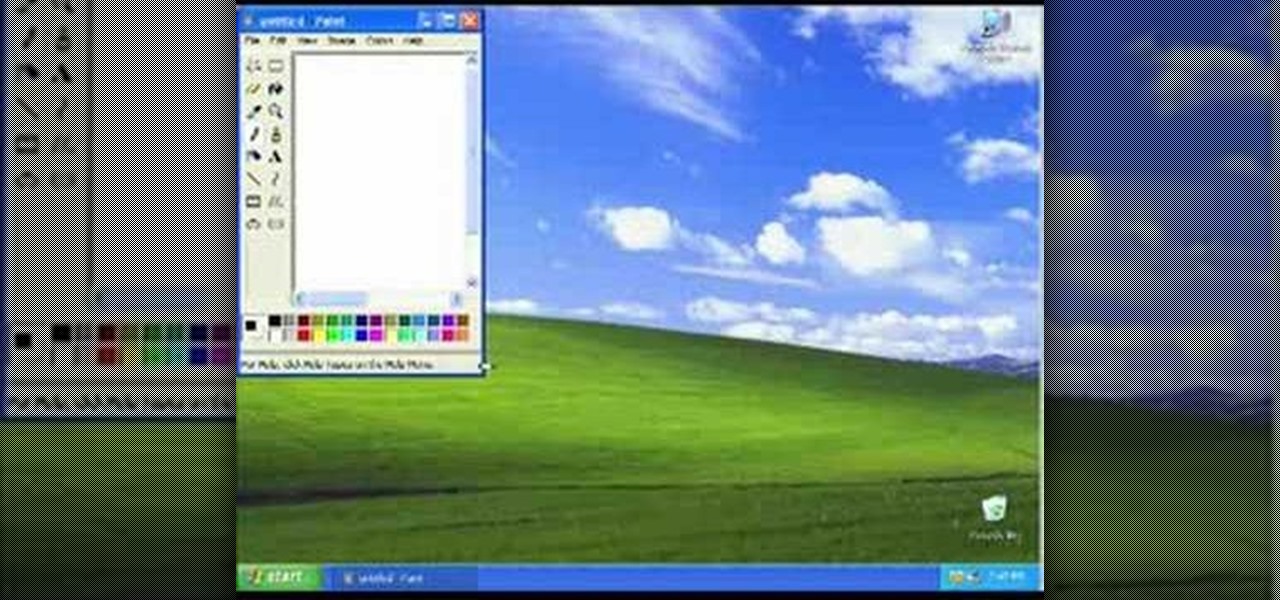
In this video, the instructor shows us how to take a screen shot off of Windows XP. First, you will want to pull up the screen that you want to take a screen shot of. After you have this up, you will hit the "Alt" and "Prnt Scrn" button at the same time. Nothing will show up on your computer, but it will have saved the image. Next, open up the program "Paint" and click "edit" on the top toolbar, then click "paste". The image will then show up on your screen. To save, click "File -> Save As", ...
This is a video about how to use the printscreen button. You can take screenshots with the printscreen button on the keyboard. First you have to a pick an image whatever you want to save in your PC. In this video he is explaining about how to save the a picture about the animal description. Next press the printscreen button when you get the image. Next go to start button and next Accessories and next paint and open the new page on paint. Then go for paste in the edit. Then you will see the pi...
In this video, we learn how to take a screen shot without using special tools. First, pull up the page you want to take a screen shot of. Once you have that page up, press the "Alt" and "Prnt Scrn" buttons on your computer keyboard. After you have done this, open up the "Paint" program on your computer and find the toolbar at the top. Find the button that says "edit" then hit "paste". After you do this, your page will show up in paint. You can crop it and edit it to the size you need, or leav...
Google's Pixel phones have a feature that lets you swipe down on the fingerprint scanner to open your notification shade and Quick Settings panel. It's one of those features that make you wonder why it wasn't there in the first place, since it gives you another way to interact with your device, and your fingerprint scanner isn't being used while you're screen is on anyway.
For months, consumers have been itching to know whether it will be Samsung or Apple that has the first in-screen fingerprint scanner in their next smartphone. Now, reputable researcher Jiutang Pan has taken to Weibo to report that the answer is neither.
When you press the Print Screen button on your keyboard in any version of Windows, be it 95, 2000, ME, XP or Vista, Windows will take a picture of your display output and put it into your clipboard. Once in your clipboard, it can be pasted into most any image editing program (e.g., Paint). For more information on taking screenshots with Print Screen, watch this helpful Windows tutorial!
To print your screen on Windows Vista, start by going to the start menu. Click on all programs then click on accessories. When accessories opens click paint and that will open a new window with the paint program. Minimize the programs so that your desktop is all you see. Press the prtsc button near the top right side of the keyboard. Once you have pushed prtsc, restore the paint program so that it is full screen again. Click edit and a drop down menu will open. Then click the paste button. Yo...
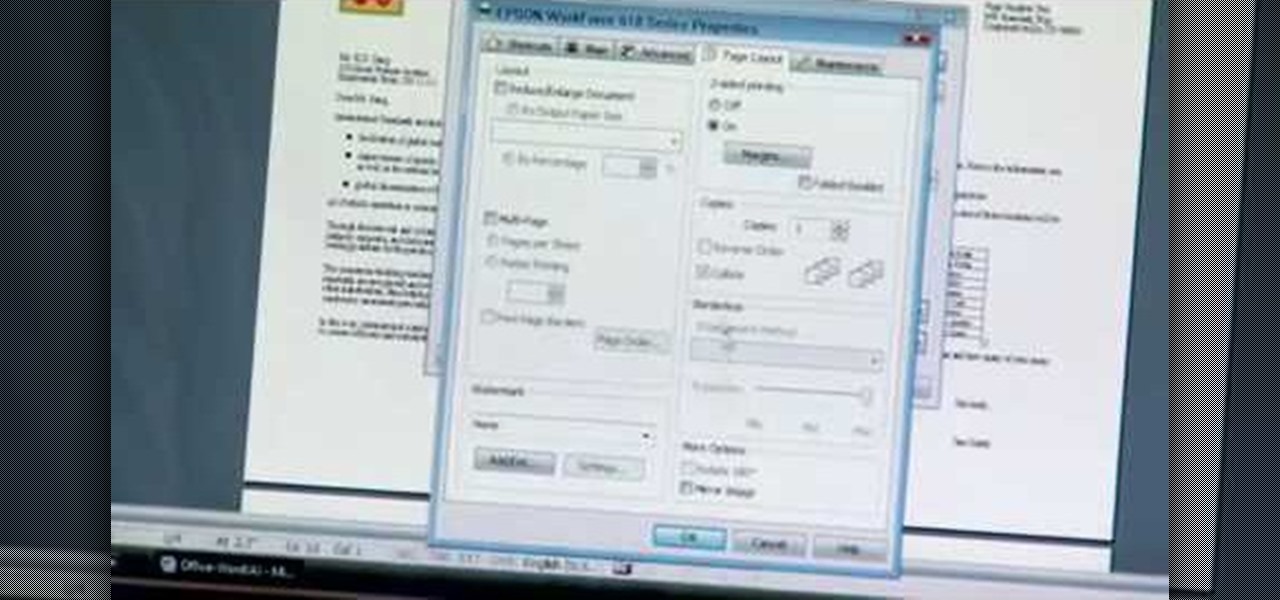
The Epson video describes how to print two-sided on one piece of paper. When document is ready, go to "File" and then "Print". Click the "Properties" button and select Page Layout tab and turn on the two-sided printing option. Click "OK" in print window. Wait for Epson printer to complete the first page. Take paper, flip over and put it back upside down in the paper feeder. There are instructions that will pop out on screen for this. Click resume and the second page will be printed on the bac...
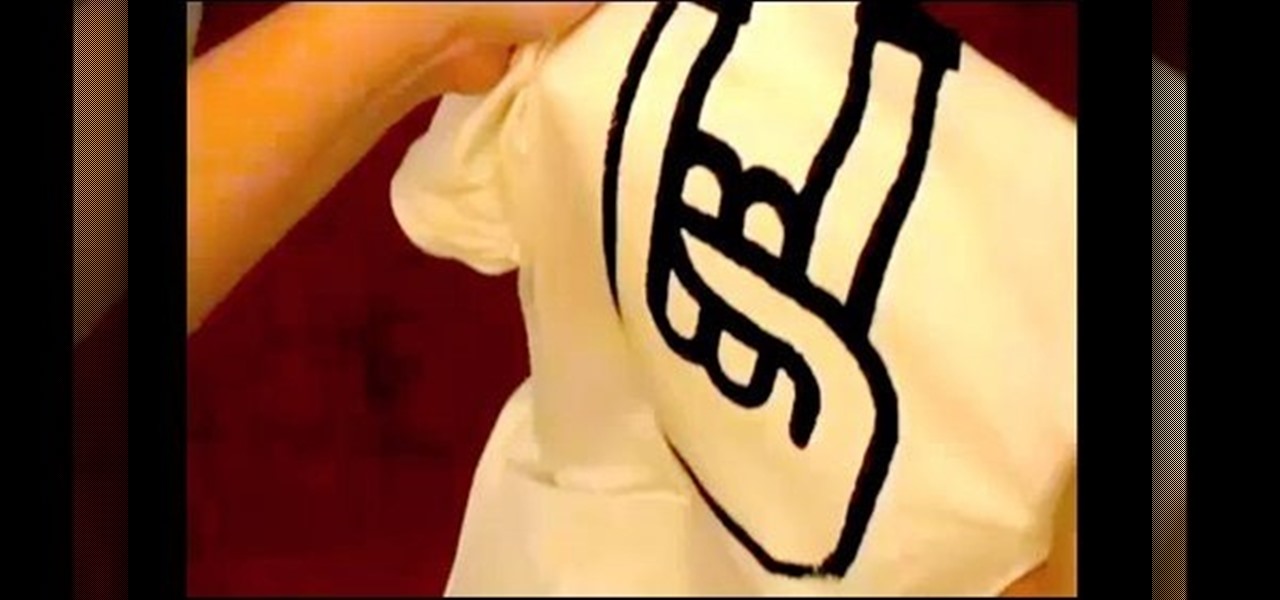
Learn how to screen print/ silkscreen a tshirt without using an actual silkscreen. Have you ever wanted to paint your own shirt or silkscreen multiple prints? Now you can know how! Creating your own designs is a lot of fun.
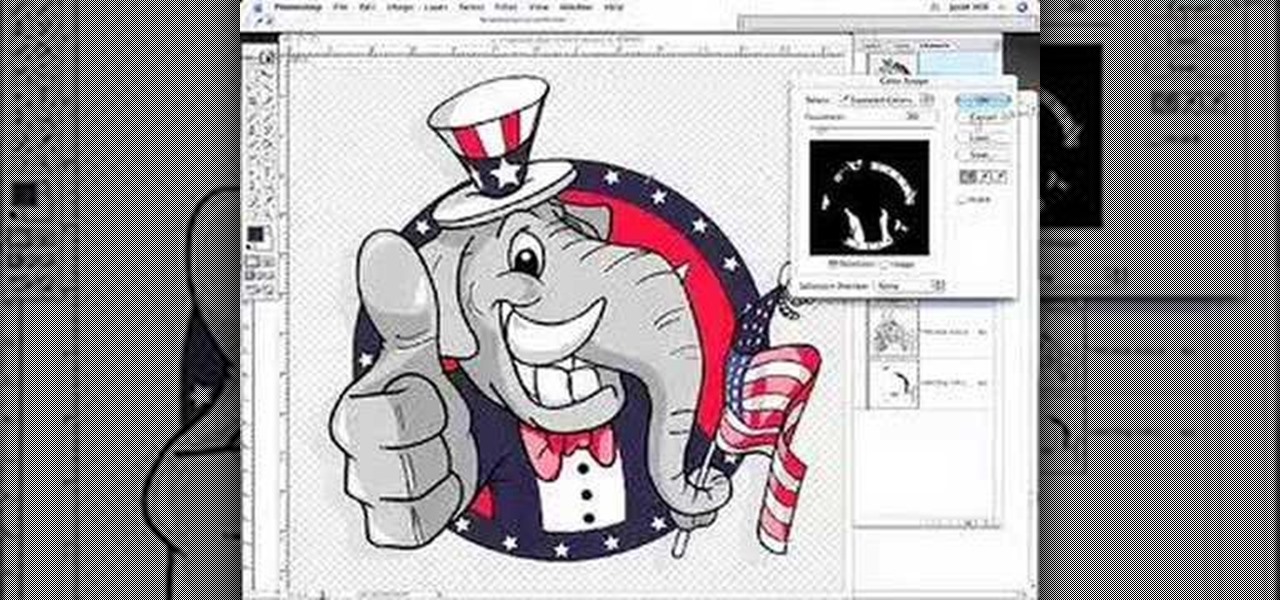
In screen printing, Photoshop can be a powerful tool. If you have a jpg, tif, eps, or other type of file in which you can't alter, printing from Photoshop will give you too many separations. Here is a way to take a simple design in Photoshop and convert it to spot colors in order to print solid colors instead of mixing inks.