
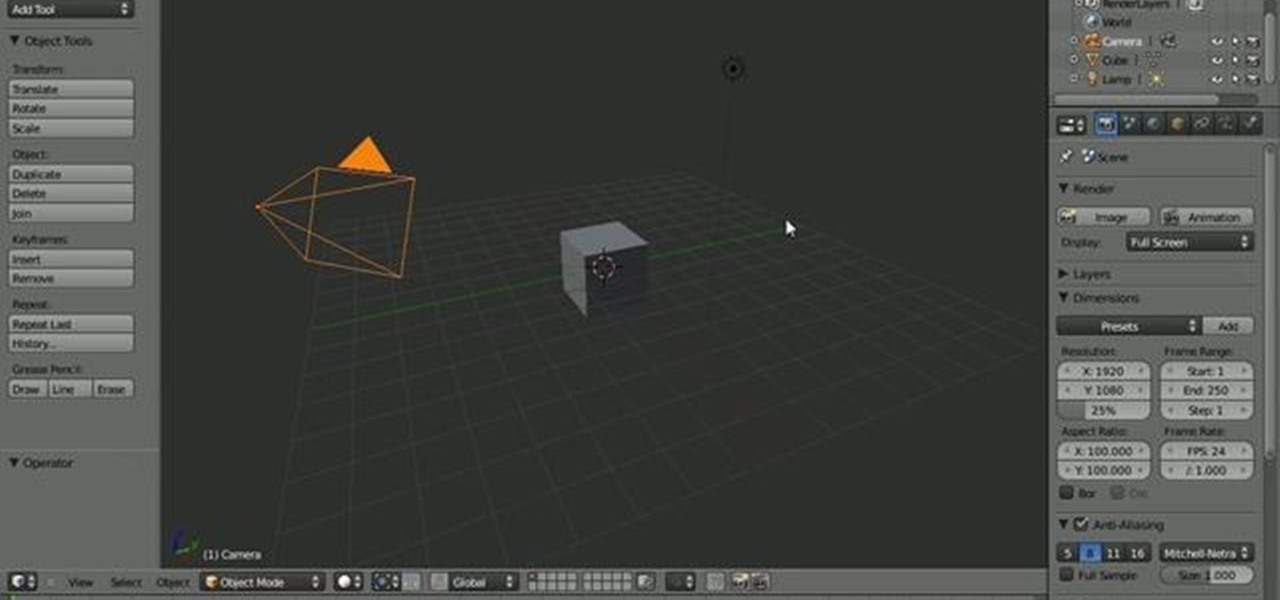
How To: How 3ds Max Network Rendering Works and How to Queue Multiple Scenes for Rendering
Hey all, in this video tutorial I explain 3ds Max Network Rendering, and queuing multiple scenes for rendering.

Hey all, in this video tutorial I explain 3ds Max Network Rendering, and queuing multiple scenes for rendering.

Thanks to a new update to Amazon Sumerian, developers will now be able to not only create more realistic 3D content, but also build AR experiences more easily.

Looking to inject a little more processing juice into your HoloLens? Unity can fix you up with the Standalone Universal Windows Platform Holographic Emulation.

Developed by the same team of engineers responsible for LightWave 3D, modo, lowercase, delivers the next evolution of 3D modeling, painting and rendering in a single integrated and accelerated package for the Mac and PC. And now, modo is a true end-to-end solution that includes true 3D sculpting tools, animation and network rendering! More than just features, modo is a truly elegant integration of technology, raw horsepower and refined workflow. With such a wealth of inbuilt features, however...
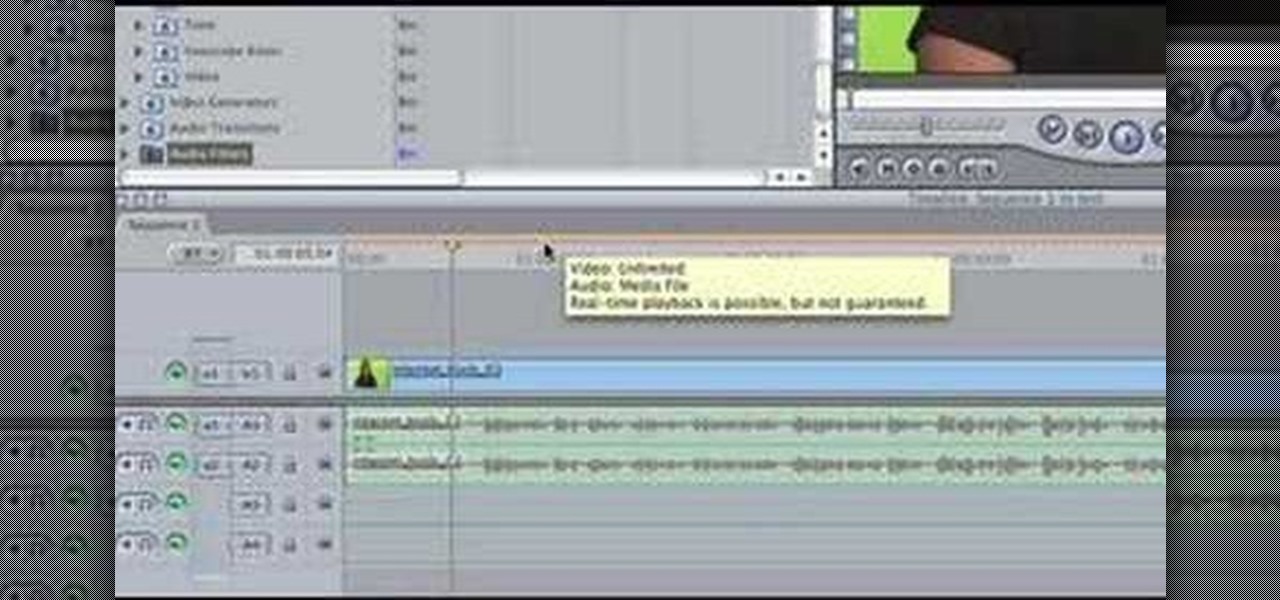
Learn the many ways to preview un-rendered clips in the Final Cut Pro timeline. Whether you're new to Apple's Final Cut Pro non-linear video editor or just want to better acquaint yourself with the popular video editing program, you're sure to benefit from this video tutorial. For more information, including detailed, step-by-step instructions, watch this tutorial.
This FCP-user's guide will teach you how to preview a clip without rendering it first. Whether you're new to Apple's Final Cut Pro non-linear video editor or just want to better acquaint yourself with the popular video editing program, you're sure to benefit from this video tutorial. For more information, including detailed, step-by-step instructions, watch this tutorial.
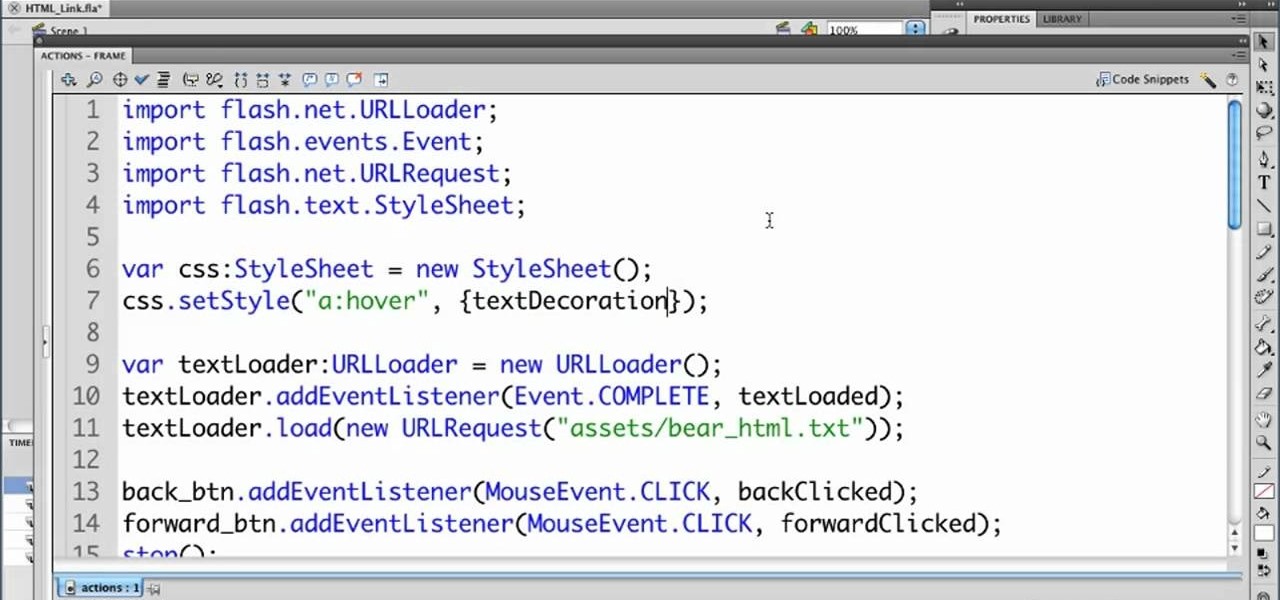
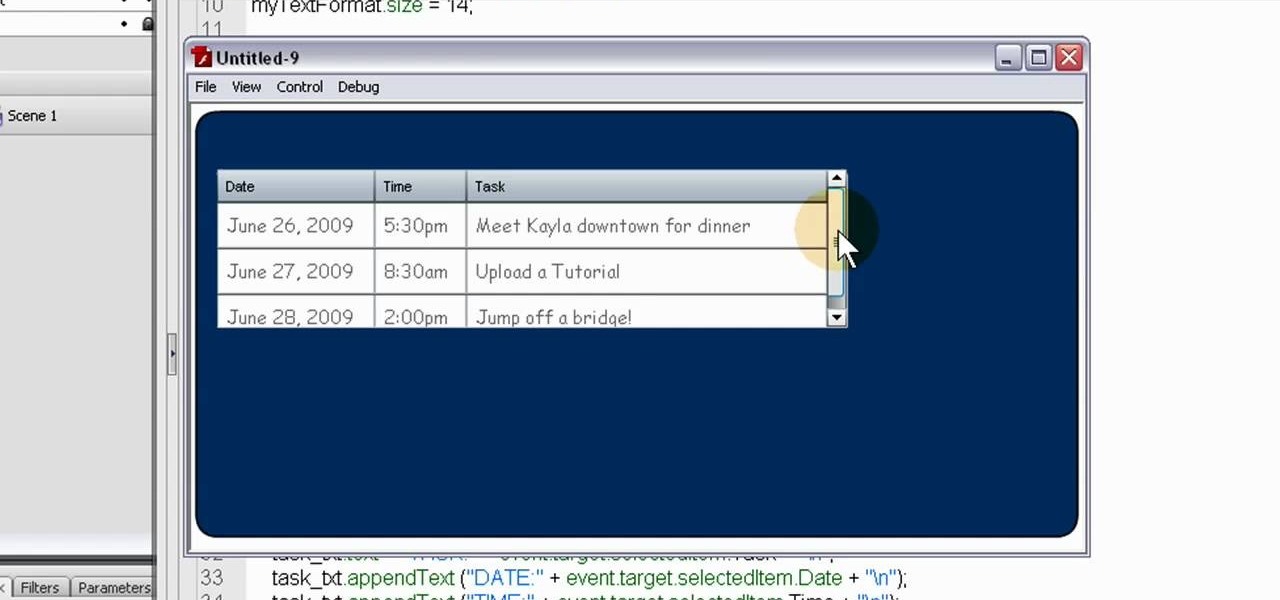
In this clip, we learn how to render HTML in a text field within an Adobe Flash Professional project. Whether you're new to the Adobe's popular Flash authoring application or are a seasoned Flash developer merely looking to better acquaint yourself with Flash Professional CS5, you're sure to be well served by this video guide.
For people who want to make a more dynamic and user-friendly website, this tutorial demonstrates how you can use Action Script 3 in Adobe Flash to work with the DataGrid component function, especially when you want to render it dynamically.

Render shadows only in 3D Studio Max using vray. Once the tutorial is over you will also learn how to use the other options in the render elements, which uses similar methods. Skyrill Design brings us this tutorial

In this how-to video, you will learn how to draw Homer from the television show, The Simpsons. You will need a piece of paper and something to draw with, such as a pen or pencil. First, draw two circles for his eyes. Next, move on to his nose and mouth. From here, you can draw the outline of his head. Add the lines for his hair. Move on to his ears and neck. You can also fill in the pupils. Next, draw Homer's collar. You can shade in the color of Homer's skin if you want. This video shows you...

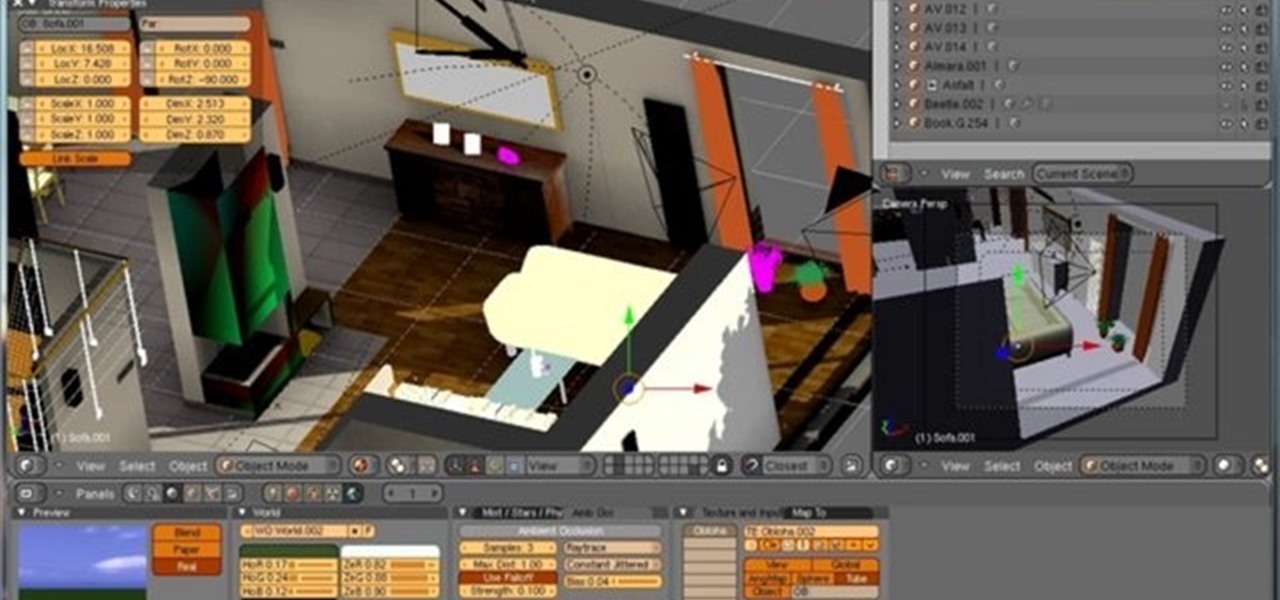
Preview rendering can greatly speed up your workflow by allowing you to preview your scene within the viewport, from any angle and at low resolution as opposed to rendering the full scene anytime you check your progress. Whether you're new to the Blender Foundation's popular open-source 3D computer graphics application or are a seasoned digital artist merely on the lookout for new tips and tricks, you're sure to be well served by this free video software tutorial from the folks at CG Cookie. ...
This four-part guide presents an introduction to physically-based rendering in Houdini 10, covering what PBR will and won't do for you, sampling settings, environment lighting, objects as lights, shaders, issues with specular highlights. Whether you're new to Side Effects Software's popular 3D production program or a seasoned graphic artist just interested in better acquainting yourself with the application, you're sure to be well served by this free video tutorial. For more information, incl...

This 3D software tutorial provides a couple gems on how to improve rendering speeds when working with transparent materials such as glass and indirect illumination in modo 301. Learn how to use the irradiance cache (IC) output buffers and get a little insight into modo rendering. Optimize rendering irradiance caching or glass in modo.
Do you need to print resolution renders outputed from modo 302? You will want to watch this tutorial as they discuss some basic concepts regarding resolution and irradiance cache as they are impacted at increased resolution. There are some common misconceptions about print resolution in modo 302 that are resolved as well. So watch and learn how to optimize a scene for print resolution rendering. Get print resolution rendering tips for modo 302.

See how to use displacement maps and rendering in Mudbox in this video tutorial. Designed by professional artists in the film, games, and design industries, Autodesk Mudbox digital sculpting and texture painting software gives 3D modelers and texture artists the freedom to create without worrying about the technical details. Just check out this video to see about rendering and displacement maps. Use displacement maps and rendering in Mudbox.
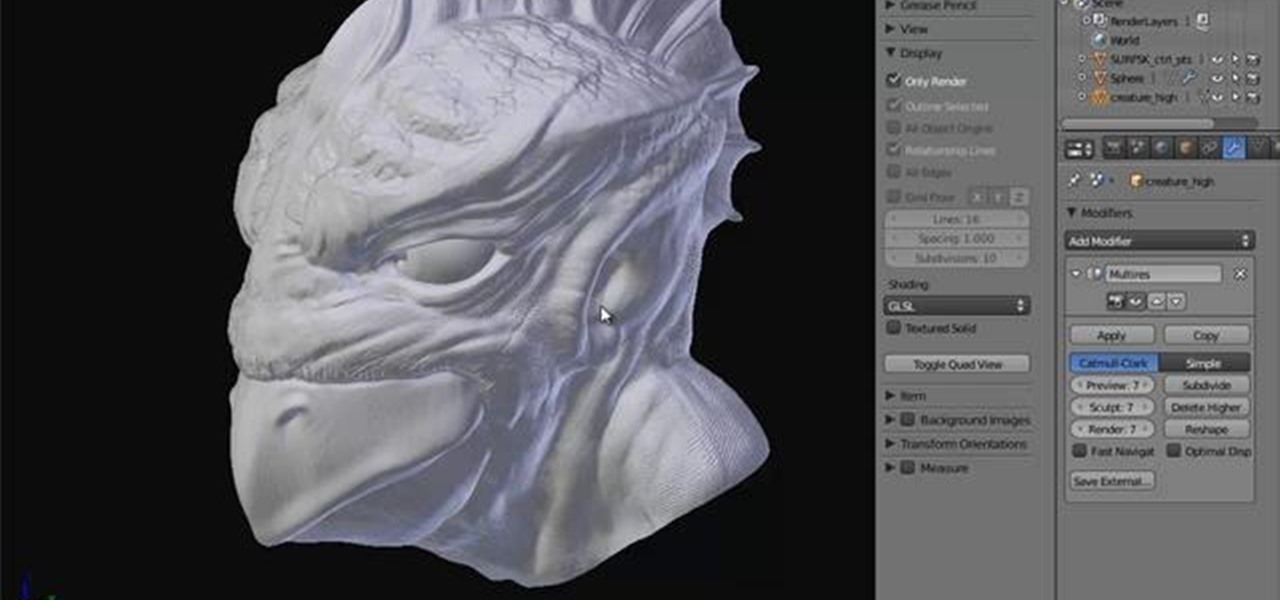
In this clip, you'll learn how to retopologize a high-res sculpted object into a low-res object suitable for rendering. Whether you're new to the Blender Foundation's popular 3D modeling program or a seasoned graphic artist just interested in better acquainting yourself with the application, you're sure to be well served by this free video tutorial. For more information, including detailed instructions, take a look. Retopologize a high-resolution object for rendering in Blender 2.5.

The modo camera and rendering system is incredibly powerful and flexible. This new film back preset options helps you to quickly harness that power for your specific target medium. Need to render out to 2k Academy 35mm film? No problem. Imax? Sure thing. Did we mention this is an XML driven preset system so you can add your own? See how to use the film back preset render options in this modo 301 tutorial. Use Film back presets when rendering from modo 301.

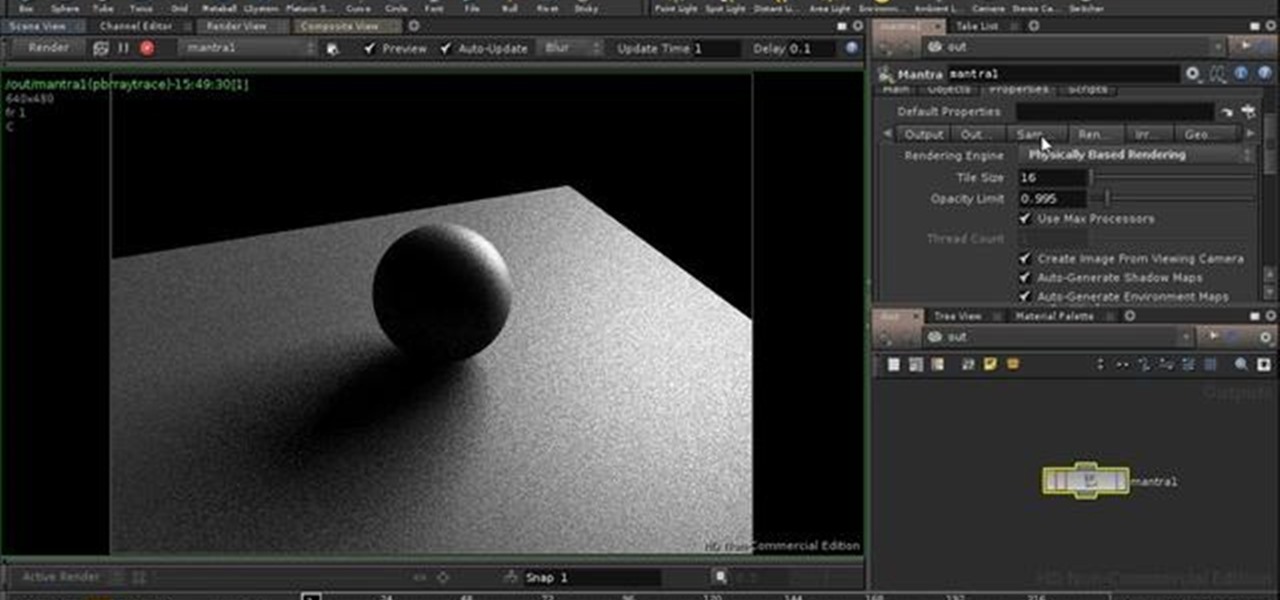
Perfect your mantra with this tutorial. Going over one of the functions available with the Houdini software program, this delves into the intricacies of using the Mantra micropolygon renderer. There are various controls you can use when working with Mantra, and this tutorial also goes over all of them. Mantra micropolygon works when rendering with Houdini software.
Giveaway Tuesdays has officially ended! But don't sweat it, WonderHowTo has another World that's taken its place. Every Tuesday, Phone Snap! invites you to show off your cell phone photography skills.

Welcome to Minecraft World! Check out our tutorials, post to the community corkboard, and come play on our free server!
This clip presents a quick introduction to rendering within Blender, the popular (and free) 3d modeling app. Whether you're new to the Blender Foundation's popular open-source 3D computer graphics application or are a seasoned digital artist merely on the lookout for new tips and tricks, you're sure to be well served by this free video software tutorial from the folks at CG Cookie. For more information, including step-by-step instructions on how to get started rendering, take a look!
This clip provides detailed, step-by-step instructions on how to model and render volumetric clouds when working in Blender. Whether you're new to the Blender Foundation's popular open-source 3D computer graphics application or are a seasoned digital artist merely on the lookout for new tips and tricks, you're sure to be well served by this free video software tutorial. For more information, and to get started rendering volumetric clouds yourself, take a look!
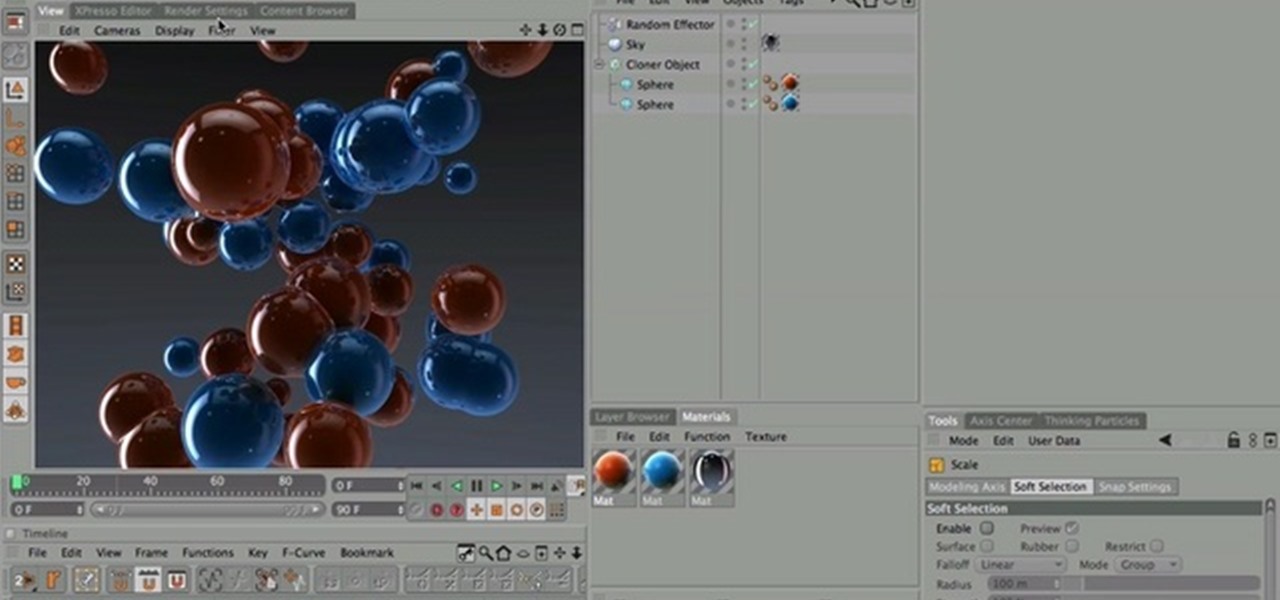
Nick from Greyscale Gorilla shows you the basics of setting up a project file, creating a scene, and rendering a final image in Cinema 4D. He also does a basic tutorial for post-production HDR lighting.
The 3D animation program Houdini is automatically bundled with Mantra, Houdini's production-class renderer. In this masterclass, developer Mark Elendt shows you some of the latest features of Mantra including PBR (Physically Based Rendering) and the new volume rendering architecture. He will also review the process of rendering with different rendering engines in Mantra. See how the rendering engine works.

3DS MAX is one of the most powerful 3D modeling and rendering tools available today. This video tutorial offers instructions for using the software to render a 3D image, allowing you to see and manipulate its wireframe. This is essential knowledge for using 3DS MAX, so watch on and then get to rendering!
Devolped by the same team of engineers responsible for LightWave 3D, modo, lowercase, delivers the next evolution of 3D modeling, painting and rendering in a single integrated and accelerated package for the Mac and PC. And now, modo is a true end-to-end solution that includes true 3D sculpting tools, animation and network rendering! More than just features, modo is a truly elegant integration of technology, raw horsepower and refined workflow. With such a wealth of inbuilt features, however,...
This Blender tutorial covers methods for bake rendering compositing nodes and ways to speed up render times. We will pre-render the objects and save the precious time when rendering animations. We'll discover the challenges that we meet (such as missing specular in the baked texture) and suggest workarounds.

Learn how to save hours of render time with by chain rendering in Adobe After Effects CS4 or CS5. Whether you're new to Adobe's popular vector editor or a seasoned graphic arts professional just looking to better acquaint yourself with the program and its various features and filters, you're sure to be well served by this video tutorial. For more information, including detailed, step-by-step instructions, watch this free video guide.

This drawing demonstration of intermediate difficulty features the sketching, shading, and rendering of a portrait of a human face. With copious instructions on creating effective light sources and other technical aspects, this video is indispensable for the intermediate artist.
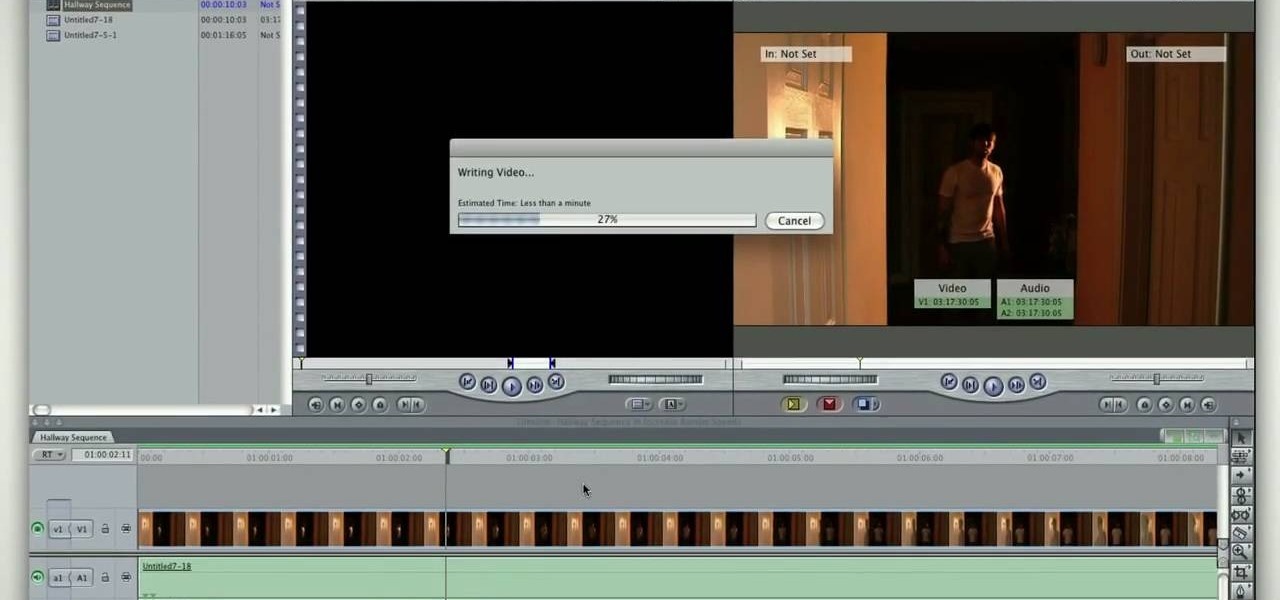
In this video tutorial, viewers learn how to increase the rendering speed in Adobe Final Cut Pro. Begin by right-clicking on your current sequence and click on Settings. Click on the Video Processing tab and select "Always Render in RGB". Then click OK. This change will only be noticeable when working with really high quality high definition footage or film. Even then, you are able to re-render at a higher bit rate later, without having to affect the original image or export. This video will ...
Have some glass that needs rendering in Maya? With Mental Ray, it's easily done. Mental Ray (trademarked mental ray) is a rendering application by mental images that's integrated into Maya, and in this video you'll learn about two of the major glasses within it, plus how to render them. It's a very detailed explanation for rendering glass in Mental Ray, so be prepared for a lot of knowledge!

Check out this 3ds Max video tutorial on how to turn those objects into an image or movie you can share with others by rendering your modeled 3D scene. This is helpful to all digital animators/modelers/sculptors.
Go beyond the traditional 3D workflow to an immersive creative experience with the software Modo, created by Luxology. Modo is the next evolution of 3D modeling, painting and rendering for Mac and PC. Modo includes 3D sculpting tools, animation and network rendering, and advanced features such as n-gons and edge weighting.
Trying to make your own Terraria let's play series? Ensure the quality of your video by watching this guide to rendering and recording smooth Terraria gameplay. Learn what tools to use to get great looking video of your Terraria world.
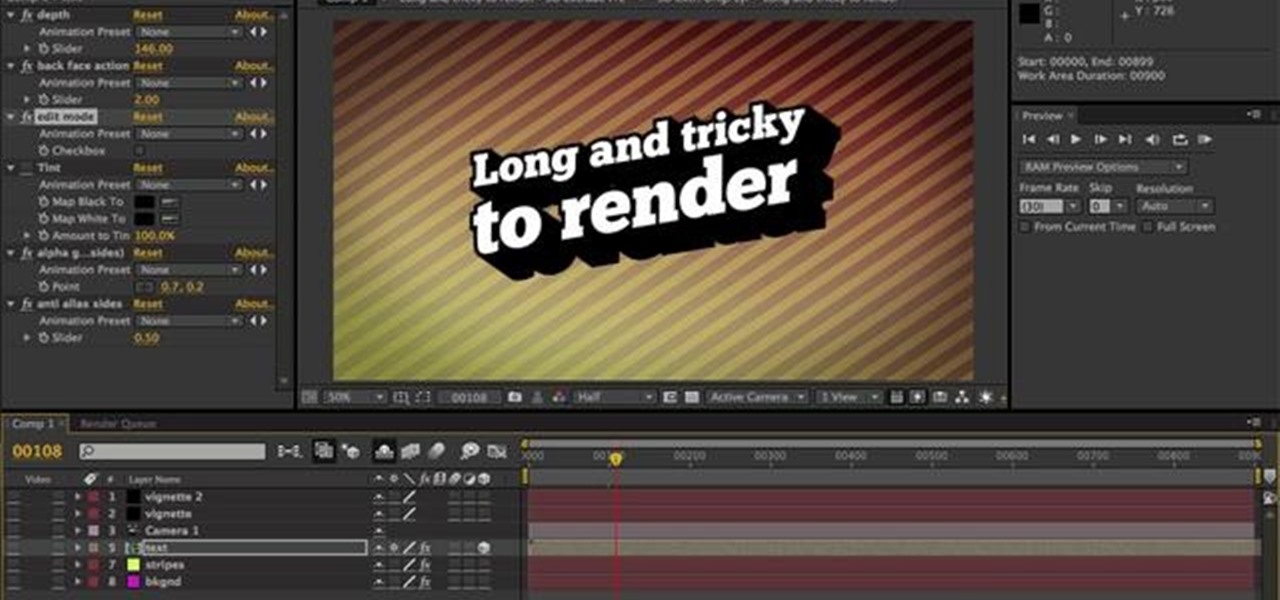
Learn how to render projects in Adobe After Effects CS4 or CS5. This guide also covers the use of background renderer, creation of output modules and render settings templates, memory, multi-processing and disk-cache preferences, as well as showing a basic preset for rendering FLVs and Quicktime H.264 out of After Effects. The tutorial is aimed at users at a basic to intermediate level. Whether you're new to Adobe's popular vector editor or a seasoned graphic arts professional just looking to...
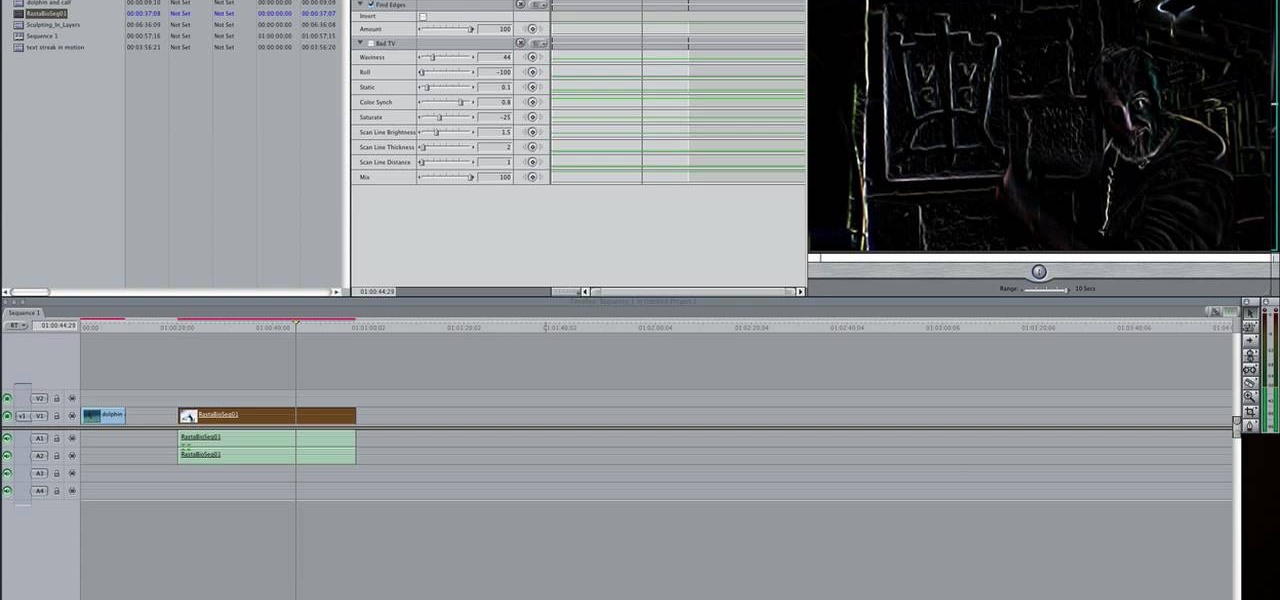
In this video tutorial, viewers learn how to import and render footage in Adobe Final Cut Pro. To import files, begin by going to File, select Import and click on Files. Then browse for the file and click Open. Now drag the clips into the time line to edit. To render the footage, begin by selecting it. Then click on Sequence, select Render Selection and click on Both. This video also shows viewers how to cut a clip and add effects. This video will benefit those viewers who are just beginning ...
One thing you need to know in particular about Sony Vegas is rendering. If you don't know how to render, you're not going to make a good film or video. So watch this and see how to render video in Sony Vegas.

This tutorial for Sony Vegas Pro 7 goes over rendering and the best quality for a multitude of events!

If you are new to After Effects and just finished your first project, you may need some help figuring out how to render it. This video gives you a basic guide to rendering.

This two-part tutorial looks at the techniques for rendering millions of particles in Houdini 10. The first part looks at using the popsolver to manipulate particles using both the standard pop nodes and dynamics forces. We use the interact pop, and random grouping of particles to build an ink like effect. We set up a smoke simulation and use the velocity field of that to advect (move) the particles. Whether you're new to Side Effects Software's popular 3D production program or a seasoned gra...