
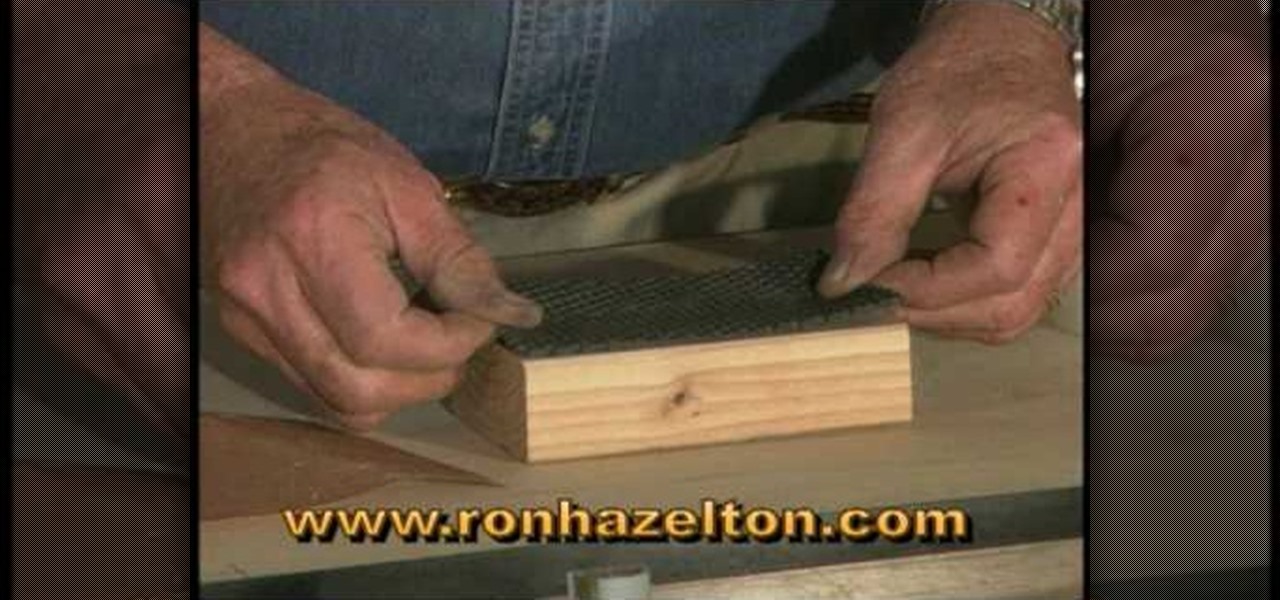
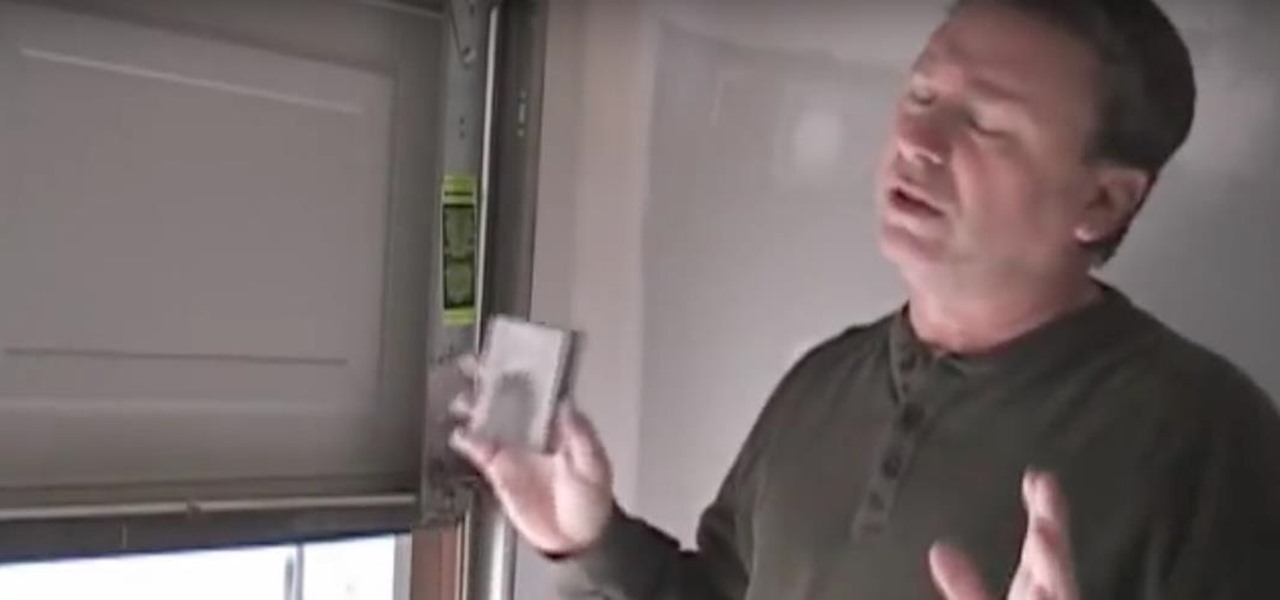
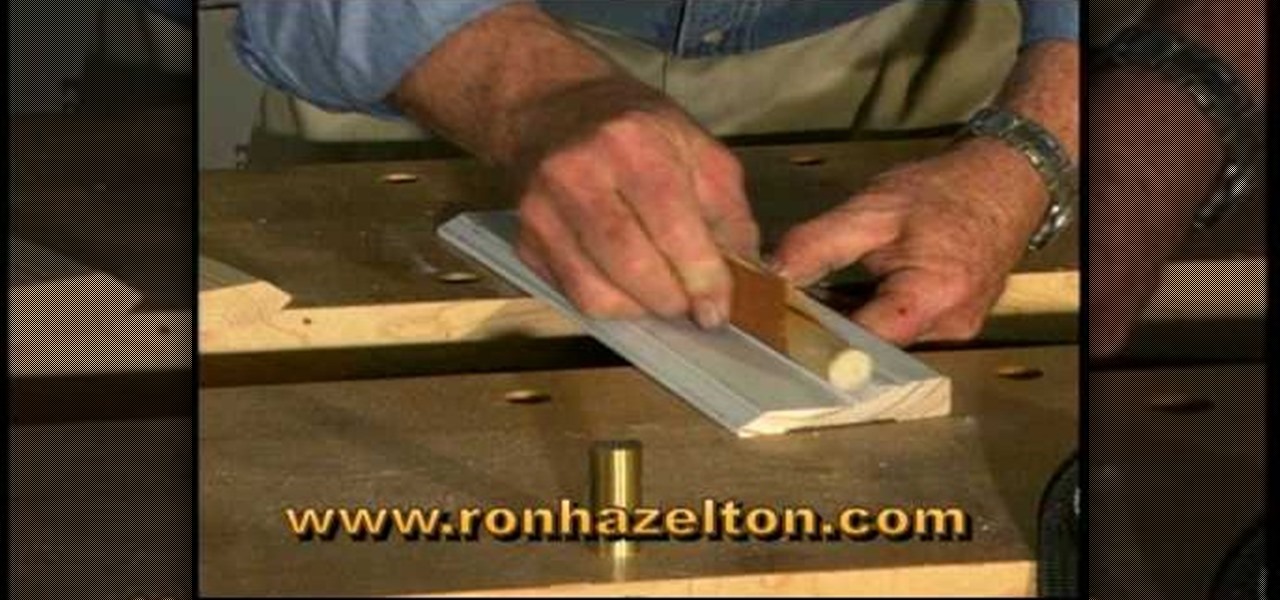
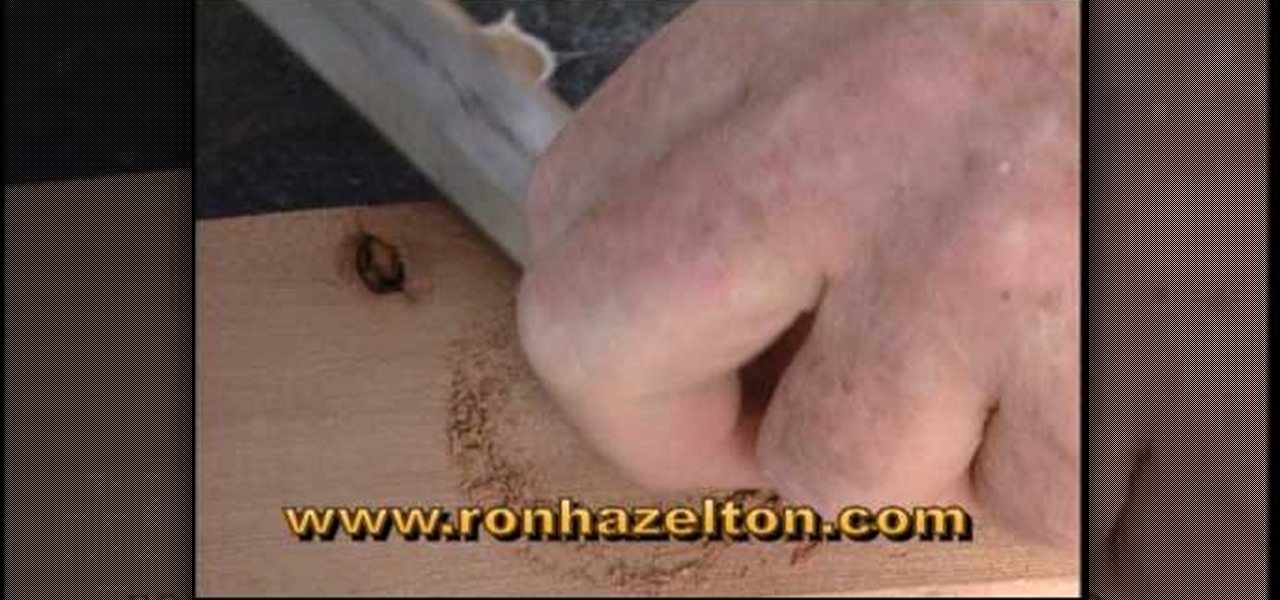
How To: Make a sanding block for wood
Make a DIY wood sanding block for smooth surfacing with help from this video tutorial hosted by the can-do man, Ron Hazleton.

Make a DIY wood sanding block for smooth surfacing with help from this video tutorial hosted by the can-do man, Ron Hazleton.
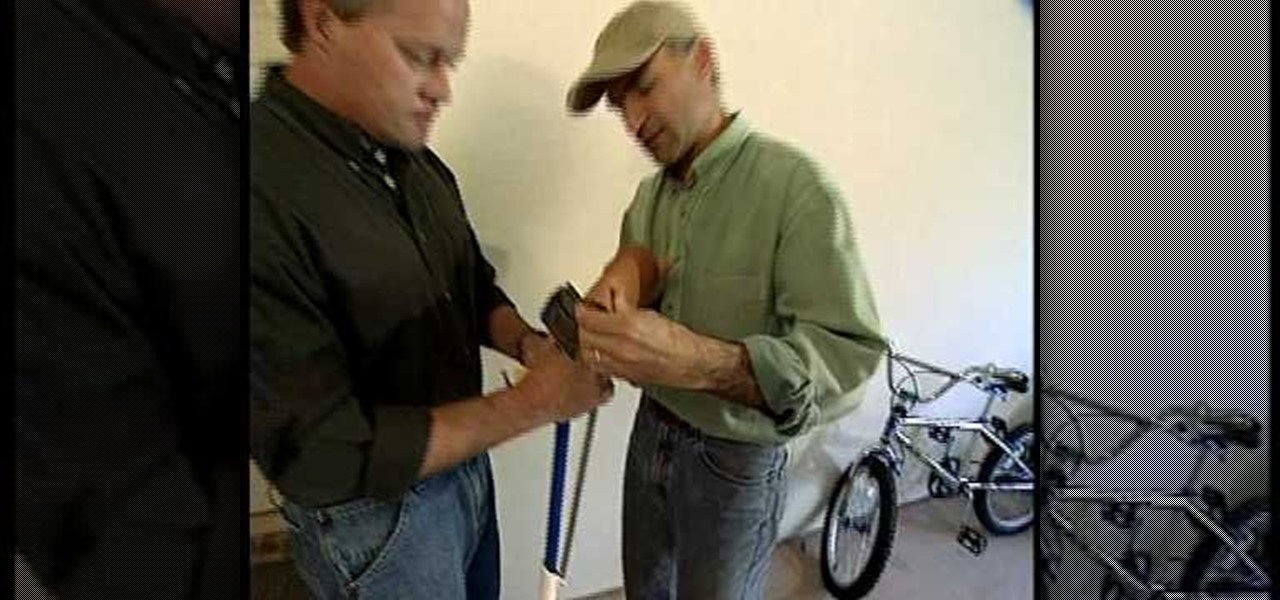
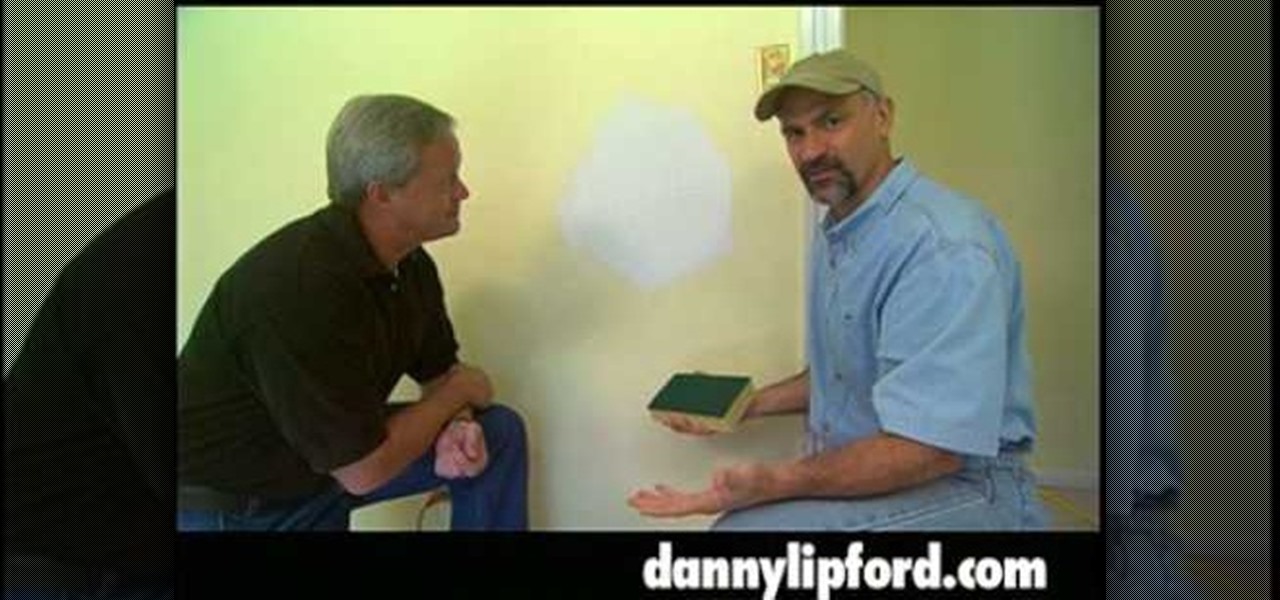
In this video Danny Lip ford is showing how you can convert an old sponge mop into an inexpensive pole sander for your household purposes. For this, take an old sponge mop and remove the sponge from it by loosening the screws. Then cover the rectangular sponge fully with the sheet of sand paper. Now screw back the sponge with sand paper to the head of the mop. You can do your sanding in the wall very easily now. If you were to use just a sheet of sandpaper and sand the wall, it would take a l...
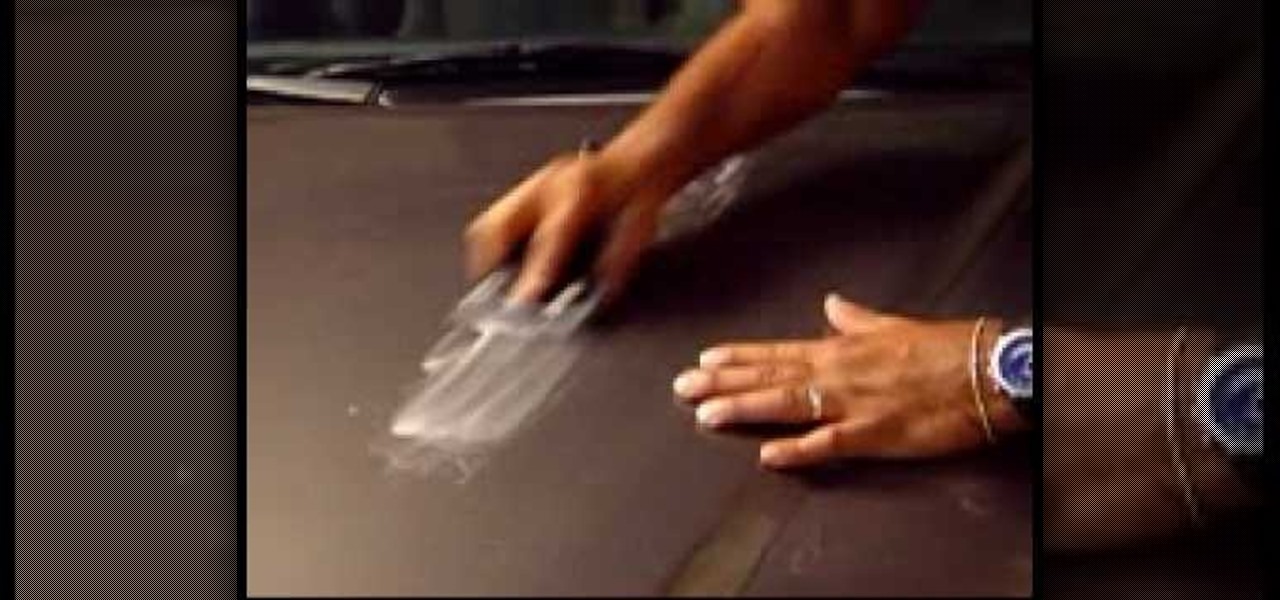
Final Touch TV shows viewers how to remove scratches from the car with wet sanding. This is for fine scratches that may be on your vehicle. First, you need to use 3,000 grit sand paper with a block and scuff up the clear coat first with this. You should dip your block in some soap and water in and up and down motion. You need to make sure you do not go all the way through the paint. Most scratches are on the clear unless it appears deep. Now, take a 3 compound, spray it on and rub it in. Next...
In this thorough 30 minute video tutorial, Donnie Smith shows you a method of repairing a minor dent on a car with body filler and also shows you how to block sand the filler. For the novice who wants to learn more about car maintenance, this is the perfect tutorial.
In order to sand and repair drywall, you will need the following: 100 grit sanding sponge. After you have applied mud to the walls evenly, you will need to sand the walls until they are smooth. Hopefully, you minimized or mitigated most of the need for sanding in the application of the mud, by using feathering and thin layering. When the mud is completely dry, you will need to choose a good sander. It is recommended that you use a 100 grit sanding sponge. Place the sponge against the wall, an...

Sandpaper is one of the essential tools of woodworking and carpentry, and there are many types with different applications. This video is for woodworking beginners and will teach you a lot of the basics about sanding so that you can give your pieces the finish they deserve.
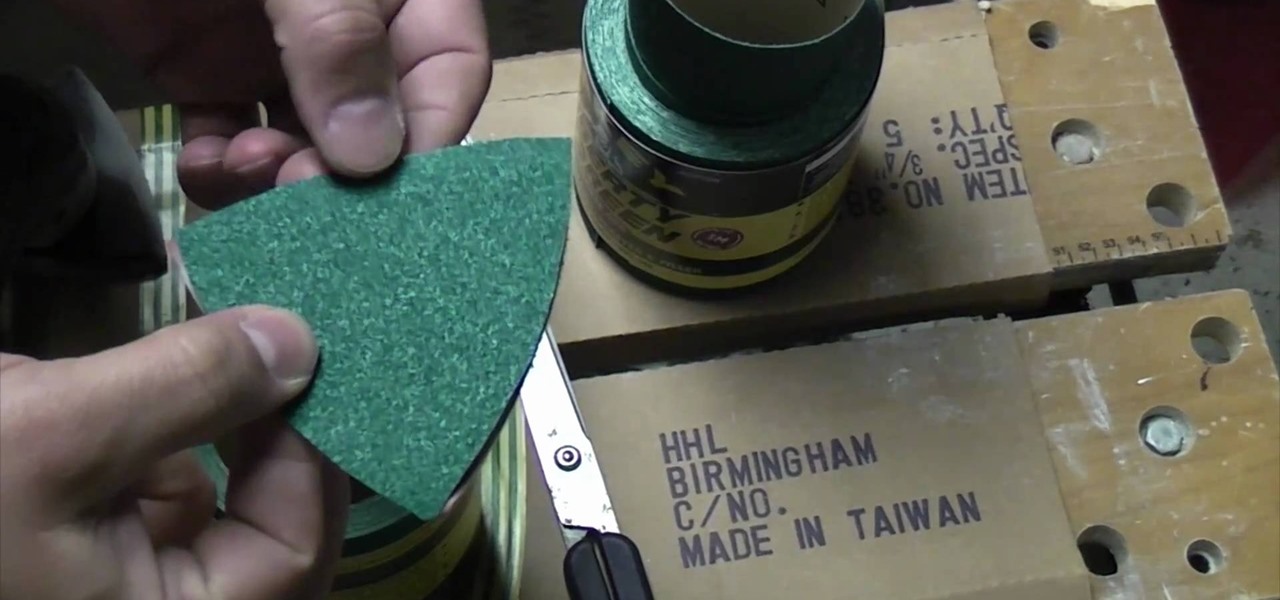
Detail sanders are one of the finest tools for polishing wood surfaces to a perfectly smooth finish. But it often costs a lot to replace detail sander sheets. Luckily, there's a way to save some moolah on your sanding sheet needs.
Sanding is an important step when preparing wood for painting or staining. You Will Need
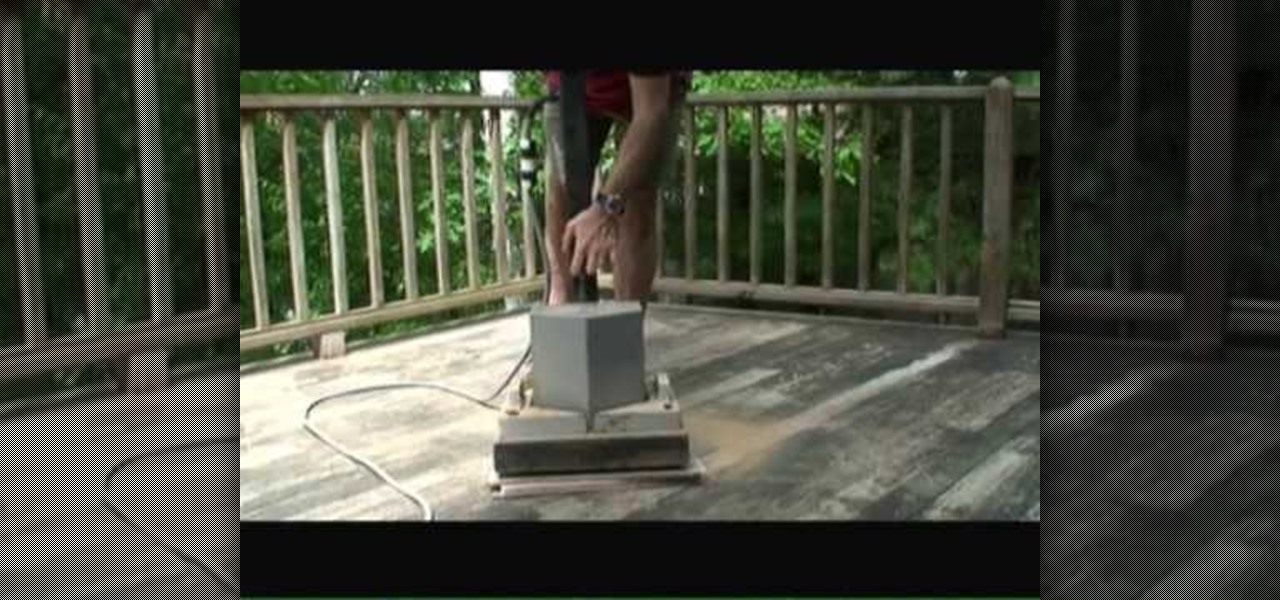
If you don't know what you're doing, sanding a deck can be many hours of back-breaking work. But in this video, Mark Donovan of HomeAdditionPlus.com demonstrates how to use a floor sander. By using a floor sander correctly, sanding a floor can be a much simpler process.
Sanding molding can be pretty challenging with all the curves and details. First for sanding curves try wrapping your sandpaper around a piece of dowel rod. Choose the proper sized dowel for the size of the curve that you have to sand. The larger the curve the larger the piece of dowel that you will need. To get into hard to reach crevices try folding the sandpaper several times and then use the edge of the sandpaper to sand down in the tight crevices.

The belt sander is the king of all sanding systems. This Home & Garden how to video demonstrates the proper operation and use of the belt sander for sanding wood. Remodeling your home doesn't have to be such a daunting task once you've learned how to use a belt sander.
If you've lived in your house for a number of years, chances are you got yourself a drywall patch, which when sanded, will create a lot of dust in the room. Watch this video tutorial from home improvement expert Danny Lipford to see how to sand a drywall patch with a wet sponge to prevent dust.
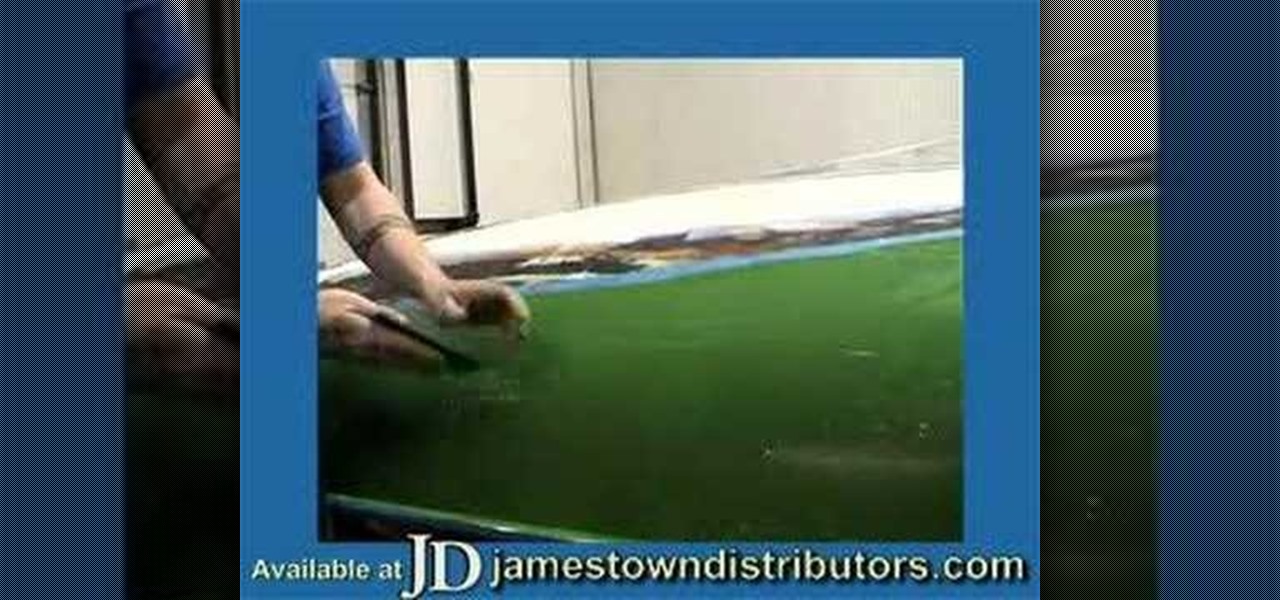
It's not a new technique in the auto body industry, but cutting and polishing is a great way to smooth out your paint job. This two-part video will show you the process of sanding and polishing your auto paint. The first video shows you the steps for sanding the painted surface before buffing, which removes the imperfections after painting. The second video shows you some 3M polishes for buffing the car finish. This will polish the surface into a luster shiny paint job.

In order to carve a Mexican Sand Palm, in order to make your own tiki, you will need the following: safety equipment, a sanding block, several different grits of sand paper, and electric sander.

Wet sanding is a process used to remove some of the finish from a car's paint job. This instructional series of videos will show you how to wet sand your car. Pretty soon, you'll be an automotive expert and wet sanding like a pro.
Examples of different techniques for sanding resin by Cindy at Resin Obsession.
How to properly use an edge sander; get professional tips and advice from an expert carpenter on precision sanding tools in this free woodworking video series.

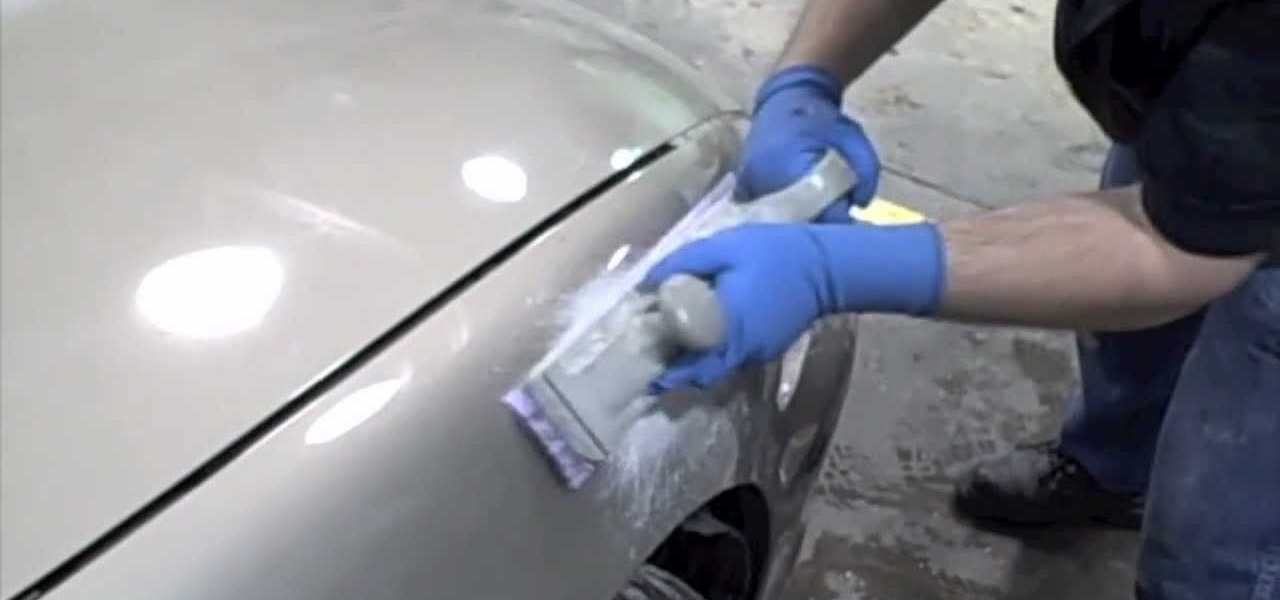
There are a lot of do's and don'ts when it comes to block sanding the primer surfacer on your car. In fact, this can make the difference of creating a show quality paint job and a less that average paint job.

Planning on getting the iPhone 5, but want to keep your SIM card? The new nano-SIMs that manufacturers are adopting will be even smaller than the micro-SIMs that most of us currently use. It's fairly easy to cut a regular SIM down to a micro-SIM, but because the nano-SIM will be thinner as well as smaller than the micro, cutting it down to size will require a little more work. Photo by Tech Digest
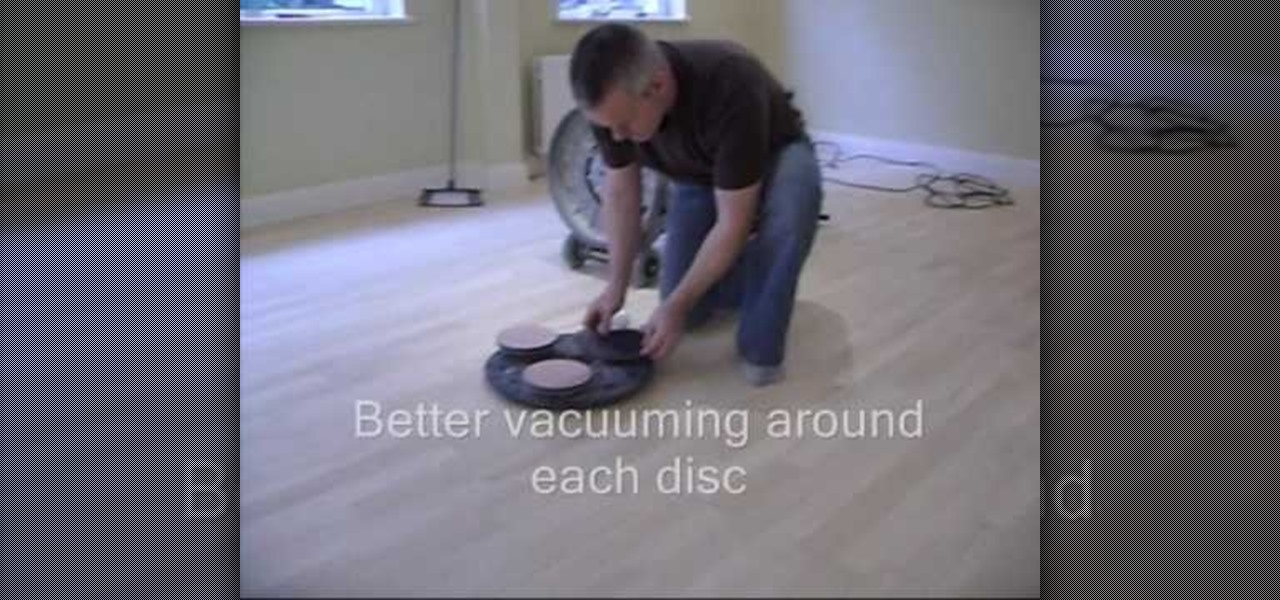
Aba Wood Flooring demonstrates how to sand between coats when working with water-based finishes on hardwood floors. When you use an electric sander, avoid overheating the surface when sanding between coats of a water-based finish. Accomplish this by replacing conventional sand screen pads with a Velcro triple head sanding plate and soft interface pads. The triple head sanding plate and interface pads offer better dust extraction and a more effective final sanding. This system also offers bett...
Beetle Catboat restoration sanding is shown in this video.

In this online video series, learn how to use a finishing sander and how to maintain it, from woodworking instructor Jon Olson. He will teach you the parts of a finishing sander, and general safety and electrical safety for using a finishing sander. Jon will demonstrate how to replace the sandpaper of your finishing sander, how to hold your finishing sander, how to use proper sanding technique with a finishing sander, how to sand edges of wood using a finishing sander, how to use the power sw...

In this woodworking video series, our home improvement expert Jon Olsen tells you how to use the corner cat finish sander to smooth out the shop project you've been working on. He begins with an overview of workplace safety, covering work area safety as well as electrical and personal safety. Then he tells you how to identify individual parts and then how to selection the correct sanding pad for the job at hand. Don't know how to properly attach the dust bag?

In this series of instructional videos, expert Jon Olson demonstrates how to use a random orbit sander, including tips on how to create bevels, replace discs and brushes, empty the dust bag and general cleaning, care and basic maintenance of the tool. He also covers tool safety, including electrical safety, personal safety, such as wearing protective eye gear, tips for sanding paint and the importance of keeping your woodworking work space clean. Watch this free online tutorial and you'll att...

Sanding sealers, also called first-coat sealers by some manufacturers, are recommended when refinishing furniture. Although using a sanding sealer is a good step to take regardless of the type of stain you are using, it is especially necessary when using water-based stains. Apply the sanding sealer after you have bleached your furniture, but before you have applied the stain. Sanding sealers provide an important barrier to keep the wood pitch and stain from bleeding into the water-based topco...
Hardwood floors in older homes can be hidden treasures. You may not realize it, but under the dark finish, scuffs and scratches is probably a beautiful hardwood floor just waiting to shine through. Sanding off the old finish gives you a chance to get down to the bare wood and erase many of the scratches and dents. Then you can choose a stain that is more to your liking, or just put a clearcoat on the floor for a pleasant, warm appearance.

Hardwood floors in older homes can be hidden treasures. You may not realize it, but under the dark finish, scuffs and scratches is probably a beautiful hardwood floor just waiting to shine through. Sanding off the old finish gives you a chance to get down to the bare wood and erase many of the scratches and dents. Then you can choose a stain that is more to your liking, or just put a clearcoat on the floor for a pleasant, warm appearance.
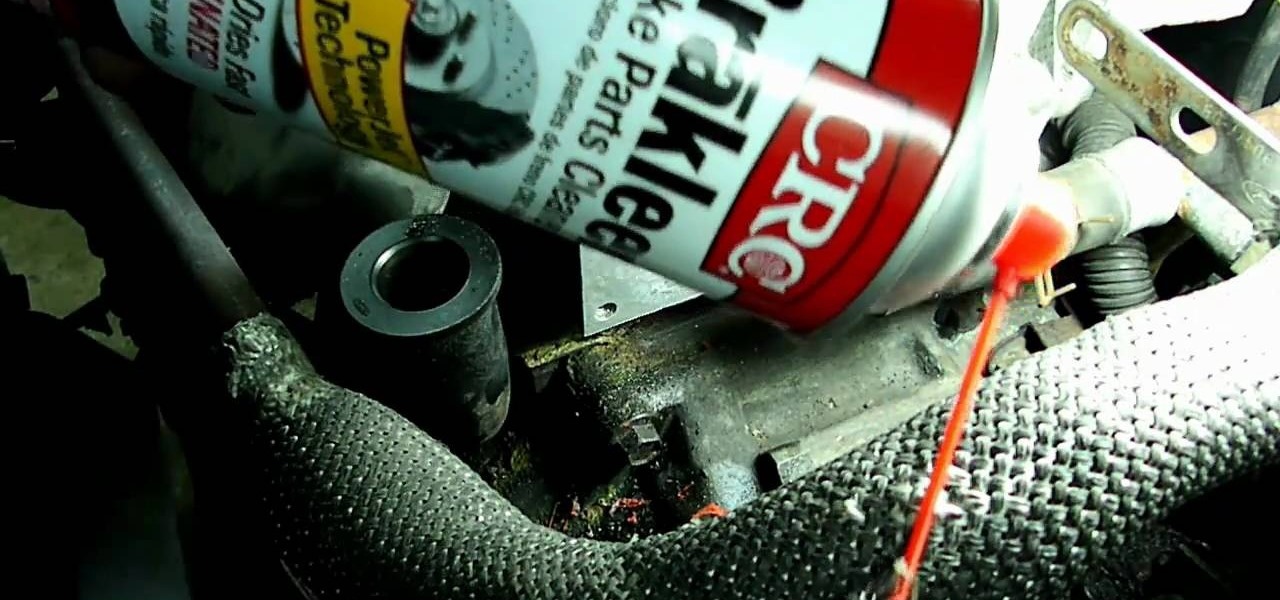
Replacing a thermostat on a car or truck can be a taunting task. Let this guide be your repair manual as you are walked through the process of clearing the radiator hoses, adjusting clamps, sanding off grit, and more. Soon your Ford will have a brand new thermostat installed and you will have avoided expensive autoshop bills.
Kipkay from Make Magazine shows us how to create a photographic illusion, making things look smaller than they really are with tilt-shift photography. Materials needed include rubber plunger, an oversized lens, a plastic body cap, a single lens (or digital single lens) camera, a hot glue gun, a sanding file, and a disposable object for a plastic backing, such as a VHS tape case. With this great tutorial and a little work, create the illusion of a miniaturized world with this photographic tech...

Painting the console case of your XBox 360, or any other console for that matter, is a great way to customize you favorite toy. This video will show you how to paint a XBox 360 properly with spraypaint, including sanding, priming, and painting. Off-white is so boring, give your XBox some style for Pete's sake!

Remember summer camp? Remember the smell of the log cabins? The feel of the treated wood? Well, you can create something for your home that's perfect for a nostalgic summer camp aesthetic. Meg Allen Cole (recently of Threadbanger) was inspired to make this mid-century modern wall hanging piece made from a small wooden log (or branch) when she was at a relaxing, wooded vacation spot in Maine. And she shows you how to make one, too!

Wipe headlights clean. Double tape around the headlights. Use two layers of tape around the headlight lens to protect the paint. Insert the backing plate into the drill. Attach the foam interface pad. Use a spray bottle of water to lubricate and keep headlights clean while sanding. Completely remove the old UV coating. You'll see heavy sanding marks in the headlight lens. With the 500 grit sandpaper, remove oxidation and pitting. Use uniform movements of up and down and side to side with mode...

This is a great craft project that you can use to make cute and festive Christmas ornaments out of polymer clay. You will also need cookie cutters, sanding paper, rubber stamps, a wavy blade, a straight blade, some makeup powders and acrylic paints.

This how-to video shows viewers how to create their own custom paint job at home by yourself. The segment is a continuous video in fast forward. The video explains how to do everything from taking molding off, sanding the old paint, fixing the dents with bondo, to the actual spray painting of the car. The person in this video uses an airbrush, spray-paint, paint markers and canned paint to create his custom paint job. The artist paints a picture of pirate ships, skulls, and other various obje...
There are a number of ways to deal with screw holes that are visible. You can buy some wood buttons and put them in the holes. You put a little wood glue in the hole and then tap the wood buttons into the holes using a hammer. This is a decorative solution to cover up screw holes. If you want to completely cover up the holes completely put a plug cutter on your drill and cut a plug out of a piece of wood that matches the wood that the hole is in. Take the plug put a little glue on it and tap ...

This is a step-by-step instructional on how to make a potato gun, otherwise known as the spud gun, potato launcher, potato cannon, etc. Although this can be a fun activity, it is still dangerous, just like a real weapon.
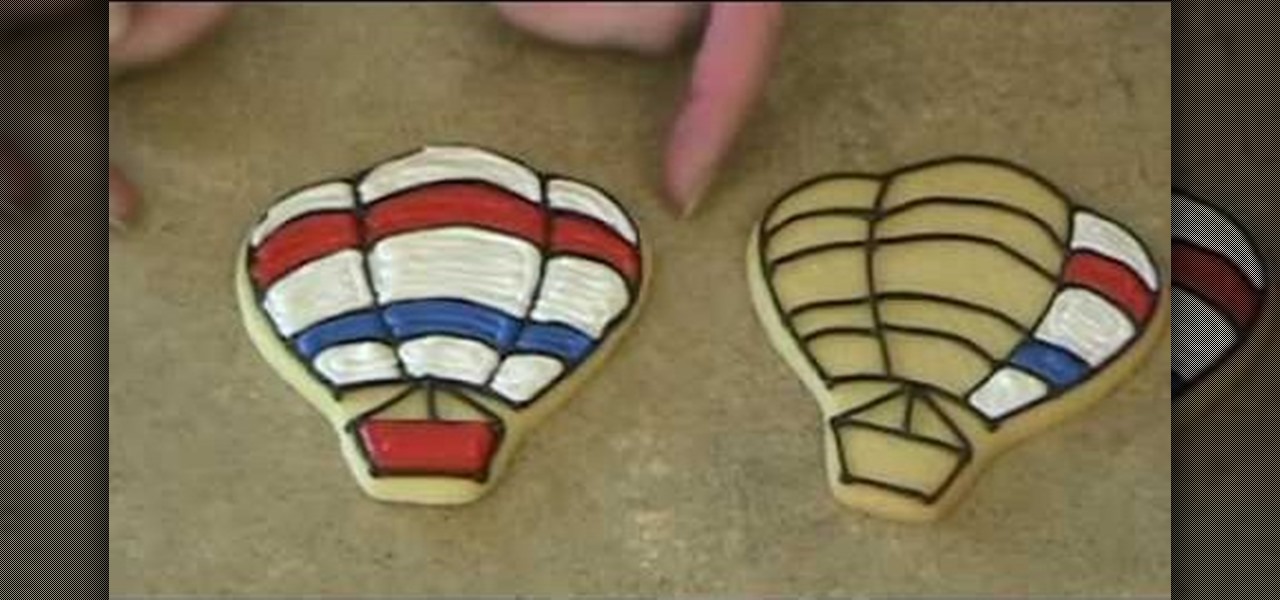
This five-part cookie decorating tutorial is a godsend for someone who's looking for an all-inclusive guide to decorating cookies. While you'll find many individual videos out there showing you how to put on buttercream icing or corn syrup icing, you usually won't find one depicting both.

Scrabble charms and pendants are gaining popularity in the world of crafts, because they're easy to make and fun to wear. They make great gifts, can be fully personalized and turn Scrabble into more than just a board game!

In this video Donnie Smith shows you how to apply primer surfacer. In addition to the visual instructions on the video, you can follow along with the instructions below from Donnie himself. After watching this video, you'll be an expert on primer surfacing!
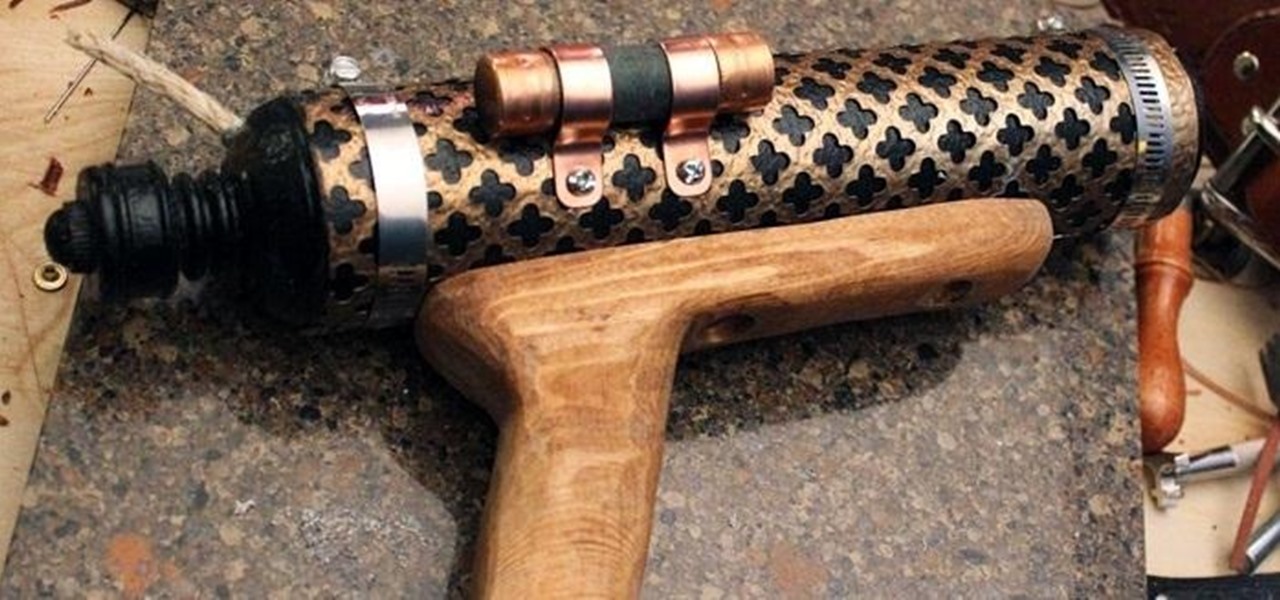
One of the hardest, most intimidating parts of making your own Steampunk guns from scratch is the wooden stock of the gun. To be fair, it's probably the hardest part. It requires the most artistry, and is the easiest to mess up.