
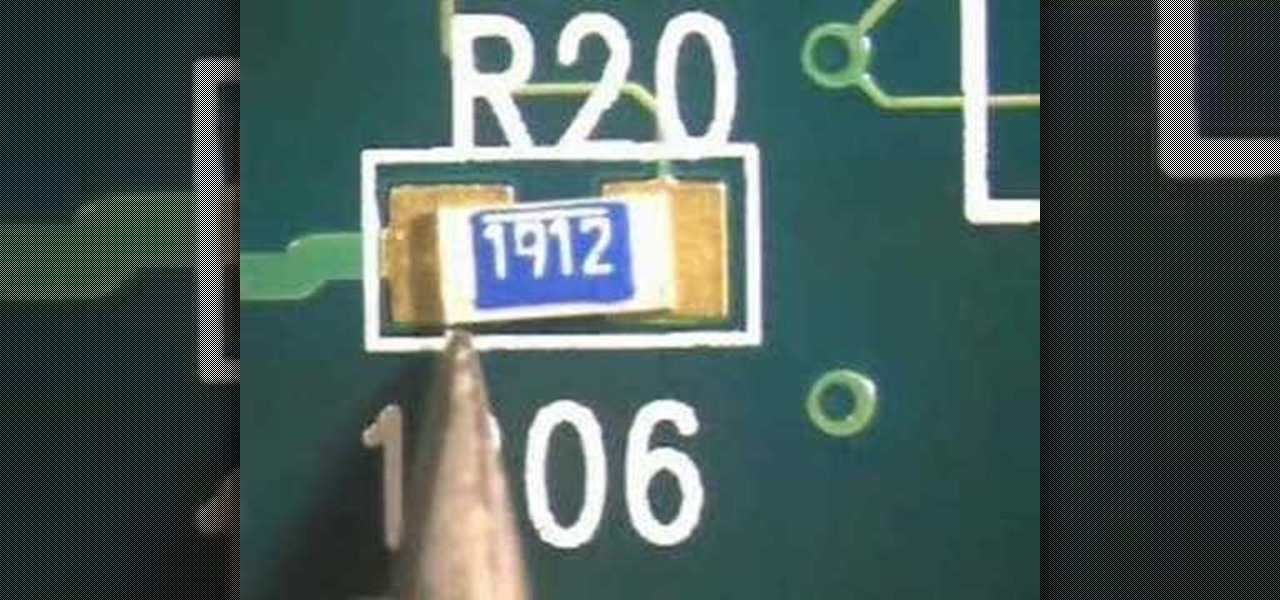
How To: Prep surface mount chip components w/ dry tack method
In this soldering tip video brought to you by BEST, Inc. Norman Mier demonstrates the dry tack method for surface mount chip component preparation.

In this soldering tip video brought to you by BEST, Inc. Norman Mier demonstrates the dry tack method for surface mount chip component preparation.
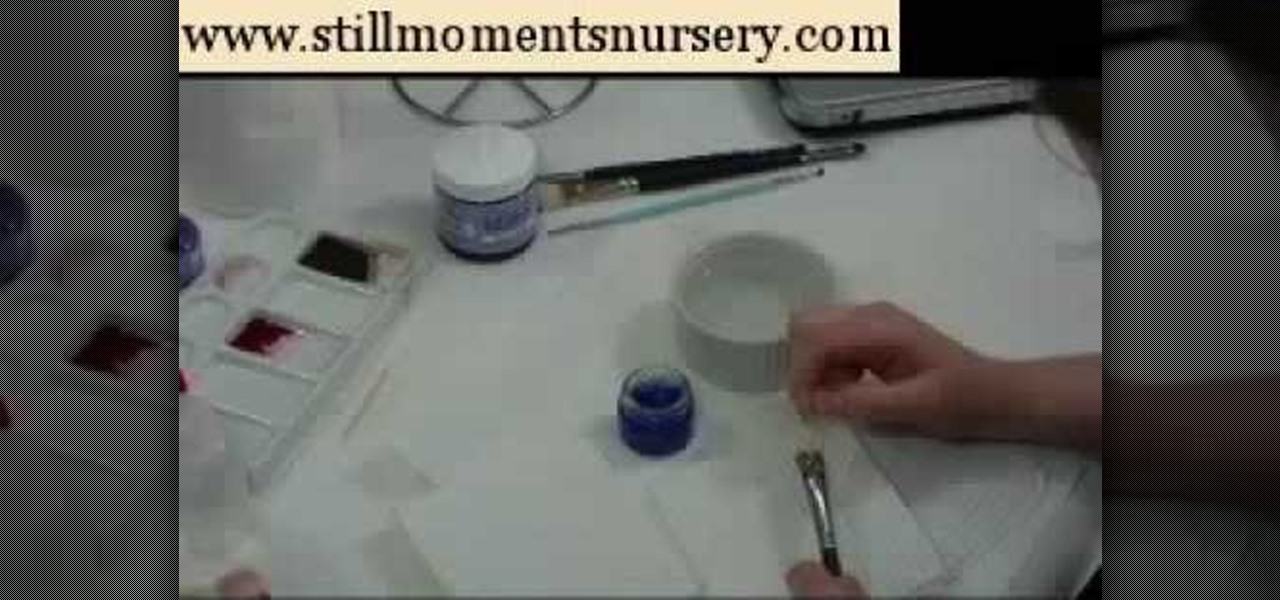
In this tutorial, we learn how to decoupage a picture frame. This is the art of gluing paper onto a smooth surface, then applying lacquer over it. First, gather all of your tools, including foam brushes. Next, stick the papers you want onto the smooth surface, using glue. Then, smooth out the surface using a roller and a credit card to press down onto it. Do one last run through with the roller, then apply the lacquer onto the top of it. Once finished, let this dry 15-20 minutes. When dried, ...
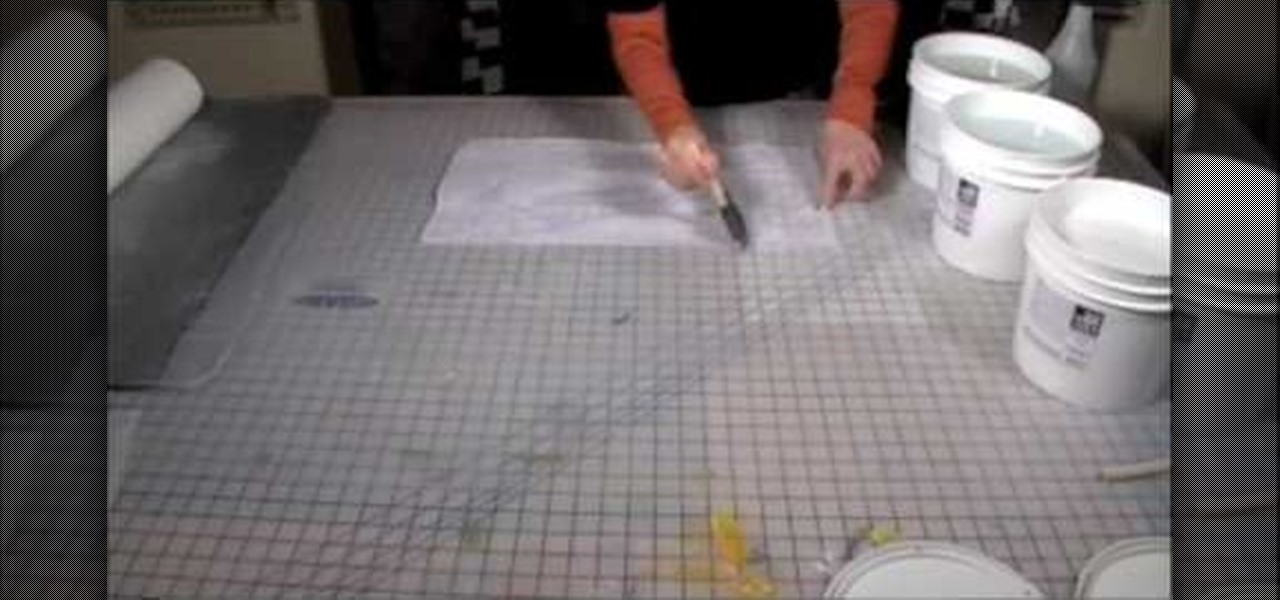
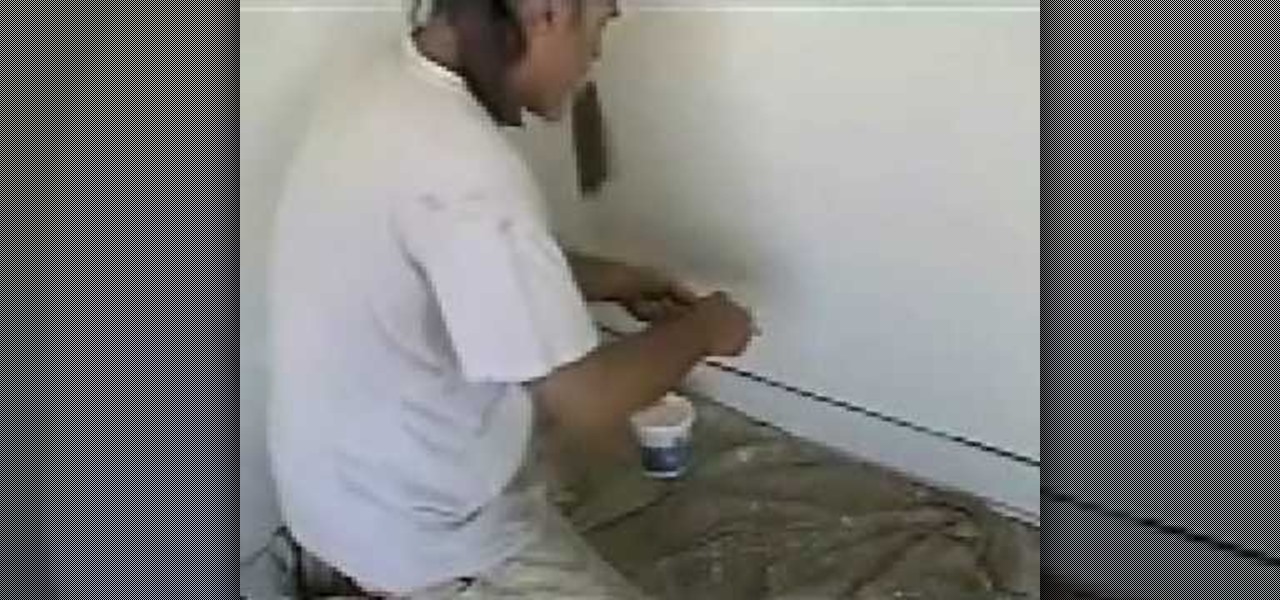
To tile with large format and natural stone tiles onto walls you must first make sure the walls are flat, clean, dry, and free of any dust, dirt, oil, grease, and any other loose material. Ensure that surfaces are suitable and prepared as advised. Then use the Dunlop Universal Bonding Agent where you will be applying the tile. For gypsum plaster and gypsum plasterboard, apply two coats of Dunlop Universal Bonding Agent, diluted with one part bonding agent, two parts water. Then allow primer t...
How To Make Anything demonstrates how to make fake boogers with rubber cement. Find rubber cement in the school supply aisle of any store. First, open the rubber cement and brush it onto a small non-stick surface. Allow the rubber cement to dry. You can blow on it to dry it. Rub off the almost-dried rubber cement from the surface and onto your finger. The rubber cement balls will retain some of its sticky properties to resemble a booger. Remember, don't eat the fake boogers but you can use th...

There are two types of fly fishing flies, and they are distinguished as surface and sub-surface flies with the surface ones being called dry flies. This tutorial will teach you how to tell the difference, and what this means. Make sure you know what's what and make sure you catch the biggest fish in the pond.
Need a change? Brighten up your kitchen and give your cabinets a new look with a fresh coat of paint. In this tutorial, learn how to paint your kithcen cabinets a fast and efficient way.
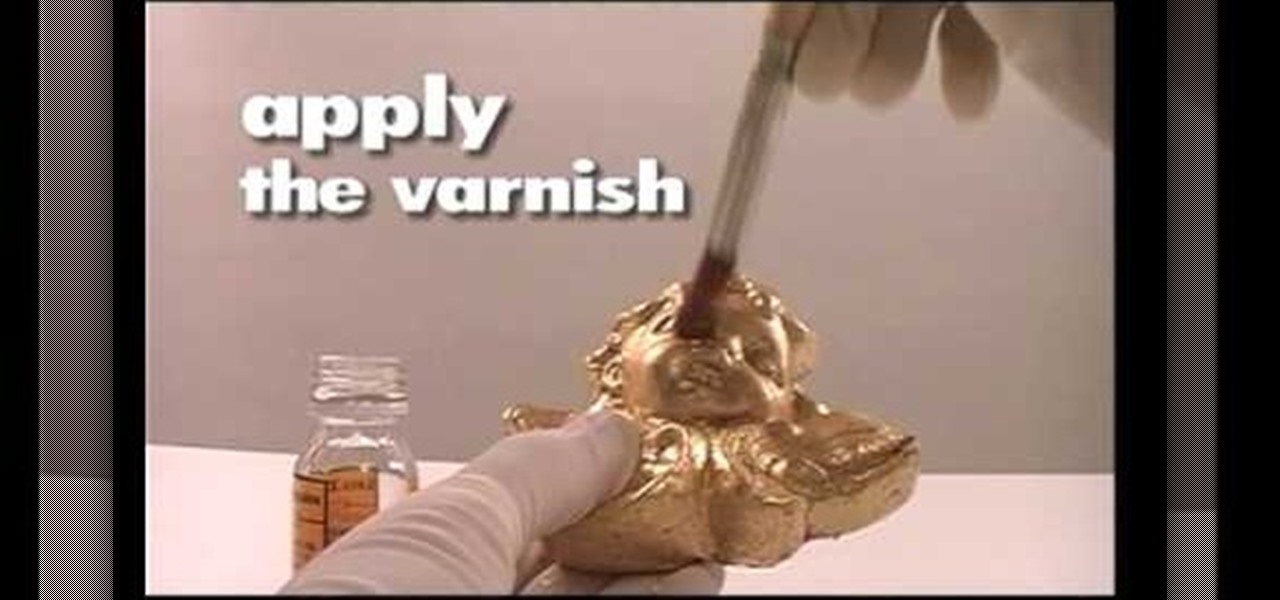
Learn the hand method for applying gold leaf gild to a solid surface such as wood, stone, or metal. • You will need imitation gold leaf, metal varnish, hot hide glue, gilder’s size and brick red synthetic enamel.
A cutting board is essential — even if you only ever cut drink garnishes, slicing limes on a dormroom desk is pretty gross.
In this video, we learn how to digitally print on uncommon surfaces. First, you will want to apply the gloss evenly with a sponge brush. Use clear so that when it's printed you will almost be able to see through it. This will come out really crystal clear and look amazing. Take the top sheet off and set it aside to dry. Grab the underneath part and then cover this with the gloss as well. Doing this step beforehand will help the pre-coat look even better for when you are printing. Once you are...
In this video tutorial, viewers learn how to make an amazing lamp. The materials required for this project are a balloon, wool string and liquid glue. Begin by blowing up the balloon and wind it with wool string. Wrap all around to cover the surface of the balloon. Then cover the entire balloon with some liquid glue and let it dry for 24 hours. Once it's dried, carefully let out the air of the balloon and remove it from the dried yarn string. Now add a light source. This video will benefit th...
Looking to give your kitchen a good cleaning this spring? Don't go out and spend a ton of money on sanitizing sprays and cleaning equipment. Cleaning and sanitizing your kitchen is easy, effective, and inexpensive, because everything you need is likely in your kitchen!
This instructional painting video demonstrates how to paint a bronze effect on ceramics. You can use this technique on just about any surface, such as wood, canvas, metal, plastic, or paper. Apply gold metallic paint, Bitumen, cadmium yellow paint and primary blue paint. Dry the metallic surface with a heat gun if you have one.
Shiny marble floors practically scream "wealth and substance"—so if you want your marble floor to scream it too, it's time to get shining.
Looking to appease your creative side? Paint with oils! You Will Need:
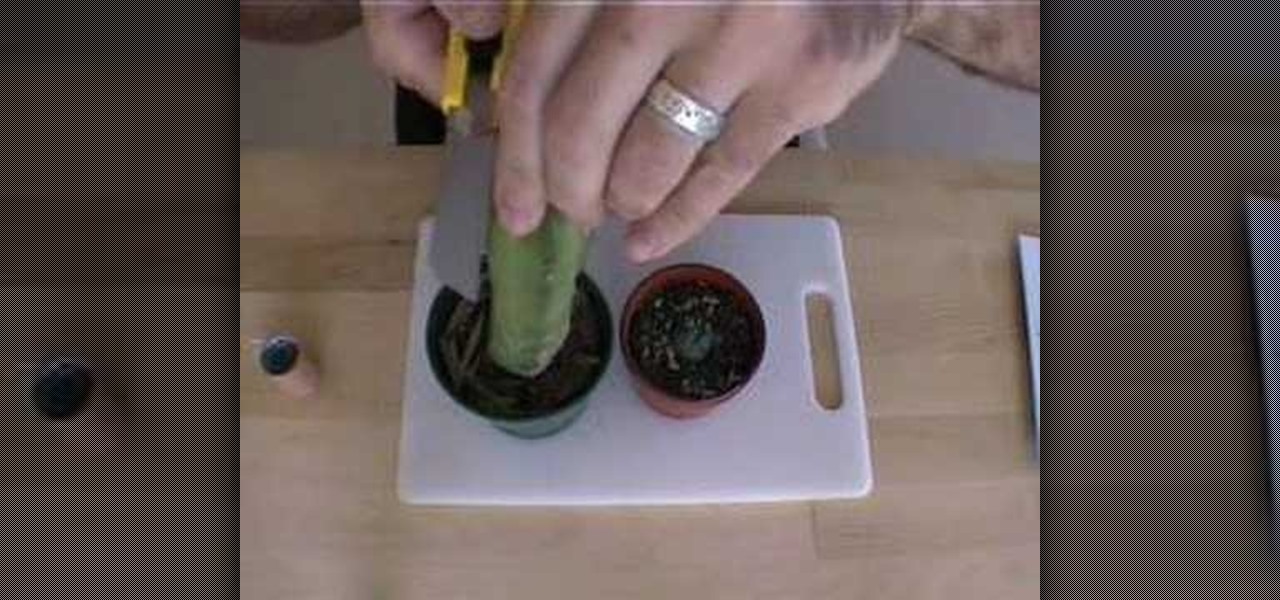
How to graft Lophophora The materials to be used:-
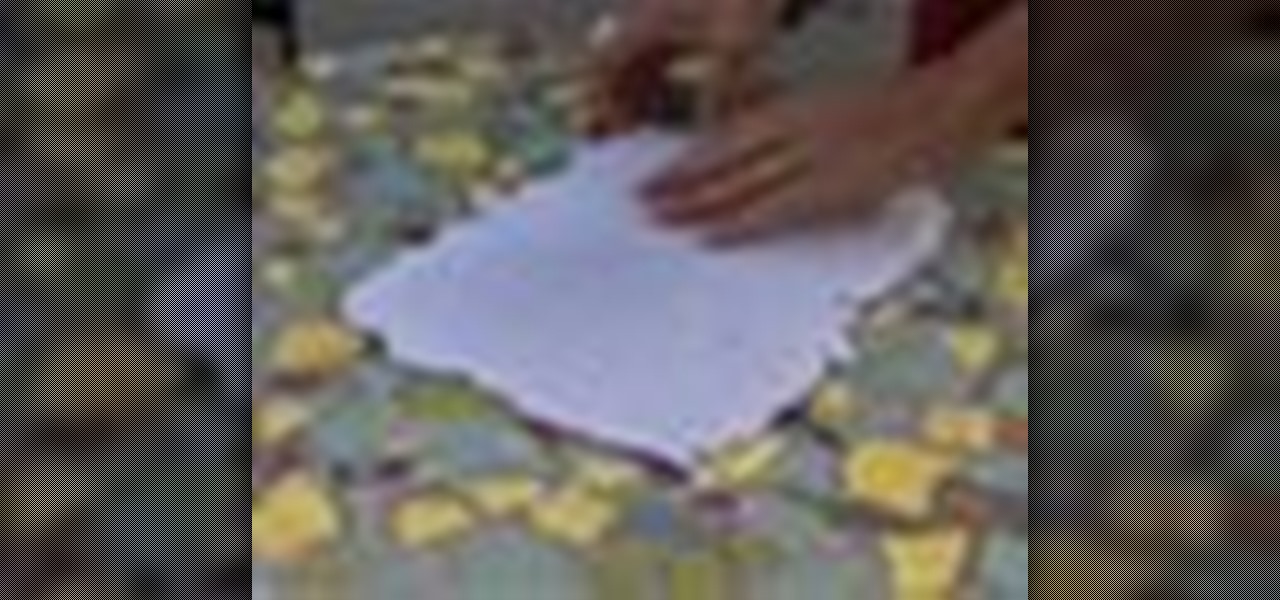
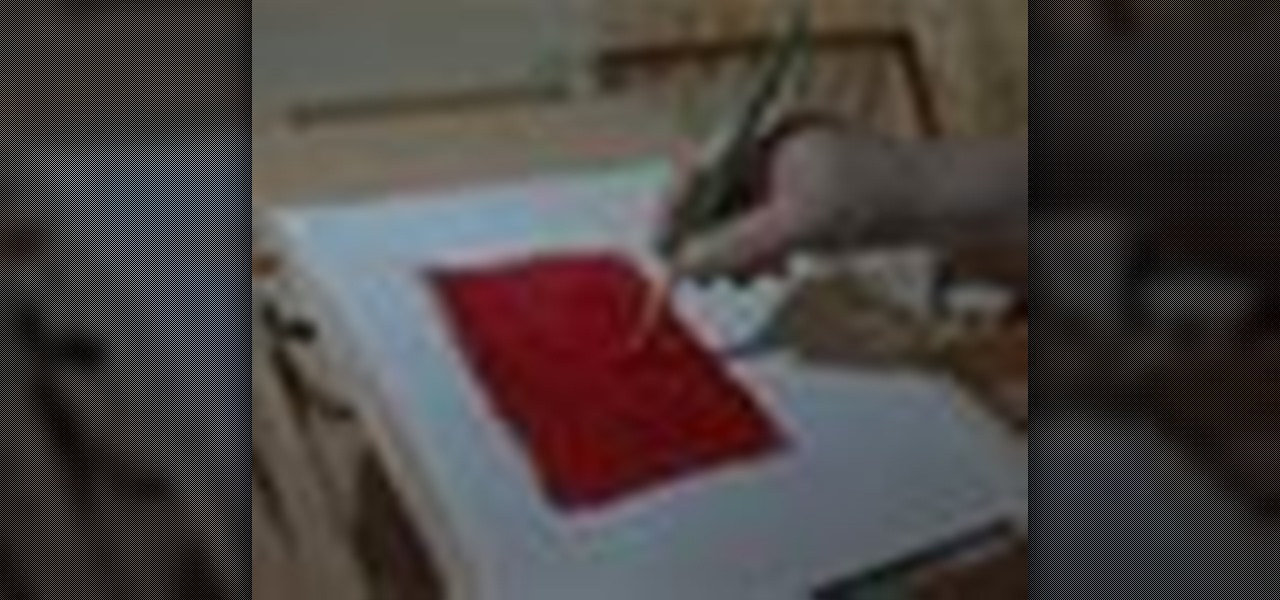
Put a use to all that scrap paper lying around. Learn how to make your own paper out of paper you'd like to recycle with the steps outlined below. Perfect for a stationary project or decorative invitation!
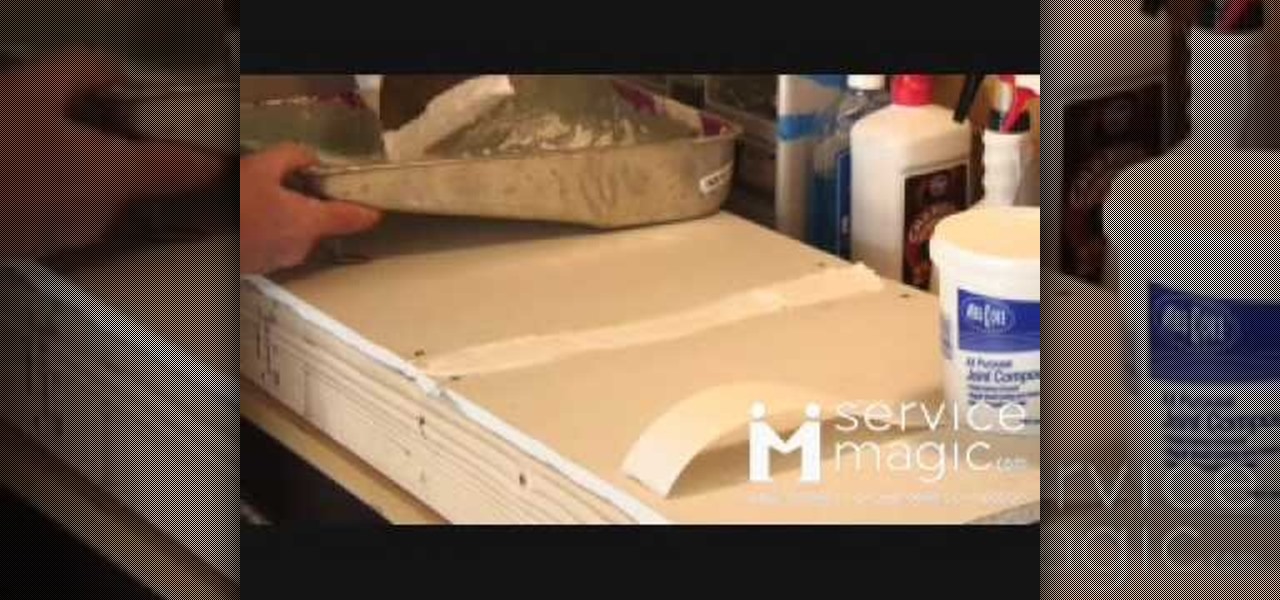
How to tape and finish drywall
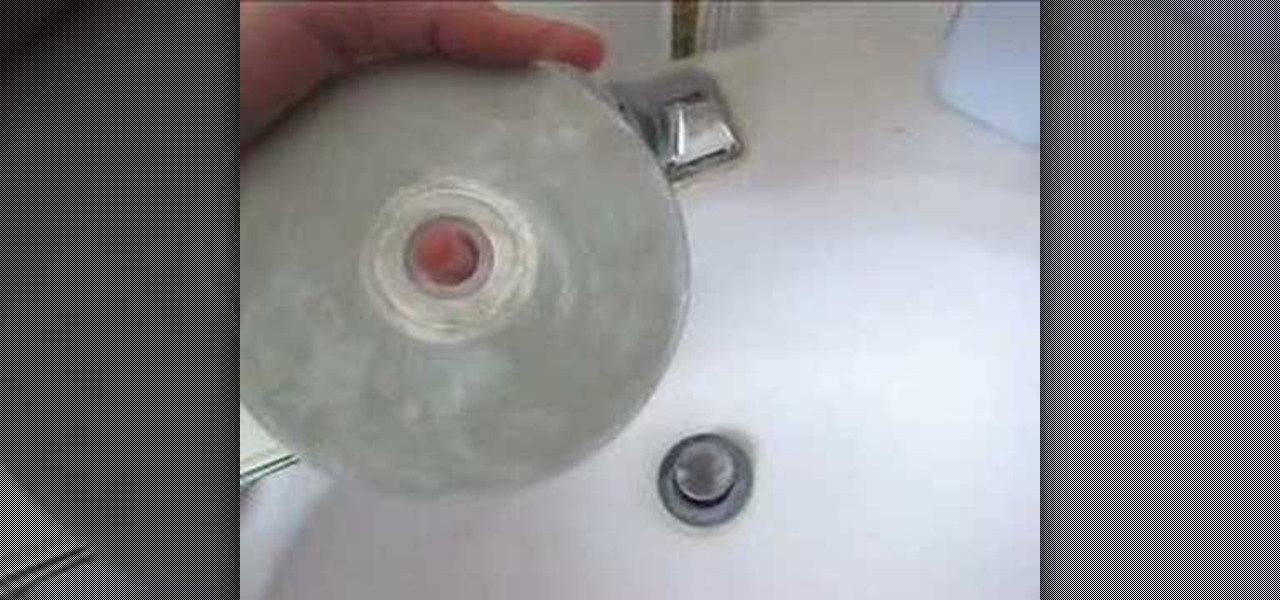
This video is presented by A K Dlnny. The video starts with common location in any household. A K shows a CD which is fairly scratched. Most of us have scratched CDs with us and he teaches us a very simple way of cleaning these CDs. As first step A K takes good portion of common toothpaste on surface of CD and spreads it all over with rubbing it with circular movement of his finger. Once the entire surface is covered then he allows the CD to dry for five minutes. In next step he washes of the...
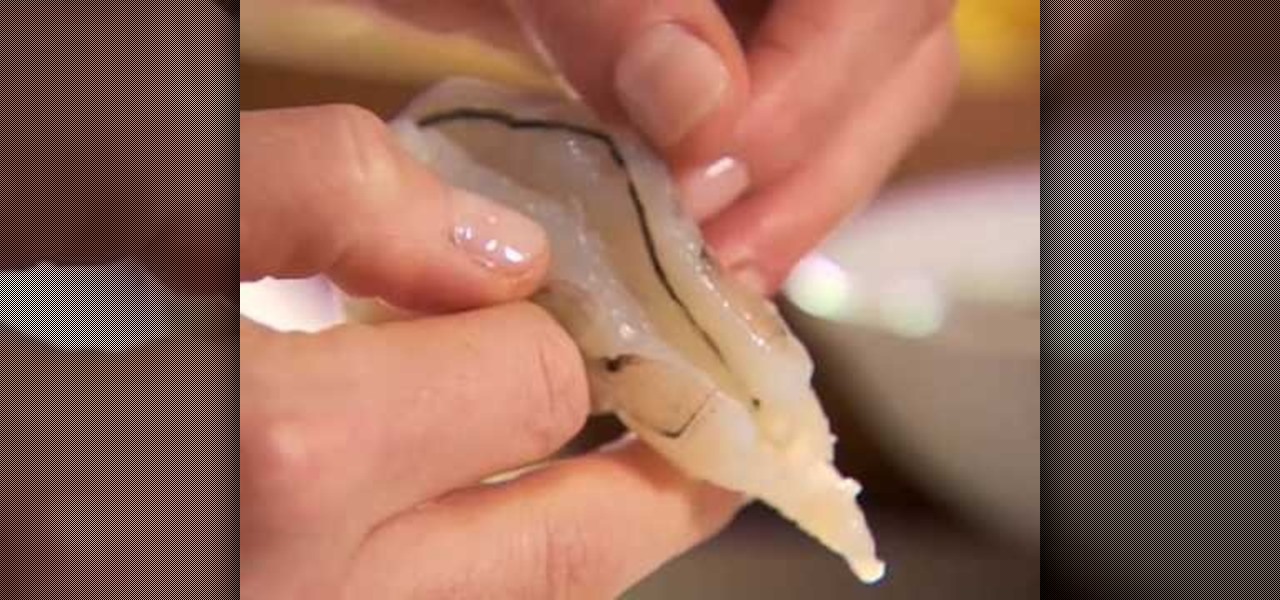
This video demonstrates how to shell, devein, and butterfly shrimp. For this, you will need a paring knife or a pair of kitchen shears and large shrimp.
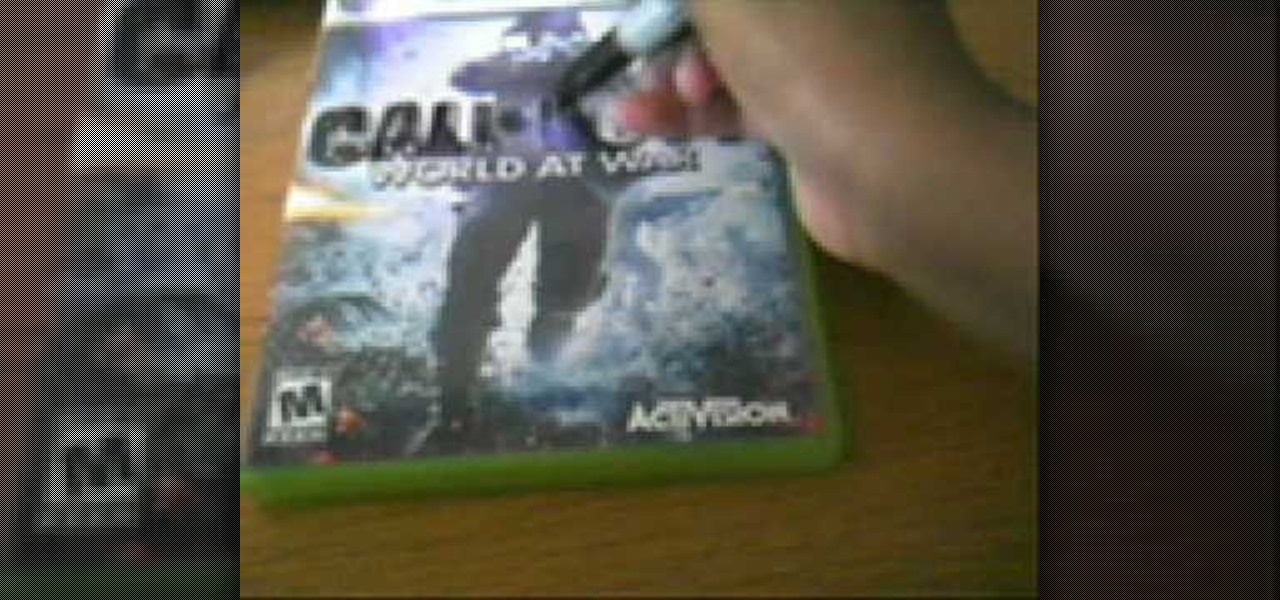
This video is a demonstration set to music about how to remove permanent marker from a plastic surface. It is not narrated. To follow along with this video, all you need is a can of Axe body spray, some clean, dry tissues, and a plastic surface that has permanent marker on it. The video shows a clean video game case, then the person draws and writes all over it with a black sharpie. The person proceeds to spray some Axe body spray all over the permanent marker writing. He or she grabs a clean...
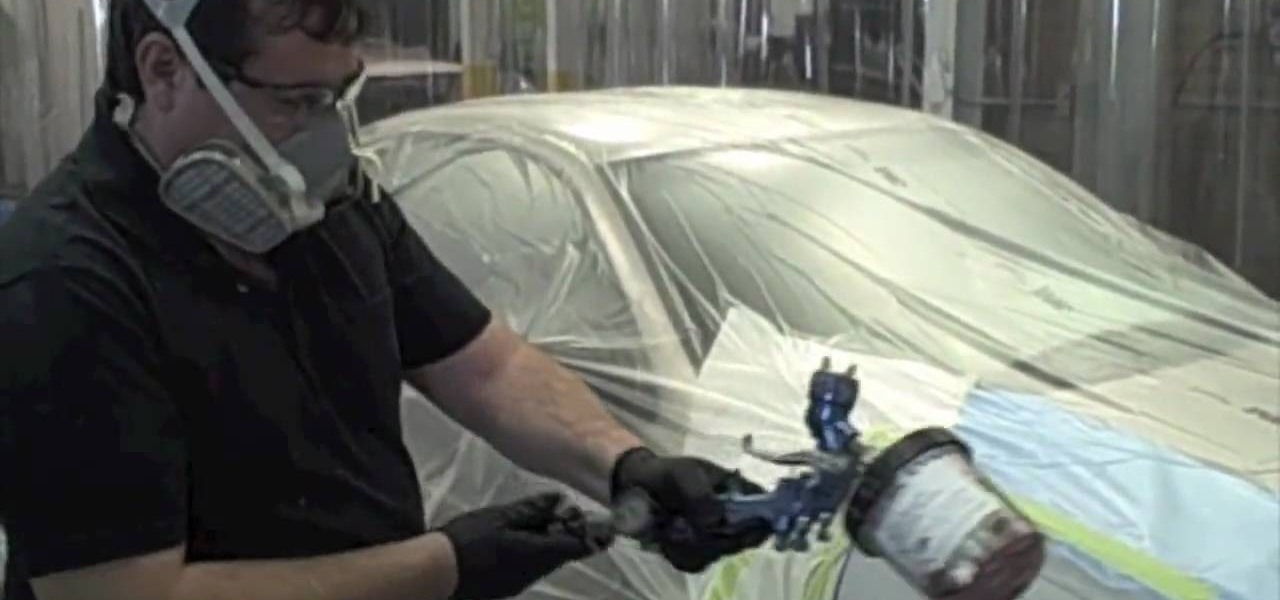
In this video Donnie Smith shows you how to apply primer surfacer. In addition to the visual instructions on the video, you can follow along with the instructions below from Donnie himself. After watching this video, you'll be an expert on primer surfacing!
Usually those "dry clean only" tags mean one thing: dry cleaning bills. Why sacrifice wearing silk, suede, or other fine fabrics when knowing just a few clothes care tips can save you tons of money on dry cleaning.
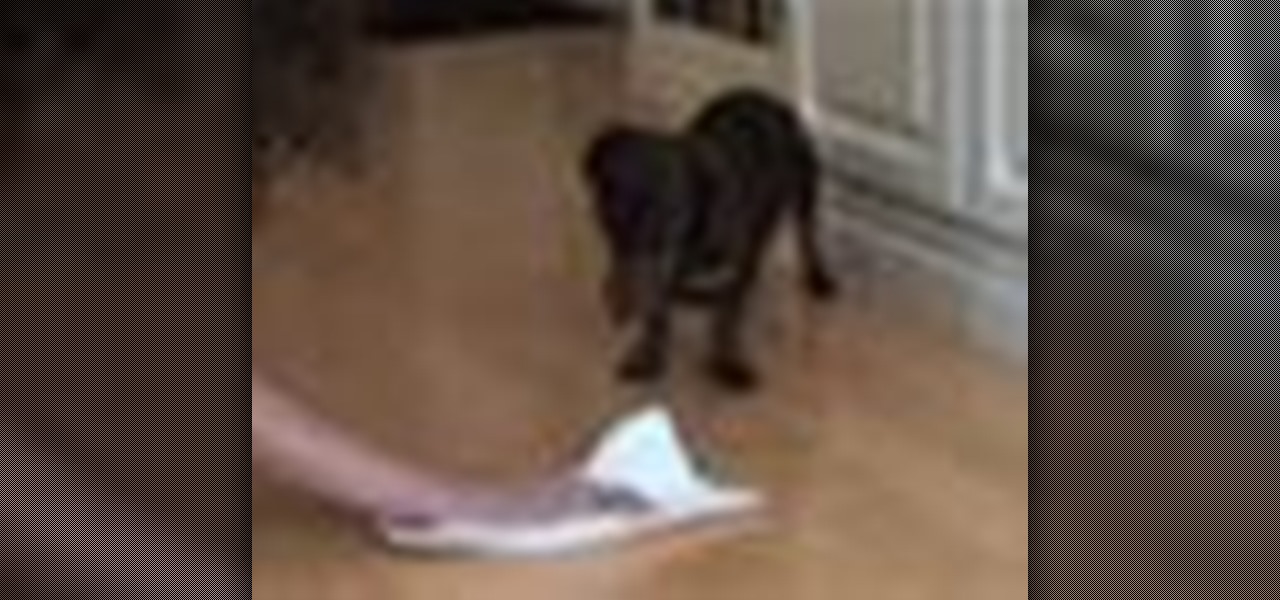
This housekeeping how-to video offers five tips for cleaning up your dog's accidents. Follow along and clean up dog accidents properly with help from the Dog Channel's five tips. Learn to clean up urine or soil, keep your home smelling fresh and prevent future accidents.
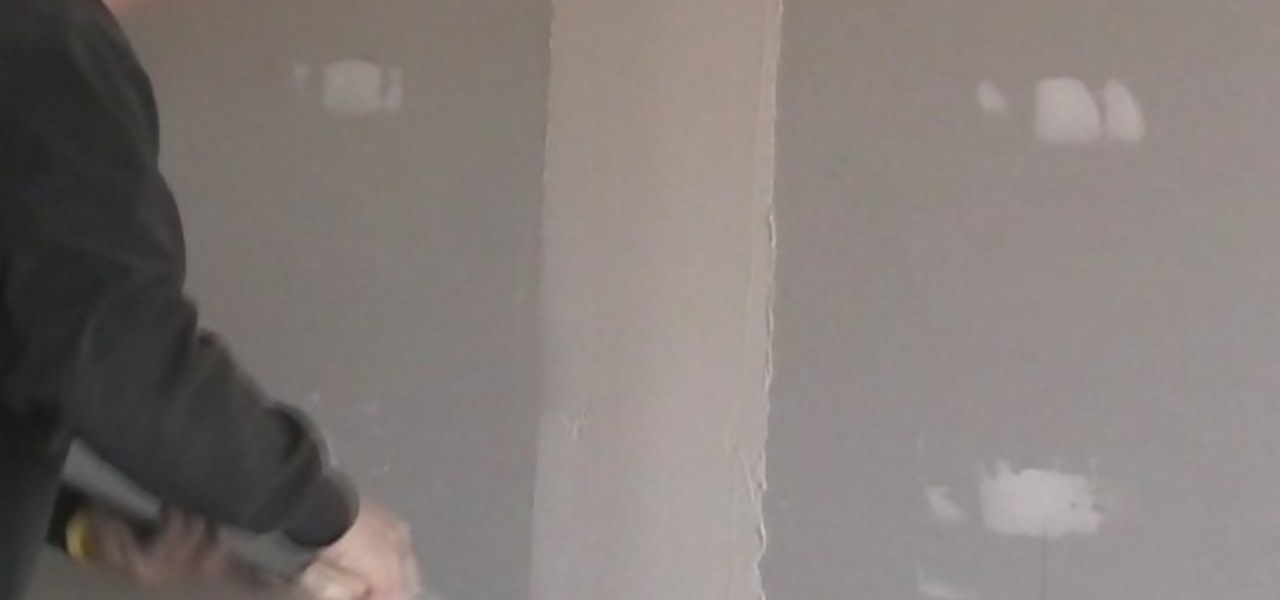
This video illustrate us how to tape and butt joint on drywall.Here are the following steps: Step 1: First of all take a wet tapering knife,tape,mud and cement to coat.
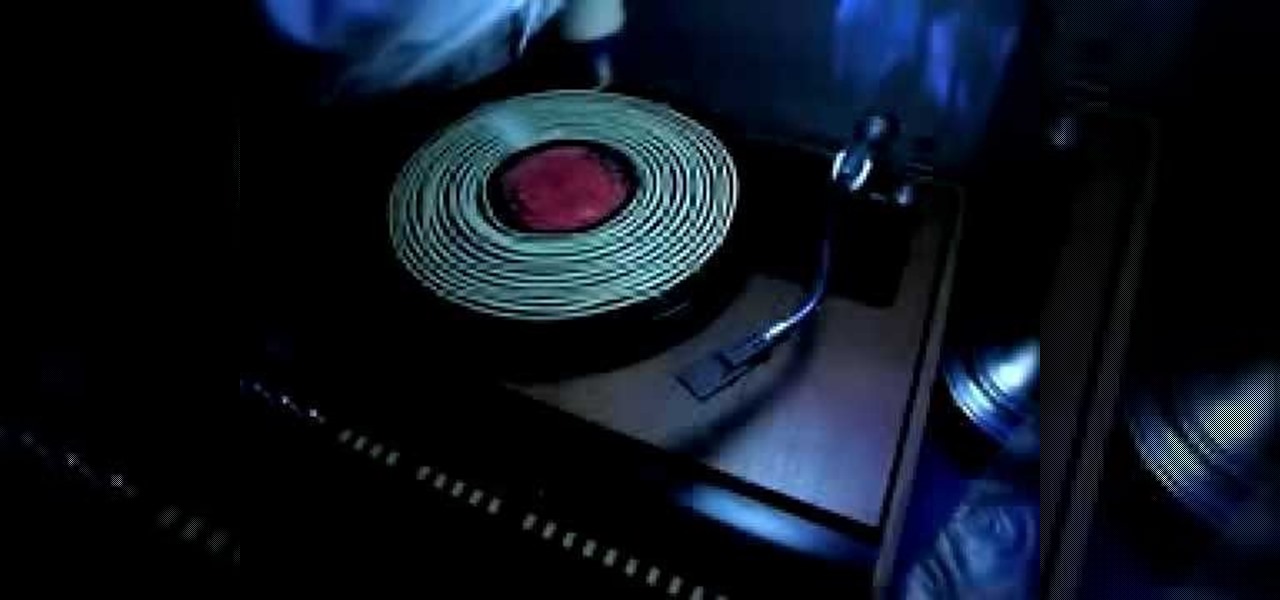
This video shows how to clean old records using Titebond II wood glue. He has the record turning slowly on the turntable, and while it's turning, slowly squeezes a line of glue around and around onto the surface of the record, starting from the middle. He explains that it takes between four and twelve hours for the glue to dry completely. After the glue is applied to the entire record, he takes an old credit card and spreads the glue evenly onto the record, all the way out to the edge. When t...

In this tutorial by Lowe's, we learn how to prep and paint kitchen cabinets yourself! First, you will want to make sure you don't have laminate or tile countertops, because these can simply be replaced. After this, you will need to use sandpaper to sand down the surface of the cabinets. Next, you will need to paint primer on the surface of the cabinets, making sure you get into the creases of them as well. Now, paint over the primer once it has dried with your choice of glossy paint. After th...
The Frontside 180 Ollie is a skateboarding maneuver where the rider pops their board into the air and then does a 180-degree turn in mid-flight. Exclaiming “Gnarly!” afterward is totally optional. You will need a skateboard, a flat & dry surface, lots of practice, and courage & stamina. Tip: the lower you bend down, the higher your board will fly into the air.
Have some spare time and looking to pick up a new skill? Learn how to paint with watercolors in this tutorial. Watercolor painting is a great medium for all skill levels.
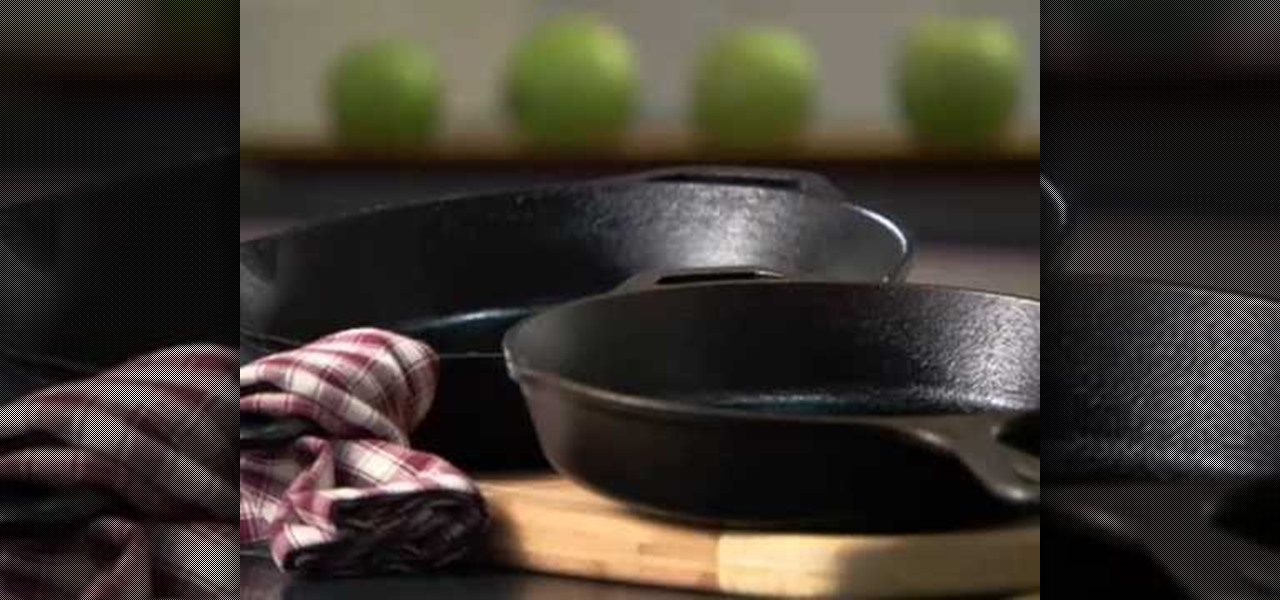
Cast-iron provides one of the best cooking surfaces for any cooking. Learn how to season it to perfection.

A quick fix is to wet your hands and put it in the bumps of the clothing or your lucky sweater. She explain as you wet the area were the bump is located, you should with your wet hand dab it until the surface is smooth, once this is done, grab a hair blower (any type of hair blower will be good) and with your wet hand dry is as you stroke it gently and see the bump disappear with this simple and shape way to make your cloth look a lot better.
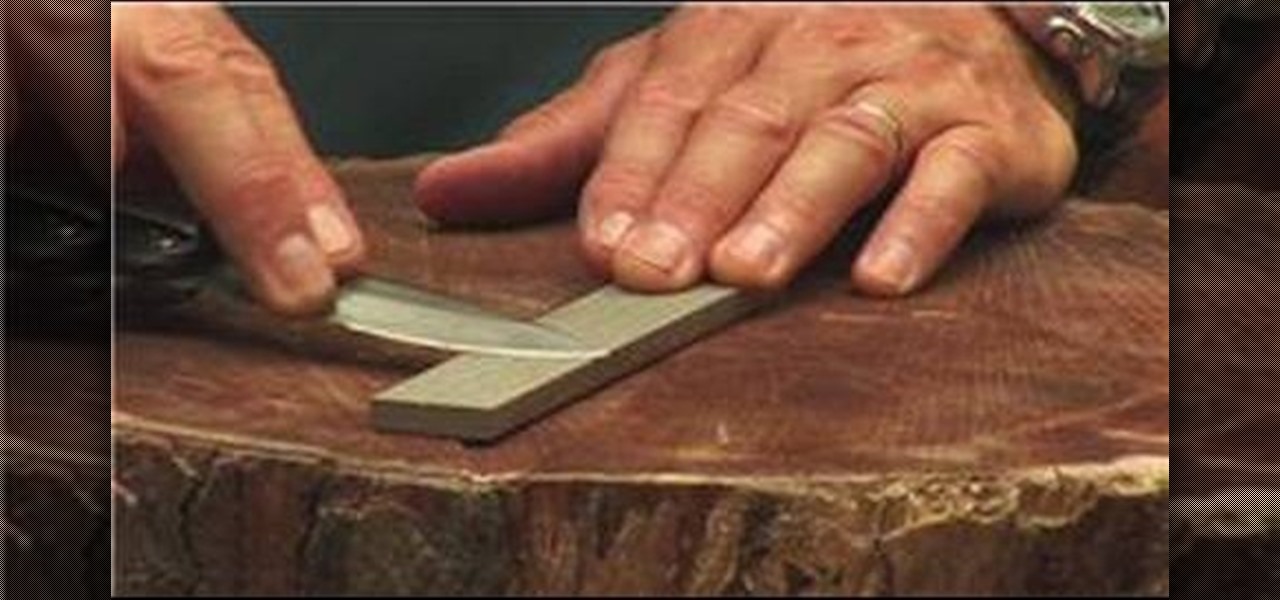
Learning how to maintain and sharpen your Swiss army knife is an important skill for campers and backpackers. You will need to have a sharpening stone that can be dry or wet. To use a wet stone simply add a little bit of water or homing oil. Keep the blade at an angle of 5 to 7 degrees from the surface of the stone and move the blade back and forth or in a circular motion.
Invented by Alan "Ollie" Gelfand in 1977, the Ollie is a skateboarding trick where the rider pops the tail of his skateboard into the air and then jumps with the board ‘stuck’ to his or her feet. Learn how to do an Ollie. You will need a skateboard, a flat & dry surface, lots of practice, and courage, stamina & the willingness to fall down a lot.
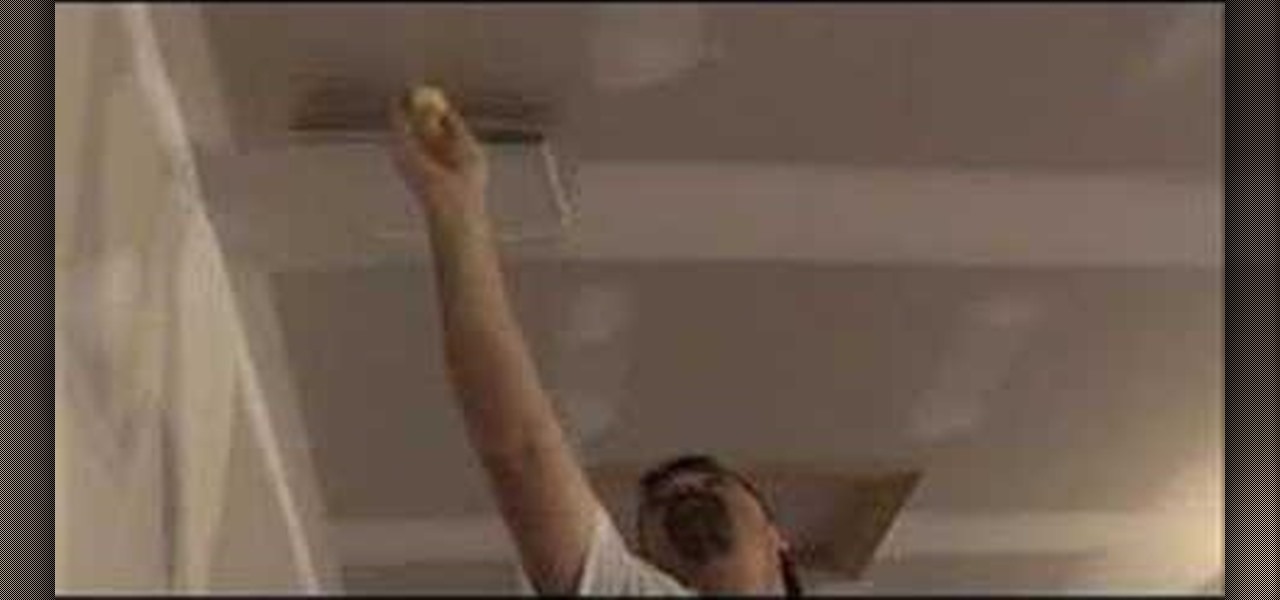
This instructional video demonstrates how to coat ceilings with joint compound, without dripping mud on your face. Spackling is a delicate art, but anyone can create a perfectly smooth surface with a metal putty knife and a fresh bucket of joint compound. Spackling ceilings is one of the more difficult tasks in prepping a room for painting, but this video provides tips on how to lay down thin layers of putty to avoid heavy sanding after the spackle dries.
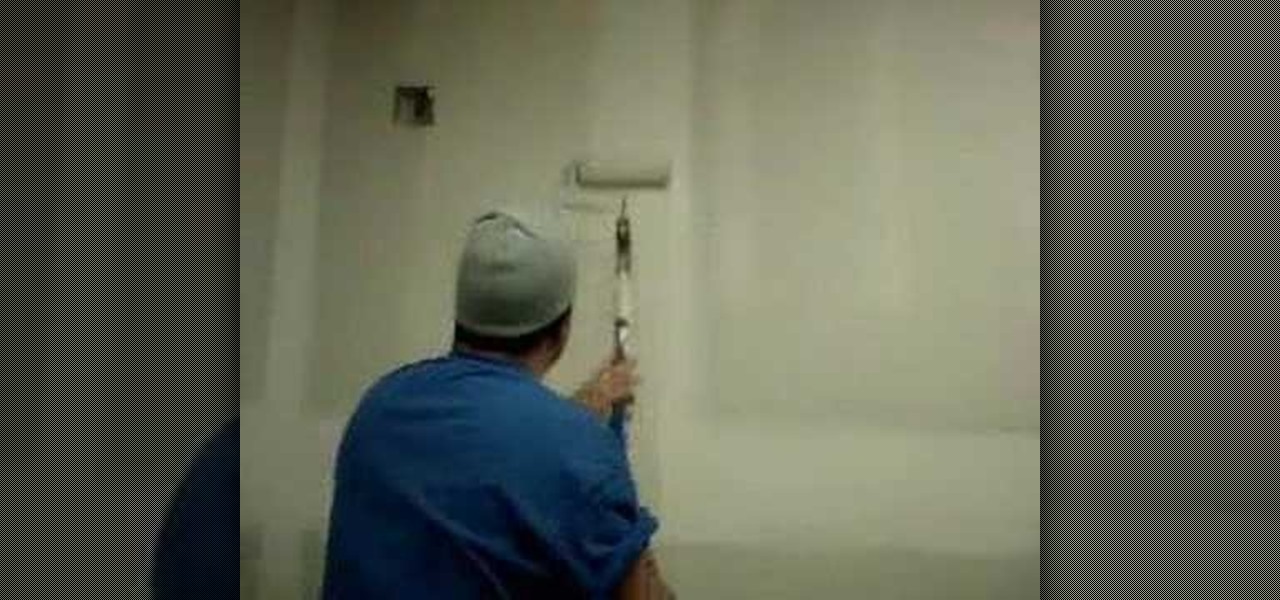
Here's a way to make your drywall project perfect. Mix up some thin joint compound, using more water than normally required for spackling holes in the wall. You can roll the putty onto the wall with a think rolling brush. After the joint compound dries, it only requires a light sanding. Watch this instructional video to create perfectly smooth drywall surfaces with liquid spackle.
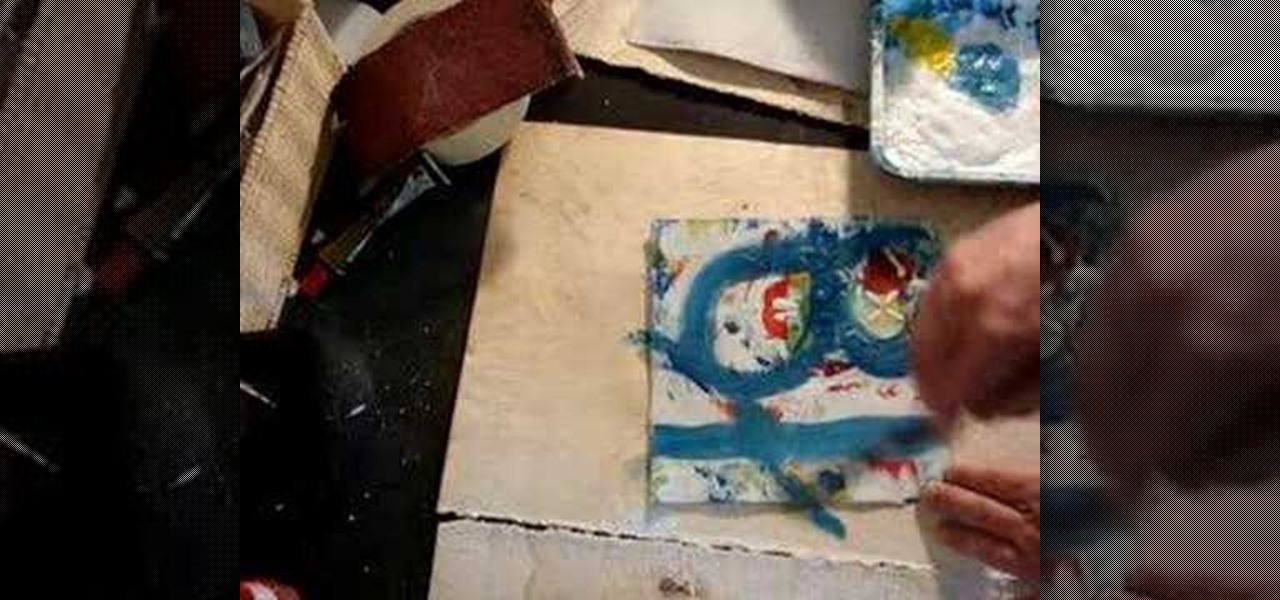
Building up layers of paint and tiling putty to create a marbled effect. Materials used in this video are tiling putty, acrylic paint,

This crushing process brings out color variations by flattening the pile or nap of the velvet, and adds surface texture by pleating the fabric. One benefit to this method is that a simple wash and tumble dry will restore the fabric to its original condition, so watch this video and see just how to create crushed velvet.
In this video, we learn how to clean brushes using Genesis cleaner for reborn dolls. First, dip the brush into the cleaning solution and allow the dye to drain off of the brush. After most of the paint is gone from the brush, dip it into water and continue to clean until the water running over it runs clear. Continue to repeat this process for all of the different brushes you have used. When finished, lay the brushes down on a flat and dry surface, then let dry overnight or until they are com...

In this video, we learn how to prepare surfaces before painting with Lowe's. First, you will need to place a drop cloth on the floor and apply painter's tape to all the outlets and spots you don't want paint to touch. After this, clean off the walls and remove all the dust and debris, including nails. Next, grab the paint you need along with brushes and paint rollers. Remove any wallpaper that is on your wall, then start to paint. Pour the paint into the tray, then use the roller dipped in pa...
How to spackle a crack or a hole
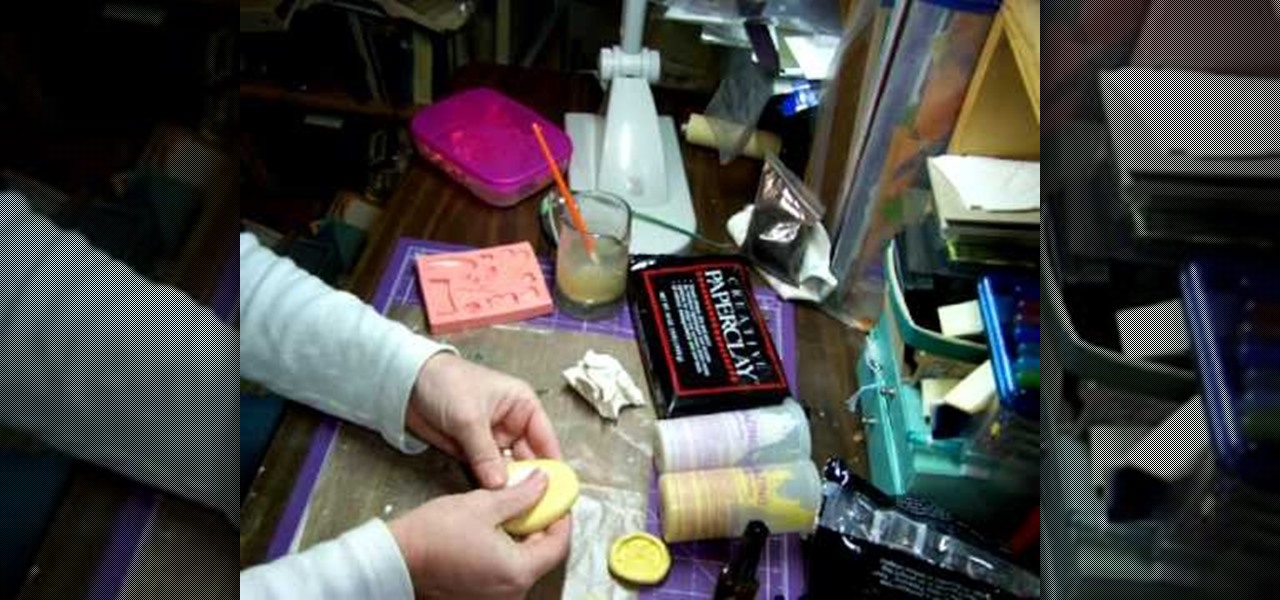
Terri Sproul shows you how to Work with Paperclay and Molds. Make a ball of paperclay and push it firmly into the center of the home-made or ready-made Mold. Make the surface of the Paperclay level with the surface of the Mold, adding more Paperclay if necessary, and removing any excess with your fingers. The molding putty that the Mold is made from is flexible, so hold the edges of the mold with your fingers and gently push the center of the Mold with your thumbs, this will push the molded P...