In this tutorial, we learn how to make a Japanese screen. First, cut your wood out and sand it down. Then, use a corner clamp to drill a hole in and screw the different sides together. Also use wood glue to help stick the pieces of wood together. Once your frame is assembled, sand the corners of it. Next, you will stain the wood with black Japan wood stain. You will only have to put one or two coats of this on, because the color is so dark. Now score notches onto the wood to allow your screen...
This tutorial shows the viewer how to make polymer clay look like wood. Begin by using a pasta machine and roll out ecru on a number four and rolling out brown on a number six. Stack the brown on top of the ecru and cut the stack in half. Then sandwich the two stacks so it goes light - dark - light - dark. Repeat the process by Cutting it in half and stacking them again. Roll this stack through the pasta machine on a number one so it squishes them together. Cut in half and stack. Repeat this ...
Learn how to remove stains from wood furniture. Make your wood furniture look like new again by getting out rings and spots.

This makeup palette is the Forest Fairy Sprite Wood Nymph created by MissChievious. Begin with regular foundation. Get a little dark gold and golden cream eyeshadow with a knife & mix it into foundation. Take a large makeup blush type brush & put green shadow around top & sides of forehead blending it up into hairline & around the sides of face, continuing slightly onto the cheek hollows as you might do a light contouring. Take golden cream & dark gold & mix them before applying to center of ...

Make a cane from a tree! Learn how to create a walking cane from a tree in this free woodworking video from a wood crafts expert.
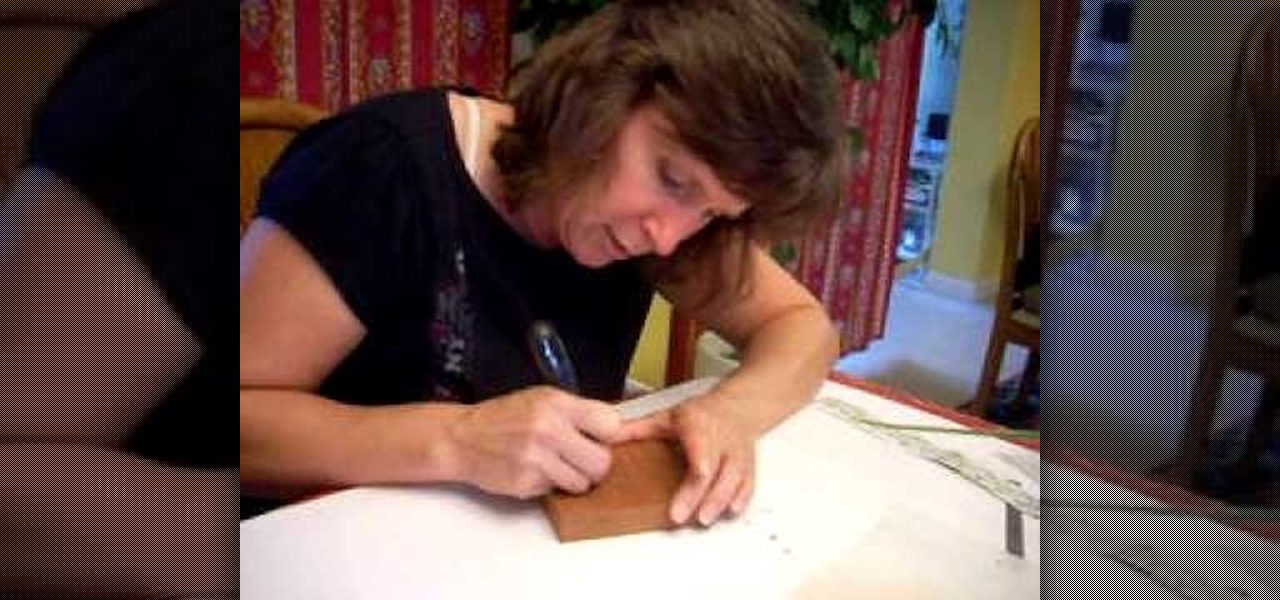
In this three-part carving tutorial, Valerie Jones demonstrates her chip-carving techniques on Mahogany wood. Using an X-acto knife, she carves the wood by hand & describes how to carve German-style, geometric patterns into the wood after stenciling the pattern on the outer wood surface. Later, Valerie talks about her methods when chip carving wood: how to hold the knife, how to guide the blade, finishing the final product, how to follow a stencil pattern & goes over more useful information.

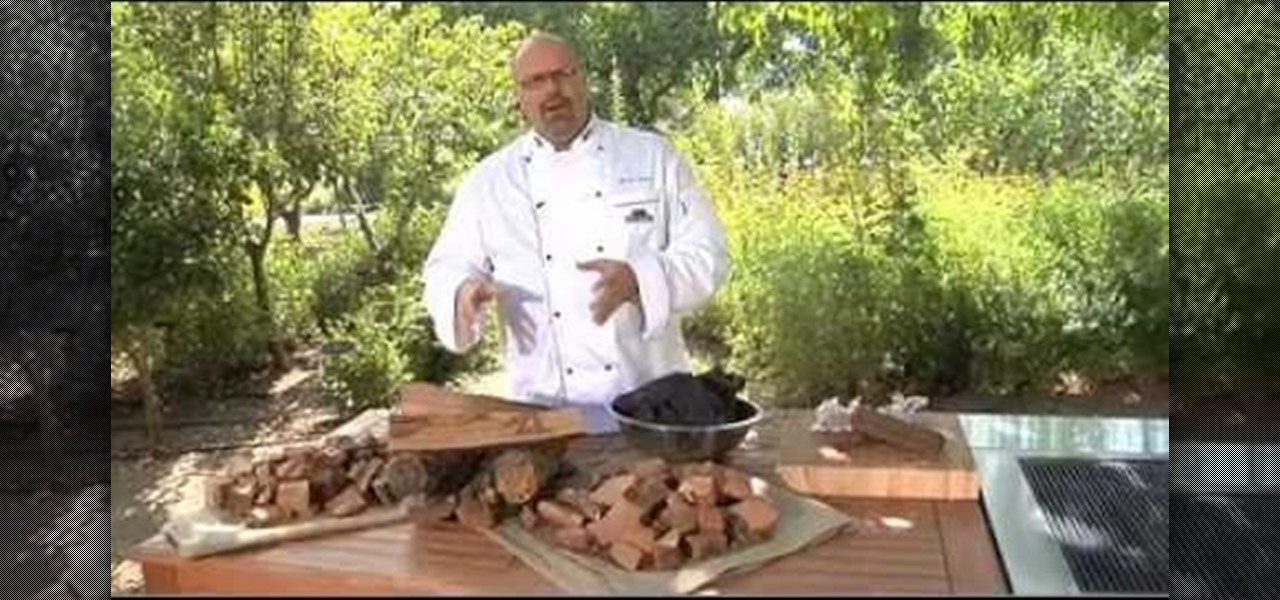
What's the difference between grilling on a pan in your kitchen and grilling outside with wood chips? It's definitely not just the surface you cook on that changes.
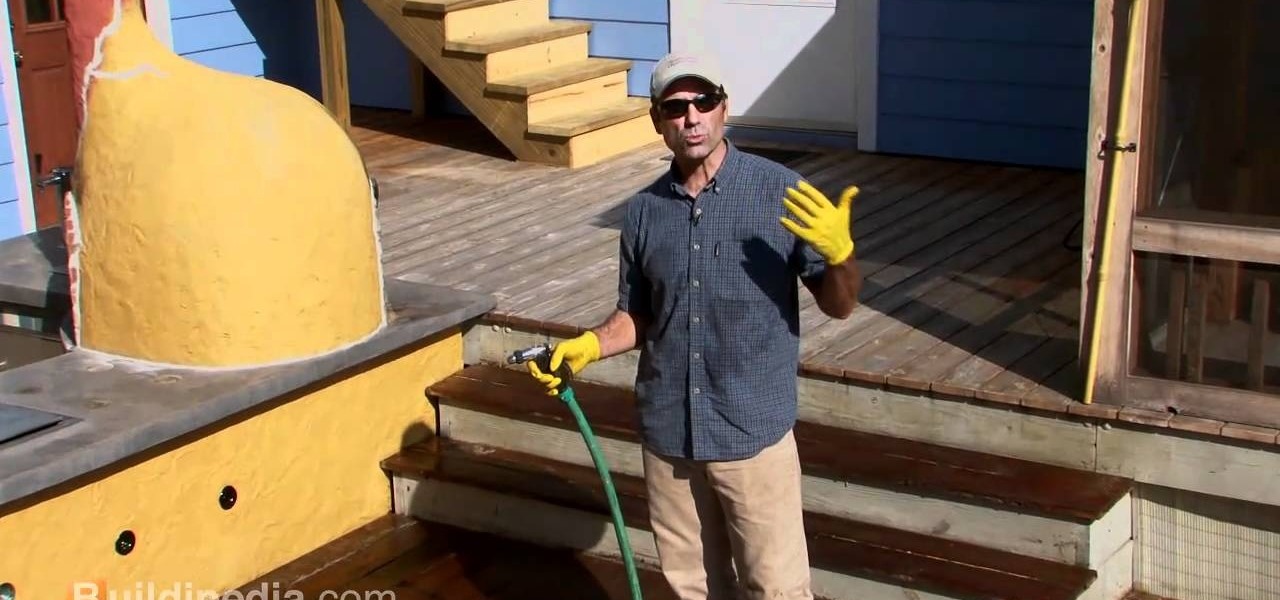
Wood decks can be a wonderful thing, however they do require cleaning and maintainence. This DIY video gives you the info you'll need to clean, repair and refinish your wood deck, ensuring it's looking great when it's time for that backyard blow out.
Looking for a fun and easy craft project to demonstrate your creative side? Learn how to make wood art paintings with expert tips in this free arts and crafts video series.
When a thick piece of wood is treated the treatment doesn't soak into the center of the wood. If you are using the wood for a fence post you need to treat the bottom of the wood so that the ground moisture doesn't damage it. In this how to video, home improvement expert Danny Lipford gives a great way to treat the bottom of your pre-treated wood.
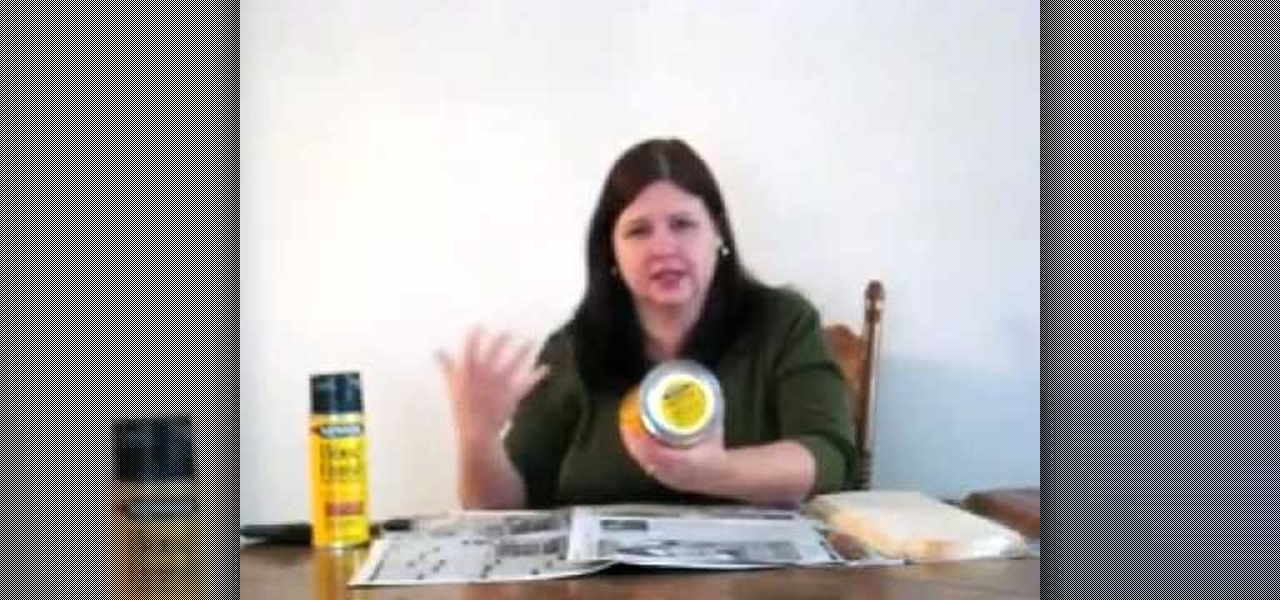
You will learn how to get a nice, even stain on wood in this Home and Garden video tutorial brought to you by TheSoapGuy. It’s really easy and simple to do. Get a finished piece of wood. You should work in a well ventilated area because wood stain generates a lot of fumes. Wood stain comes in aerosol spray and in cans. Mix the stain in the can by rolling the can. Don’t shake it, it will generate bubbles. Open the can and apply the wood stain with a brush evenly on the surface. The more coats ...
There are a number of ways to deal with screw holes that are visible. You can buy some wood buttons and put them in the holes. You put a little wood glue in the hole and then tap the wood buttons into the holes using a hammer. This is a decorative solution to cover up screw holes. If you want to completely cover up the holes completely put a plug cutter on your drill and cut a plug out of a piece of wood that matches the wood that the hole is in. Take the plug put a little glue on it and tap ...
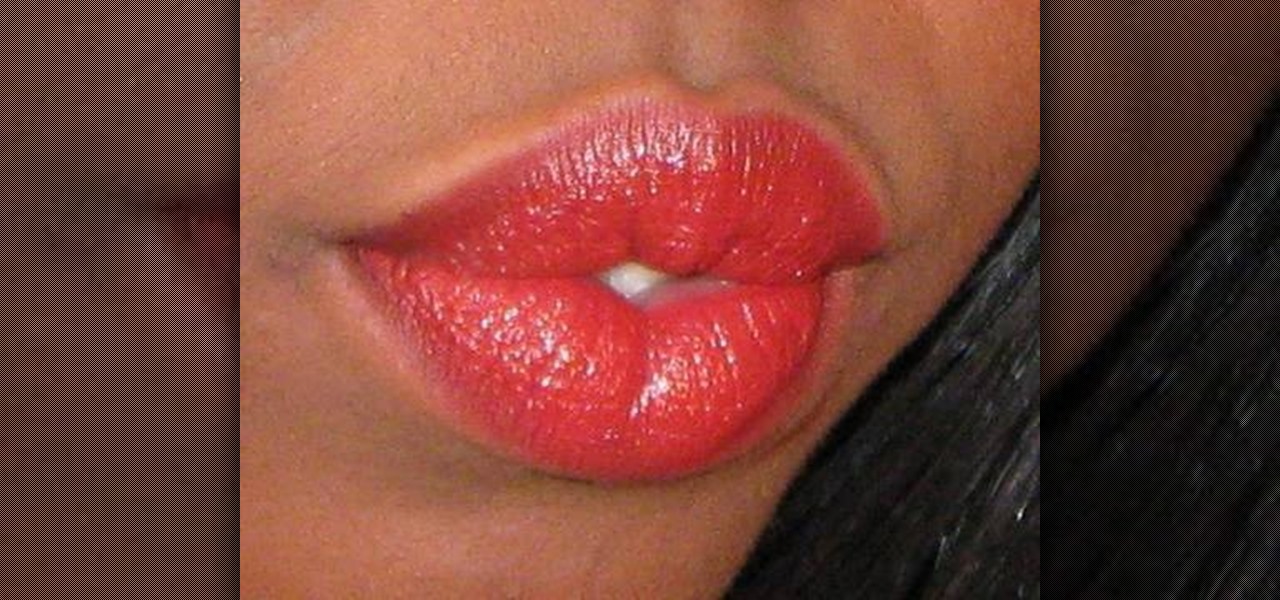
In this tutorial, we learn how to get perfect red lips for African American skin. First, take a dark red lip line from Studio Gear named "red wood" and apply it to the lines of the lips. Once your lips are fully lines, grab your lipstick and apply it to your lips carefully. The liner will be darker than the lipstick, so make sure you blend them in together lightly. After you are finished applying, clean up any smudges on the edges of your mouth. Then, apply makeup on the bottom an sides of th...
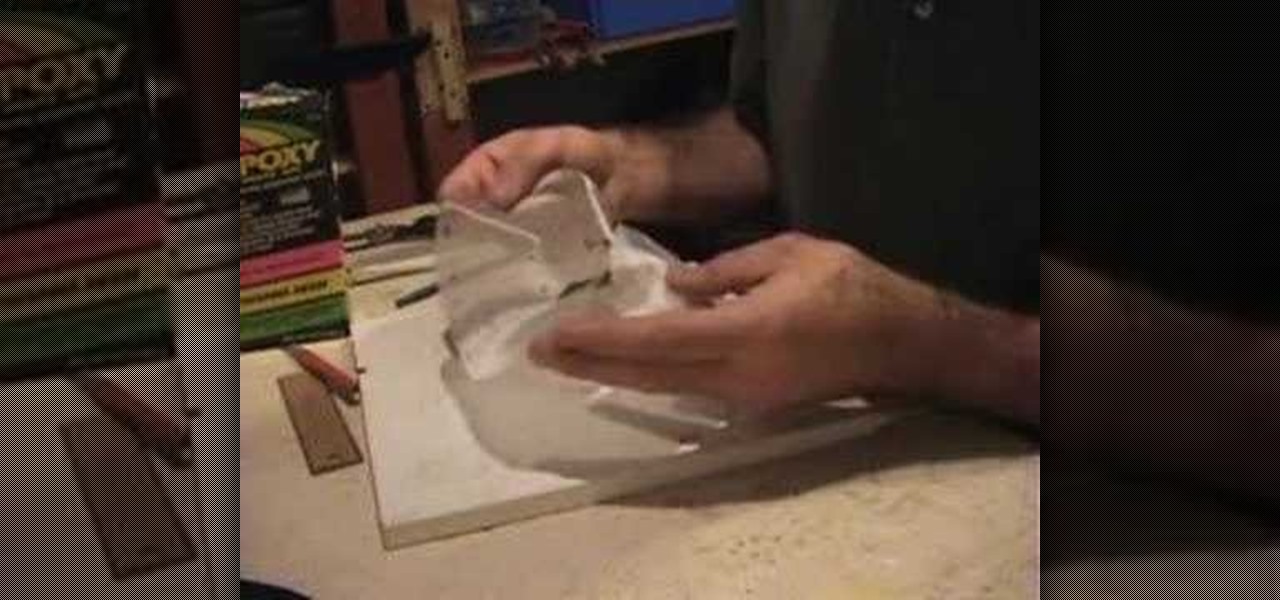
Check out this five-part video tutorial on how to use fiberglass finish over balsa wood for RC airplanes. If you like building engines and bodies for remote-controlled vehicles (airplanes), then this will definitely help you out, just by learning how to apply simple fiberglass to the balsa wood parts of the RC airplane body. You will learn all of the tricks needed for fiberglassing.
This instructional wood turning video demonstrates how to dry a green piece of wood and avoid cracking. Date the piece and mop a green wood sealer inside the bowl. Set it aside for 90-120 days in a dry climate. This is a necessary step when preparing wood to make a carved wooden bowl.
This mapping tutorial shows you how to create maps using the Woods tileset in RPG Maker XP (RMXP). Part 1 of 3 - How to Use the Woods tileset in RPG Maker XP (RMXP).
The Red Riding Hood movie by Catherine Hardwicke is a decidedly dark take on the story, which is pretty dark to begin with. This presents great opportunities for dark, sensual makeup both in the film and on your though, should you decide to watch this video and try out this dark, almost Victorian makeup take on Red Riding Hood.
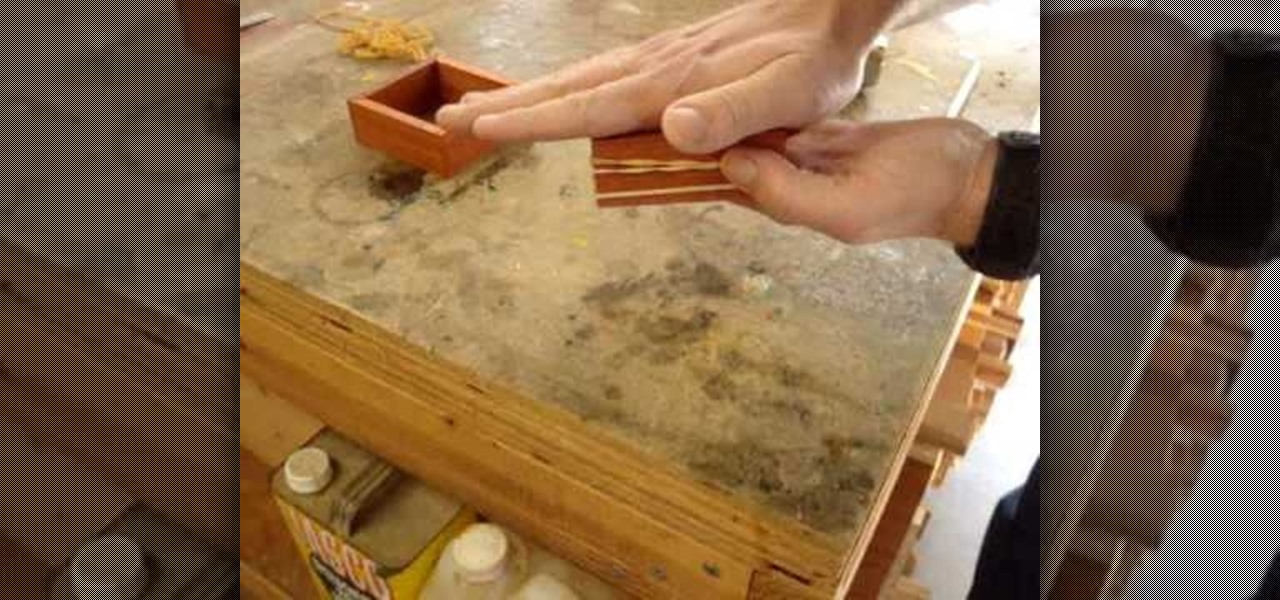
Most people have scrap wood hanging around in their garage collecting dust - so why not make a cool gift out of it? This picture frame box can be made in a couple of days and with a little elbow grease. It is a lovely gift for any occasion, and basically free to make.
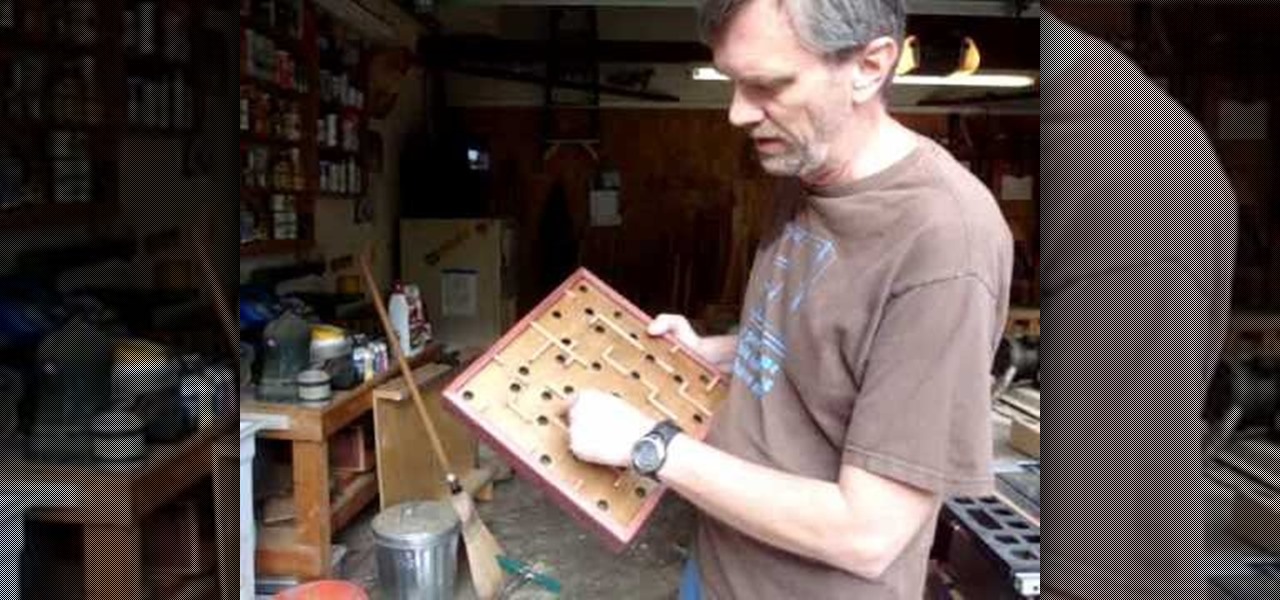
This video shows viewers how to create a wood labyrinth in which you can roll a small ball through a maze, trying not to allow the ball to fall into the hole. You will need some boards of wood which you will need to cut to the correct dimensions. You will need to create a box-like structure which will have an opening near the bottom from which you can retrieve your ball if it falls in a hole. After designing the template for your wood labyrinth, you should then proceed to make holes in the to...
In this outdoors how-to video from fitclimb.com we're shown how to make a fire in the snow. The first step is to find a good flat spot, or make a flat spot yourself. Next, we look for trees with dead branches and break those dead branches off for the wood. The key here is to be organized because you'll have to carry this wood back to your camp. Next, you want to make a platform for your fire to keep it from sinking down as the snow melts. Here, we're using the bark from a dead stump for a pla...
This video illustrates the transfer of paper patterns on woodworking projects with Lowe's. If you have a pattern in a piece of paper for the woodworking project. Draw the grid for the pattern in a piece of paper. Even though, the piece of wood is six times larger than the pattern in paper. Draw the grid in the wood with One and half inches by the use of ruler. Then check out each and every box of grid in a pattern, trace the shape of each boxes in the wood. After finishing all the grid boxes ...
Staining wood can give it a really dazzling effect. In this video, Mark Donovan of HomeAdditionPlus.com shows us how to revitalize old wood and make new wood look better with staining. Before you stain, it's important to know what you're doing. After all, if you stain something badly, it can be tricky to clean it up.
The Achievement Hunter demonstrates how to find all of the various collectibles in the Xbox 360 game Transformers: Dark of the Moon. These collectibles are necessary to unlock the 'Completionist' achievement and are scattered throughout the various levels of the game.
Out for a leisurely hike in the woods? Well, don't leave home without a few simple supplies or you could be facing a survival situation out-of-doors. Make sure to take supplies along with you, like a compass, but make sure you know how to use it. Watch this video outdoor safety video and learn how to survive a hiking trip in the woods.
DominickDiy teaches you how to use a wood router. You figure out what and how you will use it for by looking at it and adjusting the blade. Then lock it into place and you're ready to cut. The piece of wood you'll be working on should be on top of a piece of rubber mat, so that the wood doesn't slip. You also don't want the router to slip, as it might injure you or cut a wrong way. You go from a rip to a cross cut, when going from one side to another, via a corner. So one time you will be pus...
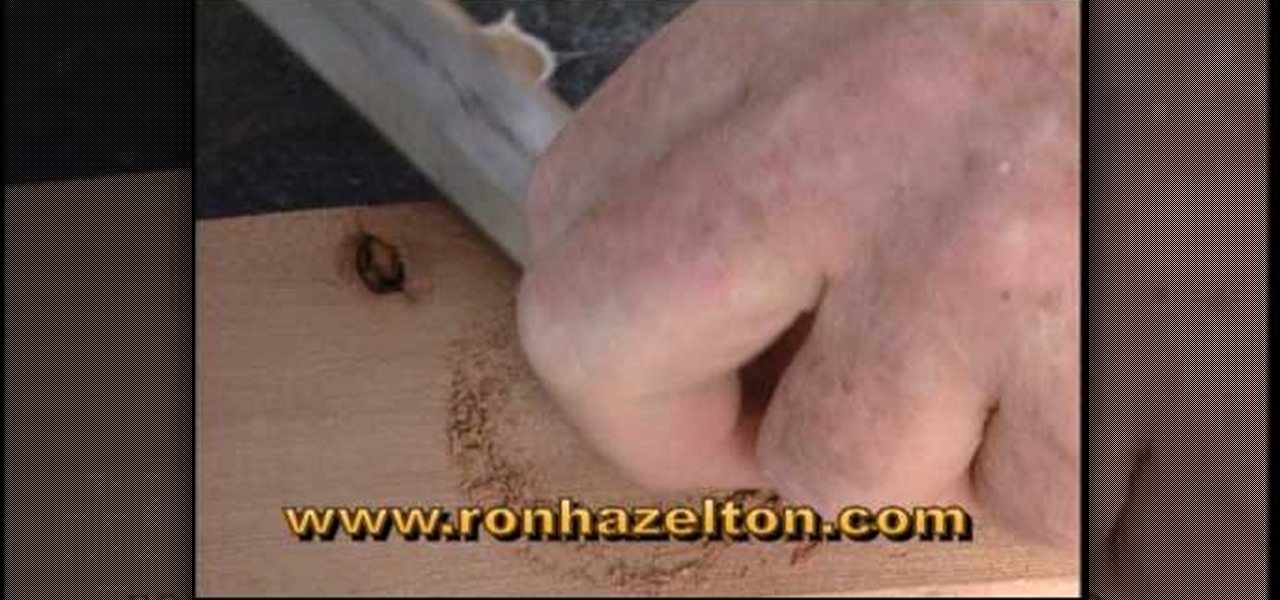
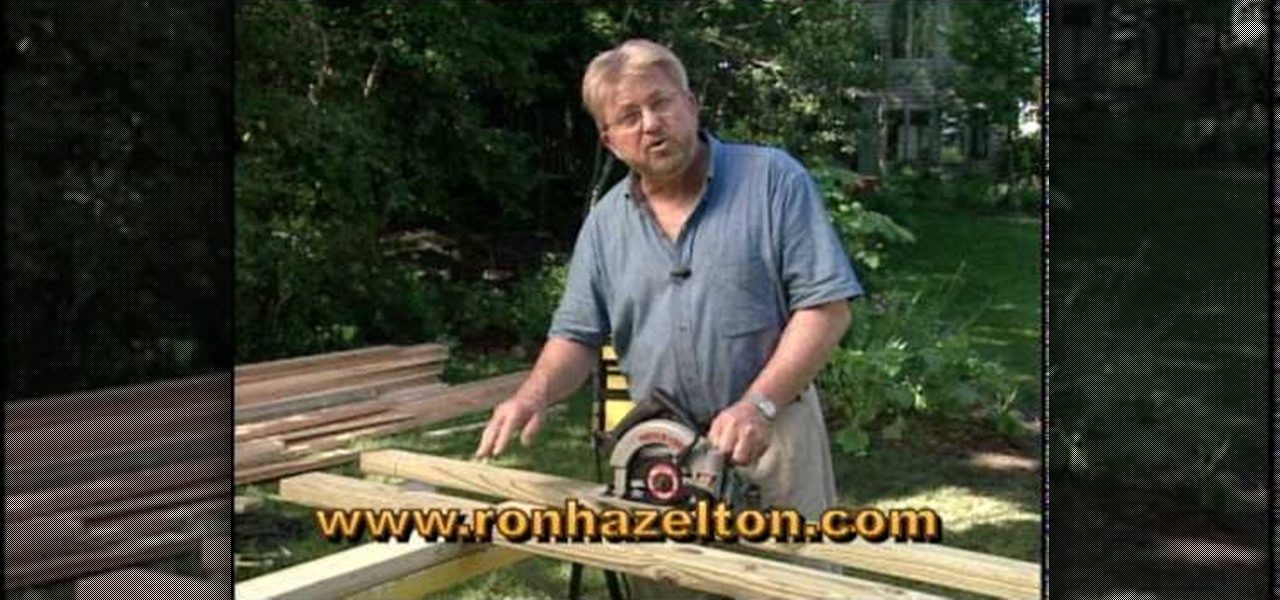
Ron Hazelton shows how to rip cut a very long piece of wood using a circular saw instead of a table saw. First, place sawhorses approximately every 4 feet under the wood. Choose the correct blade for the wood. Affix the circular saw with an edge guide. Set the blade depth so that the blade barely goes past the wood. Put scrap pieces of lumber on the sawhorses under the wood. Then the long rip cut can be a zip.
A wood router is one of the most needed tools in a woodworker's workshop. It's used for carving and hollowing out wood, like creating grooves or creating a decorative trim on a piece of fine wood. Learn all you need to know with this woodworking video series on using routers safely.
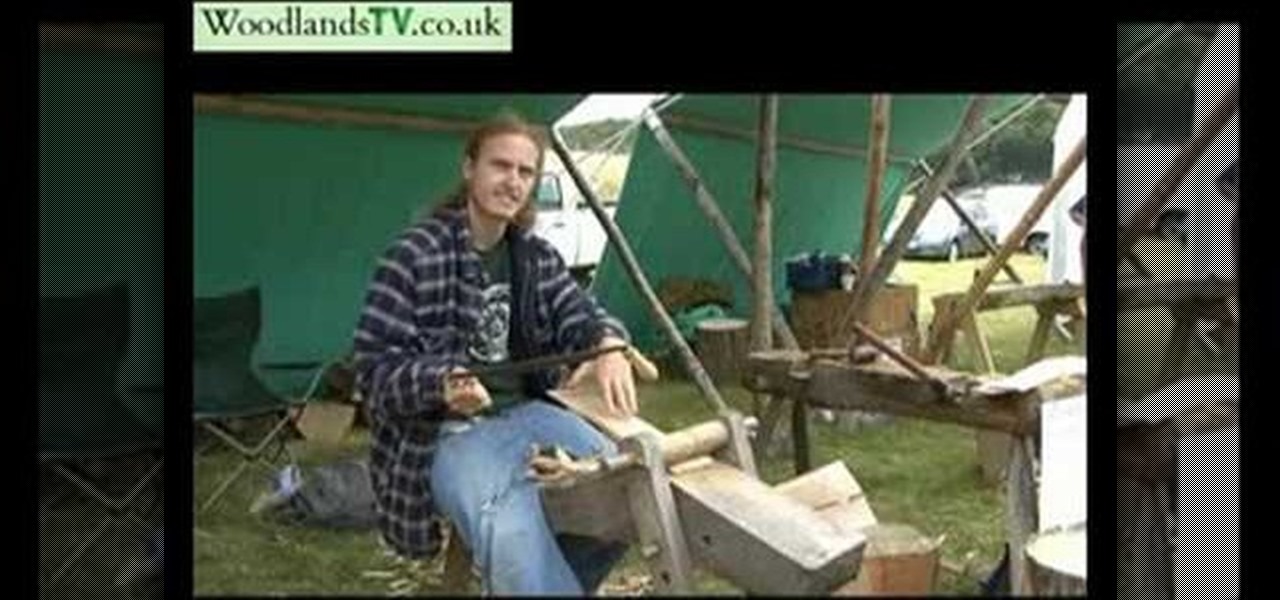
In this video, we learn how to make wood roof shingles by hand. Start off with round oak wood, then split it with a splitting axe. Then, use a mallet to split them out further. Make sure to use clean and straight grained oak to do this. Now, remove the bark from the wood and split into thin sheets. Then, place into a cleaver brake and use a mallet to split down the different wood shingles. From each piece of wood, you should get 4-5 different shingles. When finished, you can hammer these toge...
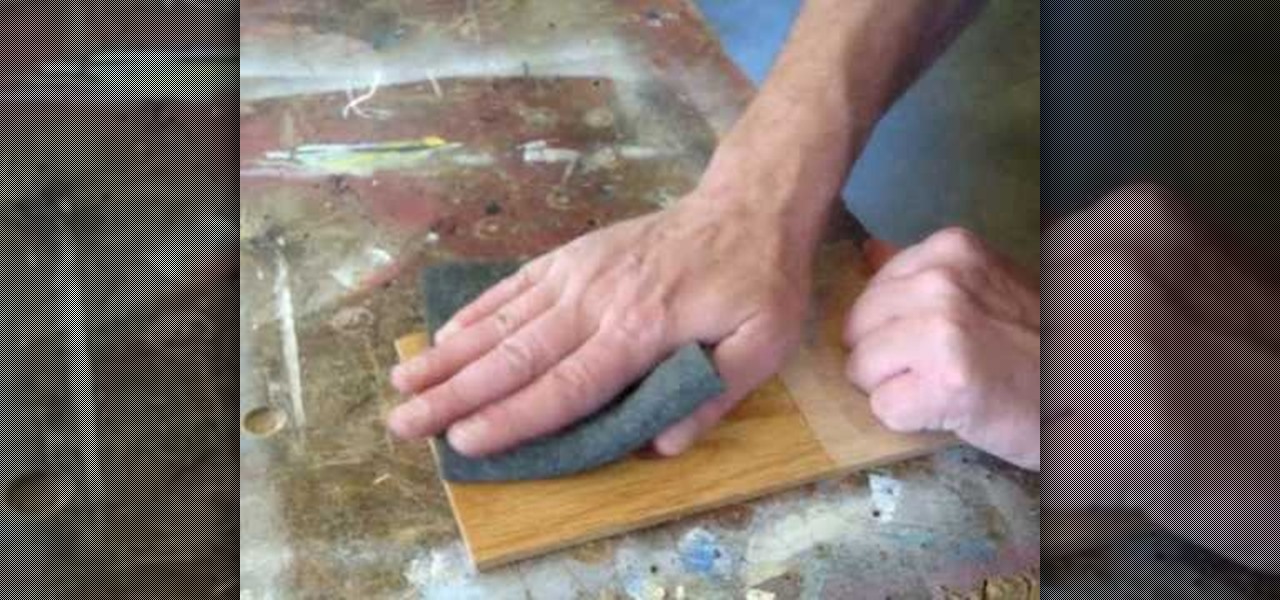
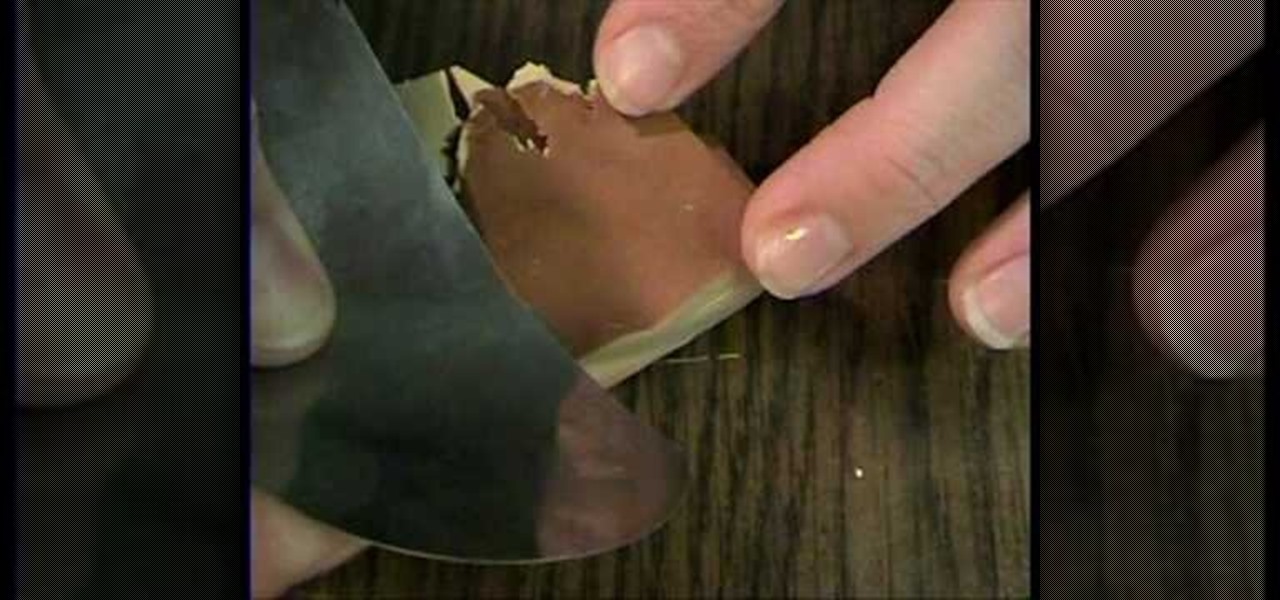
Many may not realize it, but finishing any kind of wood project is a great way for ensuring that it will last longer, as well as look great in the end. In this tutorial above, you'll find out some helpful tips for finishing your wood finish. You'll find an easy way to smooth out your lacquer or polyurethane wood finish after you've applied it. So good luck and enjoy!
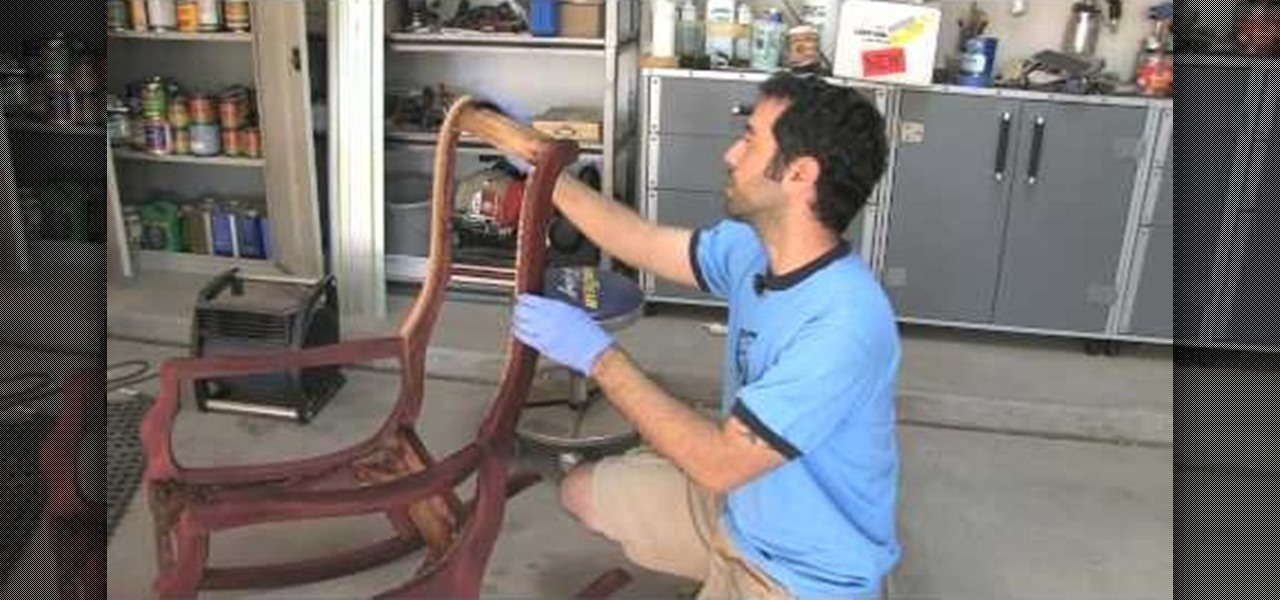
Add shimmer and color to your wood furniture with a Deep Red Mahogany Finish. Watch as The Wood Whisper's Marc Spagnuolo shows you how to apply this look to anything wood in your home. First Marc tells you about narrowing down whether or not you have to mask the wood or enhance the wood. After you figure that out you must choose how to color your wood. There are stains, oils, dyes and more! Marc chooses both a Merlot General Finishes Water Based Dye and Brown Mahogany General Finishes Gel Sta...
Weather can really do some damage to the wood siding on your home. When your siding becomes worn and rotten due to the elements, it's time to break out the tools and install new wood. This instructional video walks you through the basic steps of repairing the wood siding on your home. Follow along with the tutorial and keep your home fortified.
Drywall screws were originally created specifically for drywall projects. But they have become increasing popular for woodworking projects because you can often screw them into a soft piece of wood without having to drill a pilot hole. But because they have threads all the way up to the head of the screw they will not pull two pieces of wood tightly together. So to get the drywall screw to hold two pieces of wood tightly together you have to drill a shank hole through the first piece of wood ...
Robinia frisia limbs are prone to dying, that is why it is important to prune them properly. If you wait until the winter to prune the dead wood you wont be able to tell the difference between the dead wood and the dormant tree limb. In this how to video Martin Fish from Garden News explains how and when to prune dead wood from Robinia 'Frisia'.
This video tutorial instructs how to use marbling techniques to make a faux wood finish out of polymer clay. Learn how to manipulate different colors of polymer clay to create a fake wood effect. This tutorial teaches how to make a faux wood polymer clay picture frame.
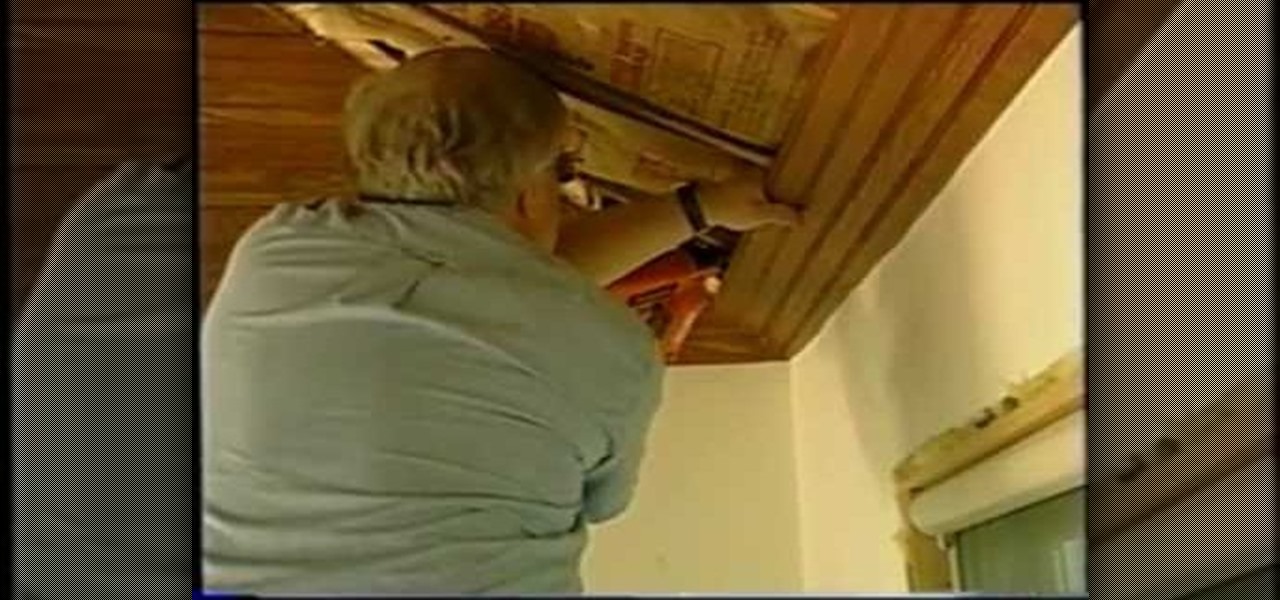
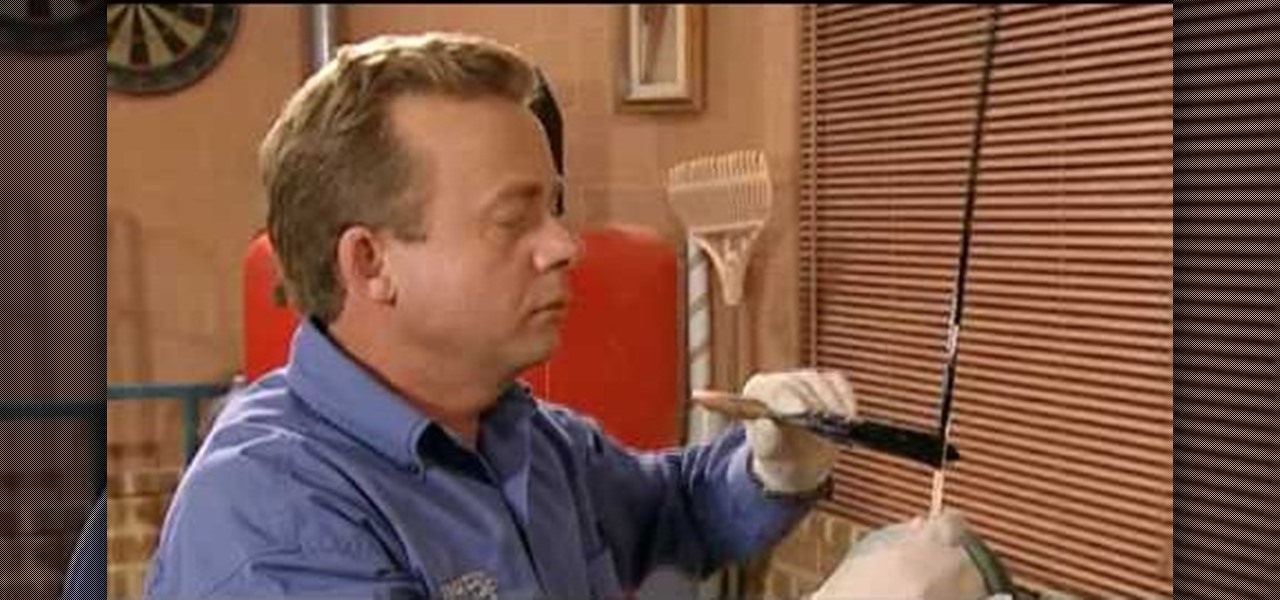
Tim Carter, of Ask the Builder, demonstrates how to use solid-wood beaded ceiling planks to make a wood ceiling for your house. It is important to prestain and urethane the wood before it is installed.
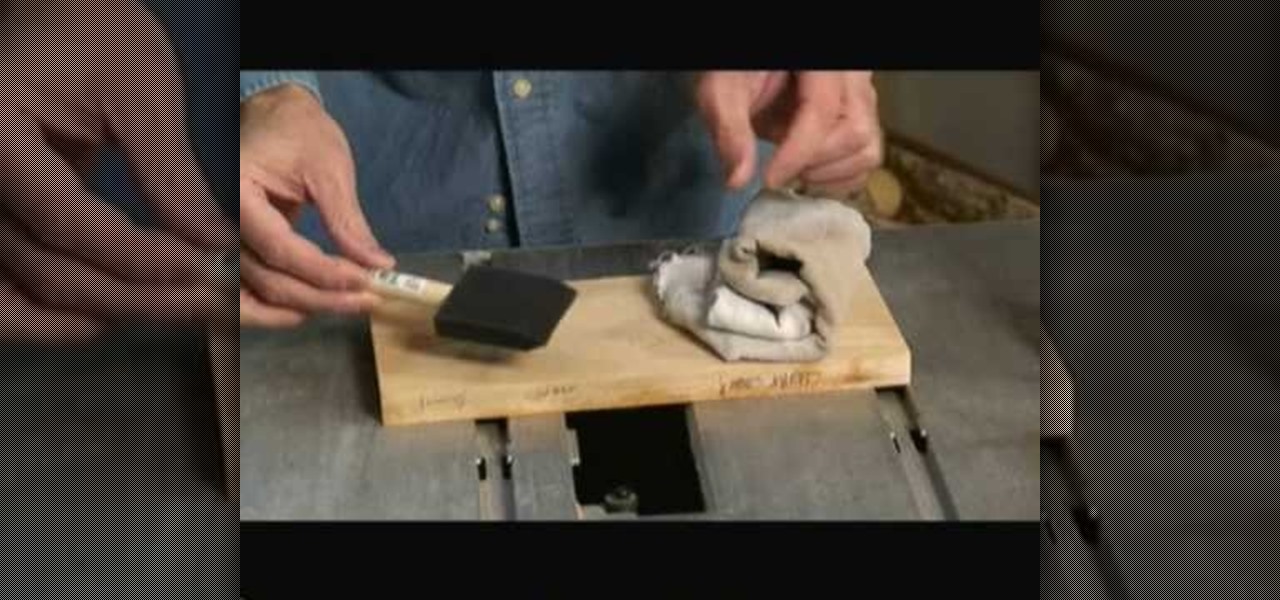
A good stain and varnish can add shine and luster to any piece of wood furniture. Check out these simple steps for staining wood. You will need a painter drop cloth, 2 or 3 1 inch foam brushes, fine grit sandpaper, tack cloth, couple of towels or rags, oil base wood stain and oil base satin varnish.
One of the many significant changes in Minecraft Beta 1.3 is the way half-blocks or slabs work. Before you could make stone slabs out of three pieces of stone and use them to builds stairs, but it took a lot of material and was limiting as far as choices. Now you can make slabs out of wood, cobblestone, sandstone, or normal stone, and this video will show you how it works.
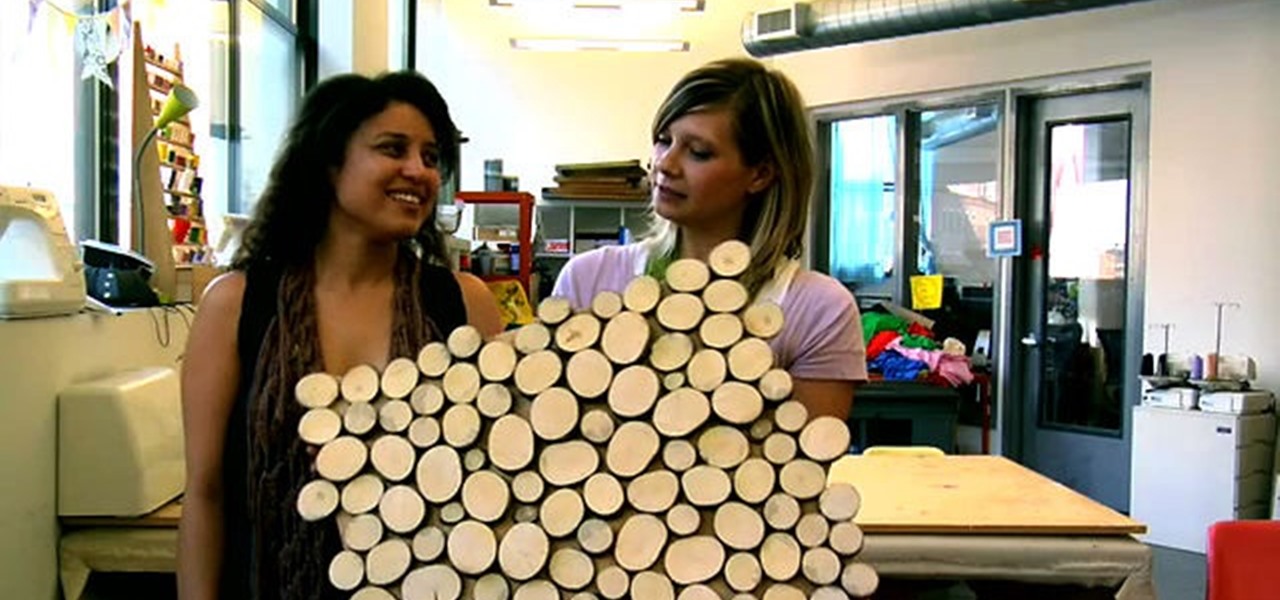
Remember summer camp? Remember the smell of the log cabins? The feel of the treated wood? Well, you can create something for your home that's perfect for a nostalgic summer camp aesthetic. Meg Allen Cole (recently of Threadbanger) was inspired to make this mid-century modern wall hanging piece made from a small wooden log (or branch) when she was at a relaxing, wooded vacation spot in Maine. And she shows you how to make one, too!
In this video tutorial, you'll learn how to make utensils in the wilderness. You'll see how to make a wooden fork, spoon, pot hanger and support when out in the woods. Also, learn how to clean your knife using moss. A nice piece of hazel wood is what you'll want for this survival bushcraft technique.
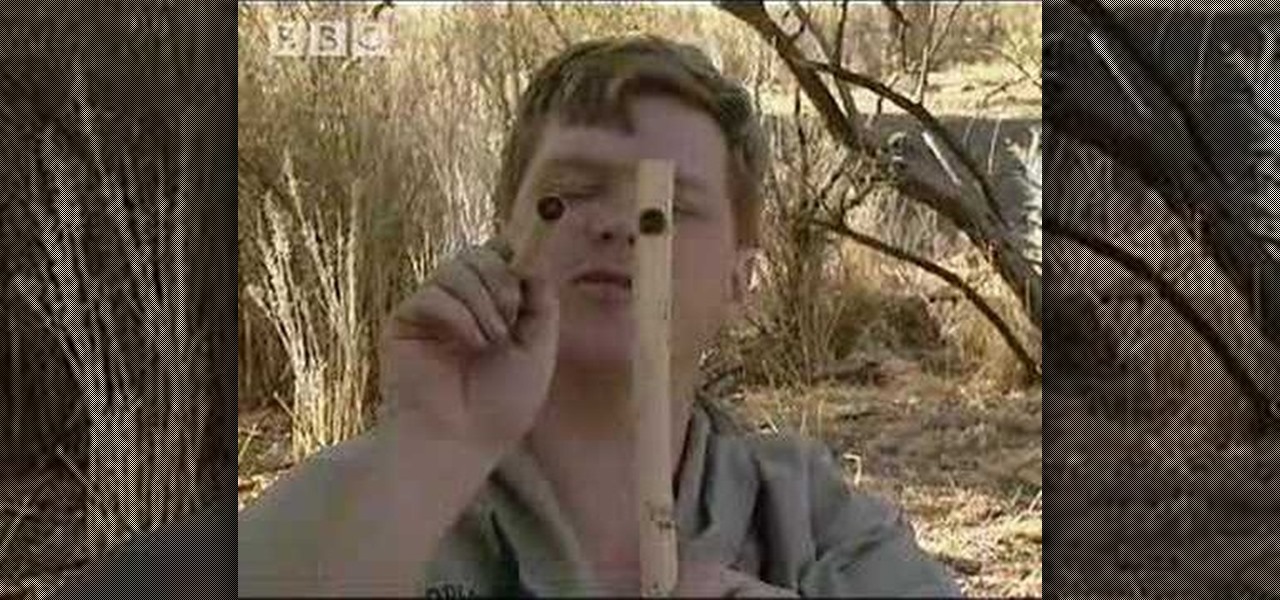
Watch Ray Mears from the BBC give you a how-to guide for making fire in the desert. (You don't even have to carry matches!) Put on your gloves to handle the fauna for cutting wood. Make a notch in the wood--good luck trying to make fire by friction!