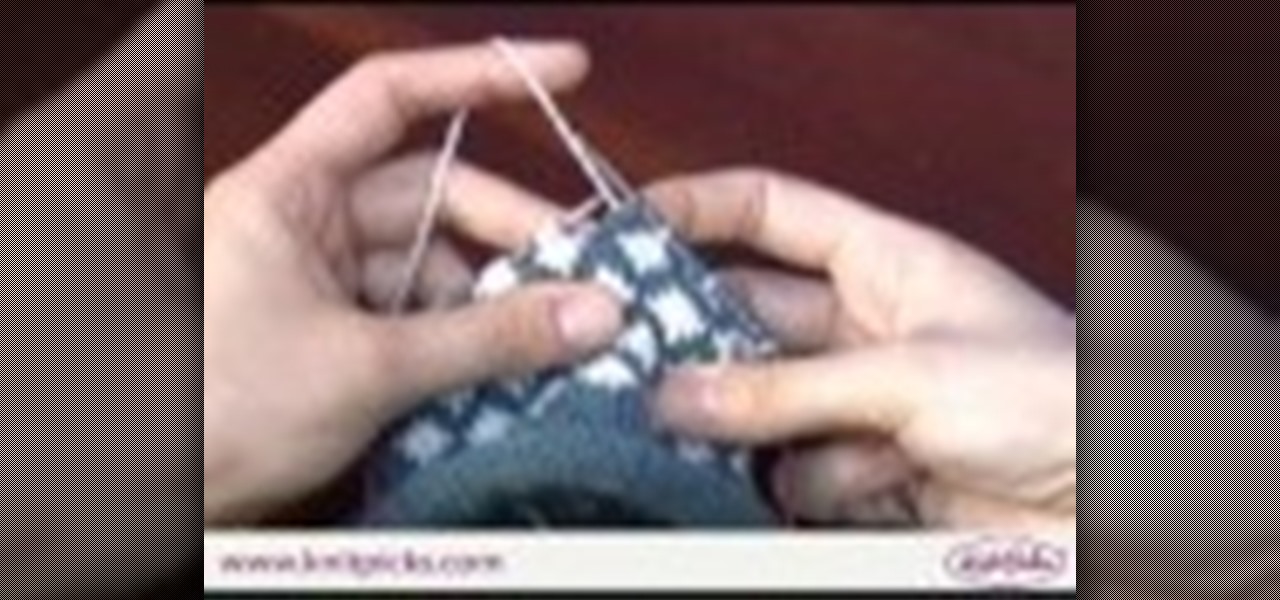
Learn how to add stranded color work to your knitting with this knitting tutorial. Use traditional Shetland island motifs to create delicate, shimmering patterns. Knitters usually hold the background color with the right hand and the additional color with the left hand. Use thinner yarns for these projects to compensate for the thickness of the "floating" yarn.

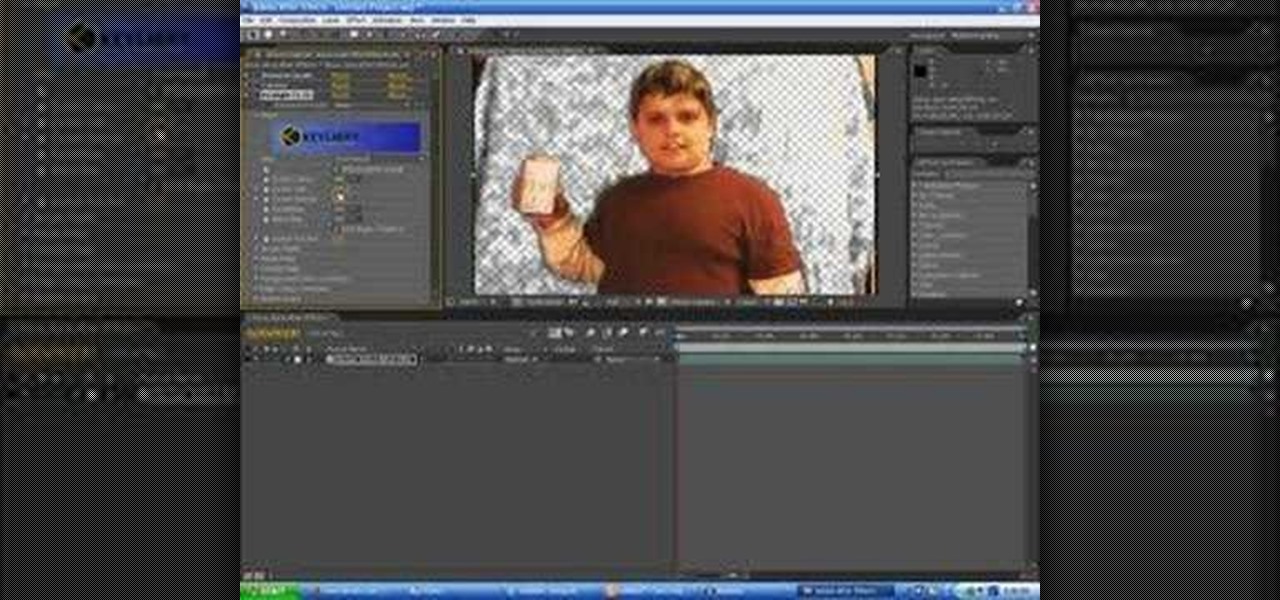
In this video tutorial you will learn to use the Photoshop extract filter to extract images from the background. The trick works best for erasing mostly solid-colored, contrasting backgrounds. Photoshop also does a nice job of getting rid of the color halo problem – but you may have to do some additional touch-up work at the end.
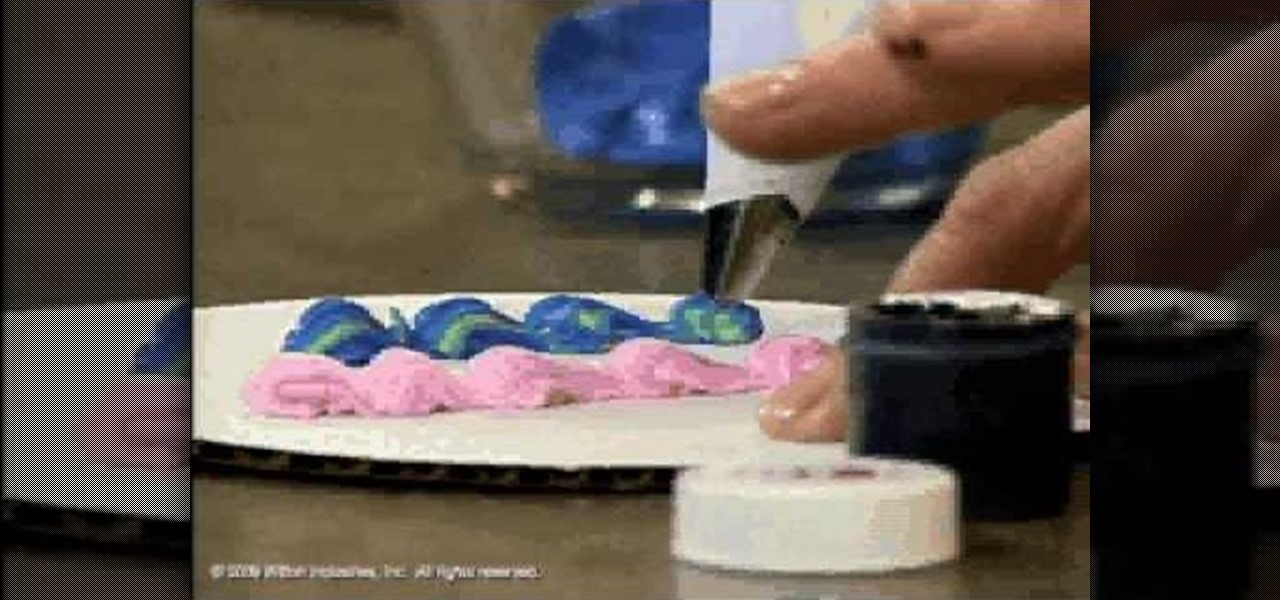
In this tutorial, we learn how to choose the appropriate color for cake decorating. First, spoon your icing into a bowl and then add in a small amount of food coloring. Start to mix this together, then add in additional icing if you want a darker or a brighter color to your icing. Experiment with different colors if you feel comfortable with using different ones. Take a parchment bag and roll it into a full, then stripe up the bag. Then, fill the parchment with some icing and this will create...
Watch this how to video to learn how to make chocolate dipped mini pretzel sticks. Dip pretzels in white or dark chocolate, or add a professional touch to your treats by placing a contrasting color of melted chocolate in a parchment bag with a tight point. Cut a small hole at the end. Stripe dipped pretzels with the chocolate in the parchment bag. Stripe with additional color if desired.

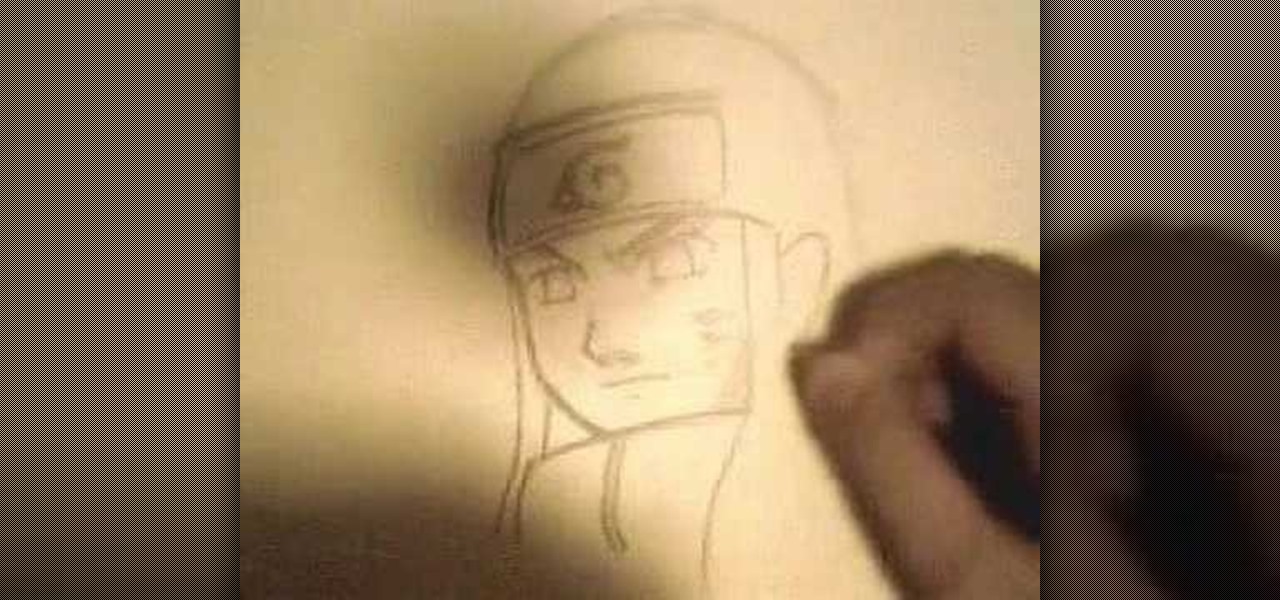
In this tutorial, we learn how to draw a Chibi Orochimaru from Naruto. Start off by drawing the outline for the character, then add in the details for it as well. After this, you will start to draw in the shading and the additional lines to give it more details. Then, you will need to erase the background lines that you used as a guide to draw the final product. From here, you will start to shade in colors on the character and then draw in any additional details or facial features. To finish ...
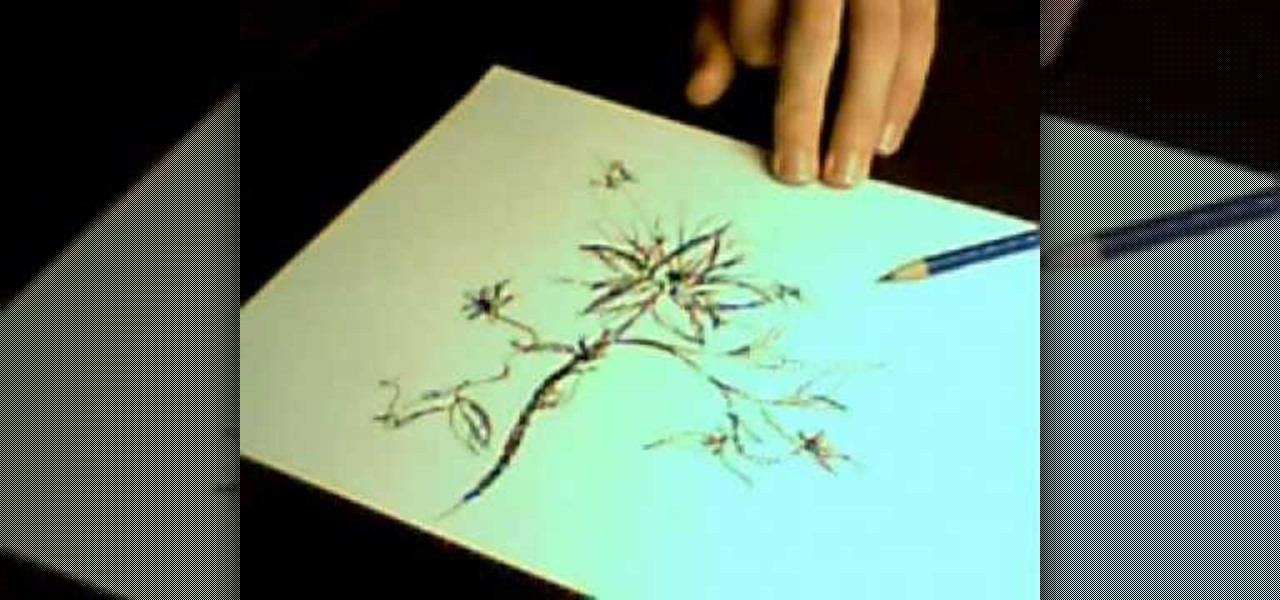
In this tutorial, we learn how to draw a wild magical flower. Start out by using a pencil with a light touch to create the outline for the flower. Make wispy lines to create the leaves and the flowers. Also, draw in the middle of the flower to create additional details. Then, draw in the leaves with the middle vine going down off the page. Continue on the draw in additional flowers off of the vine. Use the wispy edge of the pencil to create a more majestic and magical type of flower. Color in...

In this tutorial, we learn how to draw manga Neji. Start off by drawing the outline of the character. Don't forget to include the parts where the facial features, limbs, and hair are at. From here, you will use a darker pen to draw in the rest of the character. Next, you will start to draw in the additional lines and shading to make the character look more realistic. Once you do this, you can start adding some color! Use any colors that you would like or use the normal colors that are on Neji...
This instructional video will teach you how to enhance your footage [remove grain, bring out more color] with after effects. So enjoy this tutorial, and you don't need any additional plug ins, just the built in tools of after effects.
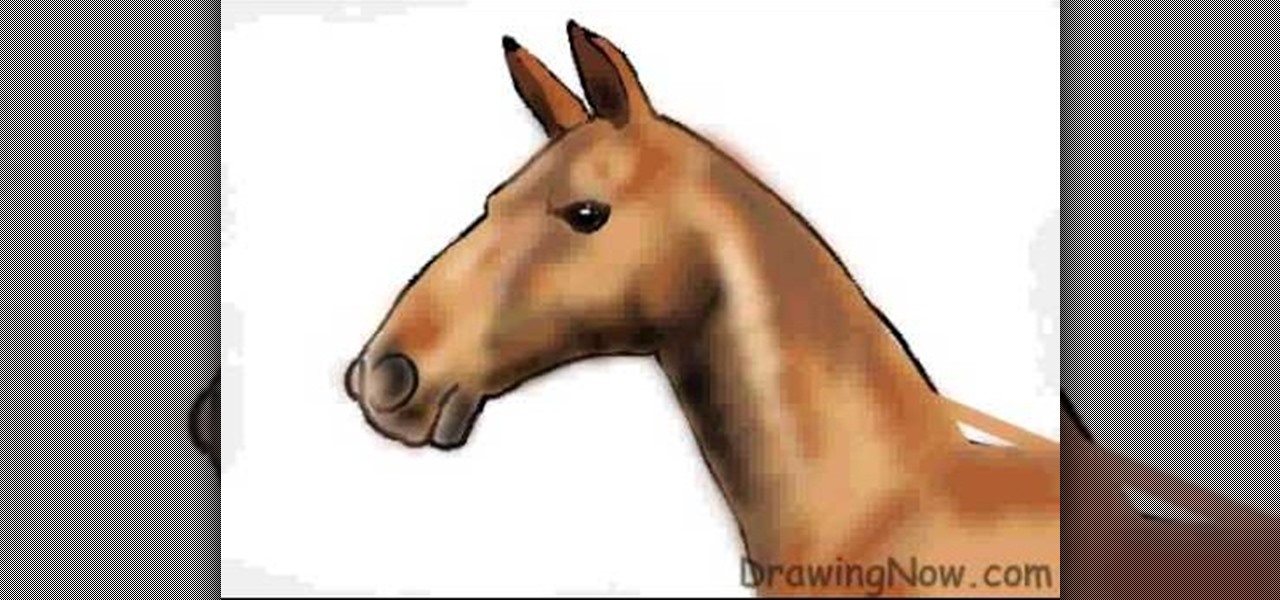
In this tutorial, we learn how to draw the head of a horse. Start out by drawing the outline of the horse's head and the neck. Then, draw in the ears and the details for the nose and the face. Next, color in the horse and then add shading along the sides of the horse and fill in the features with black. Use different colors of brown to show a contrast between the colors on the horse. After this, you will use small lines to create hair on the horse, then add in additional features. Clean up an...
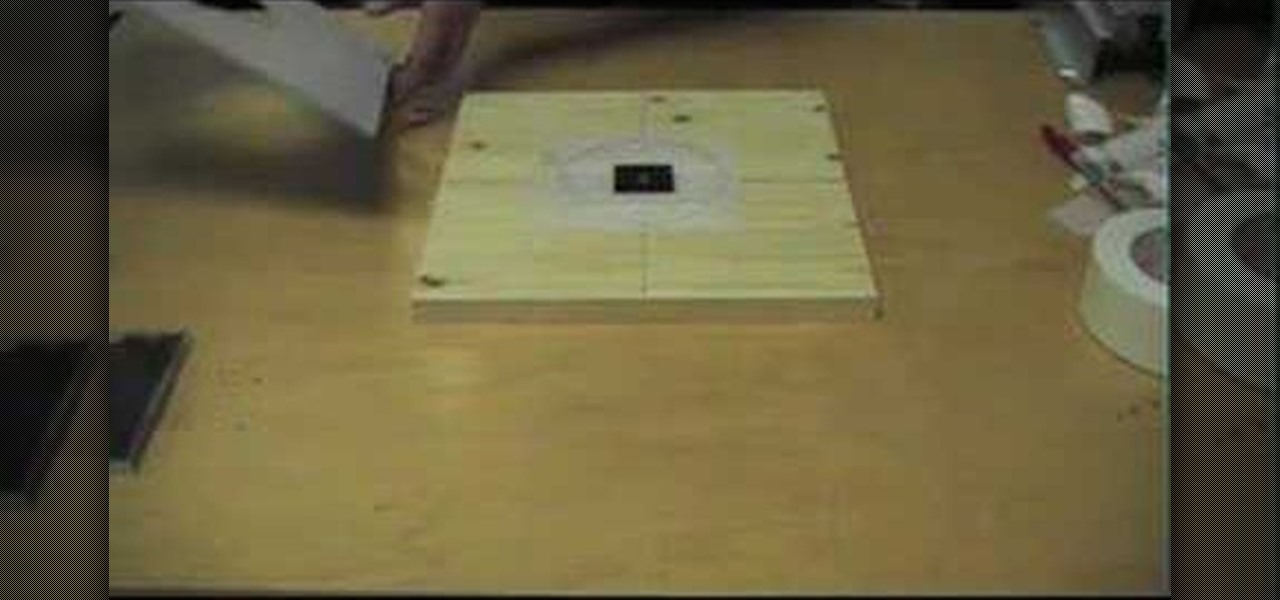
If you have ever screen printed, you most likely have been asked to print CDs. Here is a simple way to create a CD platen for under $15. This type of printing generally requires a vacuum frame, but not if you use the DIY CD Platen. It holds the CD in place extremely well and can be used to print more than one color. Print one color and let it dry completely before printing additional colors.
PowerPoint 2008 for Mac can help you turn boring old bulleted lists into something nobody would forget. With SmartArt graphics in PowerPoint you can now make your bullet lists pop using pre-formatted charts, graphs, and more. The Microsoft Office for Mac team shows you just how to make a bulleted list more visual in this how-to video.
Dull and drab bulleted lists are no longer necessary with the help of PowerPoint 2008 for Mac. When you make a bullet list in PowerPoint, you can now transform those boring text charts with actual visual charts and graphs and more. The Microsoft Office for Mac team shows you just how to convert text to a SmartArt graphic in this how-to video.
Looking to make your Xbox your own? Check out this tutorial for details on how to create your own custom designed faceplate and make a statement.
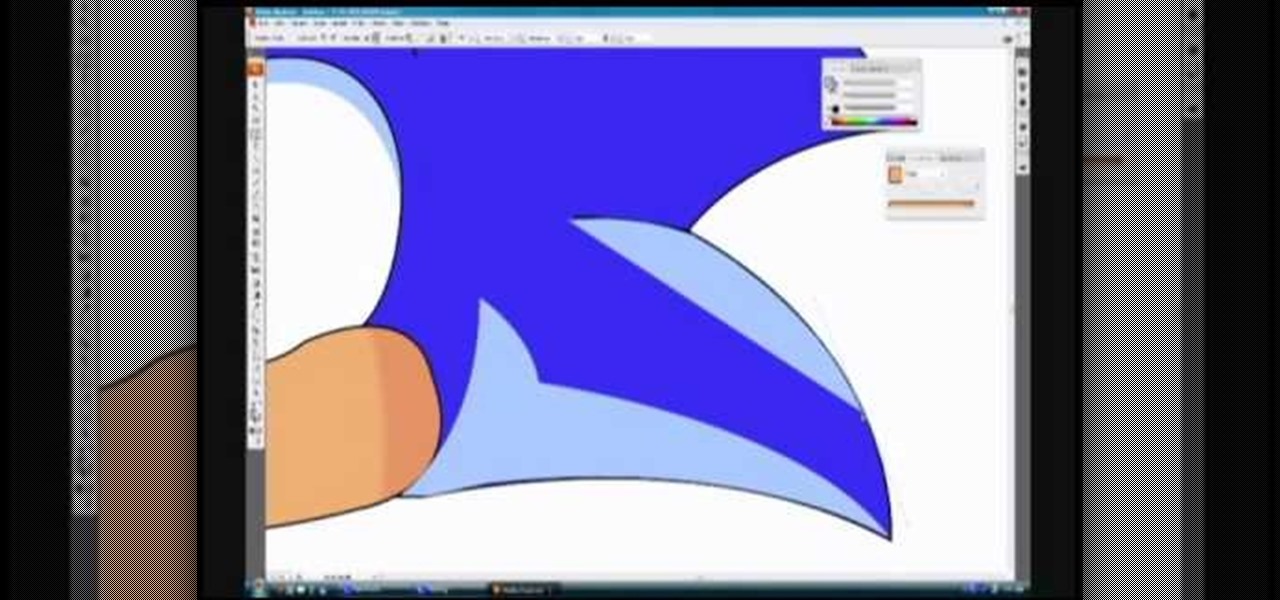
In this video, we learn how to draw Sonic in Adobe Illustrator. First, draw out the muzzle and the nose with a pen. From here, you will draw out the eyes and then make the outline for the ears and the hair. Next, draw in the details around the face. Once you do this, add color to the hair and to the face as you see fit. Then, add in additional lines to show creases and make him look more realistic. After this, add in shading with darker colors on the sides of the face and the hair. When finis...
In this tutorial, we learn how to draw Uncle Scrooge McDuck. Start off by drawing the outline of the hat, heat, neck, upper body, instrument, and lower body. After this, draw on the eyes, glasses, and the beak. From here, you will start to add in additional details and erase the outline lines from where they aren't needed. Start to add in lines to create folds on the character and then color him in with the appropriate colors. After this, add in shading to different parts of him and his instr...
In this tutorial, we learn how to draw The Incredibles. Start out by coloring the background orange, yellow, and white. Then, draw the outlines of the bodies for all of the characters in the family. After this, draw in the details, giving them a 3D type of image. Next, you will color in the clothing and add in the fine details for the hair and the face as well. Erase any background lines from the drawing to clean it up, then add in some shading to make it look more realistic. To finish this, ...
In this tutorial, we learn how to draw a female vector cartoon character in CorelDraw X4. Start out by drawing the head of the character with lines that are curved. Then, add in the pupil and color of the eye. Don't forget to add in the lines underneath and on top of the eye, as well as the creases above them. Copy and paste this to create the other eye, then add in eyelashes and eyebrows. Then, draw in a nose and shape the face. add in additional details to the face, then add in the colors t...
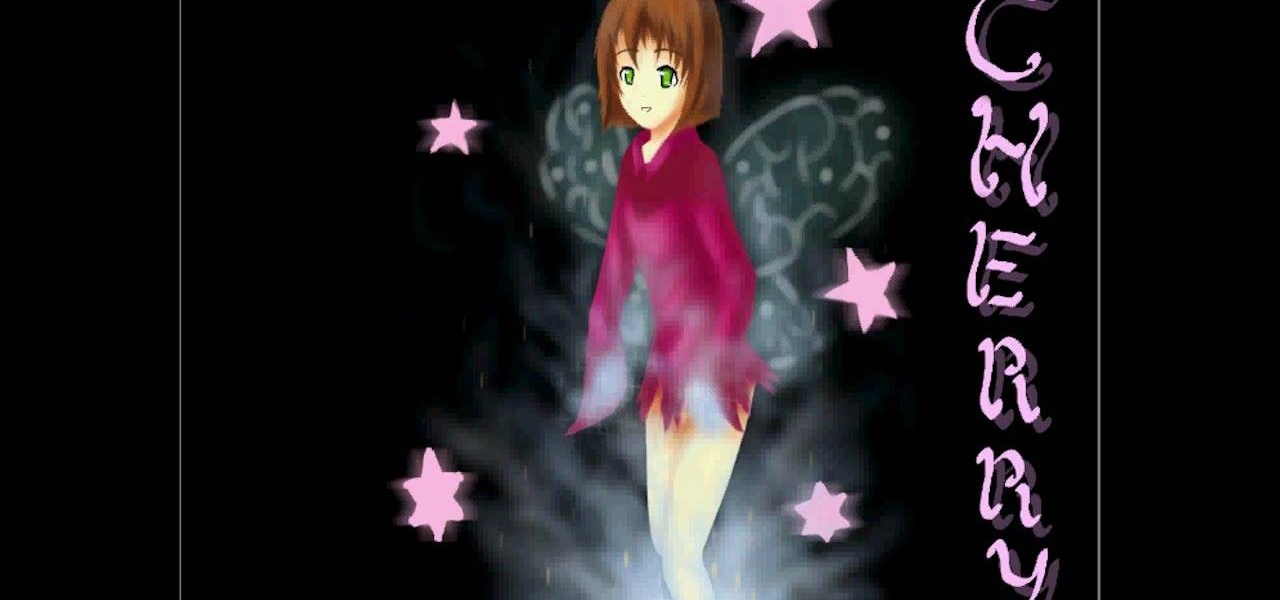
In this video, we learn how to draw a cherry fairy. First, sketch the entire picture before you start to draw in any detail. After this, draw in darker lines where you want the features of the body to go, then start to add in features of the face. Next, add in color to the face and to the outfit of the fairy. Make sure you give her hair and bangs that are surrounding her face as well. Once you have the color completed, create a white light coming from the bottom of the fairy and going up into...
In this video, we learn how to draw Hamtaro. Start off by drawing the large head, followed by the body and the ears. After this, draw the arms and legs onto the character. Next, outline the drawing in a darker pen, then add in additional details. Draw on the eyes, nose, and pupils. Don't forget to draw on the paws and feel as well as lines to make it look like fur. To finish up this picture, you will need to add colors to the hamster. You can go with the traditional colors, or change them up ...
A girl is trying to teach us how to make fish friendship bracelets. We need four colors in order to make a bracelet. She shows us on a clipboard the four colors and after tying them we will get a total of 8. She slowly ties up each knot and shows us each step of the way. She does not however provide written explanations for additional information. A background of simple knots is required for this video as she does not explain how to tie the knots.
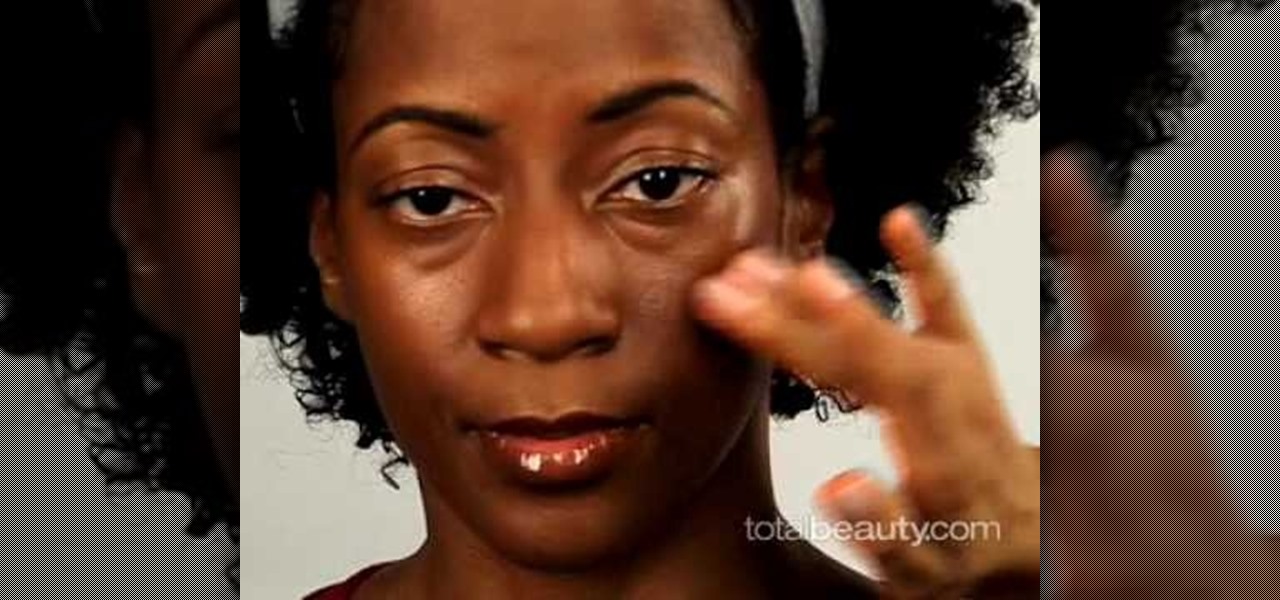
The key to this technique is to find the right bronzer for the skin that you are applying the makeup to. Most bronzer's disappear on dark skin. So you want to find a cream based bronzer with a lot of pigments. You want a bronzer that is intense enough that you are able to see a subtle spot of color on the skin when you rub it on. To make your skin naturally warmer mix your foundation and your bronzer together. Start by mixing up a mixture that is three parts foundation and one part bronzer. A...
This video tutorial will show you how to paint leopard print nails. 1. Apply orange color to top half of your nail starting at the cuticle
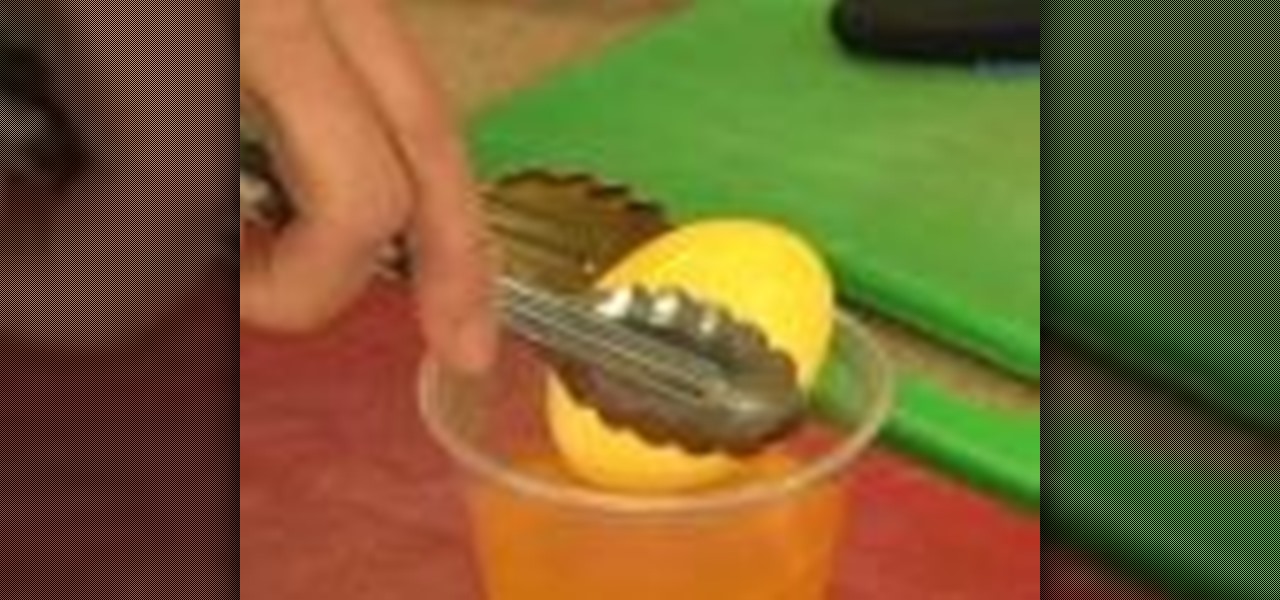
During Easter, everybody stocks up on the eggs because dying eggs is a great Easter activity. But there's something else you can try… dying and marbling. Watch this video recipe to learn how to dye and marble Easter eggs. A new twist to Easter eggs.
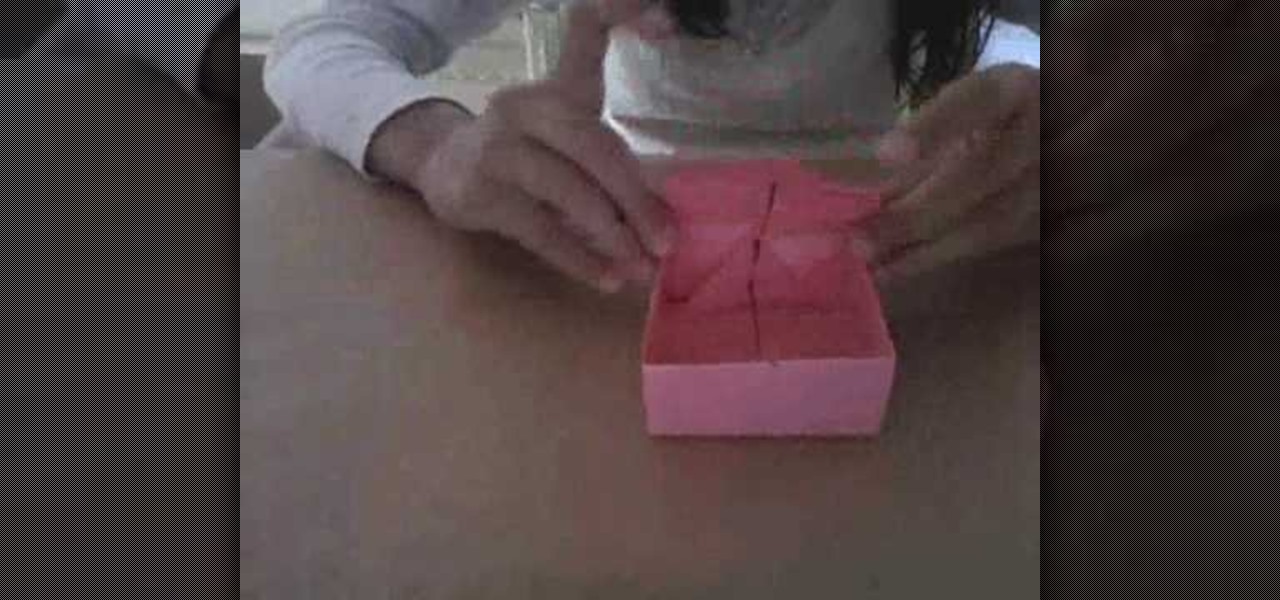
Learn how to make a paper gift box by following the steps in this video tutorial. The first series of steps shows you how to make the lid. Take an 11" by 8.5" piece of paper. You can use whatever color you want. Fold one corner toward the opposite end creating a triangular shape. Trim the remaining rectangular shape. Unfold the piece of paper and create another fold in the opposite direction. Take a marker to mark the center and bring all four corner to that dot. You will create an additional...
In this tutorial, we learn how to draw a basic dragon. First, draw the basic outline for the dragon, including the tail, wings, head, and body. From here, draw over the outline with the final outline in darker pen. After this, start to add in the details to the face and body. Once finished with that, move onto adding in shading and additional lines to make it look more realistic. Then, add in your colors. Use darker colors where the shading is to create more depth with the character. From her...
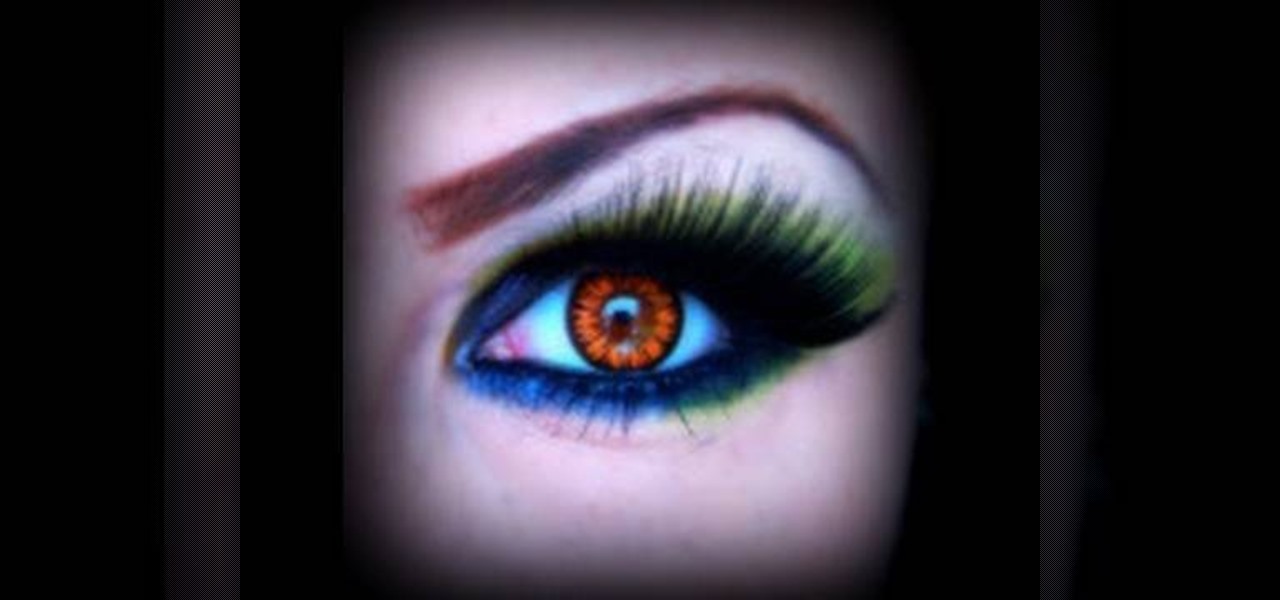
In this beauty tutorial, learn how to get the dramatic eye synonymous with Ed Hardy-Inspired makeup. The first thing you will need to do is apply a foundation over your entire eye area. Because so much makeup is being used, you really want to make sure there is a foundation in place to keep all of the color in place. Then, with a no. 217 brush, sweep a dark navy blue color over your entire lid as well as the crease. Line your lower lash line with a dark blue cream eye shadow and also fill in ...
After you've published your site, you might decide you want to add additional pages over time. To add an additional page to my site, all I have to do is click the "Add Page" button in iWeb.
Do you need additional hard drives in your computer for additional drive or storage space? Learn how to install a second IDE hard drive in a desktop PC all by yourself, in just a few simple steps.
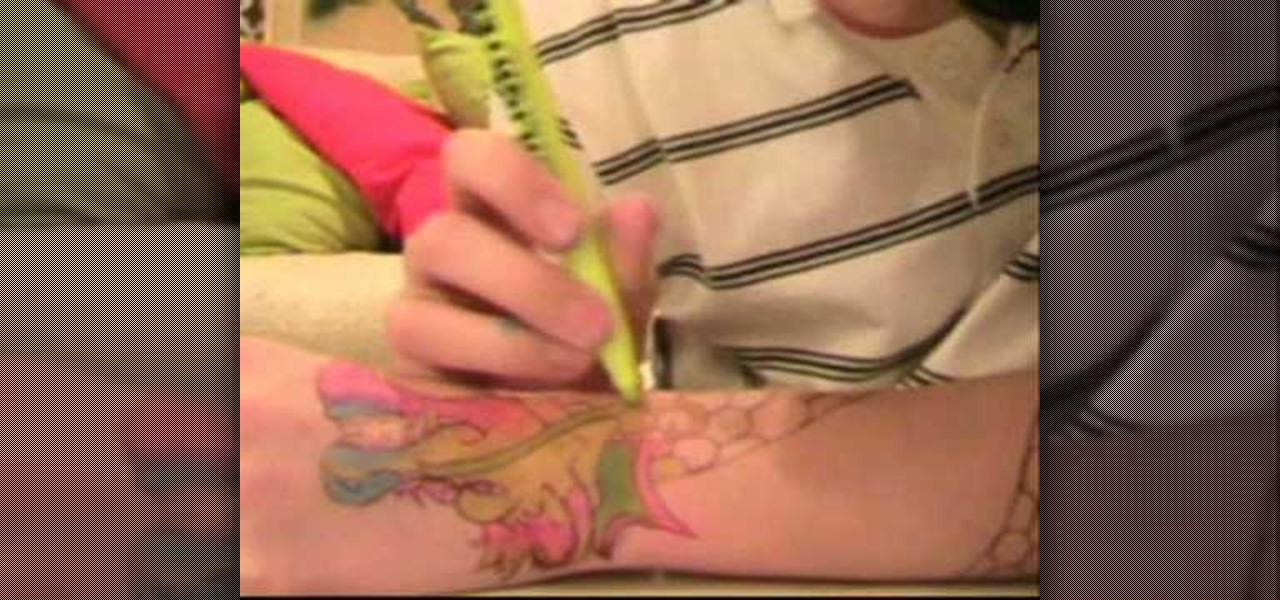
Learn how to draw a ‘Fake Tattoo’ using a ballpoint pen and some colored highlighters, by watching this video. Begin by drawing a faint design of your choice at the back of your palm, using a ballpoint pen. Darken the outlines when you are done with the image drawn. Now according to your choice, fill colors in the drawing using colored green, blue, yellow and pink highlighters. Begin with the yellow color and blend it together with the other color applied in each area, using your fingers. Use...
The presenter, John White, explains how to choose and transplant cold weather vegetables and flowers in this video. The first vegetable he identifies is spinach. He suggests ensuring that the plant has been "hardened off" when buying transplants from the nursery. Next John presents leaf lettuce, broccoli, Brussels sprouts, and Swiss chard as some additional vegetables. He does remind the watcher to consult the plant labels for all the spacing information they may need. Moving on to flowers, J...
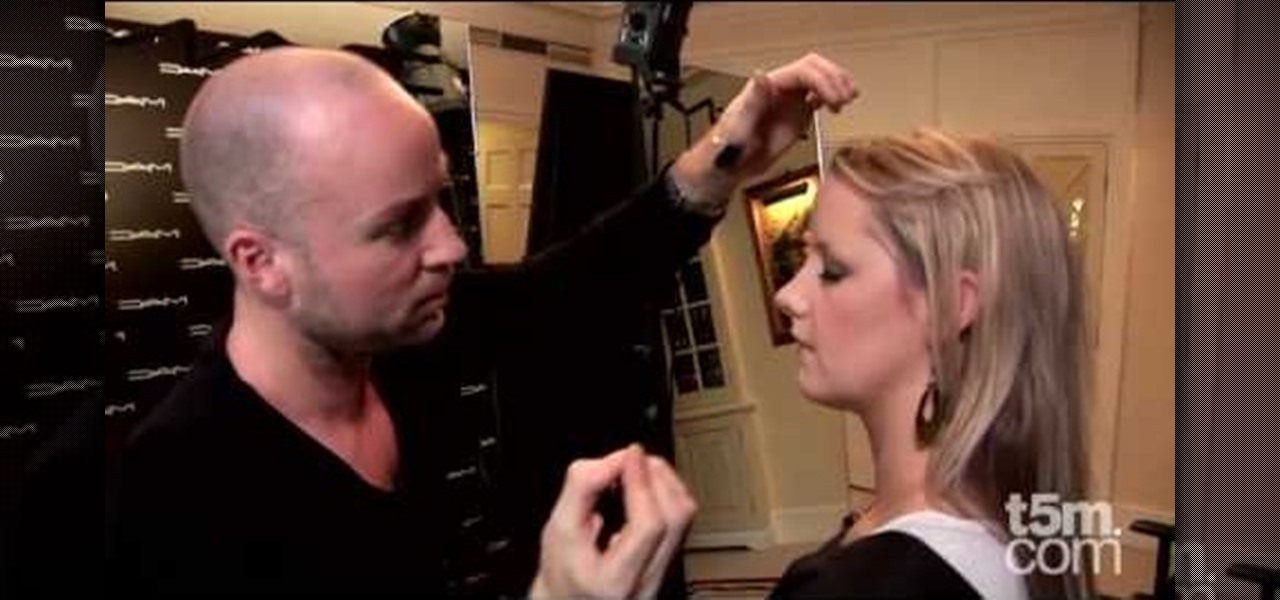
For those of you who have ever had difficulty applying false eyelashes, this MAC expert will give you a tutorial on the proper way to apply false eyelashes. Neil Young first applies the glue onto the false lashes, allowing the glue to dry somewhat, changing from a white to an off-white color, when the glue is tackiest. Starting from the outside of the eye, carefully put the lashes down. With these simple techniques and additional make up application tips, Neil gives women advice on the proper...
In this tutorial, we learn how to draw Goofy. First, draw the nose and then draw in the face. After this, start to extend the face down with the neck and a collar. After this, draw the back of Pluto and then his four legs like he's walking. Next, draw a darker line over the picture, then draw a tongue hanging out of the mouth and eyes and ears. Make sure to draw the tail, then start to color the picture with Pluto's signature colors. Add in any additional details, then save your picture onto ...
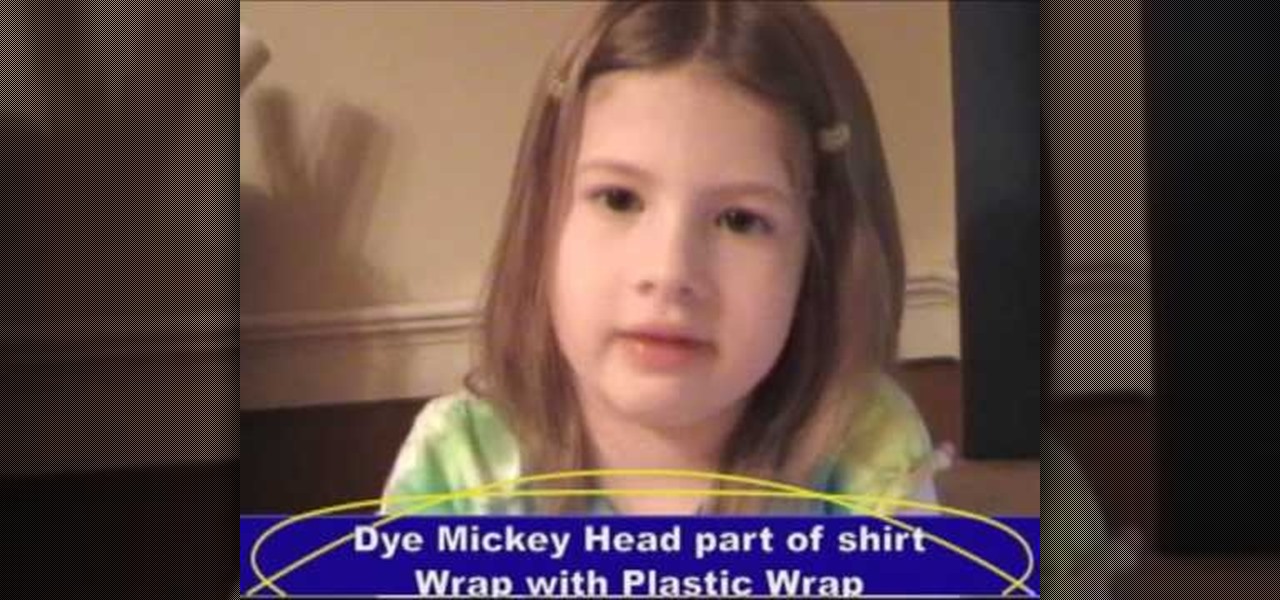
Making a Mickey Mouse tie-dye shirt is as easy as can be. First trace a Mickey mouse outline onto a plain white shirt with a pencil. Using plain dental floss and a needle, sew around the tracing you've just created. For optimal results soak the shirt in soda ash (this step is optional). On the final stitch, pull on the dental floss until Mickey's head "pops up". You will need several rubber bands for the next few steps. First tightly wrap some rubber bands around Mickey's head. Add additional...
In this clip, we learn how to download additional Ovi Maps-compatible maps when using a Nokia C5 mobile phone. The C5 is the first offering in Nokia's new "C" series of mobile phones. It runs on Nokia's Symbian OS and features a 2.2-inch screen and 3.2-megapixel camera. Want more? Search WonderHowTo's sizable collection of C5 video tutorials.
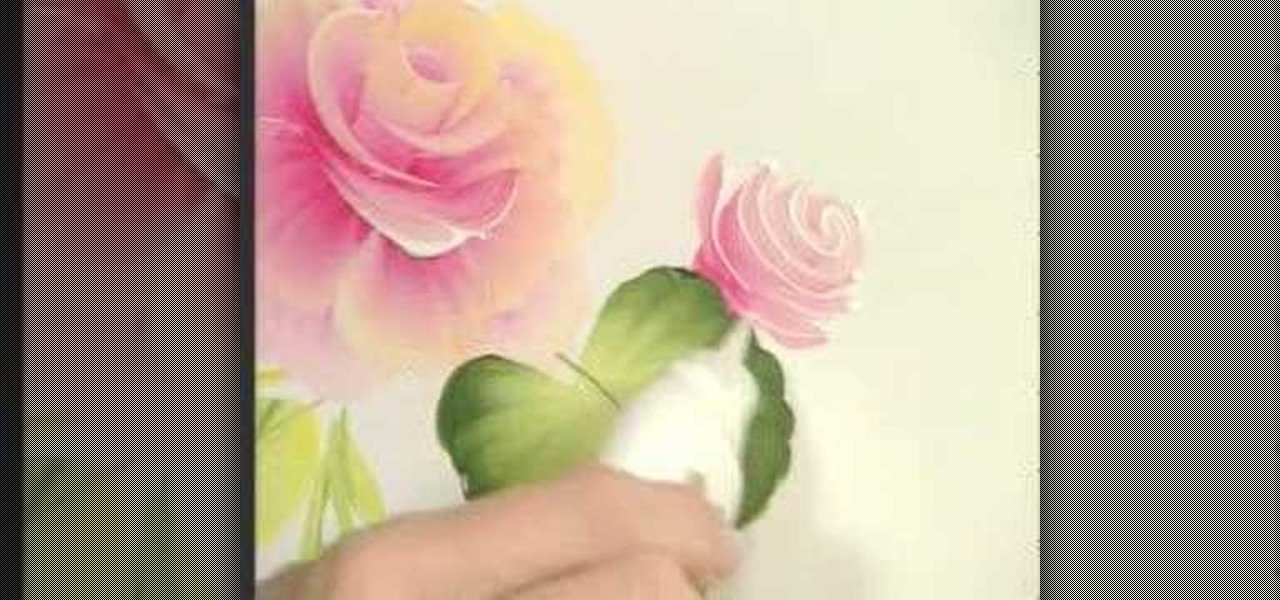
In this tutorial, we learn how to paint a cabbage rose using the one stroke technique. Start out by mixing together white and red with your paint brush. After this, add yellow to the tip of the brush and paint it onto the paper using your hand to move the brush gently up and down. Do this in a circle to make several petals into one single flower. Then, paint on petals around the inside petals to create a larger flower. Add in additional color to the center of the flower to make it pop out mor...
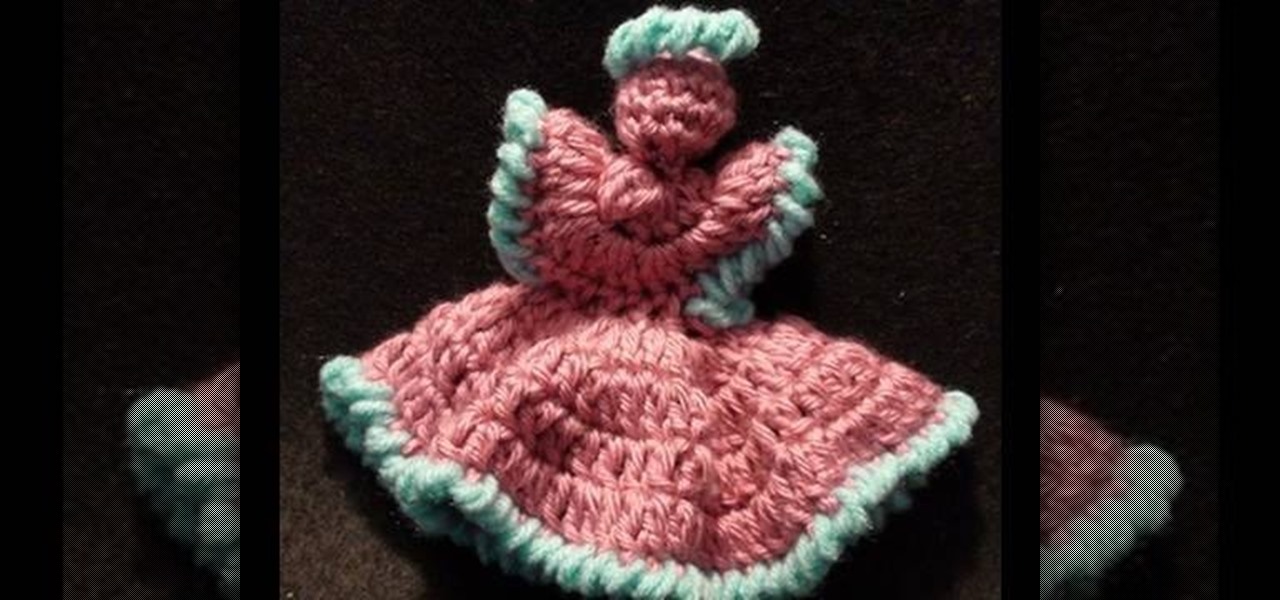
In this video, we learn how to crochet a left handed dainty angel. Use a size H 5mm crochet hook. Add a slipknot to the crochet hook, then chain three, join, and chain one. After this, work 6 single crochet through the center of the chain three. Next, join two single crochet for each stitch around for a total of 12.Now do 12 more single crochets and work an additional round with the single crochet. Continue this process until you finish, then create the dress by doing the same type of crochet...
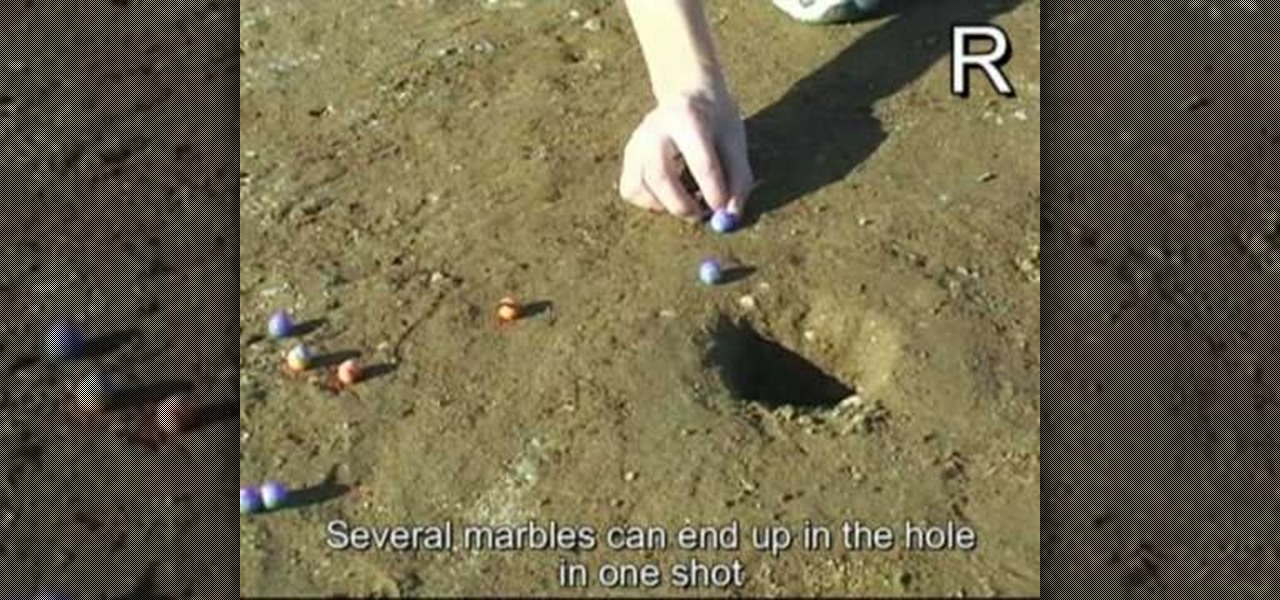
Each player starts with 15 marbles that are a color distinct from his opponents marbles. Toss a coin to choose a start line, placed 3 meters from the hole. The players then take turns shooting marbles, first from the start lines, then from wherever the marbles land on the field, all the while trying to make their marbles in to the hole. The player to shoot all his marbles in to the hole first wins. In a case where both players have 1 marble left and the final shot is made by the person who to...
Rather than throwing out your old furniture, learn how to give your old dresser a modern makeover by following this video tutorial. To begin, pull off all of the old drawers and other pieces that do not work. You will need to sand down the frame of the dresser and then replace all of the problematic parts. You may also need to rebuild the center supports so that your dresser drawers slide in and out easily. Wipe down the dresser with a cloth and then coat it with a latex primer. The primer is...
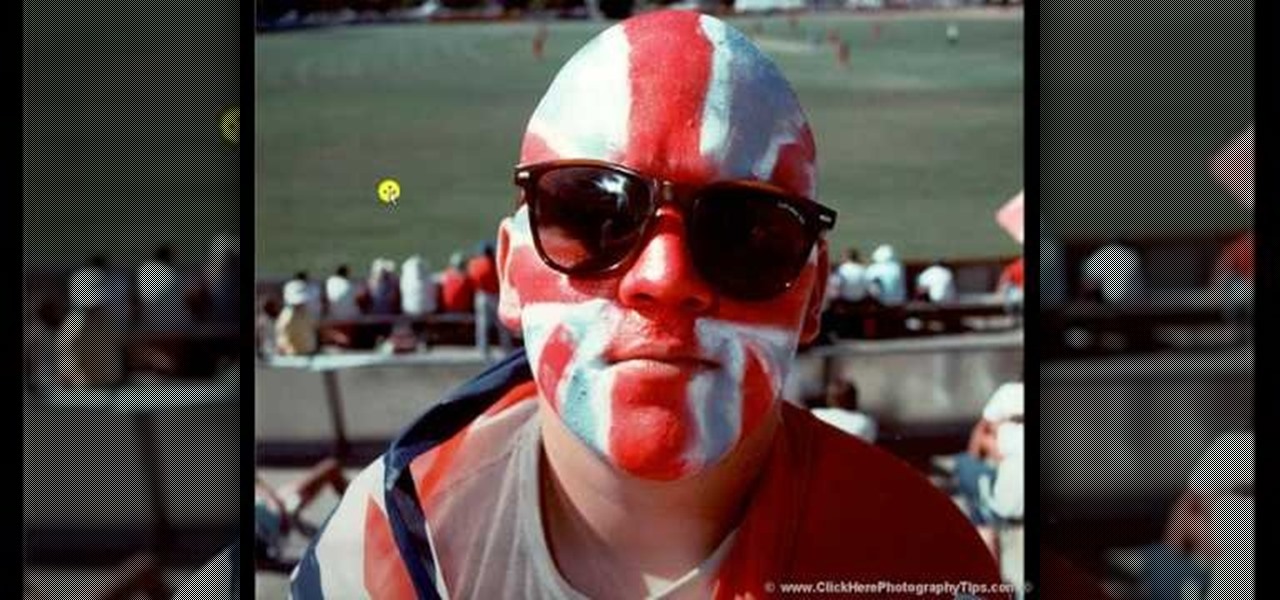
In this Click Here Photography instructional video, learn how to photograph using a fill flash to produce a great photograph. Equipment, how to set-up, and additional props are gone over. Although a fill flash takes some time to set-up & is an additional item to carry, it will produce better photographic results in certain lighting situations. Learn how to experiment with your fill flash and maximize your photo's potential with the advice, tips, and information given here.
This video will show you have to make a glass bar in Photoshop. Adobe Photoshop is a great program for manipulating photo and adding interesting effects to your pictures. The glass bar is distinctive because of it’s colored shading.