

Need to make a PCB quick? Well, this video tutorial will show you how to create a PCB with the toner transfer method using photo laser paper.
This is an "easy and cheap" way to build PCB (printed circuit board) using the toner transfer method. With many papers tried, photo laser paper seems to be the best. If you want a more accurate way (but not the cheapest), try the professional photoengraving method.
Only ten minutes are needed to accomplish this task. You don't even have to be careful while peeling off the paper; toner really sticks firmly, so there's no risk damaging the tracks. So, what's the recipe?
* Glossy photo paper for laser printer (135g/m2)
* Wash your board with soap, then with window cleaner (or detergent with alcohol)
* Sandpaper your PCB with ultra thin paper (600, one used for body car)
* Wash the board again with soap, then with window cleaner; it must be absolutely dry
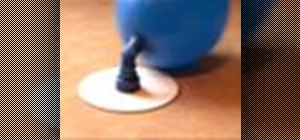
* Preheat the board
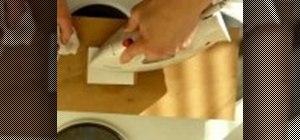
* Place the paper on the board; be careful, it'll instantly stick to the board
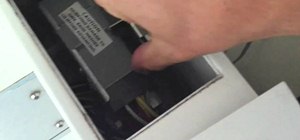
* Iron the paper, first smoothly to help paper to stick firmly, then with a lot of pressure (1 min)
* Continue with the iron tip, and redraw all the circuit (black tracks will appear through the paper), for 4/5 min
* Ironing time: 4/5min
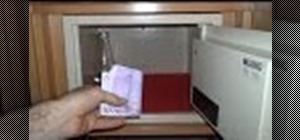
* Then place the board on hot water, no soap; wait for 3/4 minutes, watching the paper being soaked
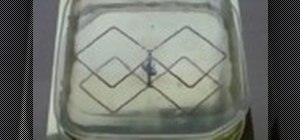
* Peel off the paper; most can easily be removed; only the last layer, where the toner sticks, will remain mostly on the board
* Peel the paper off again with a toothbrush; don't hesitate, it won't damage your PCB
* Once done, dry the board; check if you've missed some paper
* Clean the board with window cleaner; while it won't remove toner, it'll help to remove paper residue and get an accurate board
* You'll then need to etch the board -- once done, remove the toner using acetone (nail polish remover works well)
* Done
Just updated your iPhone? You'll find new emoji, enhanced security, podcast transcripts, Apple Cash virtual numbers, and other useful features. There are even new additions hidden within Safari. Find out what's new and changed on your iPhone with the iOS 17.4 update.


1 Comment
thnx
Share Your Thoughts