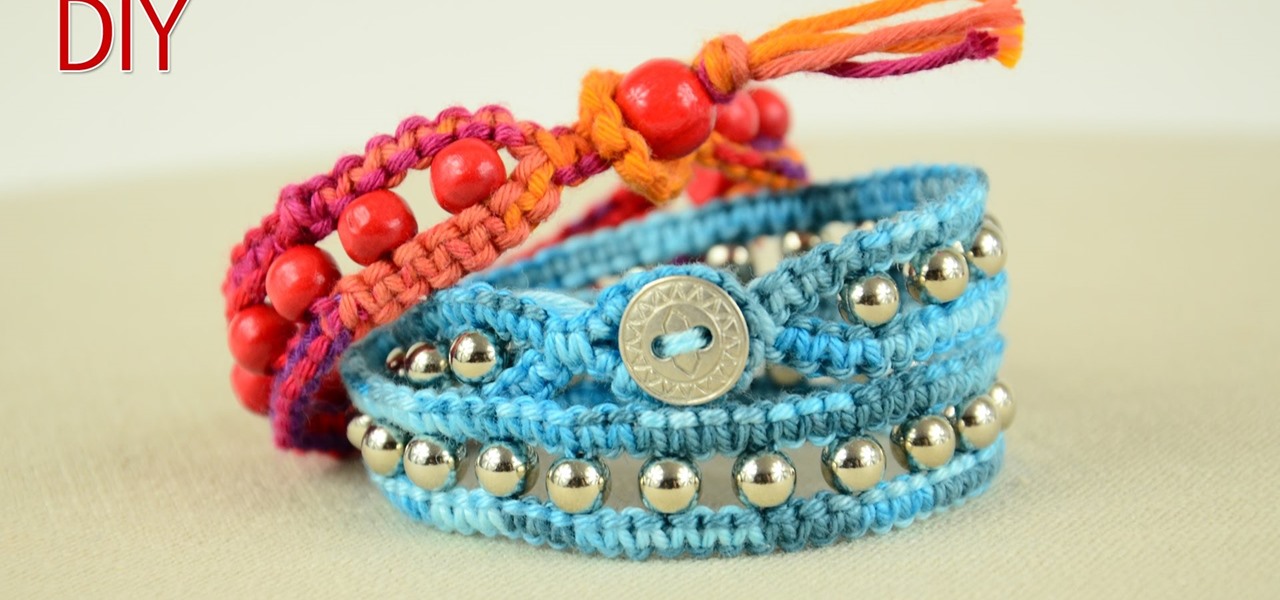
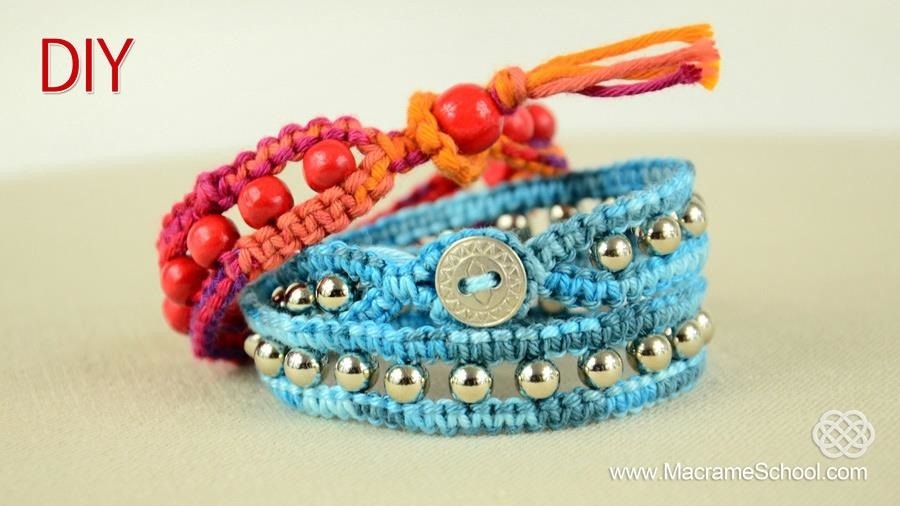
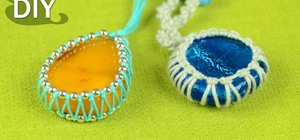
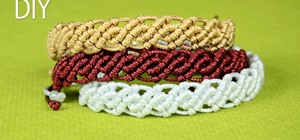
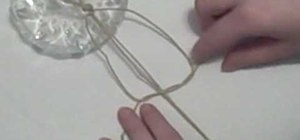
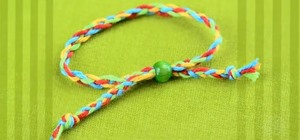
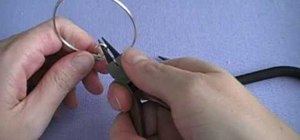
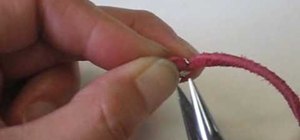
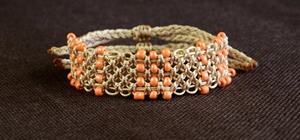
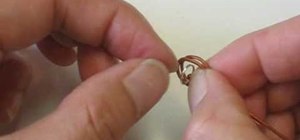
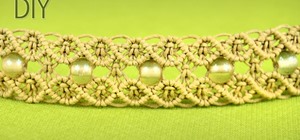
Make a Wrapped Wire Bracelet

This article was provided by wikiHow, a wiki building the world's largest, highest quality how-to manual. Please edit this article and find author credits at the original wikiHow article on how to make a wrapped wire bracelet. Content on wikiHow can be shared under a Creative Commons License.

Grade C Views 1,135
Last edited 2 months ago

This simple bracelet is surprisingly easy to make. All you need is wire, beads, pliers, and a little bit of twisting. You can make several using different colors for the wire and beads in a short period of time.

Step 1  

Cut a piece of thick wire or memory wire, which is long enough to wrap around your wrist.


Step 2  

Bend the wire into a loop roughly the size of your wrist.


Step 3  

Bend one end of the wire into a loop with the round nosed pliers.


Step 4  

Bend the other end of the wire into a hook at 90° to the loop (see picture). If you are using memory wire you can replace this with another loop as it does not need to be fastened.


Step 5  

Cut a piece of coloured wire about twice the length of the thick wire.


Step 6  

Wrap the coloured wire around one end of the thick wire five or six times, keeping the loops close together.


Step 7  

Thread a bead onto the coloured wire.


Step 8  

Wrap the coloured wire around twice to hold the bead ontop on the thick wire.


Step 9  

Keep threading beads and wrapping until you reach the end of the bracelet.


Step 10  

Wrap the coloured wire tightly around the thick wire a few times then cut off any excess wire, ensuring that sharp ends are tucked down.


Tips

  • Don't be afraid to experiment with colours, tightness of wire, number of beads etc. Be creative!

Warnings

  • Eye protection is recommended when cutting the wire as a precaution against the ends of the wire hitting your eye.
  • Cut wire is sharp and can at least hurt when wearing it or even cut you. Round off the sharp edges with an emery board, nail file, or rub the ends on concrete to smooth them.

Things You'll Need

  • Fairly thick/strong wire (20 gauge is about right) or memory wire
  • Thin coloured wire (28 gauge)
  • Beads
  • Wire cutters
  • Round nosed pliers

Via wikihow

Roly-Poly Bridge

Heatherwick Studio's London based rolling bridge is an engineering marvel. Lots of fun, and immensely satisfying to watch (via YouTube, assuming you can't see it in person). From Heatherwick Studio: ...

Master Nerd Births Perfect Copy Cat Bot

Can't help but smile at this goofy, endearing nerd "master" (Vitalijus Rodnovas) guiding his copy-cat protege robot (coined Waldo). The rig allows Waldo to mimic Rodnovas' body movements in ...

Building-Sized Überorgan Emits Heavenly Music and Farts

Tim Hawkinson is an artist who truly inspires. The Los Angeles based artist creates complex, whimsical sculptures with simple mechanics and basic materials. One of his most notable pieces is the ...

Super Slim and Sexy Xbox Mod

iPods are getting smaller and smaller each year. Why not Xbox? Bandit5317 has made an 1-inch thick Xbox. The ultimate Xbox mod: super slim. Pay attention, Microsoft. The "Xbox Micro" has a ...

Laser Coil Gun Shoots Bullets on Pure Electricity

Wow, kudos to Daniel Eindhoven for his incredible laser-lit coil gun. This bad boy shoots bullets on pure electricity and can shoot up to 85 km/hr. Daniel's specs: Fully semi-automatic, up to 14 shots ...

loading...