

This automotive video series covers "What to Look Out for" before buying a Volkswagen bug. The first video shows you the first few sections that you should inspect before purchasing a classic VW.
Part two shows you how to check the heater channel sections and gives you good examples of ROT.
Part three shows you the seals, fender bead, and wheel well fender sections.
Part four shows you the window scrapers and chrome sections.
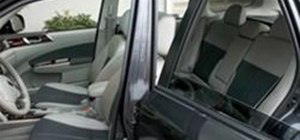
Part five shows you the interior.
Part six shows you the interior along with briefly discussing the electric.
Part seven shows you the engine along with briefly showing examples of how it should start and sound.
Part eight shows you the issues with the spare tire area.
Part nine covers Chris' final thoughts on what he thinks you should know and look for before buying a thing, bug, or any other classic Volkswagen VW beetle or classic car.
Just updated your iPhone? You'll find new emoji, enhanced security, podcast transcripts, Apple Cash virtual numbers, and other useful features. There are even new additions hidden within Safari. Find out what's new and changed on your iPhone with the iOS 17.4 update.


Be the First to Comment
Share Your Thoughts