

How To: Redecorate your living room
Learn how to redecorate your living room in stages.

Learn how to redecorate your living room in stages.

Tired of boring solid or white walls? You don't have to pay for an expensive remodeling job! You can add some color and brighten up any room with this quick and helpful interior decoration tip. Use two or more colors to paint stripes on your walls and add a splash of color to any room.
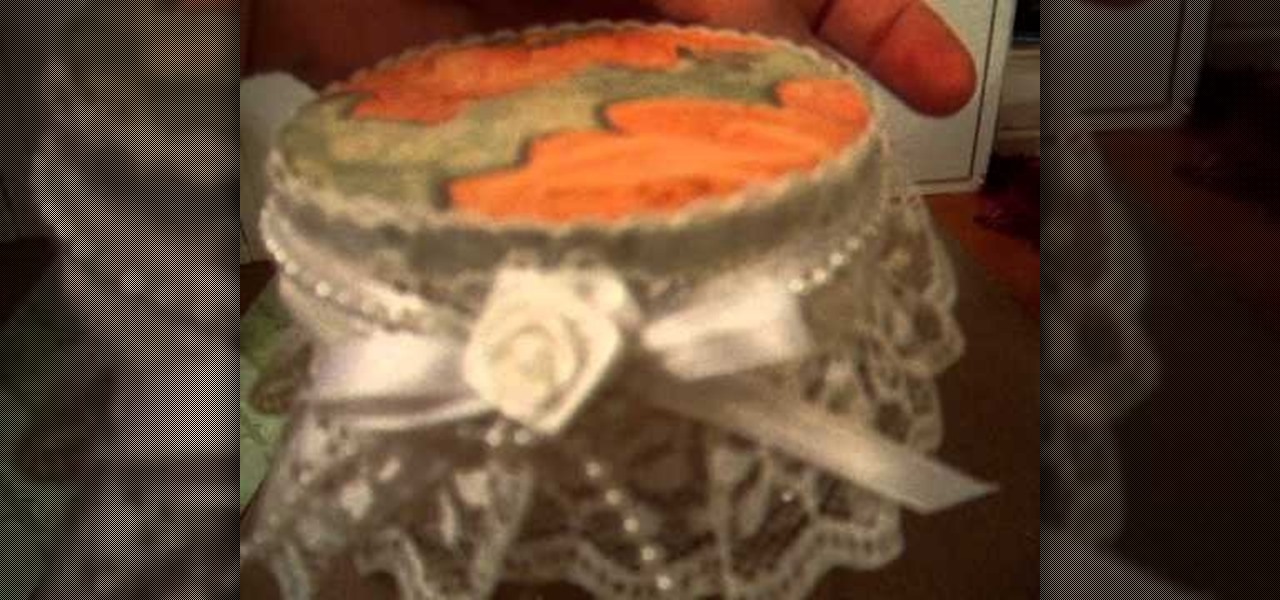
Take one plain Mason jar or glass jar. Add your favorite scraps of fabric, ribbon and other embellishments. Decoraate with lace, beads, sequins and applique. You now have a lovely upcycled glass jar, perfect to give as a gift or favor.
Anyone who's tried to redecorate their home or even one room in their home knows that between new furniture, paint, and new upholstery, the budget for the job - or lack thereof - begins to skyrocket quickly.

This video tutorial is in the Video Games category in which Tina Wood will show you how to find and change themes on your Xbox 360 (Xbox 101). Head over to game marketplace, select explore game content, and then choose "themes and gamer pictures". Here you find "halo 3 ODST" and download it. Once it is downloaded, you can choose "change theme" right then and there to redecorate your dash board. You will find one image on my Xbox, one on the game library, one for the video, music and picture l...

In this video tutorial, viewers learn how to upgrade an old lamp shade into a blossom lamp. The materials required are: 1 1/2 yard of felt, old lamp shade, bias tape, glue gun and scissors. Begin by folding the bias tape in half and iron it down. Then glue the bias tape from the half fold on the top and bottom of the lamp shade. Cut the felt into 3x3" square pieces and then cut them into circles. Fold the felt circle in half and glue it onto the lamp shade. Continue doing this for the rest of...
Lasers are one of the coolest things that you can build yourself from a pure sci-fi fantasy standpoint. They're not easy though, but this video will help you somewhat by describing different types of laser diodes and how to connect them to a power supply.
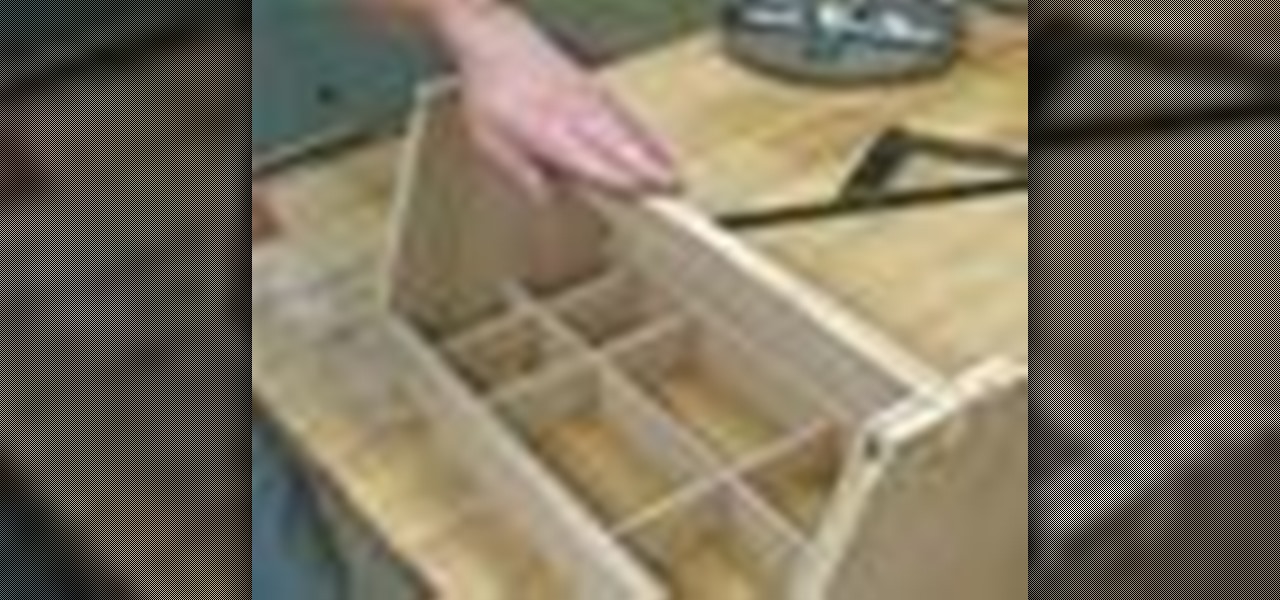
Keep your art supplies organized. Learn how to build a toolbox to store your art supplies in this free woodshop project from a woodworking teacher.
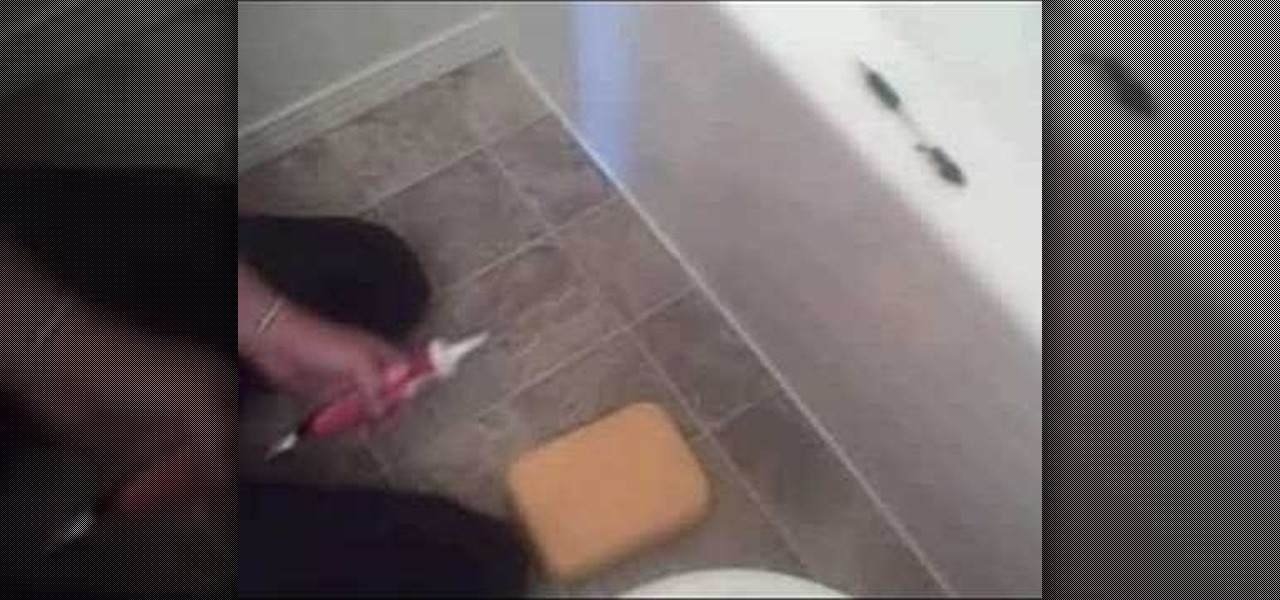
This video shows the viewer how to caulk a bathroom floor – this is where some type of sealant is used to fill the joint between the surface of the floor and the side of the bath. The first stage is to select a suitable sealant, the video recommends a sealant that can be painted as it is useful if you every need to redecorate. Squeeze a liberal amount of sealant into the crack. Then using a dampened finger press the sealant into the corner whilst simultaneously scraping the excess away. Final...
Electroluminescent devices need electricity to light up, clearly, so if you're working on an EL project building a proper power supply is crucial. In this video you'll learn how to make a DIY power supply for your EL projects that is safe, effective, and cheap.
Your power supply on the bottom of your Mac may need to be replaced. If you're not sure how to remove it, no problem. See how to remove the power supply from the Power Mac desktop computer.

Don't let your scrapbooks get destroyed, learn how to properly store them, preserving them for life, in this free video series that will show you how to protect you scrapbook for years to come.

Hate those cheap multi-adapter power supplies that only provide up to 500ma of power? Here's how to use one high-output power supply (up to 3.5A in this case) to run all of your power hungry gadgets, like laptops, LCD monitors, etc...
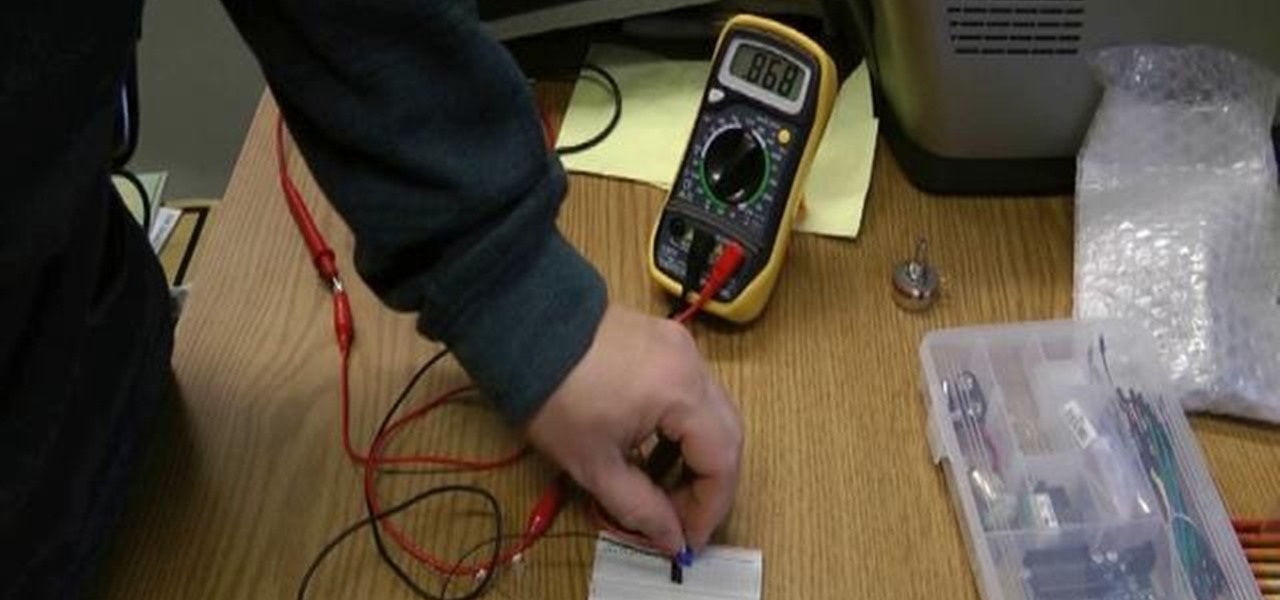
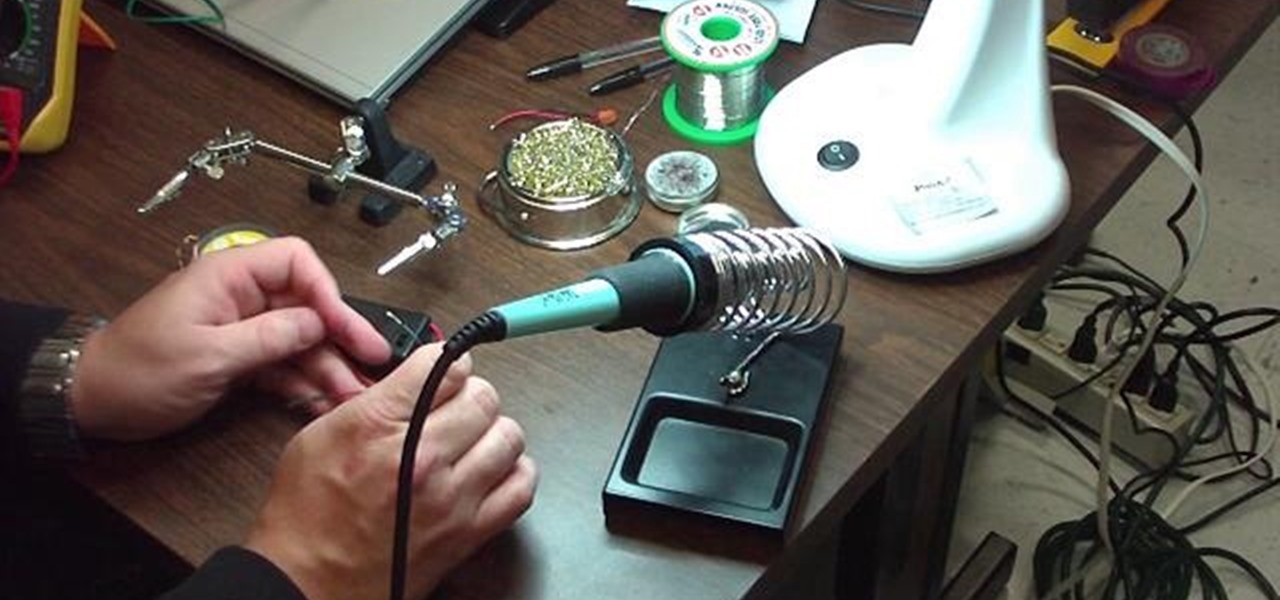
For most people, learning how to work with electronics is far from intuitive. Getting the diodes in your hands and working with them is the best way to go about it, and this video will teach you a great lab for learning about diodes, potentiometers, capacitors, photo cells, and power supplies.
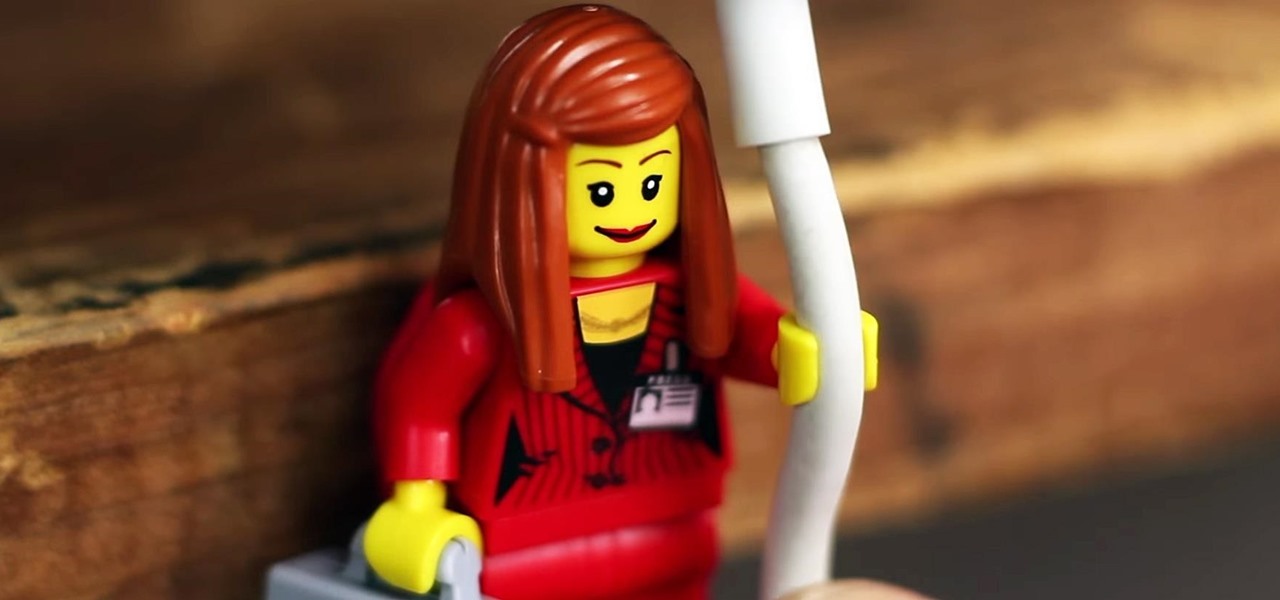
No matter how organized your workspace is, chances are you still wind up with tangled cords dangling off your desk. Sure, there are a lot of ways to keep your cables separate, from strategically placed binder clips to stretchy socks, but none are as fun as using a LEGO minifigure.
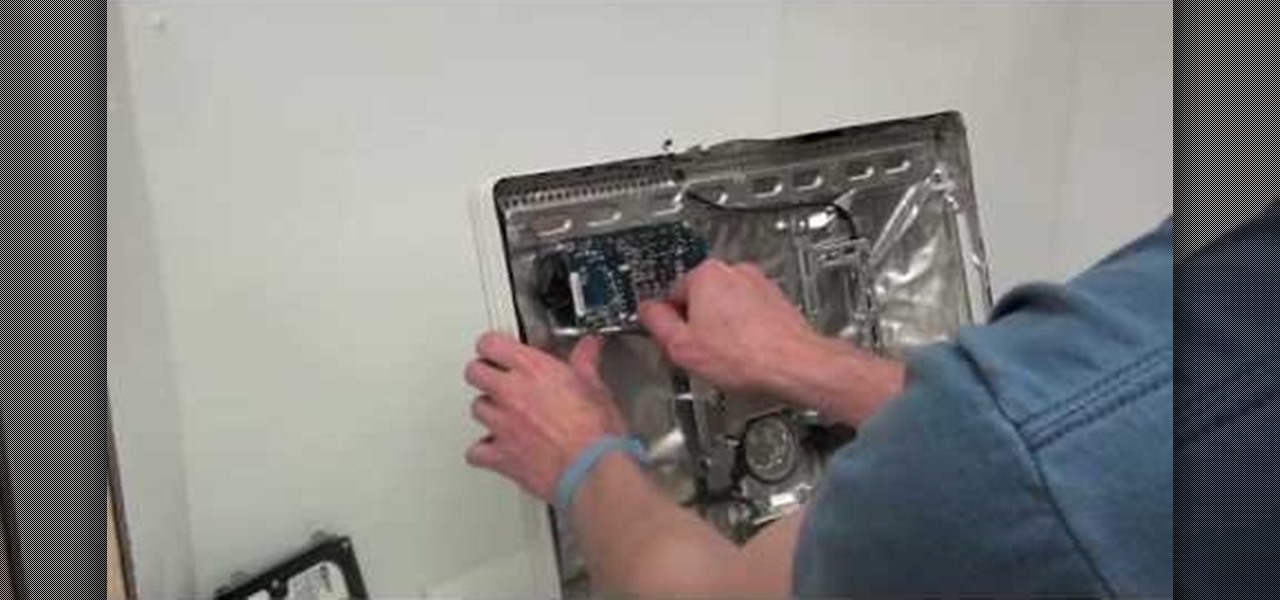
Removing the power supply from the iMac G5 is a two step process. First, see where the power supply is located. Then begin the process of removing it. You can do using a very easy way described in this video. First unscrew the 4 torx screws that are located around the edges of the power supply. Be careful not to be too rough while doing so. Once you have unscrewed them, then gently lift or remove the power supply. However, we still have to unplug it from the iMac. Therefore, carefully unplug ...
First of all, please DO NOT attempt to open any power supply and tweak what's inside unless you know what you're doing and/or are a professional. With that said, this circuitry video will teach you how to crack open a wall transformer power supply without destroying the transformer.

Upgrading your power supply can solve all sorts of problems that may arise after upgrading your PC's hardware. THe Lab Rats, Andy Walker and Sean Carruthers, will let you know how to tell if you need to upgrade your power supply and if you do they will help you figure out what kind you need and show you how to install it.
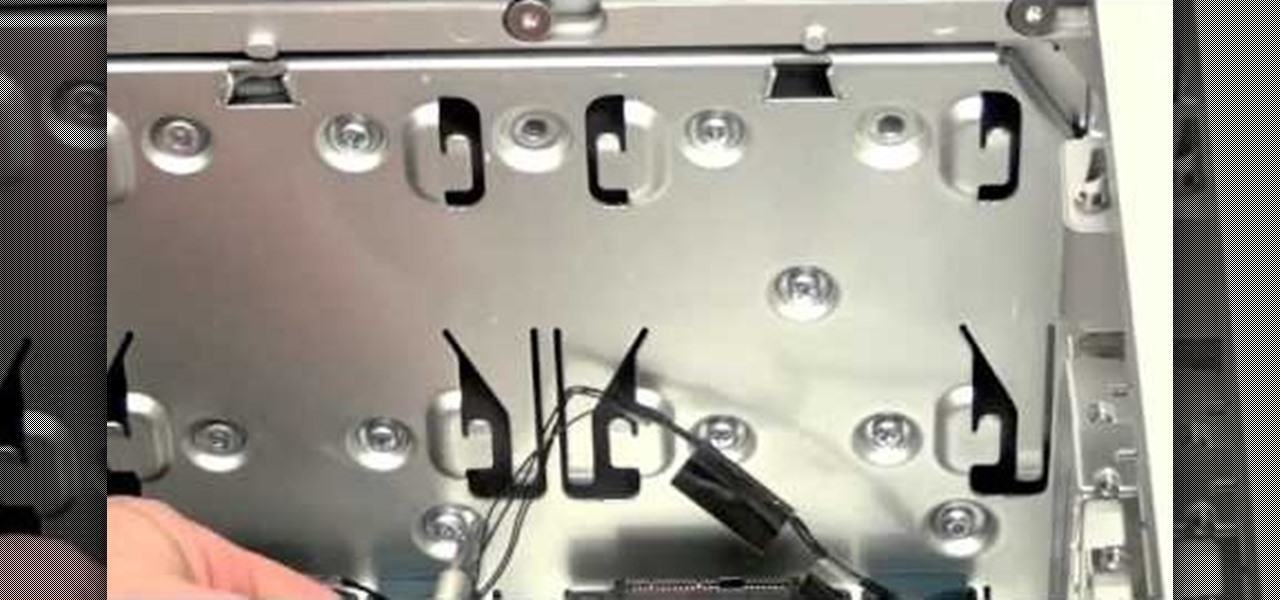
Most PC tower cases have the power supply mounted near the top of the case in the back. However, if you want your PSU to run a little cooler, watch this video to learn how you can mount your PSU on the bottom of a tower case, allowing it to draw cooler air from the bottom of the case rather than the hot interior of the case like a top-mounted traditional setup would.
Looking for a primer on how to remove the superdrive and power supply from your Mac Pro? This brief how-to will guide you through the process, the first necessary step of any upgrade or repair to either of the aforementioned parts. This tutorial will also be of use to those who wish to learn more about the guts of their Mac Pros without actually disassembling their units.
While breadboarding may seem like some odd combination of snowboarding and consuming the fluffy pastry at the same time, it's actually just the technical term for using a construction base to build a prototype electric circuit. Breadboards are solderless so they're great for circuit design and are reusable.
Looking for something fun to do with all those office supplies you've been stealing from work? Or maybe you just want to goof around in your cubicle? It's possible that you are an honest, dedicated, hard worker, but whatever the case may be- no judgement, just a video guide to making an office supply catapult.
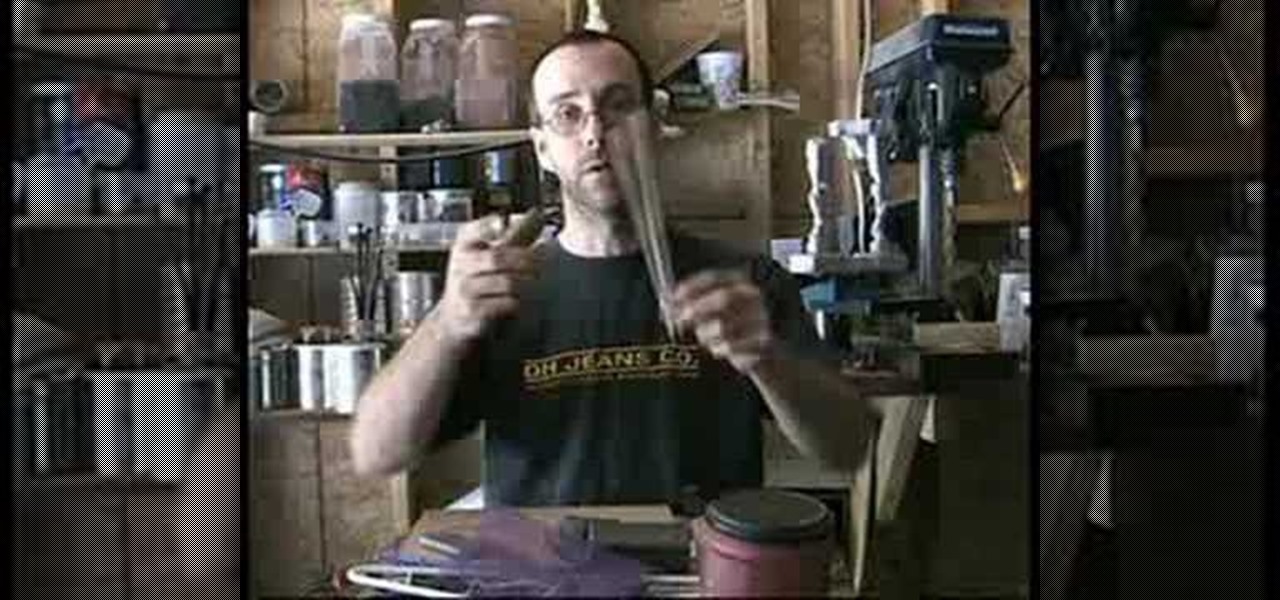
This instructional video provides examples various supplies for war game terrain and diorama making. Most of these supplies for miniatures can be found at a local dollar store. Look for cardboard tubes, plastic sheeting, high density foam, metal foils and wires, plaster, sand twigs and other found materials.
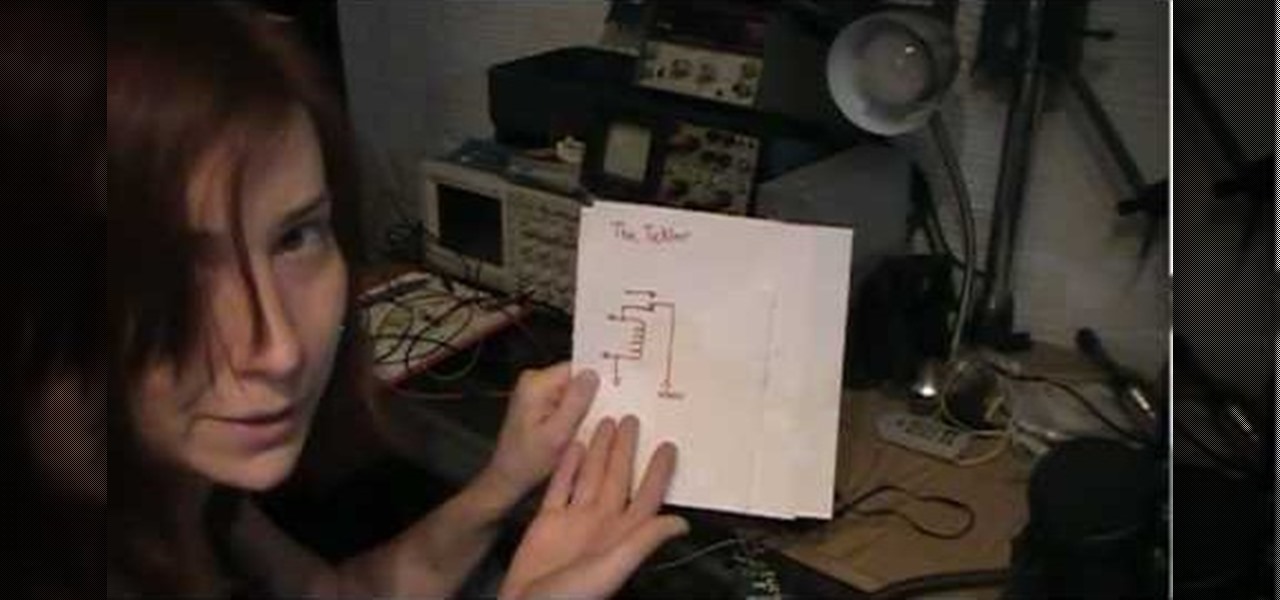
In this video you will learn how to make a high voltage, high frequency power supply in just five minutes, and for less than twenty bucks. All you'll need is a compact fluorescent light (CFL) and a flyback transformer to make that alternative energy source of yours.

Steve of Element Tattoo Supply demonstrates how to set up a tattooing power supply, specifically the Silver Bullet model. It has a voltage switch on the back. If in the US, set the power supply to the 115-volt setting. Outside the US, switch to the 220 volt setting. There are two power plugs in front for tattooing equipment (such as a foot pedal), and a dial for adjusting the power. The relative power is displayed on a LED display.
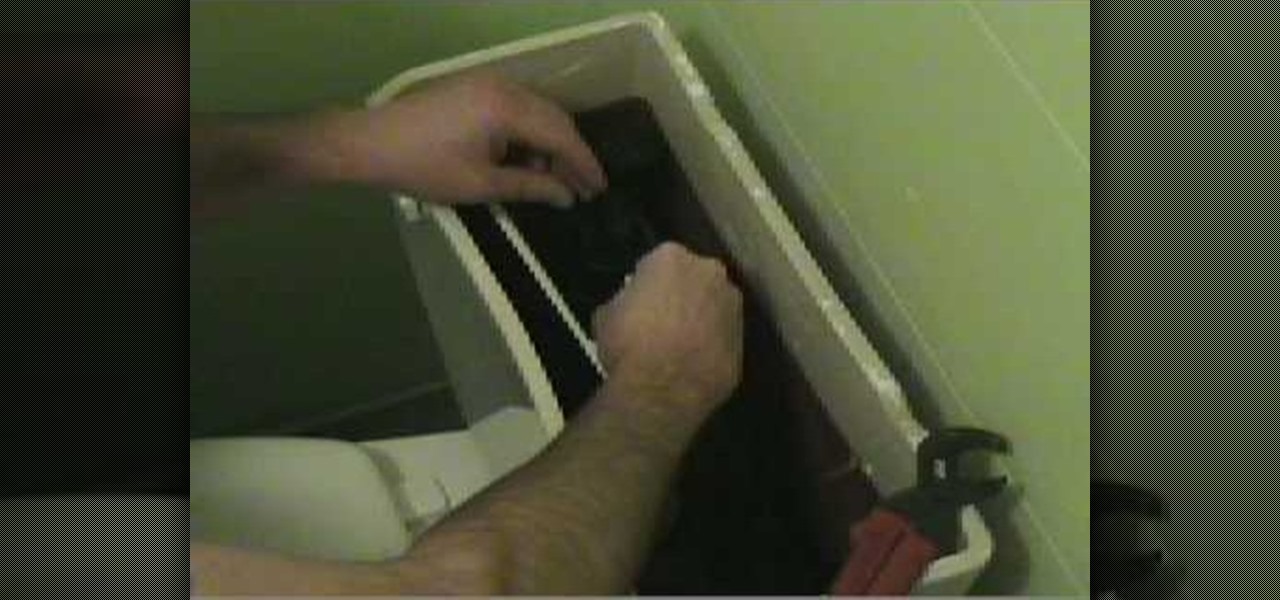
This Home & Garden video shows you how to replace a running old style fill valve toilet with something more modern. Shut the supply line to the toilet and flush to remove the water from the tank. Then remove the supply line. Now take a wrench and loosen the plastic nut of the old fill valve located under the tank. Then lift the old valve and keep it aside. Take a 'flow master', which is a new type fill valve, place it in the same spot and hand tighten the nut under the tank to hold the flow m...

Do you have an old uninterruptable power supply you're not using or that's broken? Most people have scads of them these days, and they contain all sorts of useful electronics parts, including all of the stuff to make a little batter charger, which you'll learn how to do by watching this video and checking out the circuit diagram here.
These wee 3X3 cards may be small, but they sure do make a charming impact when sent to friends as Thank You cards or small "Just Because" notes. Made from craft supplies that can all be found at Michael's for $1 each, these mini blank cards are also wallet-friendly.

Attention aspiring horror movie makers! Have an interest in making fake heads to use as your gory extras? BITY Mold Supply has supplied the world with this great tutorial on how to cast a silicone head or face from Gel-10 and Polyfoam. In the later half of this video, BITY lends great tips on how to paint your finished silicone face for a realistic look.

Out for a leisurely hike in the woods? Well, don't leave home without a few simple supplies or you could be facing a survival situation out-of-doors. Make sure to take supplies along with you, like a compass, but make sure you know how to use it. Watch this video outdoor safety video and learn how to survive a hiking trip in the woods.

From Systm learn how to build a USB battery supply that can charge your cell phone.

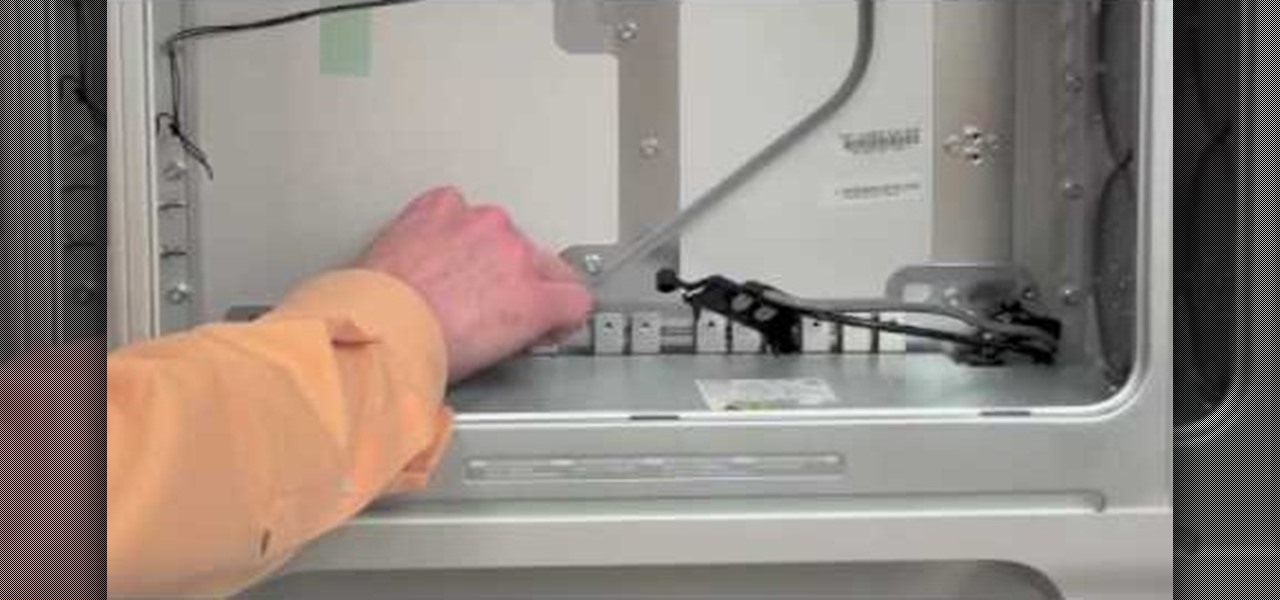
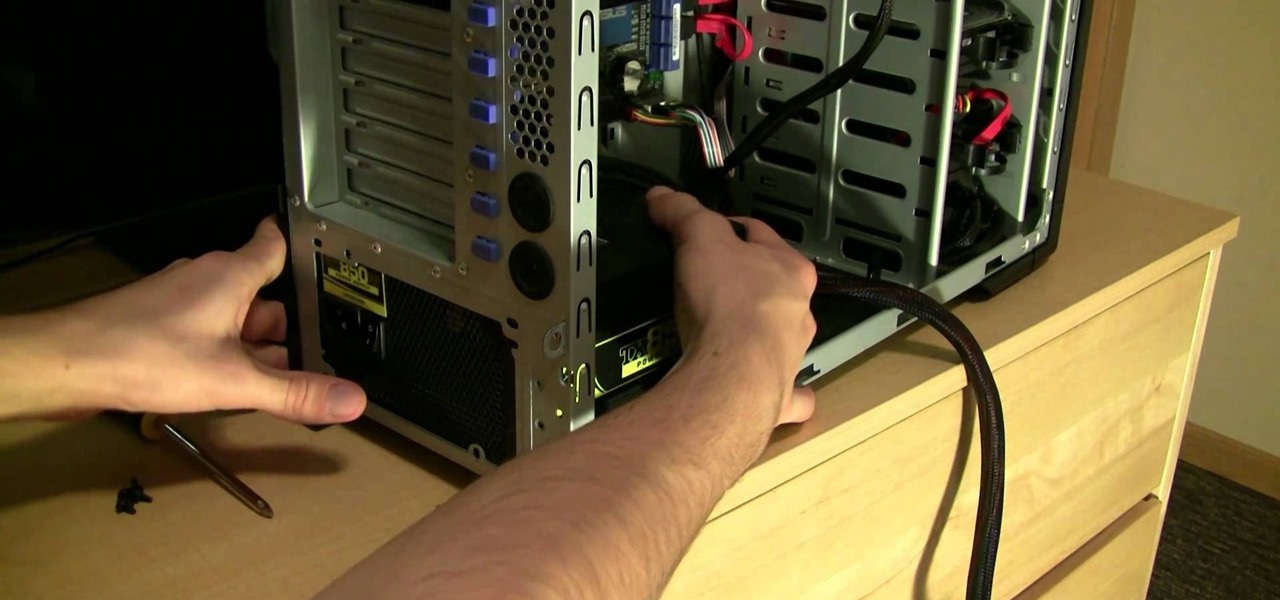
This video is a step by step guide on changing or installing a power supply in your PC. This is a great video and a money saver, replacing the power supply yourself can save a lot.
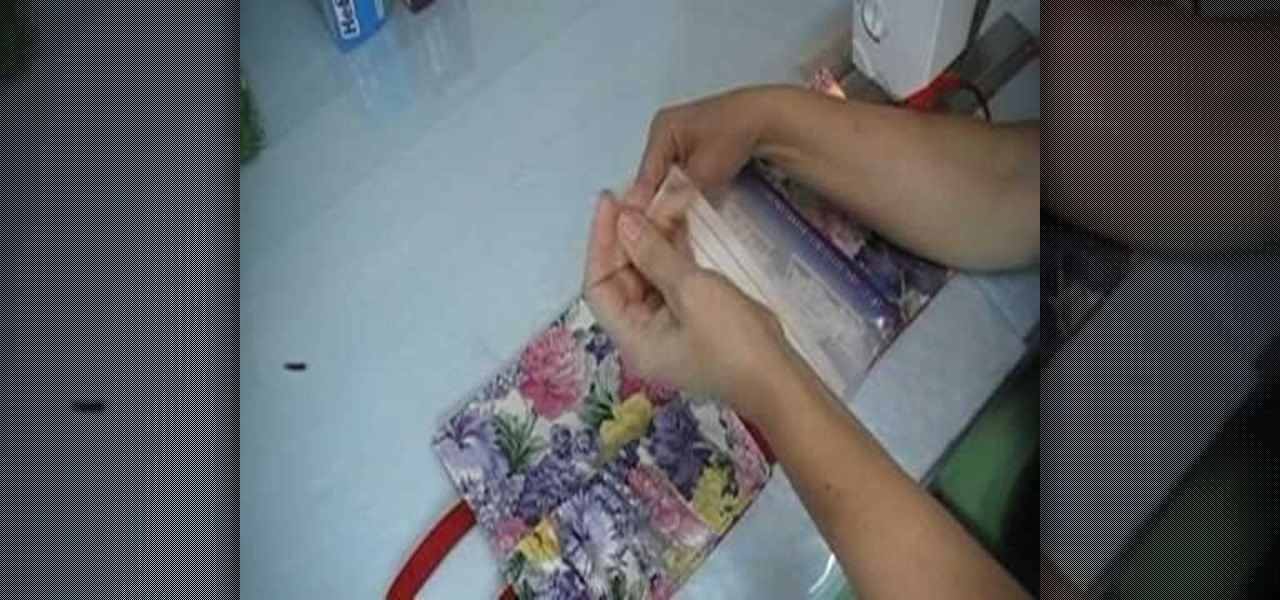
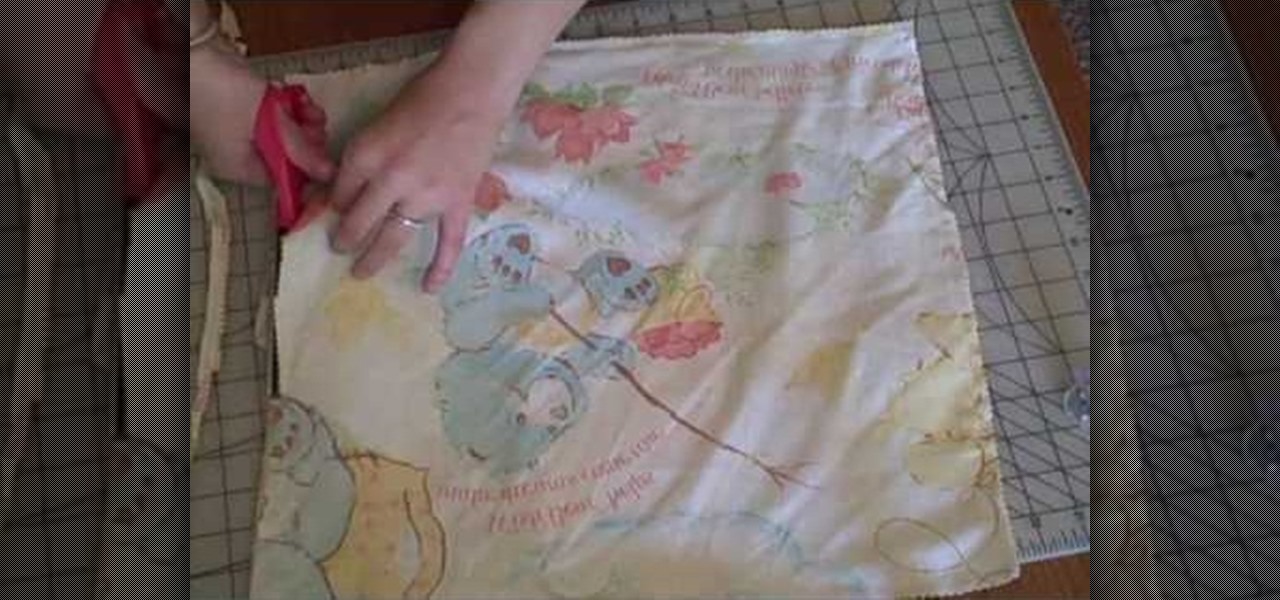
Crafting and sewing is lots of fun, but it calls for many accessories and notions that can clutter your craft area. This tutorial shows you how to create your own craft supply organizer out of some upcycled or recycled materials.

If you have an endless supply of purses and a limitless supply of wall empty wall space, it's about time you made some DIY purse racks. In this video, you'll see a very easy (and cheap) way to hang all of your purses (and please your boyfriend). For this DIY purse rack, you'll need some coat and hat hangers (hooks), feather boas, screwdriver and a tape measure.
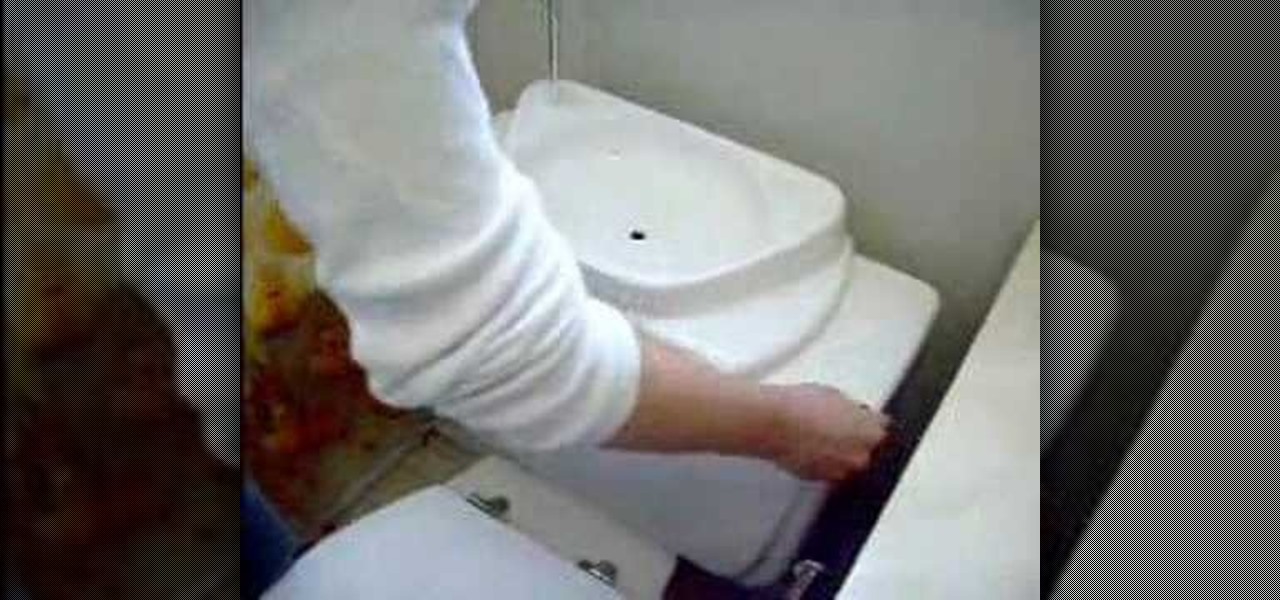
This video tutorial is in the Home & Garden category which will show you how to save money & water with your toilet flush. The first step is to turn the water off. Then remove the lid of the tank, disconnect the bowl refill supply and make sure that the overflow pipe is open. The next step is to take the new sink, attach it to the water supply point, place the drain in the overflow pipe and position the sink over the flush tank. The modification is done. Now turn on the water supply and your ...
This video illustrate us how to make ramen noodle soup with a coffee maker. Here are the following steps:

Be a DIY superstar and impress your friends with your newfound craft skills by turning simple votive candle holders into a hanging candle tree. You can do it all with simple home supplies and by following the instructions in this video.
First, apply wax to the toilet hole so it doesn't leak. Next install the supply line. Set the bolts on the flange and attach a wax ring onto the bottom of the toilet. Set the toilet over the bolts. Next, stick the gasket to the bottom of the tank and put the tank on the toilet. Tighten the bolts on either side of the tank. Then, hook the supply line up to the toilet. Attach the toilet seat to the toilet by screwing it into place. Finally, turn on the water supply. Your low flow toilet is now ...

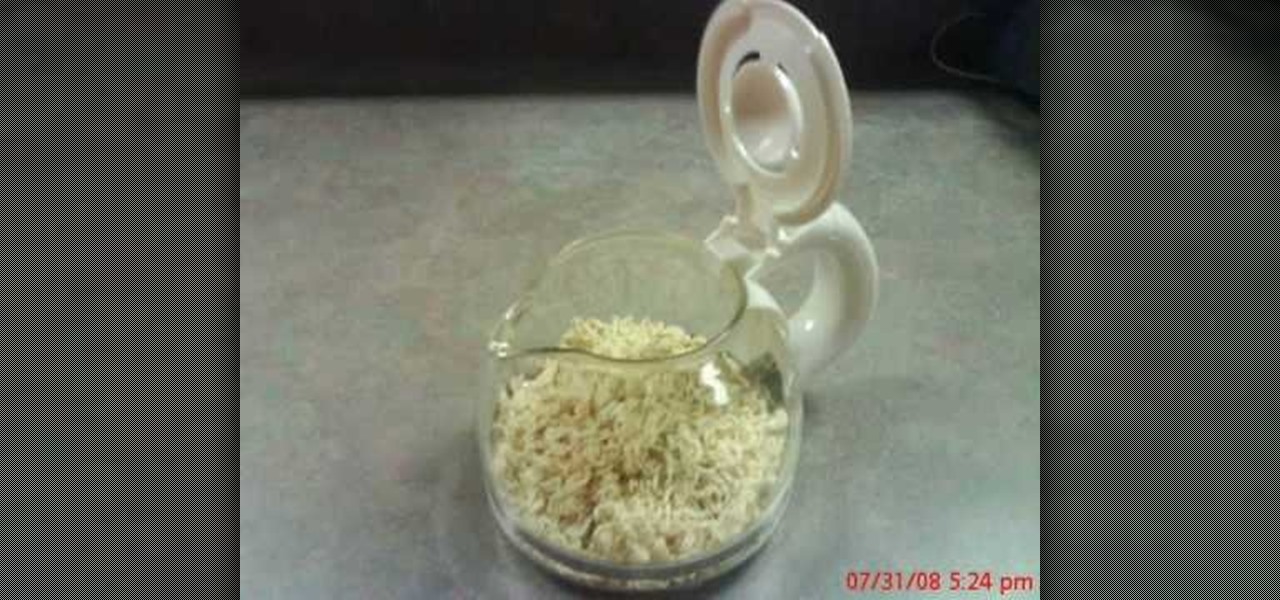
Relieve stress and wrap your aches in warmth by making your own microwavable heating pad. Just gather up these supplies (cloth, needle and thread, uncooked rice, spices/herbs, and essential oils) and follow along with this how-to video. Since this easy crafting project is made from houshold supplies, you'll save money on buying a heating pad from the store. Follow along with the steps in this video project and enjoy your new therapeutic, homeopathic treat.

Whether it's broken or just plain ugly, your old faucet can be replaced with a shiny new one in a flash. Learn how to replace a faucet without calling the handyman or the plumber.