
WATCH THIS INSTEAD: The Adjustment Bureau
Do NOT go see The Adjustment Bureau this weekend. Instead, watch a guy in pajamas touch baby penises for 90 minutes. Trust us, it's the better deal!

Do NOT go see The Adjustment Bureau this weekend. Instead, watch a guy in pajamas touch baby penises for 90 minutes. Trust us, it's the better deal!

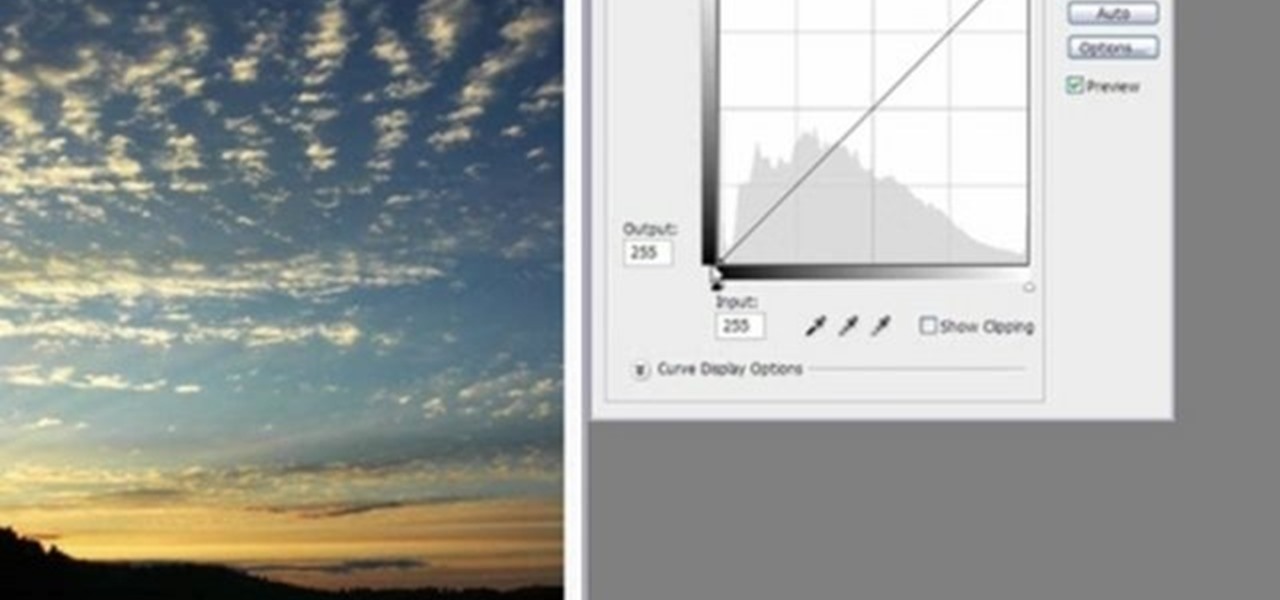
Clicks are made on "Image",then "Adjustments", followed by "Brightness/Contrast" ; contrast is set to 30 and brightness is set to 60 to add more light to the picture. "Adjustment", "Variations" are clicked in that order and both yellow and red are increased. "Filter", "Render", "Lightening Effects" are chosen in that order and a new window appears; within which the style is set to "Soft Omni". The brightness is decreased ;similar to the way it was increased, and contrast is increased to 60. T...
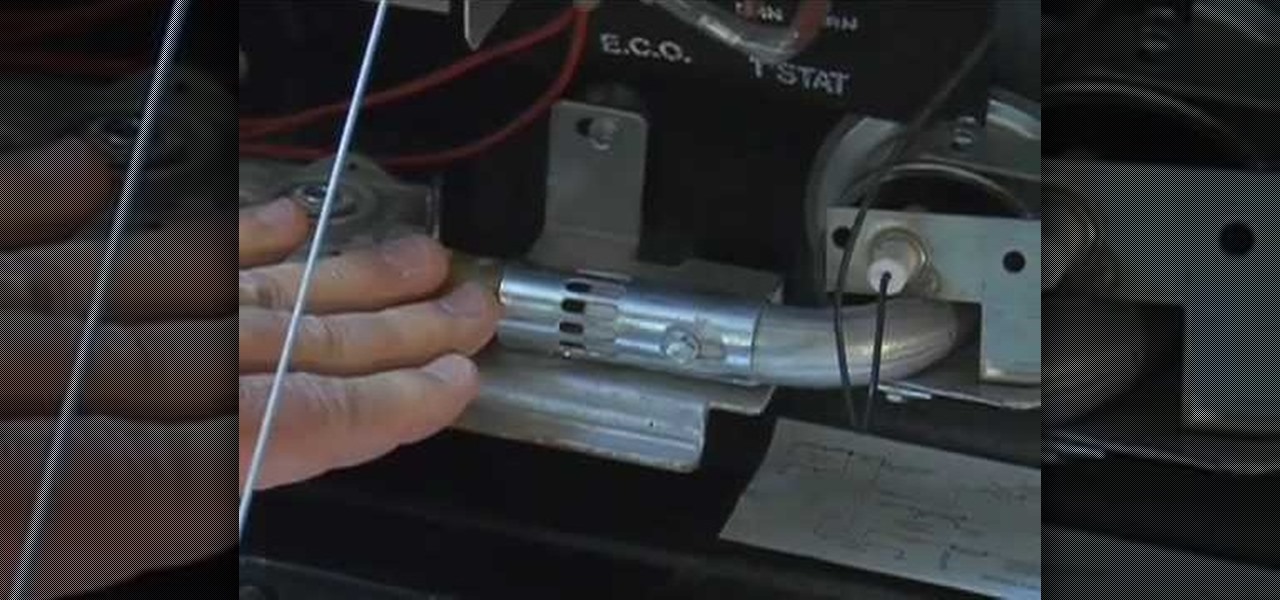
In this video, we learn how to adjust the flame on your RV water heater. First, open up the area where your gas valves are. Find the air opening to make a smaller air adjustment. The setting should be 1/4 of the way open. Snug down the locking screw when you have adjusted it properly. Now, you have to fire up the water heater by turning on the water heater switch first. Once the main flame is lit, you will see it with a nice blue color. Play with the adjustment some more until it's adjusted h...
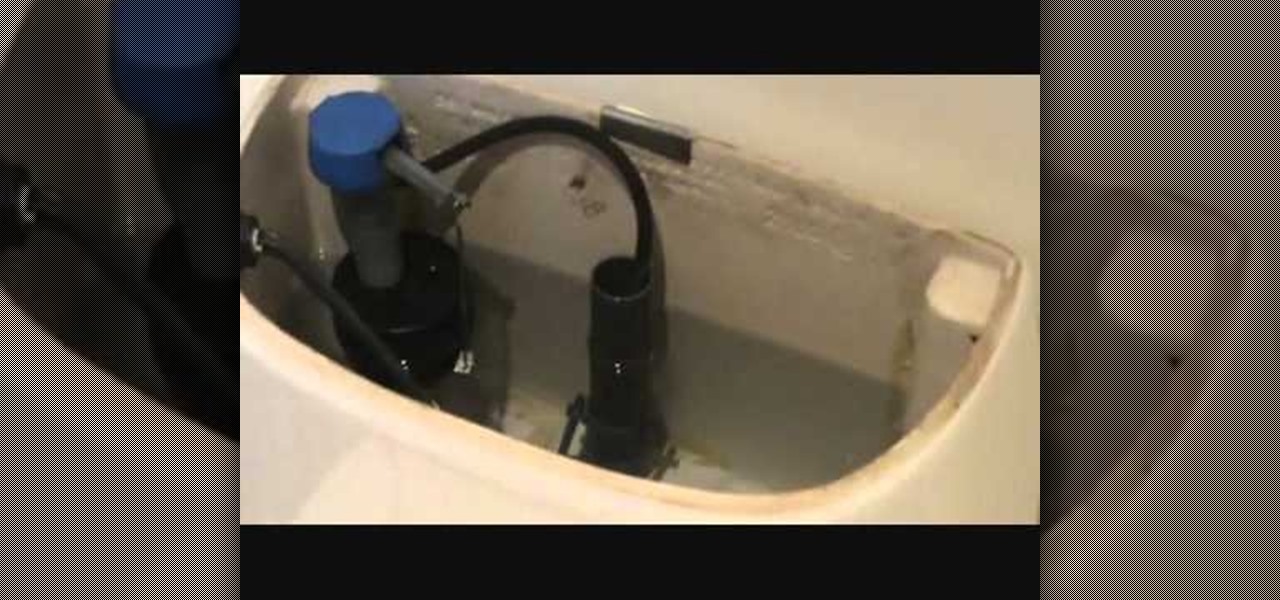
Trim down your water bill and do the planet a favor by adjusting the water height in your toilet tank. The Fluidmaster's float cup on the fill valve can easily be adjusted to set water height in the cistern, just by fine-tuning the water level adjustment clip. This process is very similar for regular fill valves, too, with float balls instead of float cups. All you need to do is hit the sweet spot—the lowest water height needed to properly flush the toilet.
Yanik Chauvin shows you how to do basic curve manipulations in both Photoshop and Lightroom. The curves are the simple adjustments for changing contrast, exposure, and color curves.
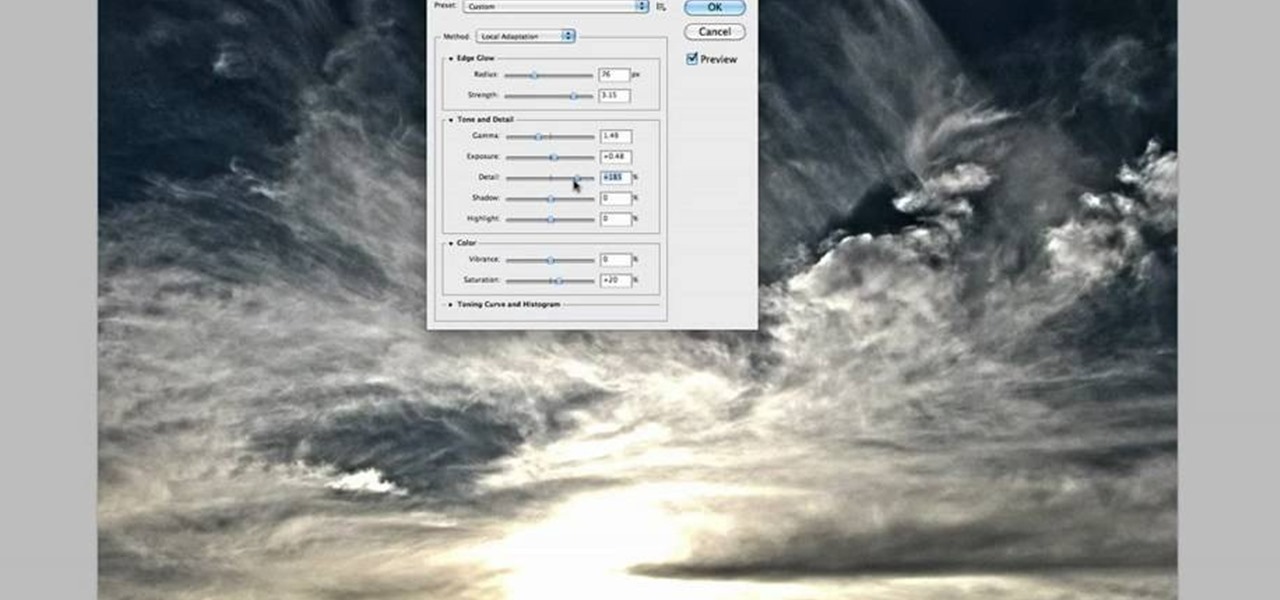
Take full of Photoshop CS5's HDR Toning Adjustment Tool with this free video lesson. Whether you're new to Adobe's Creative Suite or a seasoned graphic design professional after a general overview of Photoshop CS5's most vital new features, you're sure to be well served by this video tutorial from the folks at Brusheezy. In it, you'll learn how to take advantage of Photoshop's new HDR (high dynamic range) Toning Adjustment Tool.
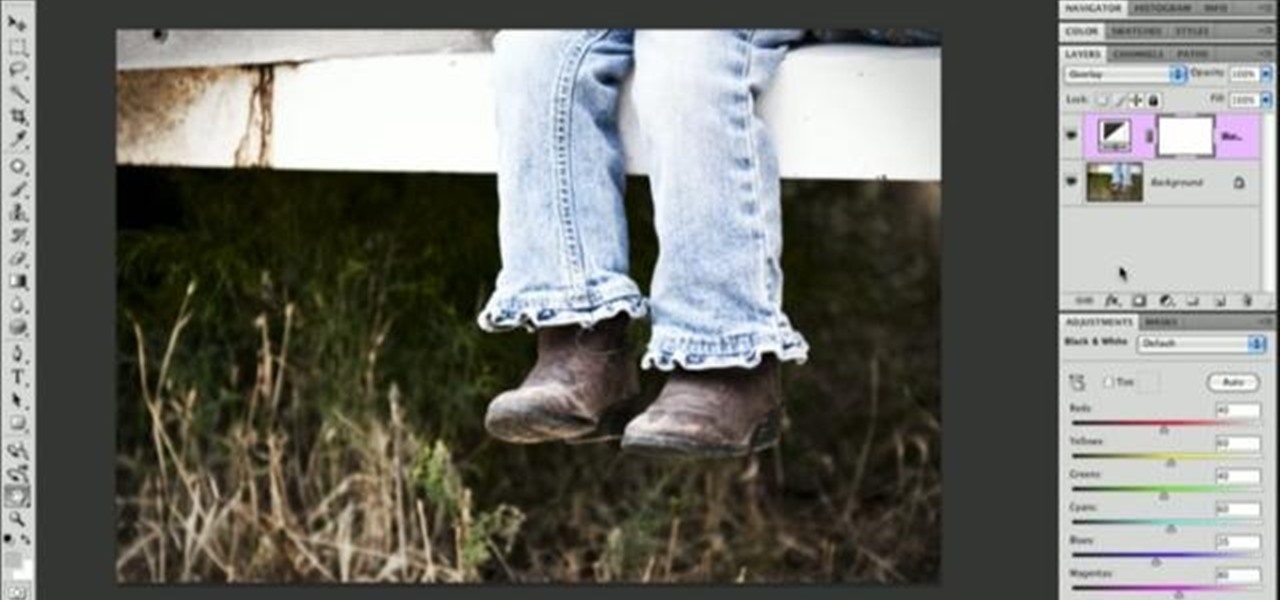
In order to add a nice contrast punch to an image using Photoshop, go to your adjustment layer and click on the black and white adjustment layer. Then go to your "blend modes" and change it to "overlay". If you find that the effect is too harsh you can adjust your opacity settings or you can switch your blend mode to "soft lights". In "overlay" using the black and white adjustment panel you can change your settings to meet your preference. If you are using a previous version of Photoshop that...
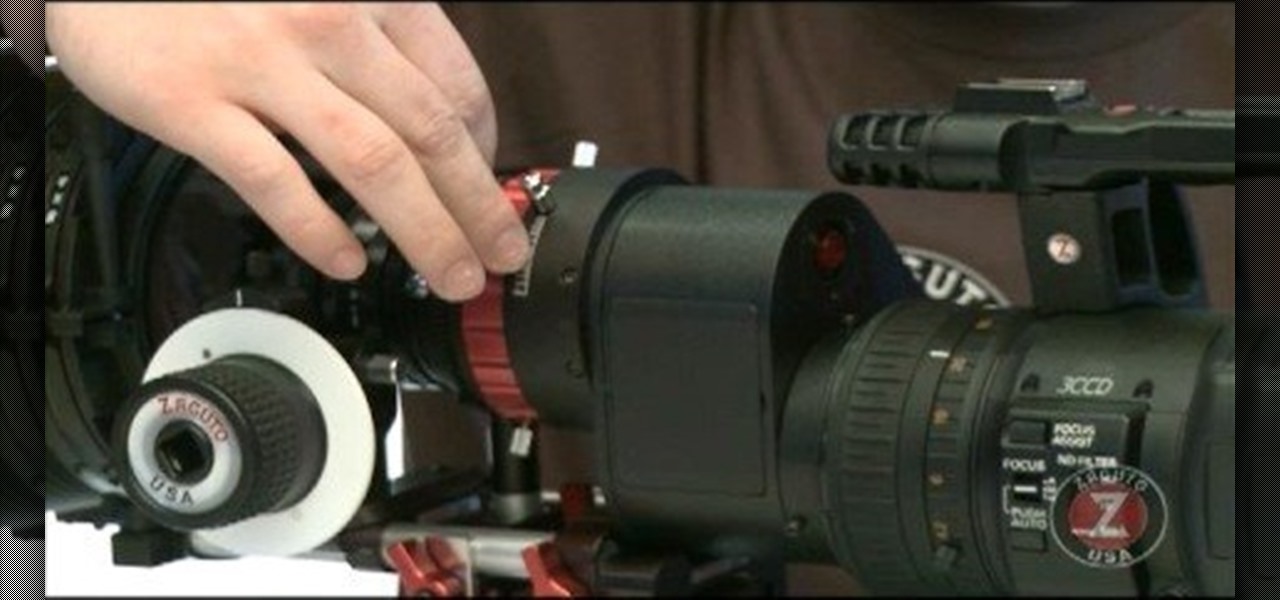
Zacuto Letus35 Elite Backfocus DOF Tutorial
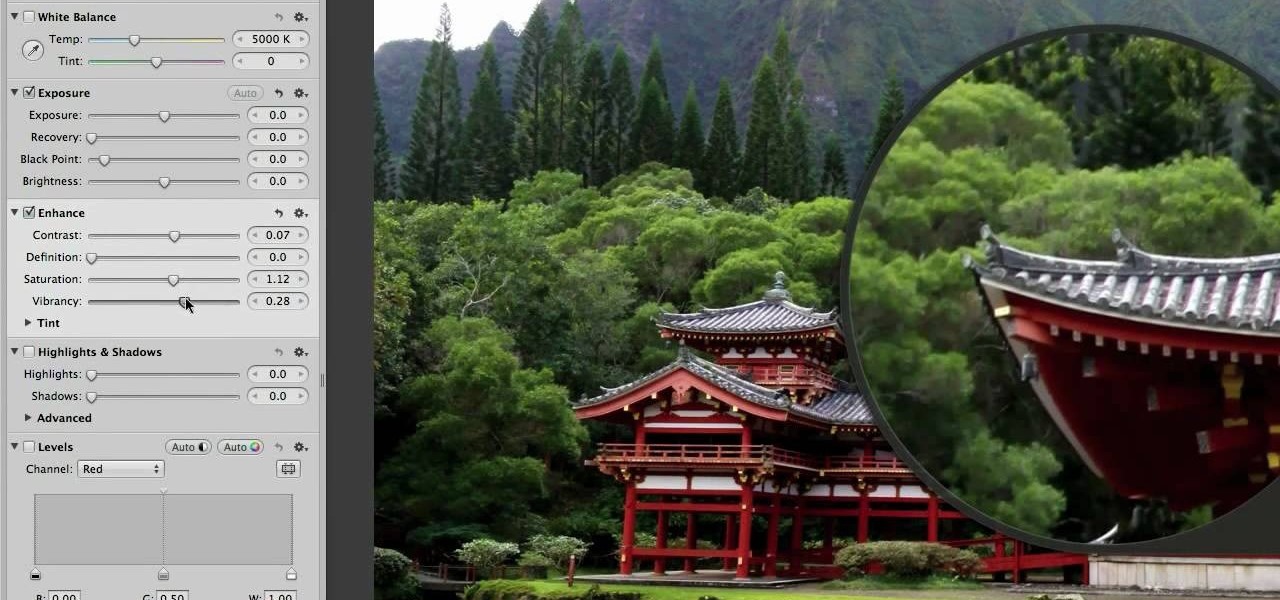
The enhance controls in Aperture's adjustments panel provide a number of tools for refining your tonal adjustments, controlling saturation, and for correcting color casts.
Team Member, Nacelle takes us through the process, showing us how to put a beautiful water feature for your garden which could be the reason for the envy of your friends.
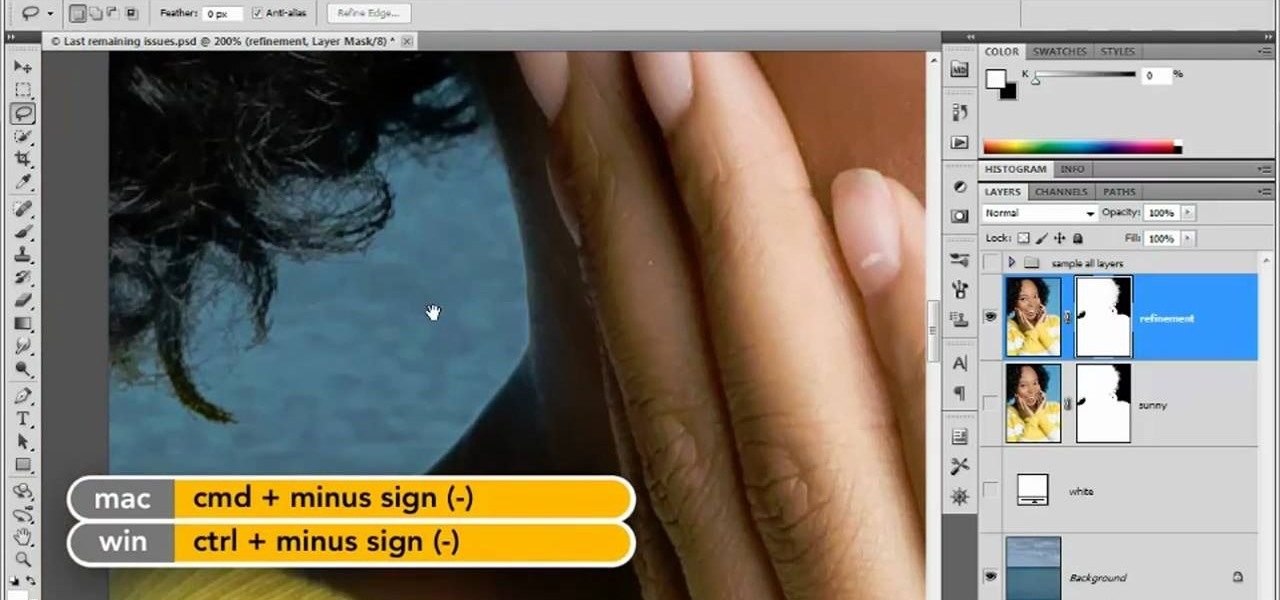
In this clip, you'll learn how to make micro adjustments to a mask when working with a digital image in Adobe Photoshop CS5. Whether you're new to Adobe's popular raster graphics editor or a seasoned designer looking to better acquaint yourself with the new features and functions of the latest iteration of the application, you're sure to benefit from this free software tutorial. For more information, and to get started making highly detailed mask edits yourself, watch this video guide.

Meet the Adobe Photoshop Lightroom 3 Adjustment Brush! Whether you're new to Adobe's popular photo application or a digital photography professional just looking to better acquaint yourself with Photoshop Lightroom 3, you're sure to be well served by this free video software tutorial. For more information, as well as to get started using Lightroom 3 yourself, take a look!
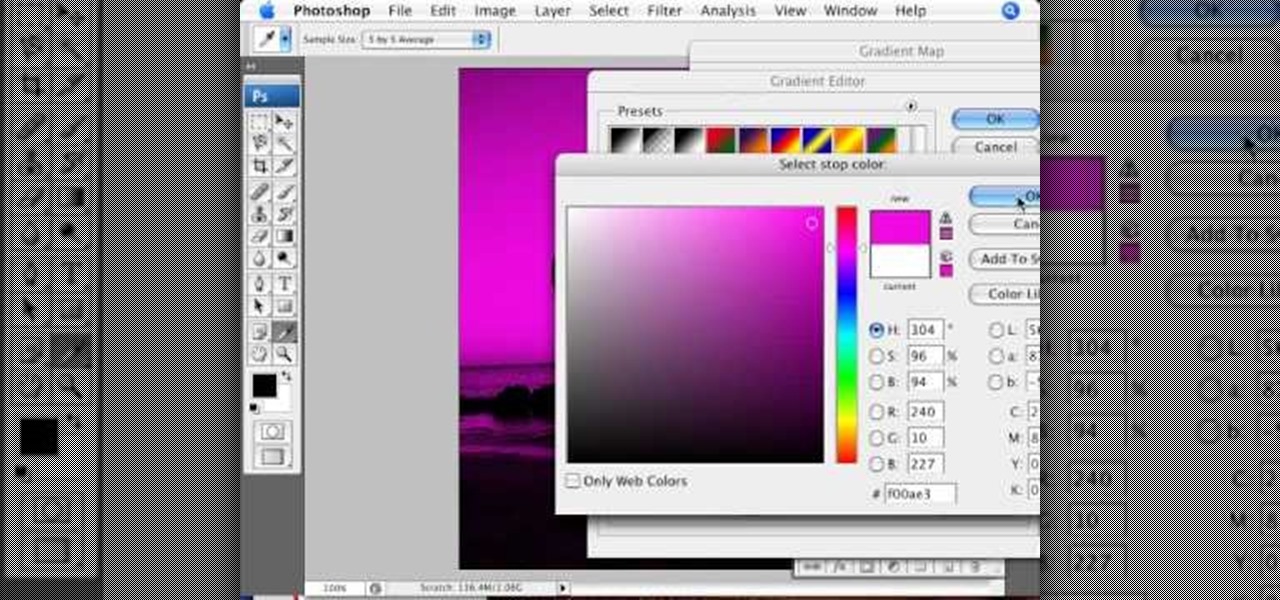
In this video tutorial brought to you by photoshopuniverse, you will learn how to apply mood lighting to images in Photoshop. This is achieved by applying an adjustment layer, called a gradient map, which allows you to adjust the color of the light in an image. You will learn how to access the gradient map from the adjustment layers menu, how to apply the gradient map, then overlay the new layer and fine tune the gradient to create more dramatic looking images.
This clip presents a general overview of how to make and work with adjustment and mask layers within most versions of Adobe Photoshop, CS4 & CS5 included. hether you're new to Adobe's popular raster graphics editing software or a seasoned professional just looking to better acquaint yourself with the program and its various features and filters, you're sure to be well served by this video tutorial. For more information, including detailed, step-by-step instructions, watch this free video guide.
Learn how to use the Target Adjustment feature in Adobe Photoshop CS5. Whether you're new to Adobe's popular image editing software or a seasoned graphic design professional just looking to better acquaint yourself with the unique features of Photoshop CS5, you're sure to find something of value in this free video tutorial.

Looking for a Photoshop-style Curves tool in Aperture 3? Look no further. Whether you're new to digital photography or merely unfamiliar with Apple's Aperture 3, you're sure to benefit from this free video software tutorial from Lynda, which presents a thorough, step-by-step overview on how to use said Curves tool to make curve adjustments to your digital images.

Have a photo that could do with a little touching up? Whether you're new to digital photography or merely unfamiliar with Apple's Aperture 3, you're sure to benefit from this free video software tutorial from Lynda, which presents a thorough, step-by-step overview on how to touch up your digital photographs utilizing Aperture's built-in adjustment brushes.
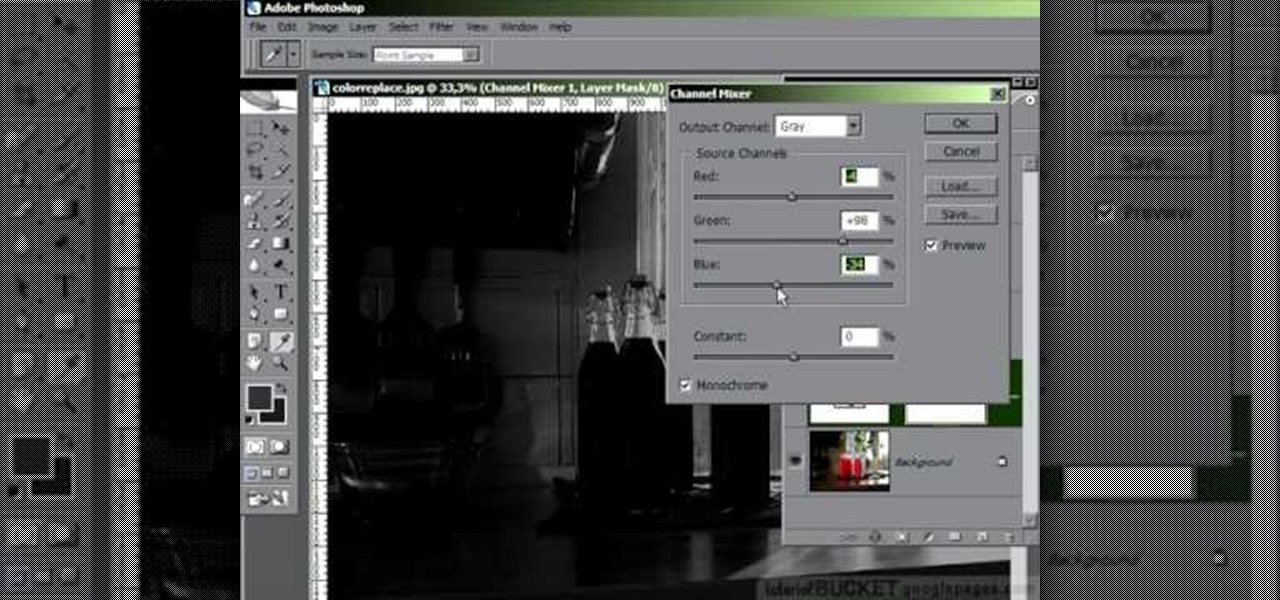
In this video tutorial, learn the several methods to get black & white images from color originals in Photoshop. The first method is the simple desaturate by going to image > adjustments > desaturate and it will wipe out the color from your image. The second non-destructive way of doing this is going into the layers palette, adding a new adjustment layer, choosing hue and saturation and dragging the saturation slide all the way down to minus (-) 100. The next method is going to the channels p...
Retouching images is one of the main reasons the world loves Photoshop, and version CS4 has added some new twists and tools to your retouching options. Rediscover the Adjustment layers through the powerful Adjustments panel in Photoshop CS4. Colin Smith shows you all the main features as well as using the new Mask panel. The revamped Dodge, Burn and Sponge tools are mentioned too in this image retouching Photoshop CS4 tutorial.
This is a tutorial in Adobe Photoshop CS2 demonstrating primarily the use of the quickmask tool to make precise selections of organic shapes. Other topics covered include adjustment layers and layer masks. So watch and learn how to enhance photos using quickmasks, layer masks and adjustment layers in Photoshop CS2.

This video tutorial belongs to the software category which is going to show you how to darken the background in Photoshop using the burn tool. This is an example of how to improve your dodging and burning using the adjustment layers.
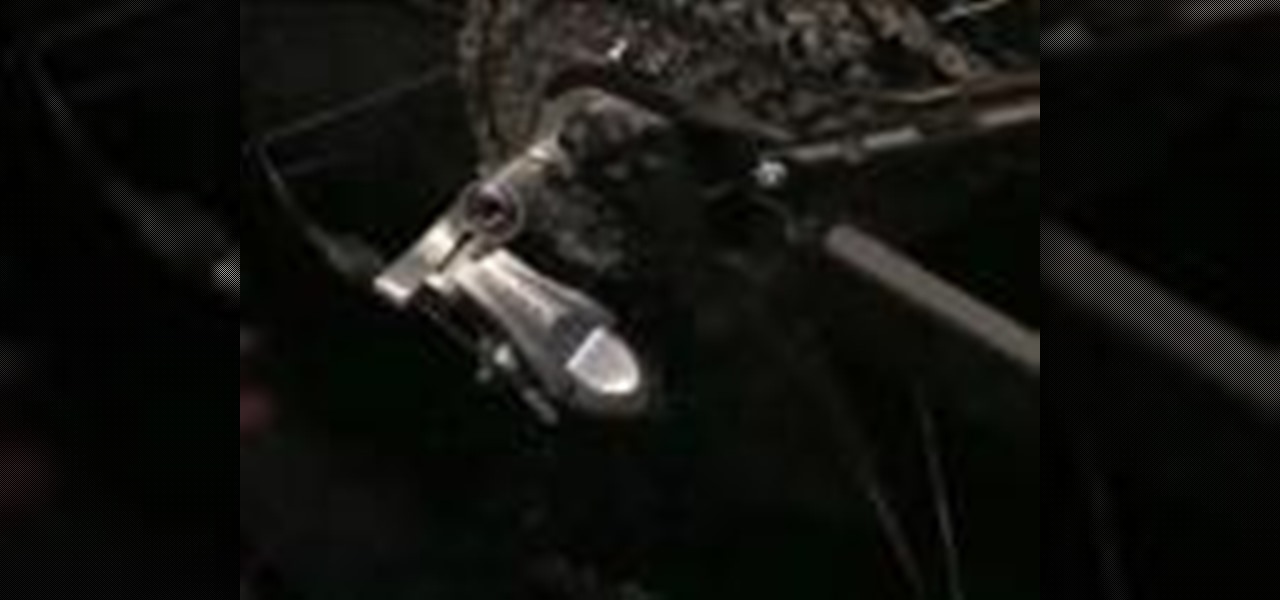
Adjusting the rear derailleur on a bike is an important way to fine-tune your bike's shifting performance, but is complicated and can vary in method and effectiveness depending on the brand of derailleur. This video features instructions on how to adjust a low-normal rear derailleur using the adjustment screws.
Use a 5mm Allen wrench and loosen the bolt holding the cable on the rear derailleur. Thread the shift cable through the cable stays and tighten it in the rear derailleur with as little slack as possible. Make sure that the adjustment screw on the shifter is in the mid point of the adjustment.
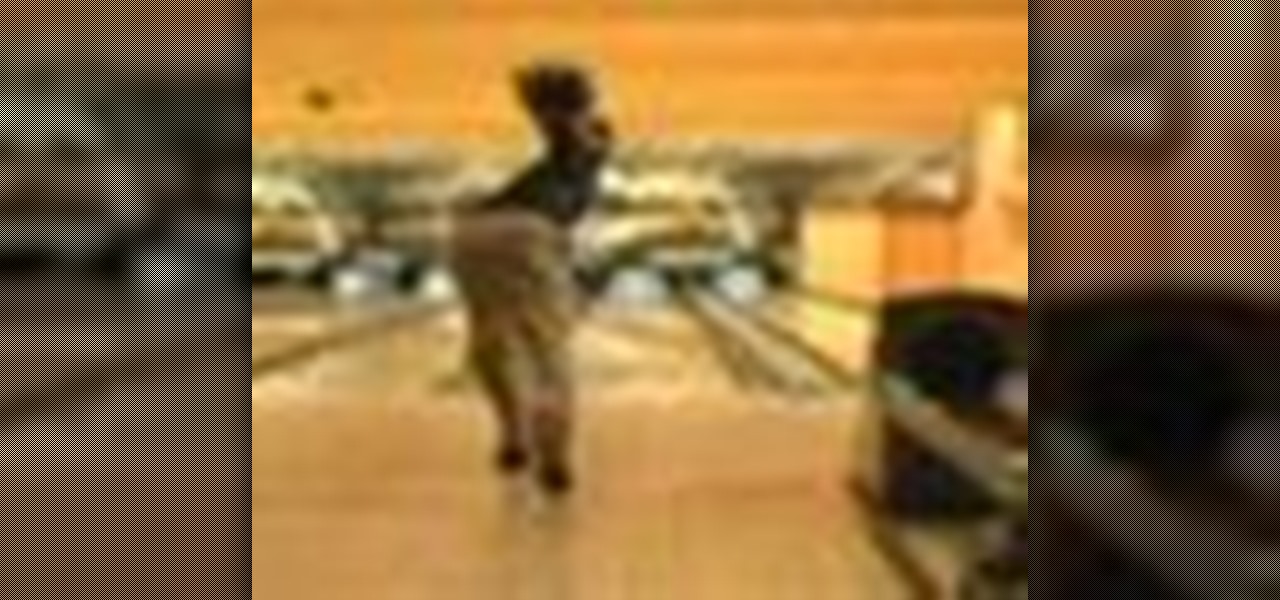
Team USA's Derek Eoff on making adjustments for high and light hits. Pick up some bowling tips and tricks to improve your game, whether you are a beginner or a competitive bowler in a bowling league. Learn how to make high-light adjustments with this bowling video.
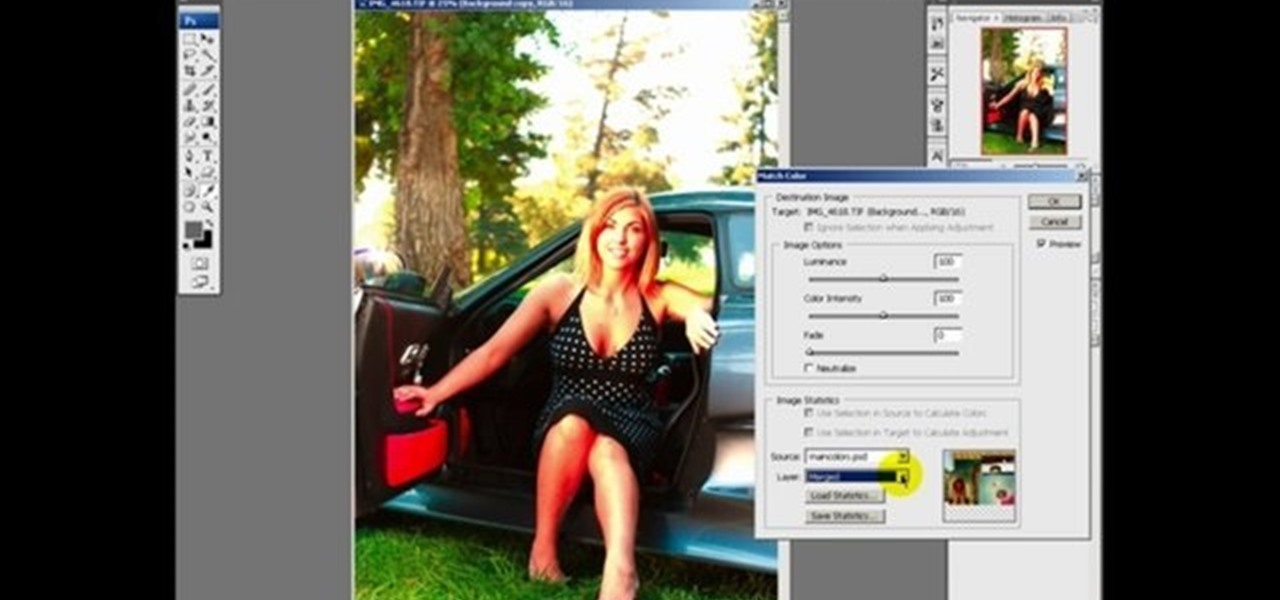
This Photoshop tutorial explaine the simple use of Match Color Adjustment in any version of Photoshop. Before starting this tutorial please create a .PSD file and add at least a dozen or more high res, high quality, vivid color photos and place each photo into it's own layer inside the .PSD file. Once you have your Photoshop file ready, follow along with this tutorial and learn how to use the Match Color adjustment tool in Photoshop on color photos and black and white photos.
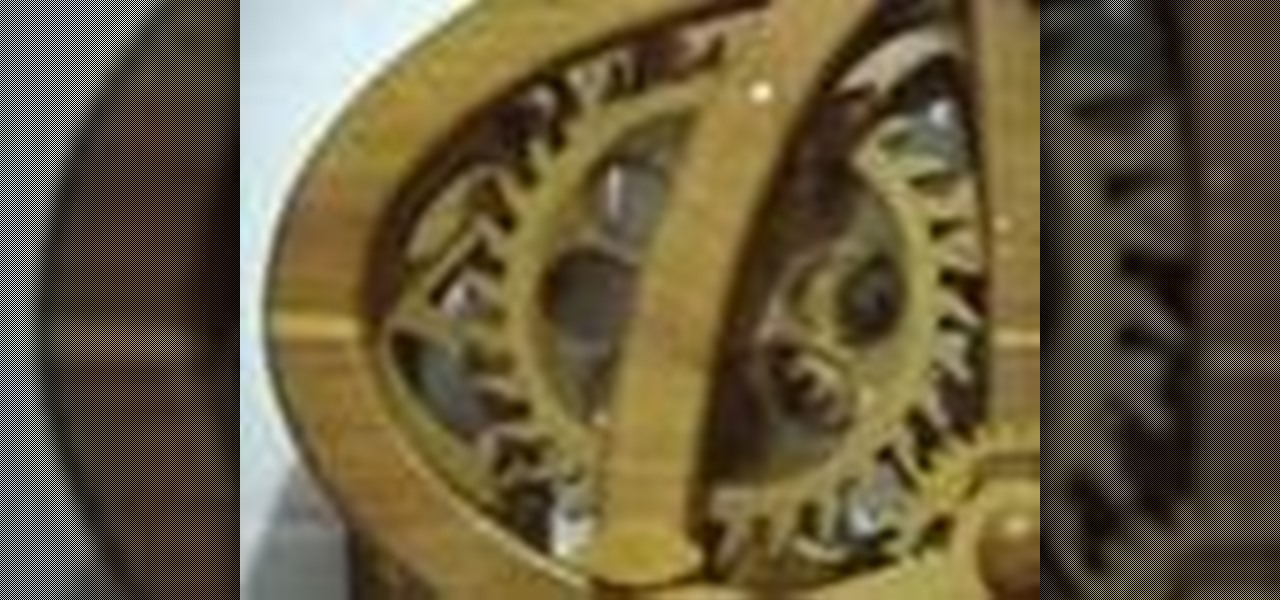
Watch this instructional woodworking video to make some typical adjustments to a wooden clock. If the tick is running unevenly you can add some lead discs to the weight. You can also adjust the pendulum length.

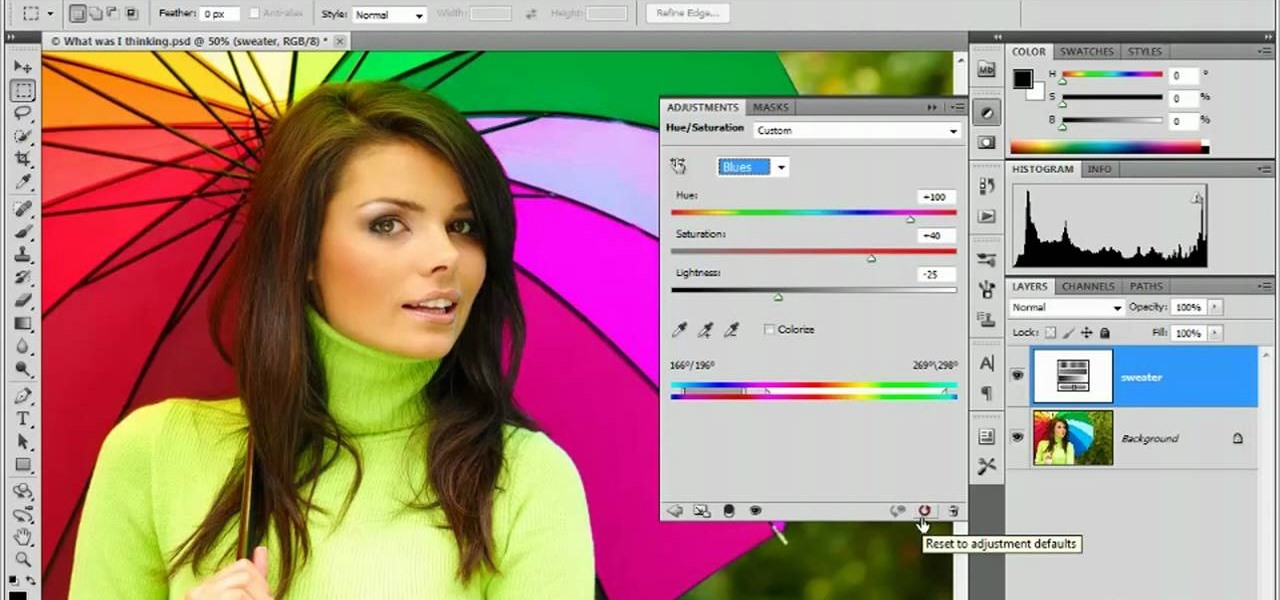
This tutorial shows you how to use the replace color adjustment tool in Photoshop. This is used to change an entire certain group of color.
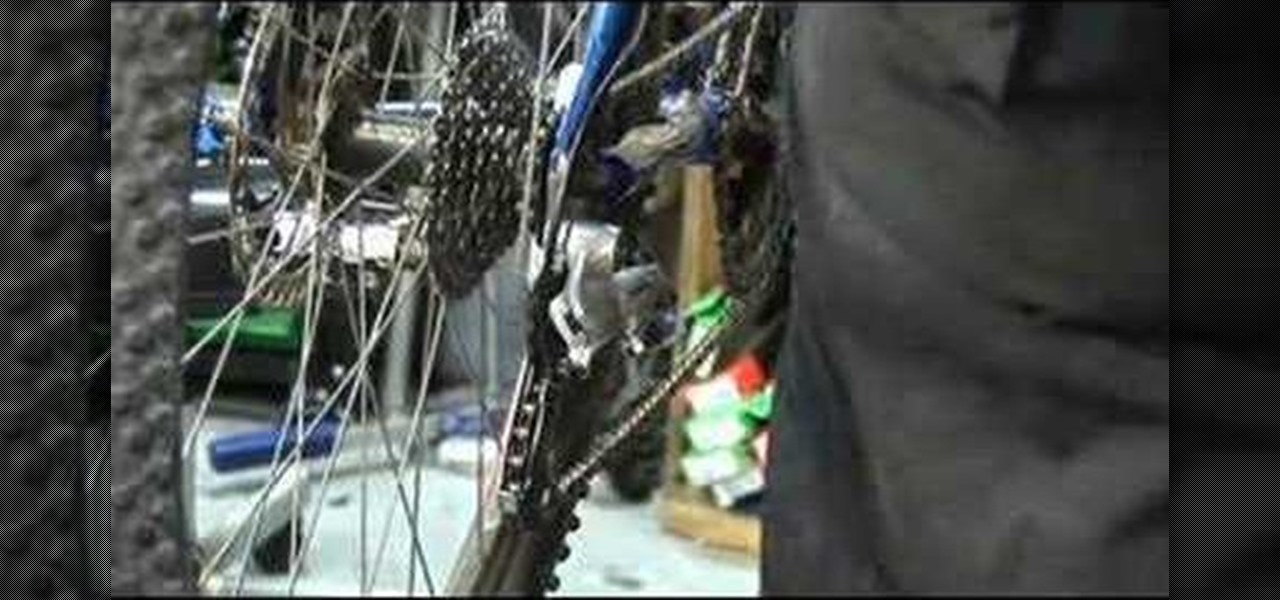
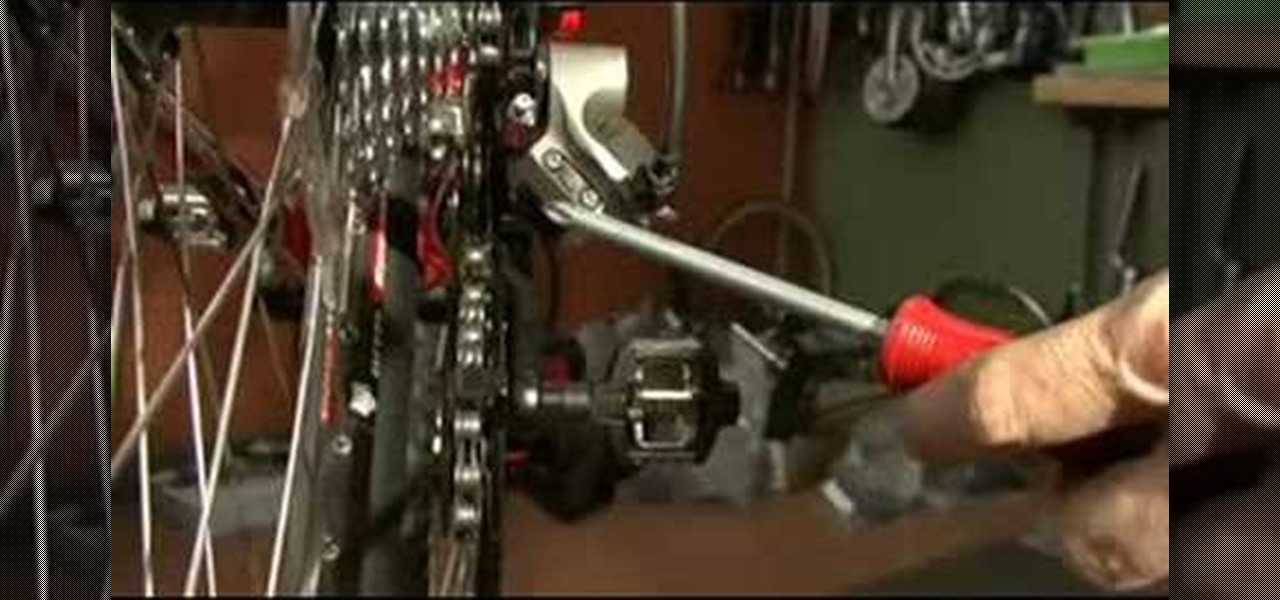
This tech tip demonstrates advanced rear derailleur adjustments in order to achieve proper shifting.
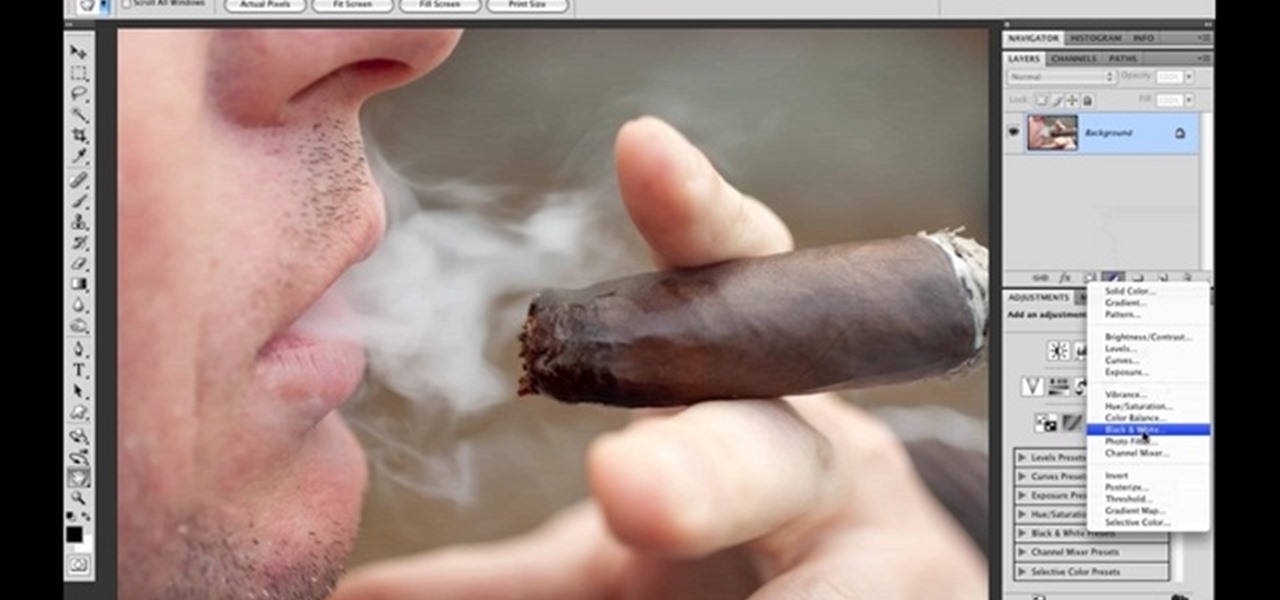
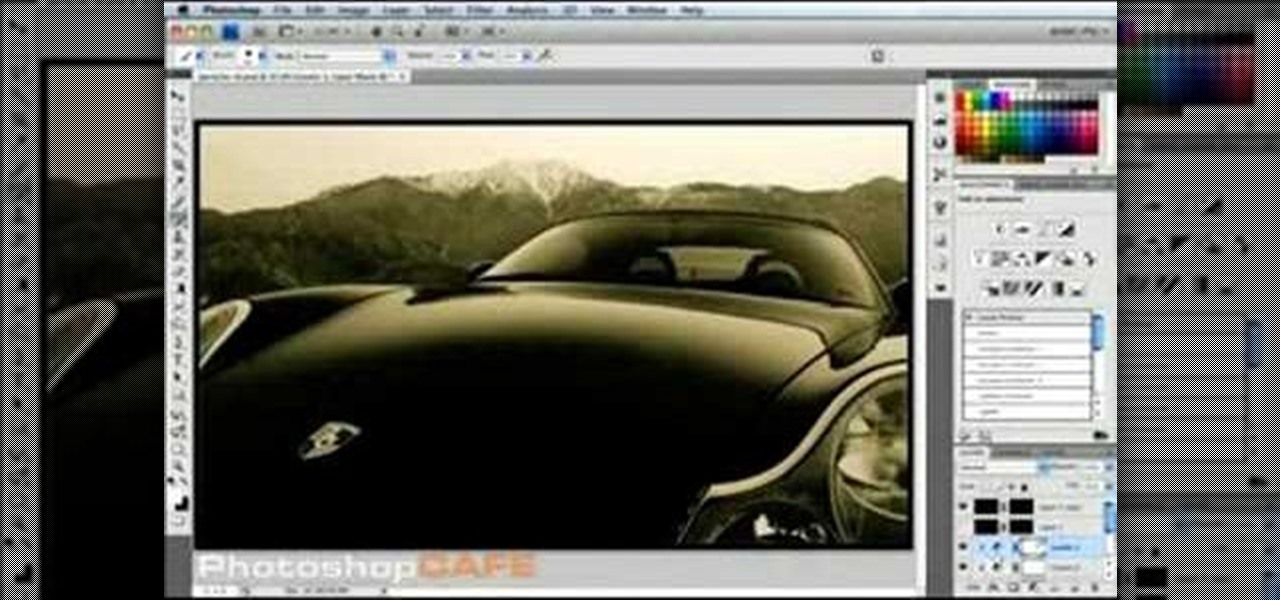
Photo Focus] contributor Nicole Young shows how to use Photoshop to introduce drama in our pictures. It requires only a few simple steps. First thing done was to add a black and white layer adjustment. This can be done in two ways. First by going down to layers panel and select black and white or if we have Photoshop cs4, we can go down to adjustment panel and click on the black and white option. This adjustment can also be done by clicking auto mode. Now the next thing...
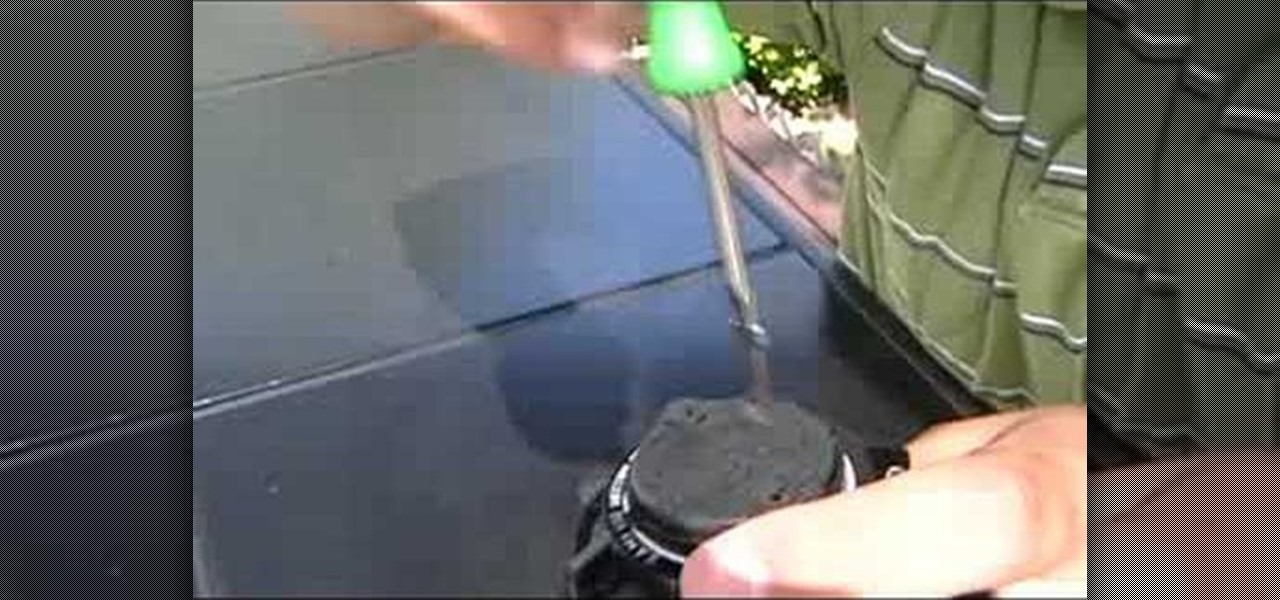
Check out this video tutorial to see how to adjust a Rain Bird 5000 Series sprinkler spray radius with help from Sean Stefan of Sprinkler Daddy.

In this how to video, you will learn how to make a reflection in water using Photoshop. First, open the image in Photoshop. Select the crop tool and select the whole photo. Click and drag the lower part down. Select the rectangular marquee tool and select the picture. Click on the selection and select layer via copy. Click the move tool and drag the upper point in the picture to the bottom of the document. Go to filter, blur, and select motion blur. Choose a -90 degree angle with a 35 pixel d...
Need to lighten or darken up a digital picture? You can make most of your lightening and darkening adjustments, even before you learn more complex Photoshop features like curves and levels; It's easy. Here's how.
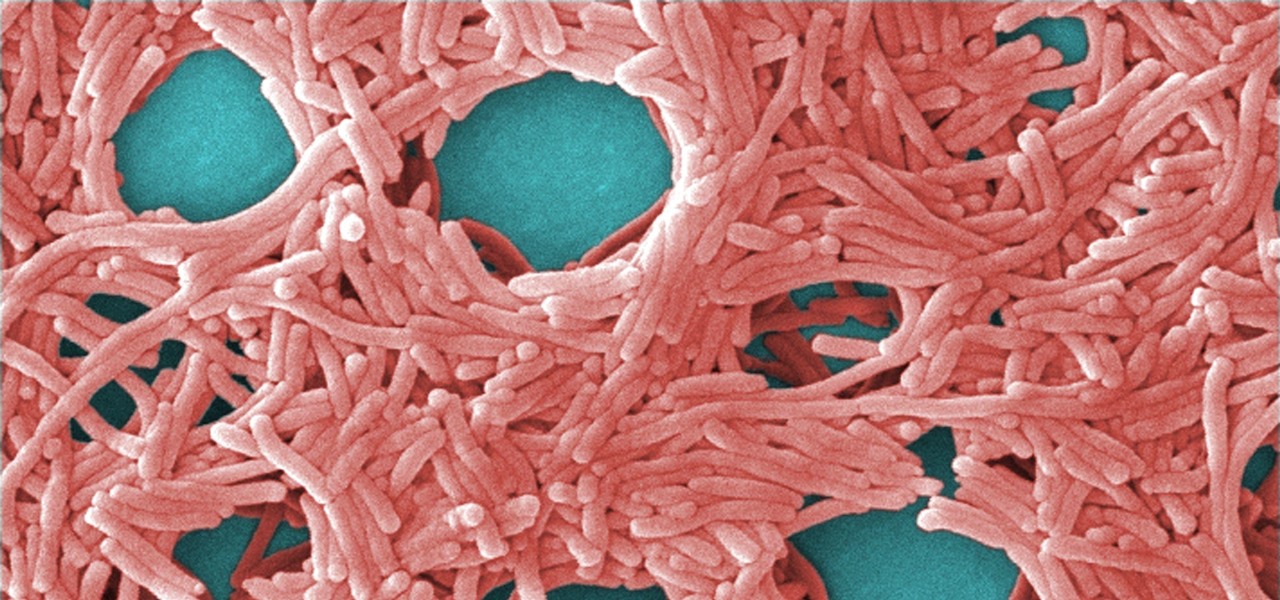
A bacterium which triggers respiratory disease has been detected in the water systems of two Pennsylvania nursing facilities.
In this clip, we learn a basic digital photography workflow, one which will enable you to enhance your favorite digital photos with both ease and speed. (Note: To follow along, you will need to have the application installed. Learn how to download and install the Mac App Store here.)
Learn how to create a warm, grungy background in Photoshop. - Open up a brand new document at 1280 x 720.
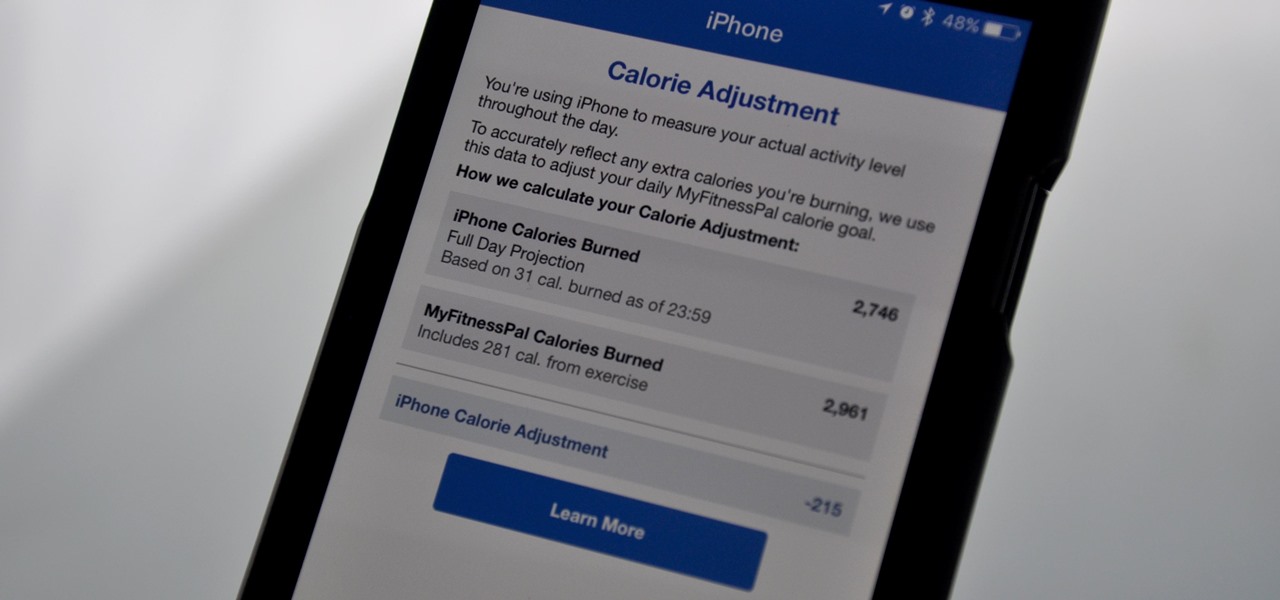
MyFitnessPal adjusts your calorie goal for the day according to your activity level. The more active you tell the app you are, the more calories it tells you to consume — simple, right? Unfortunately, MFP doesn't tell you to consume fewer calories when you don't work out. However, an activity tracker like a FitBit or Apple Watch can help.
This how-to video is about how to color correct photos using Photoshop levels.
Photoshop is a place where we can edit the image in different styles. One of the features is adjustment layer of a photo that is also called as filter correction. It is an easy step to color filtering of a photo. Open a picture in a Photoshop, and select add layer option that present at the right bottom of the screen, then a pop up menu appears. Select filters from the options available, then dialogue box appears consisting of sub options filters and colors. then select the main color from fi...
In this tutorial, we learn how to create a warm grunge background in Photoshop. First, create a large circle on a burnt orange background in Photoshop. Now, go to layer, adjustment layer, then levels. Hit "ok" then the level's adjustment layer will be masked. Now, go grab the bottom black slider and brighten up the middle. Use the overlay to create a center glow. Next, bring in texture using a brushed metal texture from this photo. Now, even the image out by going to image, then image rotatio...
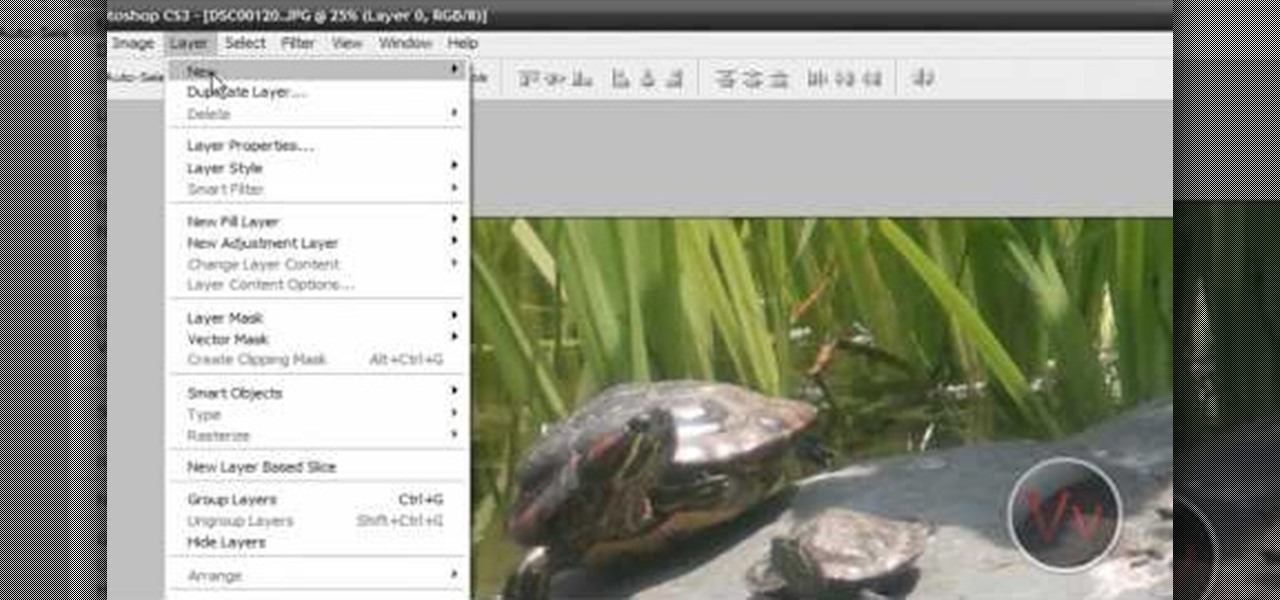
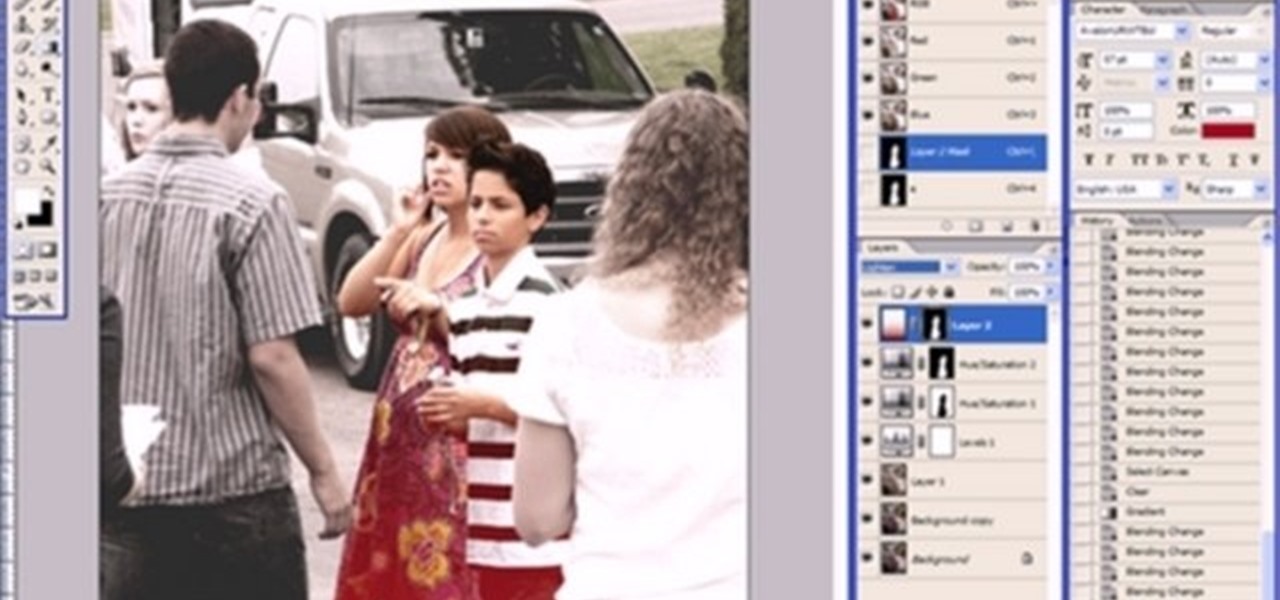
This video tutorial by VvCompHelpvV gives you two methods to achieve the Sin City effect in your photos using Photoshop. The Sin City effect is making the main subject of the photo appear colored while the rest of the photo looks black and white. In the first method the subject should be selected using a pen-tool using the settings mentioned. After that right click on the selected areas and make the feather radius 3, inverse the selection and go to image > adjustments and de-saturate and your...