Maybe you only have 1G of RAM in your Power Mac. Maybe you ace some bum memory. Maybe it's just time to upgrade. Either way, this RAM upgrade video can help. See how to remove the RAM memory from a Power Mac desktop computer.
Your graphics card may be a little outdated in your Power Mac, so upgrade it to a one that can handle all of your gaming needs. See how to remove the graphics video card from your Power Mac desktop computer.
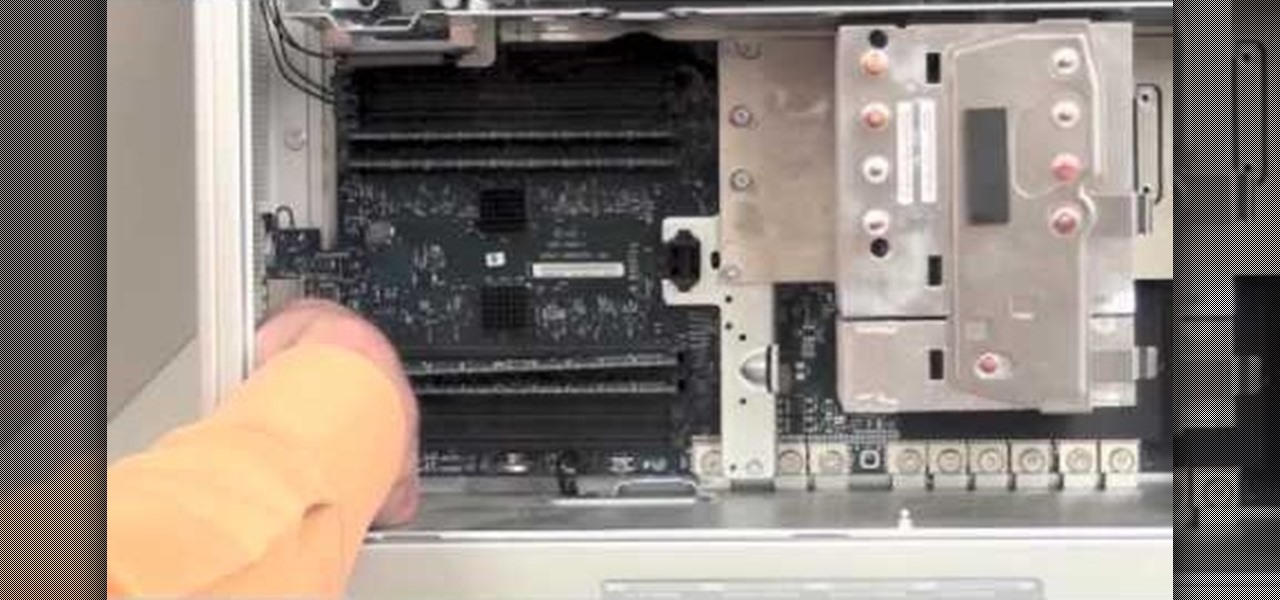
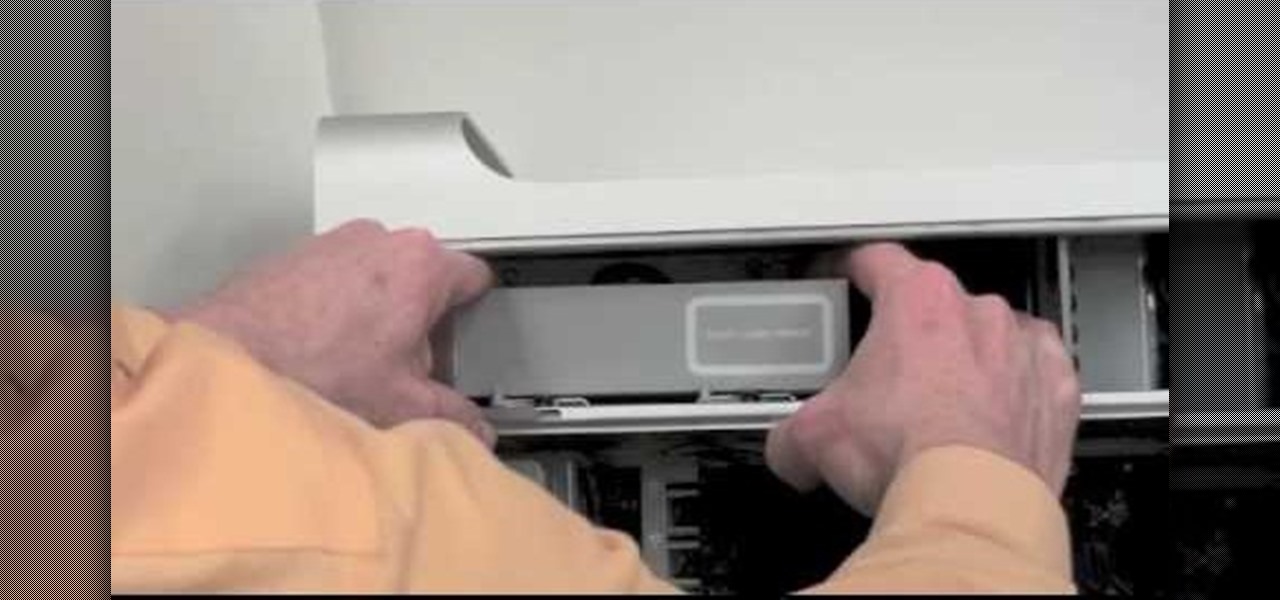
Your sound from your Power Mac may be nil, or maybe it just sounds really bad. The speaker may need to be replaced. See how to remove the speaker from the Power Mac desktop computer.
If your discs are getting jammed in your optical drive, or if your CDs and DVDs simply aren't playing in your Power Mac, it might be time to replace that old SuperDrive. See how to remove the SuperDrive optical drive from the Power Mac desktop computer.
Want to upgrade your hard drive in your Power Mac? It's a pretty simple task, once you can get inside your computer. See how to remove your hard drive from you Power Mac desktop computer.
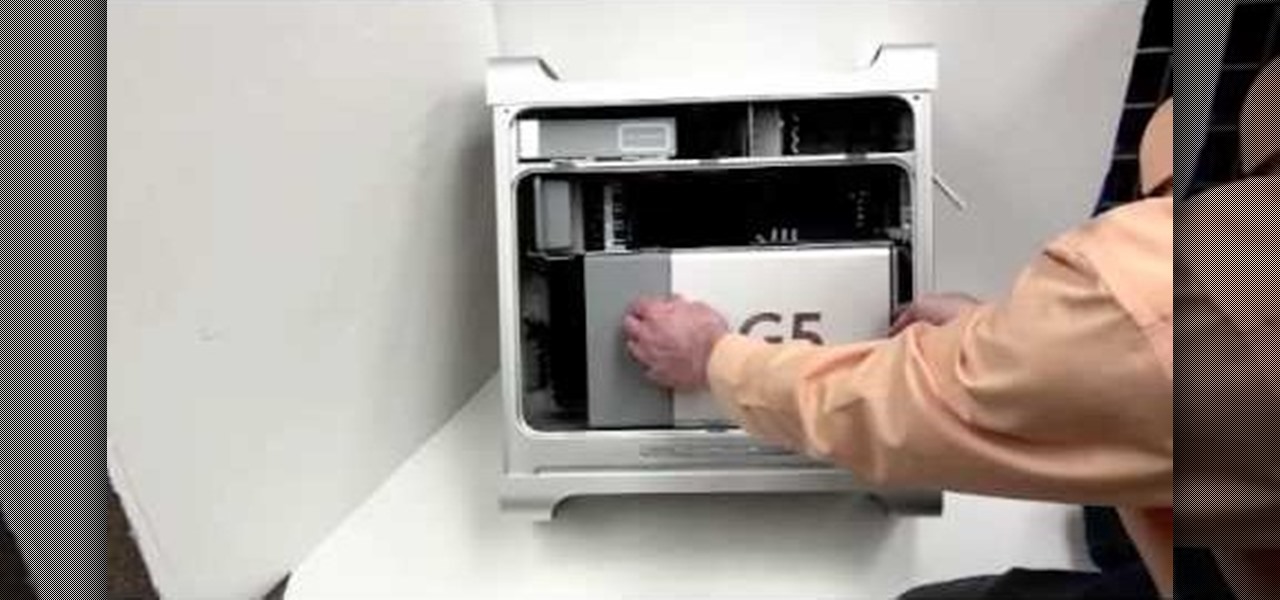
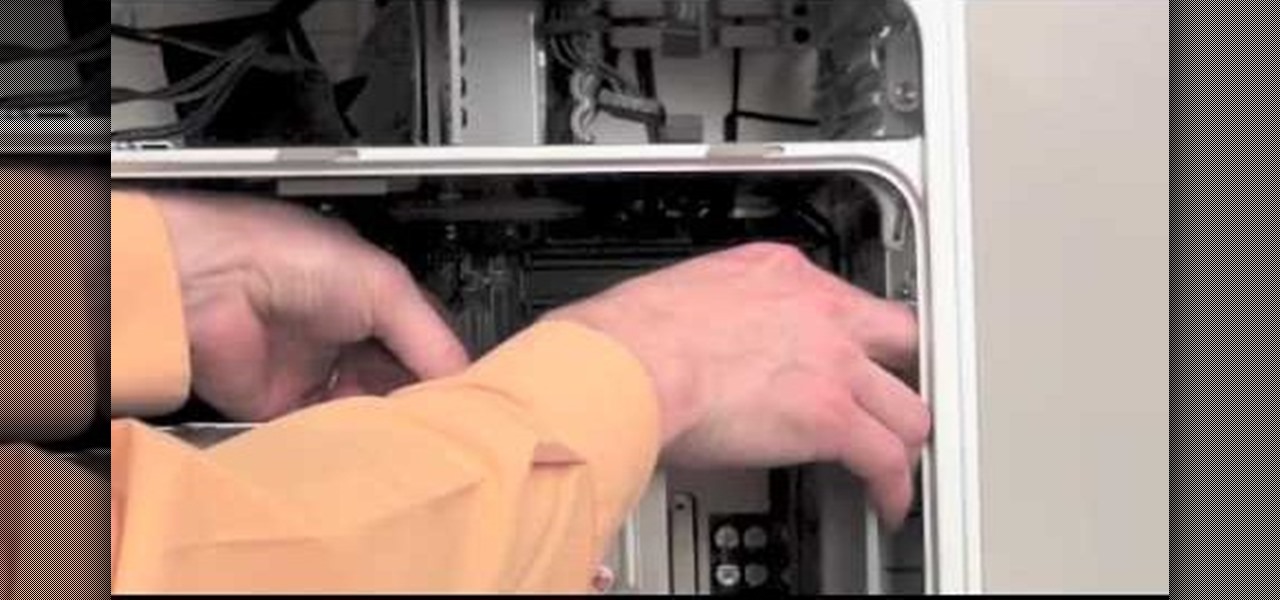
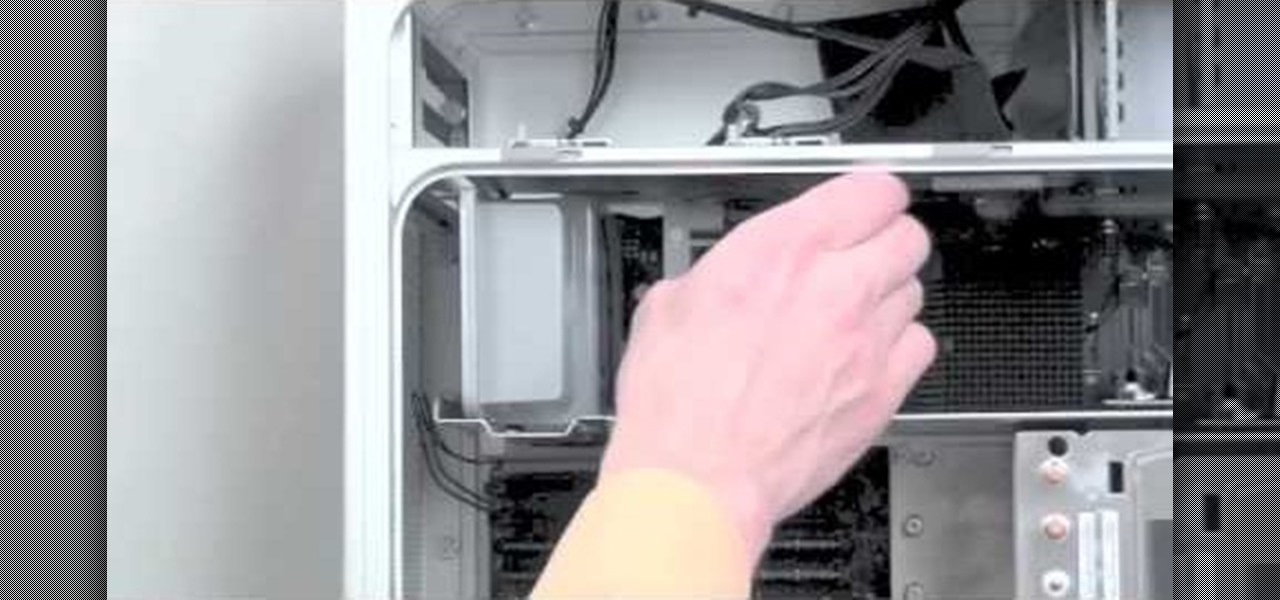
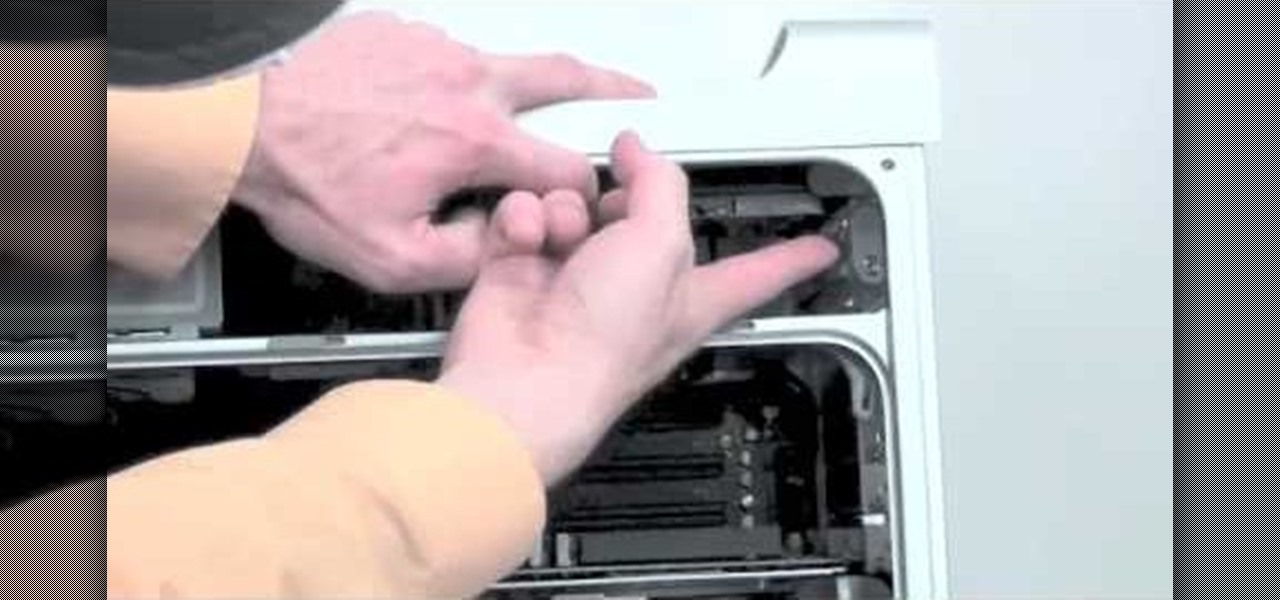
Need to fix your Power Mac? Disassembling the Power Mac could be tricky, but not now. See how to remove the side case and fan from the G5 Power Mac desktop computer.

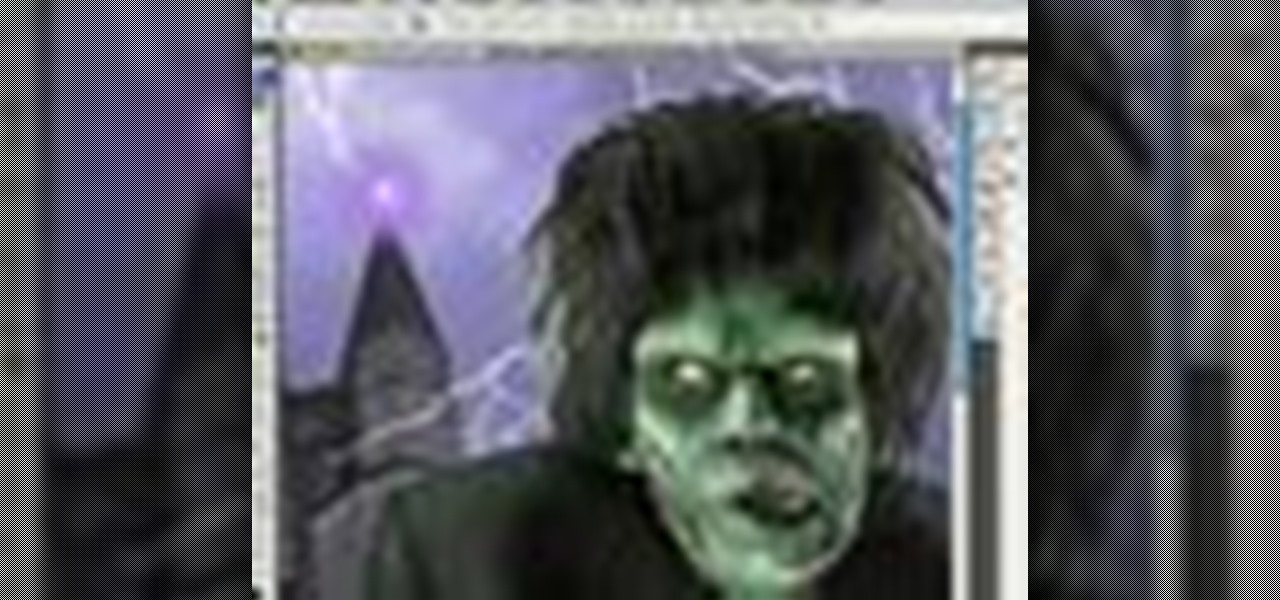
This image editing software tutorial teaches you how to remove fringe left over from masking on a monster image in Photoshop CS3. Discover three distinctive ways to remove the ugly fringe that can ruin any good masking project. These Photoshop techniques are specially designed for working with detailed hair (like a monsther!), in Photoshop masking projects.
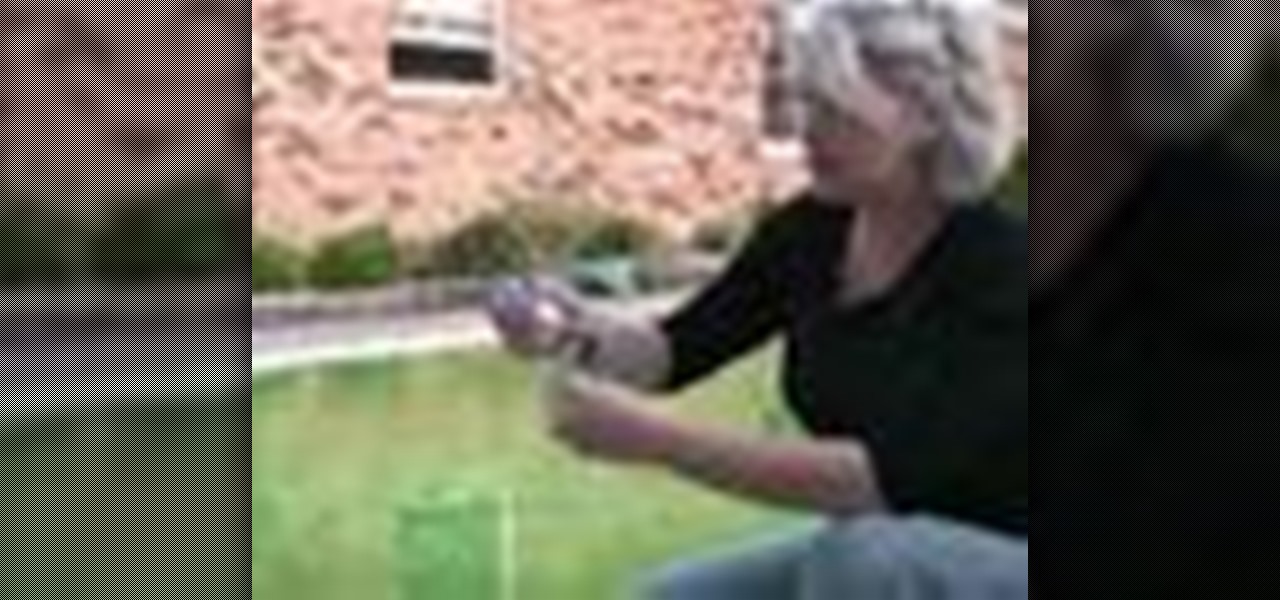
Swimming season is here! Learn how to treat the water in your swimming pool when opening it for the summer season in this pool care video from our swimming pool expert.
This video series shows you what program is the best free anti-virus program, where to get it, how to download it, how to install it, how to run the scan, and how to remove the viruses. A complete tutorial on how to remove viruses.
First of all you have to check the three red lights as shown because it indicates that the Xbox is broken and needs repair immediately. However if you open the Xbox the warranty is invalid and it takes six weeks to get it repaired. So go to eBay and buy the repair kit with printed manual for ten dollars. Remove the top and the bottom covers. It shall make a loud slap and it should be expected. Now use a key to unscrew the top cover and then remove it. Now remove the white color fan part. Now ...
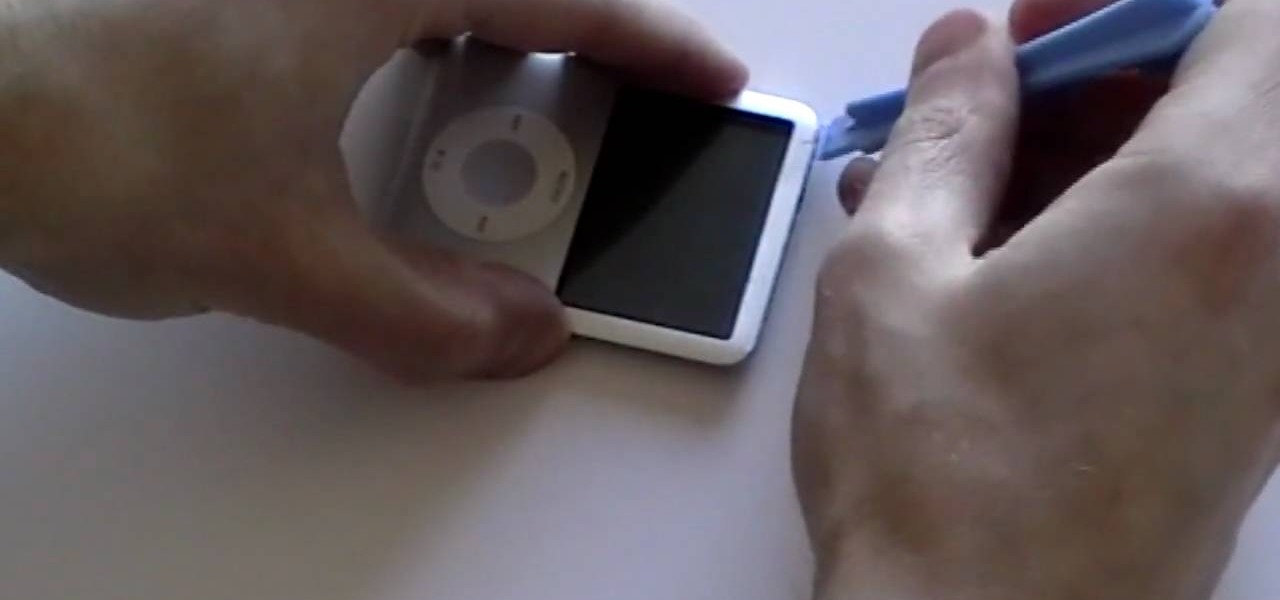
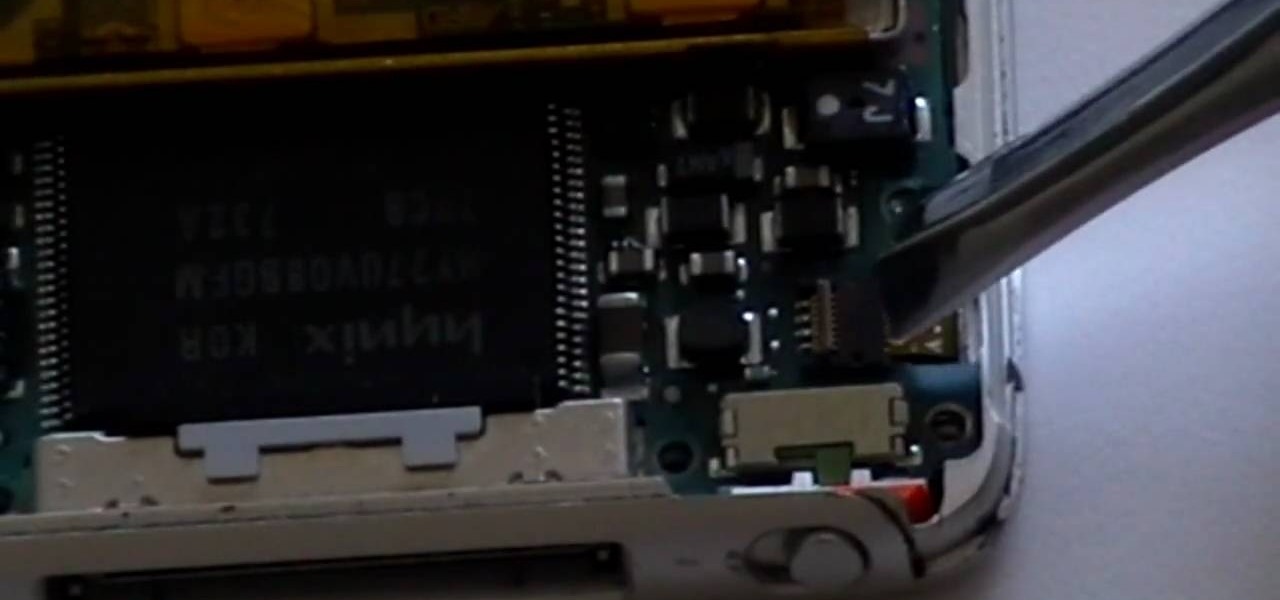
In this tutorial, we learn how to take apart an iPod Nano 3rd generation for repair. First remove the back casing using a guitar pick. Next, use a flat tool to lift up the battery carefully and remove it from the casing. You will see three wires that lead to the launch board, which are soldered into place. Now, use the flat tool to remove the back of the battery casing from the device. Now, remove the logic board by removing the 6 small screws inside of it. Next you will remove the LCD by lif...
In this tutorial, we learn how to safely remove a tick. Using professional tweezers that are pointy are the very best for removing ticks. Blunt tweezers will tear the tick. First, use the tweezers to grab the tick on it's skin in the front. Then, pull up and slow to remove the tick from the skin. Have a steady hand so you don't drop the tick or tear it in half. You can purchase tweezers that are made specifically for removing ticks from CVS stores. Give the area 24 hours to heal after you hav...
In this how-to video, you will learn now to dismantle an iPod Nano 3rd Generation. First, run a plastic tool on both sides of the device. Once this is done, remove the back cover with your fingers. Next, unscrew the six screws on the circuit board. Store them in a place where they will not be lost. Next, remove the click wheel ribbon cable from the jaw connector. Lift the jaw connector with the tool and use a pair of tweezers to gently remove the cable from the jaw. Next, remove the small met...
Repairs Universe demonstrates how to replace the LCD screen on the LG Xenon GR500 cell phone. First, remove the battery and the SIM card from the phone. Then, use a small phillips head screwdriver remove six screws from the back of the phone. Next, use a safe pry tool to release the clips by running it along side of the phone. Remove the back layer. Remove the two screws on the inside of the phone. Also remove the volume key, the hold button and the camera button. Slide the phone to the side ...
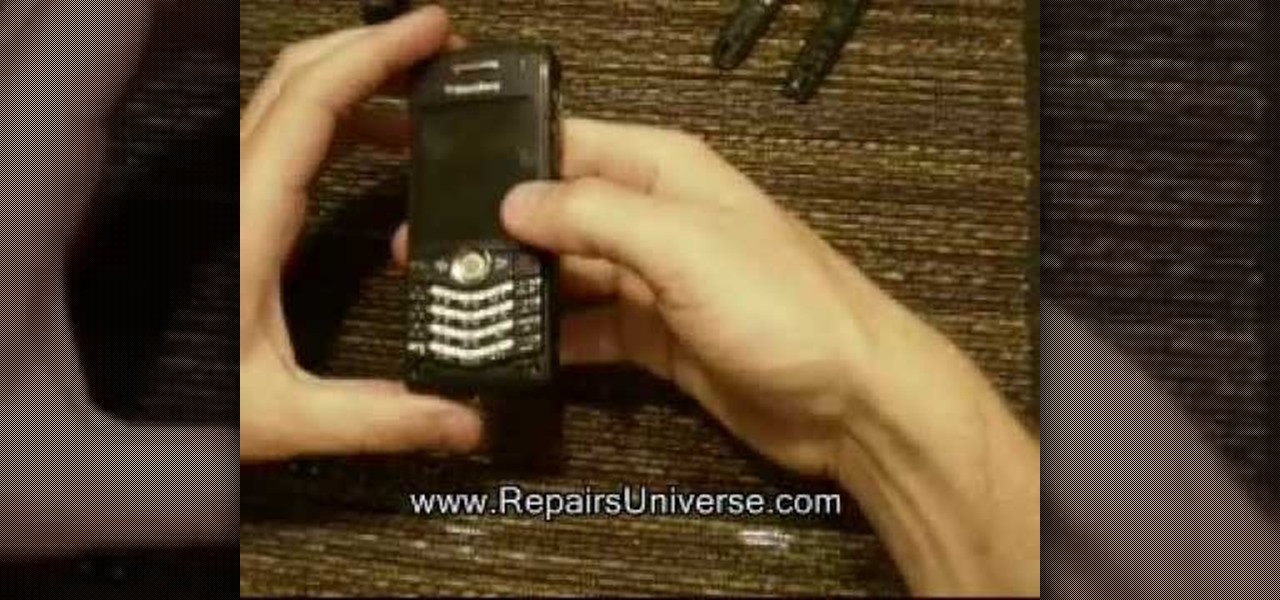
In this tutorial, we learn how to install a replacement LCD screen on a Blackberry Pearl. First remove the cover and battery from the phone. Then, you will take a tool and remove the clips from the left and right side of the back to remove the bottom. You will now find two more screws that need to be removed from the phone that are on the top. Once done, you will nee to pry open the top and bottom of the phone and take it apart. You can now remove the motherboard from the casing which is wher...
This video shows you how to take apart a Microsoft Zune HD. To take it apart, you will need a tri-wing screwdriver. Using the screwdriver, remove the four screws at the corners. Once the screws are removed, you can easily remove the back cover. To remove the bottom cover, slide it off with your fingers. Next use a T5 screwdriver to remove the three screws, one on each side and one in the middle. There is one more tiny screw near the bottom that has to be removed. Using a prying tool to remove...
This video shows you how to replace the LCD screen on a third generation iPod nano. Using a plastic safe pry tool, run it along the edges of the iPod, releasing the clips. Once the clips have been released, you should be able to remove the back cover. There are six exposed screws on the bottom of the inside back cover, remove all of them. Next remove the click wheel ribbon cable from the jaw connector. To do this, use the pry tool to lift the connector. Use a pair of tweezers to gently remove...
This motorcycle maintenance tutorial will show you how to remove and then reinstall body work on a Kawasaki KLR650. It is necessary to remove the body work any time you need to do repairs or maintenance such as oil changes or fluid replacements. If you plan to work on your KLR 650 at all, you definitely want to watch this video and learn how to remove the body work first.
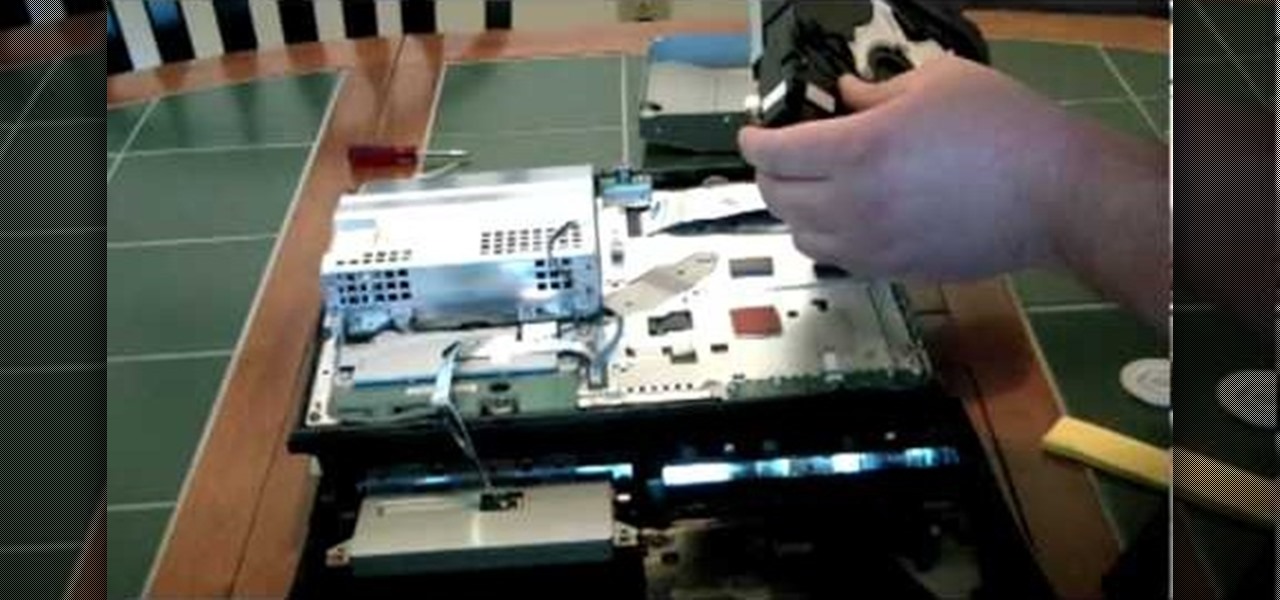
In this how to video, you will how to remove the logic board from the iMac G5. First, get the t6 screw driver and remove the screws in the corner. Unplug the airport card. Now, unplug all the cables connecting to the logic board. Now, unscrew the torx screws located on the logic board. Unplug the optical drive cable by unscrewing the 2 torx screws holding it. Next, unscrew the torx screws located near the center top of the board. You can now remove the logic board. However, there is a hard dr...
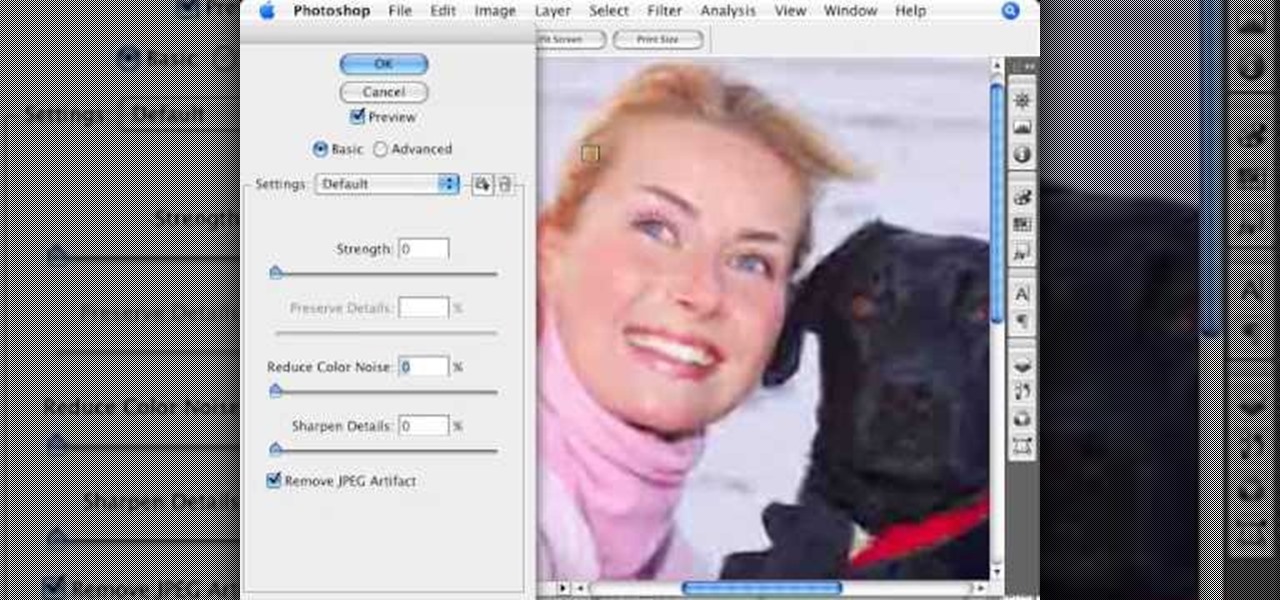
Photoshopuniverse shows how to remove JPEG Artifacts in photoshop. It's simple. Sometimes it happens that, you get the best picture which is related with your work, but unfortunately its low quality or small. If you zoom in a small picture it will pixilated. You will see some blocks. Luckily there is a way to remove it from photoshop. Go to- filter, then noise, then reduce noise. There will be an options of removing JPEG artifact. Check that. After watching the video you can remove JPEG artif...
This video speaks about removing sensitive information in Adobe Acrobat 9. The viewer might get a very obvious idea of removing sensitive information by redaction. Redaction is the process of permanently removing sensitive information from a PDF file. This is done by opening the Advanced menu, clicking "Redaction" and then clicking "Show redaction tools", which can be in any format, images or text. The viewers will definitely get a clear idea of removing such sensitive information by redactio...
In this tutorial, we learn how to take apart the Google Nexus One. First, take the battery cover off, then remove all the screws along the side and top of the phone on the back. Next, use an opening tool to pry the case off of the back. Then, pry the bottom cover off and then remove the two T5 screws underneath that. After this, take the casing tool off of the back and then remove all the Philips screws. Now, remove the three flex connections and the cable connected and set them aside. Pry th...
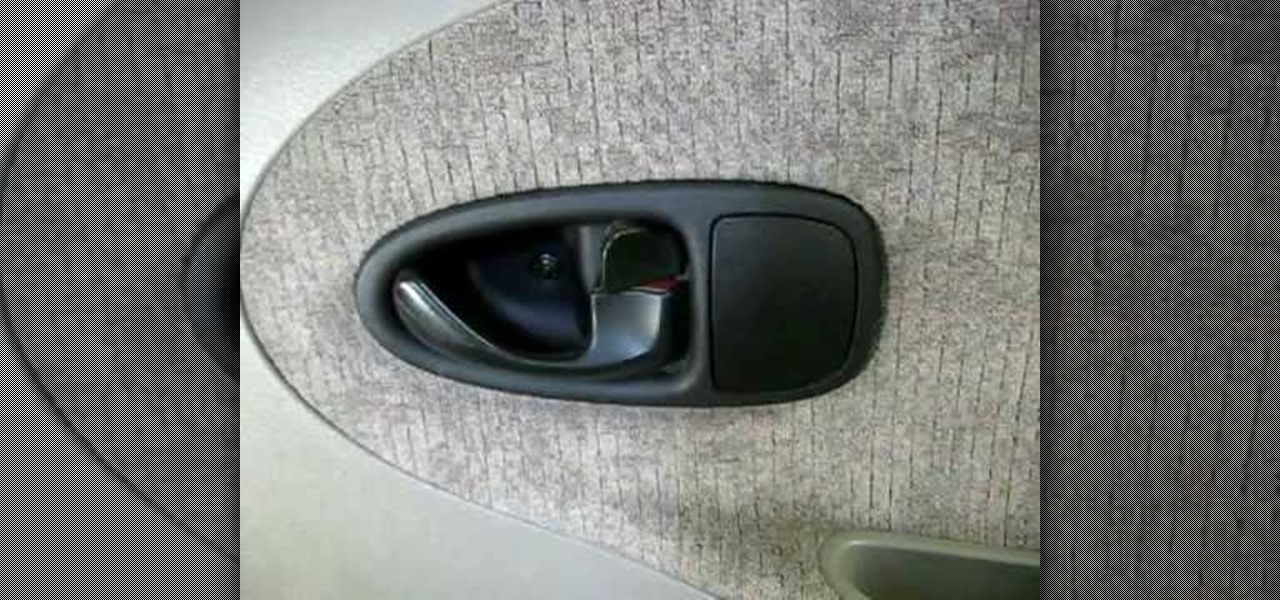
In this tutorial, we learn how to remove a rear inside door panel from a Saturn S series. First, open the door and take off the handle to the door, then remove the screw inside of that. After this, unlatch the side of the door and unscrew the bolts from this. Now, go inside the side pocket of the door and remove the screws from that, then set aside. Remove the foam padding against the inside of the door, then loosen up the wires on the inside of it. Now you will be able to remove the door and...
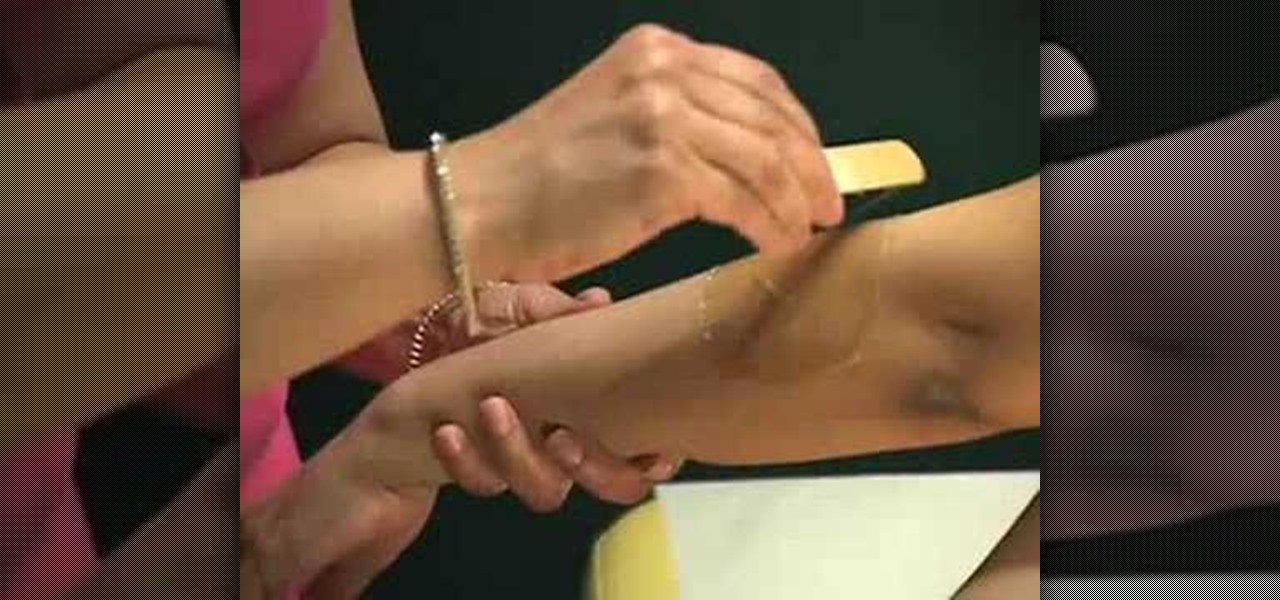
In this video, sugaring specialist Anjali teaches us how to use sugar wax, which is a natural and slightly more gentle alternative to normal wax, to remove unsightly arm hair. Composed only of three ingredients, sugar, water, and lemon juice, sugar wax removes hair without drying skin out like normal waxes.
In this tutorial, we learn how to perform a brake upgrade on a Ford Mustang. To begin, remove your lug nuts and jack up the rear of the vehicle. Next, remove the brake caliper and all bolts around it. Remove your brake pads and remove more bolts from the back as well. Now, take off the metal ring around the rotor, then slide the rotor off as well. Put on your new rotor after this, then reinstall your bracket and remove the brake fluid from the car. Put all the bolts and parts back into the ca...
In this tutorial, we learn how to install a headlight upgrade on a Ford Mustang GT. To start, remove the radiator cover and the clips around it. Now, take a 10 mm socket and remove the bolt next to the headlight. Now, turn your wheel to remove the screws around the headlight. Next, there will be 2 (10mm) bolts you will have to remove, as well as a fender lining. Disconnect your marker lights by pressing on the tabs on both sides of the car. Lay out a blanket to lay your bumper on. Now, remove...
In this tutorial, we learn how to replace a side mirror on a 1995 GMC Sonoma. First, take a wooden wedge and shove it in the switch inside your door so you don't kill your battery. Now, remove your window handle by sliding a tool inside and popping the handle off. Now remove the panel inside the handle of the vehicle and remove the screws surrounding it. Next, remove the trim clip behind the handle and pry off the trim from around the door handle. Now, remove the door petal and the entire sid...
It can be very difficult when trying to remove ink stains from pieces of clothing. There are many different ways to help remove the stain, but each one works differently. So in this helpful tutorial, you'll find out one way to helping remove ink stain on your clothing. So check it out and good luck!
Repairs Universe demonstrates how to remove a Sony Ericsson LCD screen. First, remove the battery from the device. Use a safe pry tool and run it along the side of the phone to unclip the clips and release the top cover. Then, slide the phone forward and release the top cover. Next, remove the keypad from the device. Then, remove the LCD screen by prying the clips oven with the safe pry tool. Use the pry tool to pop the pop clip to fully remove the LCD screen. The new LCD screen is now ready ...
In this video tutorial, viewers learn how to remove the fan assembly from a G5 i-Mac computer. This process is very fast, simple and easy to do. Begin by laying the i-Mac screen face down and remove the screws on the back cover. Then remove the back cover of the screen. There are 3 fans inside the i-Mac. These fans are not supported by any screws. Just simply lift up each fan to remove it. This video will benefit those viewers who have an i-Mac computer and would like to learn how to remove t...
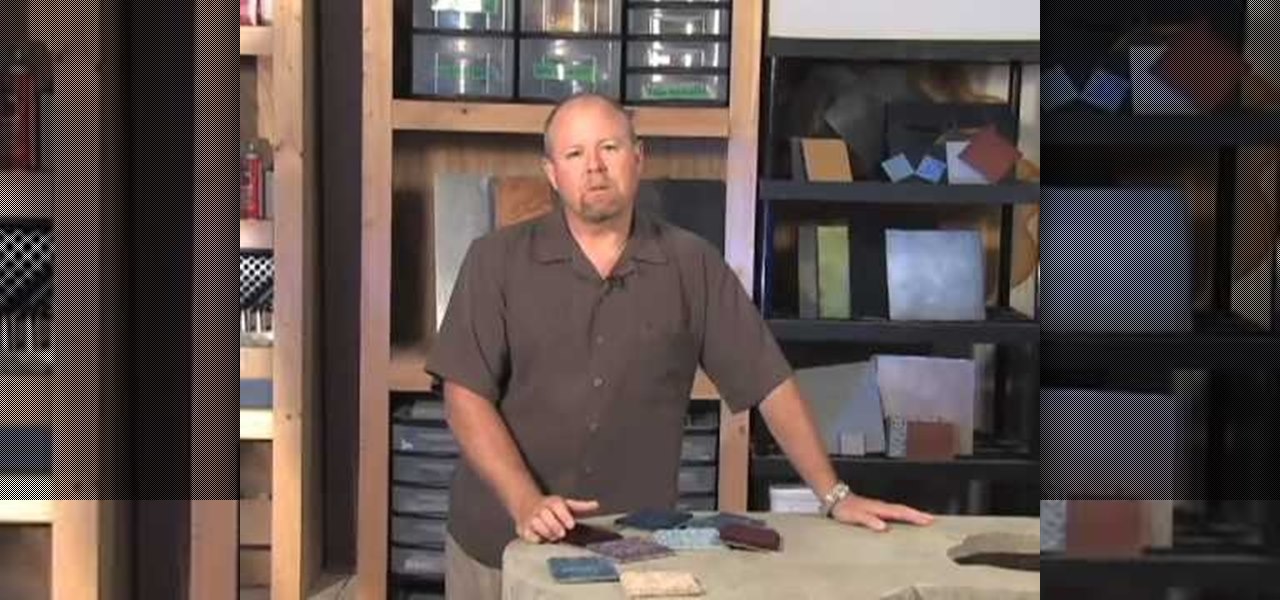
Bob Harris of decorative concrete institute explains how you can remove your tiled or carpeted flooring for a concrete substitute. He suggests when your removing carpeting that it can be very heavy and advises you to hire someone who can lift and carry it out, or rent a dumpster for easy take away. He states that after the carpet is removed you'll need to remove the adhesive from the floor. You can do this by stripping or grinding, and at other times the use of harsh chemicals may be needed. ...
How to remove acrylic nails with a soak
This video shows how to take apart a Play Station 3 (PS3) in order to clean the disc reading lens. First locate the sticker that says "void if removed" and remove the plastic cover from this point with a screw driver. Once this cover is removed there is a second cover which is removed by unscrewing the nine screws which hold it into place and rotating the cover towards the front of the device. Disconnect the disc housing on the right by pulling out the smaller cable then remove the five screw...
In this video from solvingtime we learn how to remove objects from photos using Paint. To get this program go to to install it. He uses the clone stamp tool to remove things. First he zooms in on the object he wants to remove using the magnifying glass. Then click the stamp which will switch to the clone stamp tool. Use the bracket keys near the letter P on the keyboard to adjust brush size. Then while holding the control key click once on an area near the object you wa...
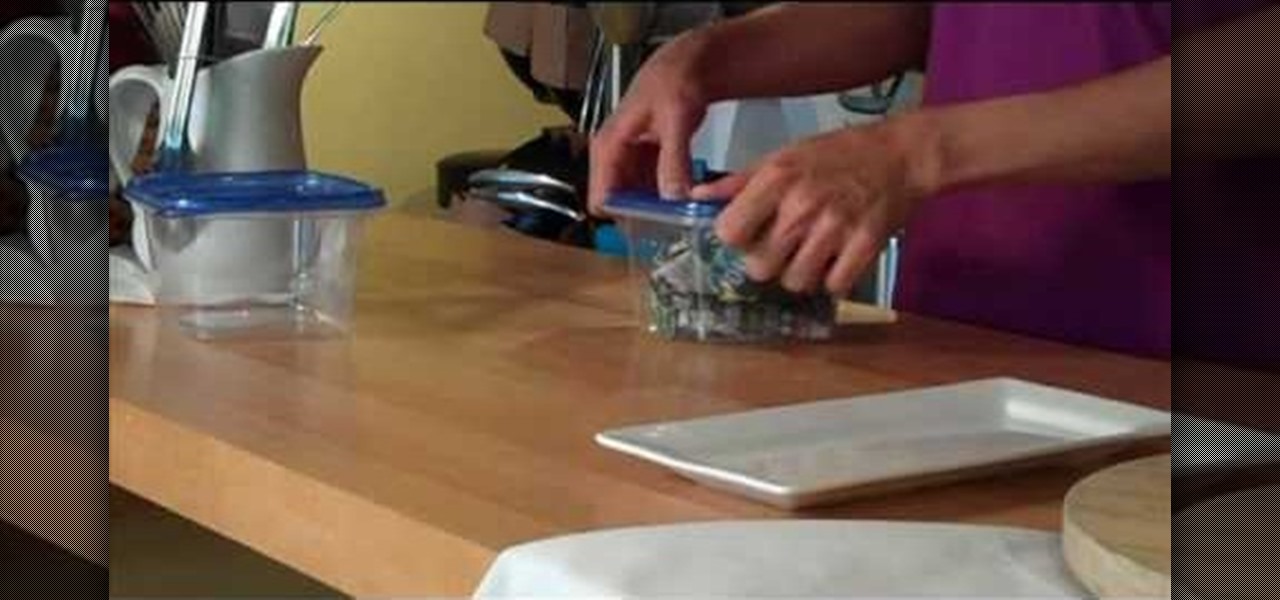
This video describes how to remove unwanted odor from plastic storage containers. The video shows three easy steps to remove odor. Firstly, thoroughly wash the plastic container as you usually would. After it dries, place a few pieces of crumpled up newsprint inside of the container and close the lid. Leave the newsprint in the container for a couple of days before removing the paper. After you remove the paper, simply wash the container again and the odor should be gone. A viewer would benef...
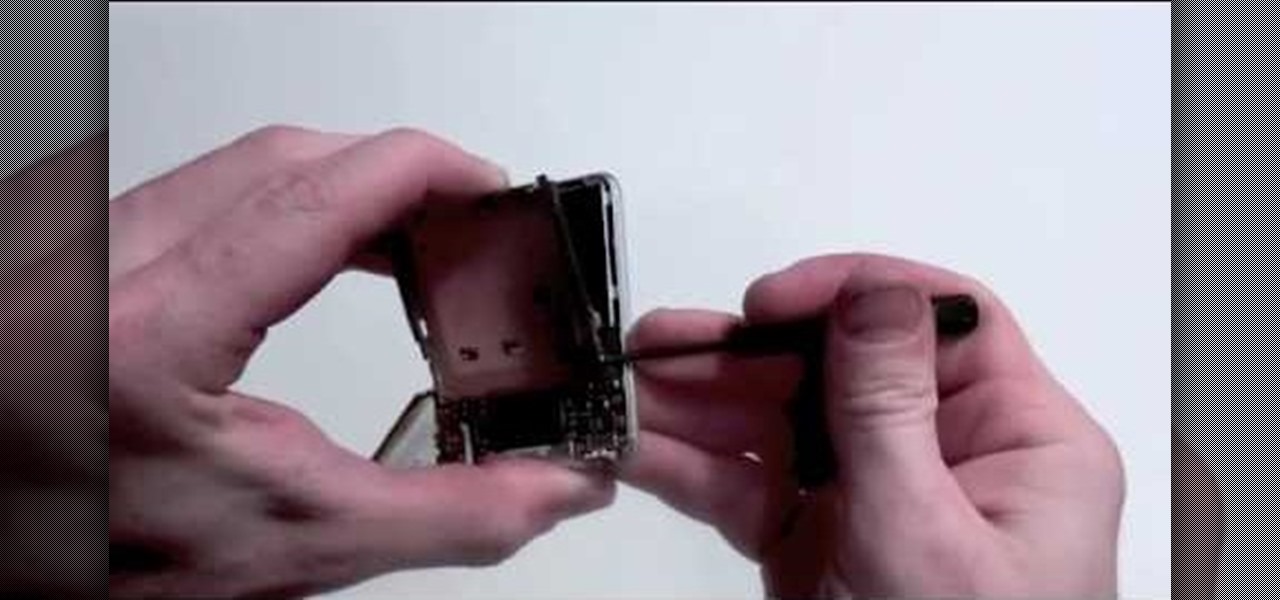
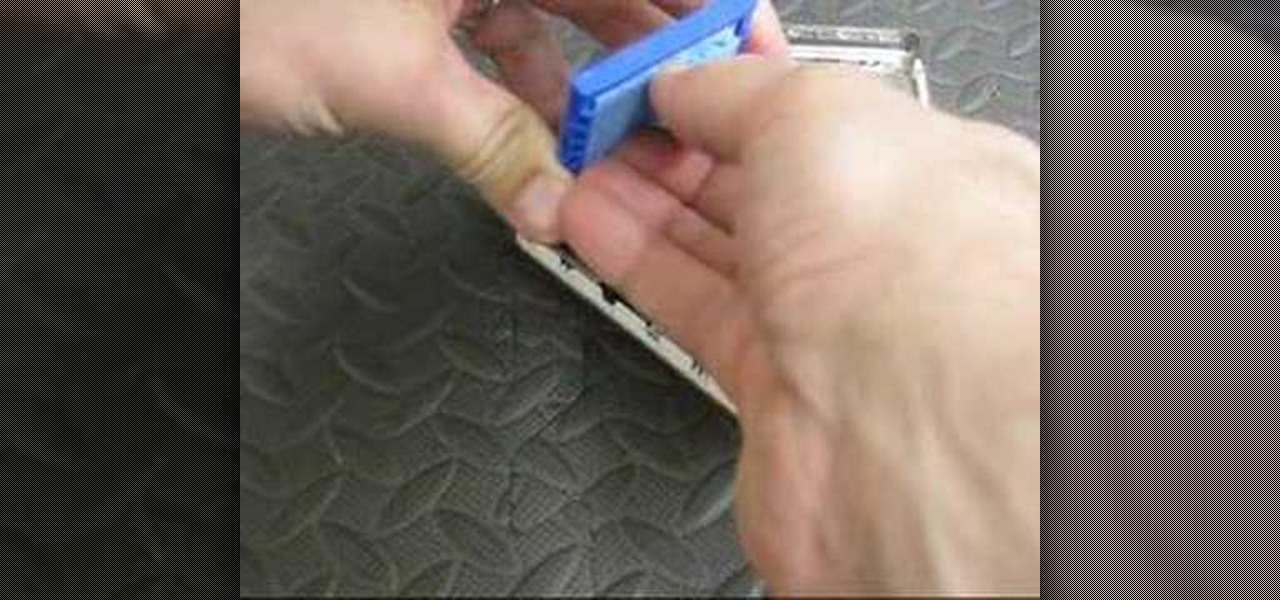
Check out this instructional electronics video that illustrates the simple process of removing the foam padding of an iPod Photo. In order to get the case to close when installing the battery you may need to remove some of the blue foam padding from the underside of the hard drive. This video from iPodJuice demonstrates how to safely remove the light-blue foam from the bottom of the hard drive on an iPod Photo.
Installing a new light fixture is an easy home improvement task. Learn how to properly remove and install a light fixture from a professional handyman in this home improvement video series.
Stock are very easy to make and even easier to remove the fat from. In this how to video Chef Paul talks about removing the fat from your cooking stock. Watch and learn how to make your broths just a little healthier by removing the fat that gathers at the top.
This video is on how to install and remove a clutch bell assembly for a nitro radio controlled engine, and some simple troubleshooting tips. It will show you the proper way of removing the flywheel, installing and removing clutch shoes, and how to ensure that the clutch bell (CB) spins freely. You can use this on any RC kit, and will also help racers in the pit and bashers alike.
If you need to remove vocals from a song in Pro Tools first you need to open Pro Tools and load the song. First, you need to split this track so go to Track and click split to mono. Now, mute this first track. Next, you want to remove the stereo by panning each the bottom to 0. Now, flip the phase by going to the bottom clicking EQ plugin. Now the vocal is pretty much gone.