
How To: Adjust the spray distance of a sprinkler spray head
Sprinkler Daddy's Sean Stefan demonstrates how to make minor adjustments to spray distances on your sprinkler spray heads.

Sprinkler Daddy's Sean Stefan demonstrates how to make minor adjustments to spray distances on your sprinkler spray heads.
Learn how to remove ink stains from carpet. Don’t cry over spilled ink. Get the stains out of your carpeting with this method.
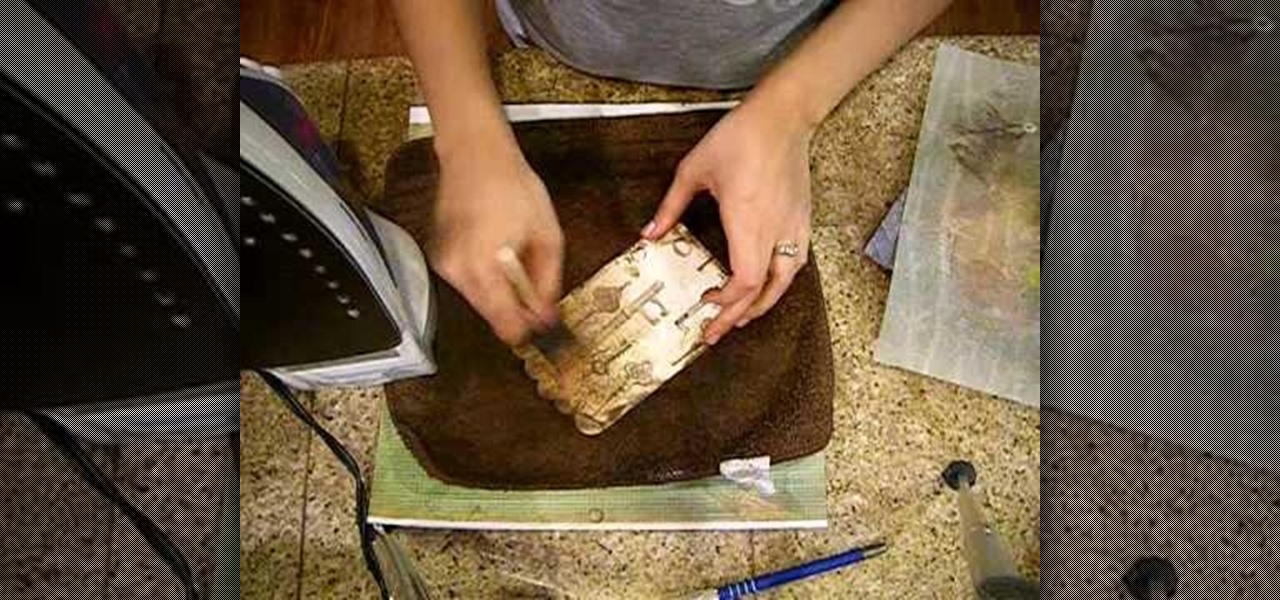
Crinkle top part and go over it with distress ink. Do edges front and back. Put extra ink on scallops. Spray with mustard seed and tattered jewels, olive vine and pine cone to add color. Place paper on pocket and iron on both sides. Spray with iridescent gold. Use brush to spread out. Iron again on both sides. This process makes it look aged. Take a film strip and spray with tattered leather. You want to use an iron when spraying grunge board with tattered jewels because it will make it seep ...
This video illustrate us how to make a Tim Holtz inspired tag with distress inks and water. Here are the following steps:
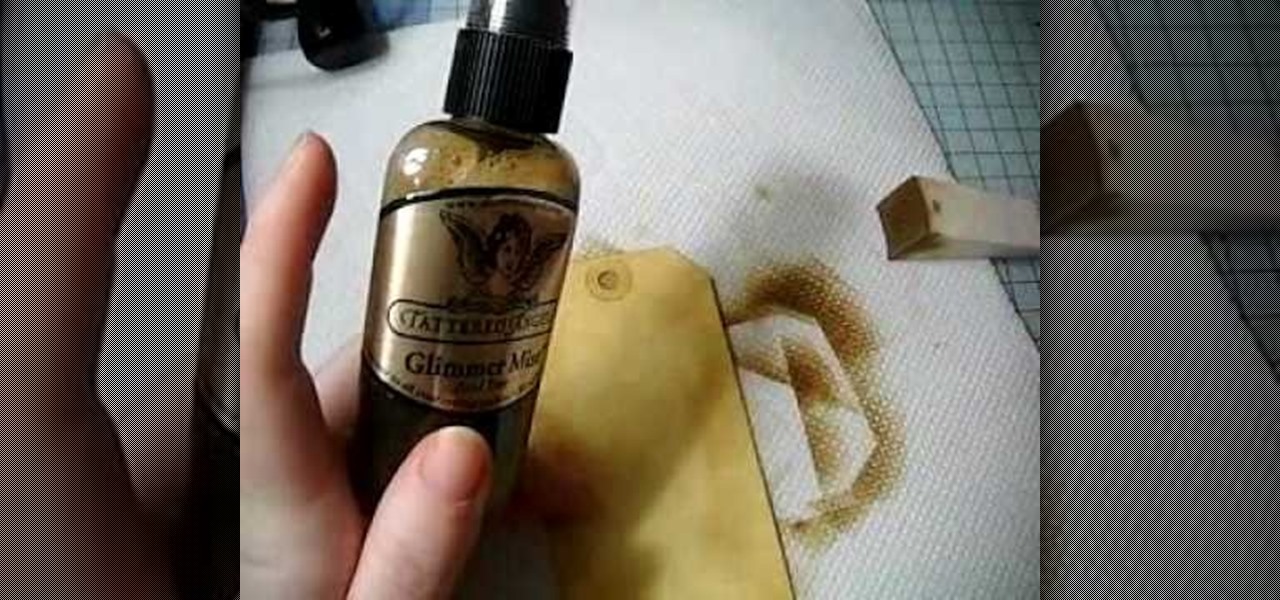
In this Arts & Crafts video tutorial you will learn how to make a distressed scarpbook tag. Take two tags, one red color and one yellow color and strip the threads off. Take a light color ‘Distress’ ink on a sponge and dab one side of the yellow tag with it to give it a light rough look. Now take little darker brown ink on another sponge and dab the edges of the tag with it. Then place the tag in a box and spray Glimmer mist on the tag. Dry the tag with a dryer. Now dab some more brown in...
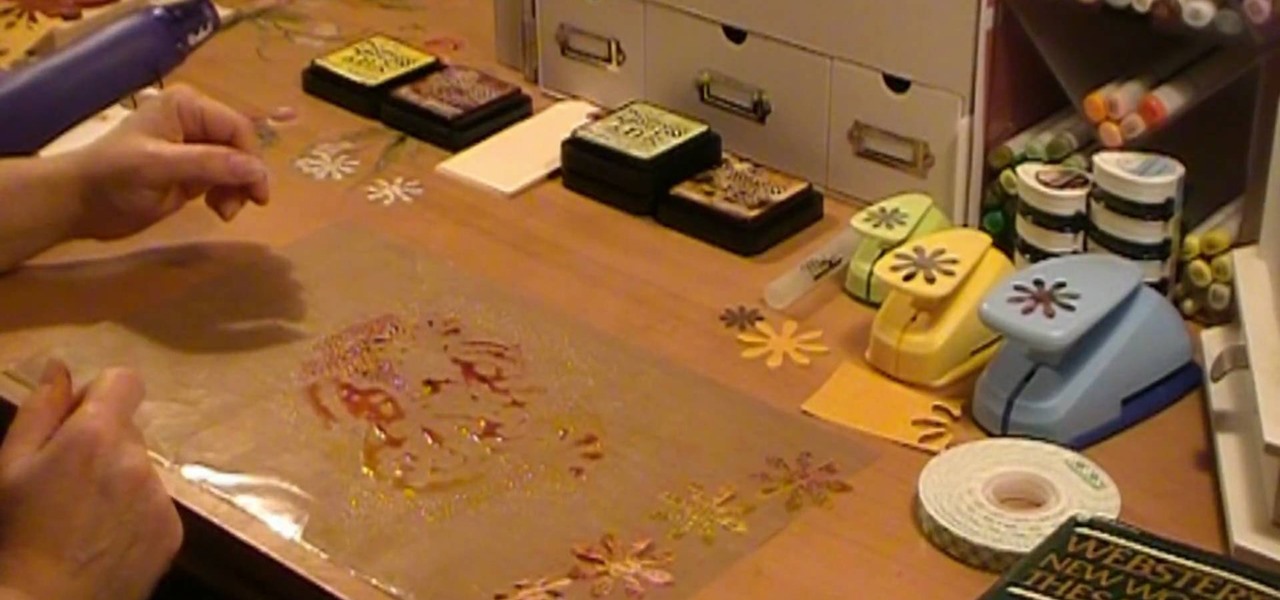
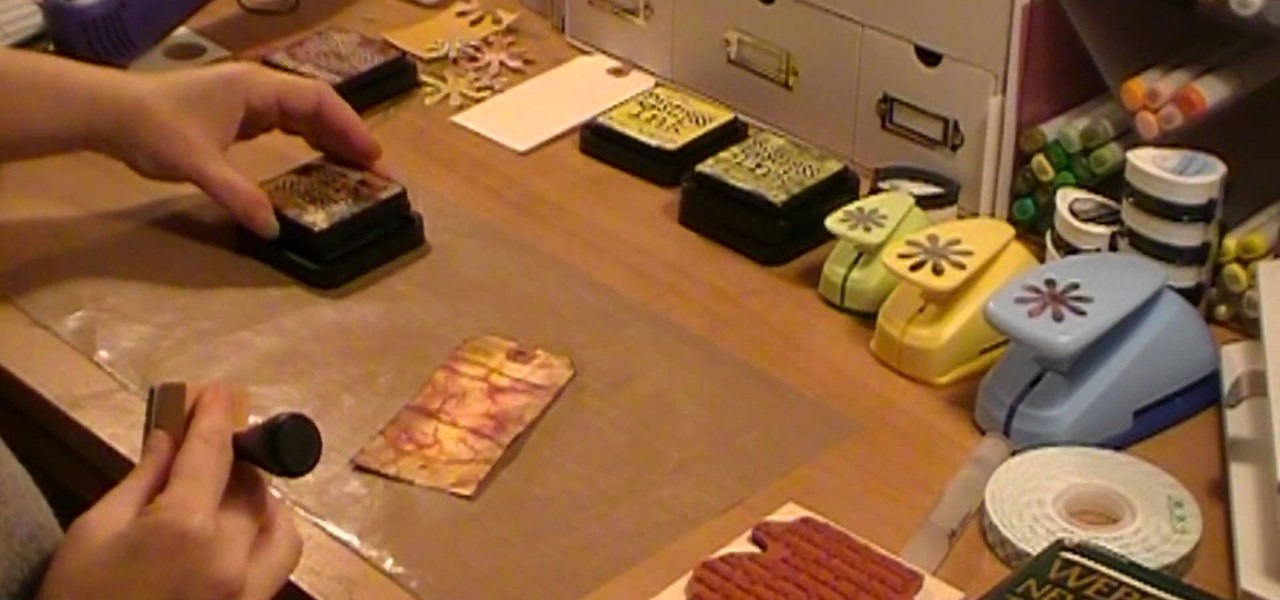
This video demonstrates how to make paper flowers. She lays a silicone mat on the table. She shows how to use distress inks by stamping some red and yellow ink onto the mat, sprays water onto the mat with a mister, and lays punched-out paper flowers into the wet ink. She turns them over and uses a heat gun to dry the ink. After the flowers are dry, she layers them on top of each other, putting a piece of foam tape in between the layers. She shows how she used the layered flowers to decorate a...
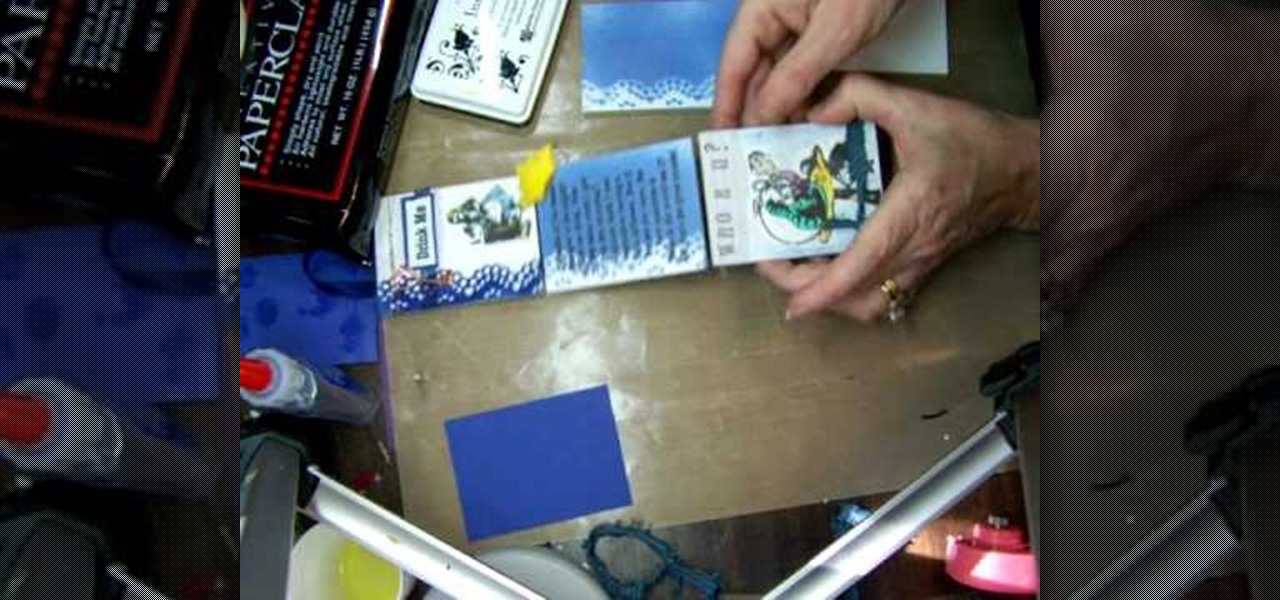
This video is about how to make a story board craft. In this case the story is about Alice in Wonderland. In this case 3 Eco art boards are taken of a suitable size of 2 1/2"X3 1/2" the left edge is decorated with a lace spray painted with Memorie mist spray, the rest of the card is also spray painted. Now from Queen Kat Designs the stampings are selected and stamped on each board as per the story. Whilst stamping Indian stamping ink is used as it does not smudges. For extra decoration paper ...
Dawn5377, teaches you how to use the clear mount stamps. These come in sizes from A to I. They are high cut so you don't get ink on your fingers when using them. The stamps come in a DVD case for easy storage, which also comes with instructions on usage. Remove the sticky part of the image, place it on the back of the rubber stamp. Place image face down on the clear block of equal size. Ink the rubber stamp and just stamp on a piece of paper. You clean the rubber stamp with spray mist and scr...
In this tutorial, we learn how to create ink drop and spread effects. You will need: coffee filters, fish tank, dropper, black ink, water, and a bowl. Next, pour water into your fish tank, then pour your ink into the dropper. After this, add in water into the bowl and place the coffee filter in it to soak it, then place it on a flat surface. For the first effect, drop the ink into your water and see what it looks like when you drop it into the tank, getting this on tape and using the proper l...
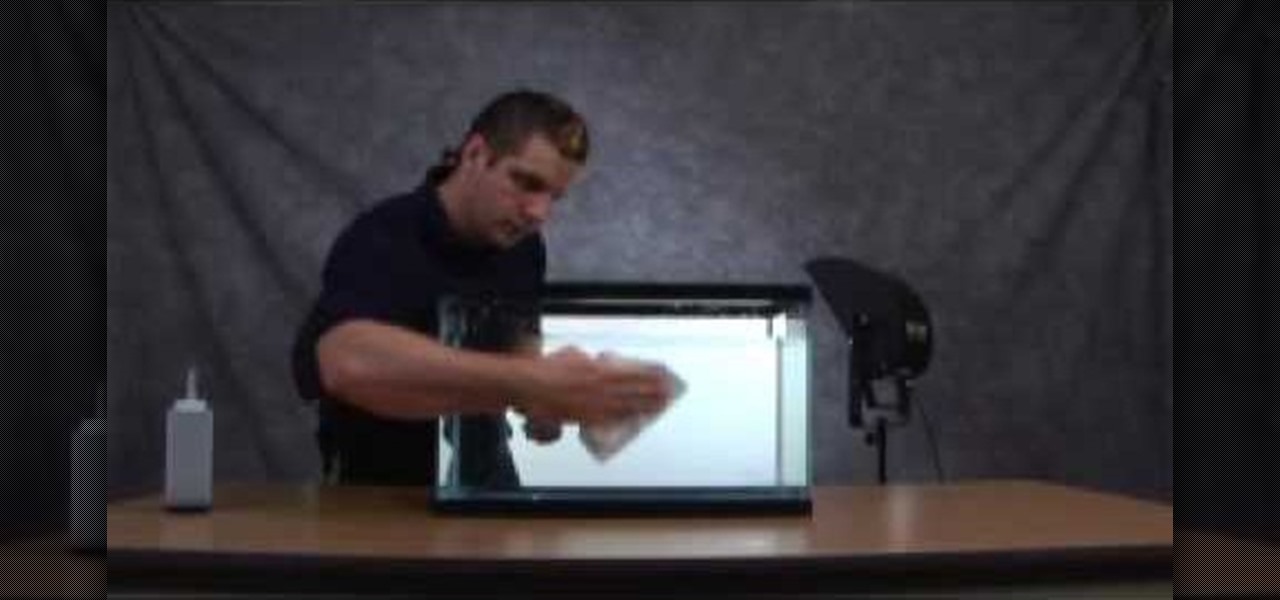
This video answers the question, how do you safely clean an LCD? Remember that LCD’s do not have glass so you have to be careful how much pressure you apply, as well as the kind of cloth you are using, or you can damage or scratch the screen.
This video shows you how to stencil a t-shirt with inks. Tape the t-shirt onto a piece of cardboard with masking tape. Lay the stencil on the t-shirt and tape some blank paper at the edges to ensure that there is no splashing on the sides. Some mist paint in blue Hawaiian is used. You do not need to apply a lot of it. Add some orange paint too. To make the print permanent, you must take out the cardboard put the t-shirt on the ironing board with the design uppermost. Cover the design with a c...
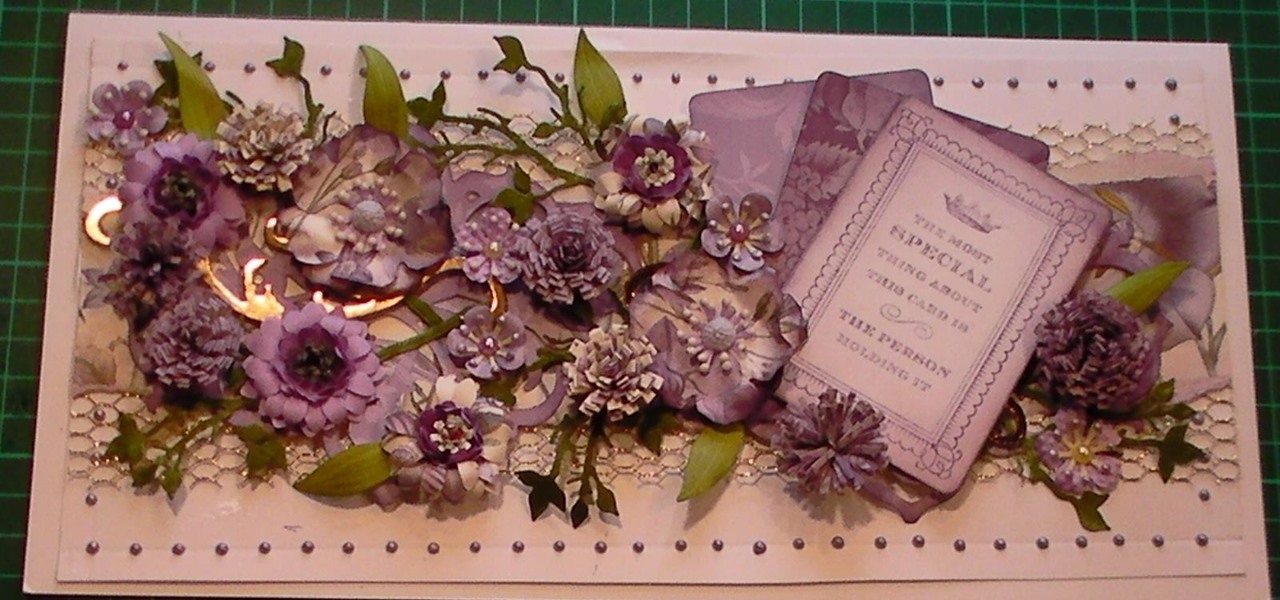
This cardmaking tutorial shows you how I have made and built up this card using papers and flowers, with swirls and a stamped sentiment, all to create a fabulous card. Step 1: Items Used
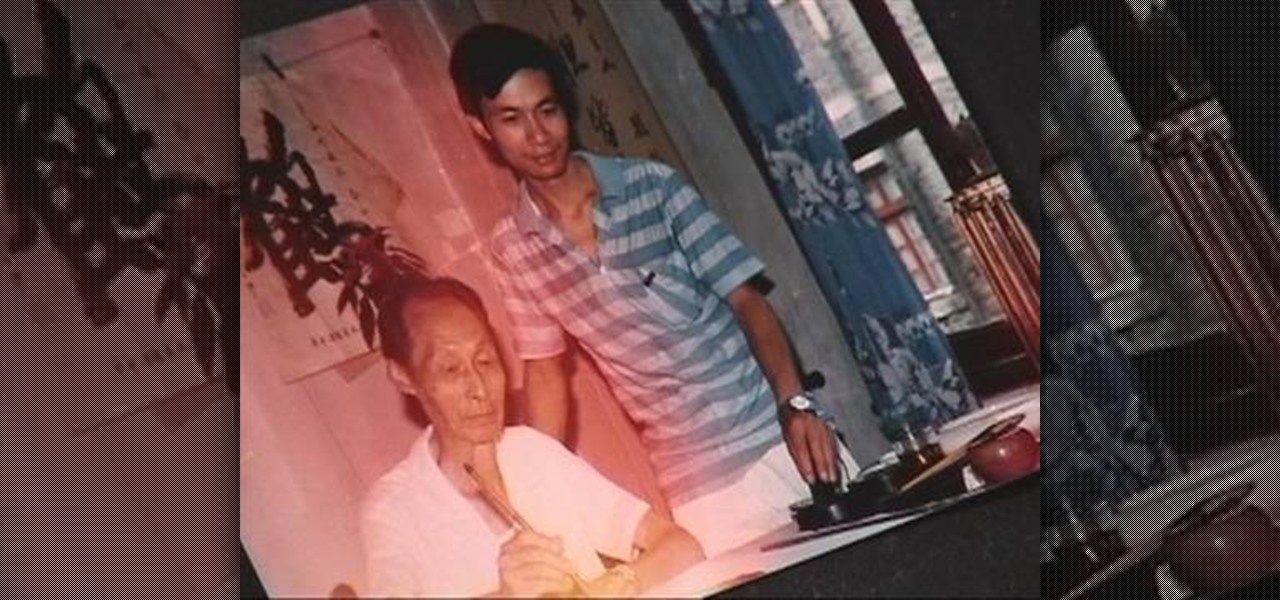
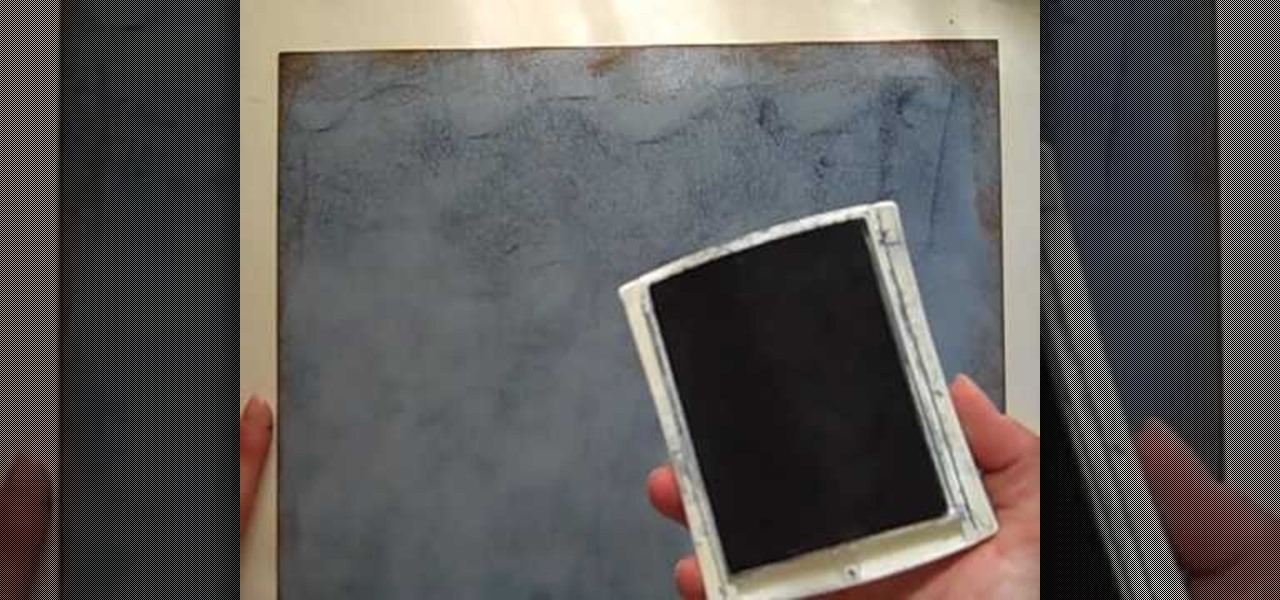
You can create handmade love letters and personal paper gifts by using your very own homemade ink. This video goes in depth on how you can make your own ink at home using an ink stick and ink stone. This is the traditional way that the Chinese make their ink to use in Calligraphy and brush painting. The ink stick is made of soot from burning oil. There are different grades of ink sticks according to the Chinese standard so watch for that when you are purchasing these supplies. The ink stone i...
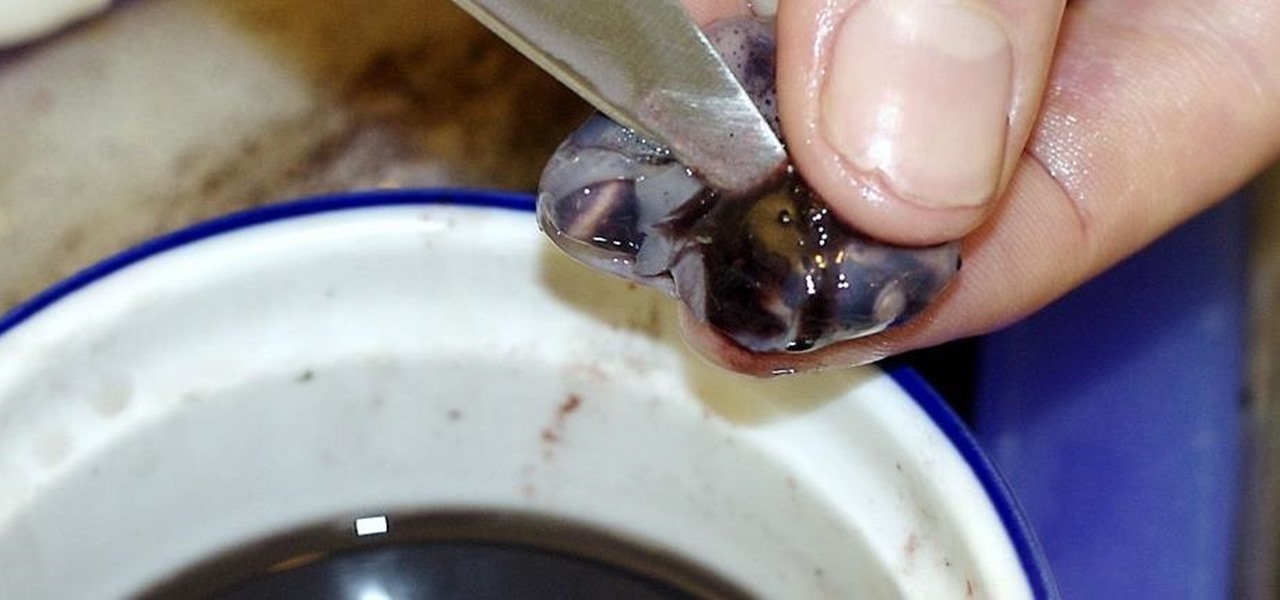
This is an Instructable by canida on how to harvest squid ink. Clean your own squid, and collect ink for printing or cooking!
In this video, we learn how to refill ink a pocket brush pen with Henry Lee. First, mix water with the ink, depending on the color of ink you want. After this, you will take the pen and soak it in water, then into the ink. Turn the knob on the handle as you do this so the ink starts to infuse into the pen. To get more ink in, point the brush to the sky and turn the knob slowly to drive the extra air out of the pen. Then, dip the pen into the ink and turn the knob in the other direction. Conti...
StampinMama1 demonstrates how to add ink texture effects to your scrapbook projects. When creating backgrounds for your scrapbook pages, you can use ink to both create texture and create interesting effects on the layout. Press the ink on the paper to use a direct to paper ink application technique. You can create cool effects like waves using this technique. Don't swipe the pad around or smudge it onto the paper. Instead, drag the ink pad in a motion of waves across the page. Start at one ed...
Animate drawings by scanning them and painting them on the computer. Learn how to scan and color hand-drawn animations using Adobe Photoshop and Flash in this free computer art lesson from a professor of animation and interactive media.

Comic books are fun to make, but inking them can be a time extensive pain of a process. Using a computer software program, you can make the inking much faster. In this two-part video tutorial, you'll learn how to take a sketch and turn it into vector Adobe Illustrator artwork. In the first part, see how to create that by-hand comic art look in Adobe Illustrator, and then in part two, see how to color in your artwork with digital ink.
Learn how to remove ink stains from fabric. Getting ink out of fabric is a tricky business, often best handled by a dry cleaner. If you want to try it yourself, though, here's what to do.
This four-part video series demonstrates how to ink a comic book. Inking is often thought of as a lesser comic art than drawing or writing, but proper inking is essential to creating a really beautiful final product. In the end, it is what the reader sees, not the pencil work that the illustrator did. All you need is a gel pen and a sharpie.
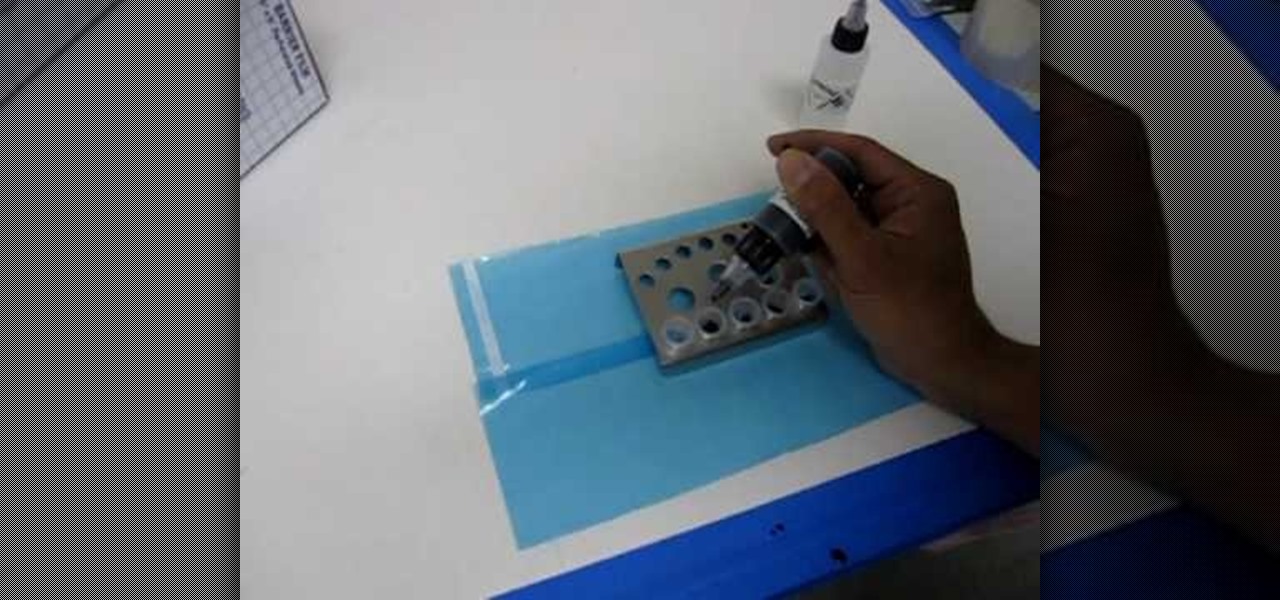
This video walks you through mixing your own tattoo gray wash in ink caps. Taking black Element tattooing ink you use a test ink cap to get your 'drip' then once you make sure that the ink is coming out correctly you let the ink drip into five separate caps. Each new cap gets one more drop than the last so the first gets one drop, the second gets two drops, up until the fifth, which gets five drops. Then you take your gray wash and fill up the cap. You can mix the inks with a toothpick or you...
If you use your inkjet printer regularly, you’ve probably discovered that the cost of replacing the cartridges can quickly exceed that the printer itself. Refill the cartridges yourself to save some money.

In this software tutorial you will learn how to digitally ink a manga/anime character in Corel Painter. Learn how to scan a drawing into Photoshop then import it into Corel Painter and ink the outline of the character for a more dramatic and artistic look. Usually, after inking the line art, you will go back over and digitally color the character. The tutorial assumes that you are using Corel Painter with a Wacom or Cintiq tablet and is more about the principles of inking than the Corel tools.
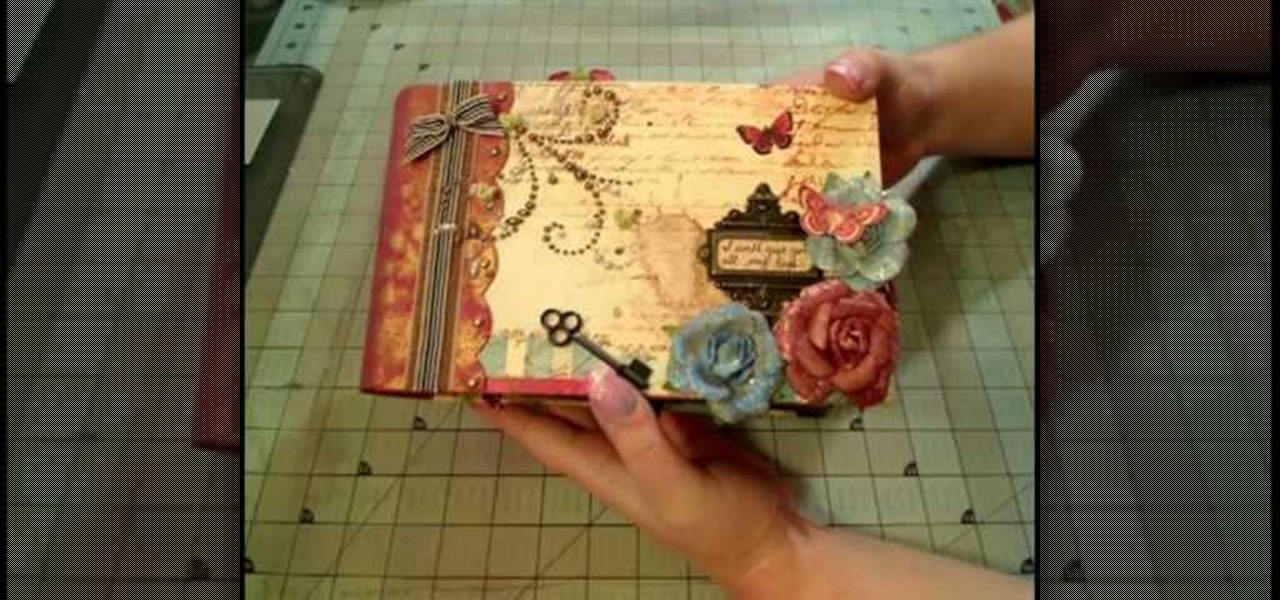
How to make a Prima "Pastiche" Paperbag Album. The demostrator shows us how to make a Prima "Pastiche" Paperbag album. Take a french paper, apply fix some pearls, old keys, artificial flowers, key mantle, all this for the back cover of the album.

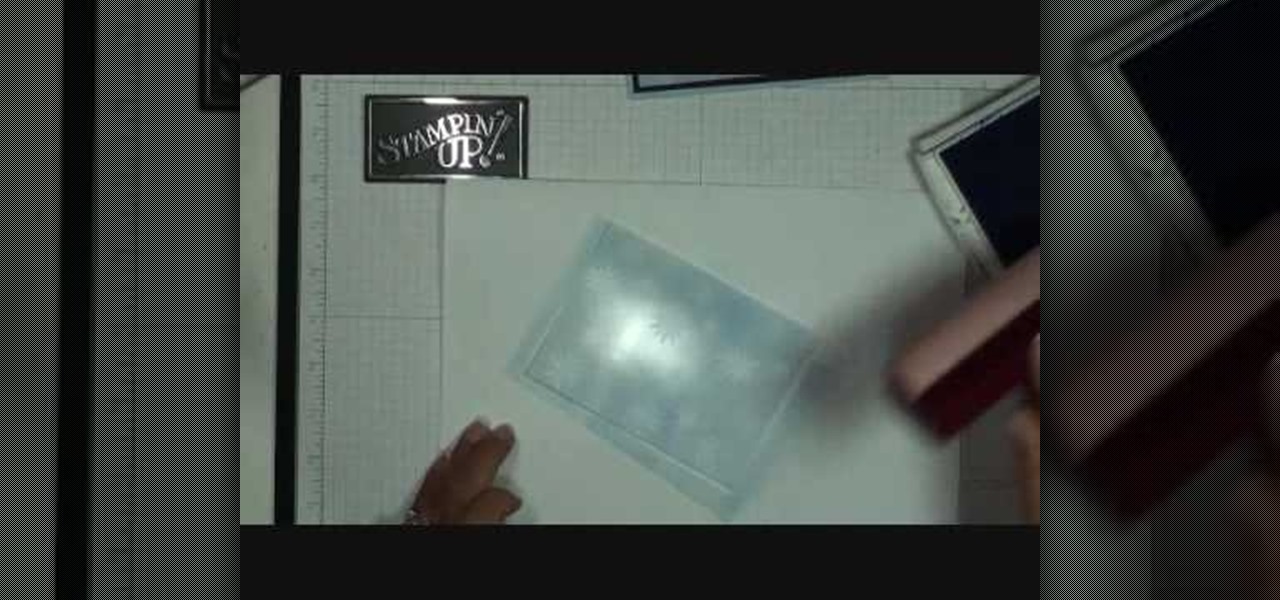
A cool way to accessorize your scrapbook is with distressed ink. In this tutorial, learn how to take beautiful inks from the folks at Stampin UP and distress them for a very cool effect.
Our host Dawn teaches how to use the Versa Mark resist technique when stamping a card. Dawn teaches the technique on a Christmas card to create a snowflake background. The basic idea behind this technique is that the Versa Ink is clear and will resist any other ink you put down, so you can stamp a pattern and then go over with a flat coat of regular ink, and you will be left with a white pattern where you made the Versa Ink stamps. To complete this specific craft, you will need a Versa Mark i...
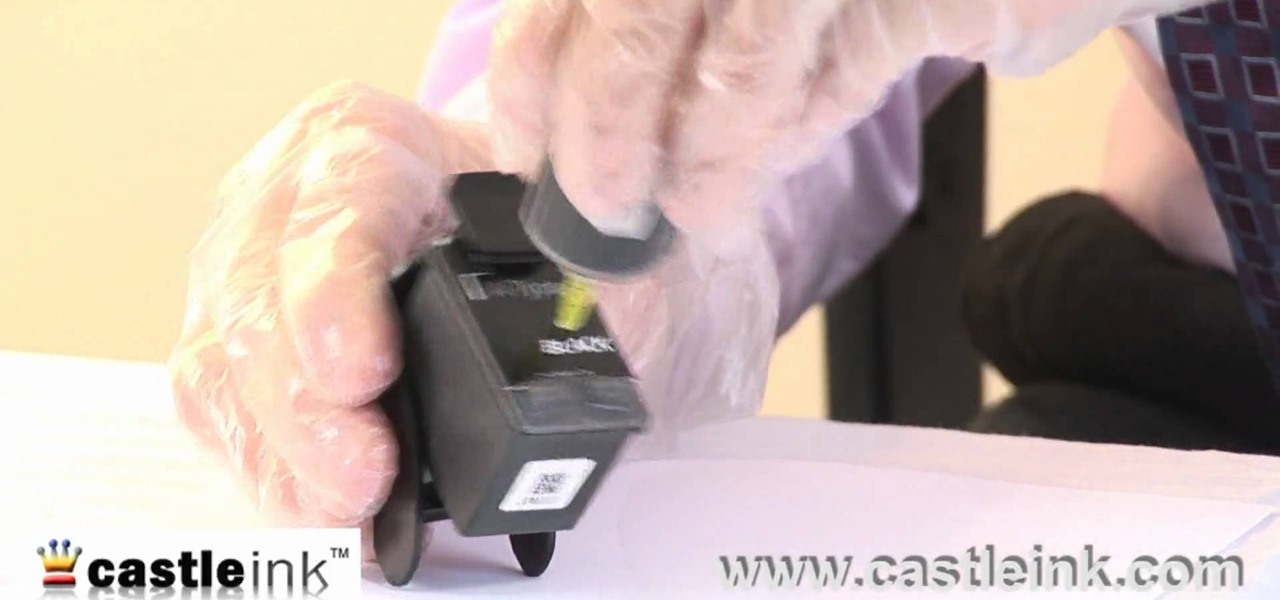
There's a reason why printer companies want you to recycle your old printer cartridges. Because they can be reused. It cuts costs and saves them money, but you can save money, too. You don't have to keep buying new cartridges, you can recycle your used ones yourself by simply adding more ink. It could save you a ton of money on printer costs.
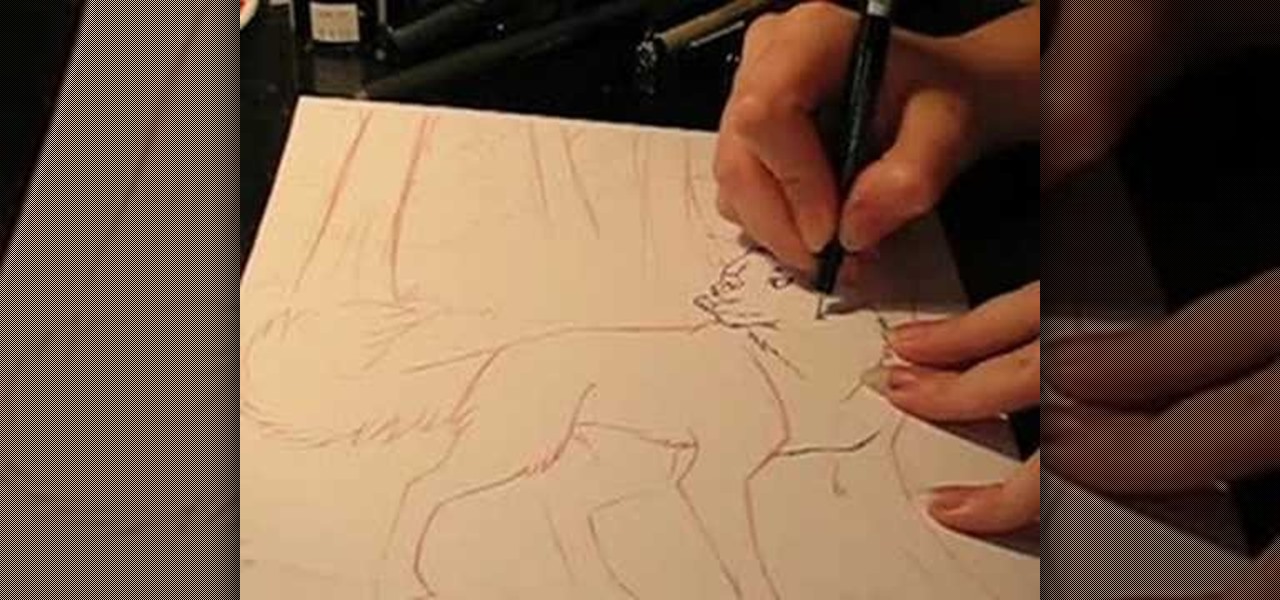
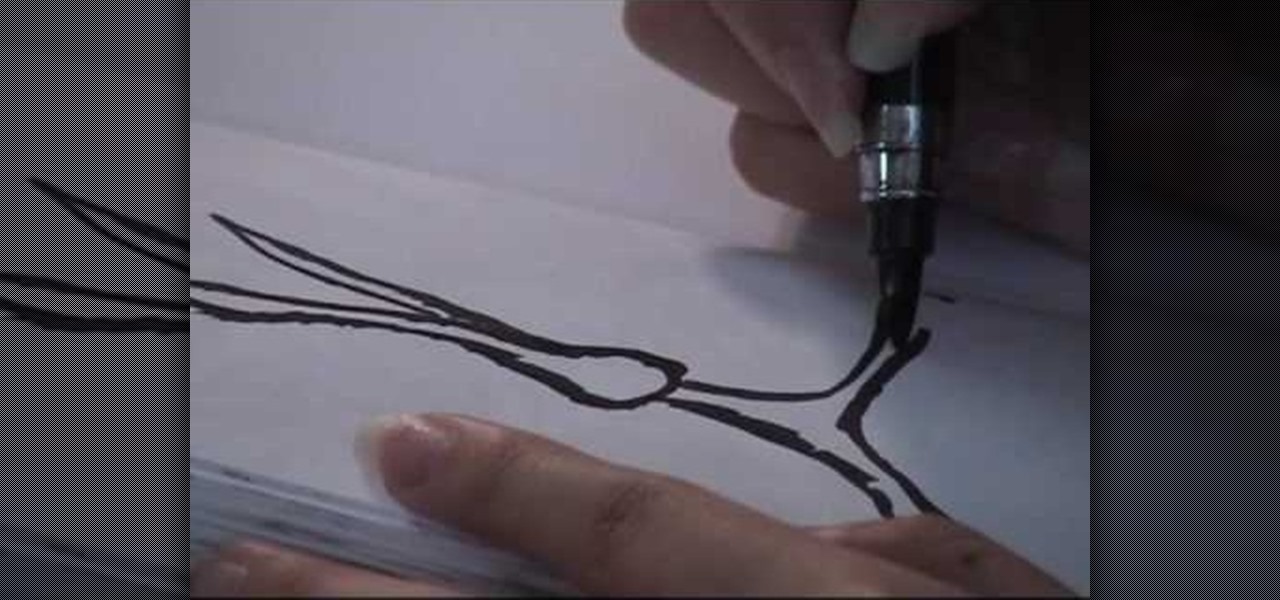
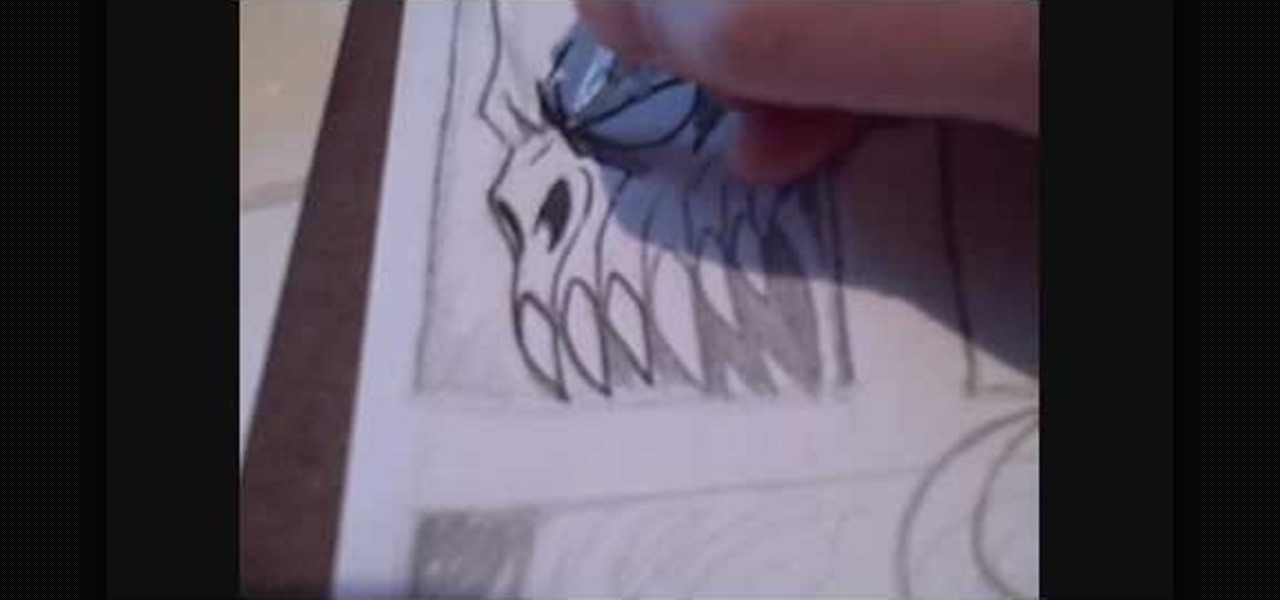
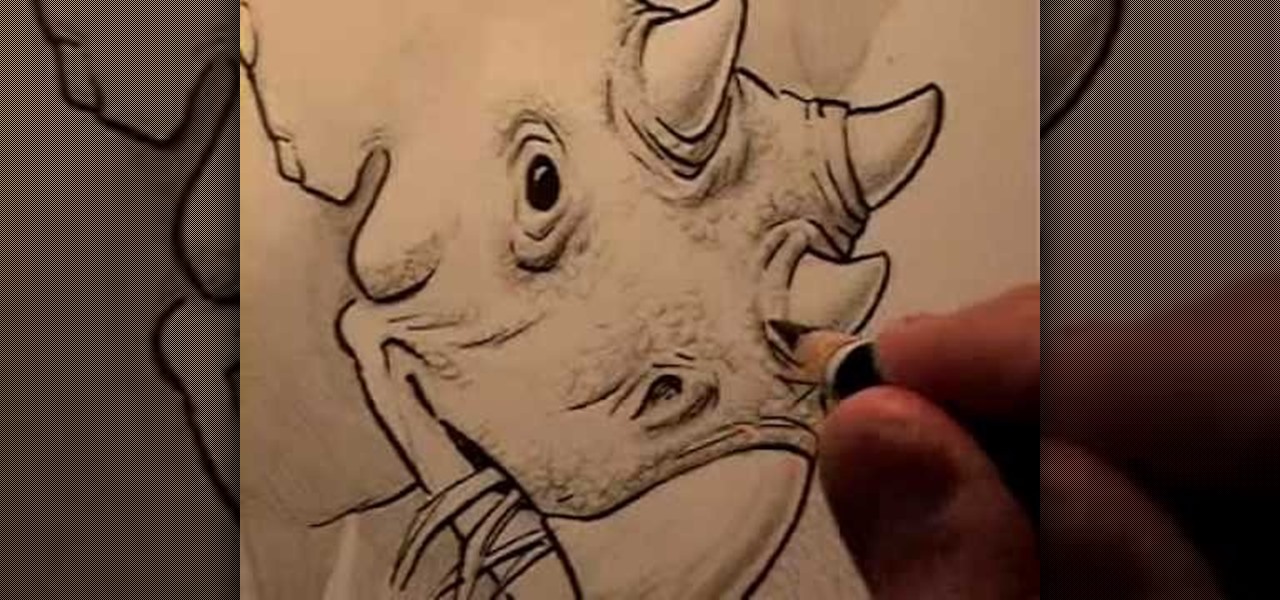
Ever wonder how some one created that piece of art? Inking, as shown in this how-to video, is a common technique used in comics, but can be applied to any other fine art. You might want to use a copy of the original drawing in case of any inking mistakes. Watch this video drawing tutorial and learn how to ink a wolf drawing with tech or micron pens.
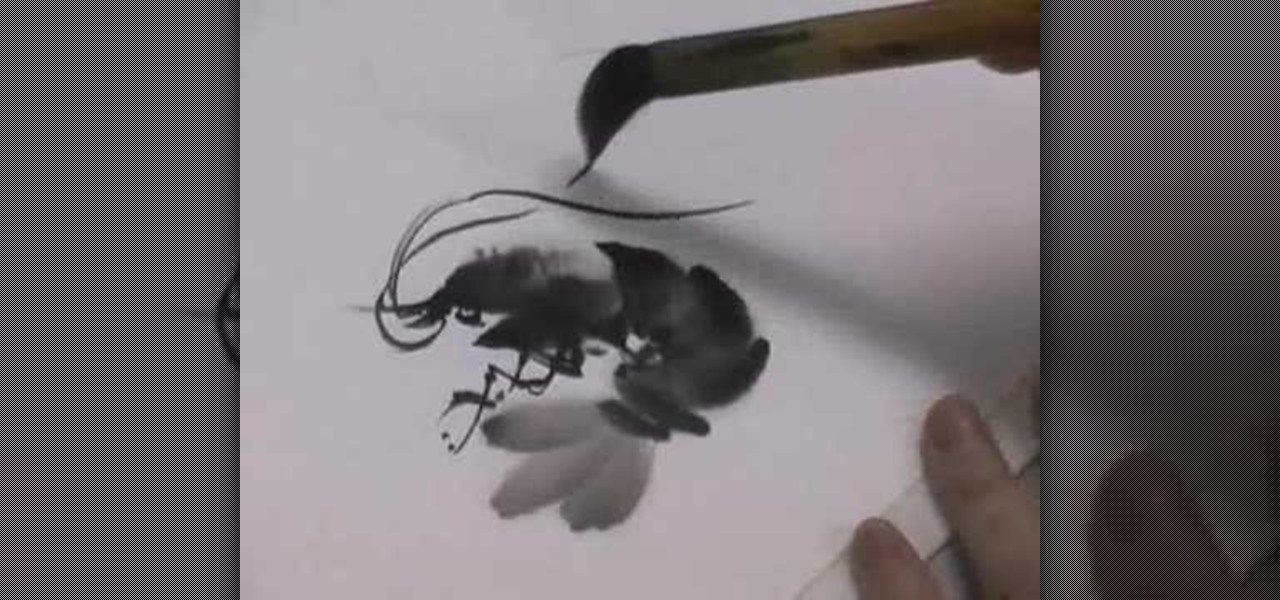
This video painting tutorial shows how to paint a shrimp in Sumi-e ink. The Sumi-e ink painting process is a traditional Japanese painting technique from the Niigata prefecture, demonstrated here with a stone ink well. Learn how to paint a shrimp by watching this instructional video.

This video painting tutorial shows how to paint cows and bulls in Sumi-e ink. The Sumi-e ink painting process is a traditional Japanese painting technique from the Niigata prefecture, demonstrated here with a stone ink well. Learn how to paint cows and bulls by watching this instructional video.
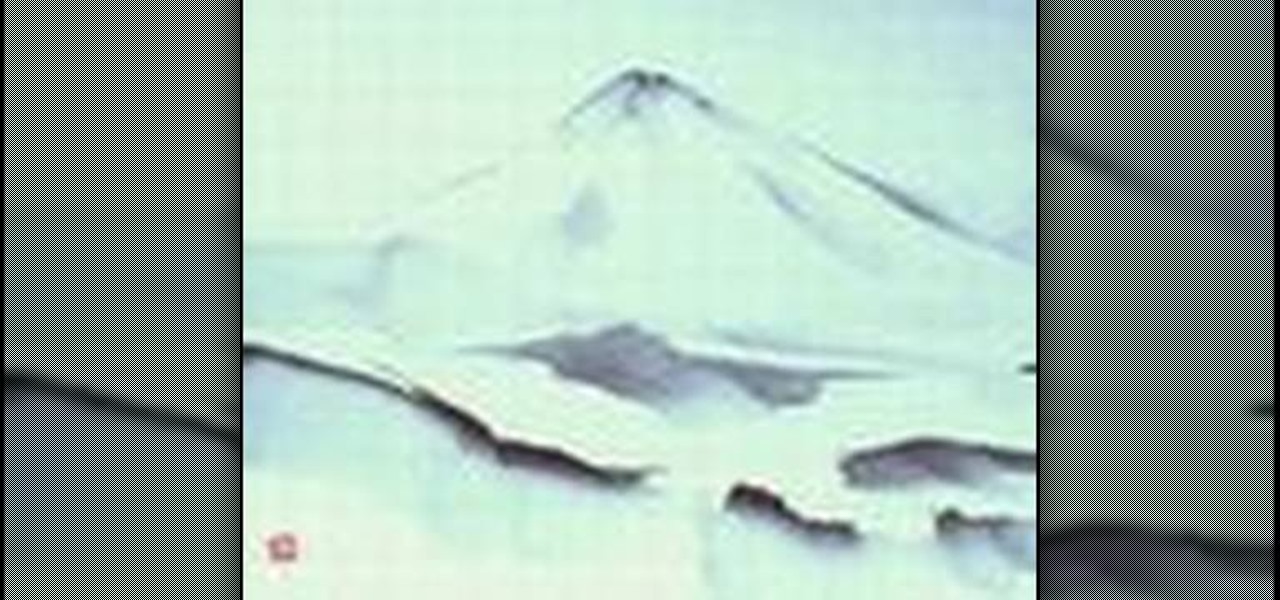
This video painting tutorial shows how to paint Mount Fuji in Sumi-e ink. The Sumi-e ink painting process is a traditional Japanese painting technique from the Niigata prefecture, demonstrated here with a stone ink well. Learn how to paint Mount Fuji by watching this instructional video.
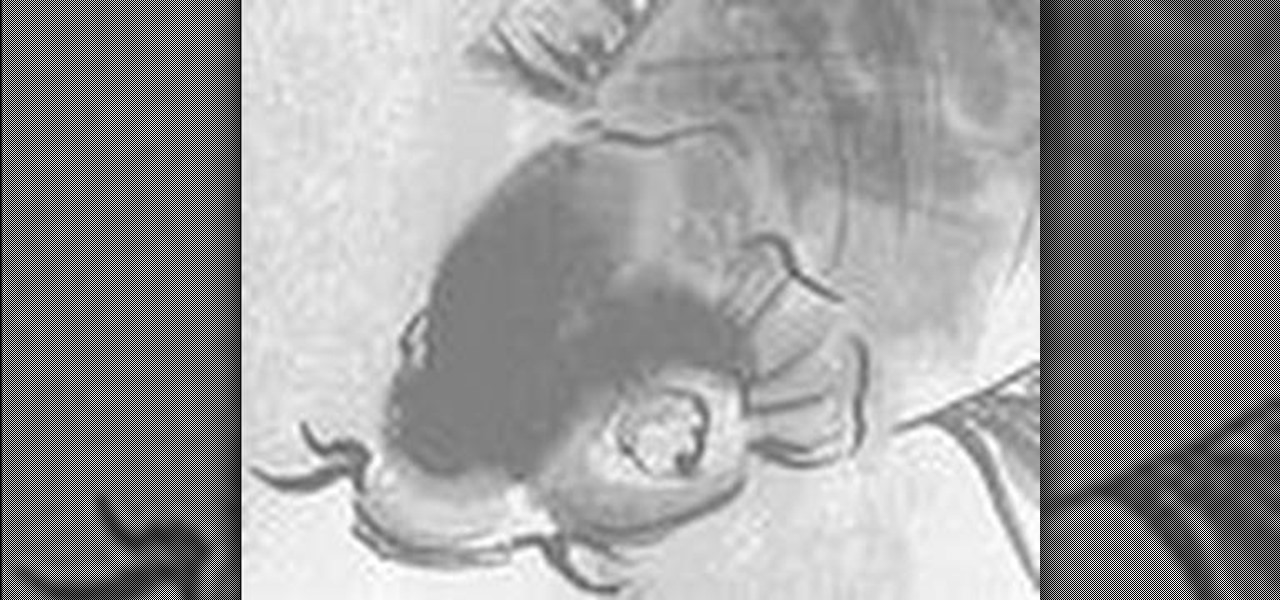
This video painting tutorial shows how to paint a koi carp in Sumi-e ink. The Sumi-e ink painting process is a traditional Japanese painting technique from the Niigata prefecture, demonstrated here with a stone ink well. Learn how to paint a koi carp fish by watching this instructional video.
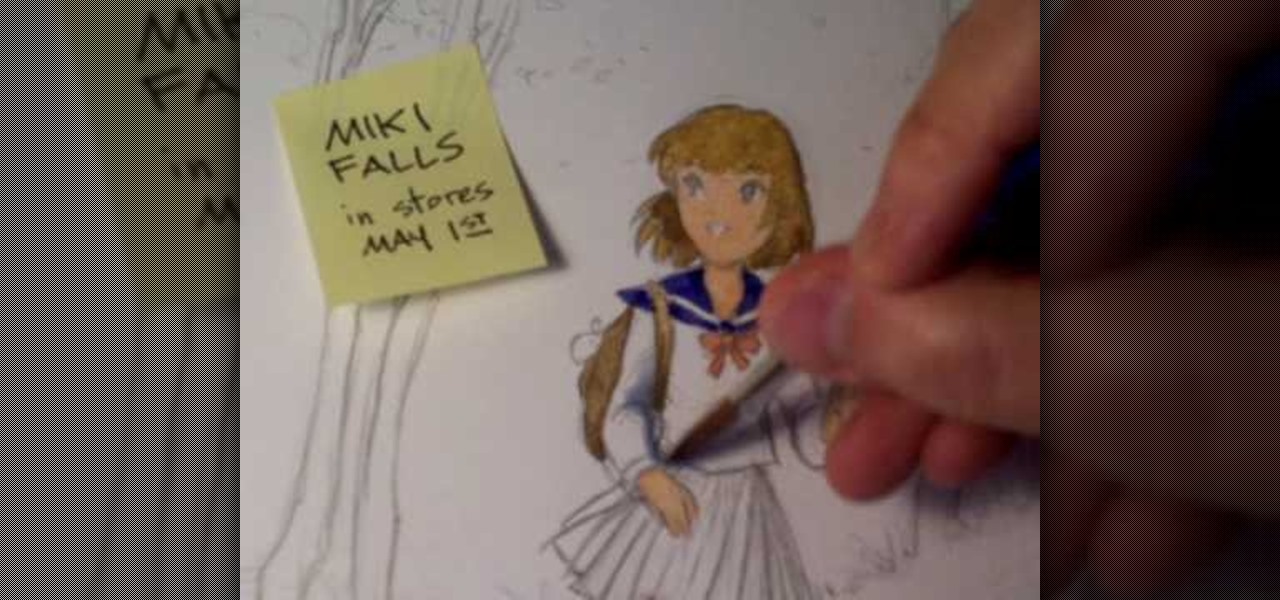
In this two part video, Mark Crilley shows his approach to using watercolors and how to use ink and colored pencils to finish things up.

This three part tutorial shows you how to create artistic images that look like watercolor and ink drawings.

This video shows you how to draw a geisha kimono in traditional japanese Sumi-e ink style. Part 1 of 2 - How to Paint a geisha kimono in Sumi-e ink.
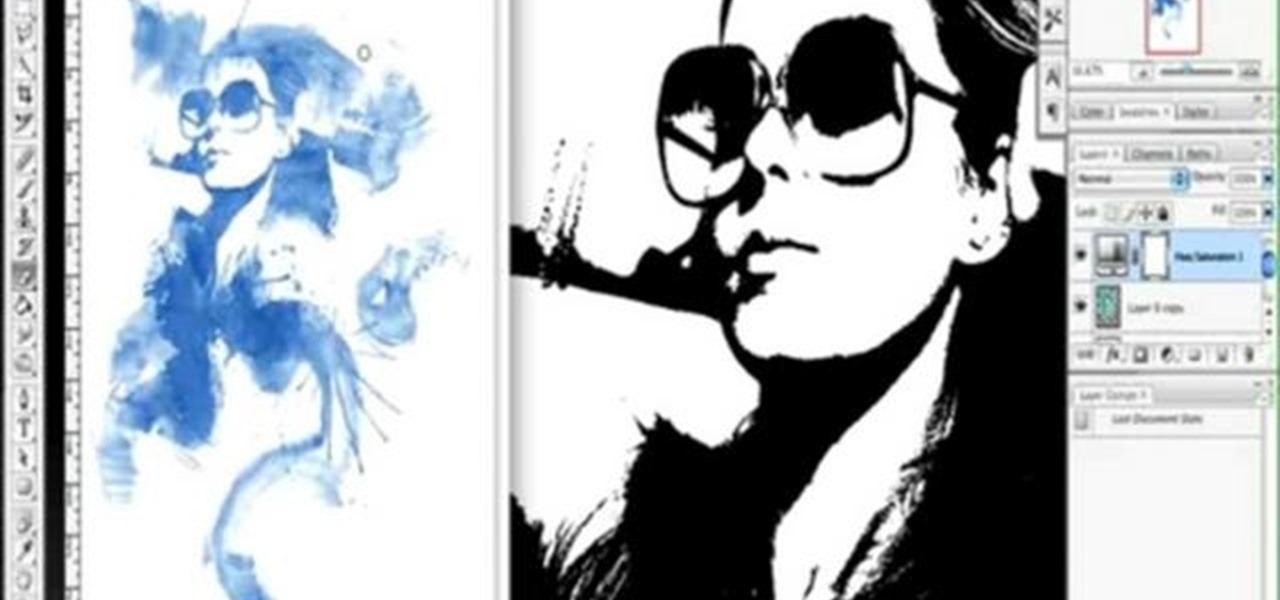
This image editing software tutorial shows you how to create a cool watercolor or ink blot effect on photos in Photoshop. This is a simple and cool effect to make your photos look like they have been painted or made out of an ink/watercolour mark. See how to get painterly in Photoshop.
This video tutorial offers tips on various illustration techniques. Illustrate with watercolor and colored pencil in black and white for practical purposes. When drawing professional illustrations, there is not a lot of room for mistakes. Use water color, ink and colored pencil to begin fleshing out your drawings with light layers or paint and ink.

In this video, we learn how to make zebra and tiger prints with Ranger's alcohol inks. First, you will need some alcohol ink in black, gloss paper, a stamp, and felt. Now, take your felt and cut it into small strips. Make lines like a zebra or tiger would have. Next, push these strips onto the stamp bottom, arranging them to look like a zebra. After these are stuck on securely, trim off any edges and make some pointed. After this, you will squirt the black ink onto the bottom of the stamp on ...
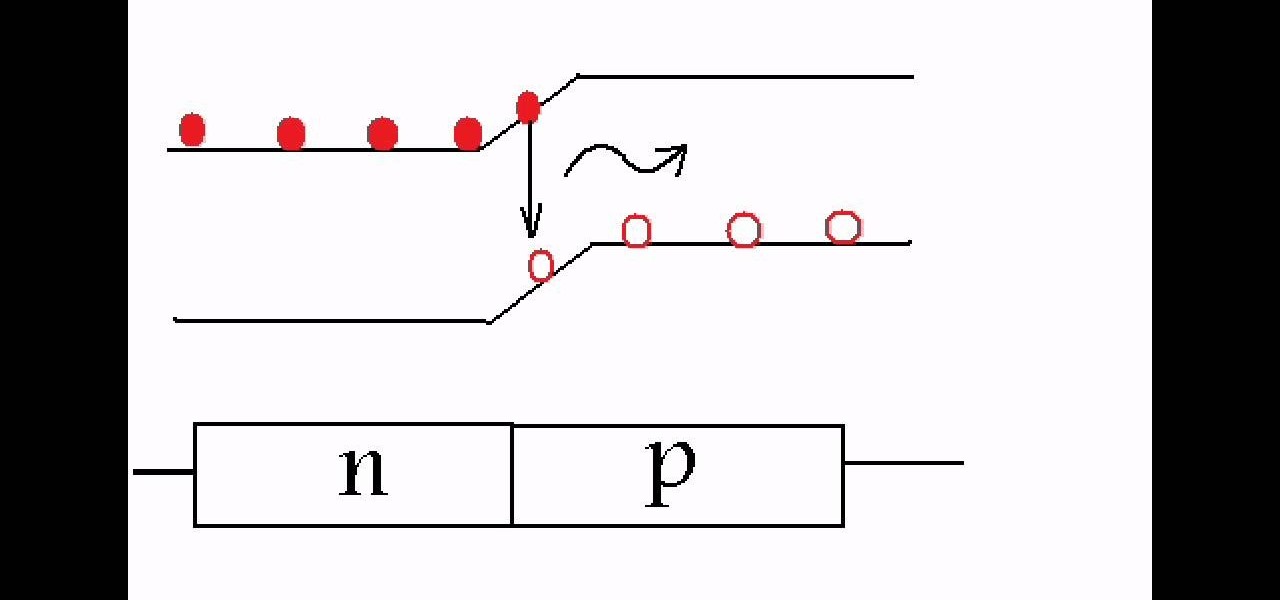
Just about any electroluminescent substance is cool but rather expensive if you buy it at the shops. If you need some cheap EL ink, watch this video to learn how to make blue EL powder out of cheap, easy-to-make ZnS green glow powder.
Do you like the analog look of old handheld video games like Mr. Game and Watch or clock with 7 segment displays? It's pretty easy to simulate them nowadays by making an electroluminescent display on printed circuitboards with EL ink. You'll learn how to do just that in this video. It almost looks like Lite Brite.