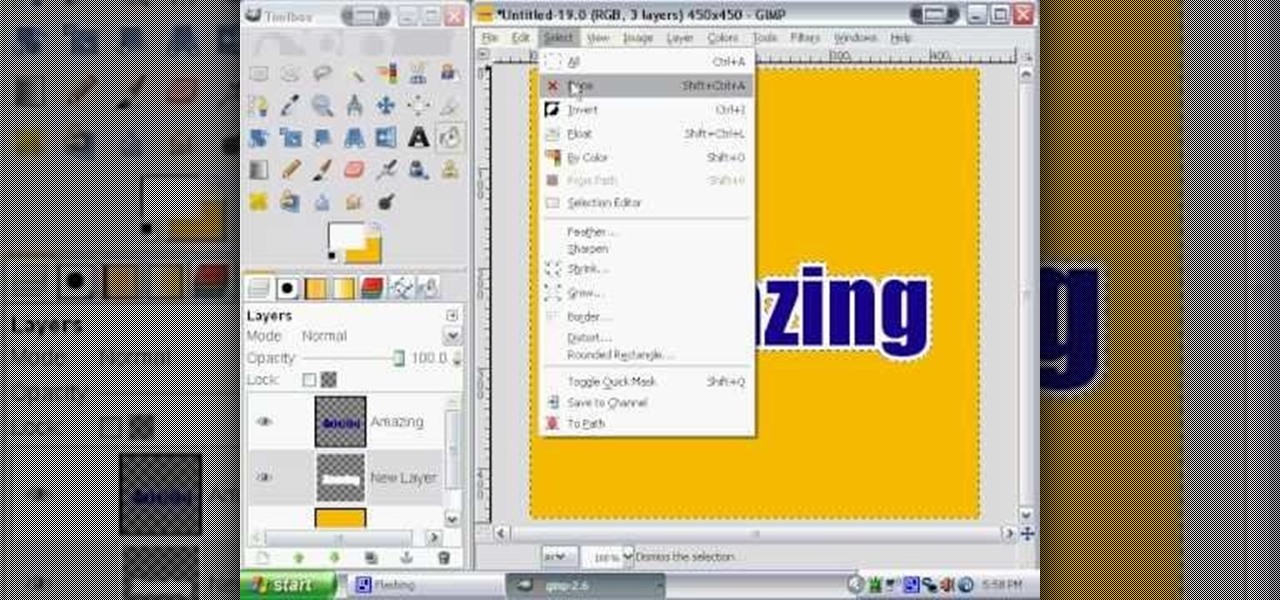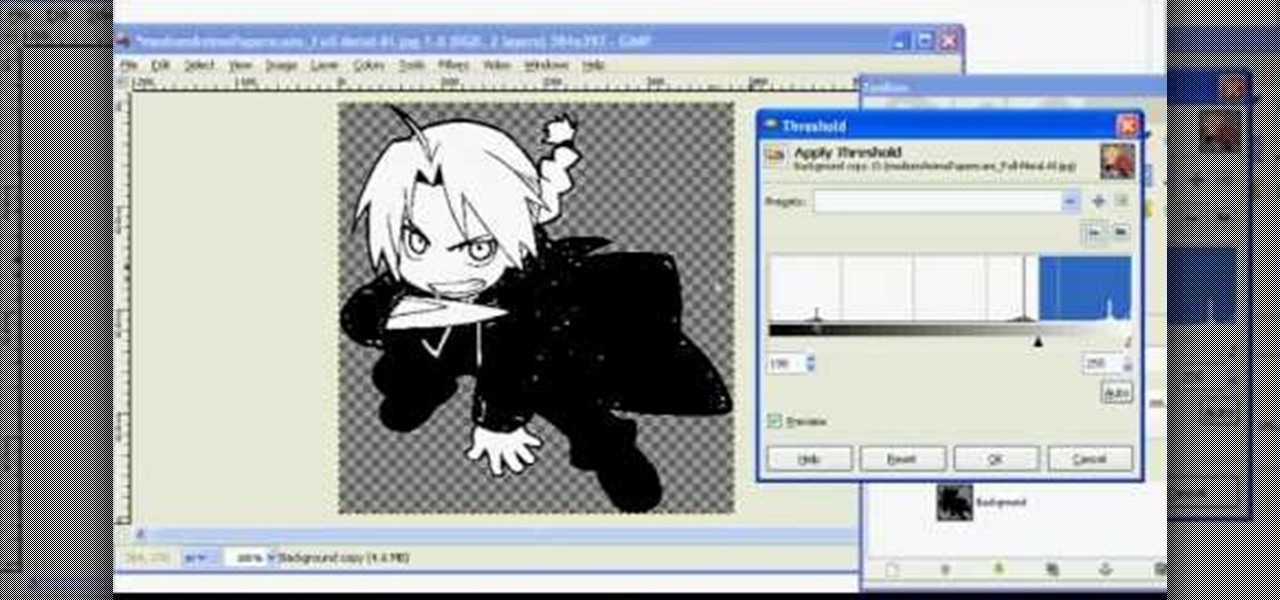
In this tutorial, we learn how to make 2-layer stencils in GIMP. First, cut out the background before you begin. Now, right click on your main layer and then select "add alpha layer". After this, select the magic wand tool and delete all the white areas on the outside of the picture. Now duplicate the layer, then hide the top layer and select the bottom layer. Now, go back to threshold and move it all the way to the right to get an outline of the image. From here, go back up to the top layer ...
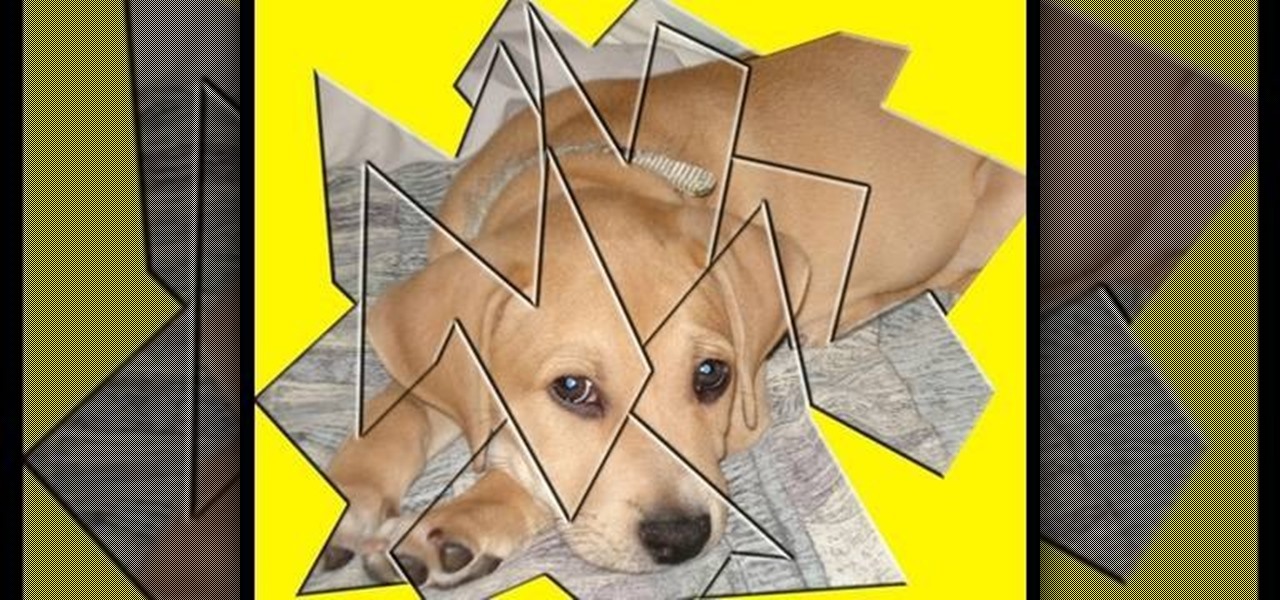
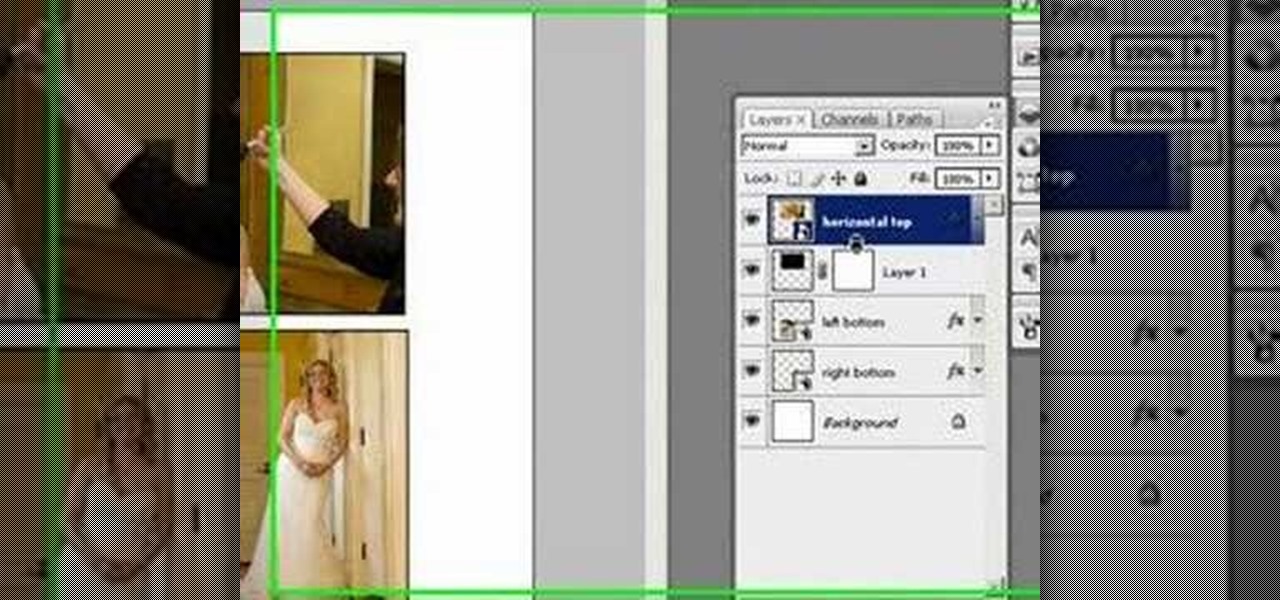
This video demonstrates how to make a broken mirror effect using Photoshop.

Layers are very important component of Photoshop. Without knowing how to use the layers correctly, one can not utilize the maximum what Photoshop offers to designers and digital artists. For a beginner, this video provides a good basic knowledge about Photoshop layers. Layers enable you to arrange different parts of a picture and manipulate them without effecting the content of other layers. Layers are added by using layers panel. Each layer is named accordingly. We can change the order of la...
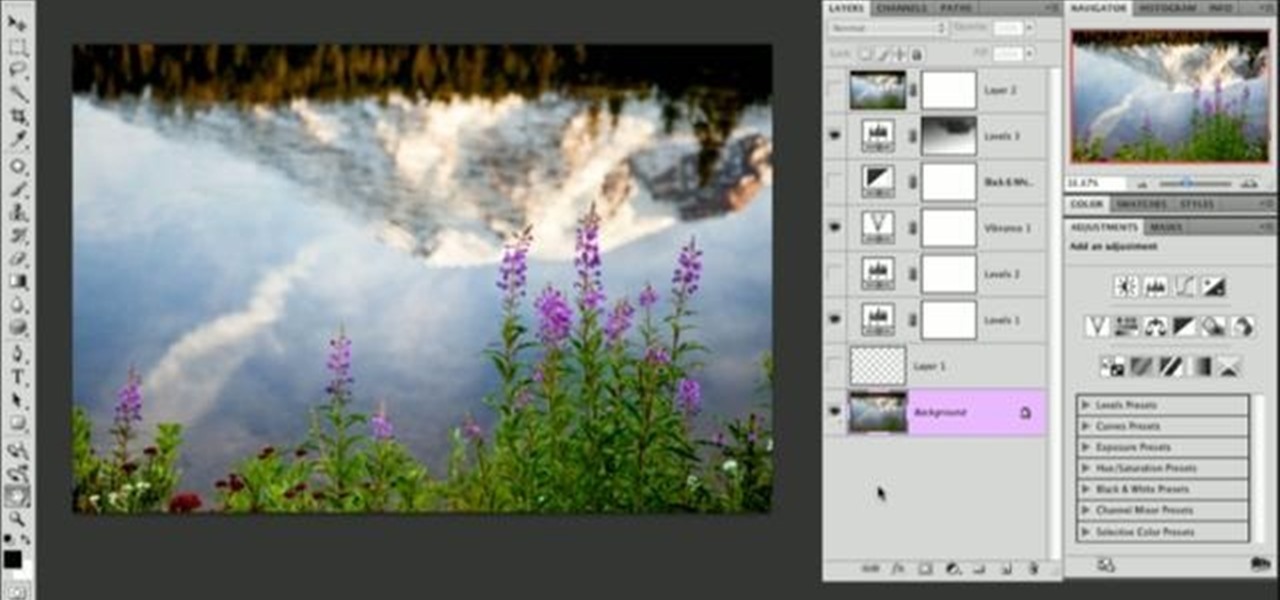
Learn how to toggle layer visibility in Photoshop in this video tutorial. Nocole Young will show you how to do this easily. When you are working on any image in Photoshop, you usually create a number of layers. You would like to see what the image will look like before you start editing the image. You can always toggle the visibility between the layers by clicking the ‘eye-ball’ toggle on the right hand side of the page on the layer panel. Click the ‘eye-ball’ toggle next to a layer and you w...
This Adobe Acrobat 9 Pro tutorial shows you how to work with layers. Learn how to view, navigate and control layers in Acrobat 9. Also learn how to add a PDF page as a layer, and use Adobe 9 Pro Preflight tools to assign objects to different layers. Great tutorial for anyone new to using Acrobat Pro, or needing to view the newer tools in Acrobat 9 Pro.
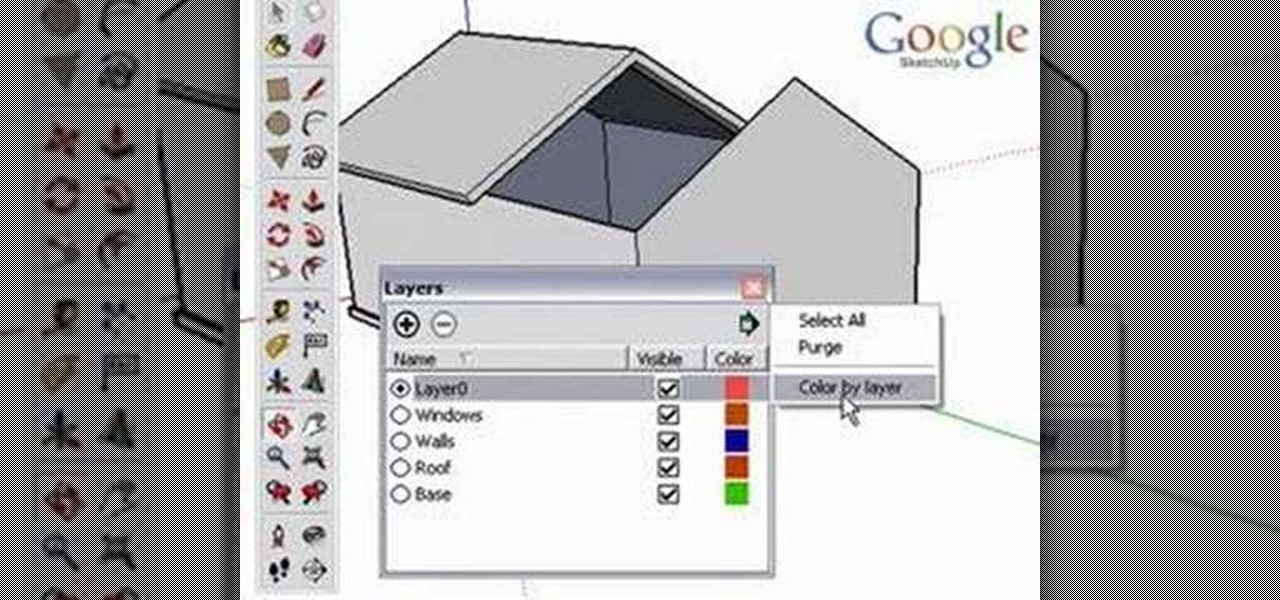
Using layers in SketchUp is different than many other applications. This instructional video to learn how to use layers, the layer dialog box, as well as some layer tips. In other applications, layers control actual geometry. This is especially true in CAD software. SketchUp's layering system only controls the visibility of the geometry, not the actual geometry itself.

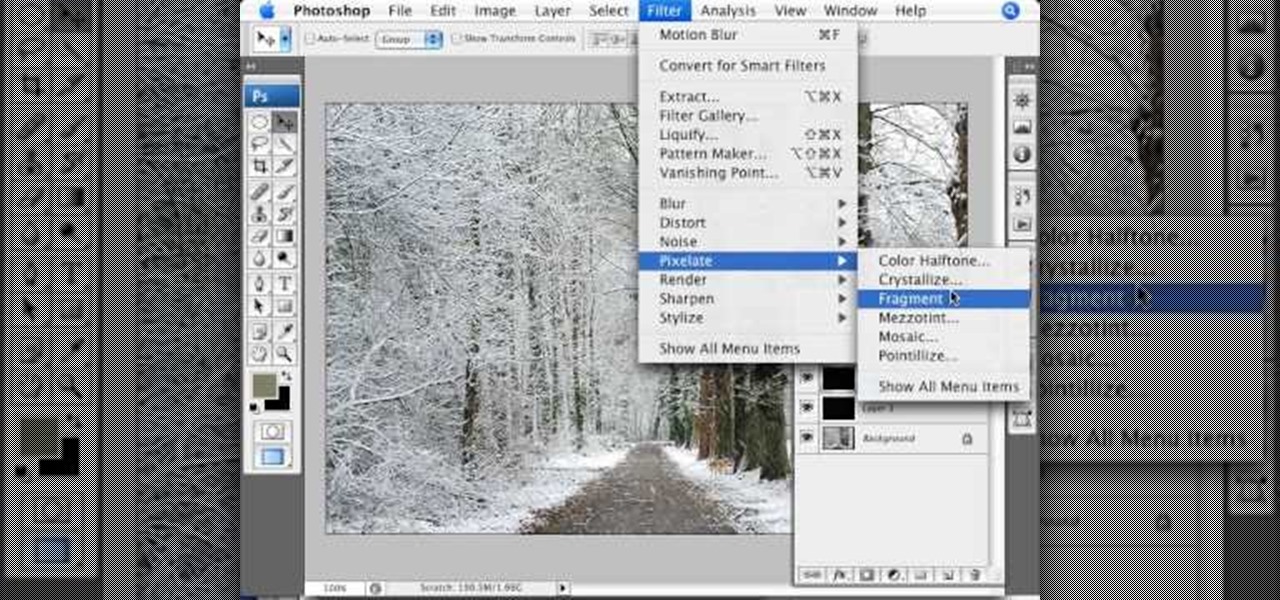
Learn how to simulate snow in your photograph in this video tutorial by photoshopuniverse. For this you'll need a photo depicting winter scenery. Add a new layer, fill it in with black, go to filer noise and add noise as shown using the given amounts. Go to filter effects and add blur to the layer. Go to images and adjust the levels to reduce the snow-flakes as shown. And add some motion blur to it. Change the blend mode to screen, duplicate the layer, rotate the new layer, apply the filter c...
Pixel Perfect is the "perfect" show to help you with your Photoshop skills. Be amazed and learn as master digital artist Bert Monroy takes a stylus and a digital pad and treats it as Monet and Picasso do with oil and canvas. Learn the tips and tricks you need to whip those digital pictures into shape with Adobe Photoshop and Illustrator. In this episode, Ben shows you how to create fabrics in Photoshop.
Pixel Perfect is the "perfect" show to help you with your Photoshop skills. Be amazed and learn as master digital artist Bert Monroy takes a stylus and a digital pad and treats it as Monet and Picasso do with oil and canvas. Learn the tips and tricks you need to whip those digital pictures into shape with Adobe Photoshop and Illustrator. In this episode, Ben shows you how to work with layers in Photoshop.
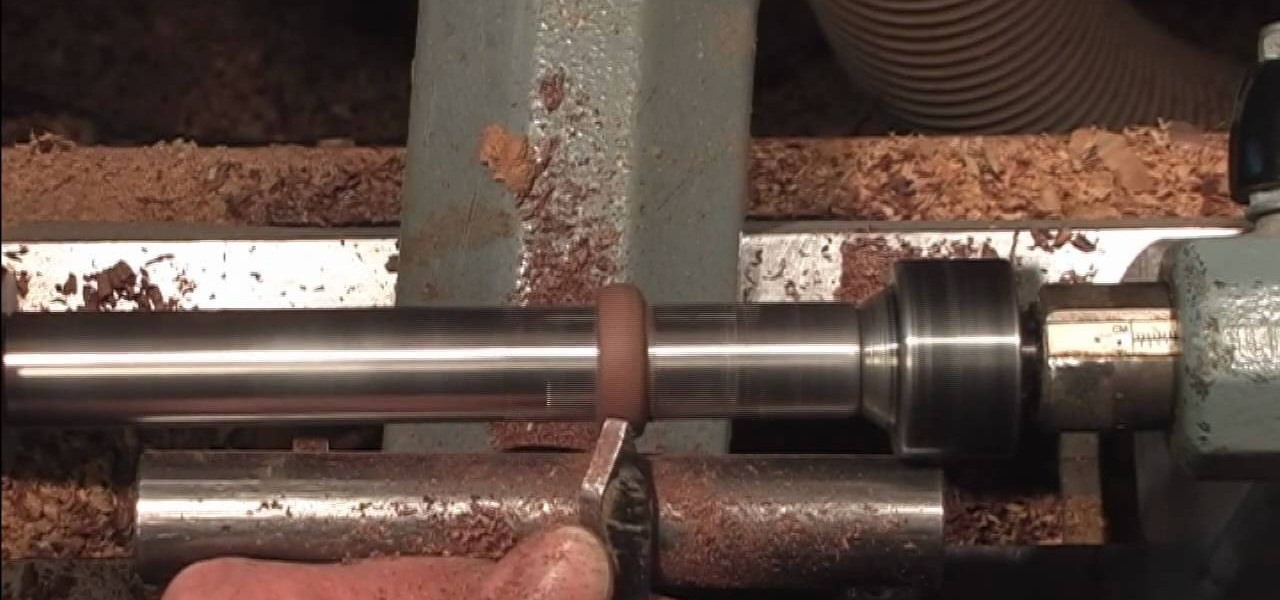
A wooden ring can be a beautiful, handcrafted item of jewelry, rare and unquiet. This excellent how to will show you the steps necessary to turn your own wooden ring on a lathe and then finish it for wearing. The wood used in this video is Cocobolo, a lovely hardwood that will weather nicely over time. Check it out! You'll need a block of hardwood, a lathe, lathe tools, sand paper, bees wax and mineral oil. You'll also want to wear protective eye wear as well.
Whether you're new to Adobe InDesign or a seasoned graphic arts professional after a general overview of CS5's most vital new features, you're sure to be well served by this official video tutorial from the folks at Adobe TV. In it, you'll see how the all-new Layers panel lets you manage objects in complex documents with more control in InDesign CS5.
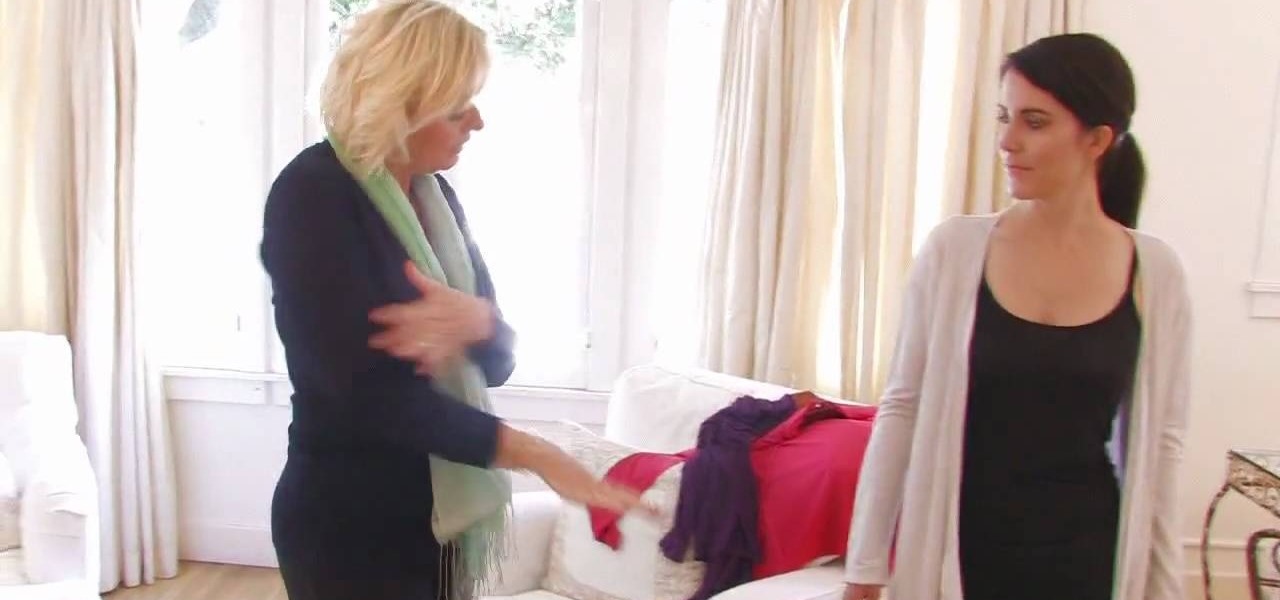
In this video tutorial, viewers learn how to layer clothes fashionable. When layering, do not wear thick clothing to avoid bulkiness and thickness. Wear thin clothing to make the layer more thin and less wide. Make sure that length of the clothing is right and vary in length. Use layers to flatter various parts of the body. This video also provides a visual demonstration of how to layer a shirt. It has 3 different layers that all vary in length. This video will benefit those viewers who are i...
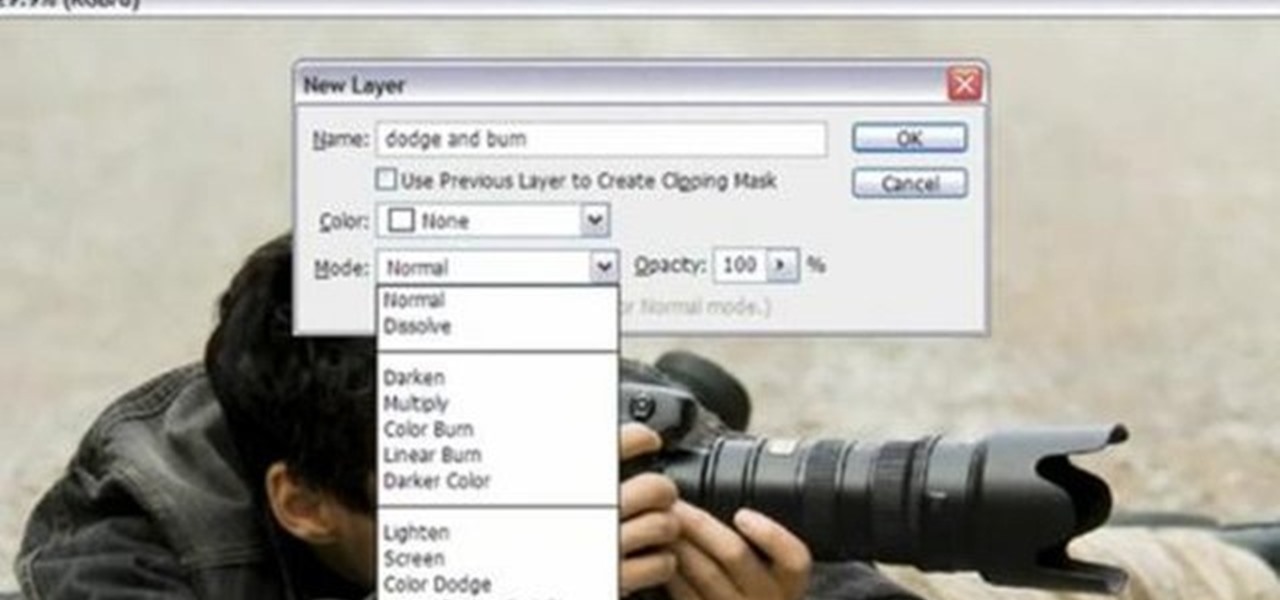
Yanik Chauvin demonstrates how to do Non Destructive Dodging (lighten) and burning (darken) of images using the tools in Photoshop. He shows the image of a man lying on earth with his camera. To start the work he wants to make a new layer which can be done in two ways either by clicking on the ‘layer’ button on top of menu or by pressing down the alt key and clicking on the new layer at button of the layer palette. It will bring up the dialogue box. He named it “dodge and burn” and from the l...
Click in File and New to create a new document, press OK and select the text tool and click once on your file and write something, then close the window. Click in move the active layer to make easier to move the text. Go again to the text tool and click on the Color to change the text color. Press Crtl+O, select the background layer and change the color to the one you want, now select the bucket tool and click on the background to paint it with the color you have selected. Go back to the text...
In this Photoshop tutorial the instructor shows how to mask a photo to itself and produce a glowing effect. First open the image in the Photoshop tool and duplicate a layer and add another layer in between filling it with white. Now select and copy the whole layer. Add layer mask to it and alt click it. Now paste the copied layer on the masked layer. Now do the control+I to invert the masking. Now the images gets a glowing effect on which you can apply the glossy effect on it. Now merge all t...
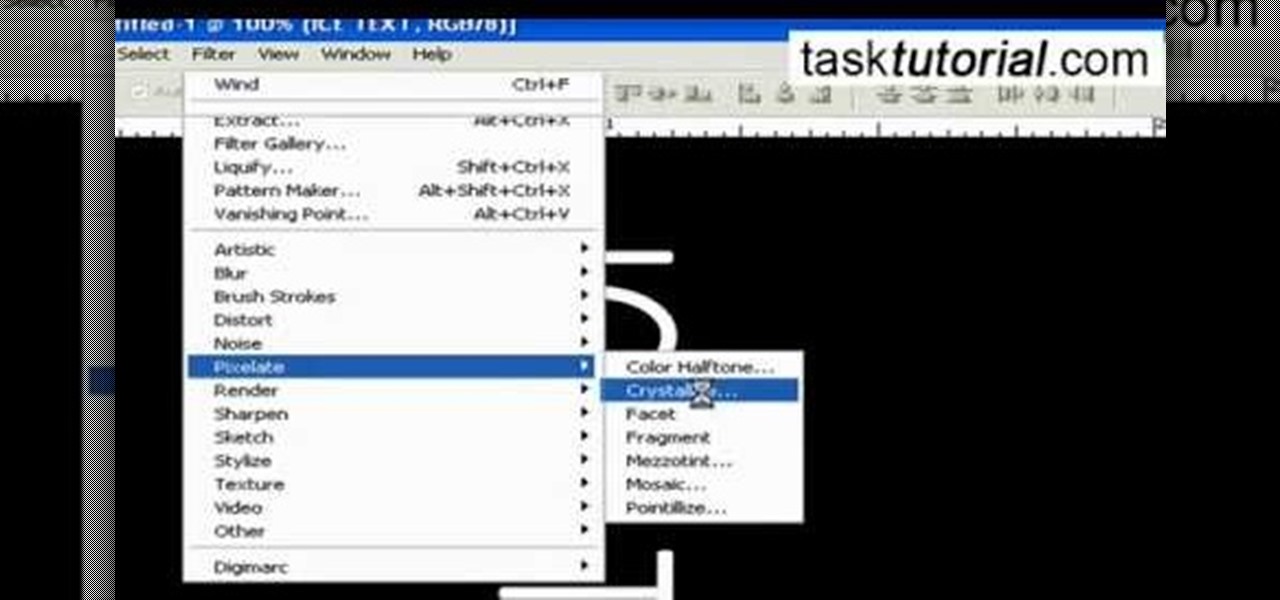
It is a tutorial that how to make an ice text effect on Photoshop. First create a new layer select paint bucket tool switch black color and paint the layer now create an other layer, choose type tool then switch the white color and create a text "ice text" after go to layer pallet merge the layers after that again create another layer select paint bucket tool and select black color now select ice text layer then go to image menu rotate canvas click clock wise then go to filter choose crystall...
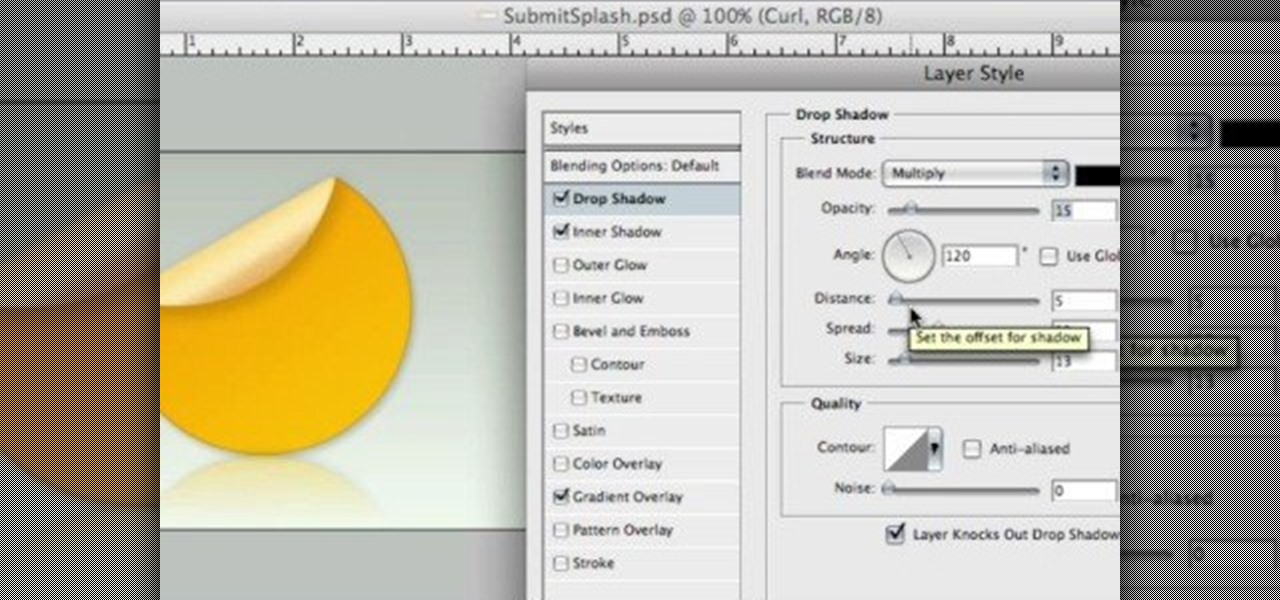
Learn to use a Layer Style, Color Overlay to create variety on a 1 layered document in Photoshop and generate a PDF slide show presentation containing 4 color variations!
This video by photoshopuniverse shows you how to make any photo seem as it was taken in a studio. Take the working photo and add a new layer over it and fill it in black as shown. Add a newer layer over that and add the filter> render> clouds effect. Increase the opacity of the cloud layer and merge it with the black layer as shown. Add the splatter effect and the sprayed stoke effect as shown onto the merged layer and add a hue and saturation adjustment layer and colorize it as desired. Go t...
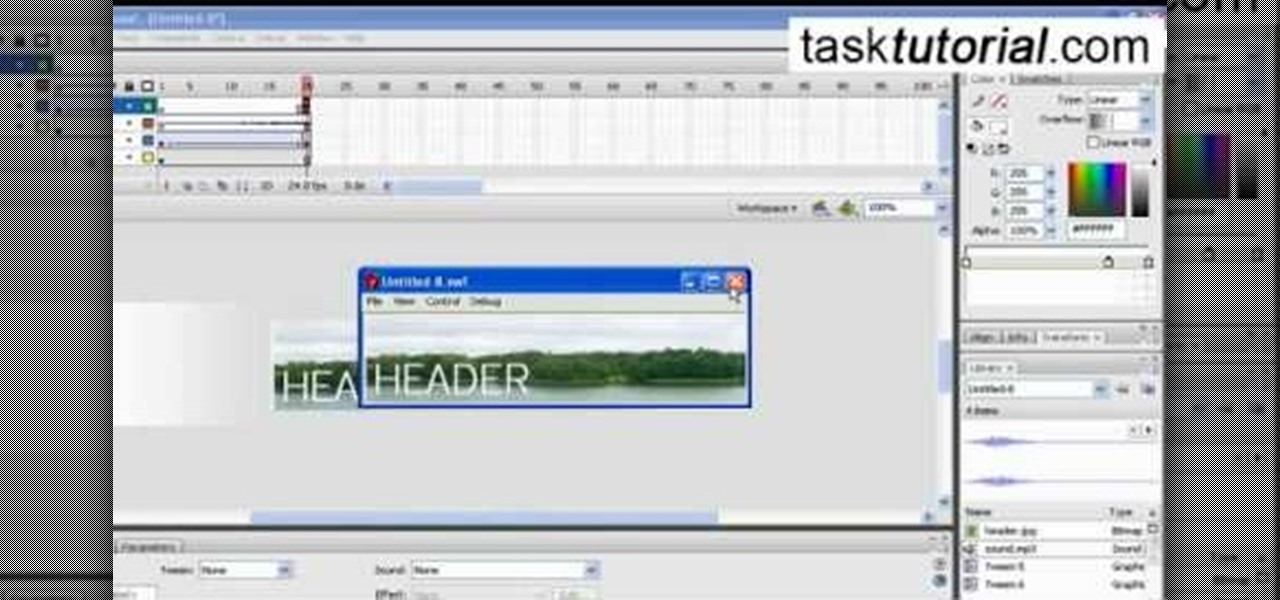
Today we learn about creating a header appearance in animation w/sound in Flash. First your import image. Create a new layer and then create our new shape. Then delete the stroke. Next select the shape and change its size to frame 20 and then press F6. Move your image as shown in the video. You will be asked to create a new layer three times. Just repeat the process of layer until you have a total of 35 layers. Now onto getting you animation to move. Mass layer is also acceptable in creating ...
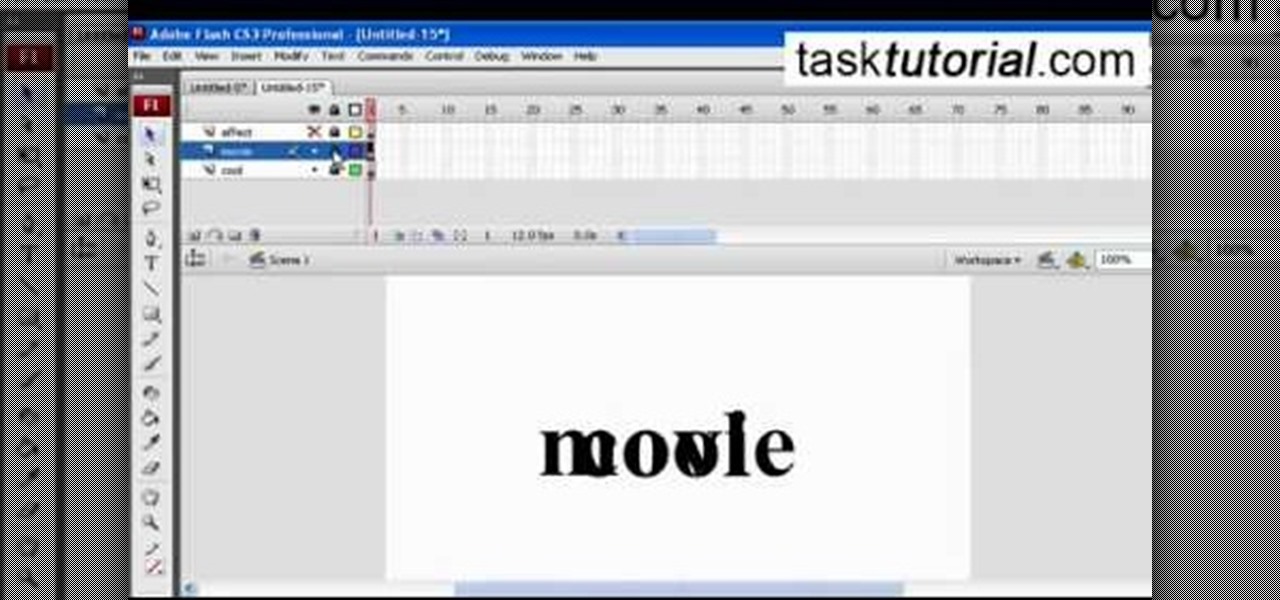
A great free video training from tasktutorial on how to create a cool movie text effect in Flash. Start by creating the text; type in "cool", rename the layer and lock it. Now type "movie" and rename the layer. Type in "effect" and rename this layer as well. Now focus on the first layer. Convert it to movie clip. Now convert the other two layers to movie clips as well. Stack the three layers on top of each other. Next add a key frame starting from frame 10. Select the "cool" layer. Re-size it...
Pixel Perfect is the "perfect" show to help you with your Photoshop skills. Be amazed and learn as master digital artist Bert Monroy takes a stylus and a digital pad and treats it as Monet and Picasso do with oil and canvas. Learn the tips and tricks you need to whip those digital pictures into shape with Adobe Photoshop and Illustrator. In this episode, Ben shows you how to transform a photo into a flashy poster in Photoshop.
If you have been learning how to work with smart objects in Photoshop CS3, you may have noticed that some funny things start to happen when you try to use layer masks with smart objects. Most often, you layer mask doesn't move with the smart object. This Photoshop tutorial will show you a workaround for layer masks not linking with smart objects.
Make a cozy and protective sweater for your laptop. Start with a large sweater you don't want anymore, and assemble a yarn darner, all purpose thread, tailor's marking chalk and scissors. Then follow along and turn an old grandpa sweater into a cute laptop case!
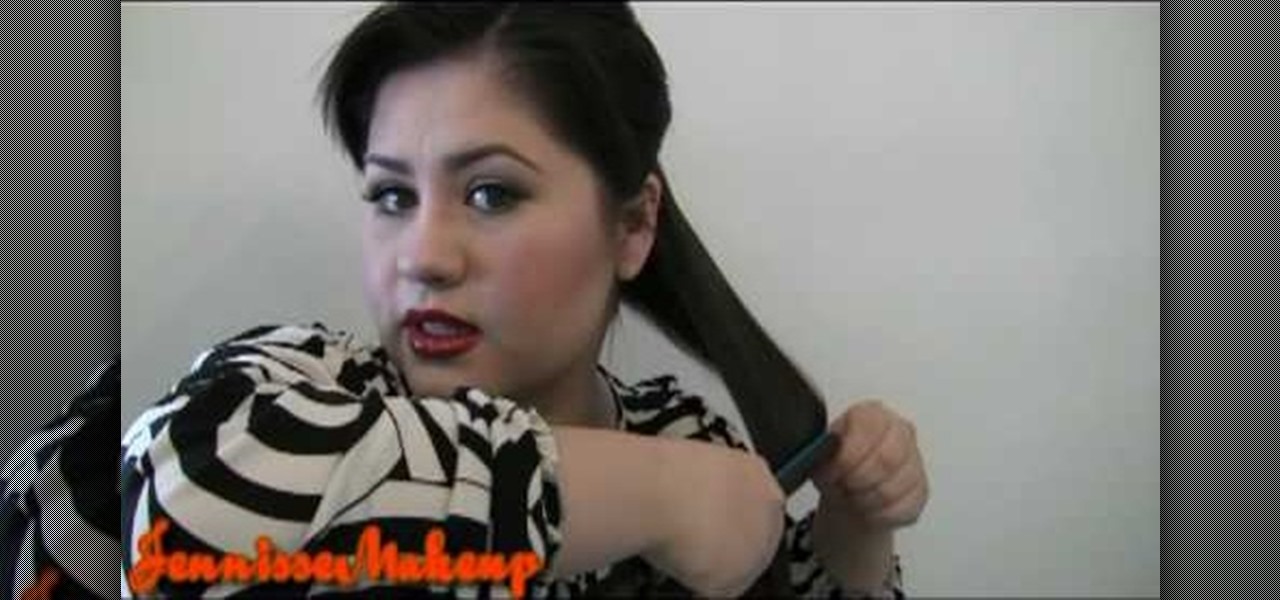
Using a good quality professional flat iron is essential to getting really straight shiny hair. Iron in small sections starting half an inch from the scalp and slowly moving the iron down through the hair. Prevent damage by using a protective straightening product.
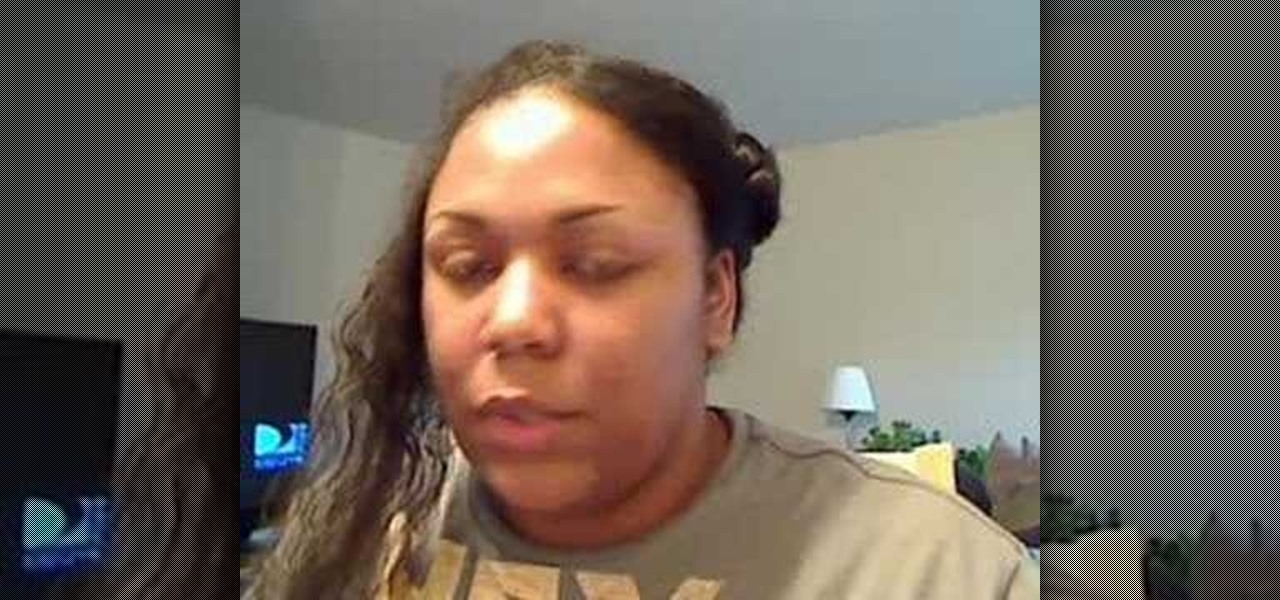
Here's how to blow dry your hair an keep a natural wave. If you don't color treat or straighten your hair, you should you these helpul tips to blow dry your hair without changing it too much and without damaging your hair. You need to use a protective spray and an anti-frizz agent on your wavy hair.
Learn about ancient iridized glass and a method for creating iridized glass surfaces. This video is part of the exhibition "Reflecting Antiquity" at The Corning Museum of Glass (February 15 - May 27, 2008). Note: the method portrayed uses stannous chloride fumes, which can be highly toxic. Do not attempt this without proper protective equipment.
If you consider yourself a "laser" man, then you probably know all about front-surface mirrors. But do you know how to make an FS mirror? This video from AP Digital light will show you how to make cheap first surface mirrors.
In order to make Clarified Butter, you will need the following: butter, a saucepan, knife, measuring cups, and a spoon.
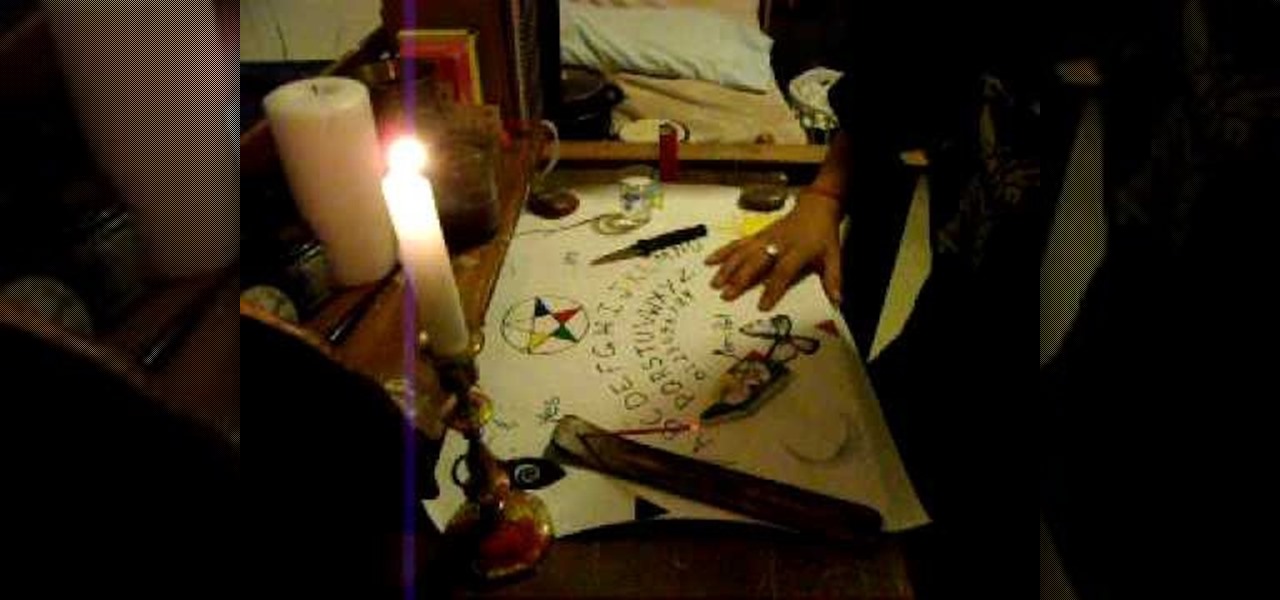
This introductory tutorial video offers instructions on how to get the most out of a Ouija board. Beginning with casting a circle, it covers the use of protective herbs and symbols, the importance of having water to offer to the spirits and a candle to focus energy, how to invoke a spirit or demon, some important questions that should be asked when a spirit answers the call, what types of questions are best, and how to correctly banish the spirit or demon at the end of the Ouija board session...
This Video will show you how to Do a Crochet Weave Afro and Cornrows. This is a Great Protective style. And it is very natural Looking.
This Video will show you how to do a Crochet Weave Afro and Cornorws. This is a Great Protective Style.
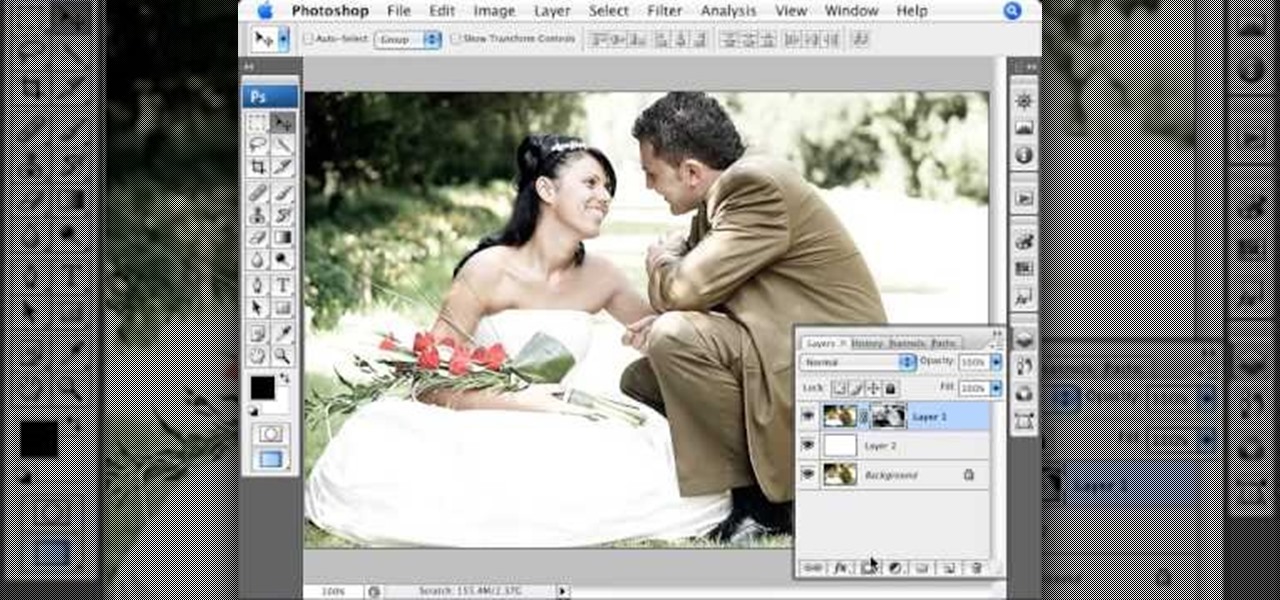
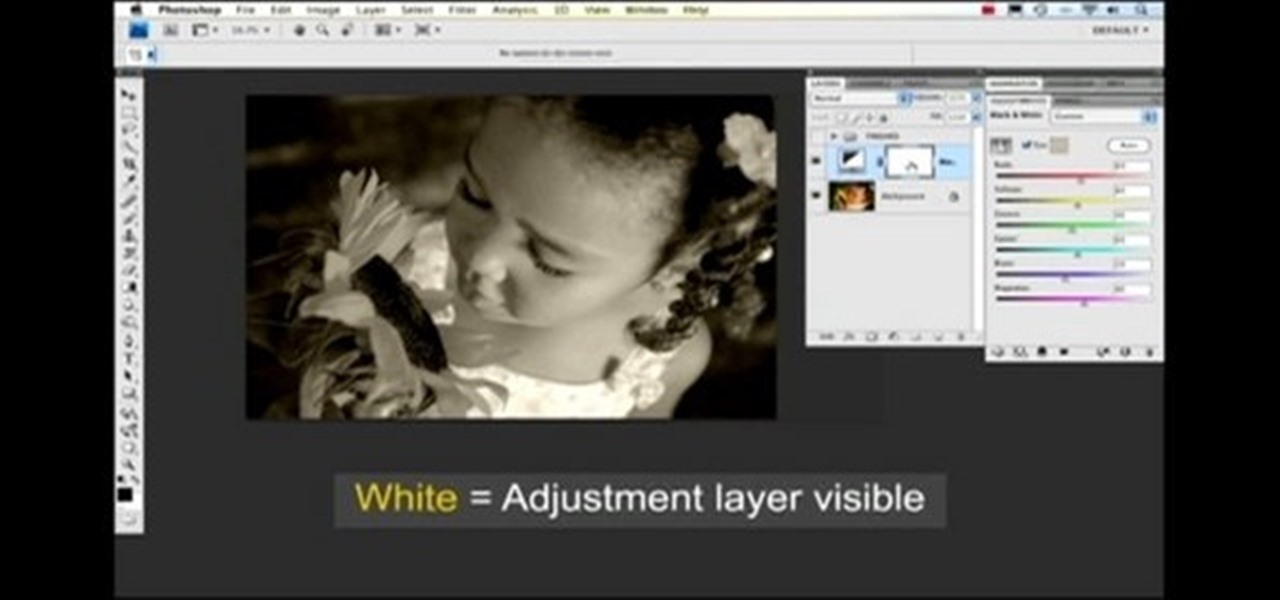
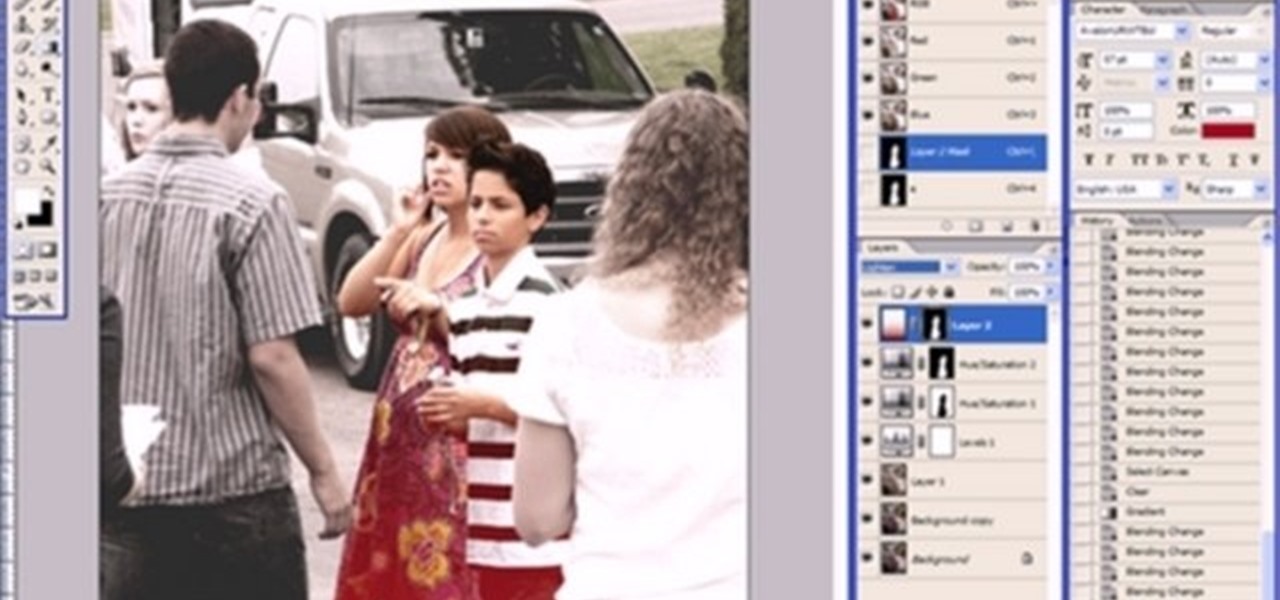
Nichole Young demonstrates how to hand color using layer masks in Photoshop CS4, which also works in Photoshop CS3. The procedure can be summarized in two stages: turning the picture you would like to edit black and white and then bringing color back into it to give it a hand-colored look. The black-and-white effect is achieved by creating a new layer over the background layer. The next step is to give the picture a warm look by adjusting the layer’s respective color balance. Then bring the c...
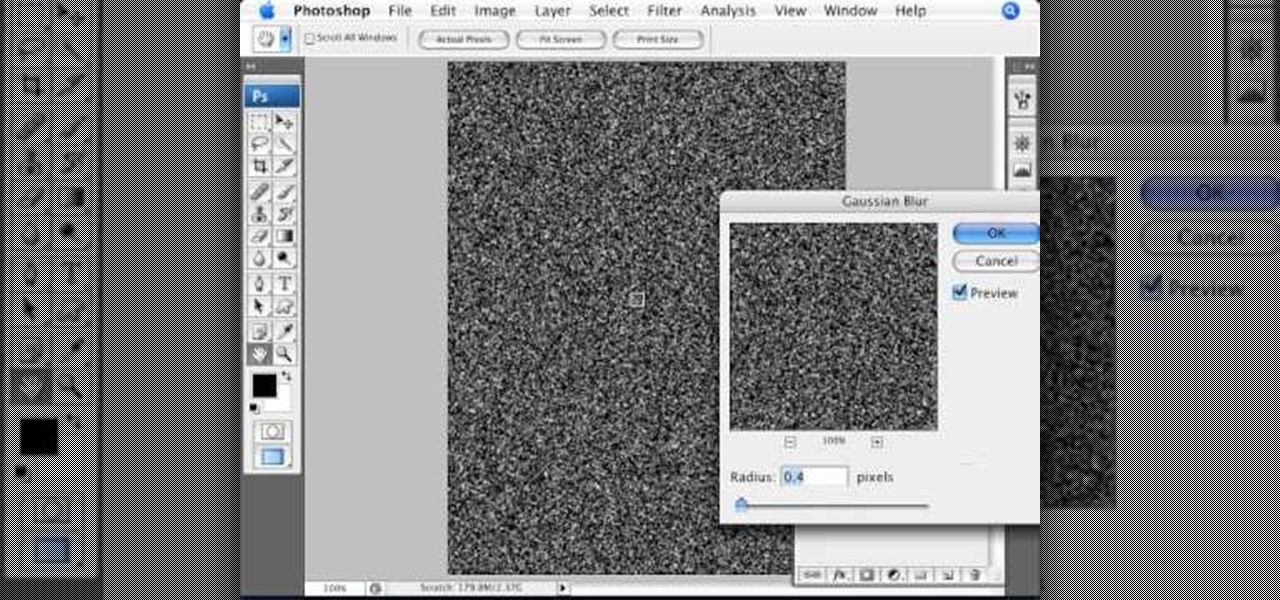
StephanieValentin teaches you how to draw a realistic ear in Adobe Photoshop. You create a new document of 1300x1900 pixels and then create 9 layers named L00, L01 and so on until L08. The first layer should be black. On Layer 01 use a soft round brush with a white color, 100 pixels width and 50% opacity. This is the base sketch of the ear. You then apply a gaussian blur of 30 pixels. For Layer 02 you use a soft round brush with a white color, 50 pixels width and 50% opacity. Apply a gaussian...
Open an image and on the layers panel add a new layer by clicking on the fifth icon below the layers panel. A new layer is created with the name 'layer 1' and your previous layer would have the name 'background'. These names can be changed by you. For now we'll leave them as they are.
This video is about how to draw a camouflage pattern. For this project you need a paper, ruler and writing utensils. You only have to remember a few easy steps. Draw a square box. Draw out the first pattern layer. Draw out the second pattern layer. Draw out the third pattern layer. Color the first pattern layer with any color, the second pattern layer with any other color and the third pattern layer with any color except the colors you used for the first and second pattern layers.
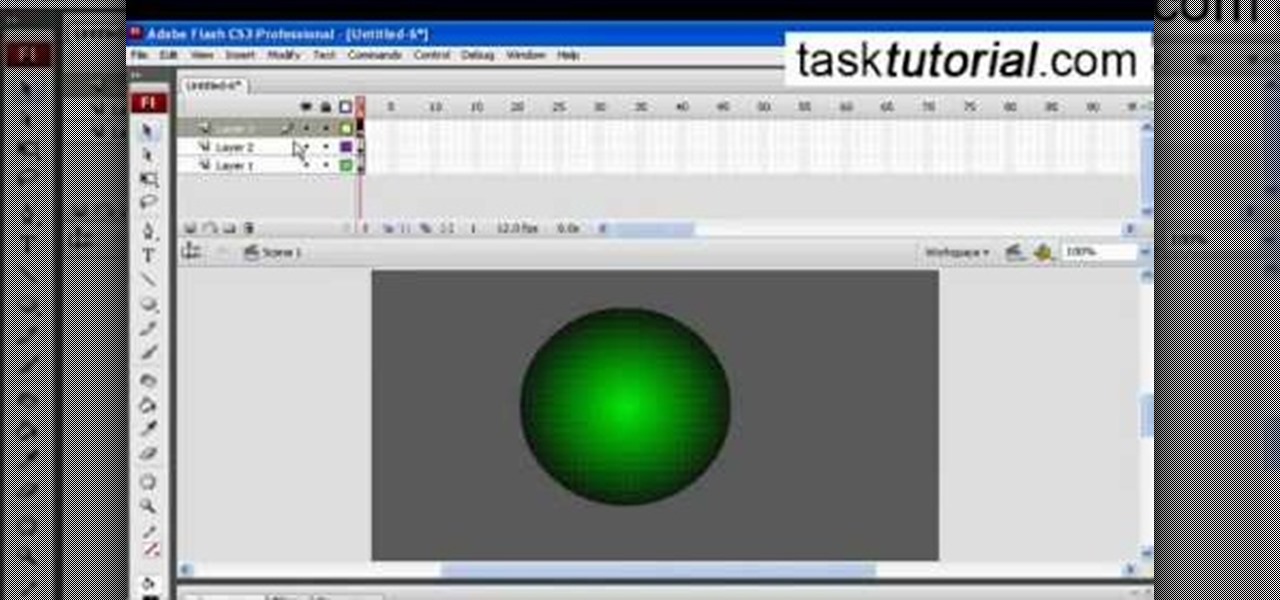
In this video tutorial the instructor shows how to create a text on a rotating sphere in Flash. To do this first create a gray background in the flash tool. Now make a new layer, select the oval tool and set the color gradient to green color and select the oval shape on the gray background. Similarly create an another sphere which will act as a mask for the text. Now create a new layer and add text to layer in white. Now move to frame 20 and make a key frame with all layers. Now drag the text...
Photoshop is the perfect program to use when you want to make adjustments to photos you have taken. You can really make a sky pop in any of your pictures by using Photoshop to manipulate the color by following this tutorial.
This image editing software tutorial shows you how to separate layer styles in Photoshop CS3. Learn how to separate your layer styles from it's parenting layer in Photoshop!
This is a tutorial in Adobe Photoshop CS2 demonstrating primarily the use of the quickmask tool to make precise selections of organic shapes. Other topics covered include adjustment layers and layer masks. So watch and learn how to enhance photos using quickmasks, layer masks and adjustment layers in Photoshop CS2.
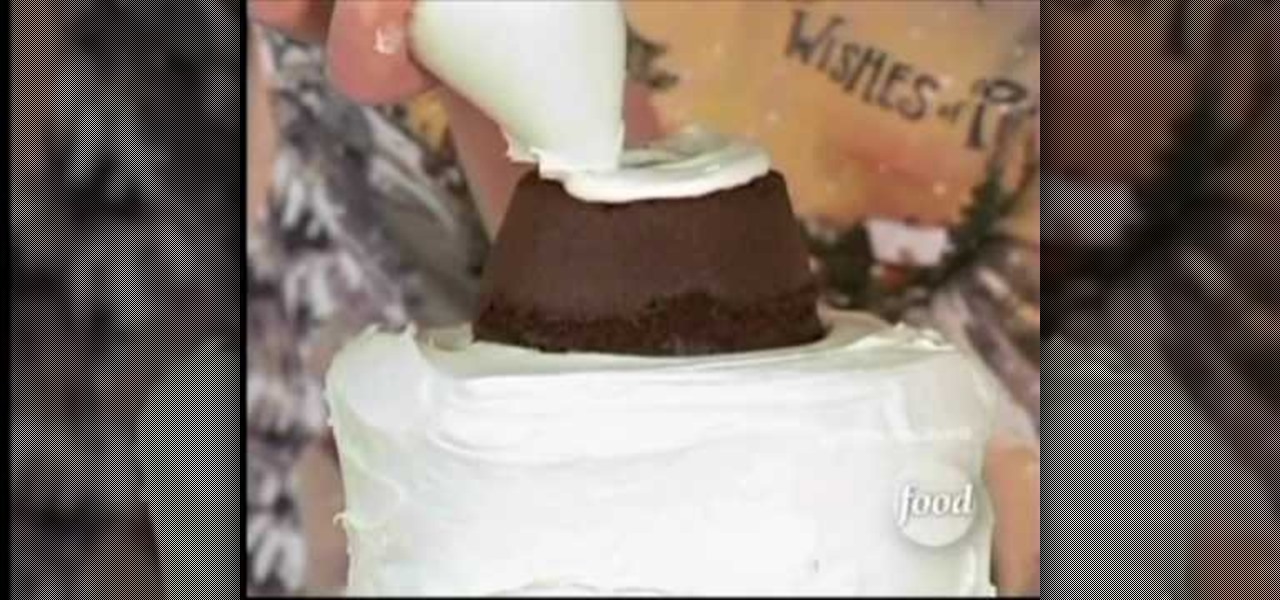
To decorate a noel cake, buy four layers of chocolate (two large sized, two small sized), two layers of spice cake (two medium sized), and a chocolate cupcake. Using a long serated knife, trim the tops of the cake to make the even. Put the one of the large chocoate cakes on your serving plater and put some frosting on top to "glue" it to the next layer. Now put the other large chocolate cake on top and gently press it into place. Frost the sides of the layer. Place a cardboard circle that is ...